2012 FMQ Challenge: December

2 12 2012

The last free motion quilting challenge for 2012 (ever?) was announced today. It was another by Patsy Thompson, and this time she focused on various treatments for borders — narrow and wide and all sizes in between. I had some spare time today, so I got to and did it!

Here’s my piece (click the photo to view it larger — it looks MUCH better larger). Unfortunately, reds, oranges, and yellows don’t photograph well on my camera. The fabric is a deep/dark maroon and I used a bright fluoro yellow on the inner border, a fluoro orange for the next one, followed by a fluoro lime green, and a variegated King Tut thread that combines yellow, green, and purple (‘Passionfruit’, colour #931) in the outer border. I wanted the stitching to stand out 😉
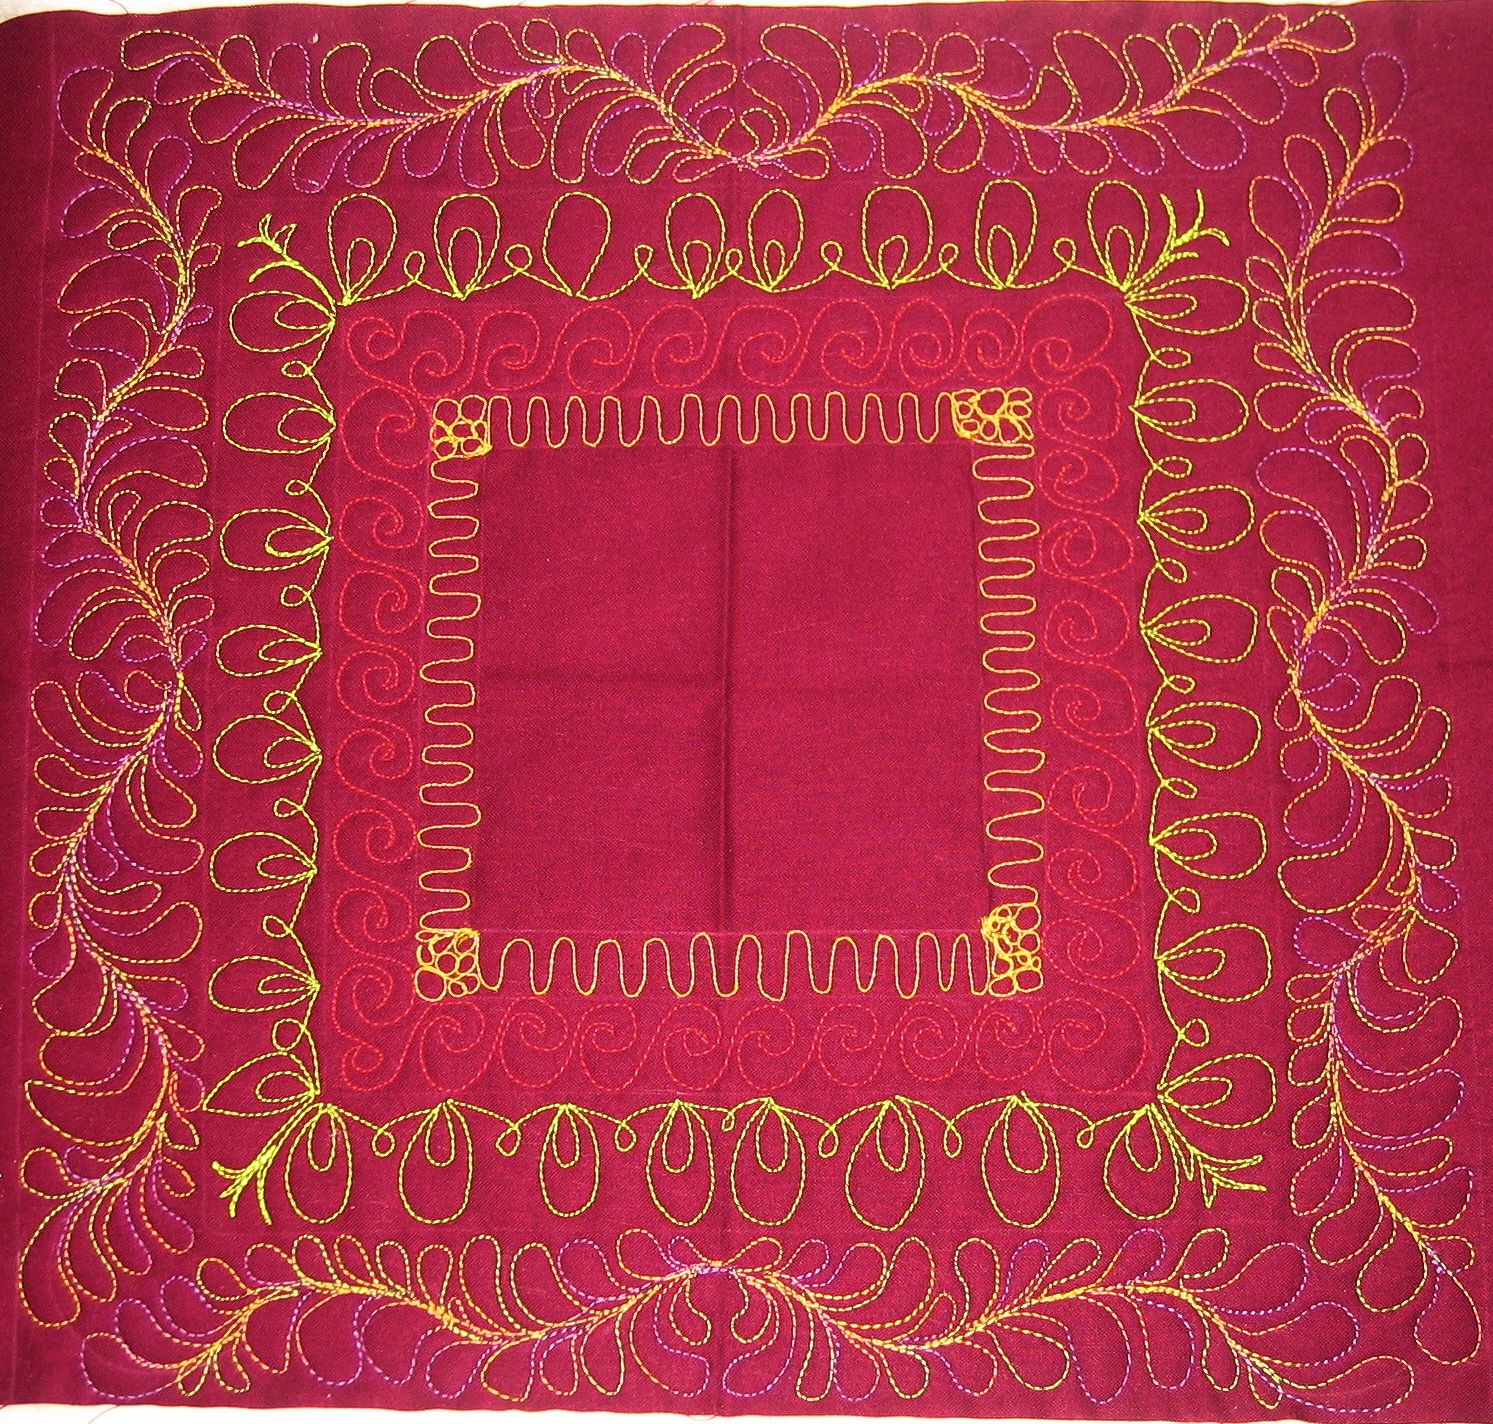
Dec_2012_finished

I enjoyed doing this one — thanks for your excellent instructions, Patsy — though I wasn’t happy with the inner loops (especially when I practised them going back the other way to make ovals — they looked really horrible!). I quite liked the shell variation (the lime green one on this piece) and intend practising that one some more. I did the feathers without a curved ruler — I just used the base of a thread spool to mark the curves 😉

So that’s it. The 2012 FMQ Challenge is over. The last step is to post a summary, which I’ll do in the next few days. Meantime, I’d like to thank SewCalGal for all her efforts in making this happen, the 2000 or so other quilters worldwide who participated, and the sponsors who donated prizes. I’ve had fun and I know I’ve improved my FMQ skills and increased my confidence. I tried some things outside my comfort zone that I enjoyed, and others that I didn’t — but it was all about expanding my knowledge and skills and if there’s a technique I’ll never use again, at least I’ll know why.

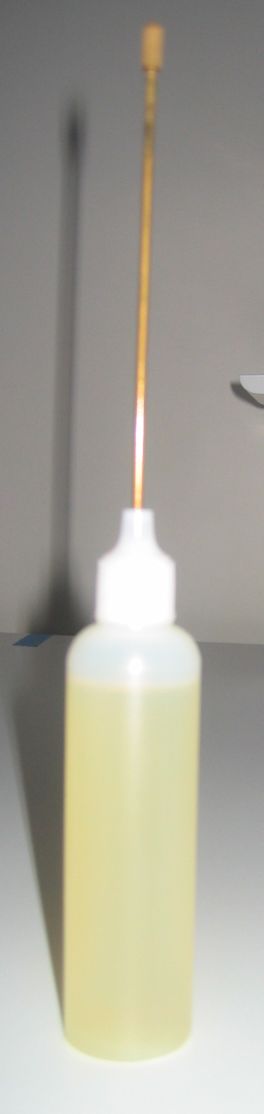



Oiling the bobbin area on the Handi Quilter Sweet Sixteen

2 12 2012

I couldn’t find any videos on where to place the SINGLE drop of oil when oiling the bobbin area on the HQ Sweet 16, so I decided to take some photos to share.

Firstly, HQ recommend you clean and oil the bobbin area after every two bobbins, but I do it after every bobbin change as I tend to use 80 wt bobbin thread, so I stitch for a much longer time with a single bobbin than if I was using 40 wt thread.

I also only put ONE drop of oil in the bobbin area, then I stitch on my scrap sandwich to make sure the tension is OK and to get rid of any oil residue that may occur (it rarely does, but sometimes I’ll get a patch of oil for about 10 stitches on my scrap sandwich).

  1. Remove the bobbin case and bobbin from the bobbin area.
  2. Use the brush to brush out any fluff, lint, etc. from the bobbin area and from the bobbin case.
  3. Pull the nozzle end of the oil bottle to extend the nozzle fully.
    Oil bottle as stored

    Oil bottle as stored

    Oil bottle with nozzle fully extended

    Oil bottle with nozzle fully extended

  4. Remove the nozzle cap and carefully place it where you won’t lose it.
  5. Squat down (or bend or kneel) and look under the table at the bobbin area. (Easier alternative: Unscrew and remove the needle plate and go in from the top.)
  6. Place the nozzle at about 7 o’clock on the first groove of the bobbin area.

    Squeeze ONE drop of oil at the 8 o'clock position

    Squeeze ONE drop of oil at the 7 o’clock position

  7. Squeeze gently so that only ONE drop of oil goes into that area.
  8. Put the cap back on the nozzle and push the extended nozzle back into the oil bottle. (See the update for Feb 2020, below, for alternatives)
  9. Replace the bobbin in the bobbin case (remember, the thread goes over the top of the bobbin and hangs to the right as you place the bobbin into the open side of the bobbin case).
  10. Test and adjust the bobbin tension, as required.
  11. Gently push the bobbin case into the bobbin area until you hear it click in place.
  12. Do some stitching on your scrap sandwich to test the tension and to get rid of any excess oil (there shouldn’t be much).
  13. Start quilting!

See also this 6-minute video from Jamie Wallen on oiling the bobbin area of a long-arm quilting machine: http://www.youtube.com/watch?v=xNH06ILNPpU

Update Feb 2020: Helen Godden recently did a Handi Tip video for Handi Quilter (https://www.youtube.com/watch?v=YCfCMU1bRDQ) where she advises to leave the tip extended, keep the bottle in a cup so it doesn’t tip over, and to get a new bottle of oil when the oil becomes yellow. As you can see in my photos above, my oil was always yellow, right from when I bought my machine in 2012—eight years on, and it’s still the same colour.


Super sky

1 12 2012

I’ve only just got around to taking these photos off my phone. I took them on 9 November 2012, around 11:30 am on my drive home from the Post Office. The sky was just amazing! The clouds streaked across the sky from one side to the other and it seemed like I was in the middle of it all — the streaks were centred on a point to the west and when I turned to the east, they were centred on another point in the east!

I’m sure there’s probably a scientific name for this phenomenon (anyone know?), but I was so taken with the majesty of it, I just had to take some photos.

Click a photo to view it larger.

Sky looking west towards the Indian Ocean

Sky looking west towards the Indian Ocean

Looking at the middle section

Looking at the middle section

Looking east

Looking east


For my US friends

1 12 2012

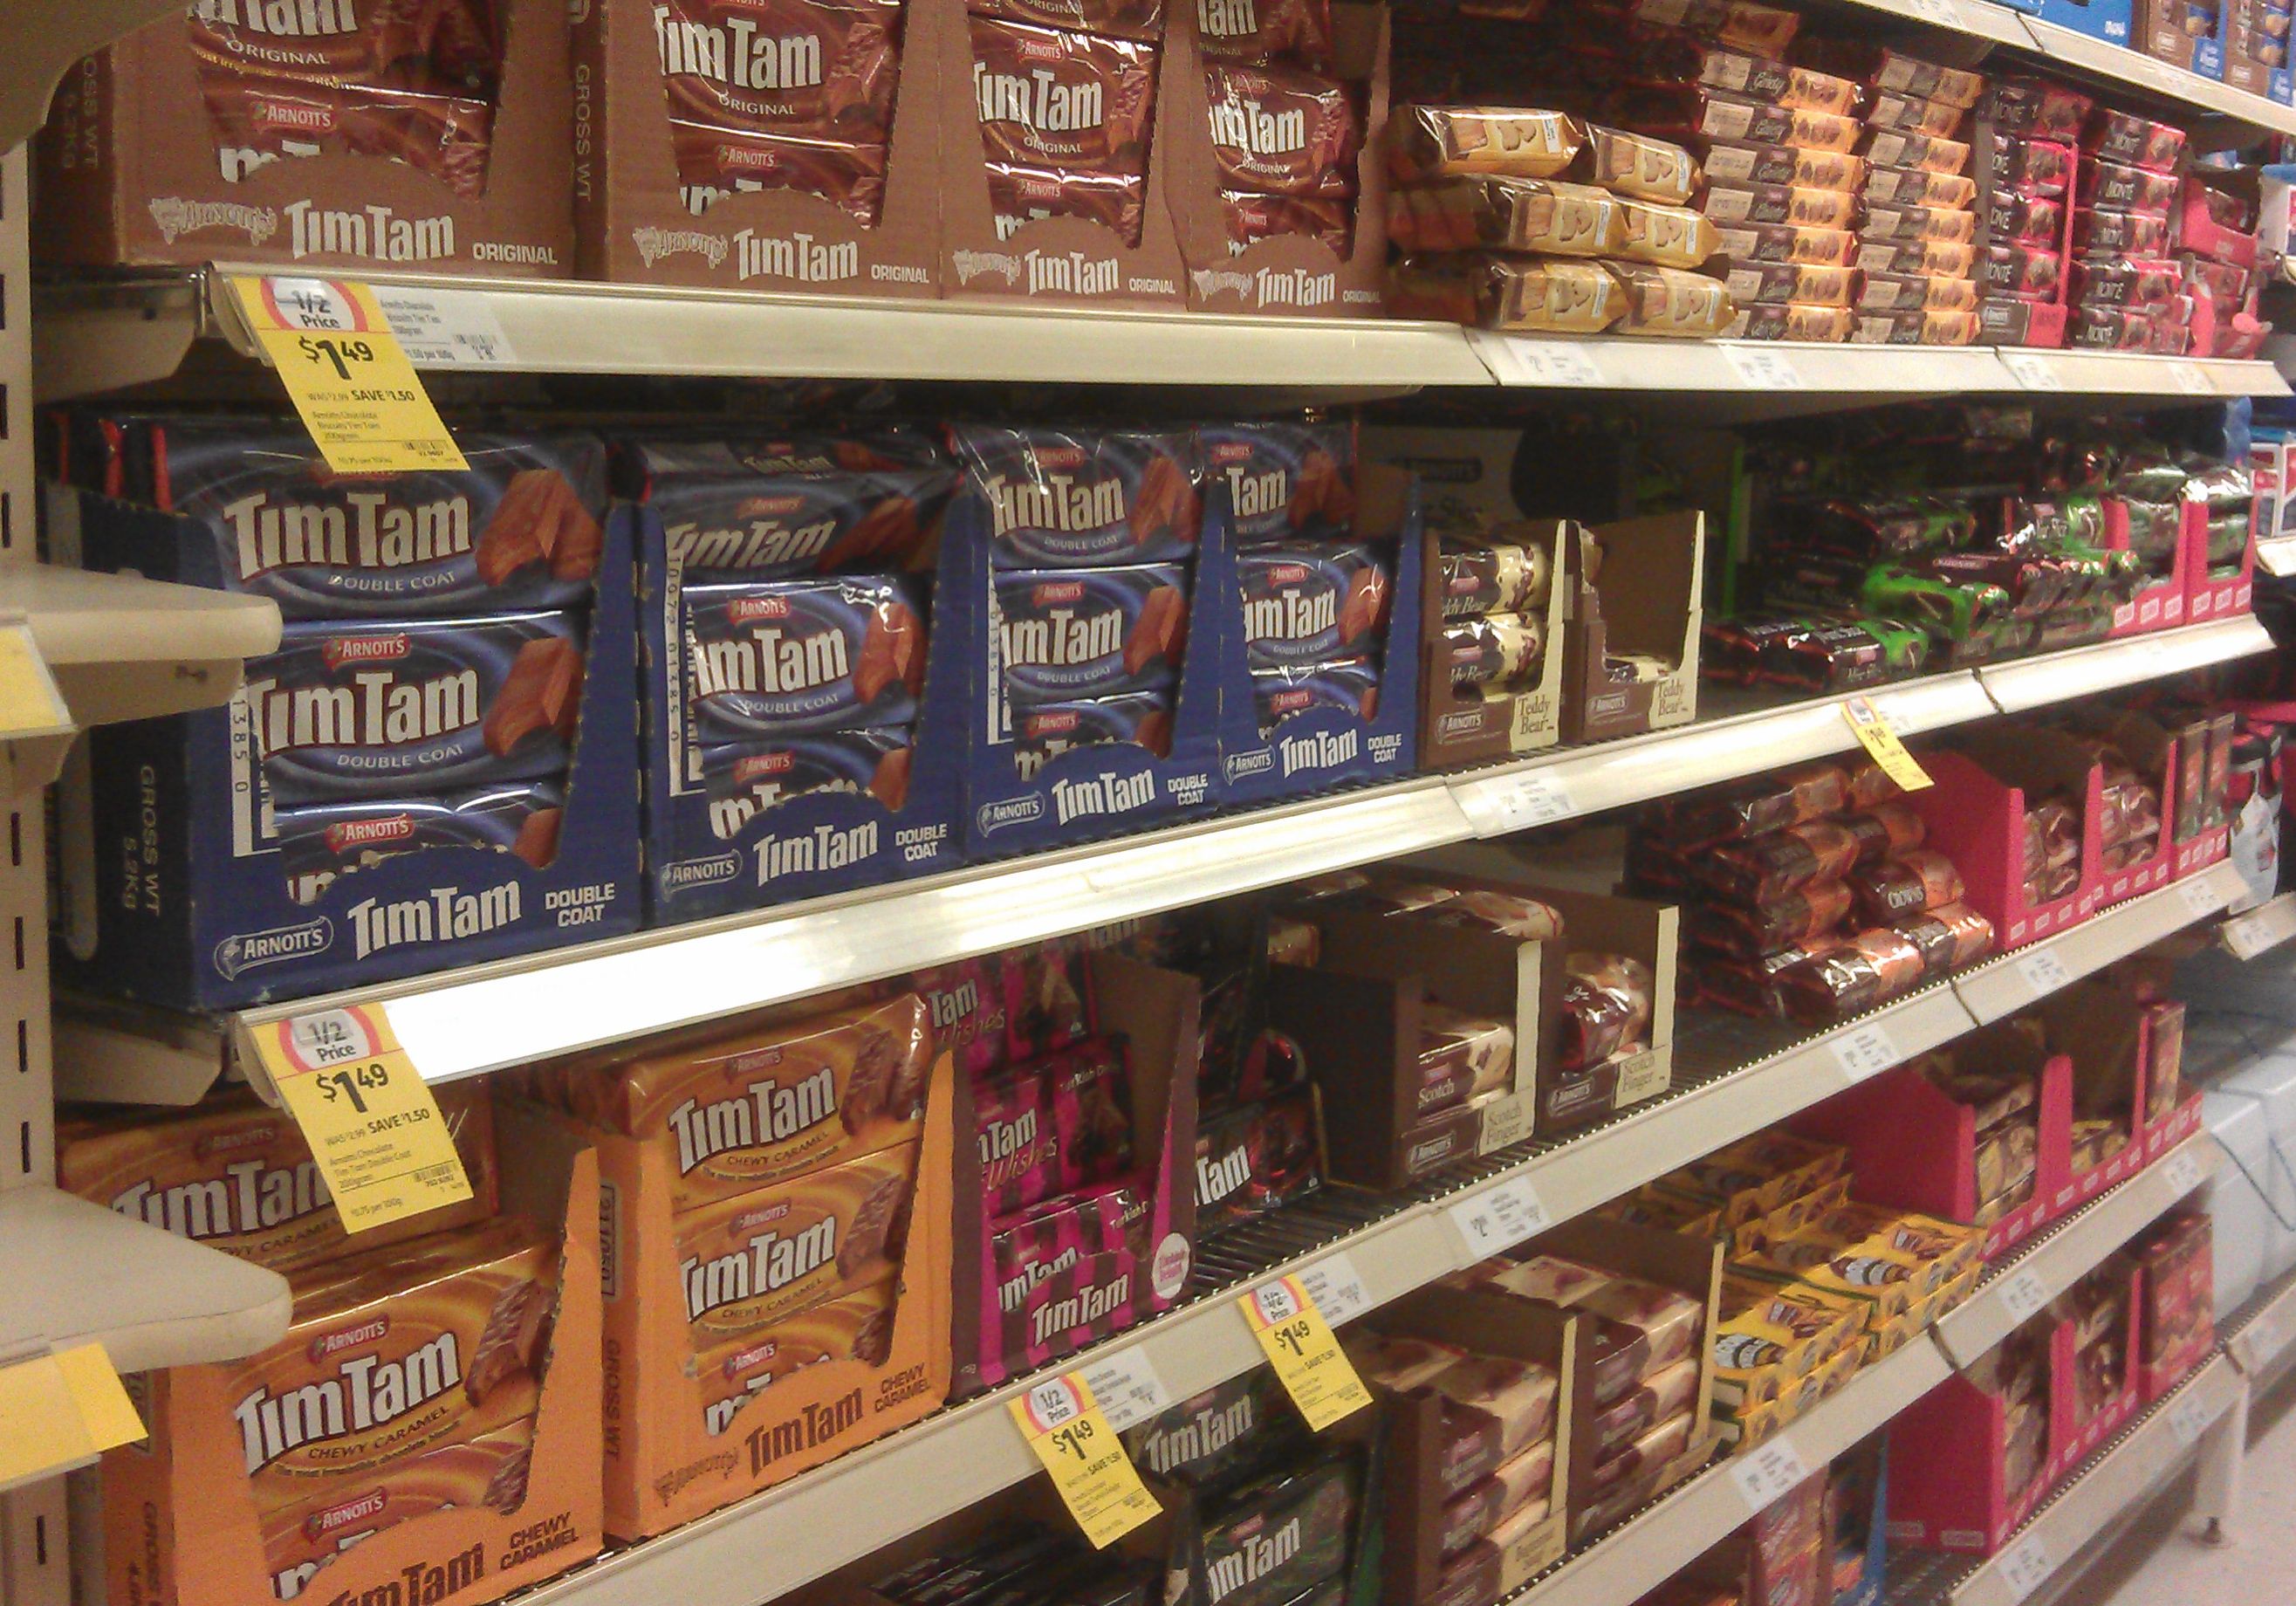
Whenever I go to the US, I stock up on Tim Tams and hand them out to grateful friends in the US. Tim Tams aren’t readily available there and if you *can* find them in an Aussie shop, they are incredibly expensive and there’s a limited range of flavours.

As an Australian-made biscuit (cookie), we get the full range of flavours and they are readily available in our neighbourhood supermarkets. And they go on sale quite often.

So this picture is for my US friends — it’s my local supermarket’s many shelves of Tim Tams in all sorts of flavours, and all at half price ($1.50 per packet)! (Just as an aside, I don’t like Tim Tams — they are WAY too sweet for my taste!)

tim_tams


Community Quilt 34

1 12 2012

I finished the last of the latest batch of 10 community quilts today.

I had quite a bit of difficulty deciding how to quilt this quilt as there was a lot going on in it. Eventually, I decided to stitch in the ditch along the diagonals of the coloured areas hoping that I’d get inspiration for the rest of the quilt. After doing that, I was still stumped! So I decided to emphasise a small element of the quilt — the cream vertical bars. Again, I stitched in the ditch, extending the stitching from one vertical bar to the next (I used my Line Tamer ruler to stitch all these straight lines — using this ruler is much quicker for me than trying to stitch straight lines on the Sweet Sixteen without it).

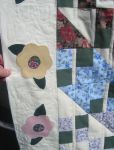
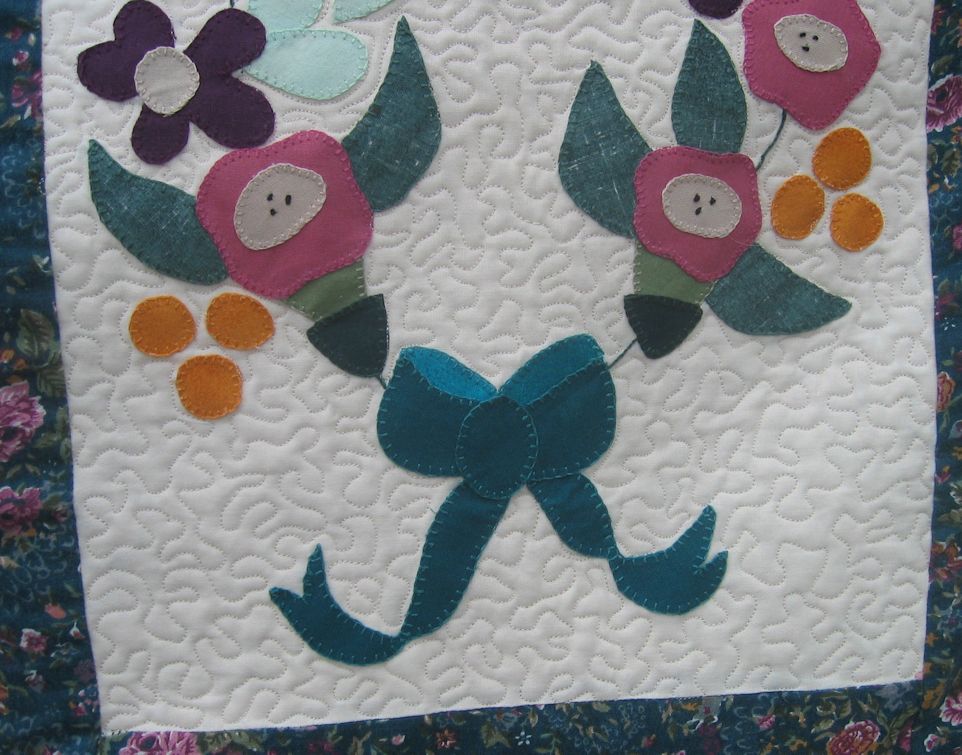
Once I’d done the vertical lines, I figured that that was enough quilting for the main quilt top. The last stage was to quilt the ‘white space’ in the border around the appliqued flowers. I decided on a leaf motif (with loops), in keeping with the floral theme in the border. I continued using the same thread I’d used for the rest of the quilt.

Threads used:

  • Top: Fil-Tec Glide, cream (colour 20001; 40 wt)
  • Bobbin: Rheingold Bobbinfil (by Madeira) (white, 70 wt)

Click on a photo to view it larger.


Char’s quilt

29 11 2012

When I was in Memphis for a conference in March this year, I gave my friend Sue a pink quilt as she’d been on at me about making her one after seeing the pink quilt I made for my Mum for her 80th birthday. In the room at the time were my other best buddies, Char (from near Boston) and Dave (from near San Diego).

I already had a quilt planned for Dave — it was the art quilt of the beach at Port Douglas that I’d started the week before at the workshop in Texas, which I gave to him when he was in Australia and came and stayed with us last month. And Char had already been the recipient of my first art quilt, my dragonfly quilt. But I could see that Char wanted her own quilt 😉 So I asked her what colours she’d like if I made her a quilt too — she said ‘purple’.

When I got back home, I started her quilt using purple batiks from my stash, and a touch of green batiks as well. I used the ‘Ring around’ pattern from Four Paws Quilting.

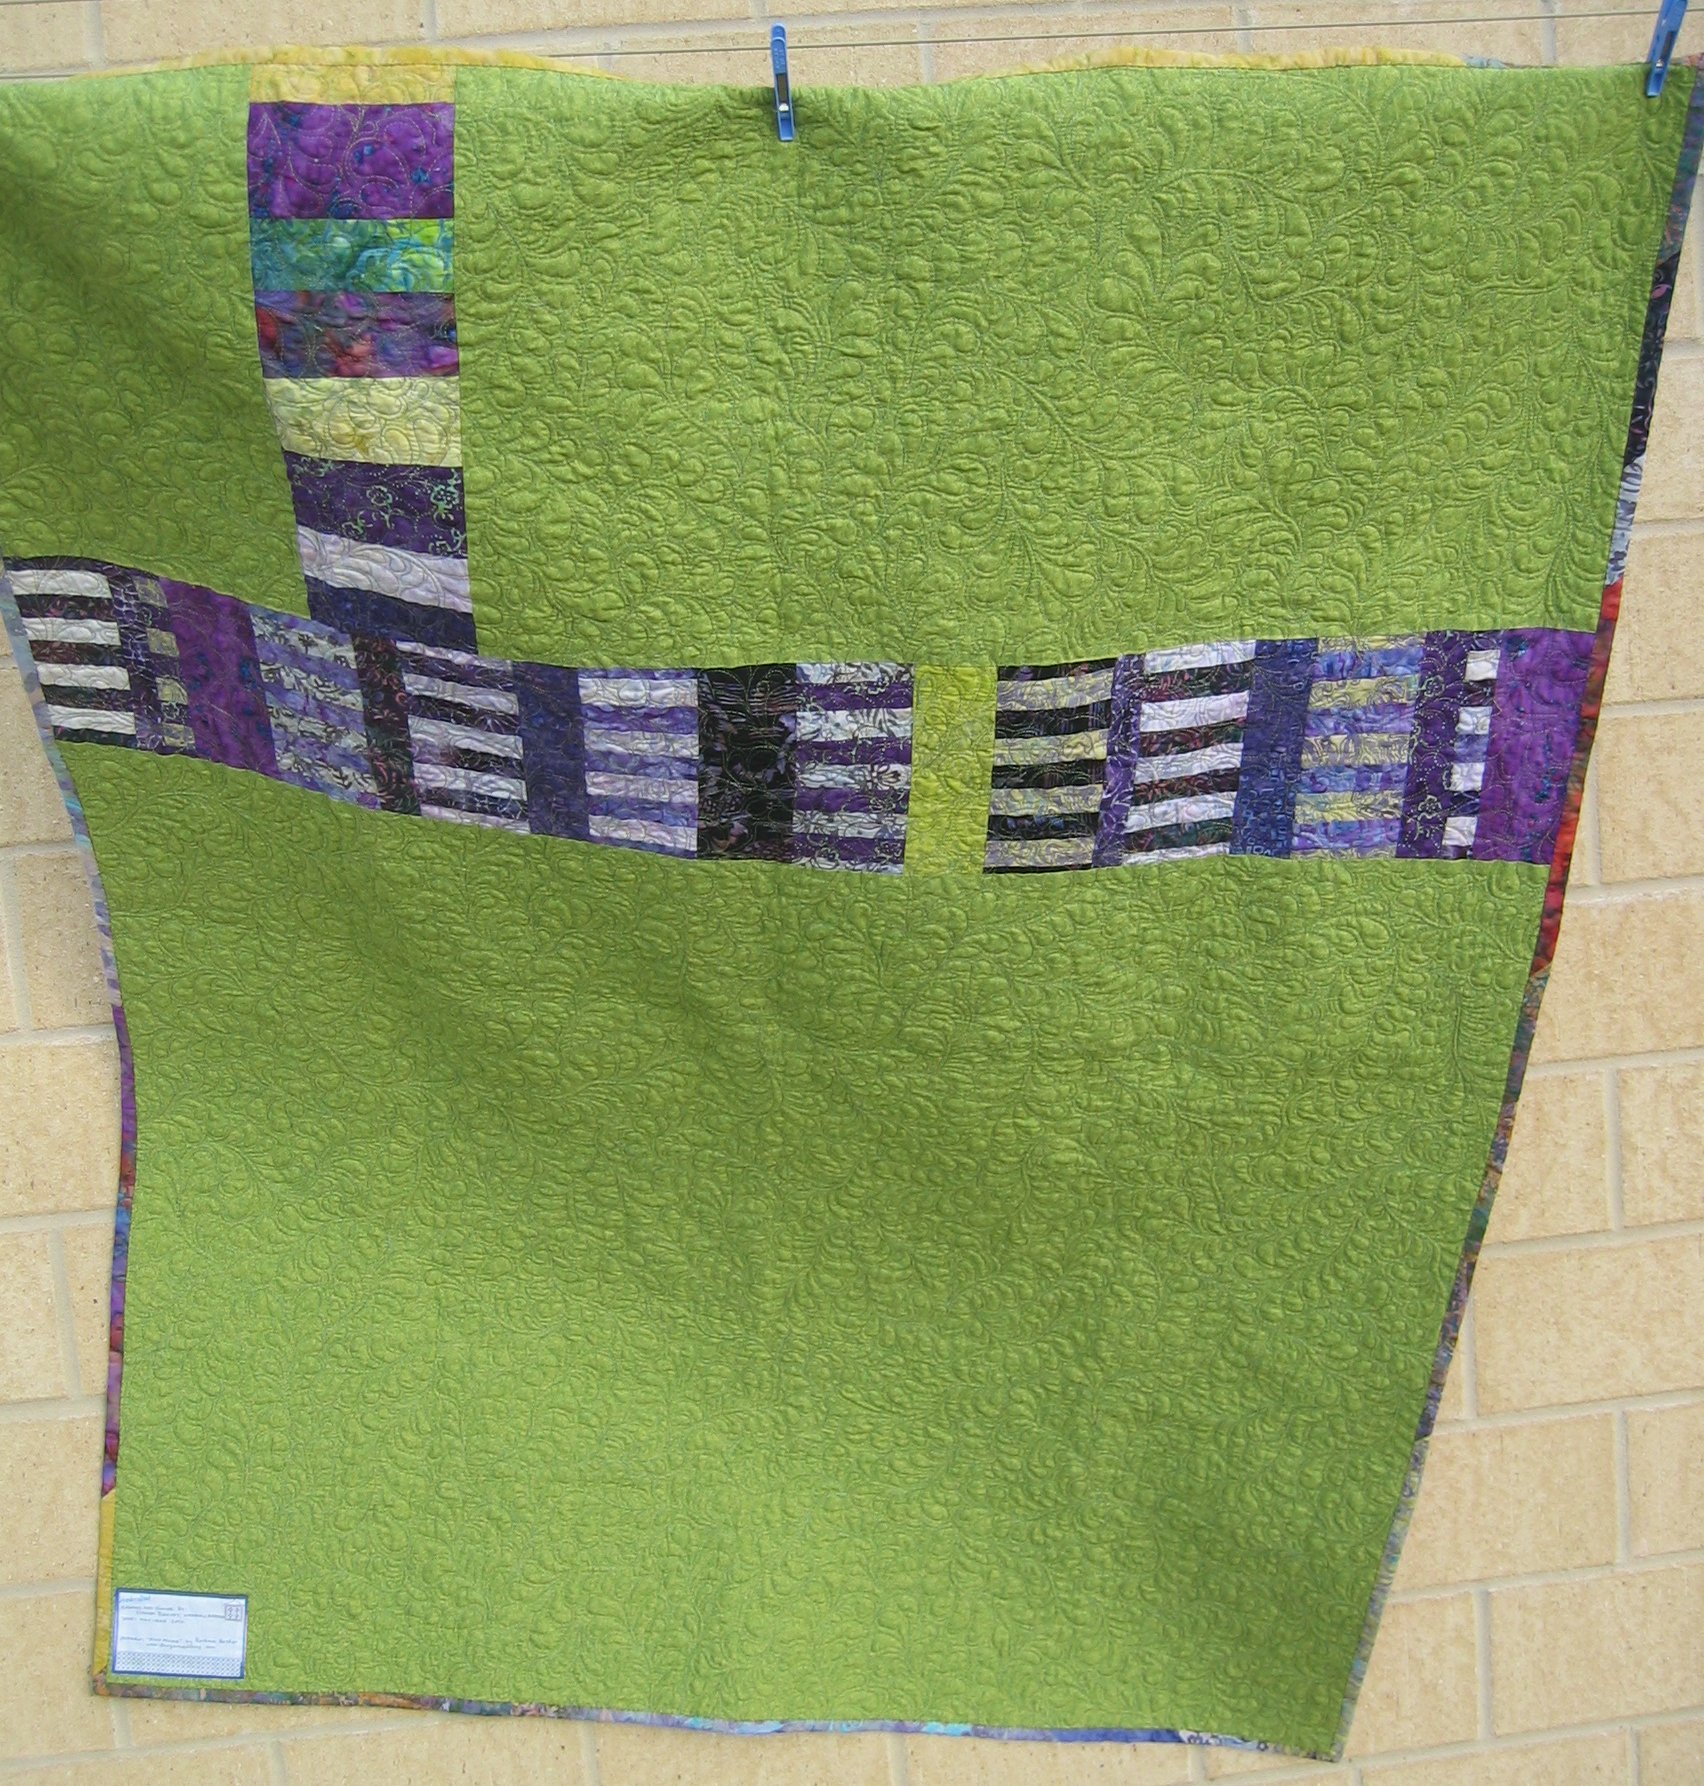
I ended up with some offcuts that I sewed together into bands and used to help create a large piece of backing fabric. The green Jinny Beyer fabric I had wasn’t enough for the full backing and it was only 44″ wide, so I had to sew it together anyway. Adding the bands of offcuts hides the fact that I didn’t have enough fabric 😉 and adds visual interest to the back.

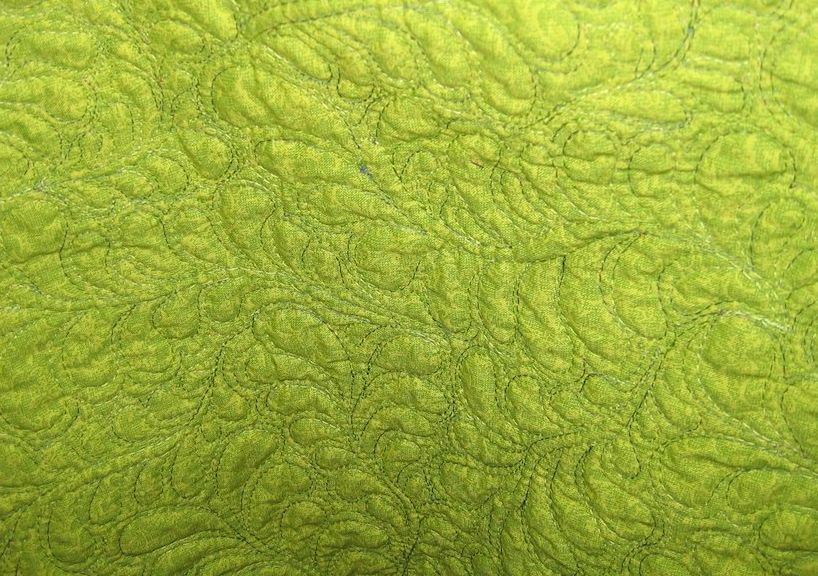
As Char lives near Boston, I used a pure wool batting for warmth. For the quilting, I did an all-over feather pattern using King Tut cottons for the top thread (‘Jewel of the Nile’) and in the bobbin (‘Oasis’).

I was going to give the quilt to Char next March, assuming we were both going to attend the conference as we have done for the past few years. But there have been changes made to the conference and she won’t be going. So I bundled it up and mailed it to her. She got it a few days ago, which means I can blog about it now 😉

Here’s Char’s Quilt (click on a photo to view it larger):


Community Quilt 33

25 11 2012

A quilt entirely made of scrappy strips…. And fabric scraps from many of the past five or more decades too, I think! I suspect that some of these fabrics were from the 1940s or 50s. Others were definitely from the 60s and 70s, while still others were likely from the 80s and 90s. I’m not sure there were many/any fabrics in this quilt top that were more recent than the 1990s!

As an example, the yellow, blue and pink fabric strip in this photo is likely a fabric from the 40s or 50s, and the others surrounding it are probably from the 60s or 70s, while the really bright crocodile/hippo one is likely from the 80s or 90s (click on a photo to see it larger):

And there was no order to how these strips were put together — lights were with other lights, or mediums, or darks…; colours were placed at random; and fabric styles were also random. Viewed as a whole, this quilt is actually quite nice, but up close it didn’t do much for me 😉

How to quilt it? I was tempted to take the easy way out and do any all-over design like open headbands or a large meandering stipple. But then I wondered how I’d tackle the black border. So I decided to emphasise the strips.

I started from approximately the middle and using my Line Tamer ruler I stitched out to the edge, stitching in the ditch as far as possible (some strips were wonky, so I did the best I could). When I got to the edge of the strips, I lined up the ruler with the black border’s seam to make sure I stitched out ot the edge perpendicular to the seam. I repeated this for each seam for some 10 or so strips. I then turned the quilt around and ditch stitched the other side of those stitching lines from the middle out.

Then I went back to the middle and started the strips on the other side of the centre, stitching from the middle about halfway along the length of a strip out to the edge of the border. Again, I did about 10 or so strips, then turned the quilt around and did the opposite side of those half-done stitching lines.

And kept on until I reached the top and bottom edges of the quilt.

Then I came back and started again in the middle, this time stitching a centre line between each of the stitching lines I’d already created. This resulted in a parallel stitching line about every 1/2 to 3/4 inch apart.

The effect I was looking for was a ‘modern quilt‘ look. Many ‘modern quilts’ that I’ve seen in magazines and on the internet use a lot of parallel straight stitching and very geometric squares, rectangles, etc. — I thought parallel stitching it would be an interesting effect with these old fabrics.

I was pleased with the final result. When the stitching only followed the seams, there was something missing. Adding the lines of stitching between the seams fixed that. I was pleased with how it turned out.

Threads used:

  • Top: Fil-Tec Harmony variegated pastels — yellow, pink, blue, and green (40 wt cotton; colour ‘Spring’ #14062)
  • Bobbin: charcoal Wonderfil Deco-Bob (80 wt; colour DB 122)


2012 FMQ Challenge: November

25 11 2012

I left this month’s FMQ Challenge piece pretty late! I’m not very good at drawing spirals evenly… even when I try to follow the lines of the templates provided by Sarah Vedeler. I’m also not very good at doing runs of them ‘from scratch’ on the machine. However, when I have a piece to do that would suit a spiral, I’m much better 😉

In fact, I did several spirals in one of my community quilts before I created my practice piece — and I know I did a much better job on the quilt than I did on my practice piece.

Anyhow, here are some examples I did this weekend to meet the November FMQ Challenge.

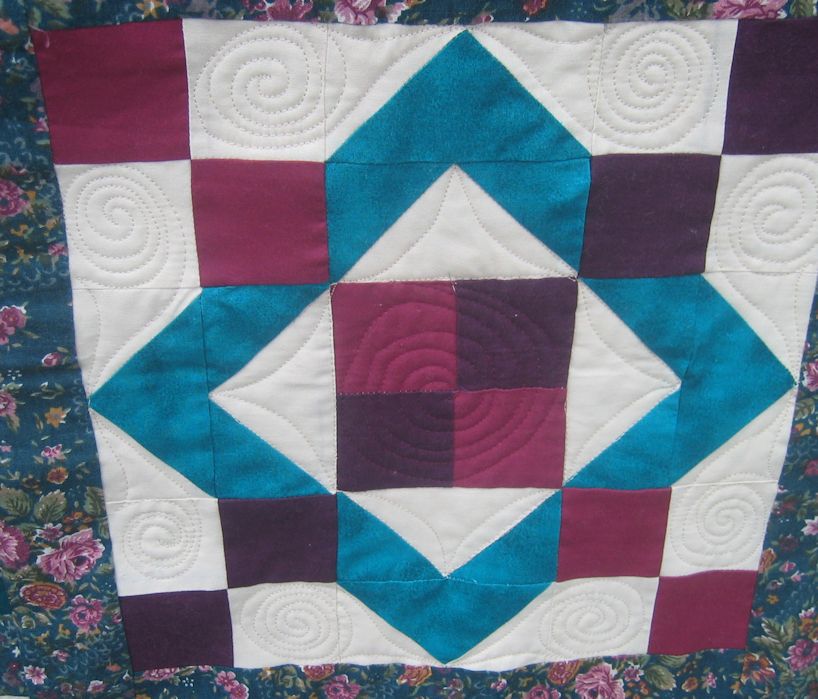
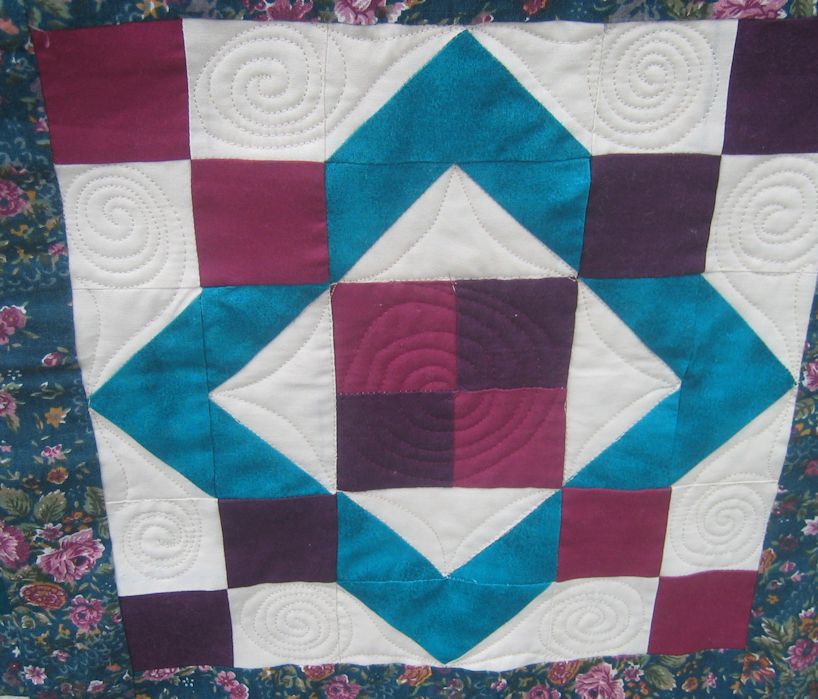
In this first one, I did spirals in the squares and triangles, using a flowing line to join them. I finished off this block with a BIG spiral in the centre:

In the next block, I did something similar to the first block, but this time just stitching spirals in the cream squares and the centre:

In this last block, I only stitch a spiral in the centre of the block:

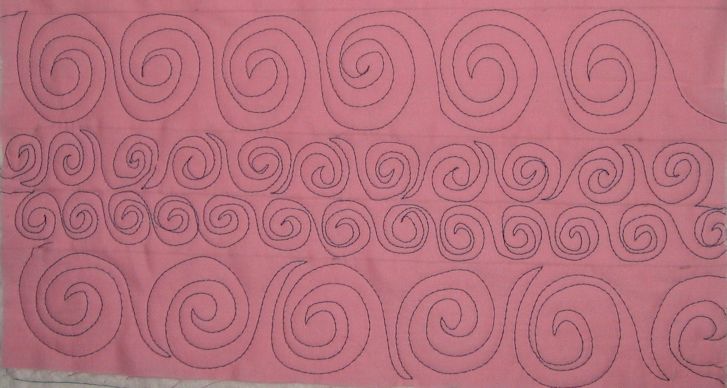
And here’s my practice piece — there’s a long way to go before I get these nice and even! I marked the 2″ and 1″ lines, but didn’t mark squares for each spiral to occupy:


Community Quilt 32

25 11 2012

This was a very detailed applique quilt — someone had spent many hours making it. And I spent many hours quilting it! (I suspect about 10 hours in total).

I started with the centerpiece by echo quilting the words, then I used tight McTavishing to fill in the rest of the background of this centre, thus ‘popping’ the appliqued flowers (click on a photo to view it larger)

I stippled the background of the remainder of the applique sections, with a tight small stippling stitch, again to ‘pop’ the appliqued elements.

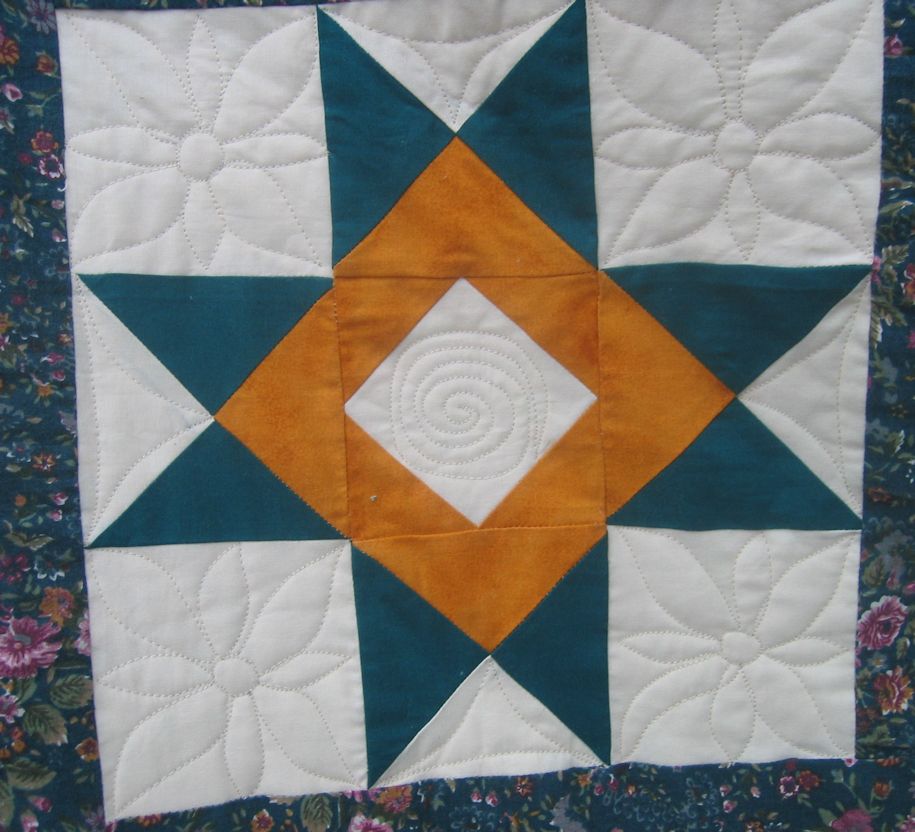
For the star blocks, I used a few different elements. I wanted to try out the spiral design from the November Free Motion Quilting Challenge, so there are quite a few spirals in these star blocks 😉

I stitched all the cream areas with Superior Threads’ King Tut “Papyrus” (colour 972), and used the same bobbin throughout (Deco Bob DB 115).

I decided not to quilt the sashing as there was already a lot of quilting on this quilt. However, the borders needed to be stablised, so I quilted a continuous run of spirals in them using Isacord thread (colour 4133). However, I didn’t take a photo as these spirals were almost impossible to see against the teal floral fabric.

The finished quilt:


Community Quilt 31

25 11 2012

This was just a small (42 x 42 inch) quilt. It was pretty busy with all those pinwheels, so I decided to follow the straight lines and extend them through the pinwheels. That left some quite large empty blue squares, so I did a freehand diamond spiral in them.

I can’t remember what threads I used for this one! But I think it was a plain mid-to-dark blue for all the stitching on the top of the quilt. And yes, I used a ruler for all those straight lines — my favourite Line Tamer ruler.

Click on a photo to view it larger.