Changing the light ring on the Handi Quilter Sweet Sixteen

19 11 2012

I wrote these instructions for me, in case I ever have to do this again.

DISCLAIMER and NOTES:

  • I’m not a HQ dealer or service person — just a user of their Sweet Sixteen quilting machine. So while these instructions suit ME and MY machine, if you follow them on your own machine, you do so AT YOUR OWN RISK.
  • Only do this if you have explicit permission to do so from your dealer and/or Handi Quilter, as you may void your warranty.
  • This is a FIDDLY procedure, so if you live reasonably close to your dealer, get your dealer to do this for you as they have all the specialist tools for the job, and will have experience in doing it. The only reason I did it myself was that it’s a 3+ hour round trip to my dealer.
  • If you do it yourself, you may find it easier to access the relevant parts of the machine if you take it out of the table and CAREFULLY lay it down on its side or its back end. I did it with the machine in situ — i.e. in the table — and found it very awkward to get to all the places. Update: Another light ring went… This time I replaced it by lying the machine on its side with the left side uppermost. It was much easier to change out the light ring than doing it in situ. Further update: Here’s a photo of how my dealer does it — she lays the machine on its back:
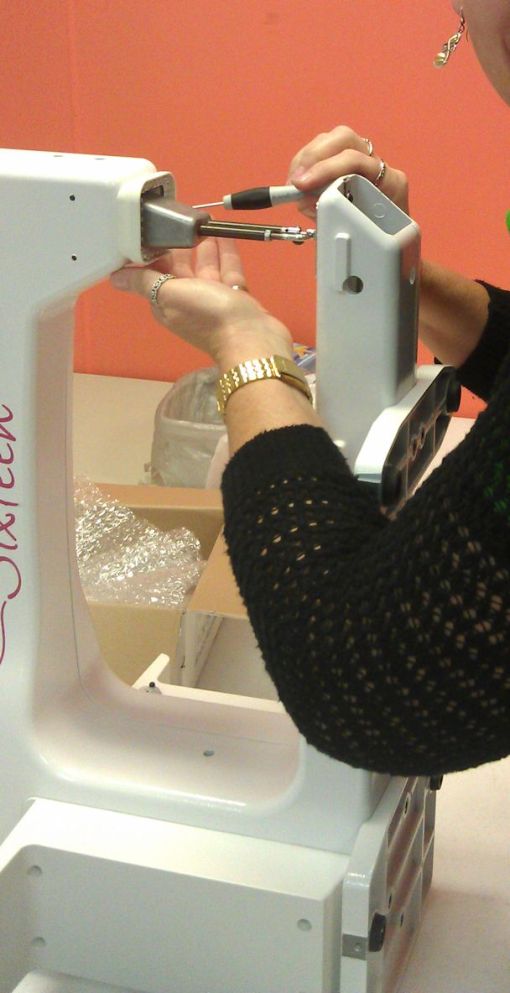
    hq_light_ring_back
  • If your machine is still in its warranty period, you may find that the replacement light ring is at no cost. However, you may incur labour charges, depending on where you live.
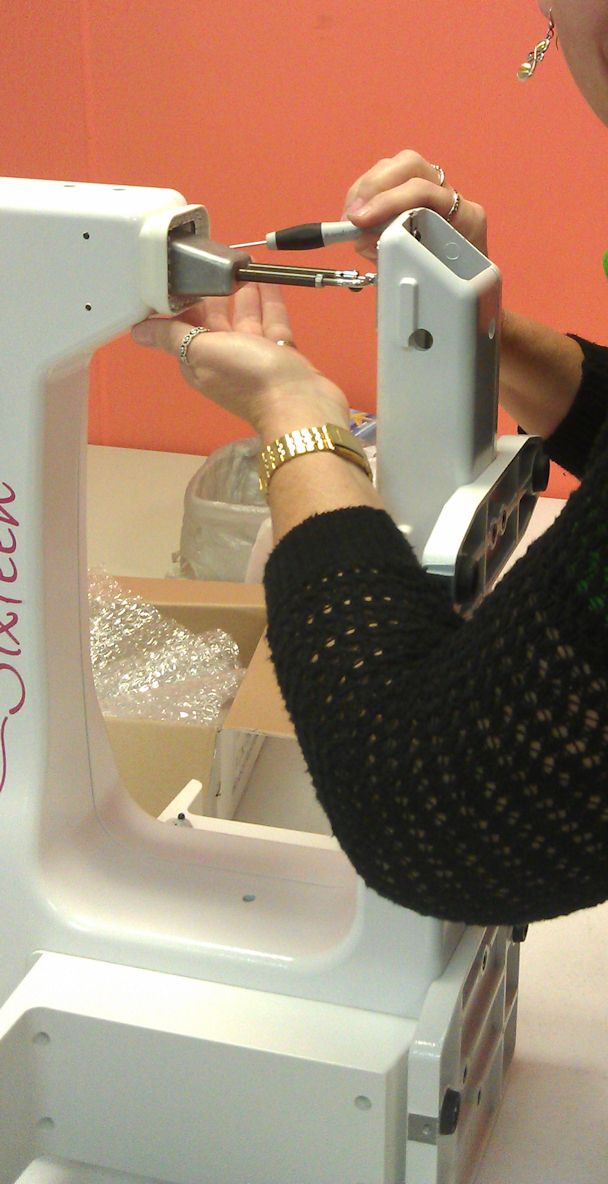
You will need:

  • a replacement Handi Quilter Sweet Sixteen light ring (not available commercially, as far as I know — only available from your dealer or perhaps direct from HQ)
  • one small Philips head screwdriver, preferably with a magnetised head (the screwdrivers that come in a small pack for computers/electronics are ideal)
  • several types of tweezers; needle-nose tweezers (like surgical tweezers) are ideal
  • about 15 to 30 minutes of spare time
  • lots of patience and the ability to sit/squat on the floor for several minutes at a time and do things by touch (if you don’t take the machine out of the table)

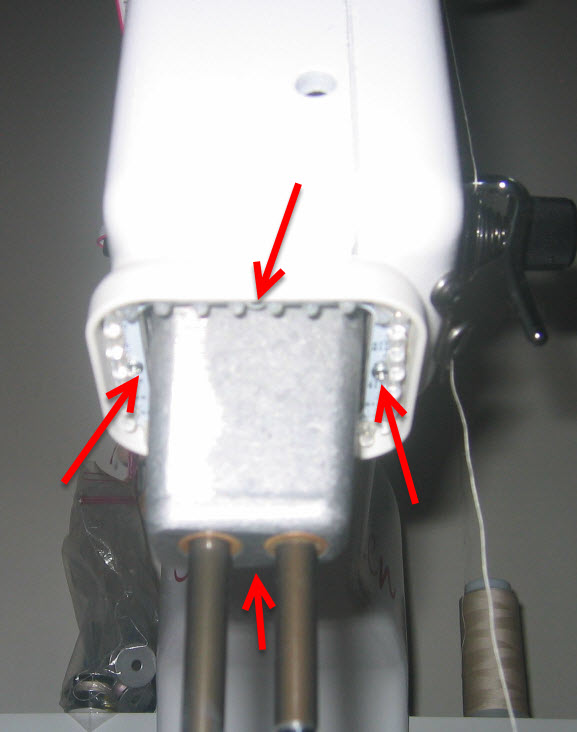
First things first — this is what the original light ring looks like (front and back views); the red arrows indicate the screw holes and the green arrow shows the connector. (NOTE: As at May 2013, Handi Quilter source their light rings from a different manufacturer. These newer light rings look slightly different to the pictures below, but the screw holes, connector pieces, and these instructions remain the same.)

Front view of light ring

Back view of light ring

To swap out a faulty light ring with a new one (these instructions assume you’re changing the light ring with the machine in the table):

  1. TURN OFF YOUR MACHINE and move your chair out of the way.
  2. Remove the needle.
  3. Sit on the floor where your chair normally goes. (If you’re lying the machine on its side or back, you don’t have to do this, obviously.)
  4. Using the small Philips head screwdriver, unscrew the two small screws on each side of the light ring.
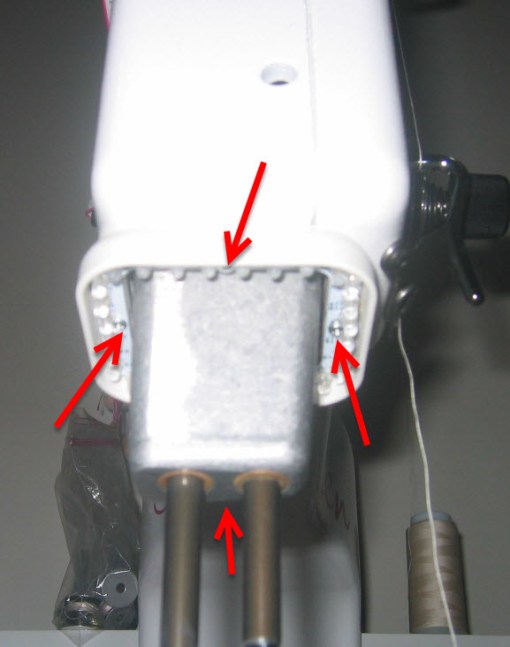
    Side screws (left and right arrows) and front and back screws

  5. Now unscrew the two small screws at the front and back of the light ring. These are longer screws and hold the plastic cover in place. The back one is particularly awkward to get to if the machine is in the table — you’ll have to find it and unscrew it by feel alone as you can’t see it.
  6. When you unscrew the last screw, the plastic housing over the light ring and the light ring will drop a little as there’s almost nothing to hold it up. However, it’s still connected to the machine, so DO NOT try to pull it down.

    The loosened light ring and plastic housing

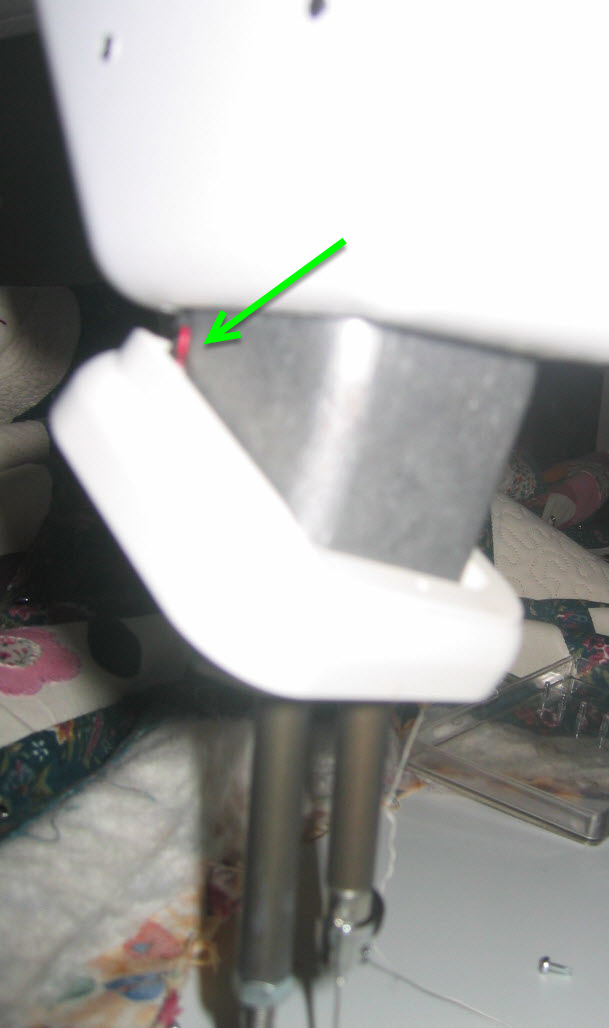
  7. Next, disconnect the connector at the back left of the light ring. Again, this is very fiddly as the connector is very small and the wires that connect to it are VERY short. Use tweezers to grab the top part of the connector and ‘unclick’ it from the housing in the light ring. Be careful that you don’t put any downward pressure on the connector wires/piece as you don’t want to damage these wires.

    Green arrow points to the connector wires

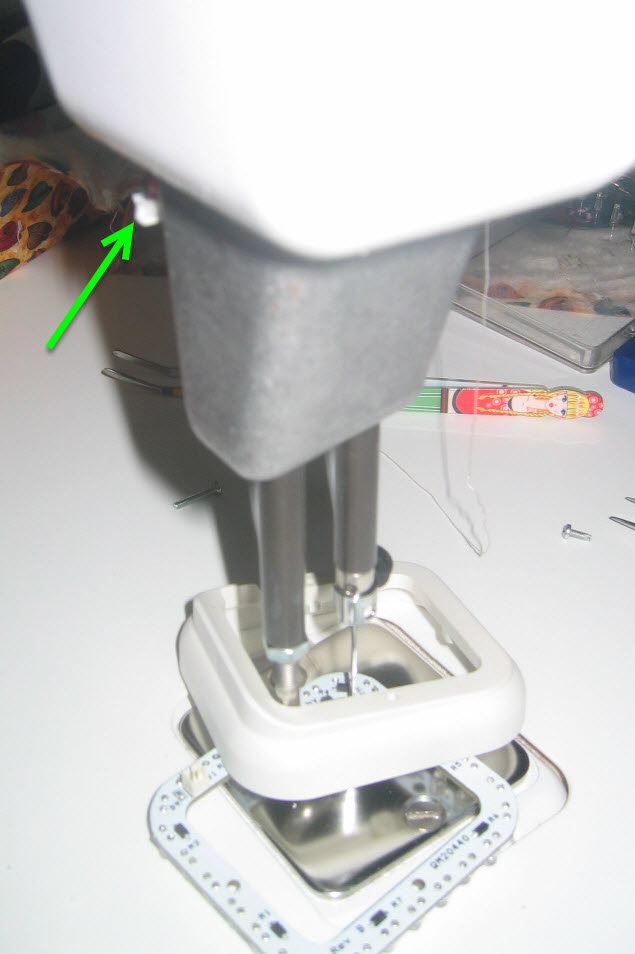
  8. Once the connector has been disconnected, gently lower the plastic housing and light ring to the table. You can see how short those wires are and how small the connector piece is!

    Connector at rear of foot/needle housing

  9. Please check that the faulty light ring’s plastic connector housing is still attached to the light ring. When I did my second change out, the connector piece on the light ring remained attached to the connector on the machine and so I couldn’t reinsert it into the new light ring with that piece still attached. So, look at the light ring that you’ve taken off and make sure that the little plastic connector housing is still attached to it (see the picture of the back view of the light ring before the start of these steps–the plastic connector housing is arrowed in green). If it isn’t attached to the light ring, use tweezers to pull it off the connector on the machine and put it back on the faulty light ring, making sure the pins go in the same direction as those on the new light ring.
  10. You probably can’t get the faulty light ring out from under the foot, so you get your fingers underneath the foot and lift it a tad. Once lifted, slide the faulty light ring out and slide the new one in, leaving the plastic housing where it is. Make sure you put in the new one, not the old one!
  11. Make sure the replacement light ring is facing the correct way — lights facing down and the connector at the back left when looking at the machine from the front. Slot the light ring into the plastic housing and screw in the two side screws (these are the short ones) to connect it to the housing.
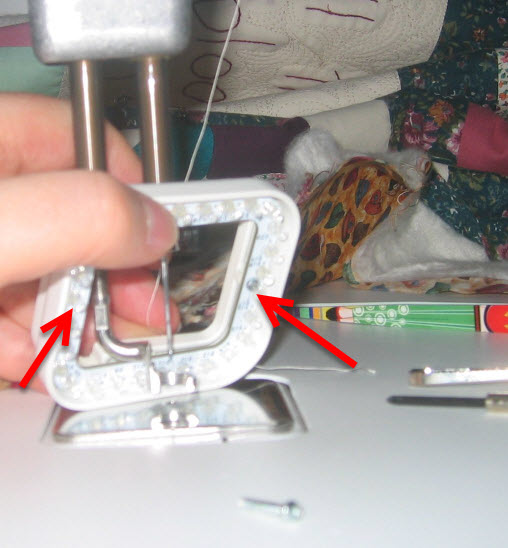
    Screw the side screws into the light ring to secure it to the plastic housing

  12. Now here comes the REALLY tricky/fiddly/awkward bit. Lift the plastic housing up almost to where it normally goes. Using tweezers, grab the loose connector piece and slot it into the connector on the light ring (you may have to reach from the right behind the foot/needle housing and go around the back to grab the loose connector piece). Use the tweezers to push it in. Did I say this was fiddly? If you have someone else to hold the plastic housing you may find it easier to connect the light ring to the machine. But there’s no getting away from this step being the most difficult and awkward.
  13. Once the connector is connected, test it before putting the remaining screws back in. Turn on your machine and see if the light comes on as it should. If it does, congratulations — you got the connector properly connected! (NOTE: If the light doesn’t come on, first check that it’s turned on in the control panel — you may well have turned it off when the lights were flickering. Touch More then Options and then the icon for the lit light bulb.) If it still doesn’t come on, the connector hasn’t connected properly so repeat the previous step.
  14. Turn the machine off again and screw in the remaining screws (front and back). Screw in the front one first. The back one is the hardest to screw in as you can’t see what you’re doing and will have to go by touch alone.
  15. And you’re done! Put your needle back in, turn on your machine, and off you go.


‘Open headband’ quilting motif

17 11 2012

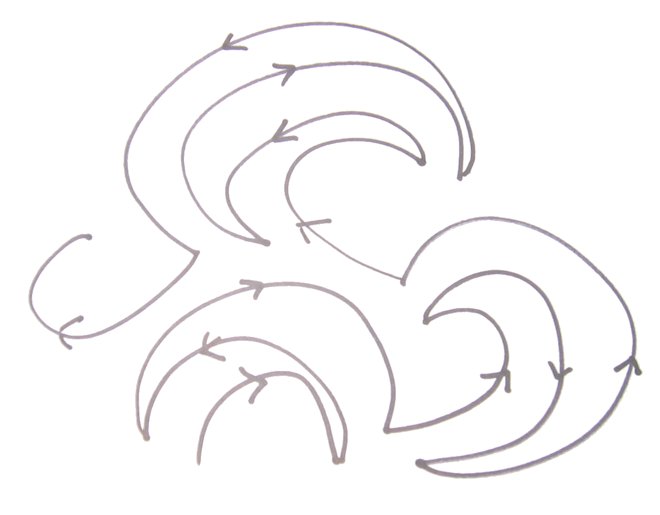
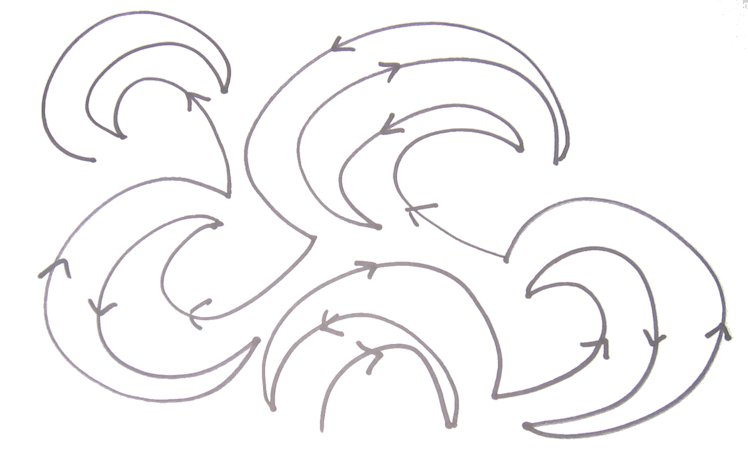
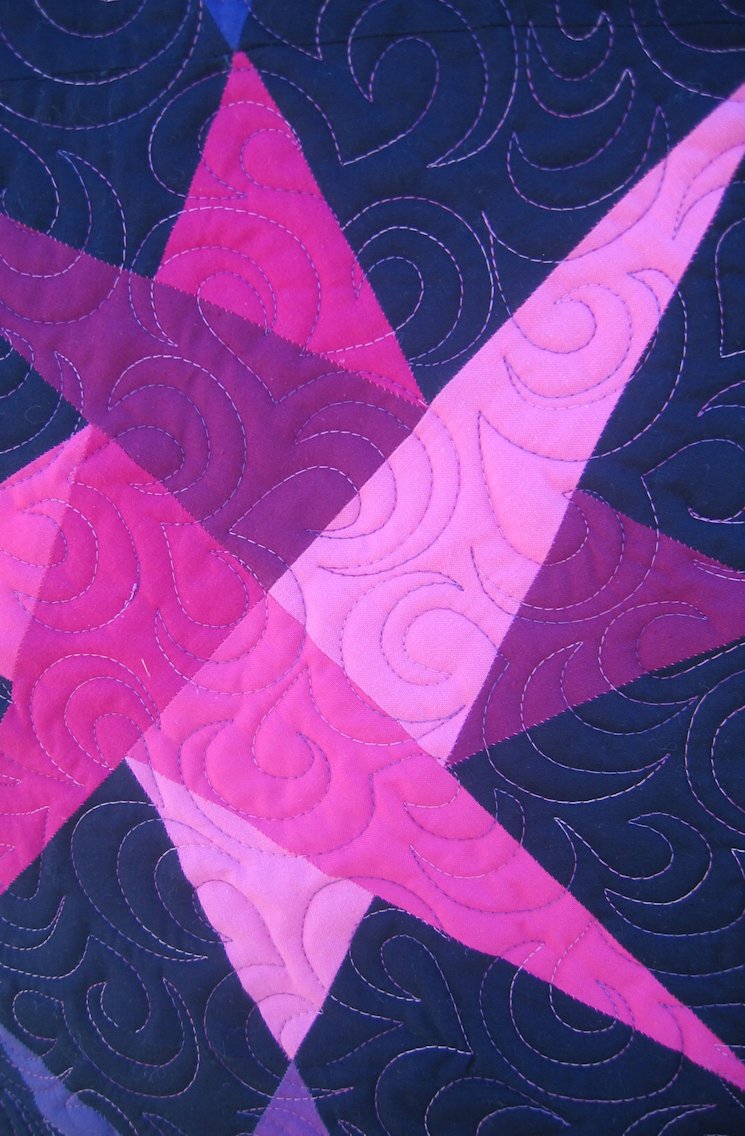
I don’t know where I learned to do this quilting motif that I call ‘open headband’ — perhaps Leah Day’s Free Motion Quilting Project, or maybe Diane Gaudynski’s excellent book on free motion quilting, or perhaps Helen Godden’s DVD, or maybe my own variation of techniques learned from all three. Anyhow, I use it often and find it a very relaxing motif that can be quilted large or small and that fits into all sorts of places.

Several people have asked me to share how I do it, so today I got a piece of paper and a Sharpie and took some (very amateur) photos of how the motif goes. I realised I’m much better on the Sweet Sixteen than I am with my drawing! But hopefully this will help you get started.

General tips:

  • Start this motif near the centre of the quilt and move out in an overall circular direction — this flattens out any wonkiness and pushes puckers out to the edge. Don’t be tempted to fill a quarter of the quilt, then move to another quarter — if the quilt is even slightly wonky, you may end up with puckers and pleats in the middle of the quilt.
  • While I mostly do three hops around the arc, sometimes I do four so that I don’t end up with a long streamer of these motifs all going in one direction across the quilt. The fourth hop allows me to go off in a different direction, thus covering the quilt in an apparent random fashion.
  • Use the ‘needle down’ position on your machine. If you have to stop in the middle of an arc or at a point, then you’ll be able to start again without being a stitch or two ‘out’.

So here are my photos with some instructions.

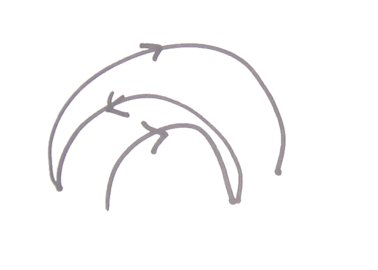
Start by stitching a semi-circle/arc near the centre of the quilt (the arrow shows the direction I use, but go in whatever direction feels comfortable to you):

At the end of the arc, stitch another arc back towards your starting point, but not quite coming even with it. Echo the general semi-circle shape, but don’t try to echo at a specific distance from the original arc (my drawing below shows a VERY uneven second arc!):

Now bounce back with a third arc extending from the end of the second arc. Again, you’re following the arc’s general shape, but you’re NOT trying to get an even distance from it:

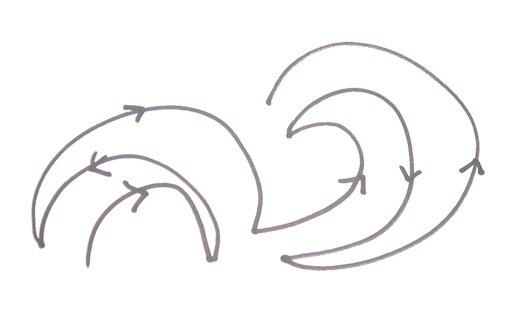
You’ve now done what I call ‘three hops’ — the arc and two echo lines. Next, you create a new ‘headband’ by starting a new arc at an angle off from the end of the third arc; I try to put this arc next to the earlier one so that I don’t end up with awkward gaps later — in other words, I fill the empty spaces as I go:

After creating the second arc, stitch two more echoing arcs around it, just like you did for the first one:

At the end of the third echo, bounce out in a different direction to create another small arc and echo it just like the previous two:

To stop you going off in an overall diagonal, this time do a fourth echo (not the three you’ve done previously):

At the end of the fourth echo, bounce out in a different direction to create another small arc and echo it just like you’ve done with the others. You should only need three bounces this time, though there’s no hard and fast rule:

Create the next arc off the end of the third echo point, and keep going creating arcs and three or four echoes until you’ve filled the entire area or the whole quilt!

And here’s an example of it finished (you can see that I’m much more even on the machine than with a pen!):


Community Quilt 30

17 11 2012

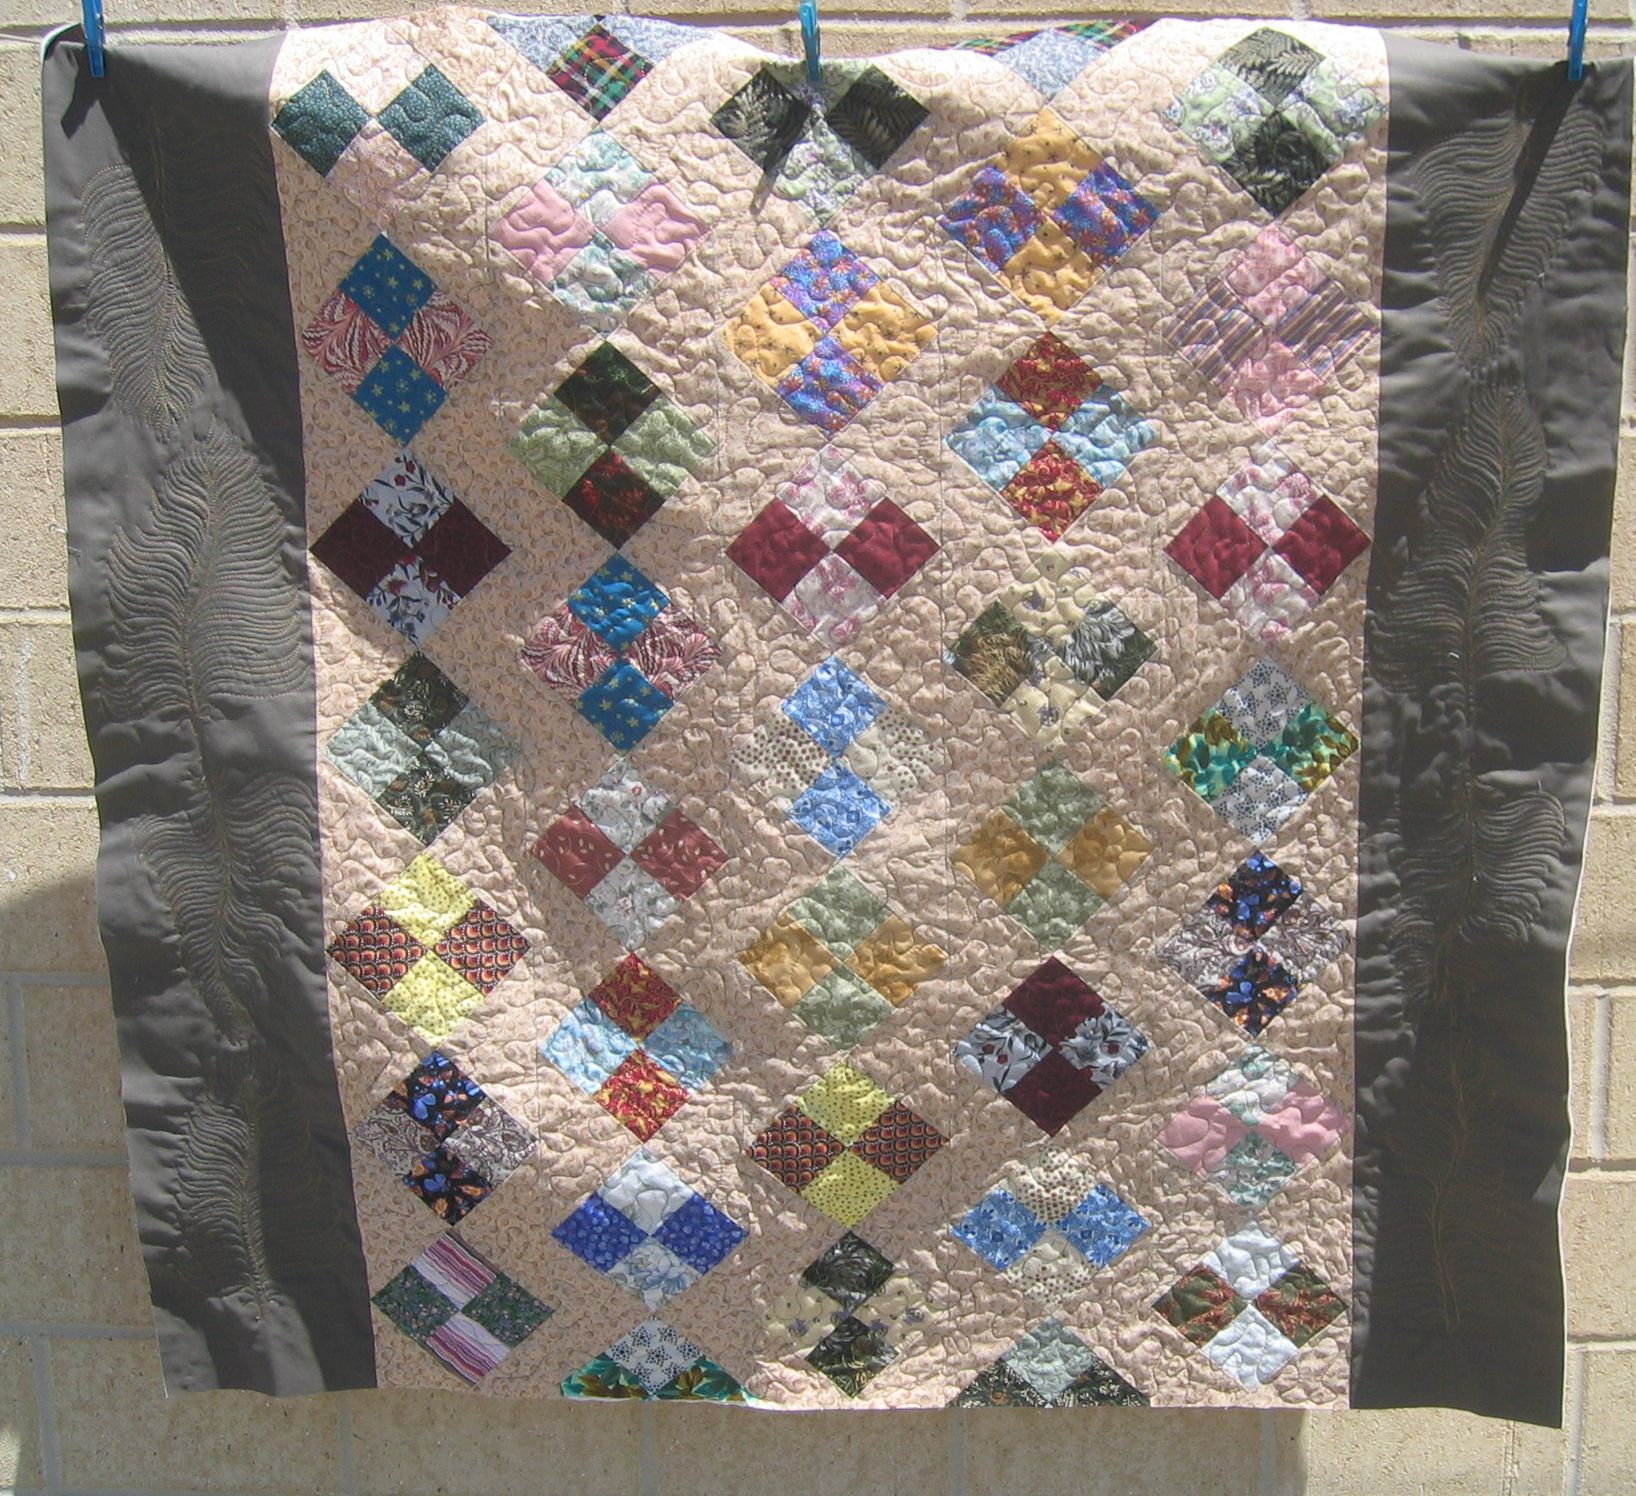
Like quilt #29, this one was also ‘busy’ but with nowhere near so many colours as that other quilt, and nowhere near as big either!

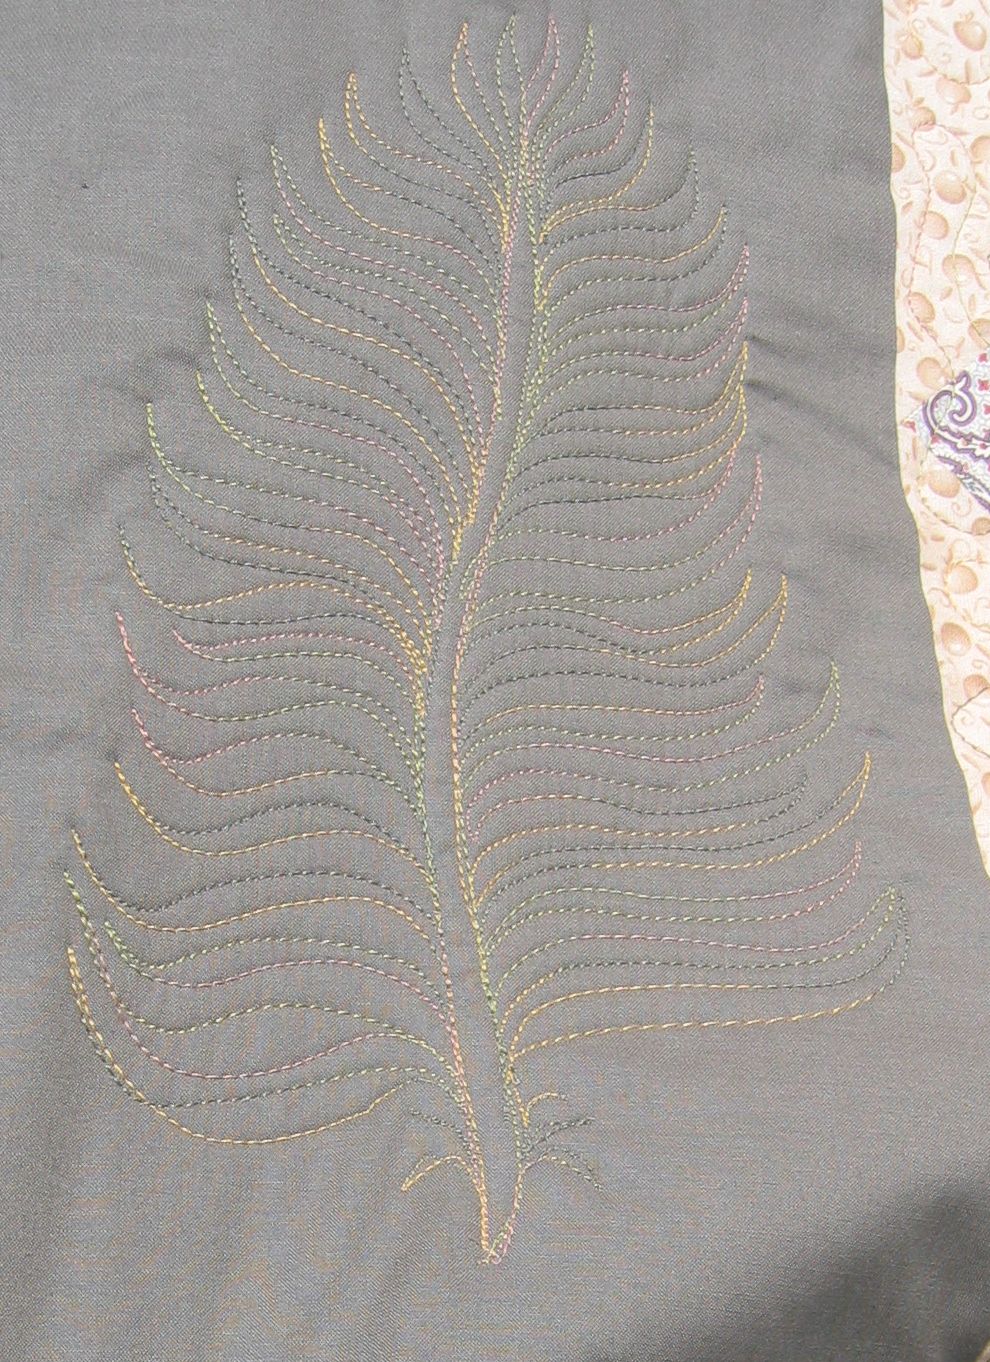
Again, I decided to do a simple all-over motif, this time a large meandering stipple. I left the borders free, then after I’d done the stippling, I decided to quilt some of my favourite bird feathers in them.

I used the same thread set-up as that for quilt #29. As with that quilt, the thread blended beautifully with all the colours in the quilt and in the brown borders. I like the effect the variegated thread has on the feathers. (I like the rhythm of these feathers so much that I was motoring along at 70% speed when I was doing them 😉

Threads used:

  • Top: Fil-Tec Harmony (‘Pistachio’ — colour 14066; 40 wt? cotton)
  • Bobbin: Wonderful Deco-Bob (80 wt, colour DB 115)

Click on a photo to view it larger.


Community Quilt 29

17 11 2012

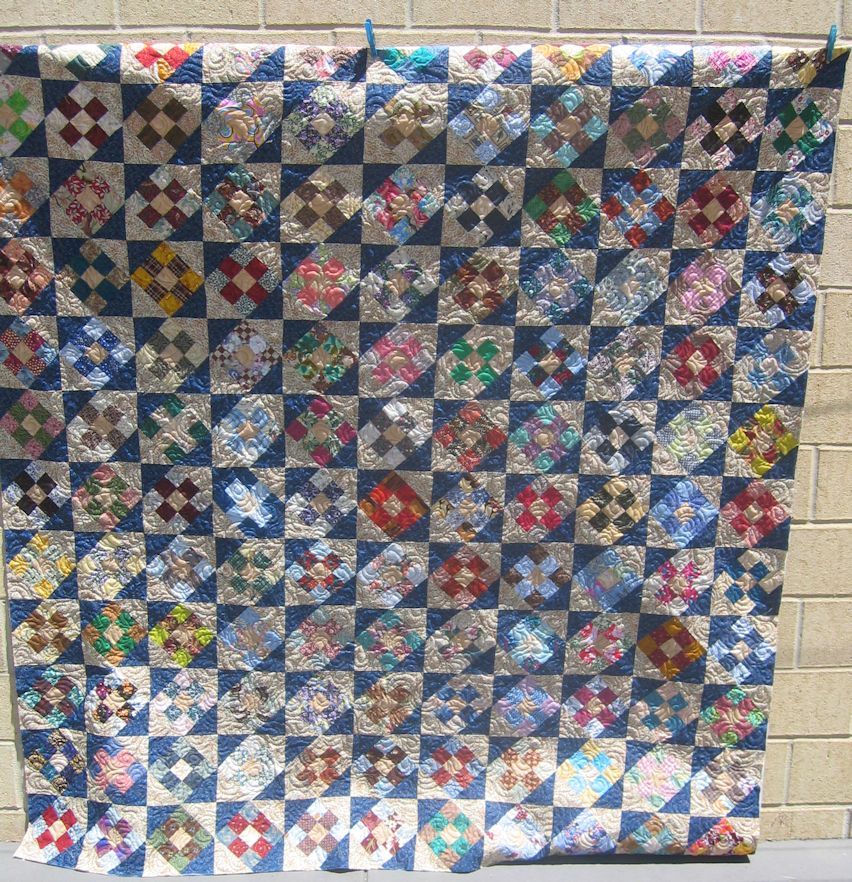
This is the biggest quilt I think I’ve quilted on my Sweet Sixteen, so I had both wings of the table extended, and even then the quilt wanted to drop off the edges at times.

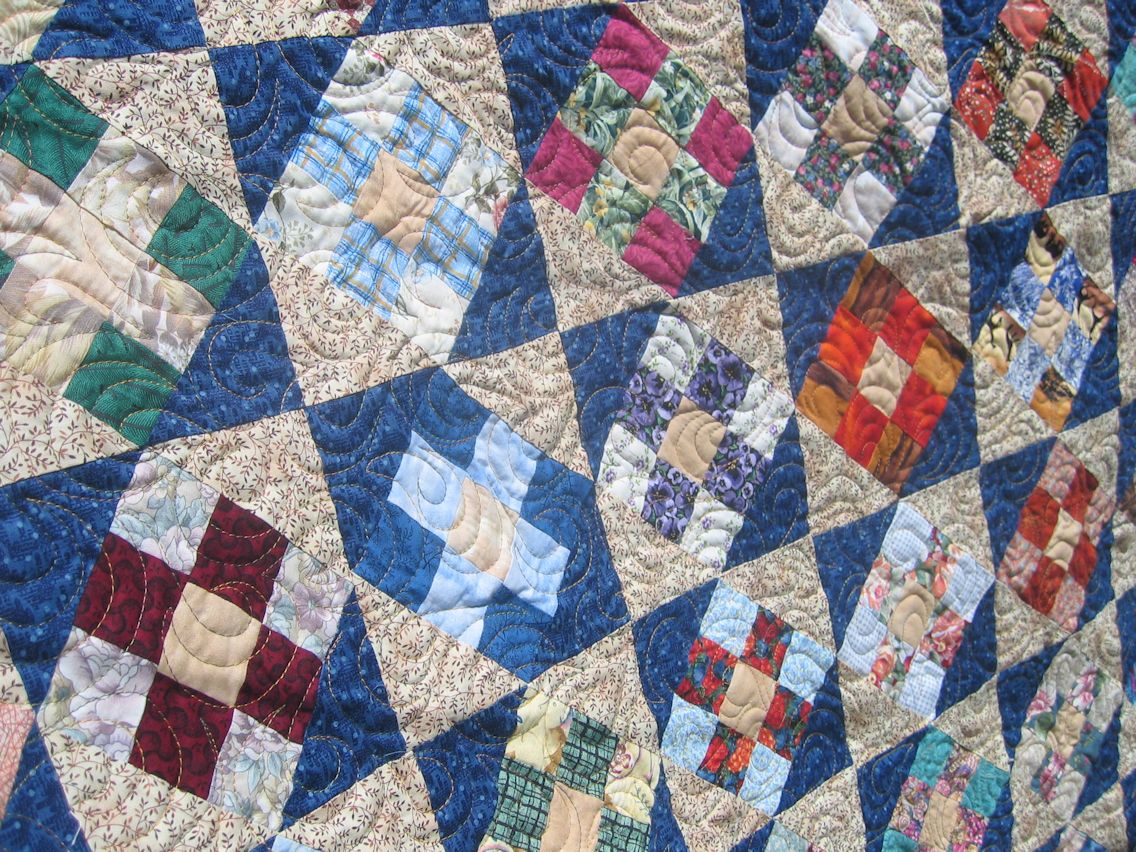
It was such a busy quilt and with heaps of colours (someone emptied her scrap bin?) in the nine-patch squares that I decided to do a simple all-over motif. And guess what? I went back to my favourite ‘open headband‘ again 😉

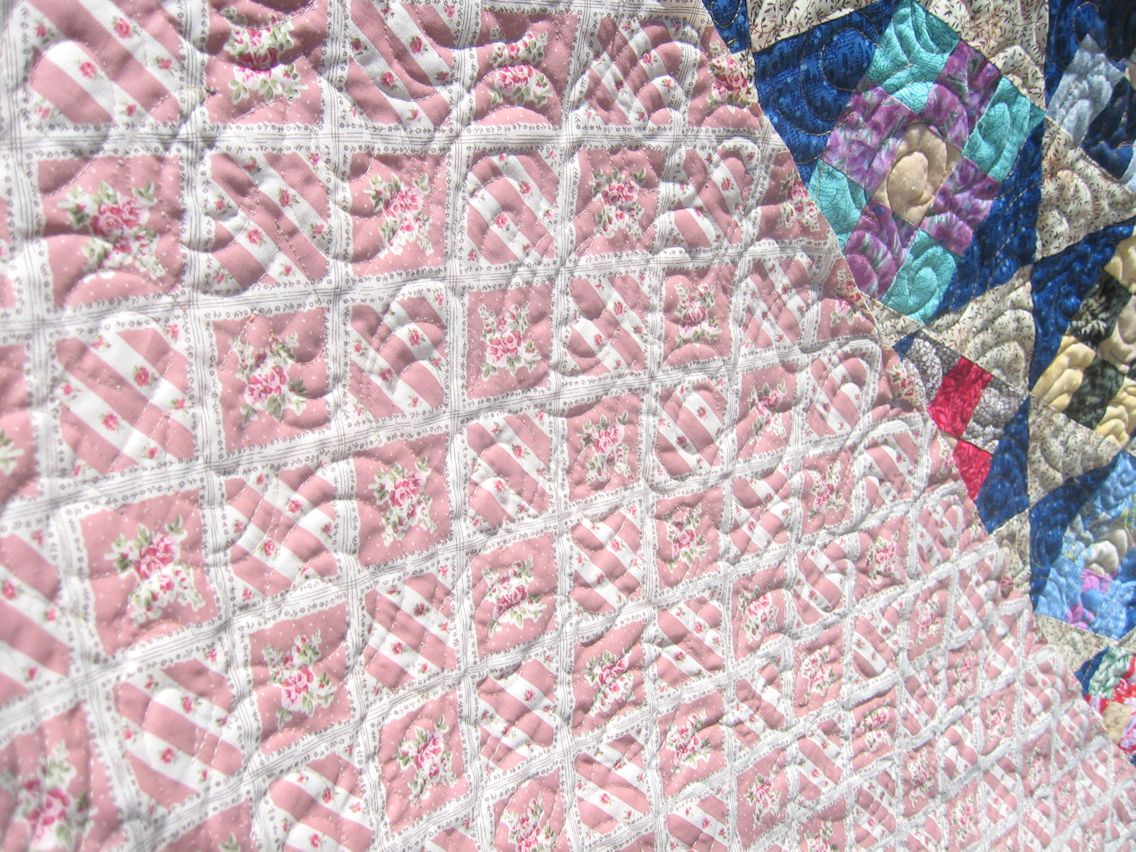
I used a thread I have only used once before, a variegated cotton in tans, greens, and golds. The thread blended beautifully with all the colours in the quilt, but boy, it leaves a LOT of lint and fluff, including in the top tension disks. I had to clean the machine’s tension disks, needle area, and bobbin case regularly with this thread. It snapped a couple of times, but not enough to make me not want to use it.

Threads used:

  • Top: Fil-Tec Harmony (‘Pistachio’ — colour 14066; 40 wt? cotton)
  • Bobbin: Wonderful Deco-Bob (80 wt, colour DB 115)

Click on a photo to view it larger.


Good customer service

15 11 2012

After our last toaster nearly blew up the house (!), I bought a Sunbeam 4-slice toaster (‘Toastum’ model 6410) about 14 months ago from Harvey Normans for about $70 (not the cheapest toaster, but not the most expensive either). Sunbeam has always been a reputable brand, in my eyes, but these days everything seems to be made in China or somewhere where labour is cheap so I’m not sure that brand reputation means all that much anymore.

I’ve only used the toaster maybe once a week, and my husband doesn’t use it at all — I’m the only one who’s ever used it. So perhaps it has toasted bread/naan bread maybe 50 or so times. I learnt early on that it had to be plugged into the power and the power turned on before the handle would go down and engage. Even then, sometimes the handle is tricky and I have to press it down hard a couple of times to get it to stay down (see someone else’s rant about this toaster’s handle here: https://groups.google.com/forum/?fromgroups=#!topic/melb.general/LZMyj8pdXq4 and other reviews here: http://www.productreview.com.au/p/sunbeam-toastum-ta6210-ta6410.html).

Well, after about 50 uses, the handle snapped off the other day! That is, the plastic handle piece that goes over the metal lever. This handle piece is ‘painted’ the same as the stainless steel of the toaster, so I had assumed it was also metal, but no — it’s plastic! And it snapped right off. I now have a useless toaster.

I checked the warranty, and guess what? It’s only for 12 months, and this happened about 14 months after purchase. I figured I’d at least call the Sunbeam support line to see what I could do, and whether taking it back to Harvey Normans would be an option. Well, I got such a surprise!

I told the support guy what model toaster and that the handle had snapped off. And he immediately said he’d send me out a replacement and asked me for my postal address! No questions about how it happened, no discussion of the toaster being out of warranty, nothing.

So either this is a known issue for Sunbeam or else they are aware that social media and internet reviews can really damage their reputation. Whatever. I just know that I was impressed with the helpful and ‘no questions asked’ response I got from their customer support person. Well done, Sunbeam!

Would I buy another Sunbeam toaster? Maybe. And that decision would mostly be based on this interaction I just had with them as I think the toaster I have is average at best.

It’s always difficult with an appliance like this as you can’t test it out first. Toasters range from cheap $10 jobs to $250 or more, so you really don’t know whether you’ll like it until you get it home and actually use it. Reputation becomes quite important — we purchased a Fisher and Paykel washing machine purely based on the reputation and experience we’d had with all our other F&P appliances, including our previous 20-year-old washing machine. But I don’t think F&P make toasters 😉


Overlay taped onto HQ Sweet Sixteen table

15 11 2012

For those who were asking… Here’s a quick photo of my Handi Quilter Sweet Sixteen overlay taped onto the table, using painters tape.

And my thoughts on the overlay and the HQ Sweet Sixteen table height differential:

I have the overlay for my S16 so I feel I can offer some thoughts from a position of having used it as versus looking at pictures on the internet and assuming I know what it does etc.

It’s retail price in Australia was about $100 (I think it was $99). I don’t know what the price is in the US.

Do I regret buying it? Not a bit! Do I use rulers? Hardly at all. Did I use the SupremeSlider? Yes, but I don’t now. Were my quilts getting ‘caught’ occasionally on the table? I didn’t think so, but since having the overlay they move much more smoothly over the surface and therefore under the needle. The overlay is not a laminate or melamine – I don’t know what it is, but it’s very smooth… much smoother than the SupremeSlider. I’ve also sprayed the overlay with silicone spray and that makes it doubly as smooth.

Did I try various methods of lowering the height of the machine? Yes, but with little success (anything paper-based was going to squash down over time), and removing the rubber feet was awkward (though likely a one-off task). Why did I want to lower the machine (or raise the table)? Because there are two issues – one was that the machine base was just a tad too high (and this affects ruler work, but remember, I rarely use rulers); the other was that there’s a slight gap between the table and the machine as there has to be as the machine throat base is slightly curved and table is square. And sometimes a quilt gets caught in that gap. And lint gets caught in that gap. With the overlay, there’s NO GAP for anything to get caught in and the height difference between the machine and table is eliminated.

Could HQ design a better match between the table and the machine? Perhaps. But from what I’ve been reading here, some people say the height is too high by 1/16 or 1/8 or ¼ an inch, while others say it’s too low by similar amounts. How does HQ deal with that? To be honest, I think the real problem that HQ have is with the rubber feet. If those feet come from the manufacturer in slightly different sizes or are screwed in slightly differently from one machine to another, then each machine will sit in the table in a slightly different way. If, for future purchasers, HQ raise the height of the table a tad, will it actually solve the problem if the problem is really with the height and setting of the rubber feet? And don’t forget that the feet may well compress a little over time, and you’d still end up with a height differential between the table and the machine again. Has anyone used one of these sit-down machines for 5 or 10 years – long enough to see if the feet compress over time?

As far as the Tiara is concerned, I’ve only seen the same pictures/videos on the internet that people have shared over the past few days. And as someone who has the overlay, I can categorically state that all the pictures/videos of the Tiara I’ve seen ALL HAVE THE OVERLAY. Babylock have done nothing different with the table that I can see.

One final thing about the overlay… My dealer advised me NOT to secure it permanently with the tape that’s supplied as she said it WILL tear the laminate on the table top if ever I wanted to take the overlay off. I followed her advice and have it secured with about 10 small strips of blue painter’s tape (see above), which I can add/remove at will – cheap, quick, easy. Though having used the overlay now, I would never go back to quilting on the ‘bare’ table.

Remember, I don’t do ruler work but in my opinion the overlay is worth every cent I paid for it. And in my opinion it’s an optional extra (like in a car), just like the TruStitch is an optional extra.


Community Quilt 28

12 11 2012

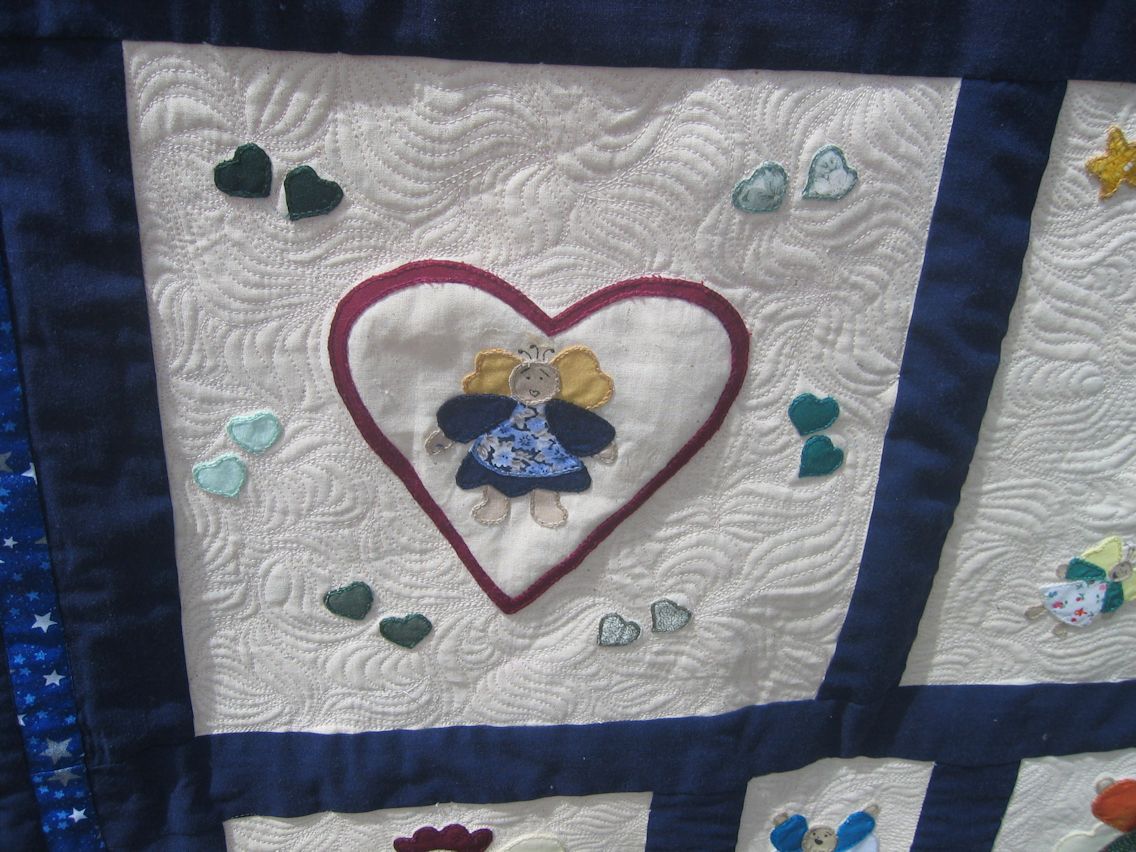
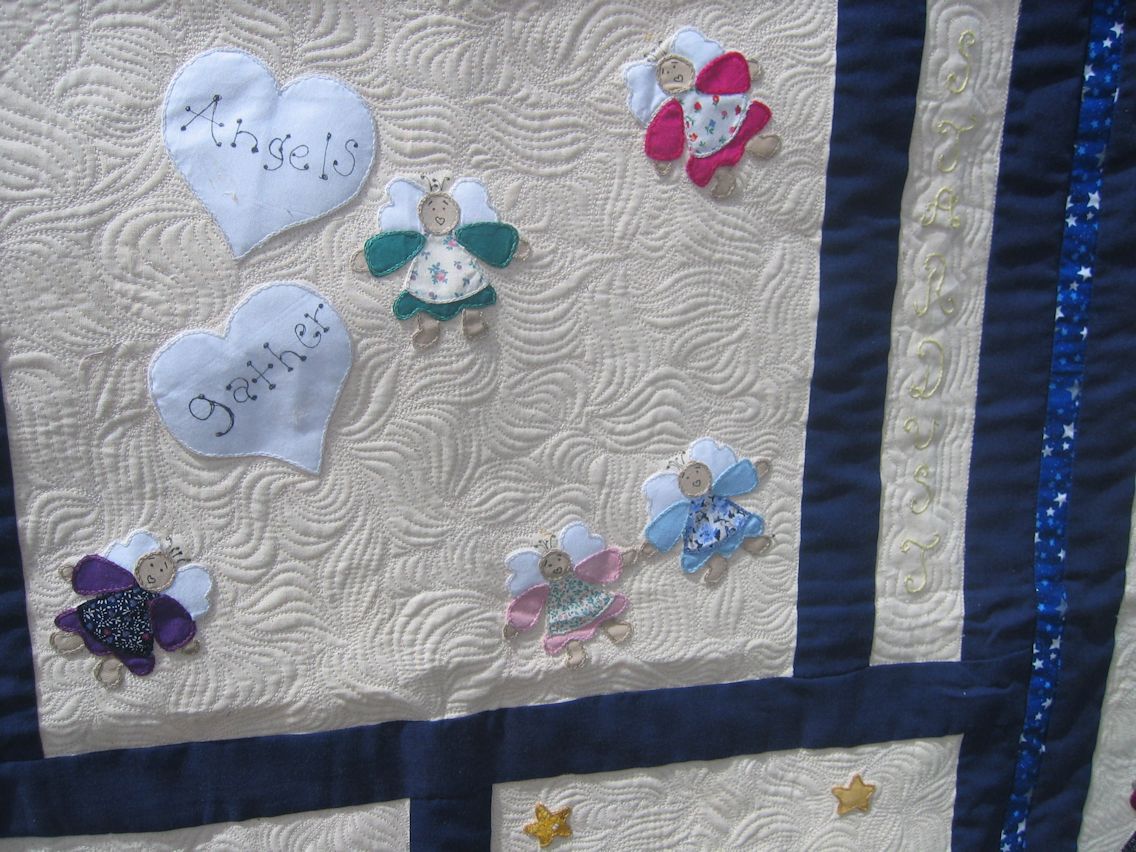
The last of the four quilts I quilted this weekend was another appliqued quilt, this time with a theme of angels. Like the bunny quilt, this one had panels where the applique was the most important element, and I wanted to make these appliqued angels ‘pop’. But I was a bit over stippling! So this time I decided to do some McTavishing. If I thought small stippling took a long time, then McTavishing blew that out of the park — it takes MUCH longer. I think it probably took about six or more hours to quilt this quilt.

For those who don’t know what McTavishing is, it’s the flame-like quilting I did in the applique panels. It’s a technique that was developed/promoted by long-arm quilter, Karen McTavish.

I left the borders unquilted as I felt that this quilt didn’t need any further quilting! However, I did ‘stitch in the ditch’ around the blue star fabric border, just to stabilise this area.

Threads used:

  • Top: Superior King Tut ‘Papyrus’ (color #972), 40 wt (?) cotton
  • Bobbin: Wonderfil Deco -Bob, 80 wt, color DB 205 (pale pink)

Click on a photo to view it larger.


Community Quilt 27

12 11 2012

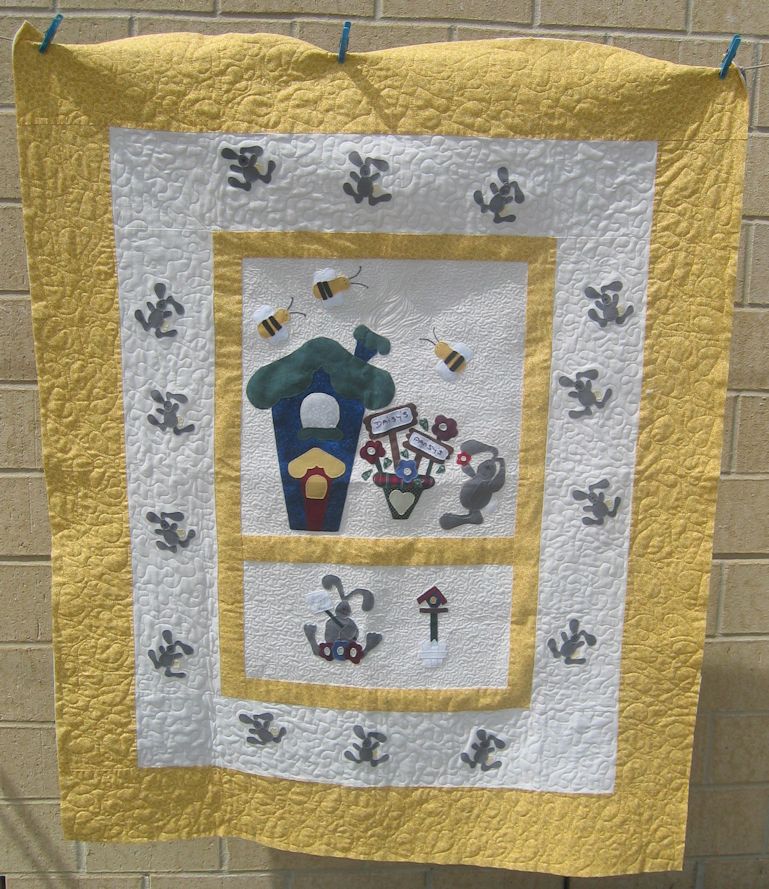
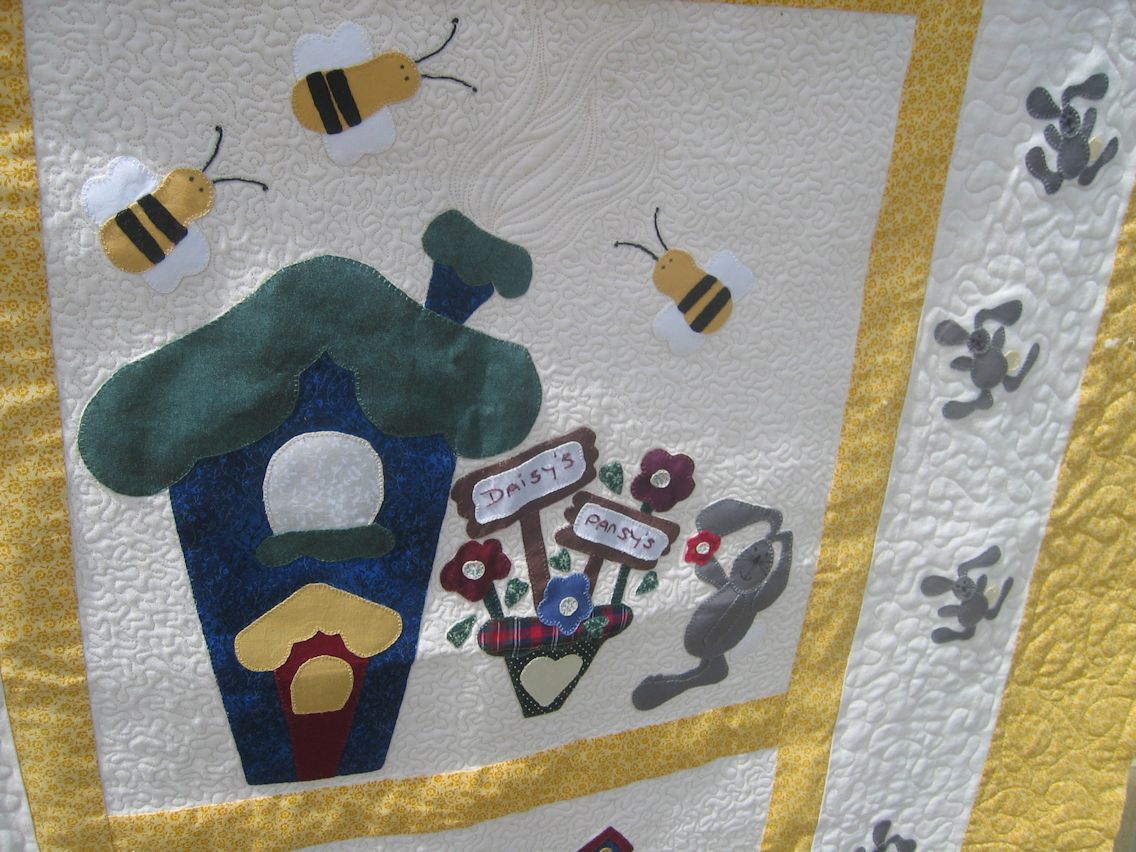
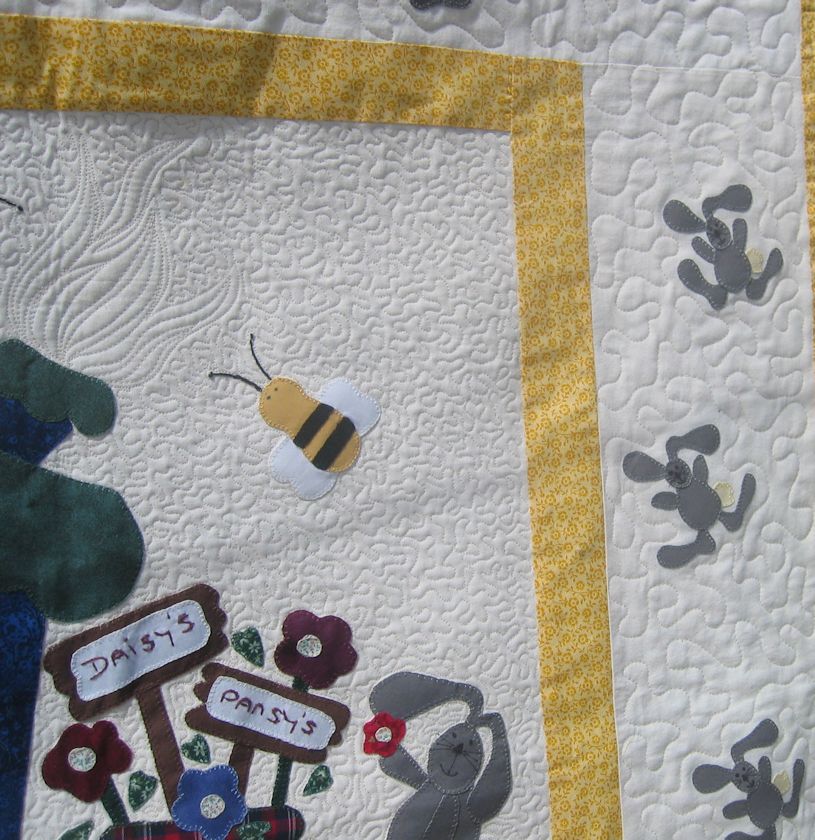
The next quilt in the batch I quilted this weekend was a fun one! Cute little bunnies were appliqued all around the quilt, and the bright sunny yellow sets off the applique work of the maker really well. The child who is likely to receive this quilt will love it, I’m sure.

To make the appliqued objects ‘pop’, particularly in the centre panels, I quilted with a quite tight stipple (not a micro stipple, but not a large stipple either). I used a larger stipple on cream border panels, and a large leaf motif on the yellow outer border. All that small stippling meant that this quilt took several hours to quilt.

I tried to ignore the spelling errors…

Threads used:

  • Top: Superior King Tut ‘Papyrus’ (color #972), 40 wt (?) cotton (the cream thread); Isacord, 40 wt polyester, color 0506 (yellow)
  • Bobbin: Wonderfil Deco-Bob, 80 wt, color DB 115

Click on a photo to view it larger.


Community Quilt 26

12 11 2012

As I already had the thread loaded up for Community Quilt #25, I went straight on to this one as the colours were similar. This was a much smaller quilt (42 x 42 inches I think), so it didn’t take too long to quilt, especially as I used another favourite allover quilting motif — the one I call ‘open headbands‘. This meant I didn’t have to think a lot and could go faster than usual (I think I had the speed set to 60% for this one). I’m glad I kept the lighter bobbin thread in for this one as I think it adds a lot of ‘texture’ to the back.

Threads used:

  • Top: Superior Rainbows variegated thread in a blue, reddish tan and cream; 40 wt, color 814
  • Bobbin: Wonderfil Deco-Bob pale gray thread; 80 wt, color DB 103

Click on a photo to view it larger.


Community Quilt 25

12 11 2012

I had a bit of a quilting binge this past weekend! The weather was pleasantly cool, which meant I could venture into the sewing room (summers here are cruel). I don’t know how long I’ll be able to do that for, so I’m trying to get as many community quilts quilted as I can before the heat of summer really sets in and it become too hot to quilt (ambient temperature plus the heat of a quilt sitting on your lap…).

I was able to get four of the latest batch of my community quilts quilted. I think I’ve got my system worked out now — it worked well for this weekend, anyhow. I ironed the backing and top while watching TV, then pin basted the quilt on the wide kitchen counter still while watching TV (the TV is on the other side of the family room and I have a good view of it when I need to look up). I then roll the quilt up and put it in the sewing room, ready for quilting. Repeat for the other quilts. I’ve only got enough quilting pins to do about four largish quilts. But ironing and pin basting a batch like this (while watching TV) meant that when it came time to quilt I didn’t have to lose an hour or more PER QUILT doing those tasks. It also meant I got some TV programs I’d recorded ‘watched’. In fact, I ‘watched’ the whole 2.5 hours of the movie, “Angela’s Ashes” plus another two hour-long shows, while doing the ironing and basting. Sitting just watching TV always seems like such a waste of time, so combining time like this was a good move!

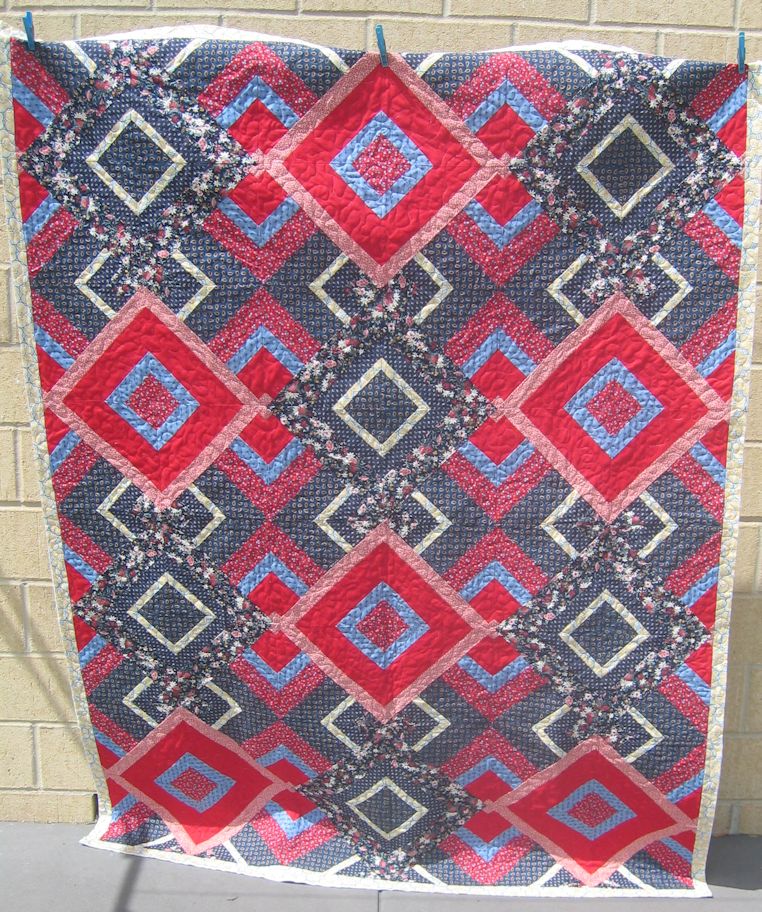
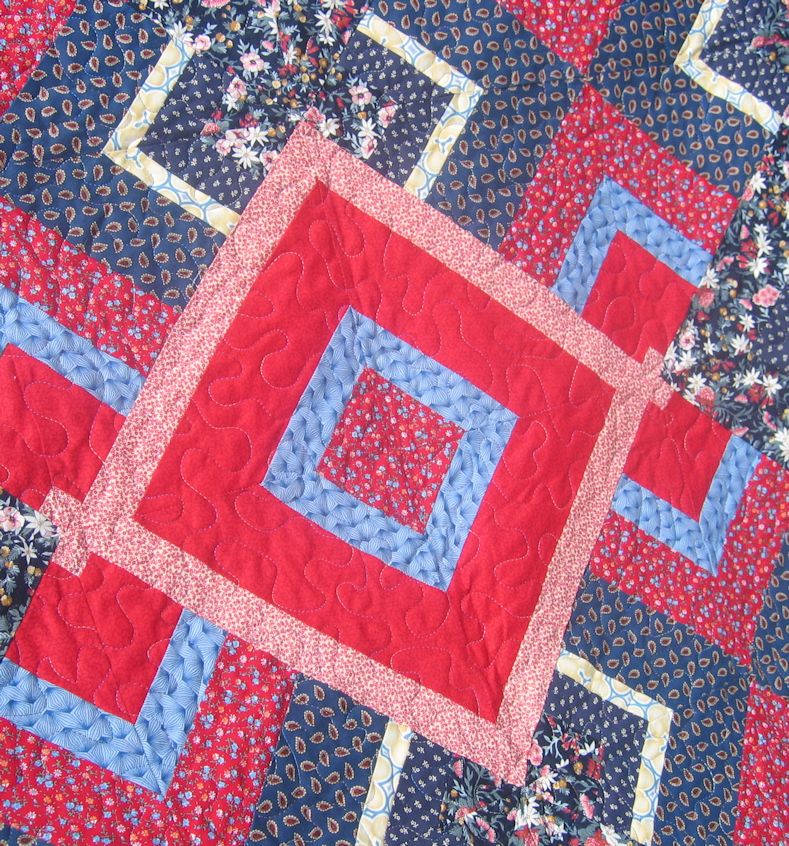
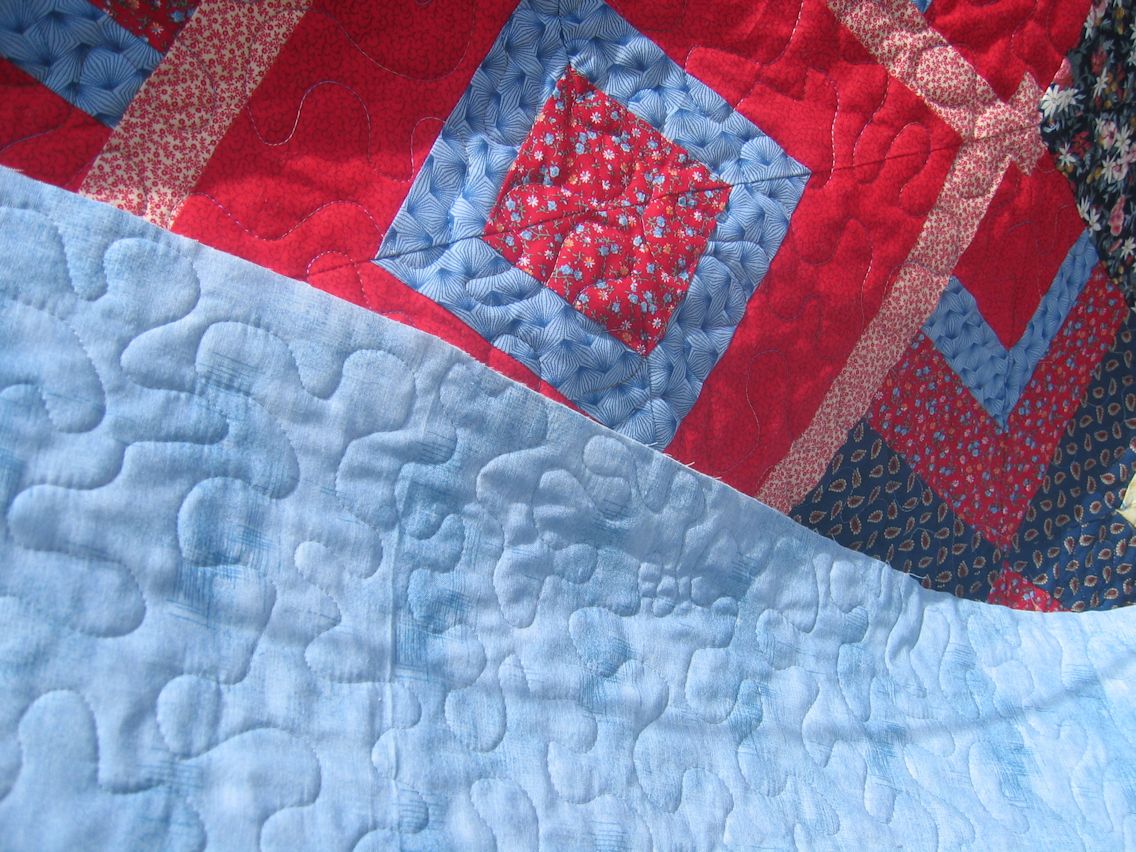
The first quilt of this latest batch was a large lap (single bed?) quilt, in blues and reds. It was already a pretty ‘busy’ quilt, so I just did a large allover stipple on it. Because I can stipple quite well these days ( my first efforts five years ago looked like jagged brain coral!), I set my HQ Sweet Sixteen to 70% speed (yes, that’s fast for me — I normally quilt about 35% speed) and off I went. A couple of hours later and this quilt was done.

Threads used:

  • Top: Superior Rainbows variegated thread in a blue, reddish tan and cream; 40 wt, color 814
  • Bobbin: Wonderfil Deco-Bob pale gray thread; 80 wt, color DB 103

Click on a photo to view it larger.