What do you do on a stinking hot last day in Rome when you have nothing planned? Why, you get up early when the sun isn’t going to burn you to a crisp and you walk nearly 9,000 steps to and from the Trevi Fountain. Even at 7am, there were a lot of people there, including two wedding parties!
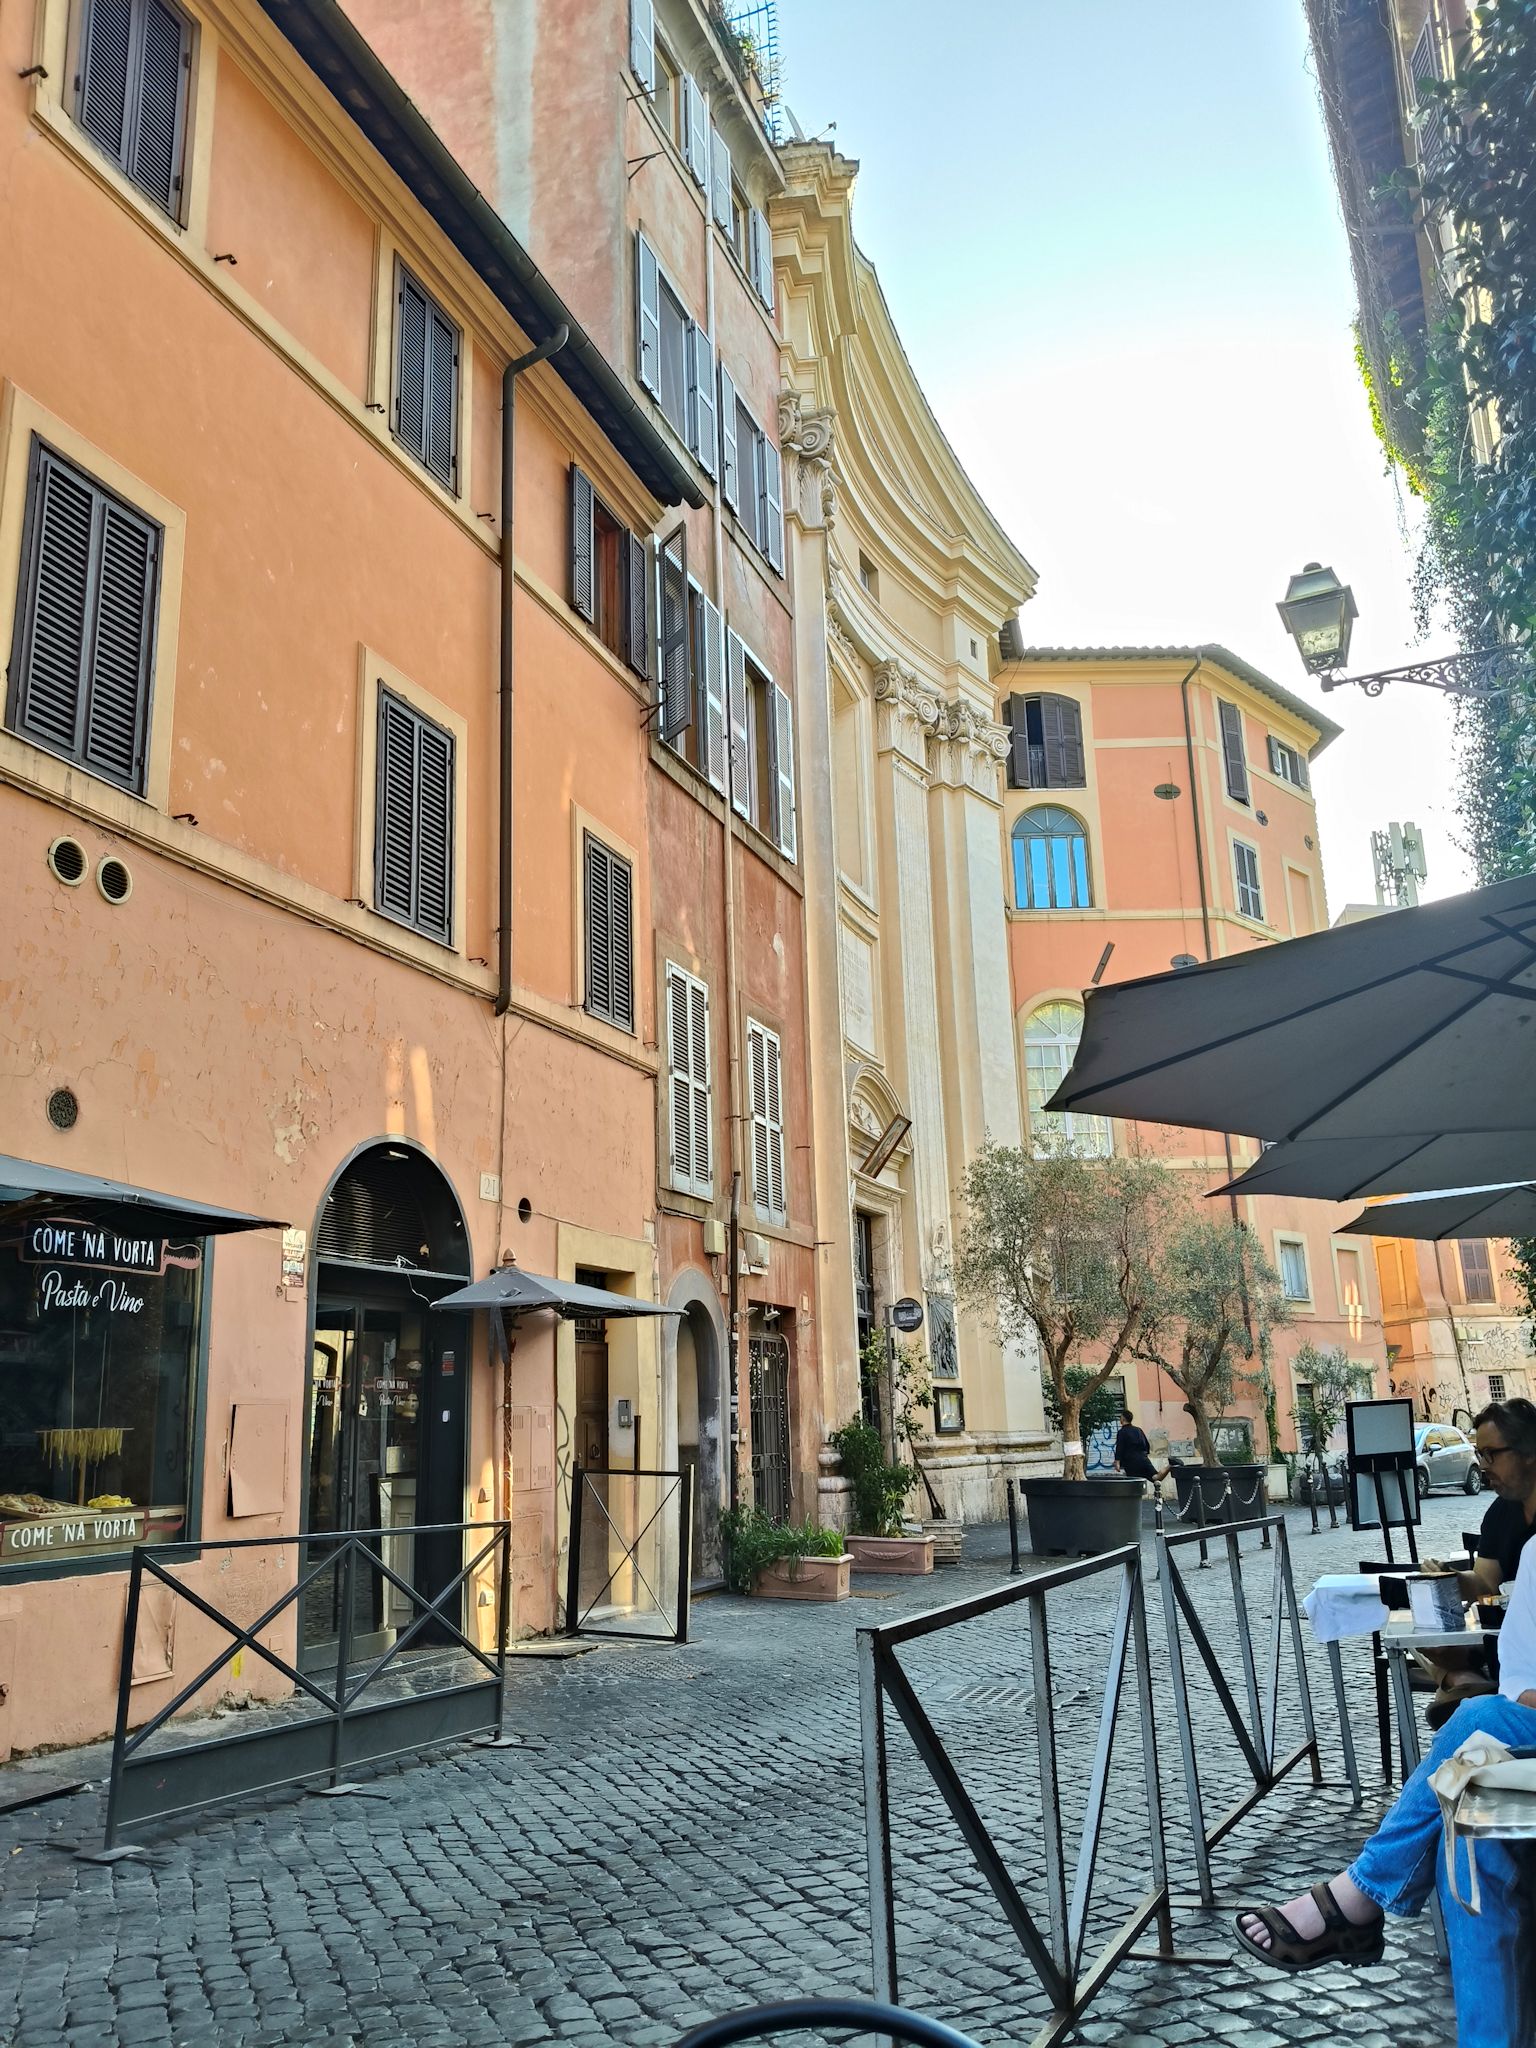
Then you regroup back in the beautifully air-conditioned apartment during the heat of the day (I can now see why Spain, Italy etc. have siestas) where you decide to do a pasta making course starting at 3pm at the Ristorante Tucci in the Piazza Navona. Another 2,000 steps in the heat of the day to get there, only to find that the one portable air-conditioner set to 18 C isn’t making a dent in the heat of a room full of 12 students all about to make fettuccine by hand.
But it was great fun, much easier than I thought it would be (lots of hints and tips), and we got to choose the sauce the chef would use when they cooked our own pasta for us (I chose cacio e pepe). We got to eat the fruits of our labours and we each got a certificate! We were very proud of ourselves. And hot. (In the photos below, I’ve tried to capture the main steps so I have a record of what we did.)
My sister and niece decided to walk even further at 5pm in the heat to see a Michelangelo sculpture near the Colosseum, while my nephew and I skedaddled back to the apartment! No dinner tonight after eating such a big meal in the late afternoon, so we just finished off the goodies in the apartment, such as the fresh fruit, yoghurt and chocolates we’d bought along the way.
We all leave Rome tomorrow morning. I’m returning to Australia, while my family will go on to Lake Garda for a few days, then my niece returns, then my sister and nephew head to London for a few more days before heading home. It’s been an amazing trip, and the 3 days in Rome with family has been fabulous (unfortunately, my other nephew couldn’t join us).
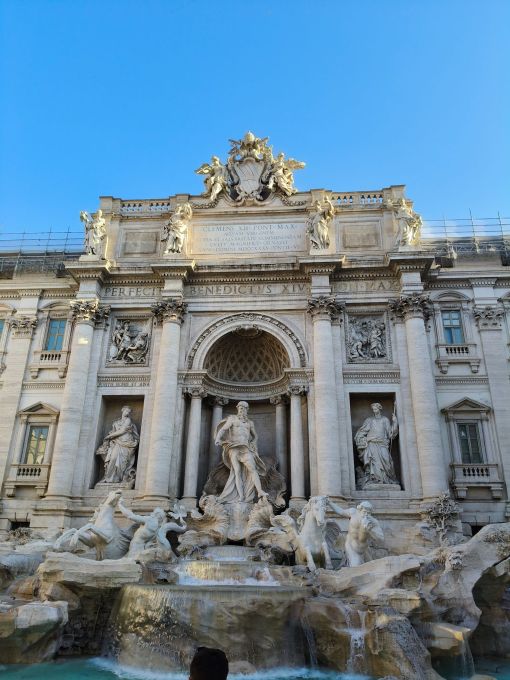
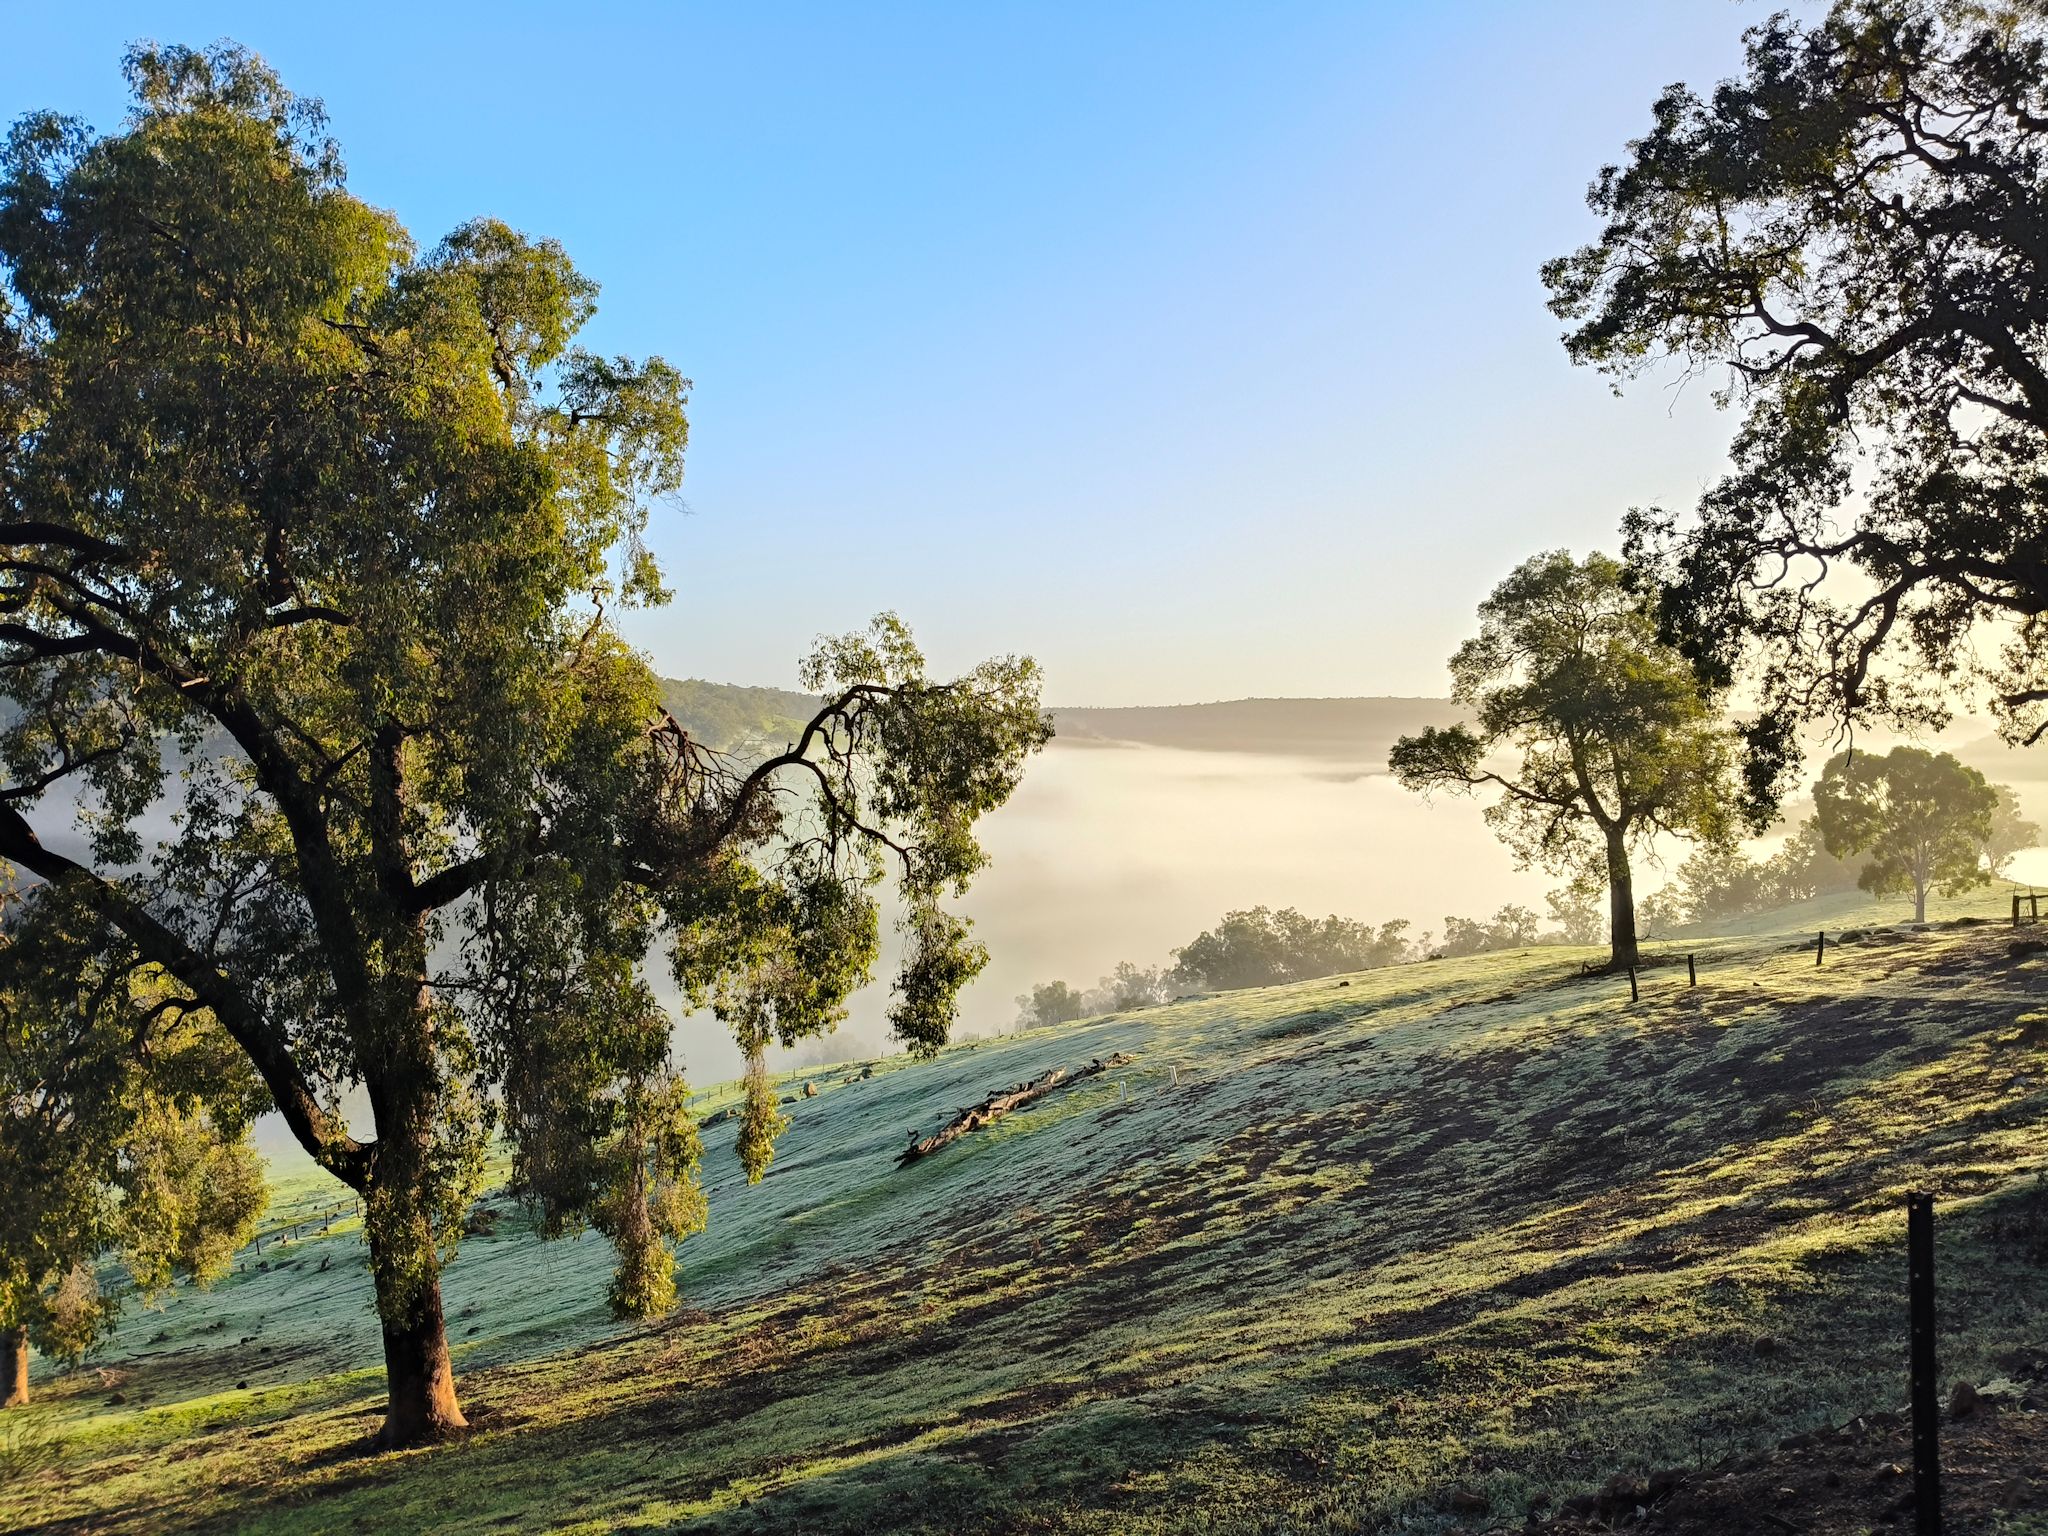
Trevi Fountain, early June morning

A small well of 100 g of 00 flour + 1 egg at room temperature
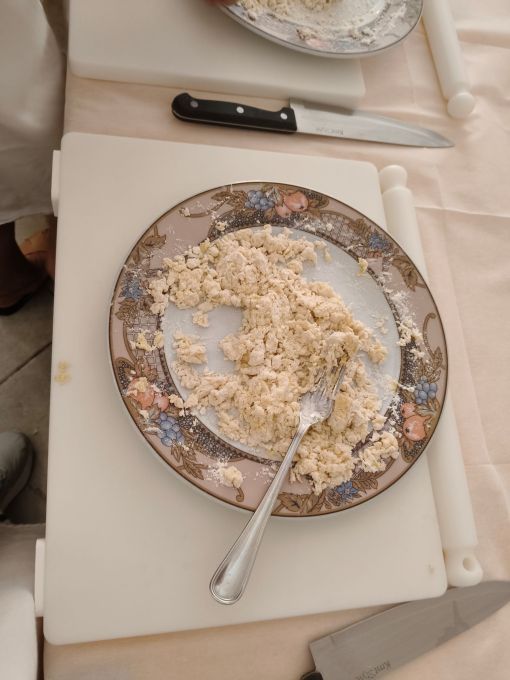
Use a fork to combine the egg and flour. Should have the consistency of scrambled eggs and NOT be sticky—if sticky, add a little more flour
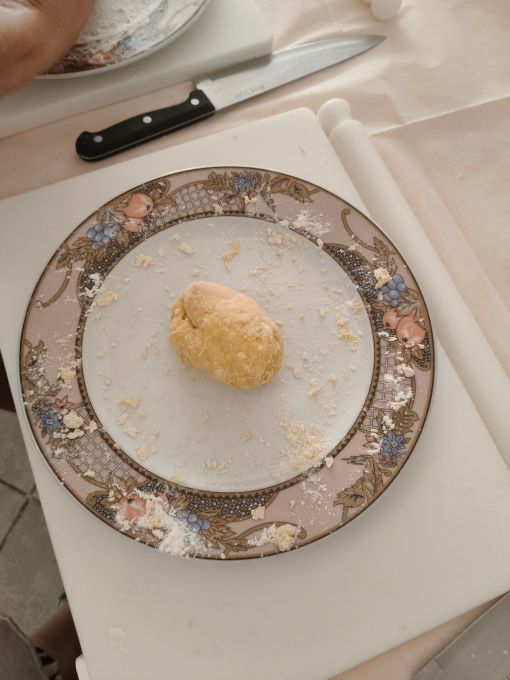
Roll the dough into a ball for about 30 seconds

Roll out the dough until it covers the board in a sort-of square/oblong. Add flour to the board beforehand and each time you turn over the pasta (as necessary) so it doesn’t stick to the board or the rolling pin

Take the bottom edge of the rolled pasta dough and roll towards the centre; repeat with the bottom edge. Trim the rough ends.
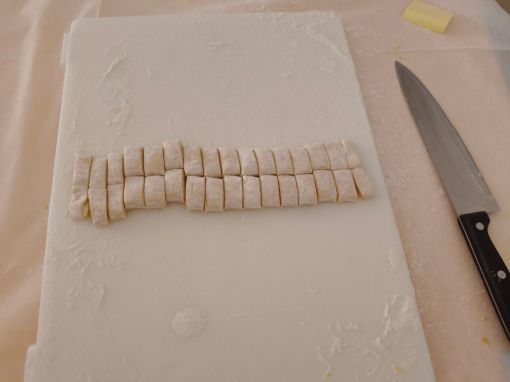
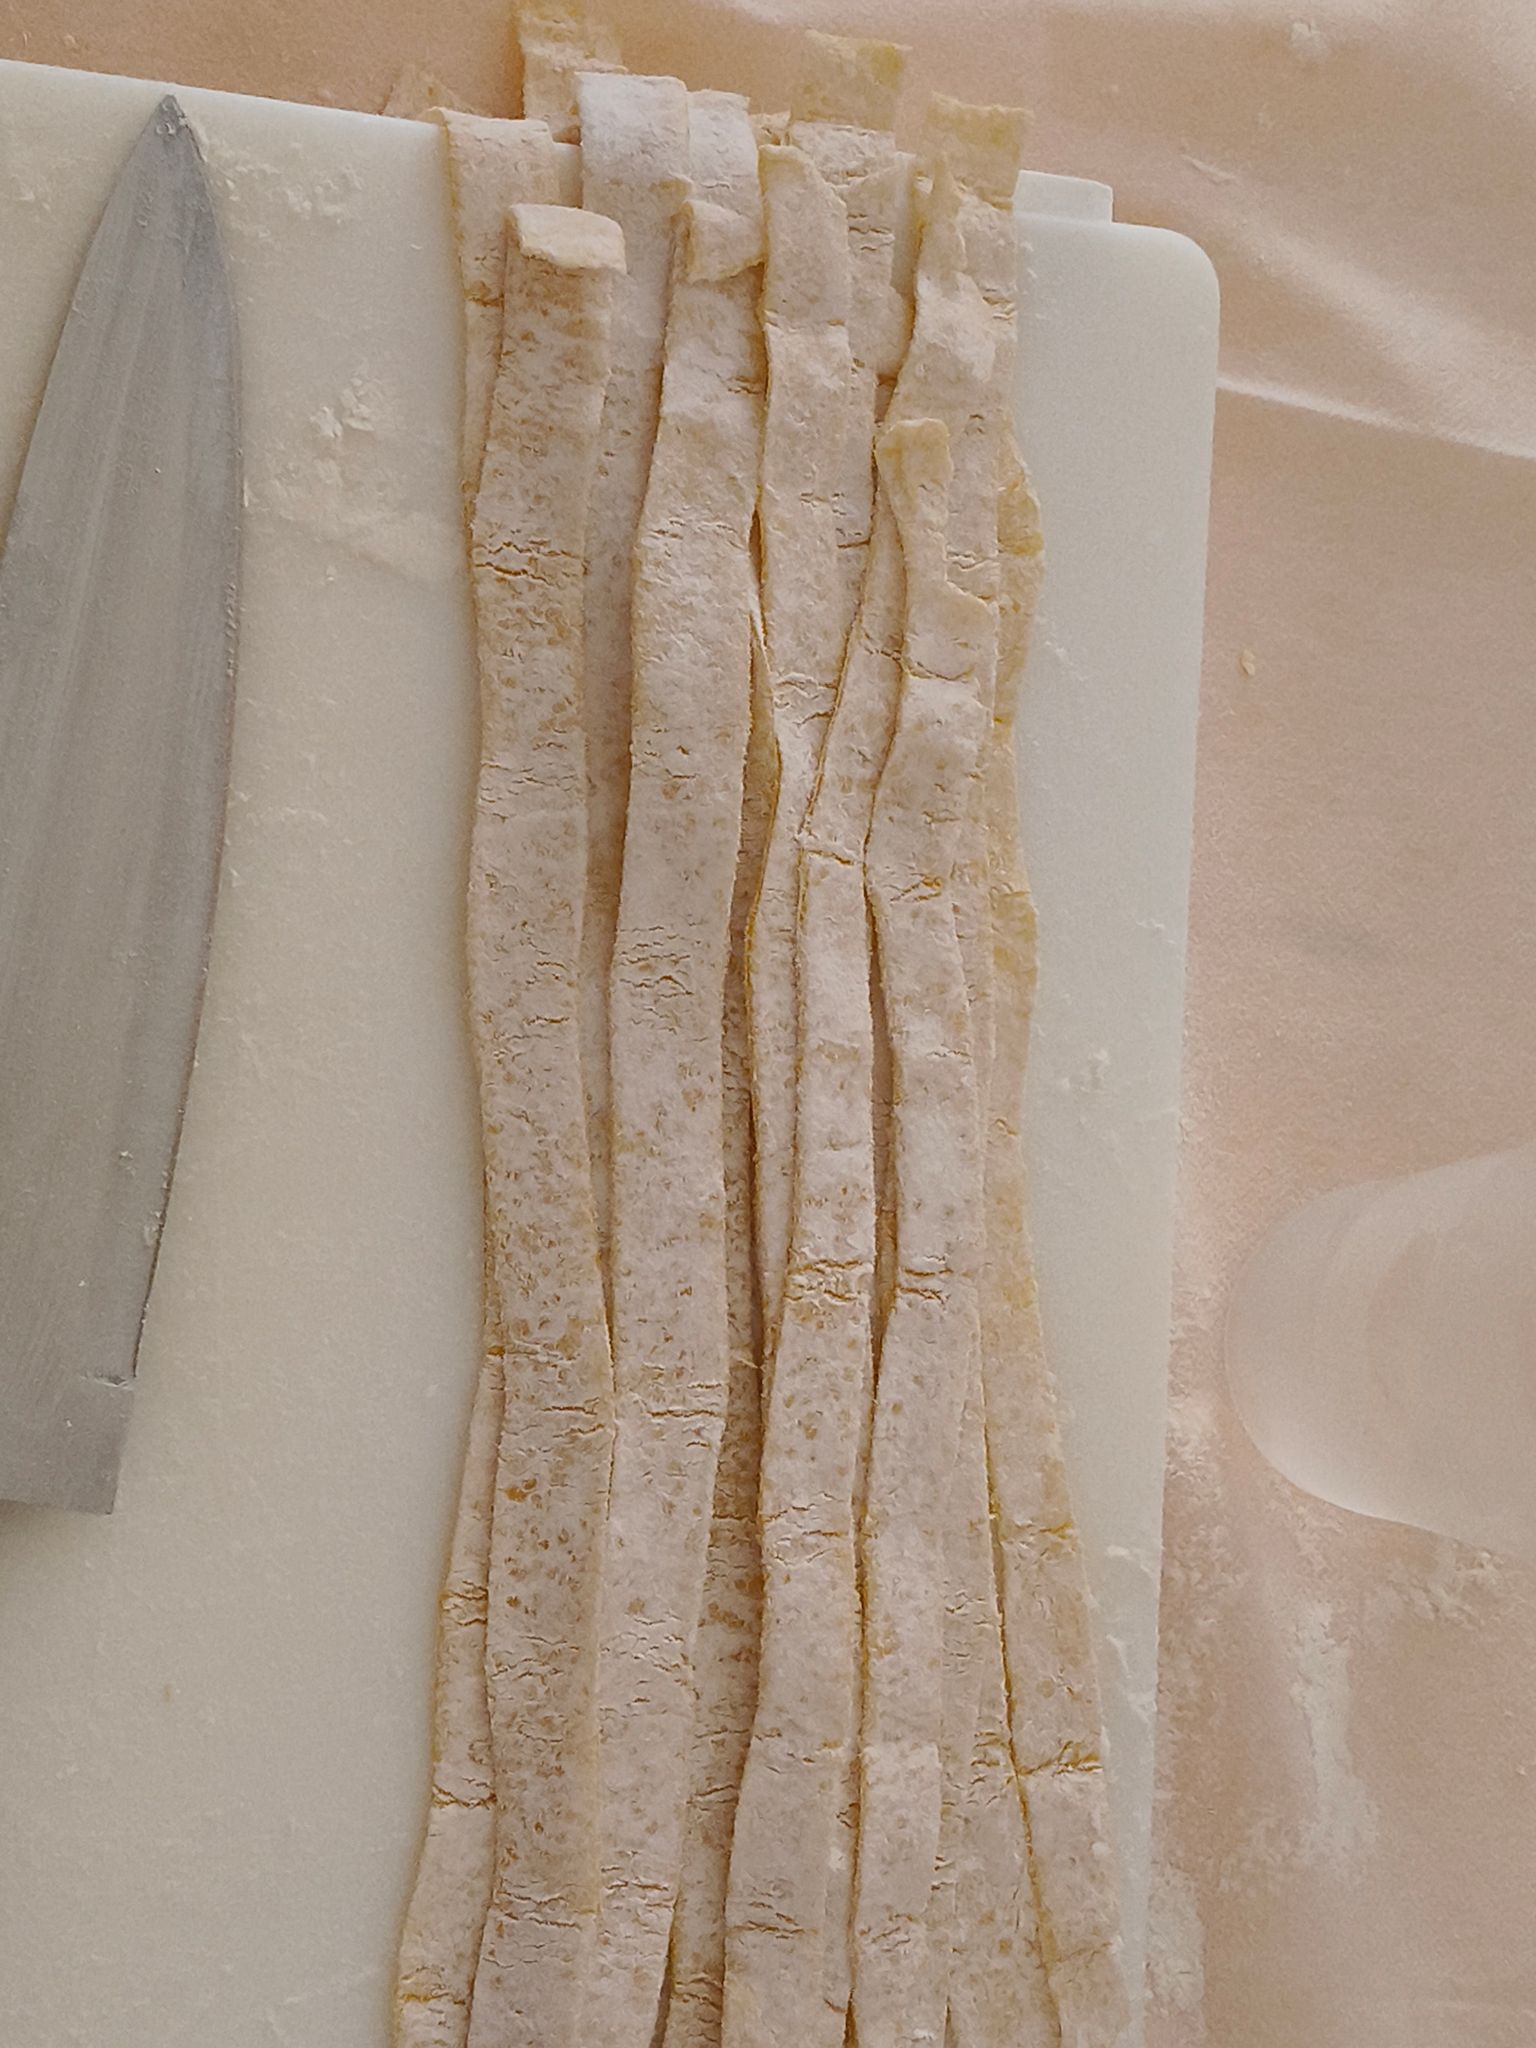
Cut crosswise into even widths you want. About 1 cm width for fettucine, wider for tagliatelle, narrower for linguine

Pick up the cut rolls of pasta by passing the back of the knife under them and picking it up. The pasta will hang evenly over the back of the knife,

Lay the pasta out after you’ve unrolled it using the back of the knife.
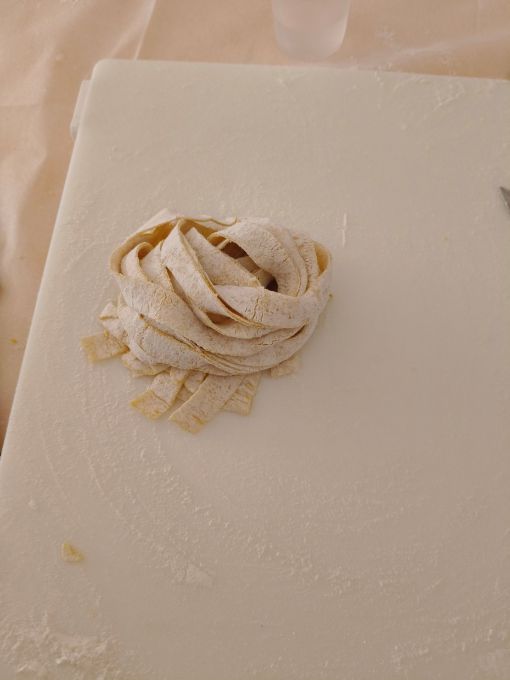
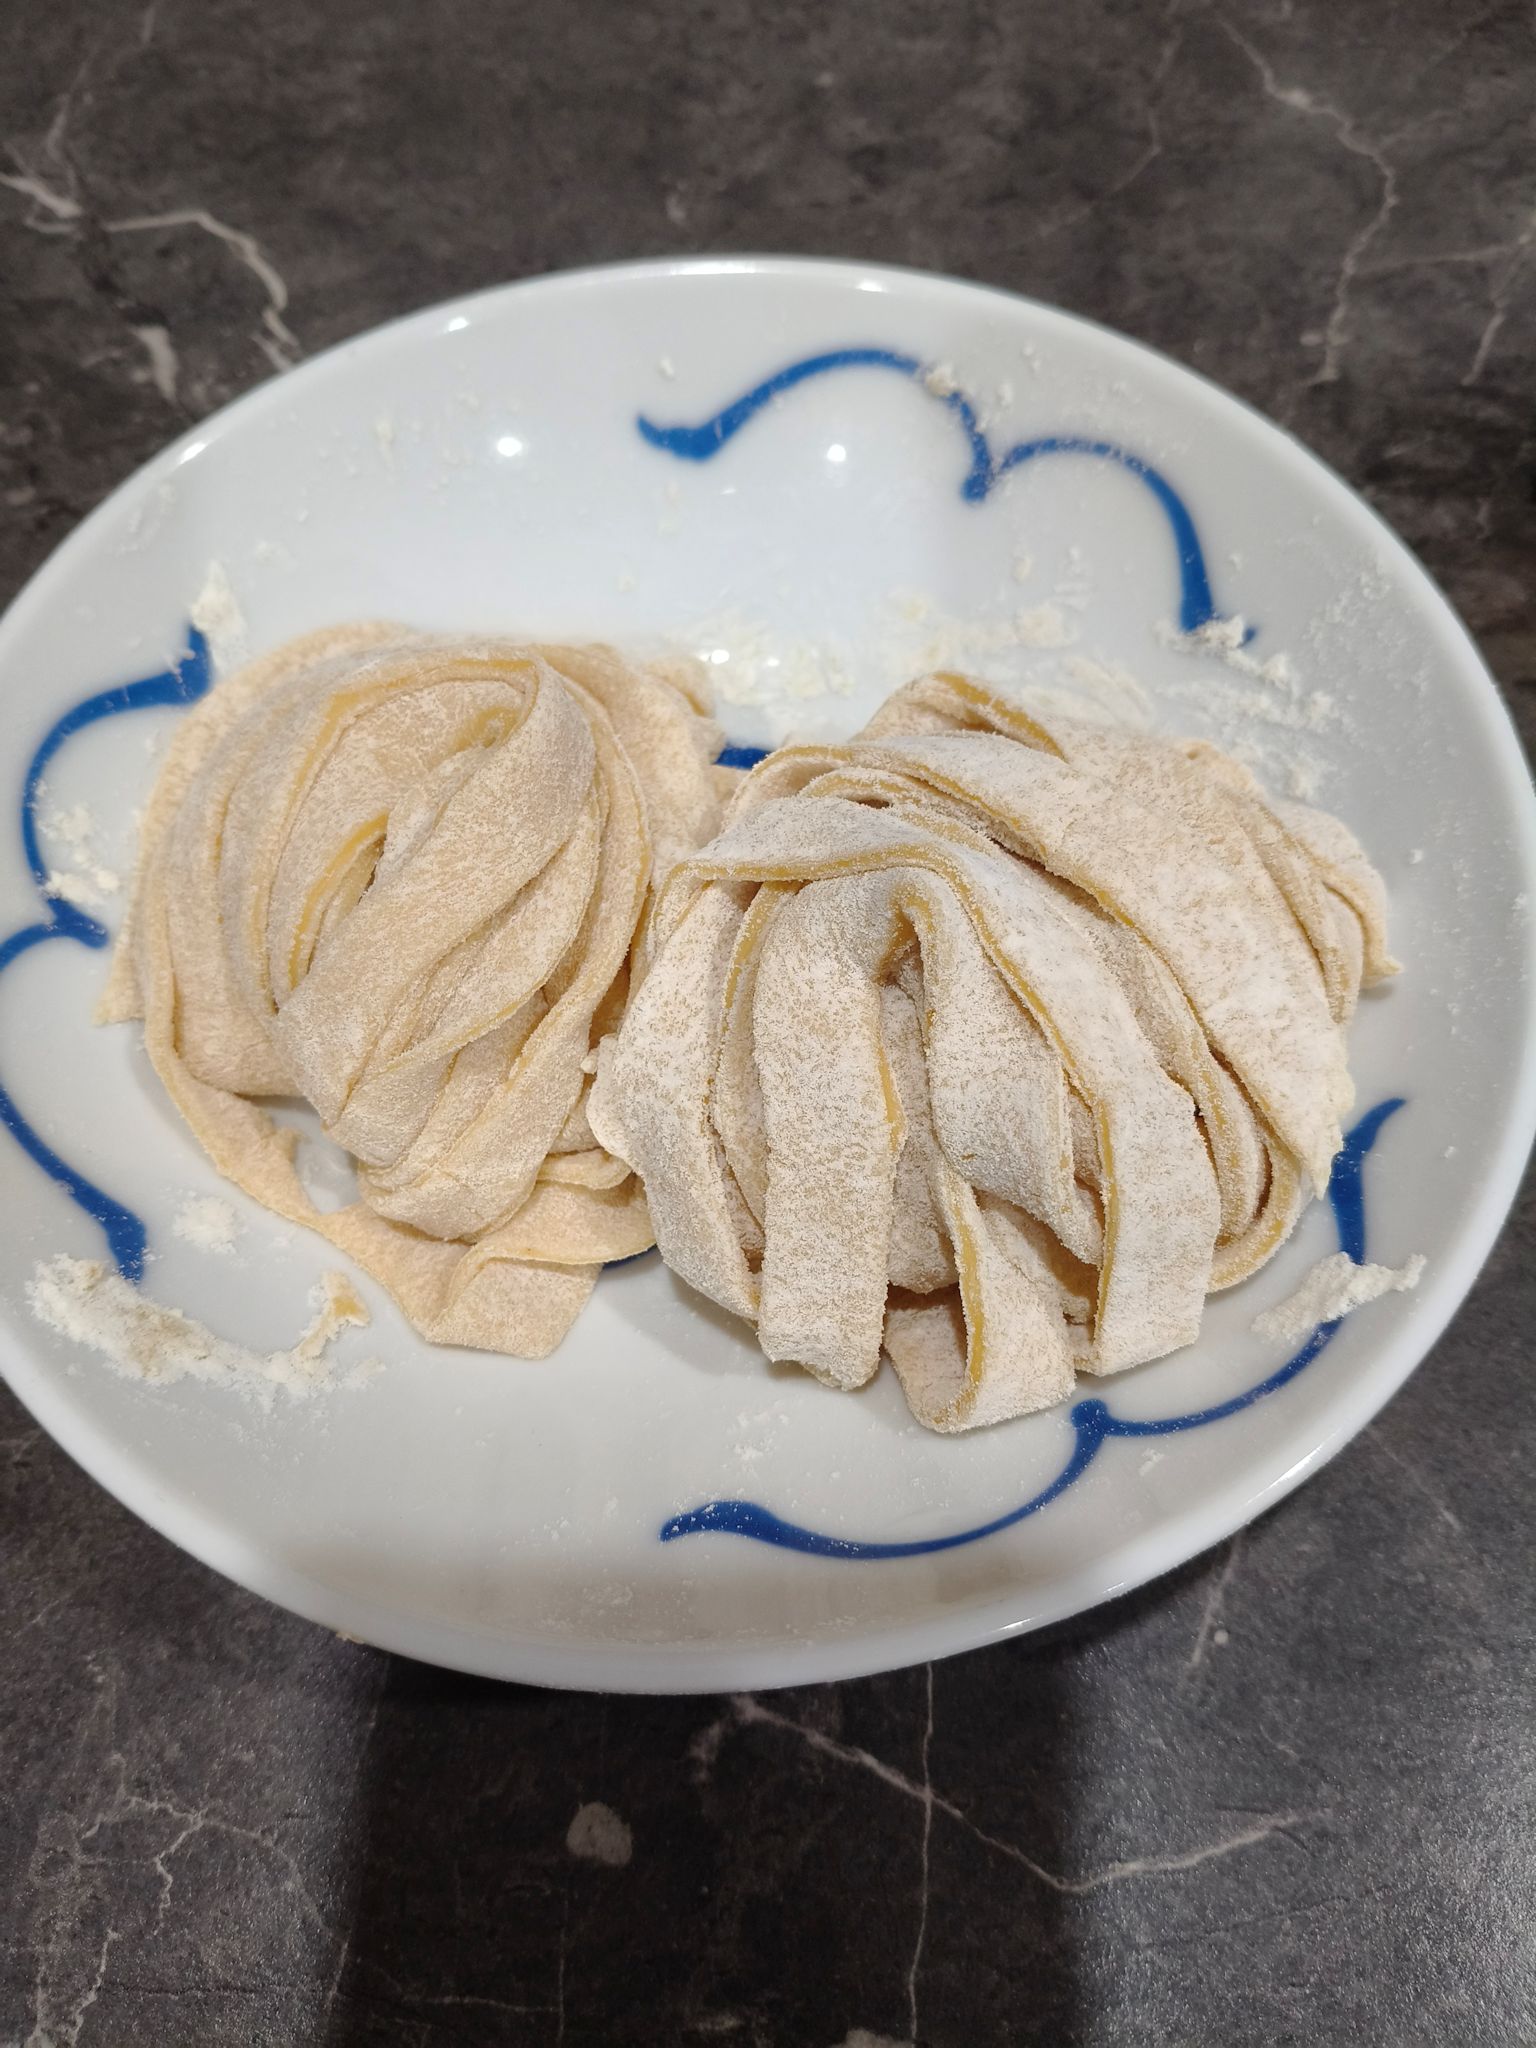
Pick up the pasta at the centre of the lengths, then twirl it a little to form a ‘nest’. This is one serve for one person.

My pasta after the chef had cooked it and added the cacio e pepe sauce. It was DELICIOUS, but that 100 g serving was too much for me to eat on such a hot afternoon. In the background, my niece’s pasta with a pesto sauce.