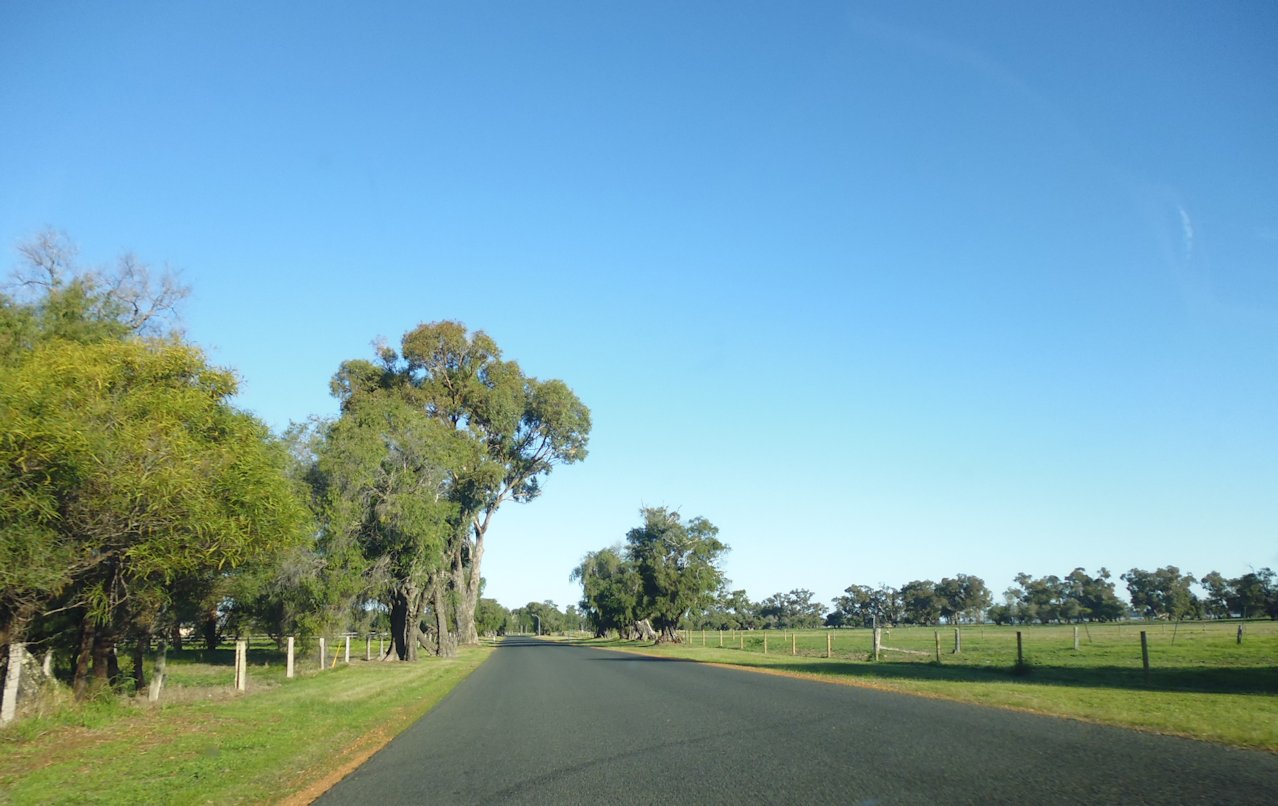
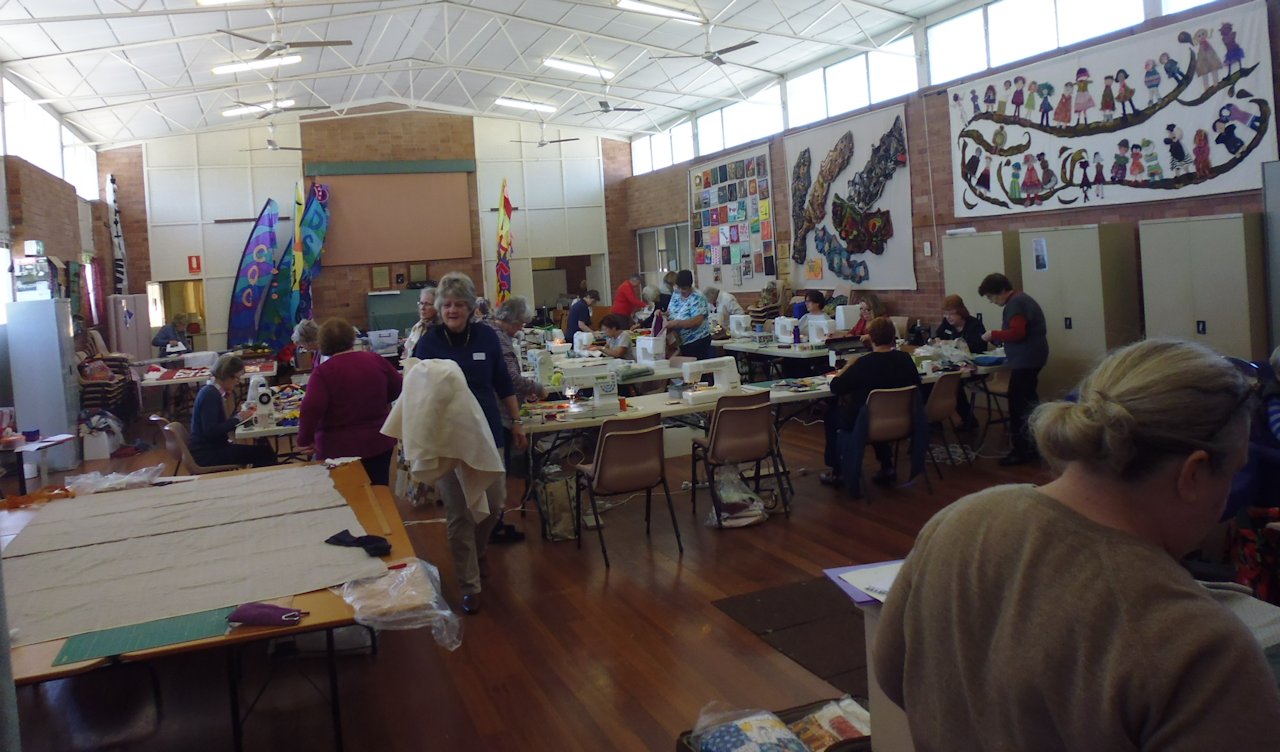
Yesterday was one of those magic winter’s days we get here — clear blue skies, green grass, dry, mild temperatures (about 19C [66F]). I took a few photos through the car window (yes, naughty, I know!) while driving to and from Perth, and a few more quite close to home to show my North American friends, in particular, what winter is like in my part of the world.
(Click on a photo to view it larger)
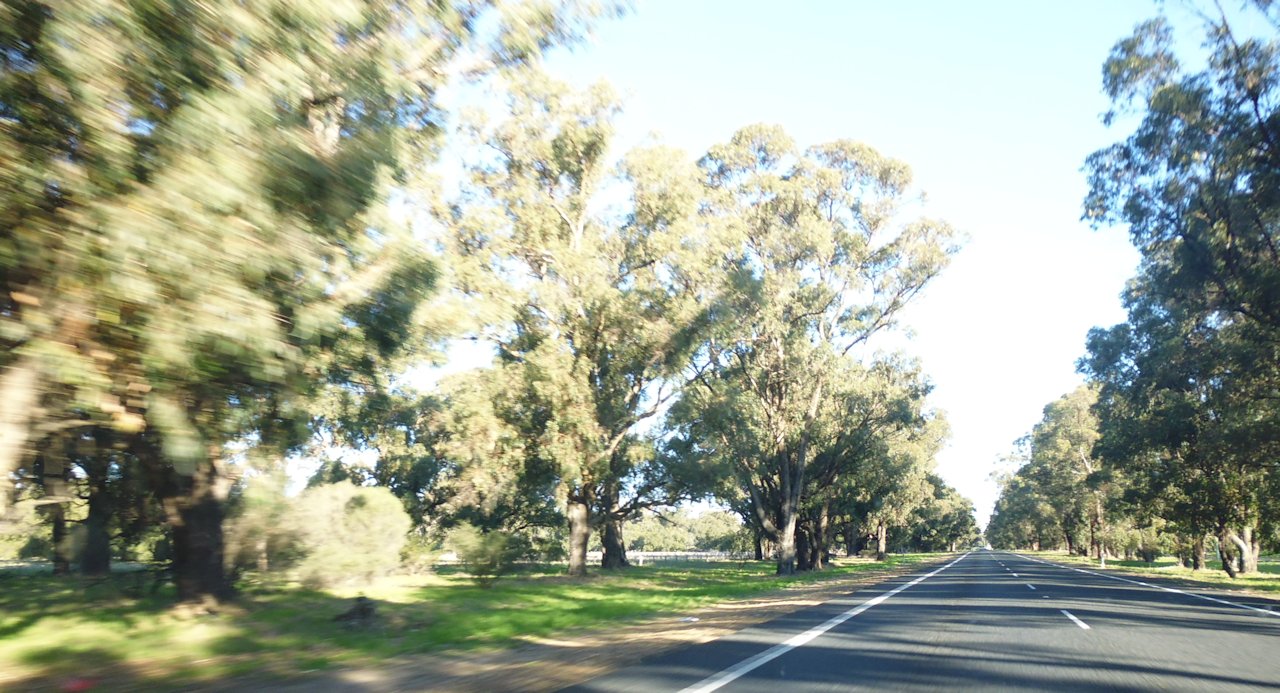
Forrest Highway, heading south, near Myalup about 4pm

Forrest Highway, heading south, near Myalup about 4pm
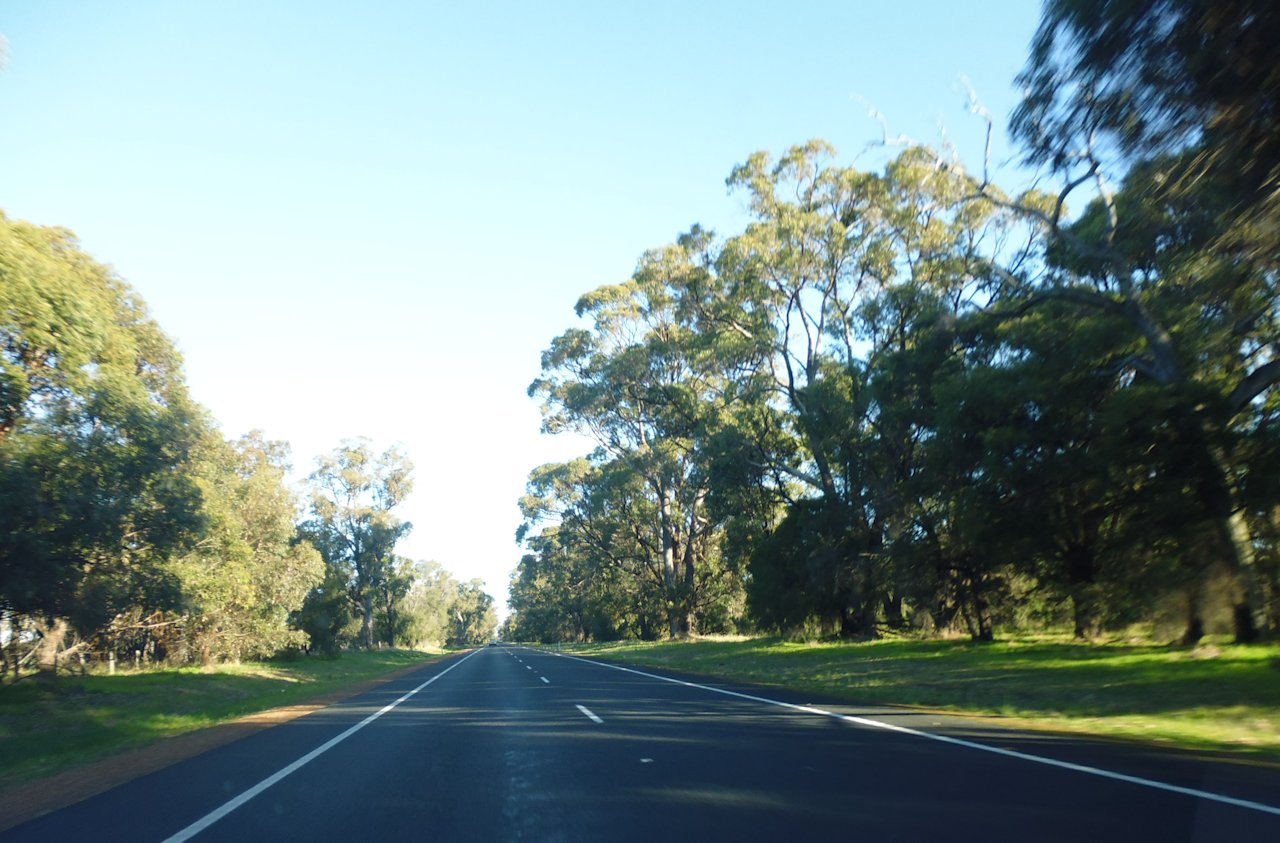
Forrest Highway, heading south, near Myalup about 4pm
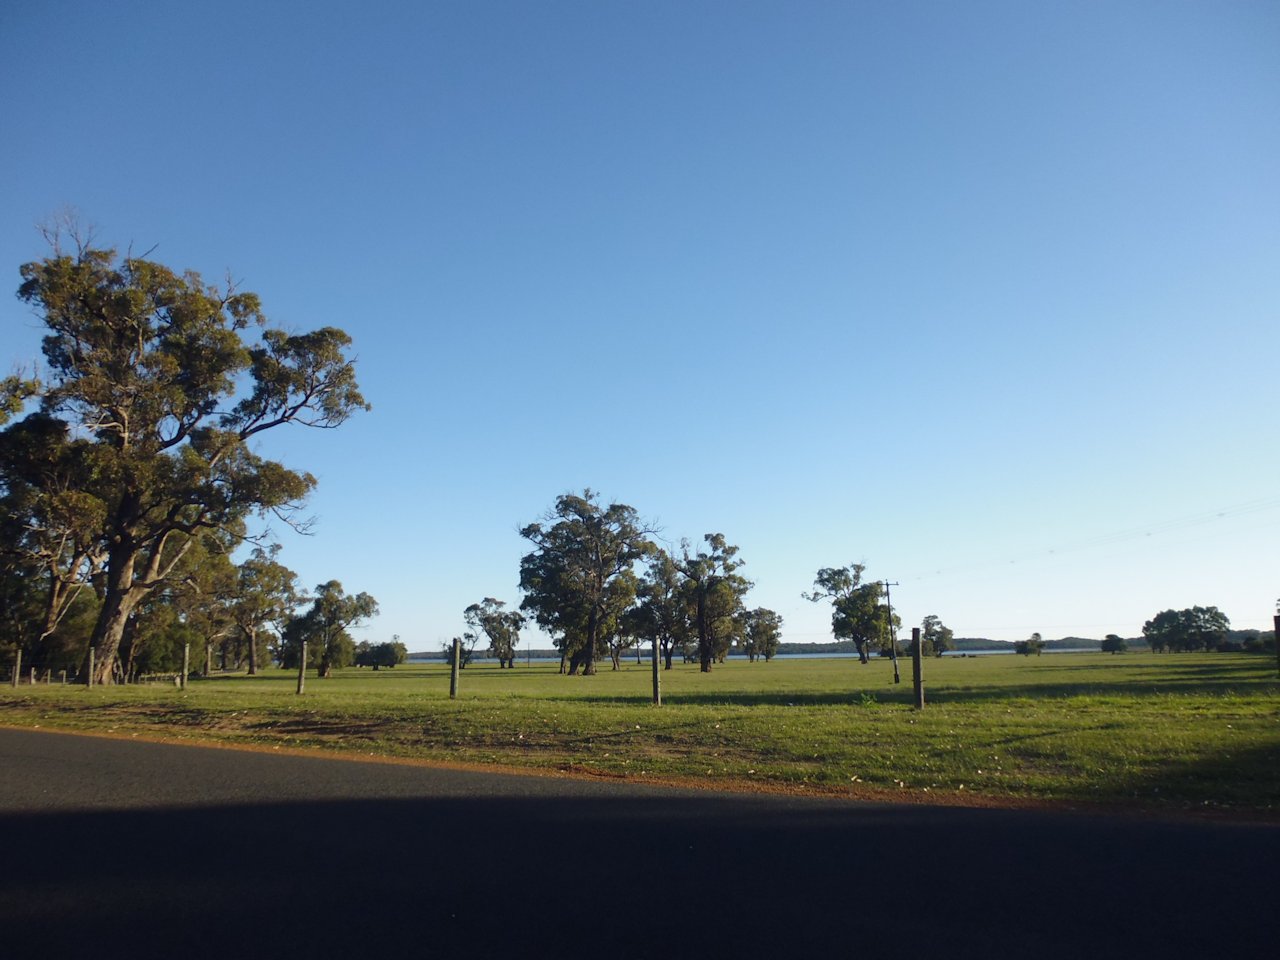
Near top end of Leschenault Estuary, Western Australia, around 4pm

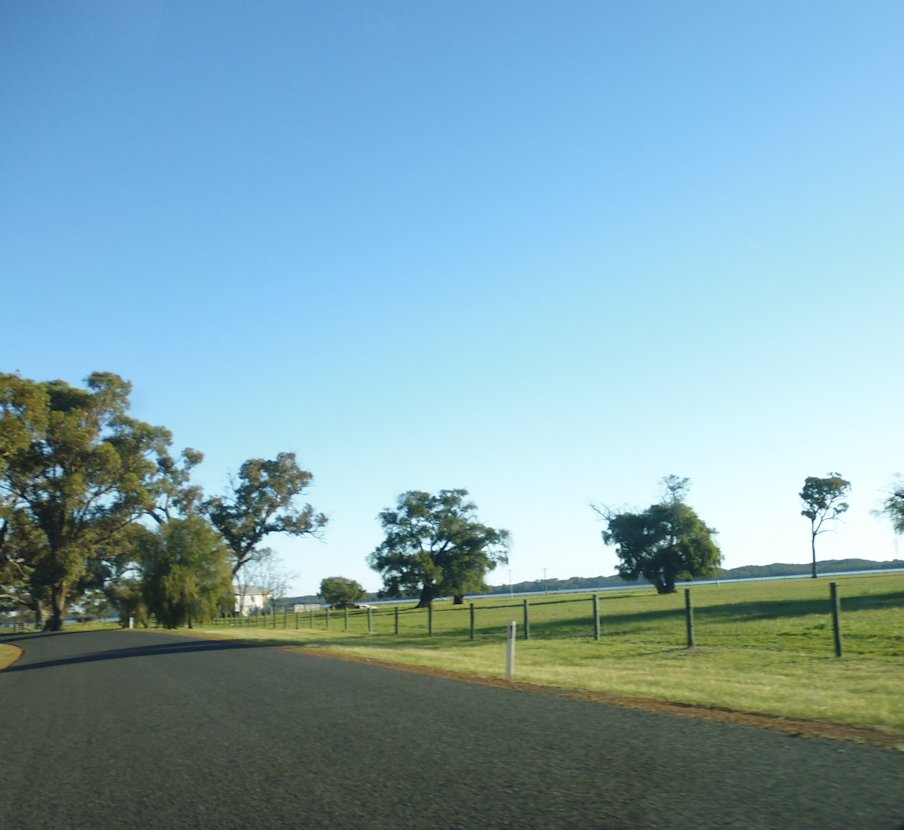
Cathedral Ave, near top end of Leschenault Estuary, Western Australia, around 4pm
Near top end of Leschenault Estuary, Western Australia, around 4pm
Cathedral Ave, near top end of Leschenault Estuary, Western Australia, around 4pm

Near top end of Leschenault Estuary, Western Australia, around 4pm

Heading towards Perth on Forrest Highway (if you view the photo at full size, you’ll see horses in the paddocks alongside the road)


