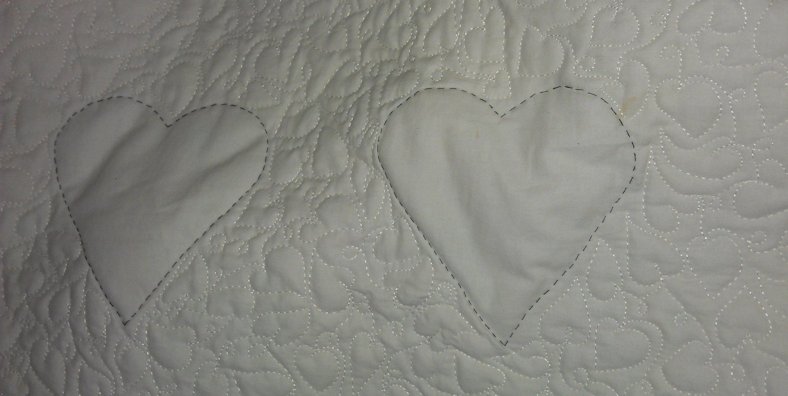
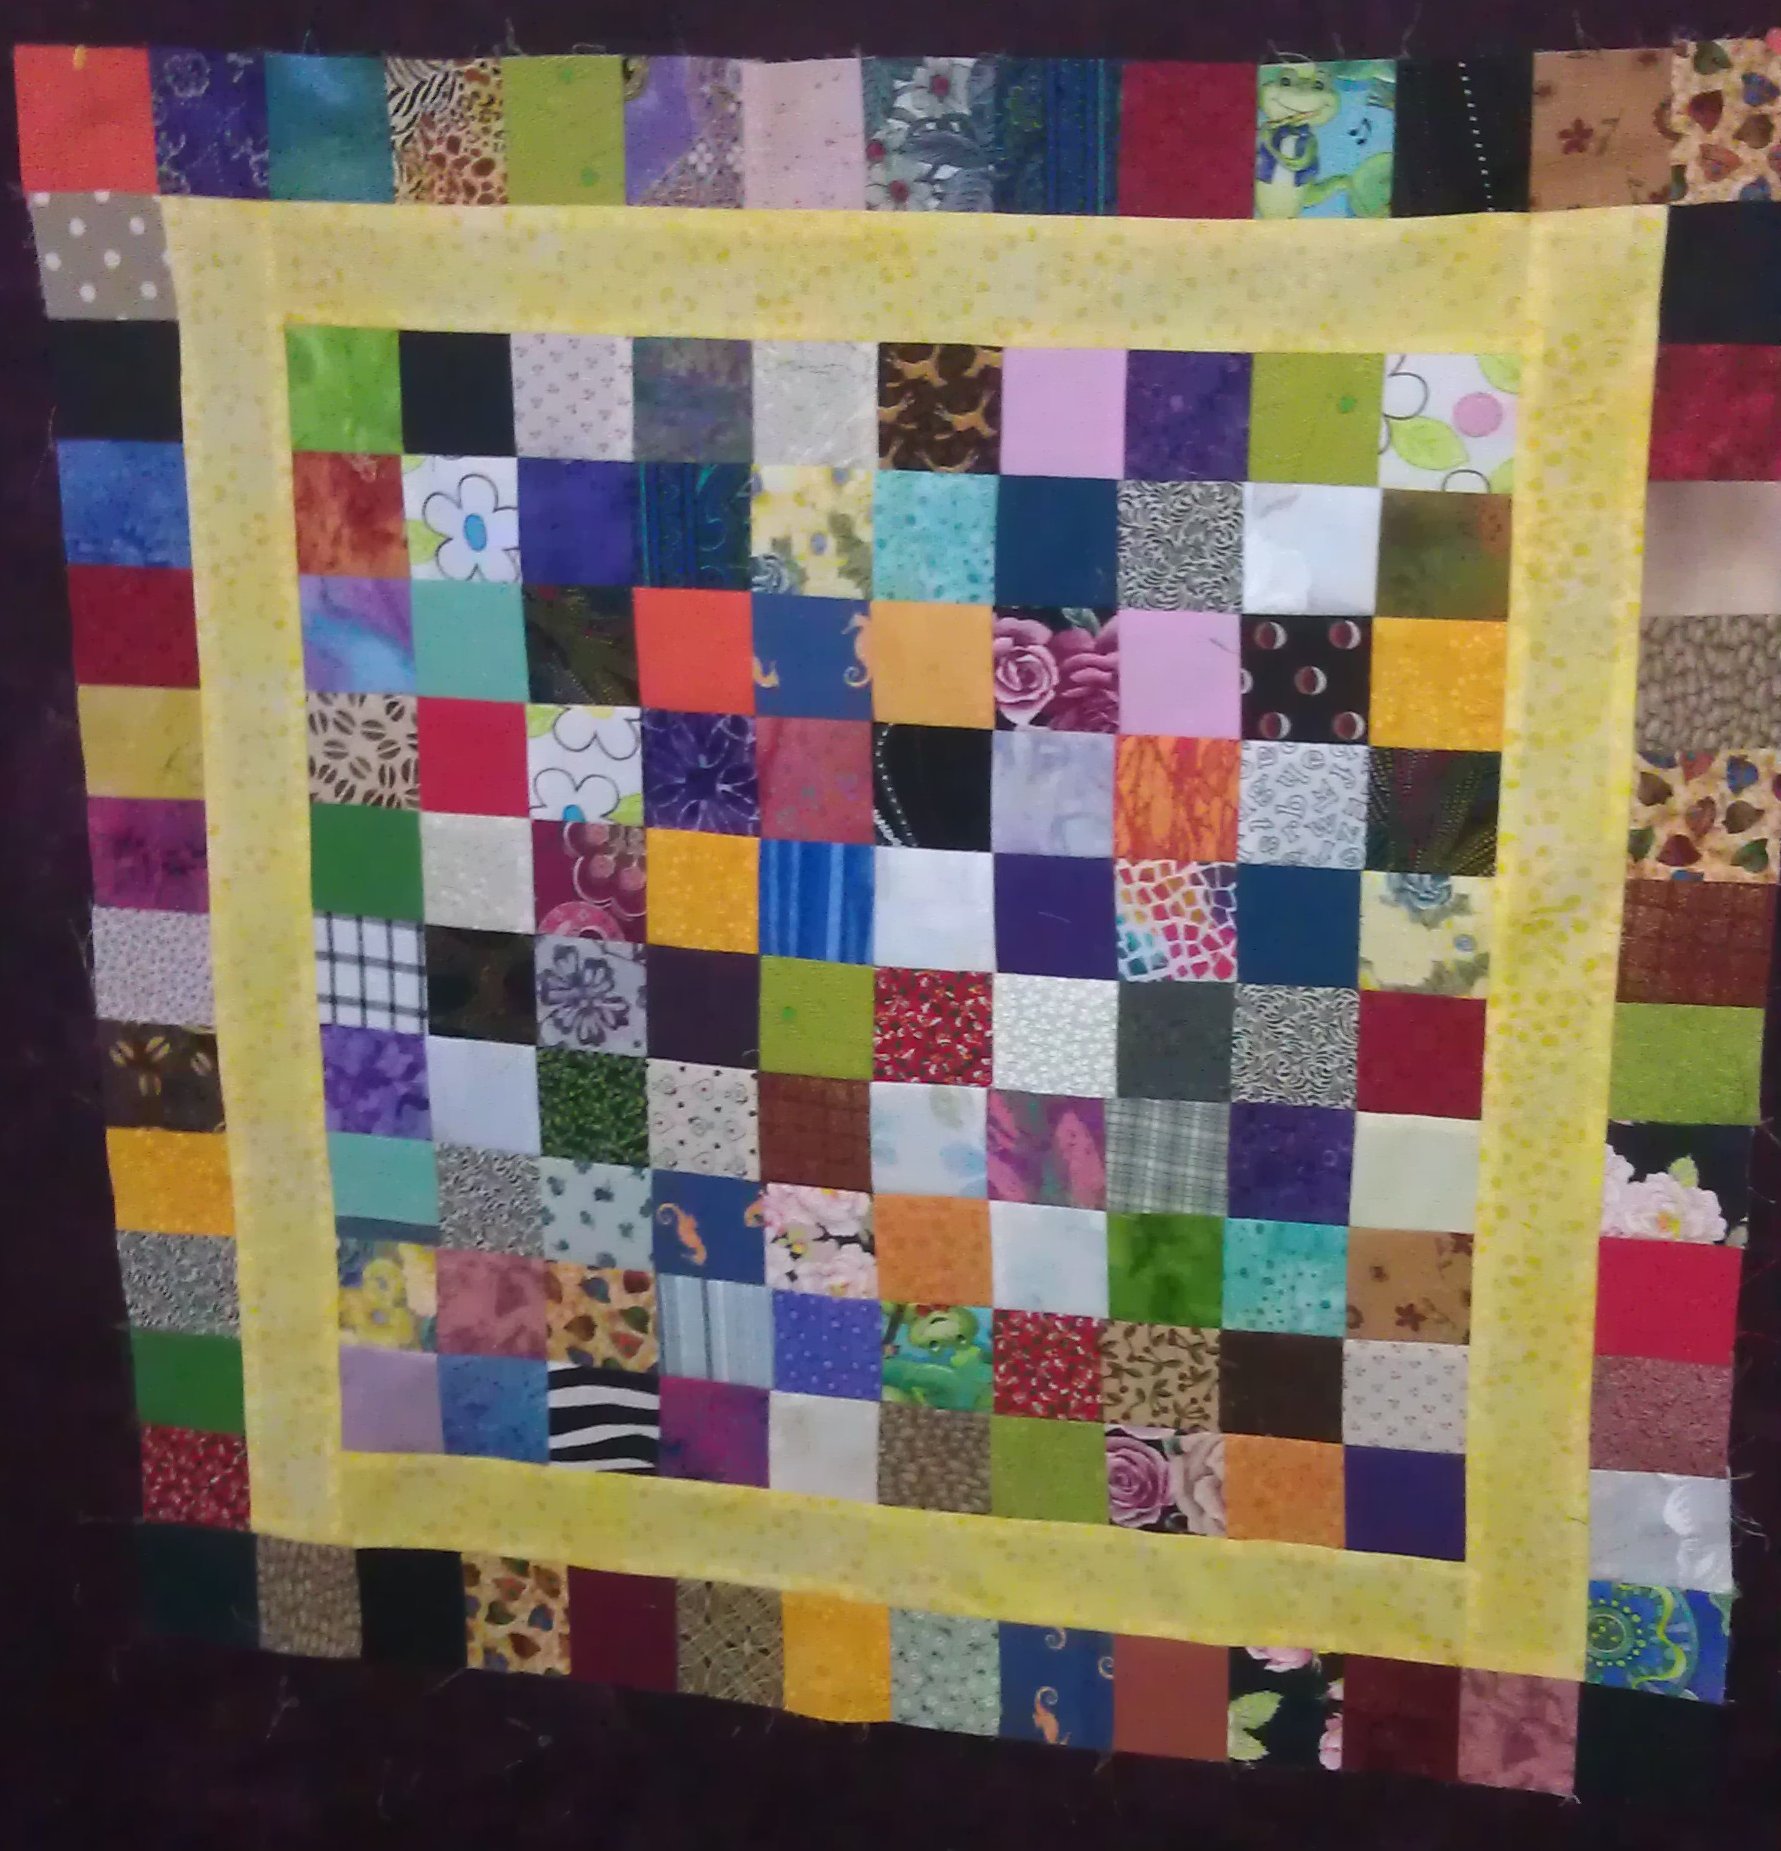
I have LOTS of 2″ squares in my scrappy quilt — probably about 500. As all the fabrics are a mixed bag (batiks, cottons, fabric from old clothes, cheap fabrics, expensive fabrics, stiff fabrics, fraying fabrics, etc.), I wanted to stitch a quilting design that held them all down as much as possible and that secured the seams and joins as far as possible, while also creating a rounded effect against the stark geometry of the squares. I decided on the cathedral window quilting motif (shown finished below), and took photos as I went to explain how to do it super simply.

What I like about this motif is that you get all sorts of sub patterns within it — you get circles, semi circles, flower shapes, and curved diamonds all in the one pattern!
While I could have used rulers to create the arcs, I would’ve spent many hours quilting each block and likely getting frustrated if the rulers moved a little. This quilt is for me to use — it is NOT a show quilt — so my arcs didn’t have to be perfect. The method I describe and illustrate below took me about 15 minutes to stitch in one continuous line — that’s 15 minutes per 1100-square block. And to be honest, the effect is just as dramatic as ruler work if you don’t look too closely 😉
The essence of this motif is the ‘S’ curve — if you can free motion stitch an ‘S’ curve you can do this!
How to create your own cathedral windows:
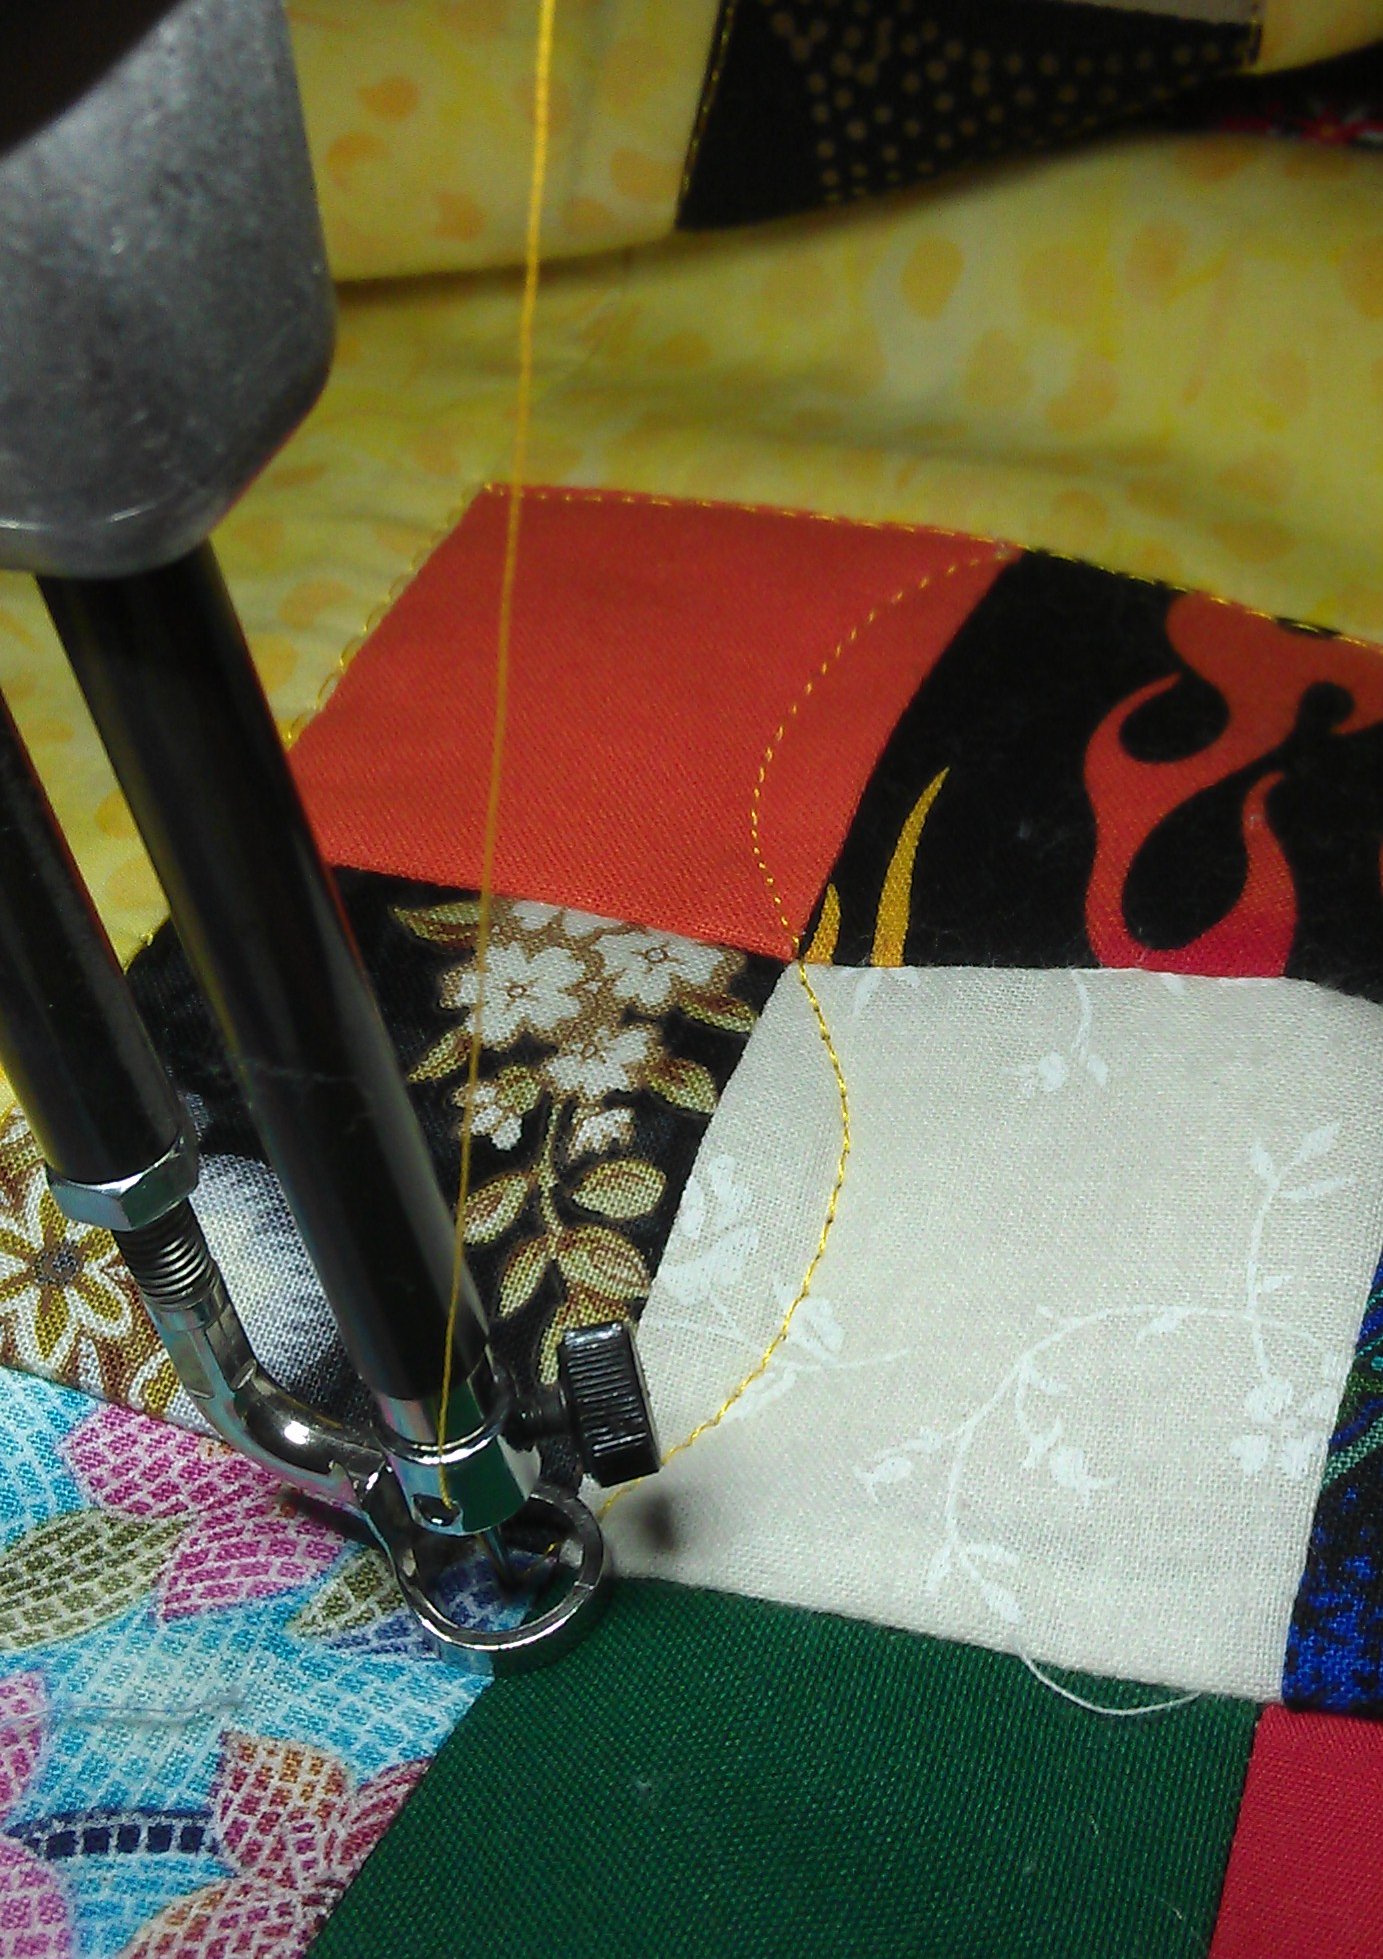
- Start at the top of a block of squares — I started one square in from the edge of the block.
- Stitch an ‘S’ curve with the centre of the ‘S’ going through the seam join. I tried to make my curves between 1/4 and 1/2 inch at the fattest point, and arcing relatively evenly throughout the curve. But don’t beat yourself up over this — it doesn’t have to be perfect as the end result still looks good. Just go with the flow of the ‘S’ curve.

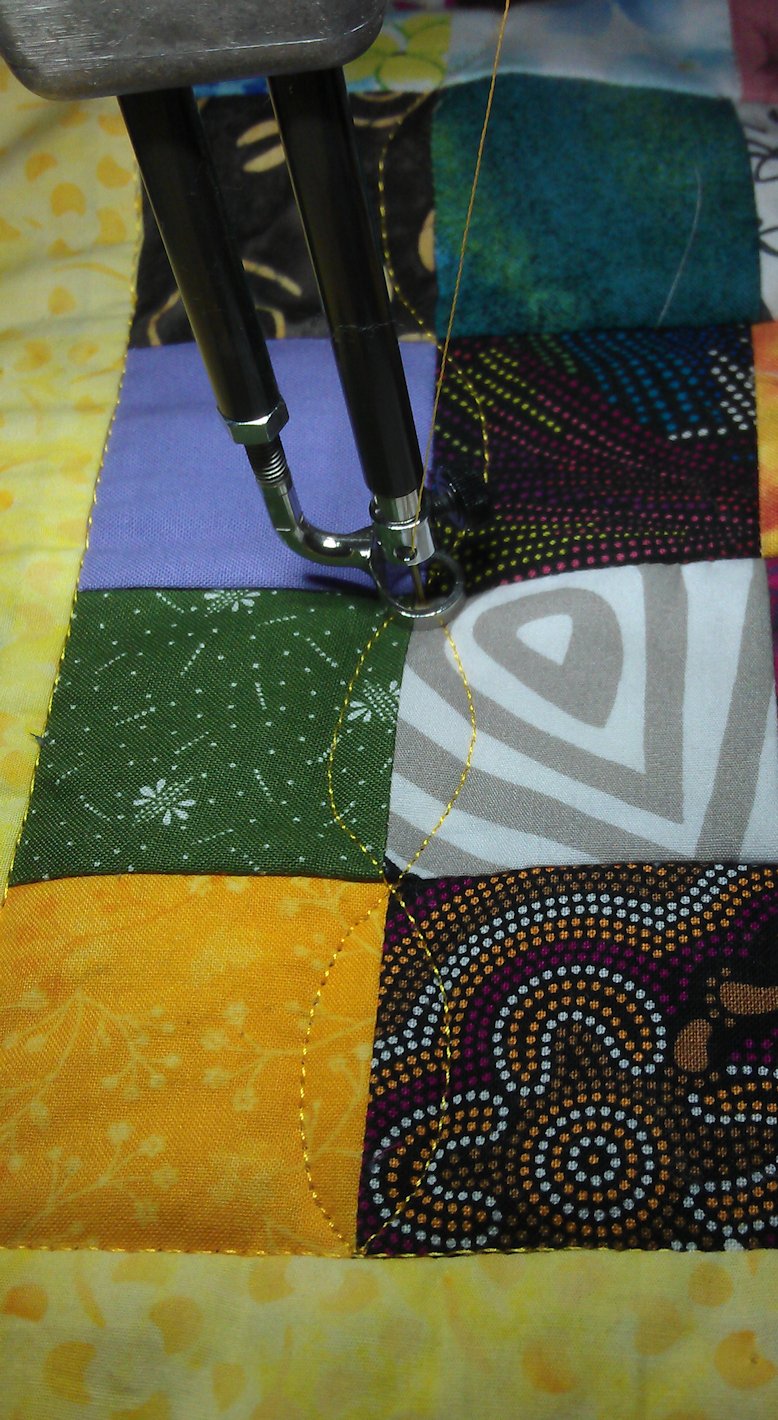
- Repeat the ‘S’ curve motif all the way down to the bottom of the column of squares.
- When you reach the bottom, come back up the column stitching ‘S’ curves in the opposite direction.

- You’ll end up with small ovals with pointed ends (like little footballs).

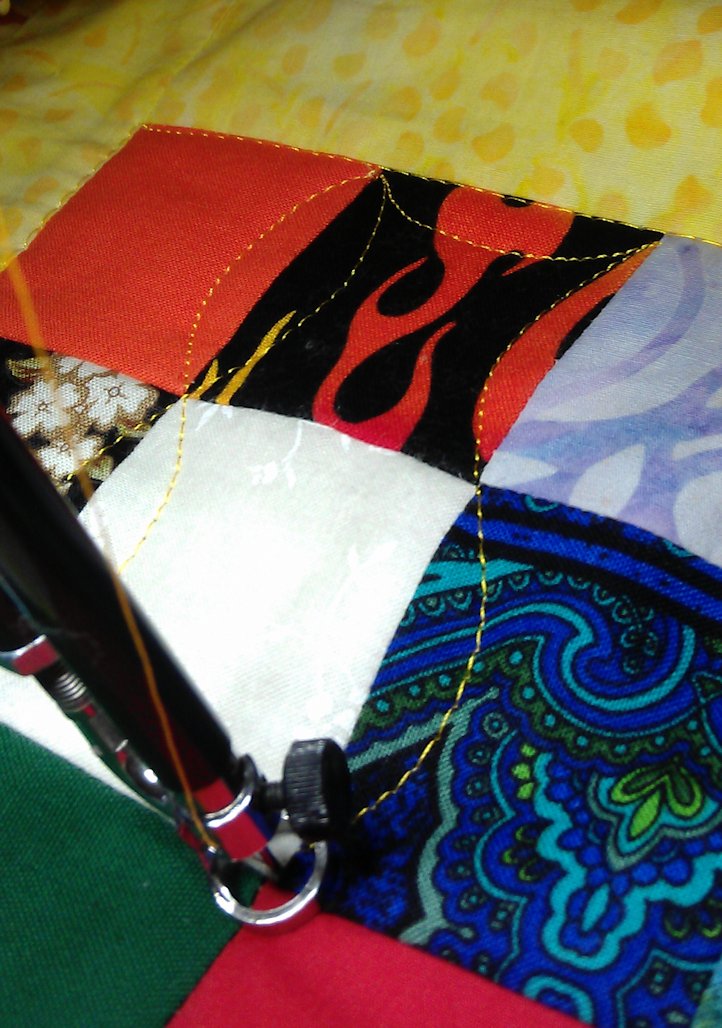
- You end up where you started so stitch an arc across to the top of the next column and repeat the ‘S’ curves going down and then back up.

- When you’ve finished all the ‘columns’, arc down to the rows and stitch ‘S’ curves across all the rows. Turn the quilt if you find it easier to stitch up/down than left/right.
- Stitch an arc at the end of the row down to the next row and repeat….
- Repeat until you get to the bottom of the block, then stitch arcs across the bottom and up the left side until you get back to the beginning.

And you’re done! Cathedral window quilting the easy way.
Here’s a diagram in case you learn better this way or want to practice with pen and paper first (explanation below the diagram; the arrows show direction):
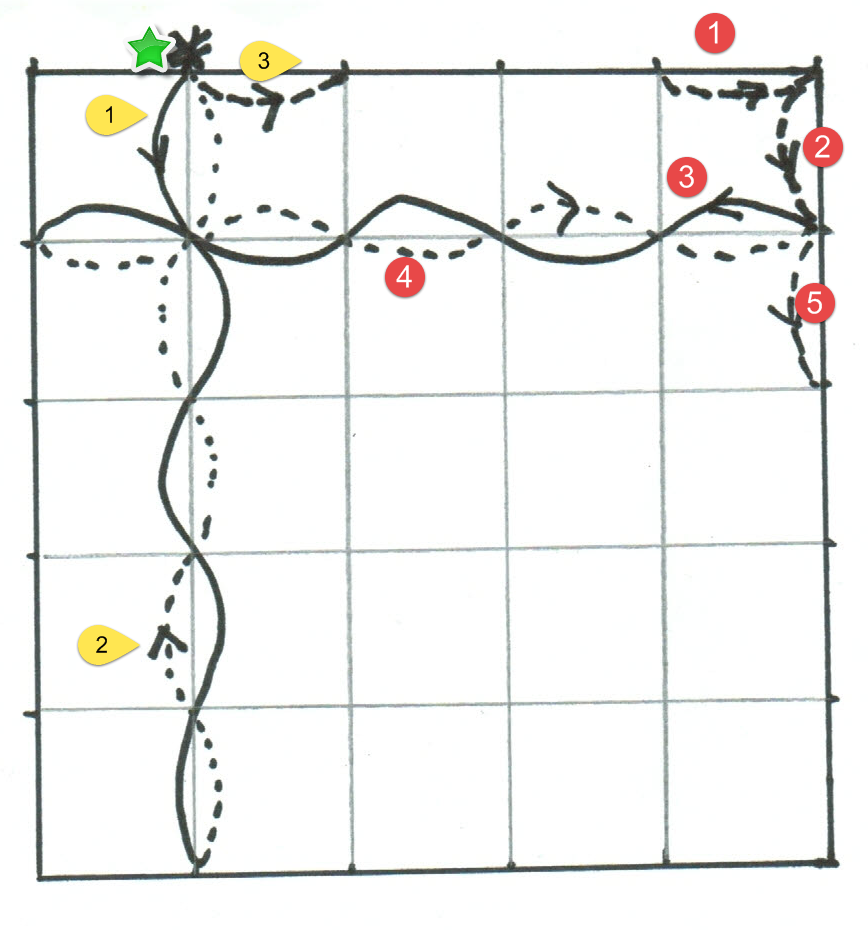
- Start at the green star position.
- ‘S’ curve down the column (solid line with yellow ‘1’ in the diagram).
- Come back up the column in the opposite ‘S’ curve direction (dashed yellow ‘2’ in the diagram).
- Stitch an arc to the next column (yellow ‘3’).
- Repeat steps 2 to 4 for all columns (NOT shown on diagram).
- When you’ve finished the columns, stitch an arc to the edge of the block (red ‘1’ in the diagram).
- Stitch another arc down to the first row (red ‘2’).
- Stitch an ‘S’ curve along the first row (red ‘3’; solid line).
- When you get to the end of the row, stitch back in the opposite direction (red ‘4’; dashed line).
- At the end of the first row, stitch an arc down to the next row (red ‘5’).
- Repeat for the rest of the rows (NOT shown on the diagram).
- At the bottom, stitch arcs all the way along the bottom, then up the left side (NOT shown on diagram), back to the start position (green star).