Community Quilt 155

20 07 2014

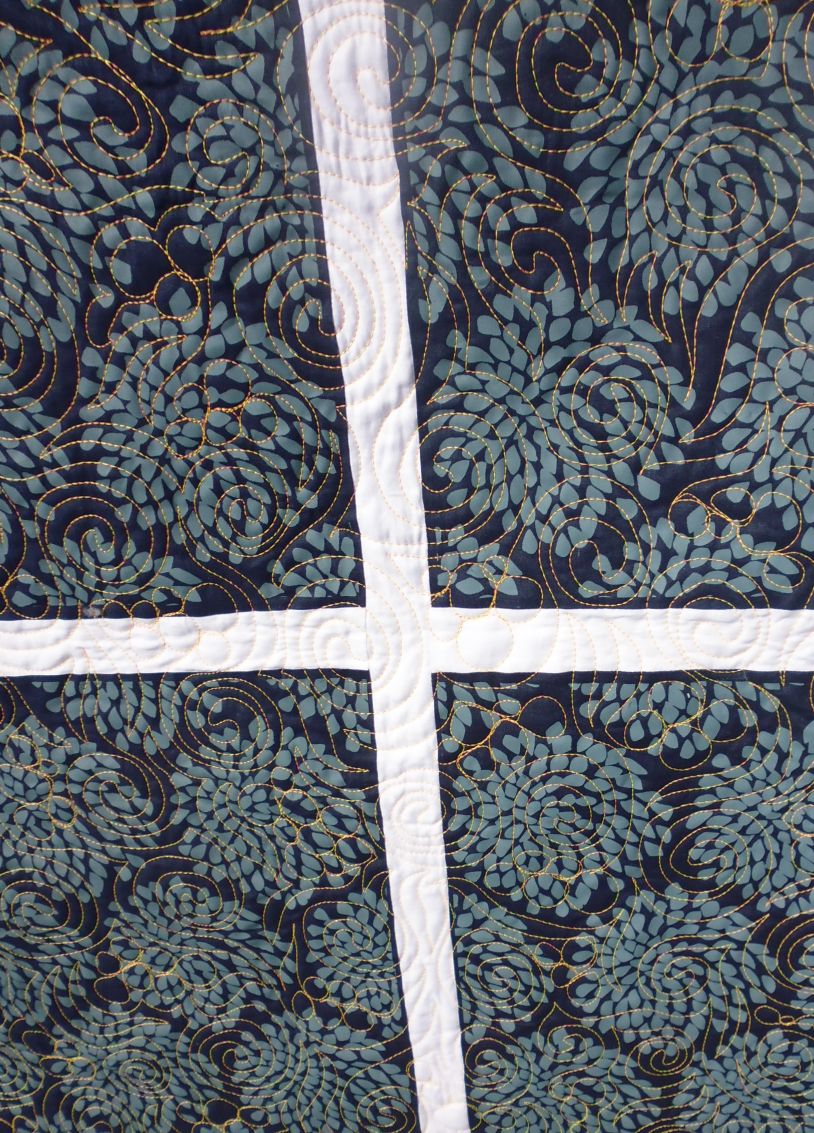
This large quilt was unusual in that it was made up of 9 large rectangles of fabric divided by white sashing strips. From the ‘hand’ of the fabric, I suspect the rectangles were screen printed. I liked the almost Japanese feel of the fabric, with the indigo and the stylised chrysanthemums (that’s what I saw, anyway;-) It was quite a large quilt.

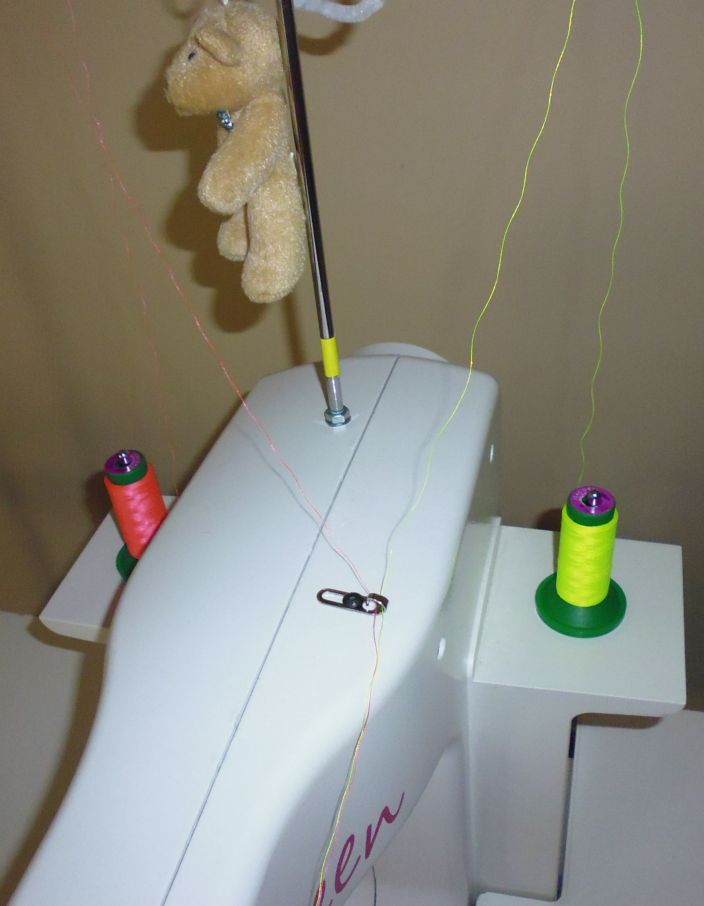
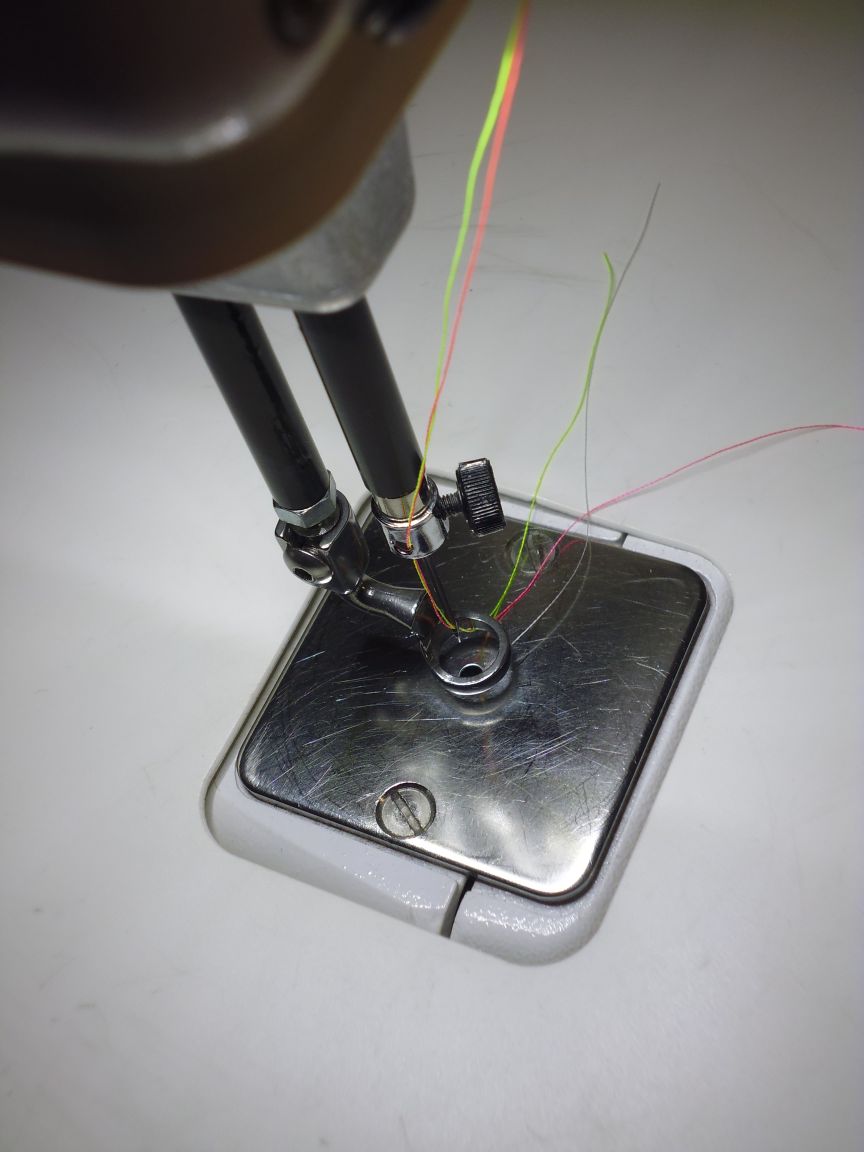
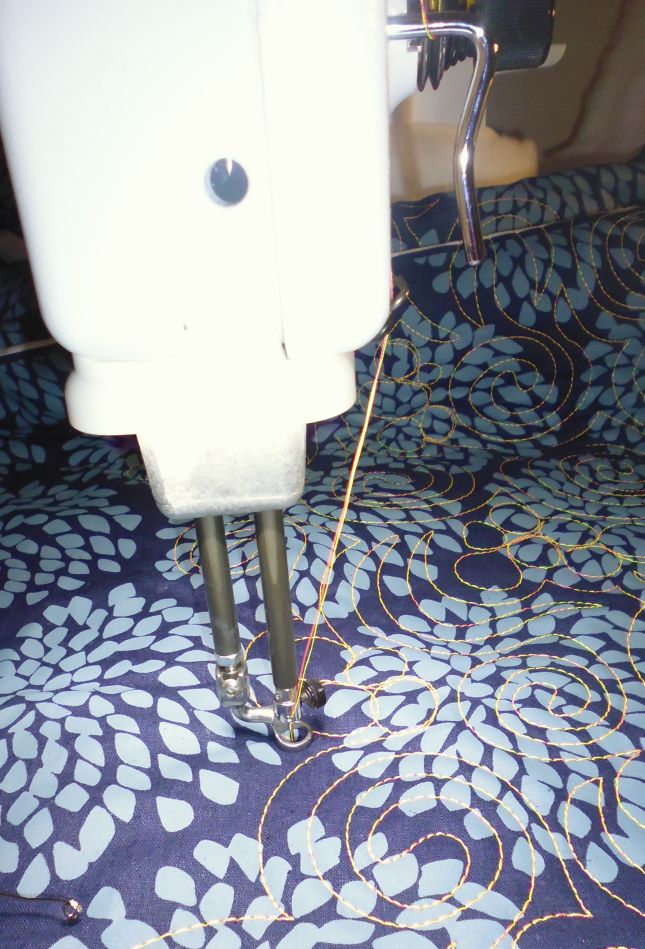
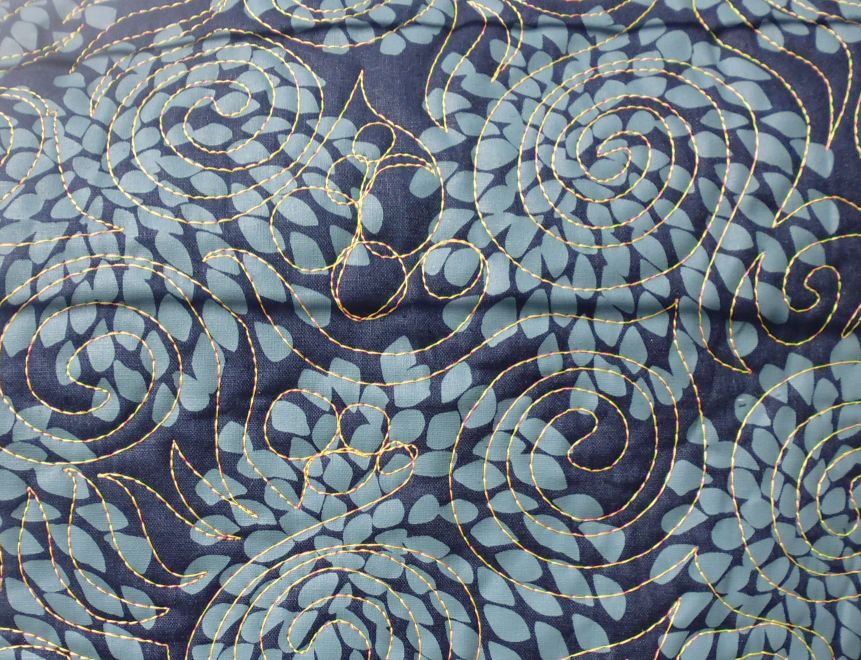
How to quilt it? I had some thoughts when I first saw it — perhaps uneven parallel lines almost like a tartan? Perhaps large circles or wreaths? My thoughts on this waxed and waned, but what didn’t change was my idea to quilt it using fluoro (neon) thread. I auditioned a few threads against the fabric, and while I quite liked fluoro orange against the dark blue, I decided to try something different and blend a fluoro lime green and fluoro pink! I’ve only stitched with two threads once before, and I was a bit hesitant as the weight of the combined threads through the needle eye might cause shredding or breakages. But I worried needlessly — the two threads I chose worked PERFECTLY through the size 18 needle I used, and I didn’t have a single thread issue across the whole quilt.

As far as the quilt motif went, I decided to follow the organic roundness of the flowers (or are they fireworks?) and do a mostly rounded motif, with some ‘flames’ scattered between. In the end I did lots of spirals, segueing into flames and/or bubbles. I really liked how the threads played together — despite them being fluoro pink and lime green, the overall effect is a sort of thick yellow, and it’s only when you get close that you can see the different threads weaving around each other.

One final thing — if you’re ever handing off your quilts for someone else to quilt (or if you’re going to quilt them yourself) PLEASE make sure that ALL pins are removed from inside the quilt layers. I ran over a small safety pin a couple of times and was just very lucky that I didn’t break a needle, jam the needle in the bobbin case, and/or throw the timing out on my machine. Had the timing been thrown out, it would have cost me a 4-hour round trip to the city plus about $50 to $100 to get it fixed!! That’s one expensive safety pin!

(Click on a photo to view it larger)

quilt155_04

quilt155_07

quilt155_02

quilt155_01

quilt155_09


quilt155_08

quilt155_05


The back:


quilt155_06

The tiny safety pin that I missed, which was buried inside the quilt layers:

quilt155_03


Threads used:

  • Top: Both Isacord 40 wt threads — colours 1940 and 6010
  • Bottom: Fil-Tec Magna Glide pre-wound bobbin (60 wt, white)


A mighty tree falls

14 07 2014

I left my quilting retreat weekend early last Monday as there was a storm raging and predicted to get worse. It was about a 90-minute drive home for me, through some of the most forested regions in Western Australia and I didn’t want to be on that road when the very strong winds hit. I made it home safely, but not without some white knuckle moments.

I didn’t have a chance to take photos of it, but the estuary, which is usually very calm, had two to three foot waves that were crashing over the road. The high tide didn’t help…

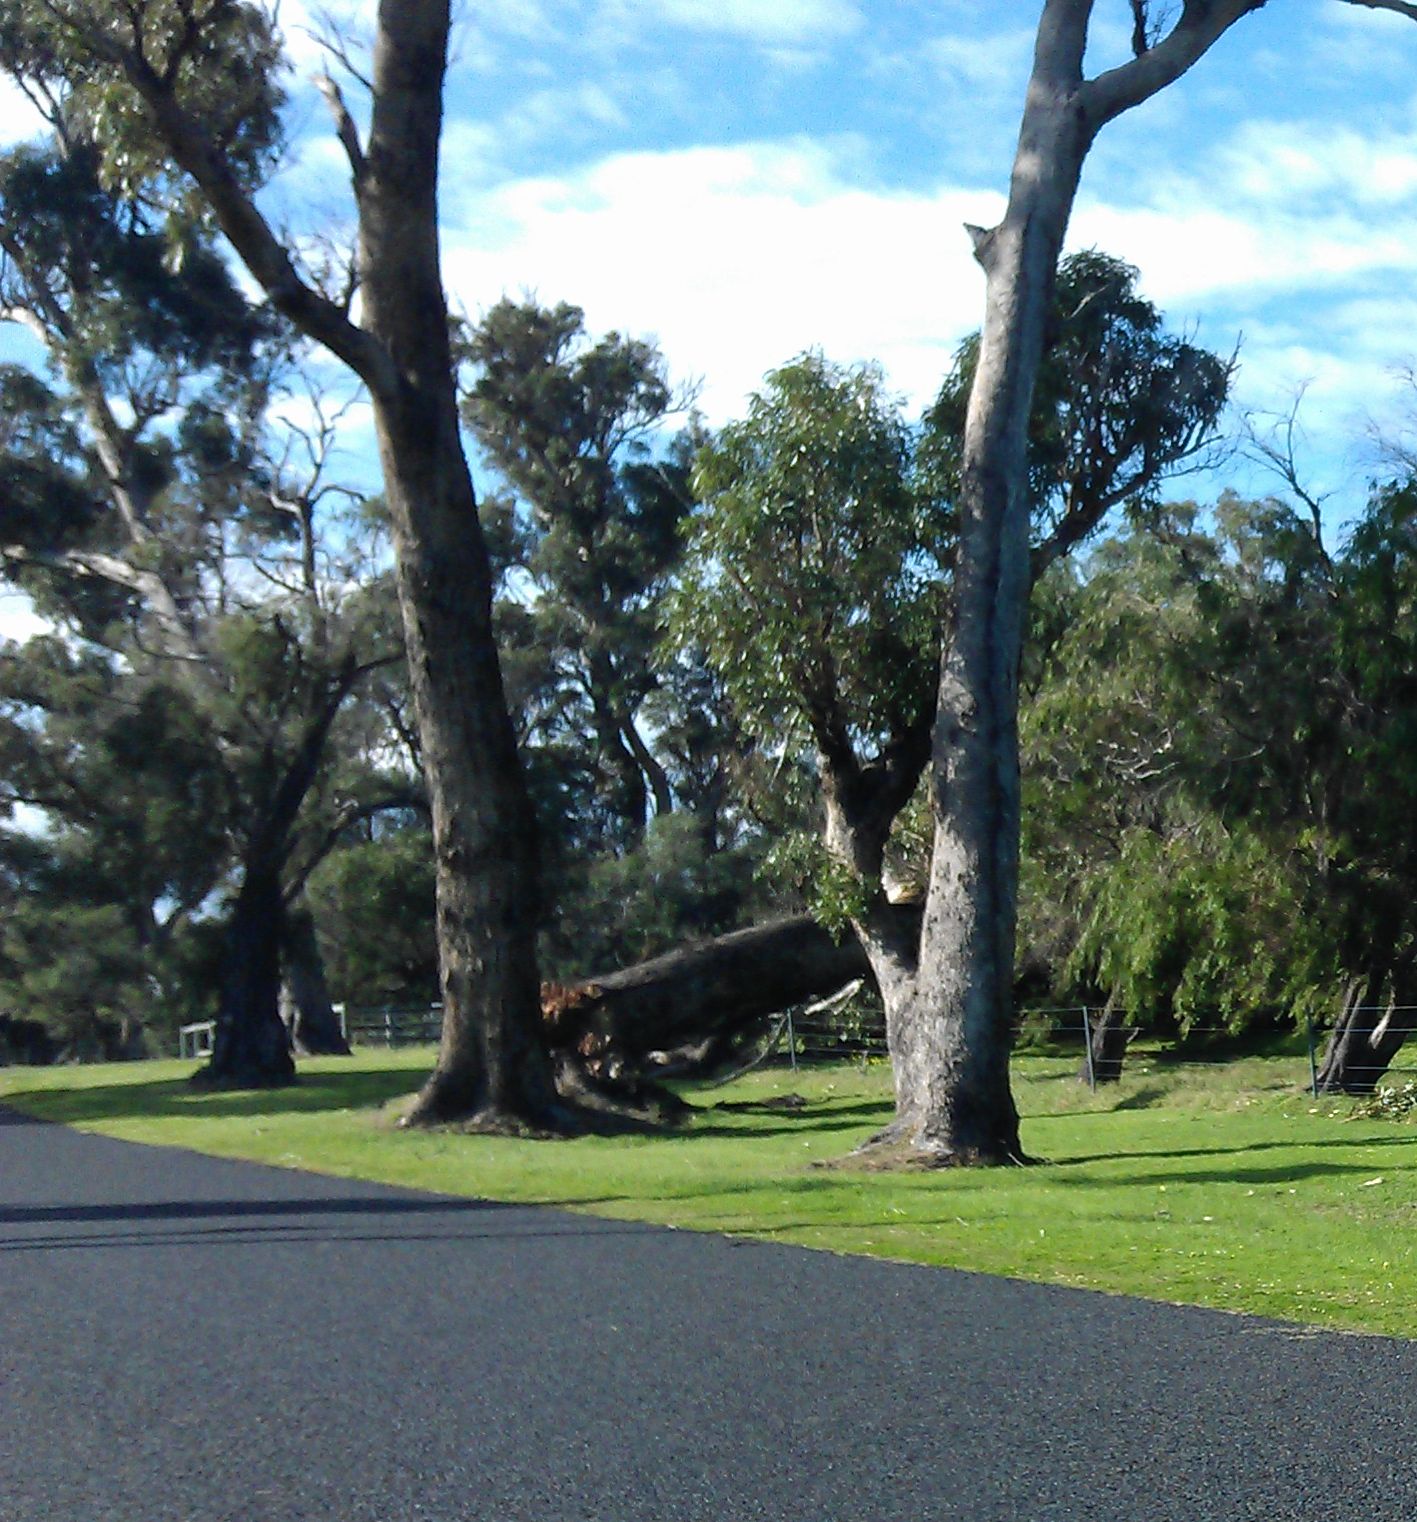
Some days later I drove into town and saw this mighty (Tuart?) tree crashed into a paddock close to us. Fortunately, it didn’t crash onto the road. This tree must have been rotten inside, as the outside looked healthy and the leaves were all healthy too. Such a shame.

storm01

storm02

Update: About two weeks later, this was all that remained:
P1000177


P1000179

Update June 2015

Almost a year later, and new growth has sprung out of the old stump!

P1040644


Community Quilt 154

14 07 2014

I quilted four Community Quilts on my quilting retreat weekend last weekend. I didn’t keep track of the threads I used, so unlike the others I’ve documented, you won’t get thread choices in these posts.

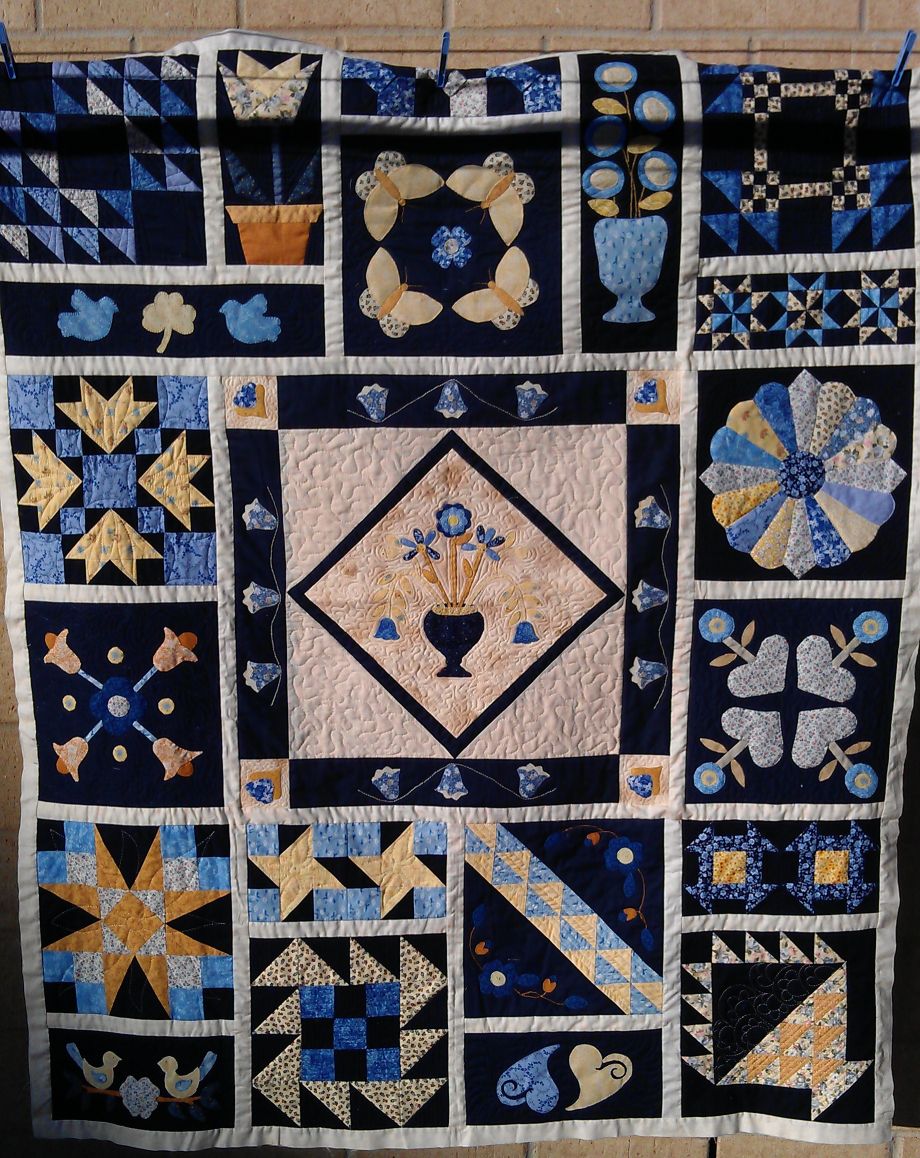
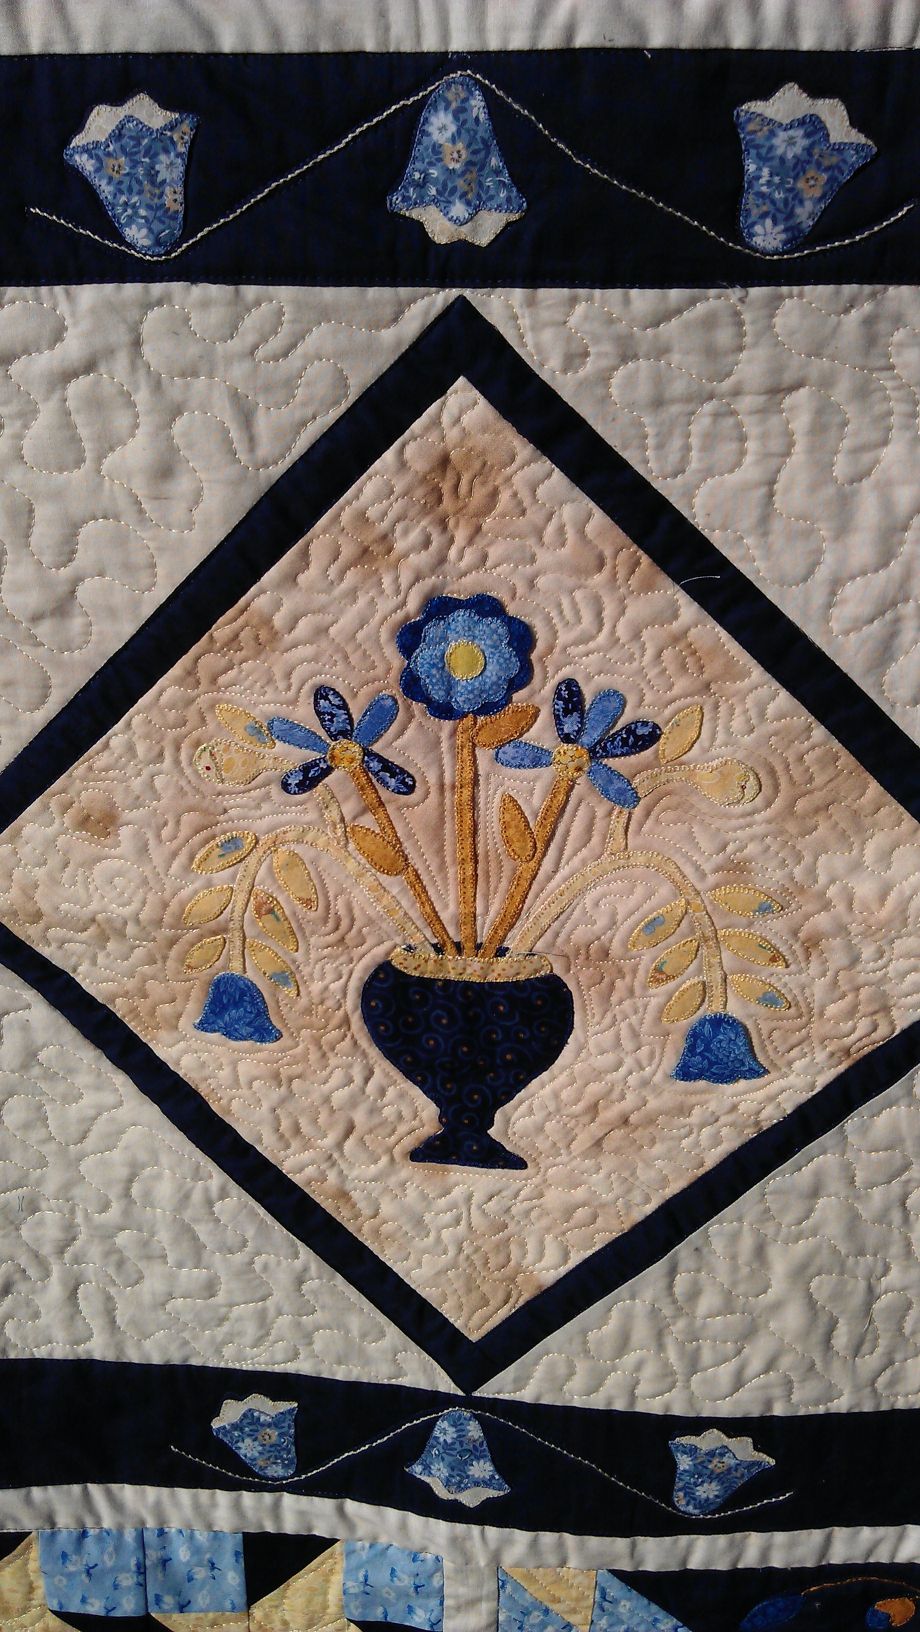
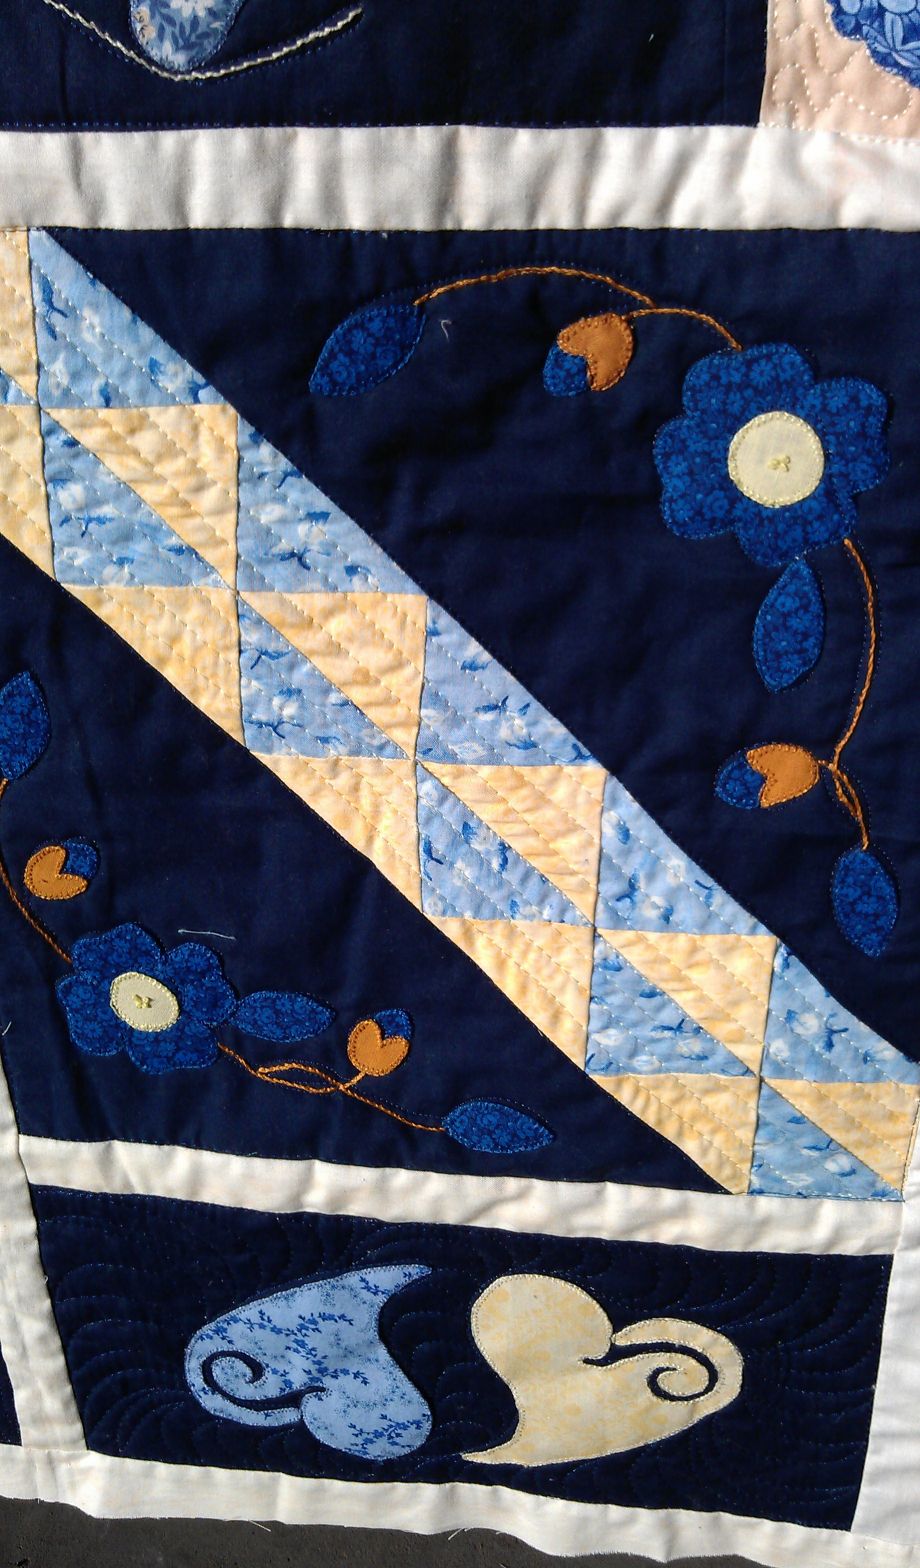
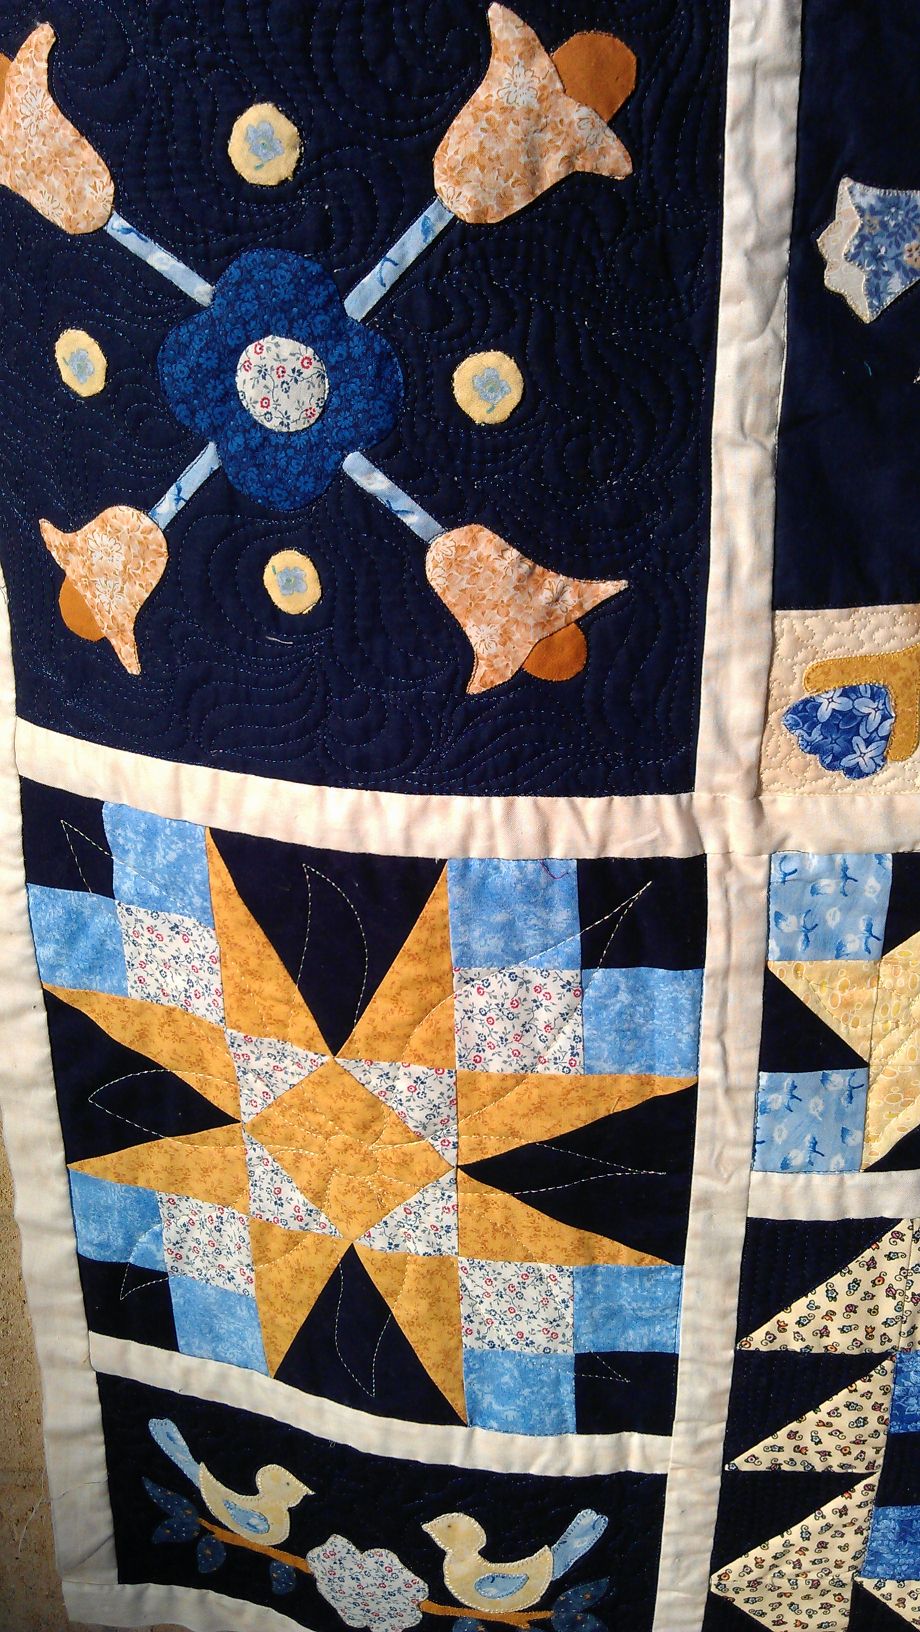
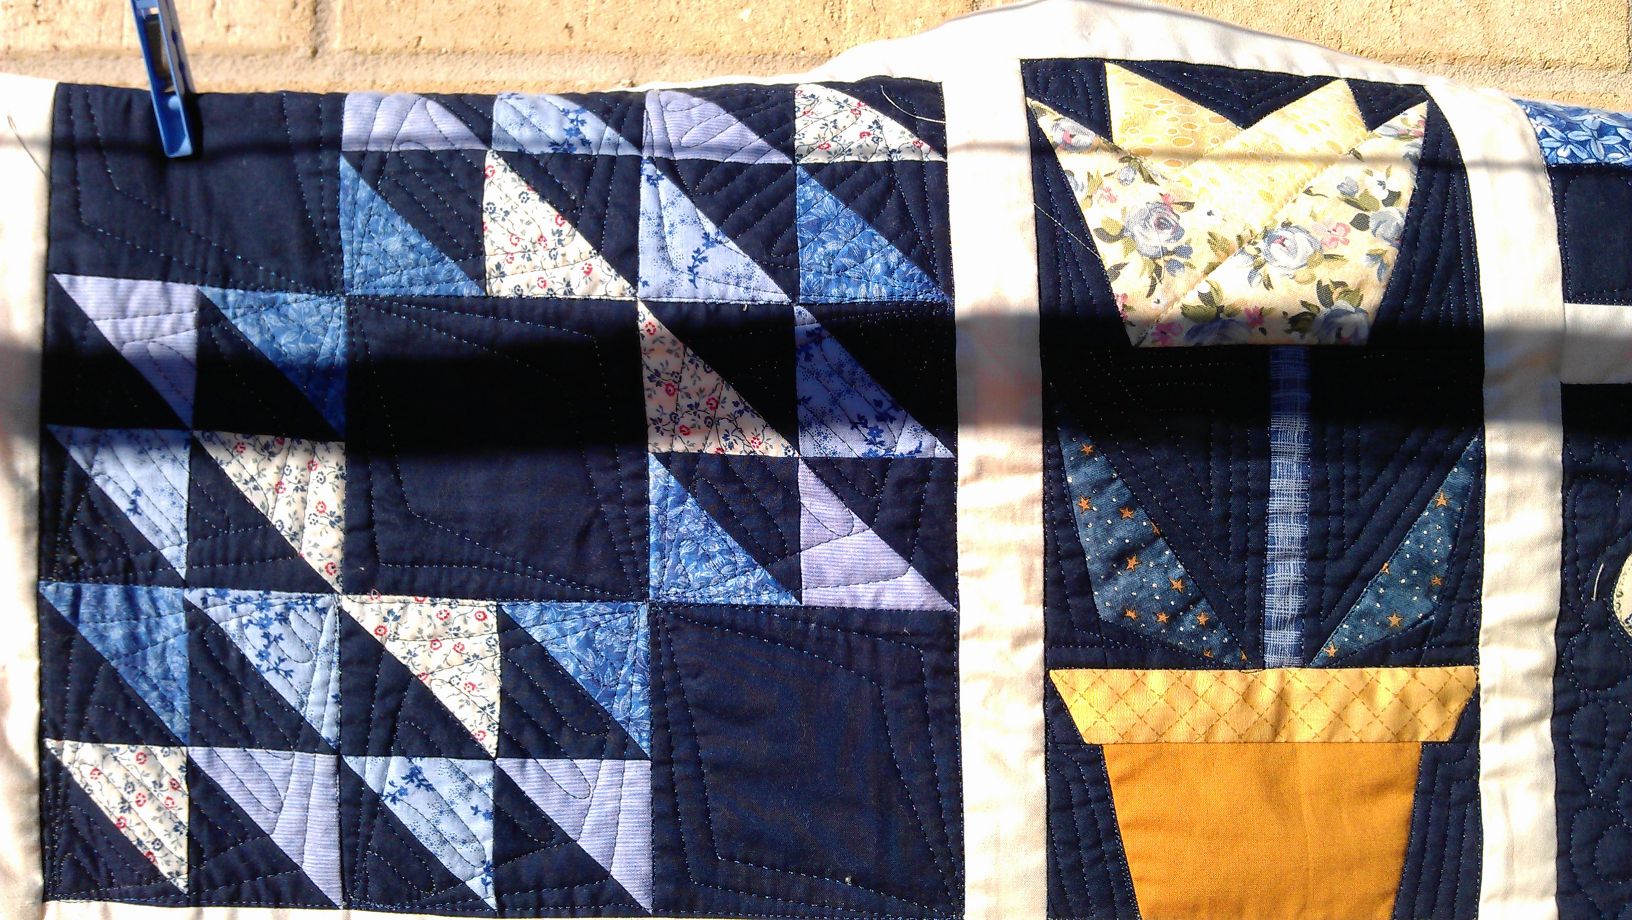
What a pretty quilt this was! Navy and yellows just go so well together. There was a lot of work in this quilt, and like #152, it just cried out for different quilting motifs in each block.

As usual, I started by stitching in the ditch around each block, then around each appliqued piece. Once that was done (yes, it took a few hours…), I tackled each block separately, deciding on one or more quilting motifs to stitch in it. I did all the navy blue stitching first, then the stitching with the yellow thread.

(Click on a photo to view it larger)
quilt154_01

quilt154_12

quilt154_09

quilt154_08

quilt154_07

quilt154_06

quilt154_05

quilt154_04

quilt154_03

quilt154_02

quilt154_11

quilt154_10


Community Quilt 153

14 07 2014

I quilted four Community Quilts on my quilting retreat weekend last weekend. I didn’t keep track of the threads I used, so unlike the others I’ve documented, you won’t get thread choices in these posts.

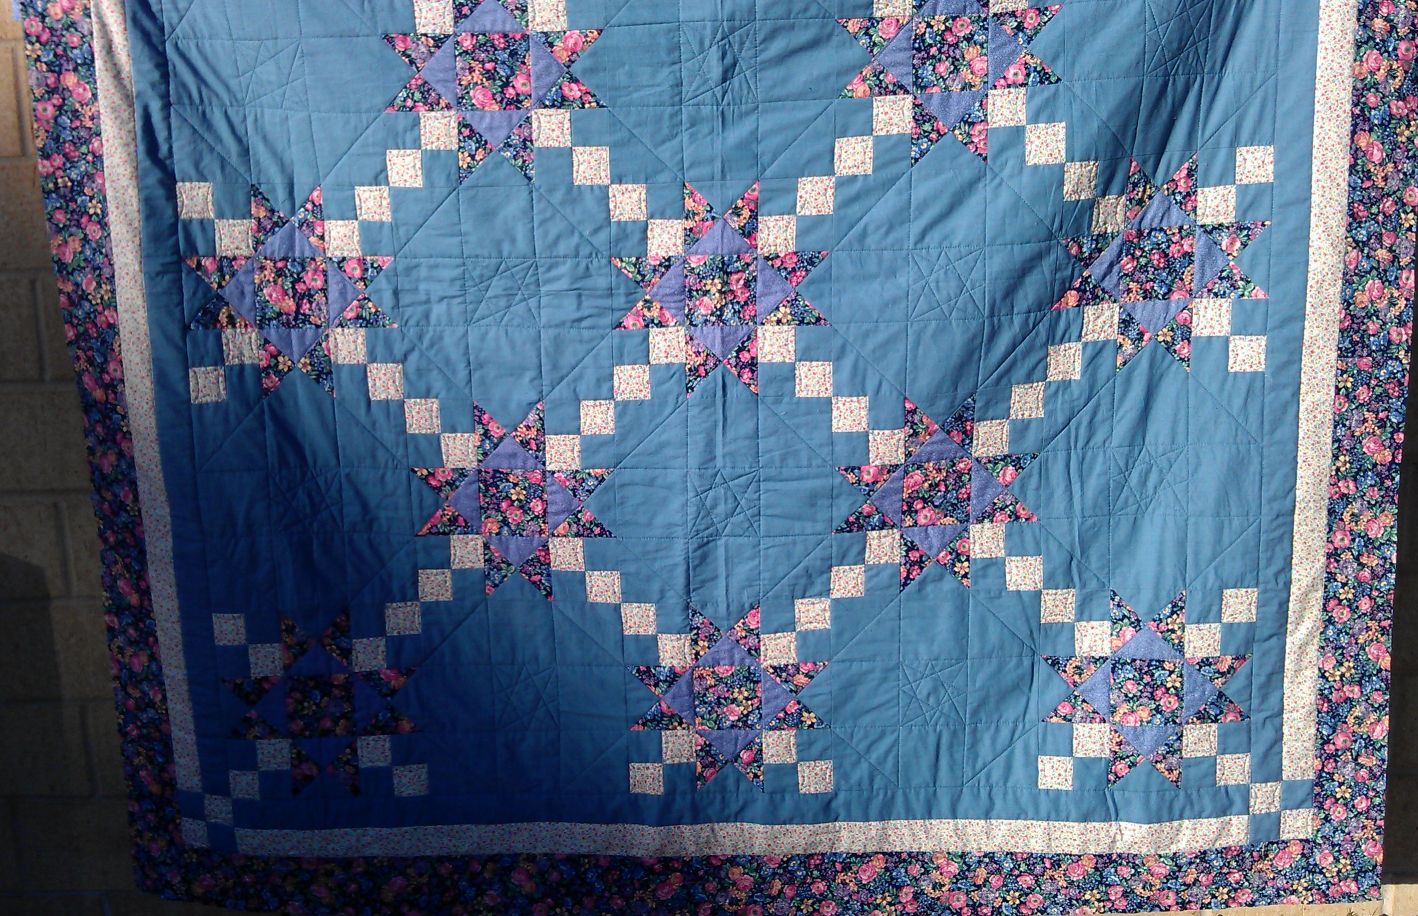
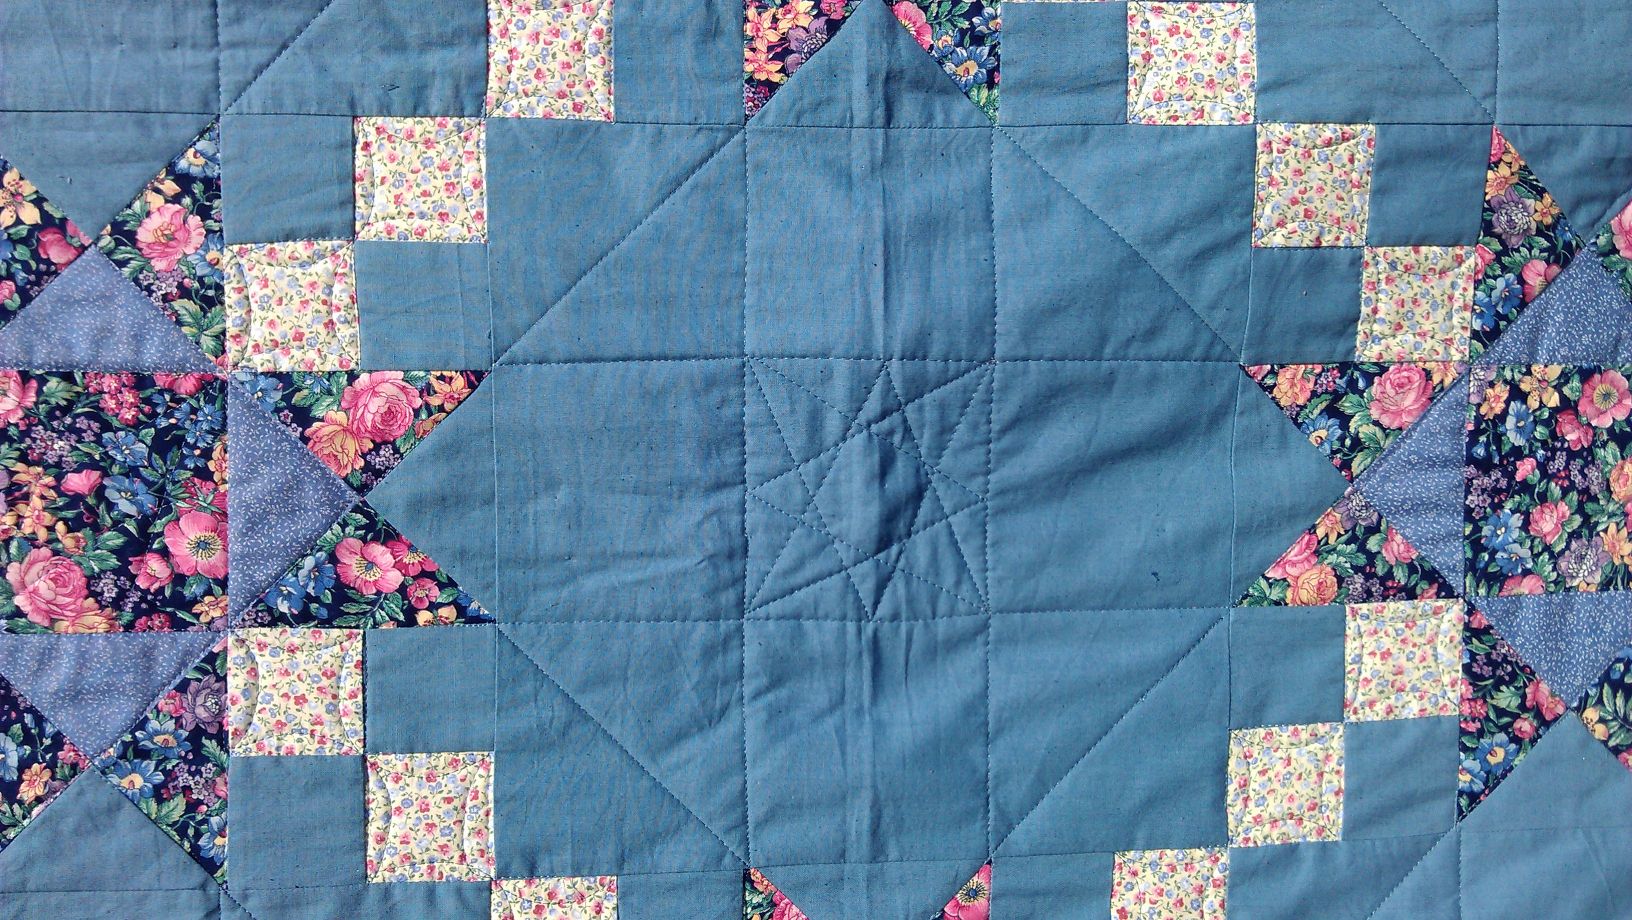
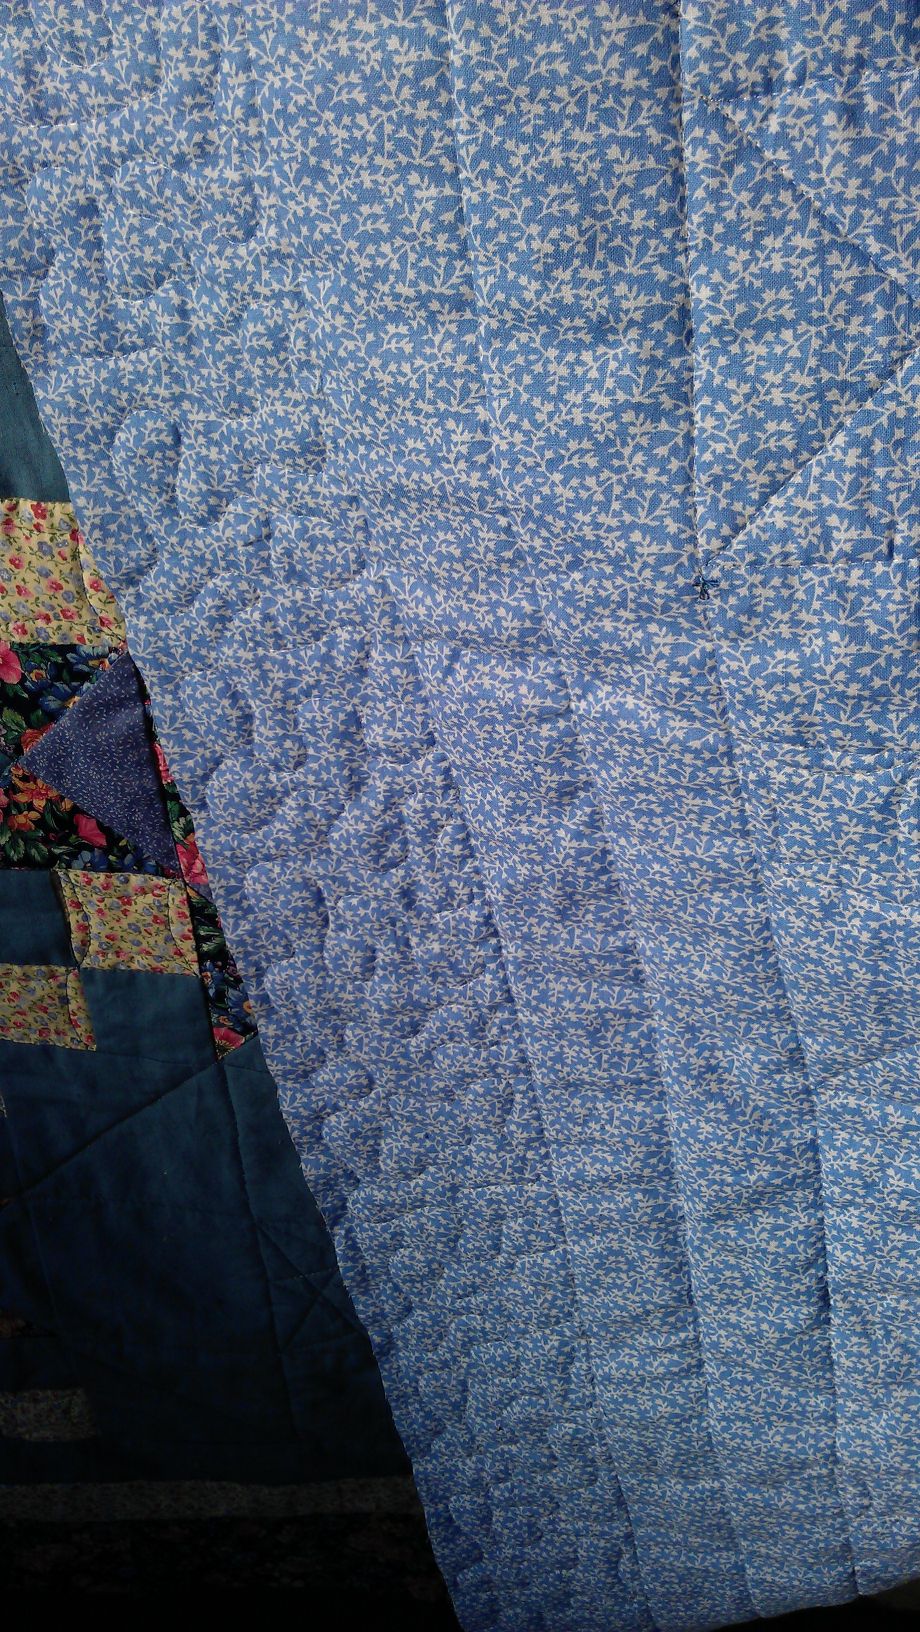
Unlike most of the quilts I’ve quilted for the Community Quilts program, I did NOT like this quilt. I didn’t like the colours, the fabrics used, or the size of it (it was HUGE), though I didn’t mind the backing fabric 😉 The plain blue fabric used on much of this quilt just didn’t match (in my eye, at least) the other colours used, and I suspect it was old sheeting or old fabric from someone’s stash. The size of the quilt made it a real pain to move around, and, as I was away from home, I didn’t have my improvised bungee cord system to help prevent drag and hold up the quilt, so my shoulders were really aching by the time I finished it.

To avoid looking at that horrible blue for too long, I took the advice of one of my quilting buddies (none of whom liked this quilt’s colours either!) and just did a simple straight line motif to hold the layers together.

I started by stitching in the ditch around each star and the blocks making up each star and the joining squares. Then I used my Line Tamer ruler to stitch straight lines joining the points of the stars to each other, then to create a ‘wonky’ star in the centre of each of the expanses of blue fabric. In the border, I did a large meandering stipple.

I was glad when it was done and I could fold it up.

(Click on a photo to view it larger)
quilt153_01

quilt153_02


Back:

quilt153_03


Community Quilt 152

14 07 2014

I quilted four Community Quilts on my quilting retreat weekend last weekend. I didn’t keep track of the threads I used, so unlike the others I’ve documented, you won’t get thread choices in these posts.

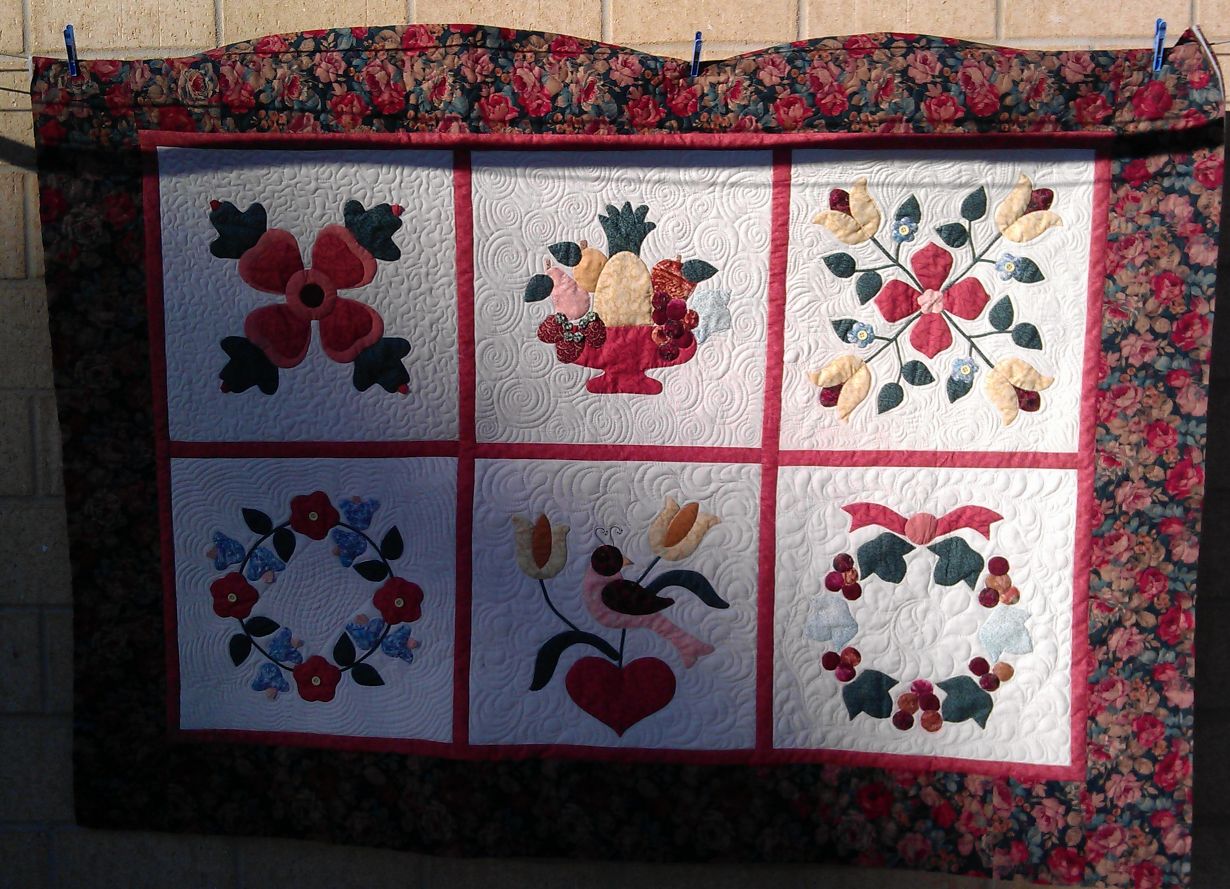
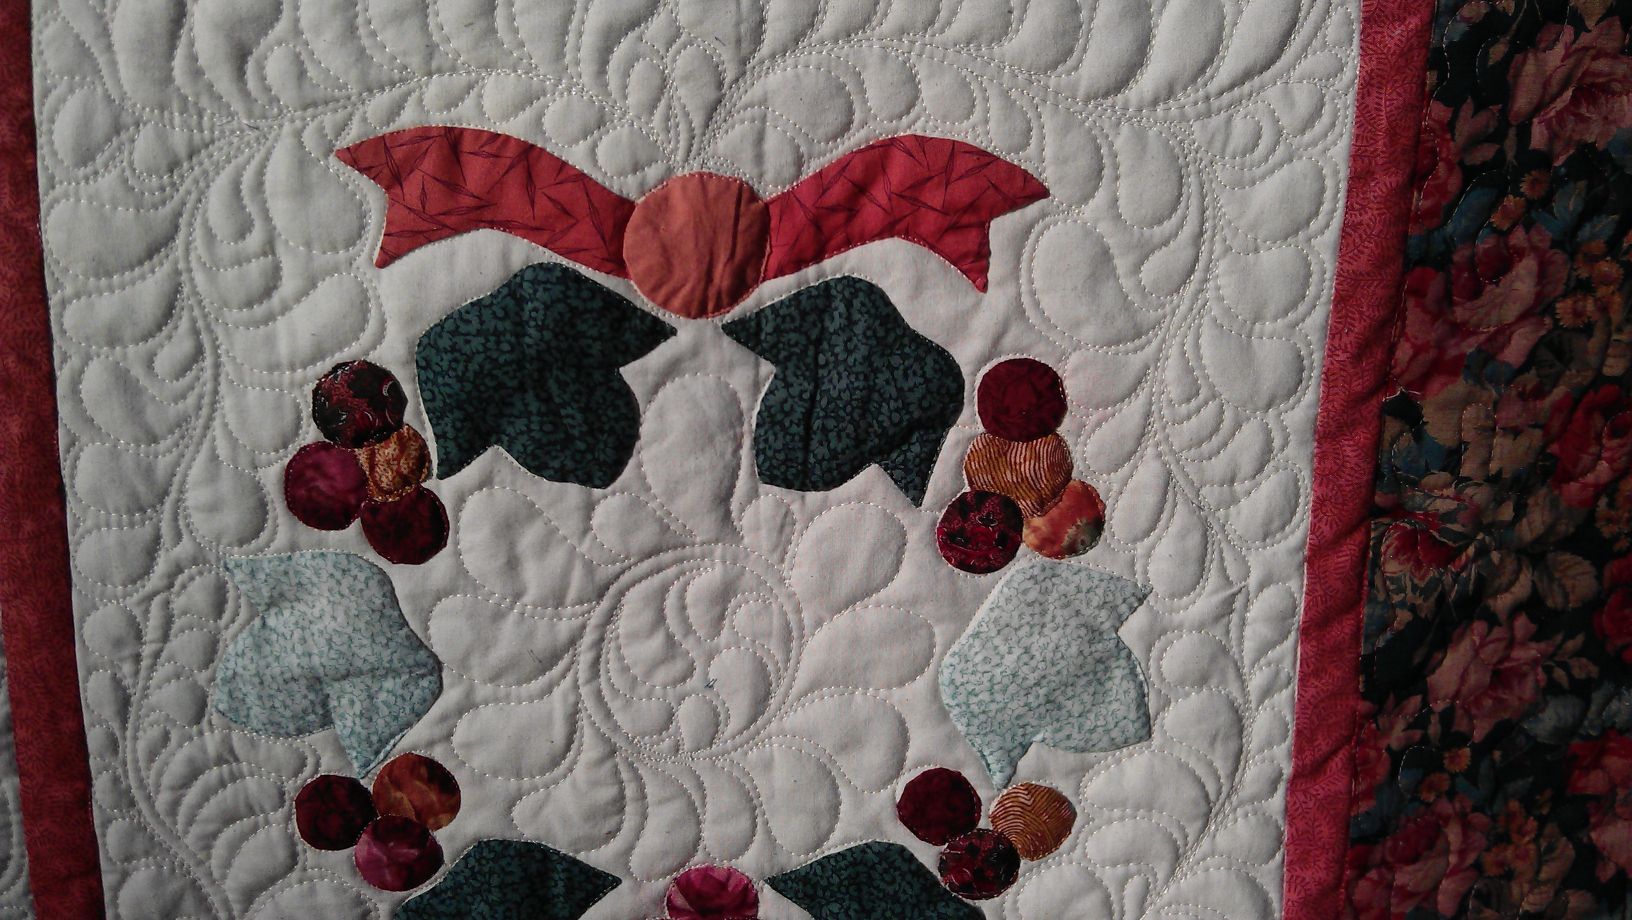
This quilt just screamed out for different quilting motifs in each block, so that’s what I did! I stitched in the ditch around each block first, and around the appliqued centres, before stitching a different rounded motif in each block.

I did a large meandering stipple in the outer border in a variegated thread that blended with the fabric.

(Click on a photo to view it larger)
quilt152_01

quilt152_07

quilt152_06

quilt152_05

quilt152_04

quilt152_03

quilt152_02

Back:

quilt152_08


Community Quilt 151

14 07 2014

I quilted four Community Quilts on my quilting retreat weekend last weekend. I didn’t keep track of the threads I used, so unlike the others I’ve documented, you won’t get thread choices in these posts.

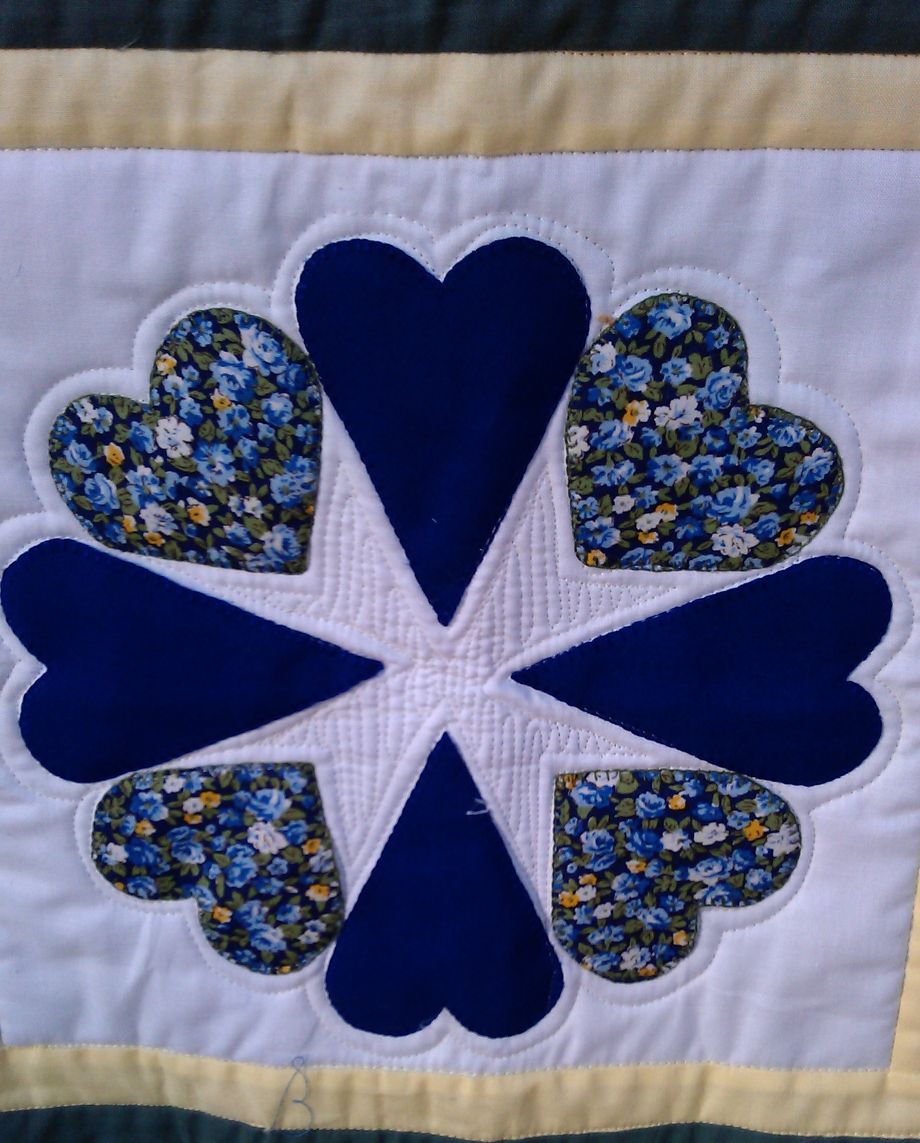
This first one had lots of hearts in each block forming a central star-like shape. I stitched in the ditch around all the blocks and borders first, then around the hearts to stabilise the quilt, then echoed around the hearts to make them ‘pop’ from any decorative stitching. I then free motion stitched ‘straight’ lines in the centres of the stars, and in the very busy floral fabric sashing strips (with a spiral at each central part where they joined). I left the solid yellow and green borders in each block free of stitching. Finally, I stitched large spirals in the border fabric.

(Click on a photo to view it larger)
quilt151_01

quilt151_02

quilt151_03

Back:

quilt151_04


New breakfast taste sensation

14 07 2014

As an Aussie, I like my Vegemite! I don’t eat it often, mostly because I rarely have toast for breakfast, but like most Australians, I was born and bred on the stuff so when I do have it, I enjoy it. The standard way to eat Vegemite is lightly smeared on buttered toast, or on fresh bread with (hard) butter, or perhaps with cheese. Other options I’ve tried and enjoyed are with cheese and celery, and even just with celery.

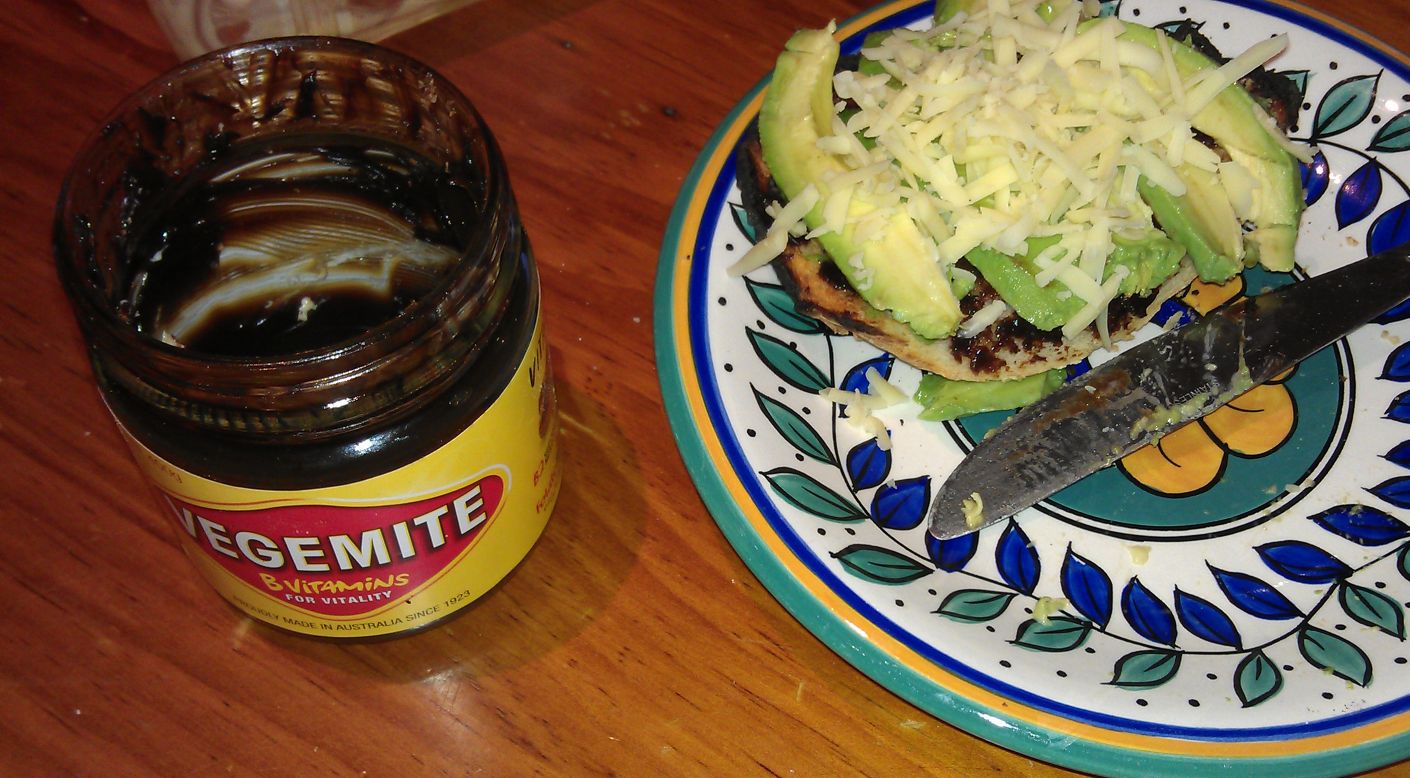
On my recent quilting retreat weekend away, I toasted the crusty end of a loaf of bread and was going to have it with avocado, but one of the girls suggested Vegemite then avocado and then topped with cheese. Yummo! It was great! I’ll add that one to my breakfast repertoire.

2014_retreat_breakfast


Slow-cooked pork

29 06 2014

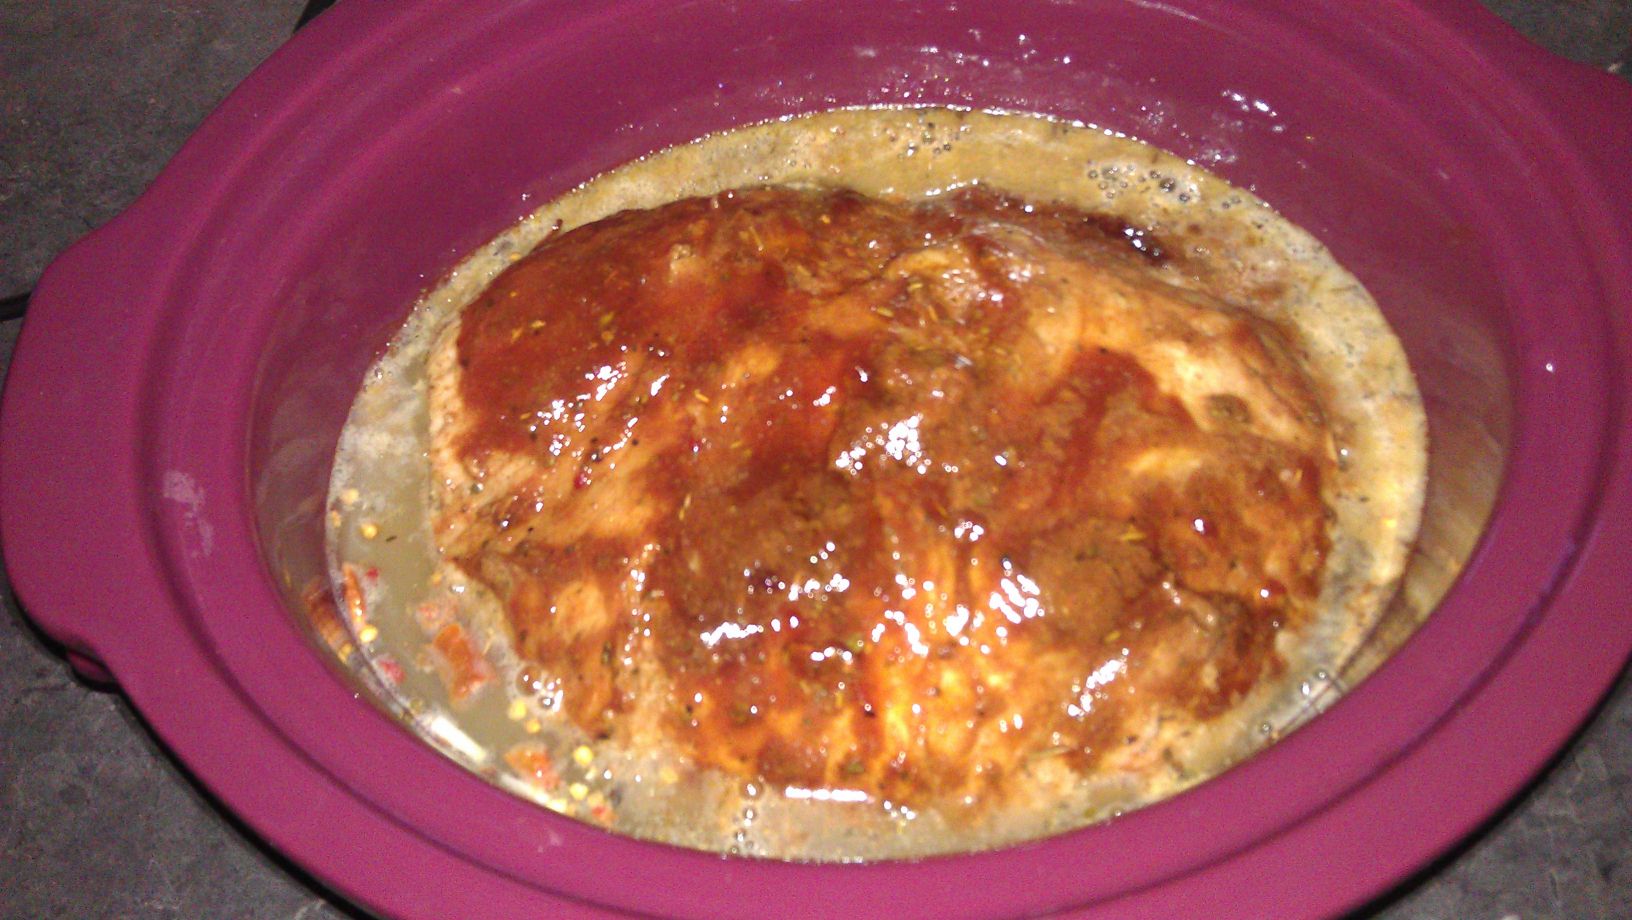
I’ve made this several times now, and I keep changing the basic recipe 😉 This time, I brushed the boned leg of pork with smoky BBQ sauce before putting into the cooker, and during the cooking process. And on the advice of the butcher, I took off the skin before putting the pork in the cooker and cooked it separately in the oven for an hour and a half to make a wonderfully crisp crackling (olive oil and salt rubbed in to the skin first).

And this time, I also made jalapeno poppers (baked not fried) and baked some ready-to-bake baguettes to serve with the pork.

Instead of pulling it apart at the end, I sliced the pork quite thickly and we had it on the hot freshly baked baguettes, with extra smoky BBQ sauce and the jalapeno poppers on the side. The pork was unbelievably tender and delicious (the butcher also said he only ever gets pork from sows as it’s much tenderer and less ‘smelly’ than pork from boars).

The jalapeno poppers were good too — I didn’t make the ‘essence’ that’s in the recipe, just added cumin and a Cajun spice mix to the cheese mix. Interestingly, the jalapenos varied in heat — some were quite bland, others very bitey! Four jalapenos resulted in 8 halves — 3 for me and 5 for my DH, which was plenty.

The photo below is while the pork is cooking after a basting of BBQ sauce. It’s doesn’t look very appetising, but it sure tasted good!

slow_cooked_pork


Community Quilt 150

29 06 2014

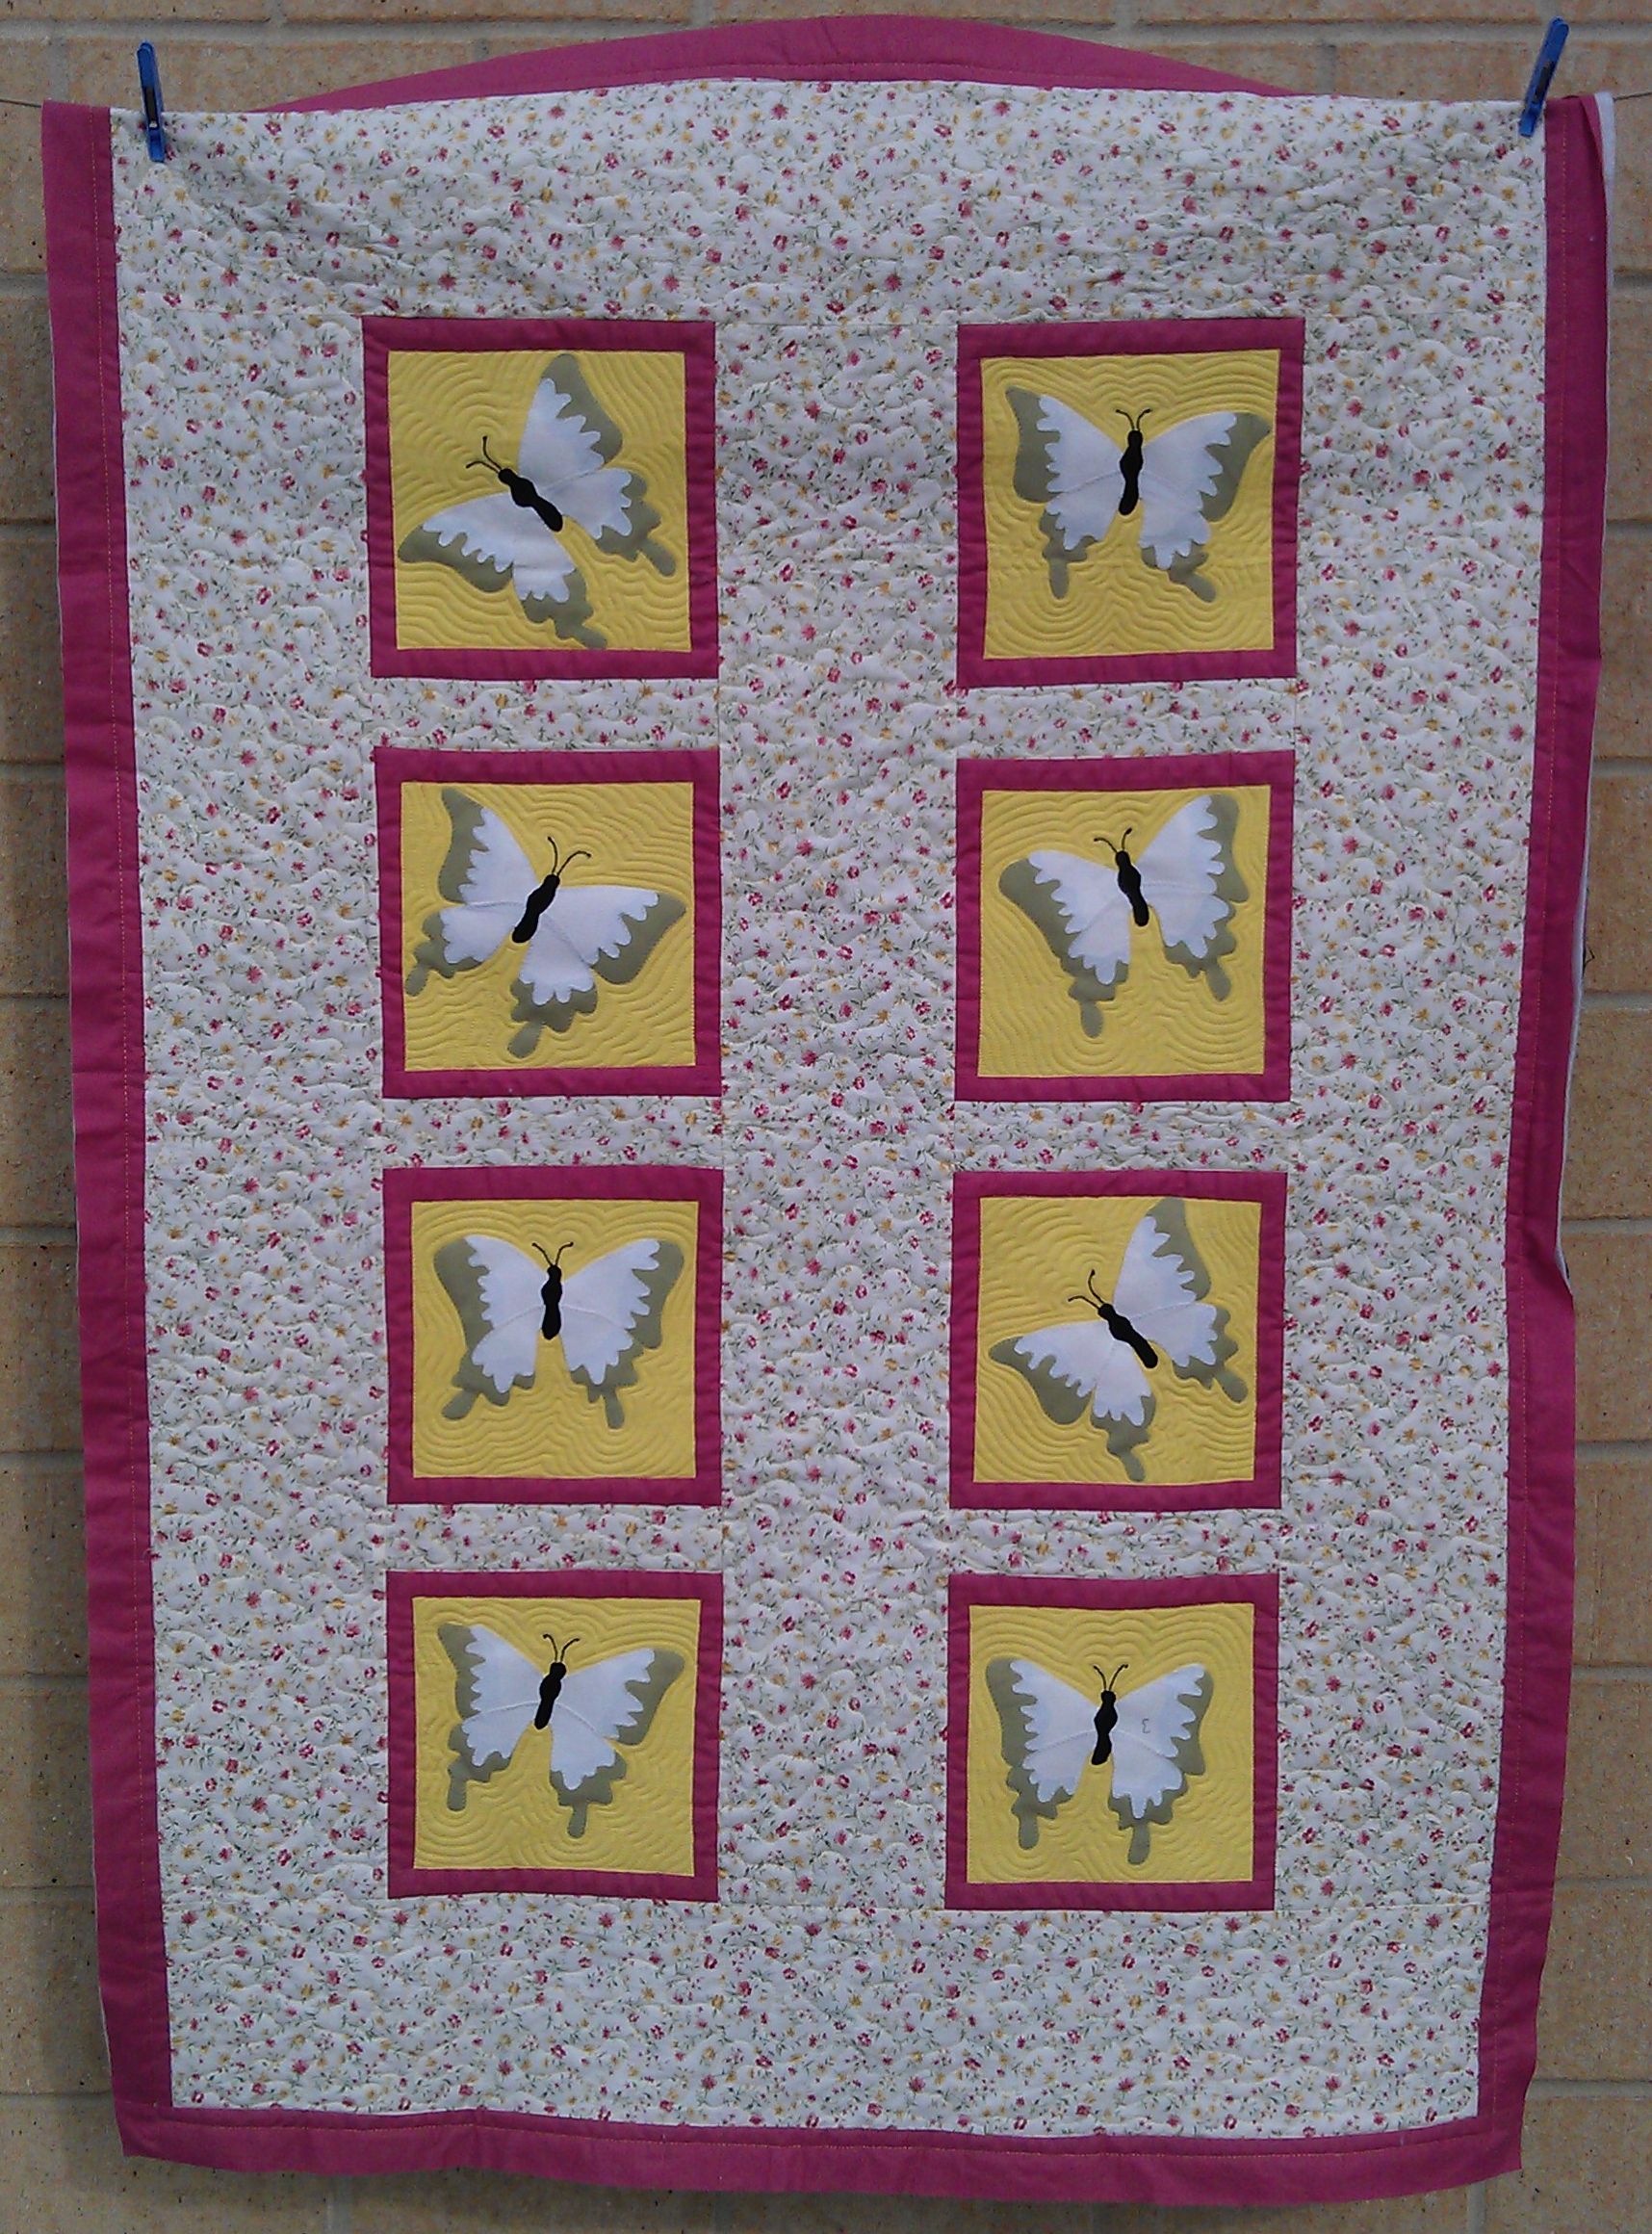
I called this one ‘Quivering Butterflies’!

I started by stitching in the ditch around each butterfly block (inside and out), around the border, then around each appliqued butterfly to stabilise the quilt. Next, I echo quilted around each butterfly, giving a quivering, shaking, scared effect 😉

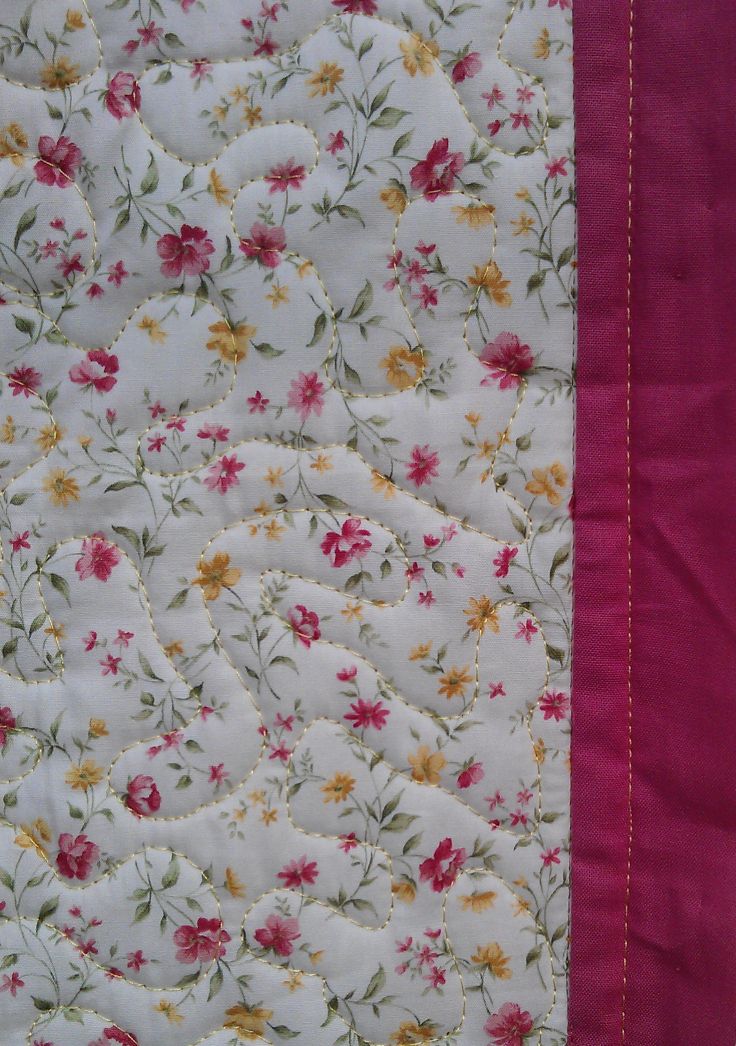
As the floral fabric was so ‘busy’, I just did a large meandering stipple in that area, followed by a simple straight line echoing the edge of the border.

It took about 3 hours to quilt this quilt — I was able to really speed along (70% speed on my Sweet Sixteen) in the meandering stipple as I have a lot of ‘muscle memory’ for this motif.

(Click on a photo to view it larger)

quilt150_01

quilt150_03

quilt150_02

Threads used:

  • Top: Wonderfil Deco-Bob tan thread for stitching in the ditch (80 wt, colour DB 414); Fil-Tec Glide ‘Cornflower’ (40 wt, trilobal polyester, colour 80120)
  • Bottom: Fil-Tec Magna Glide Classic pre-wound bobbin (white)


Gwen’s quilt

29 06 2014

This was a BIG quilt (68 x 83 inches), and HEAVY (the batting, I suspect — see my notes on the batting below the main pictures). It was a bit of an effort to quilt it as the drag and weight of the quilt did their best to usurp my attempts! I had it attached to my bungee cord system, and while that helped, it only mitigated against the weight of this quilt, not eliminating it completely.

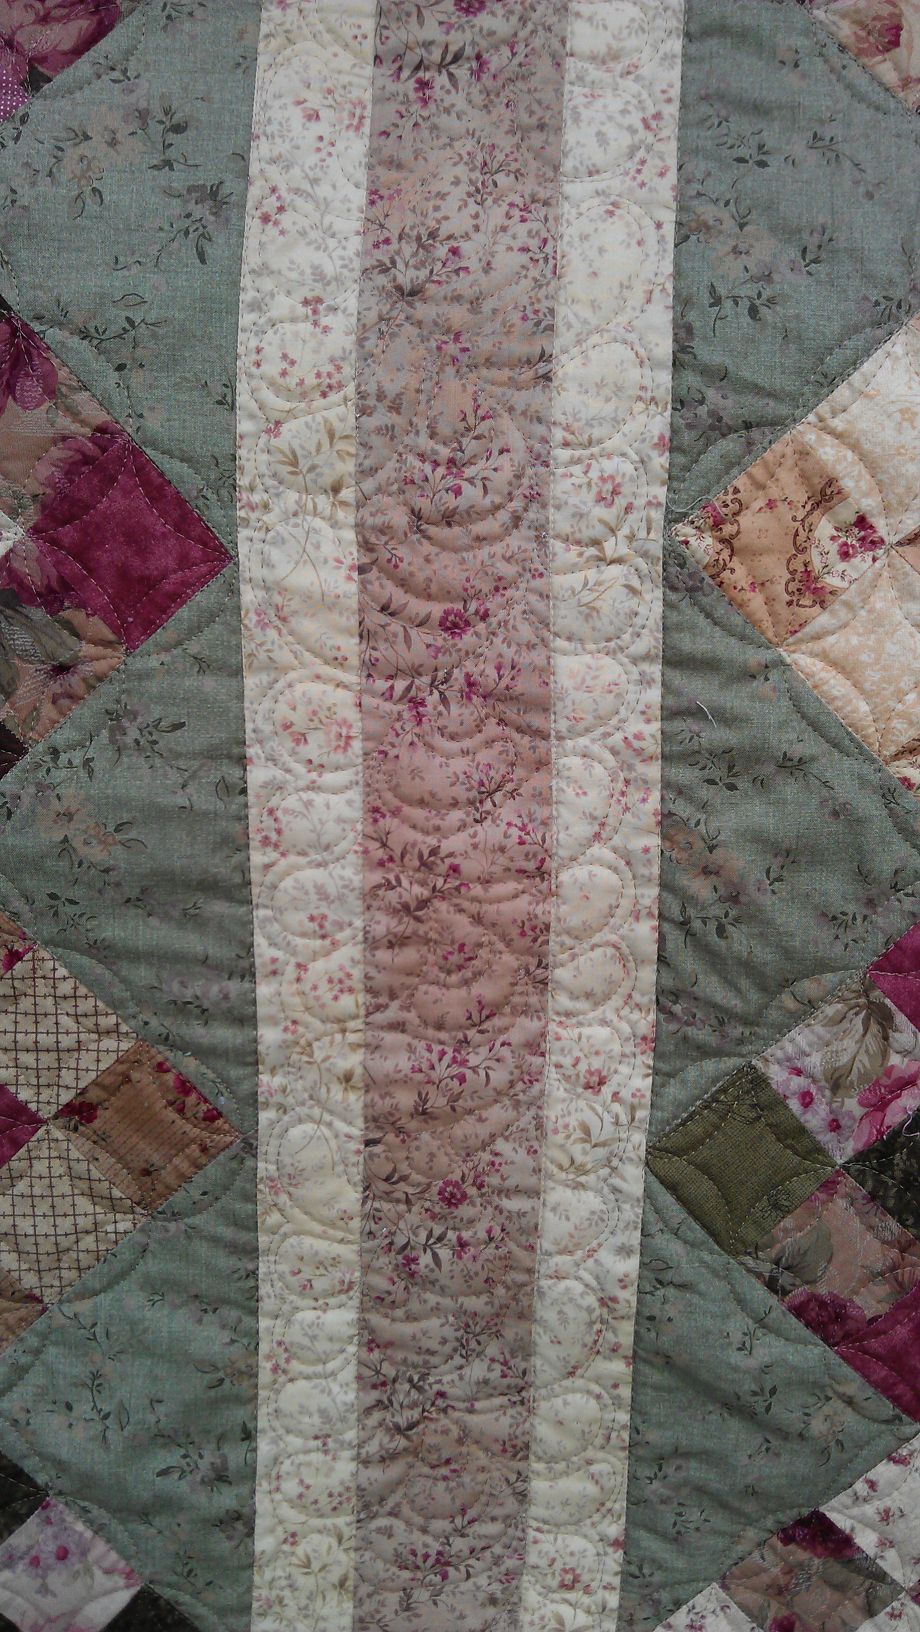
Gwen had made the quilt for a ‘traditional’ friend, and wanted me to do cathedral windows in the 9-patch on-point squares and just outside them, which I did, but only after I’d stitched in the ditch around all the blocks and along the strips — this was a puffy quilt. She had suggested an infinity rope design for the long dividing strips. I had an old stencil for that pattern, but I couldn’t find a single marker in my extensive collection that held the markings enough to quilt with, or that didn’t fade into the fabrics, or that I could quilt along with the puffiness without going off the markings. I attempted some markings and quilted them in small sections, but to be honest it would’ve taken about 20 hours just to do it that way — that’s just not cost-effective! So I unpicked the small section I’d done that way and went with more ‘traditional’ feathers in the striped sections — the feathers go up one strip and down the next strip, alternating across the quilt.

As Gwen didn’t want this quilt too heavily quilted, I didn’t do anymore quilting in the main top, and for the border I only did a large semi-circle motif, using a 4″ clam shell ruler.

Gwen had initially started quilting this beast on her domestic sewing machine — I’m surprised and impressed that she got as far as she did. But she had trouble not only with the sheer bulk and weight of the quilt, but also choosing a colour that blended well and didn’t stand out. I auditioned several threads, settling on a light tan 80 wt thread that would hardly show (the colour blended well, and 80 wt thread almost disappears into the fabric), thus letting the fabrics and the quilt top design take centre stage.

It took more than 10 hours to quilt this quilt.

gwens_quilt01

gwens_quilt02


gwens_quilt03

gwens_quilt04

Back:

gwens_quilt06

Now, about that batting…

The batting used in this quilt seemed to be a high-loft polyester batting. It was very heavy, and as a result caused a lot of drag. It was also very puffy and the fabric slipped on it, so I had to stitch in the ditch around almost everything to stabilise the quilt and stop any potential pleats and puckers before they could occur. Gwen had already pin basted the quilt for me, so that at least was done. She’d also stitched in the ditch down some of the strip seams, so that helped too.

With flatter battings (e.g. cotton, bamboo, wool), the fabric will often stick to the batting easily, thus requiring fewer basting pins and possibly not even requiring stitch in the ditch (though for a quilt this size, I would have stitched in the ditch around the major areas anyway).

Until I quilted this quilt, I hadn’t realised how much difference the batting makes to the quilting… now I know — a lot.

gwens_quilt05

Threads used:

  • Top: Wonderfil Deco-Bob (80 wt, colour DB 414)
  • Bottom: Fil-Tec Magna Glide pre-wound bobbin (60 wt, white)