Cleaning up ready for summer

22 08 2014

I needed some reticulation (irrigation, for the Americans) work done and have had mixed responses from various contractors. Unreliability has been the big issue — saying they’ll be back ‘next week’ to do the work, never to be seen again. So it was with some trepidation I approached the most recent landscape/garden maintenance contractor, but this time I hit paydirt!

Dave and his team of two guys have now been to the house several times, working through my list of priorities. After getting the sprinkler system sorted out (moving existing sprinklers, adding a new control station to separate the bore stations from the mains, putting in safety valves to prevent the bore water going into the mains water system [why did no-one else pick up this up???]), they started on the list of things to be done that were the ‘nice to haves’ like pruning back all the dead stuff and removing any dead plants. We’re on an acre, so there’s a lot to be done, and my once-a-week efforts to fill up the wheelie bin don’t really make many inroads. Dave and the guys have all the tools to make the job quick and easy, have big trucks and trailers to cart away the green waste, and have better backs for this sort of work than me!

They’ve turned up every time they’ve said they would, they’ve offered advice, they’ve taken initiative, etc. Sure, they charge a little more than some of the other contractors, but I now know I can rely on them to get work done in a timely manner. They also now know the layout of our property intimately (including where all the valves and solenoids etc. are).

I’ve already asked them to put me down for some maintenance again this time next year, prior to the mad rush of summer, when everyone wants their retic system sorted out.

If you live in the greater Bunbury area in Western Australia and need work done, contact Dave at Country Landscaping (https://www.facebook.com/countrylandscapingby).

P1000267


Just a quiet drive into town

22 08 2014

Spotted this guy on the road side of the property fence on my drive into town the other day. We’d had a storm the night before, so I wouldn’t be surprised if he was a bit disorientated.

He was just standing there, I slowed to a stop, then he became the Qantas tail symbol as he bounced away 😉

P1000265

P1000266


Machine upgrades

18 08 2014

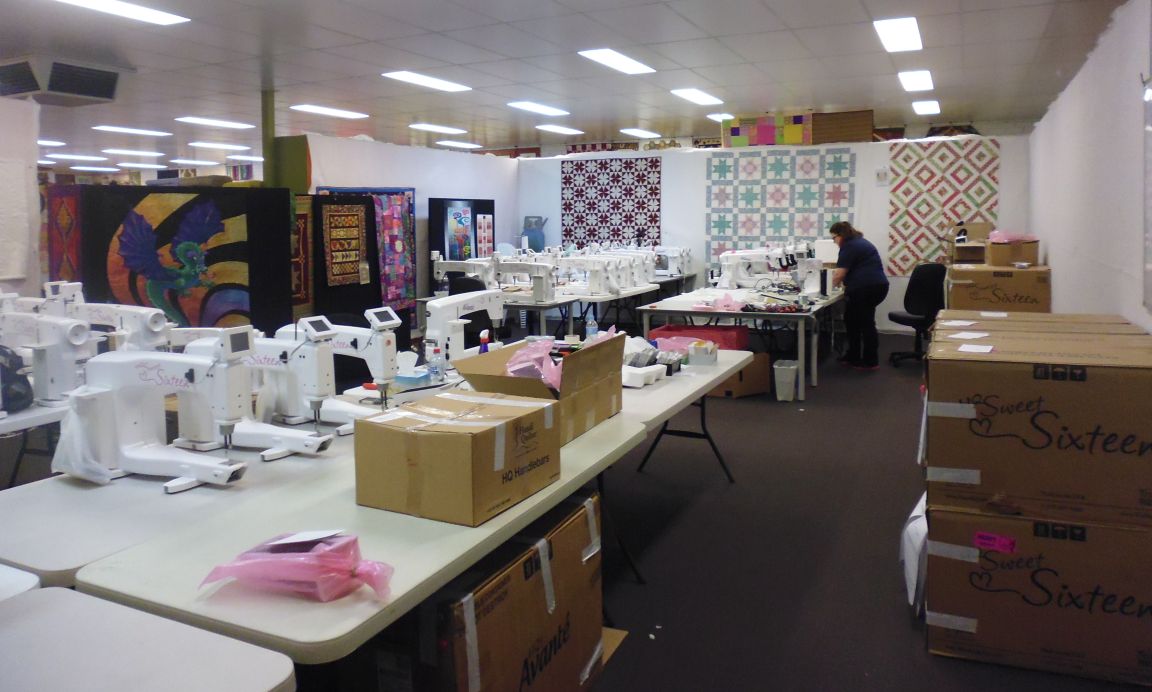
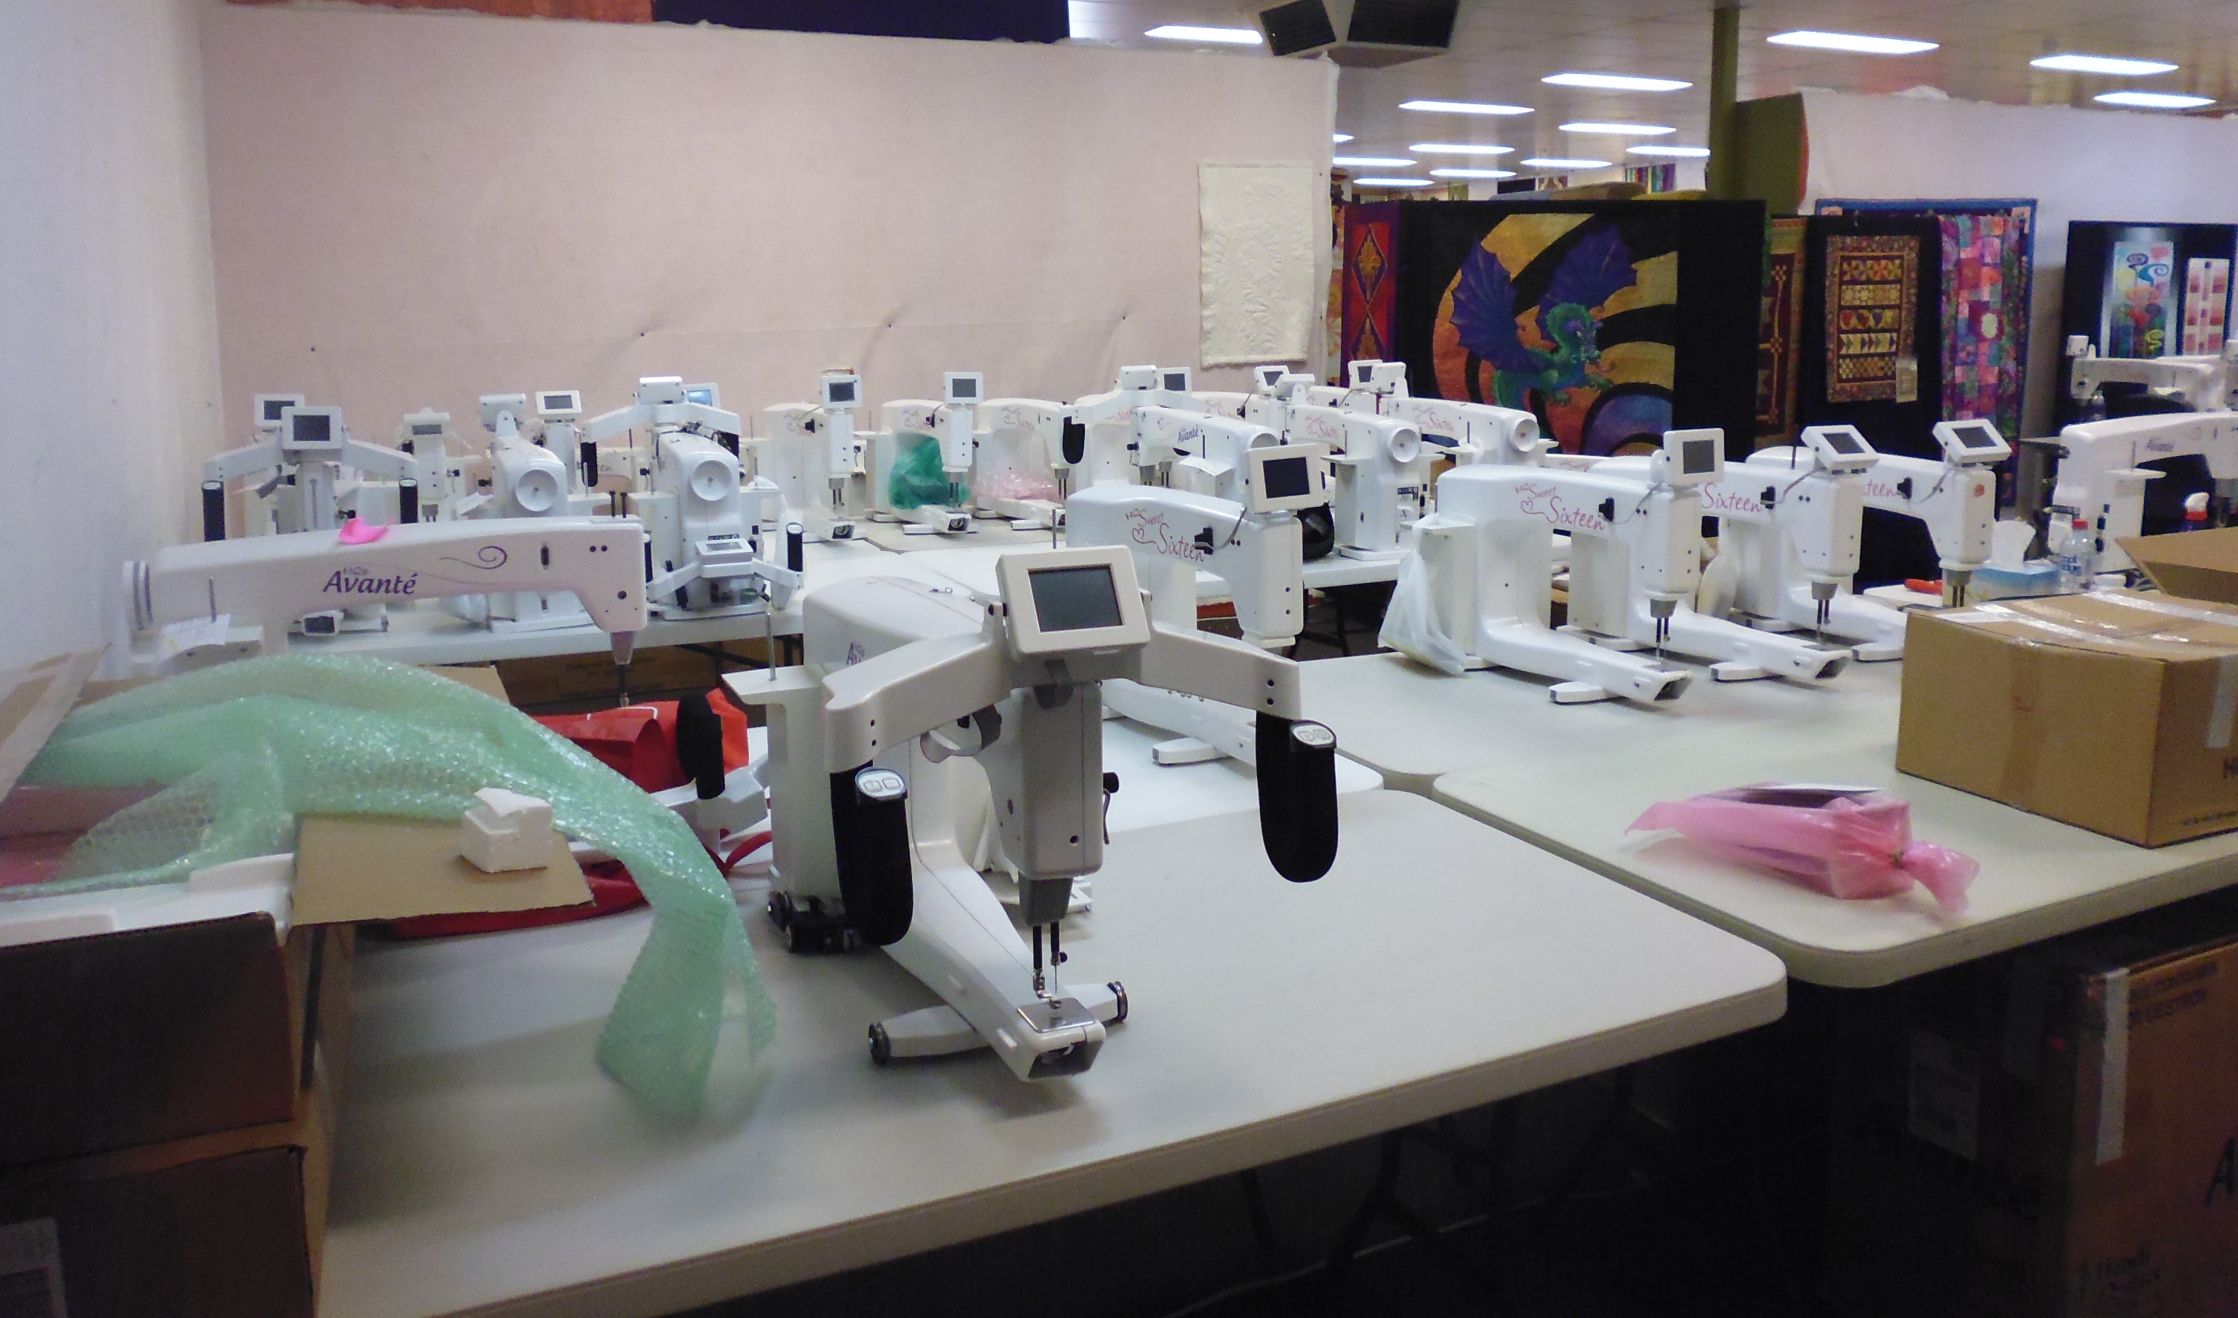
I took my Sweet Sixteen to my dealer (http://www.handcraftershouse.com.au/) the other day to get the latest software upgrade. My dealer and the technician from the other side of the country were hard at work. They had machines coming in all week.

These pictures are just the machines they had ‘benched’ the previous day and that day ready to work on. More were due over the next five days… You can sorta see why she’s been Australian and International Dealer of the Year a couple of times!

And no, I haven’t had time to use my machine since the upgrade so I can’t comment on it yet.

Just for my own records… My previous C-pod (motherboard) had 6.2 million stitches on it, and the one before that had 8.5 million stitches, so I’ve done 14.7 million stitches on my machine so far. As the C-pod is totally replaced with this upgrade, my stitch count has reverted to zero. My dealer is awesome though, as she keeps these records too!

hhouse01

hhouse02

hhouse03


Handi Quilt Sweet Sixteen: Using the couching foot

3 08 2014

I purchased the conversion kit and couching foot kit for my Handi Quilter Sweet Sixteen a few weeks back, and had my first ‘play’ while on my annual quilt retreat with the girls a month ago. Life has sort of got in the way since then, so today was my first time back playing with the couching foot.

In the interim I’d bought some cheap yarn from Spotlight, so it was time to try it out.

First, here’s a video from Handi Quilter on using the couching foot. The instructions for starting off are around the 5-minute mark and again at the 8-minute and 10-minute marks. However, the instructions give you NO information on how to tie off/bury the yarn at the beginning/end of your stitching.

Here’s my first practice piece with both a variegated yarn and a gold metallic yarn. I was going too fast initially and thus my yarn wasn’t always caught by my needle — once I slowed down (25% speed or less), I had no trouble. I used the middle couching foot (2 mm, I think)

P1000249

After I’d finished that piece, I decided to do something on a spare quilt sandwich I had in a navy linen-like fabric. I’d seen an image of a boomerang and thought it would quilt well, so I did all the inner couching with the variegated yarn, and the outer edge with the gold metallic yarn. Some practice still required!

P1000231

P1000235

P1000234

P1000236

P1000237


P1000240


It all looked a bit plain, so I filled in the inner part of the boomerang with a scribble stitch just using the brown variegated thread I had in the needle for the couching. Then I made up some elongated curved lines and spirals for the rest of the small sandwich, emulating the spiral pattern inside the boomerang.

P1000242

P1000241

P1000248

P1000245

P1000247

It was fun! I’m not sure how much I’ll use it, but it’s good to know how. However, I still have to find a quick and easy way of tieing off at the beginning/end without doing it by hand, and without the cut ends of the yarn fraying.

More: If you are a member of QNNTV.com, then Helen Godden has a great 49-minute video on using the couching foot, including information on how she stops and starts and finishes off the ends. This video is available from: http://www.qnntv.com/videos/1896_qbn-couching-yarns-with-your-longarm-full-episode/


Gorgeous winter’s day

2 08 2014

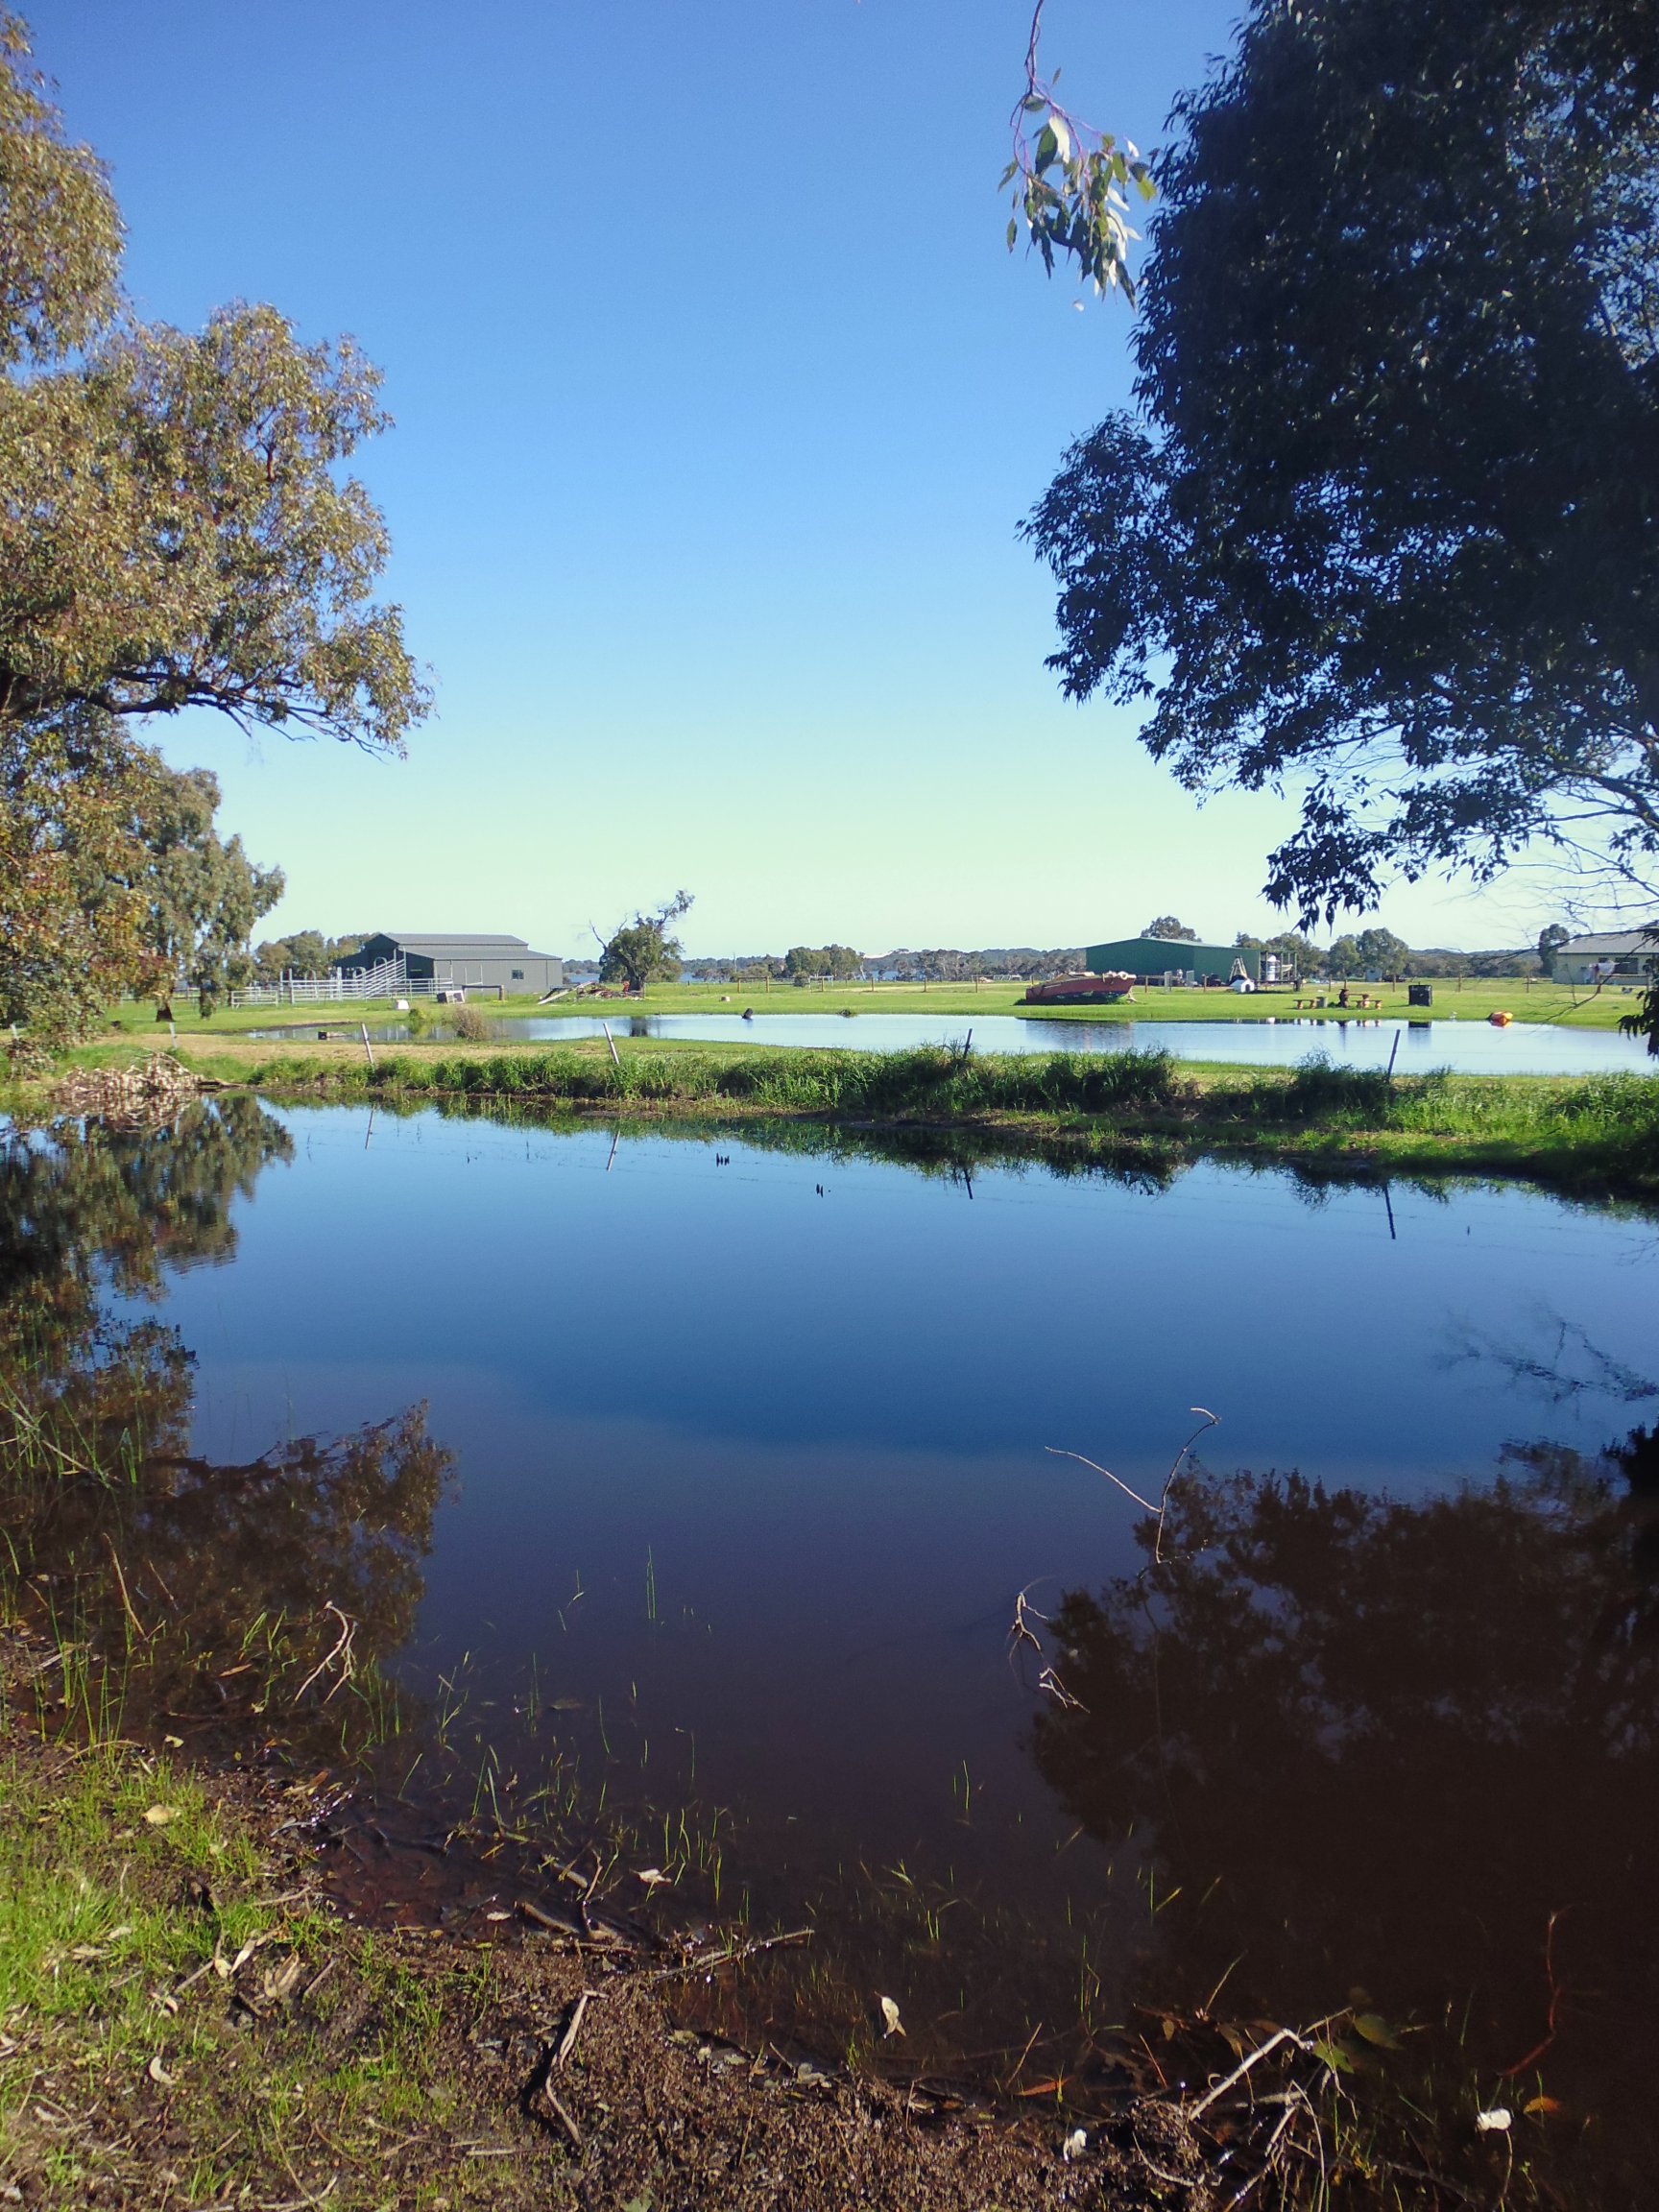
Yesterday was one of those amazing winter days — clear blue skies, green everywhere, mild temperatures, no wind. A perfect day for a walk. So I took my new camera and set of on the ~3 km walk ‘around the block’. Normally this walk takes me about 40 to 45 minutes, but yesterday I was gone nearly two hours as I stopped along the way to take lots of photos (more than 150!), took little detours off the path, etc.

The photo below is a sample of what the day looked like. In this photo are some winter ponds (these are mostly dry in summer), and in the far distance is the estuary, and behind the estuary is the sand dune peninsula between the estuary and the Indian Ocean. And no, I don’t know why the owners of the 5-10 acre property shown here have a yacht in their backyard! (Click on the photo to view it larger, then click on it again to view it full size.).

P1000087


8-pointed wonky star quilting motif

28 07 2014

Several people have asked me how I stitch the wonky 8-pointed star shape as shown in these quilts:

It’s really very easy — you go from the middle of one side to its opposite corner, then to the opposite middle, then the opposite corner etc. until you get back to the beginning. It’s easier to explain in a simple diagram!

You can start at any mid point or corner point — in this diagram I’ve started at a mid point. Follow the arrows and the numbers (1 to 8) to create your own 8-pointed slightly wonky star!

P1000074


Community Quilt 156

27 07 2014

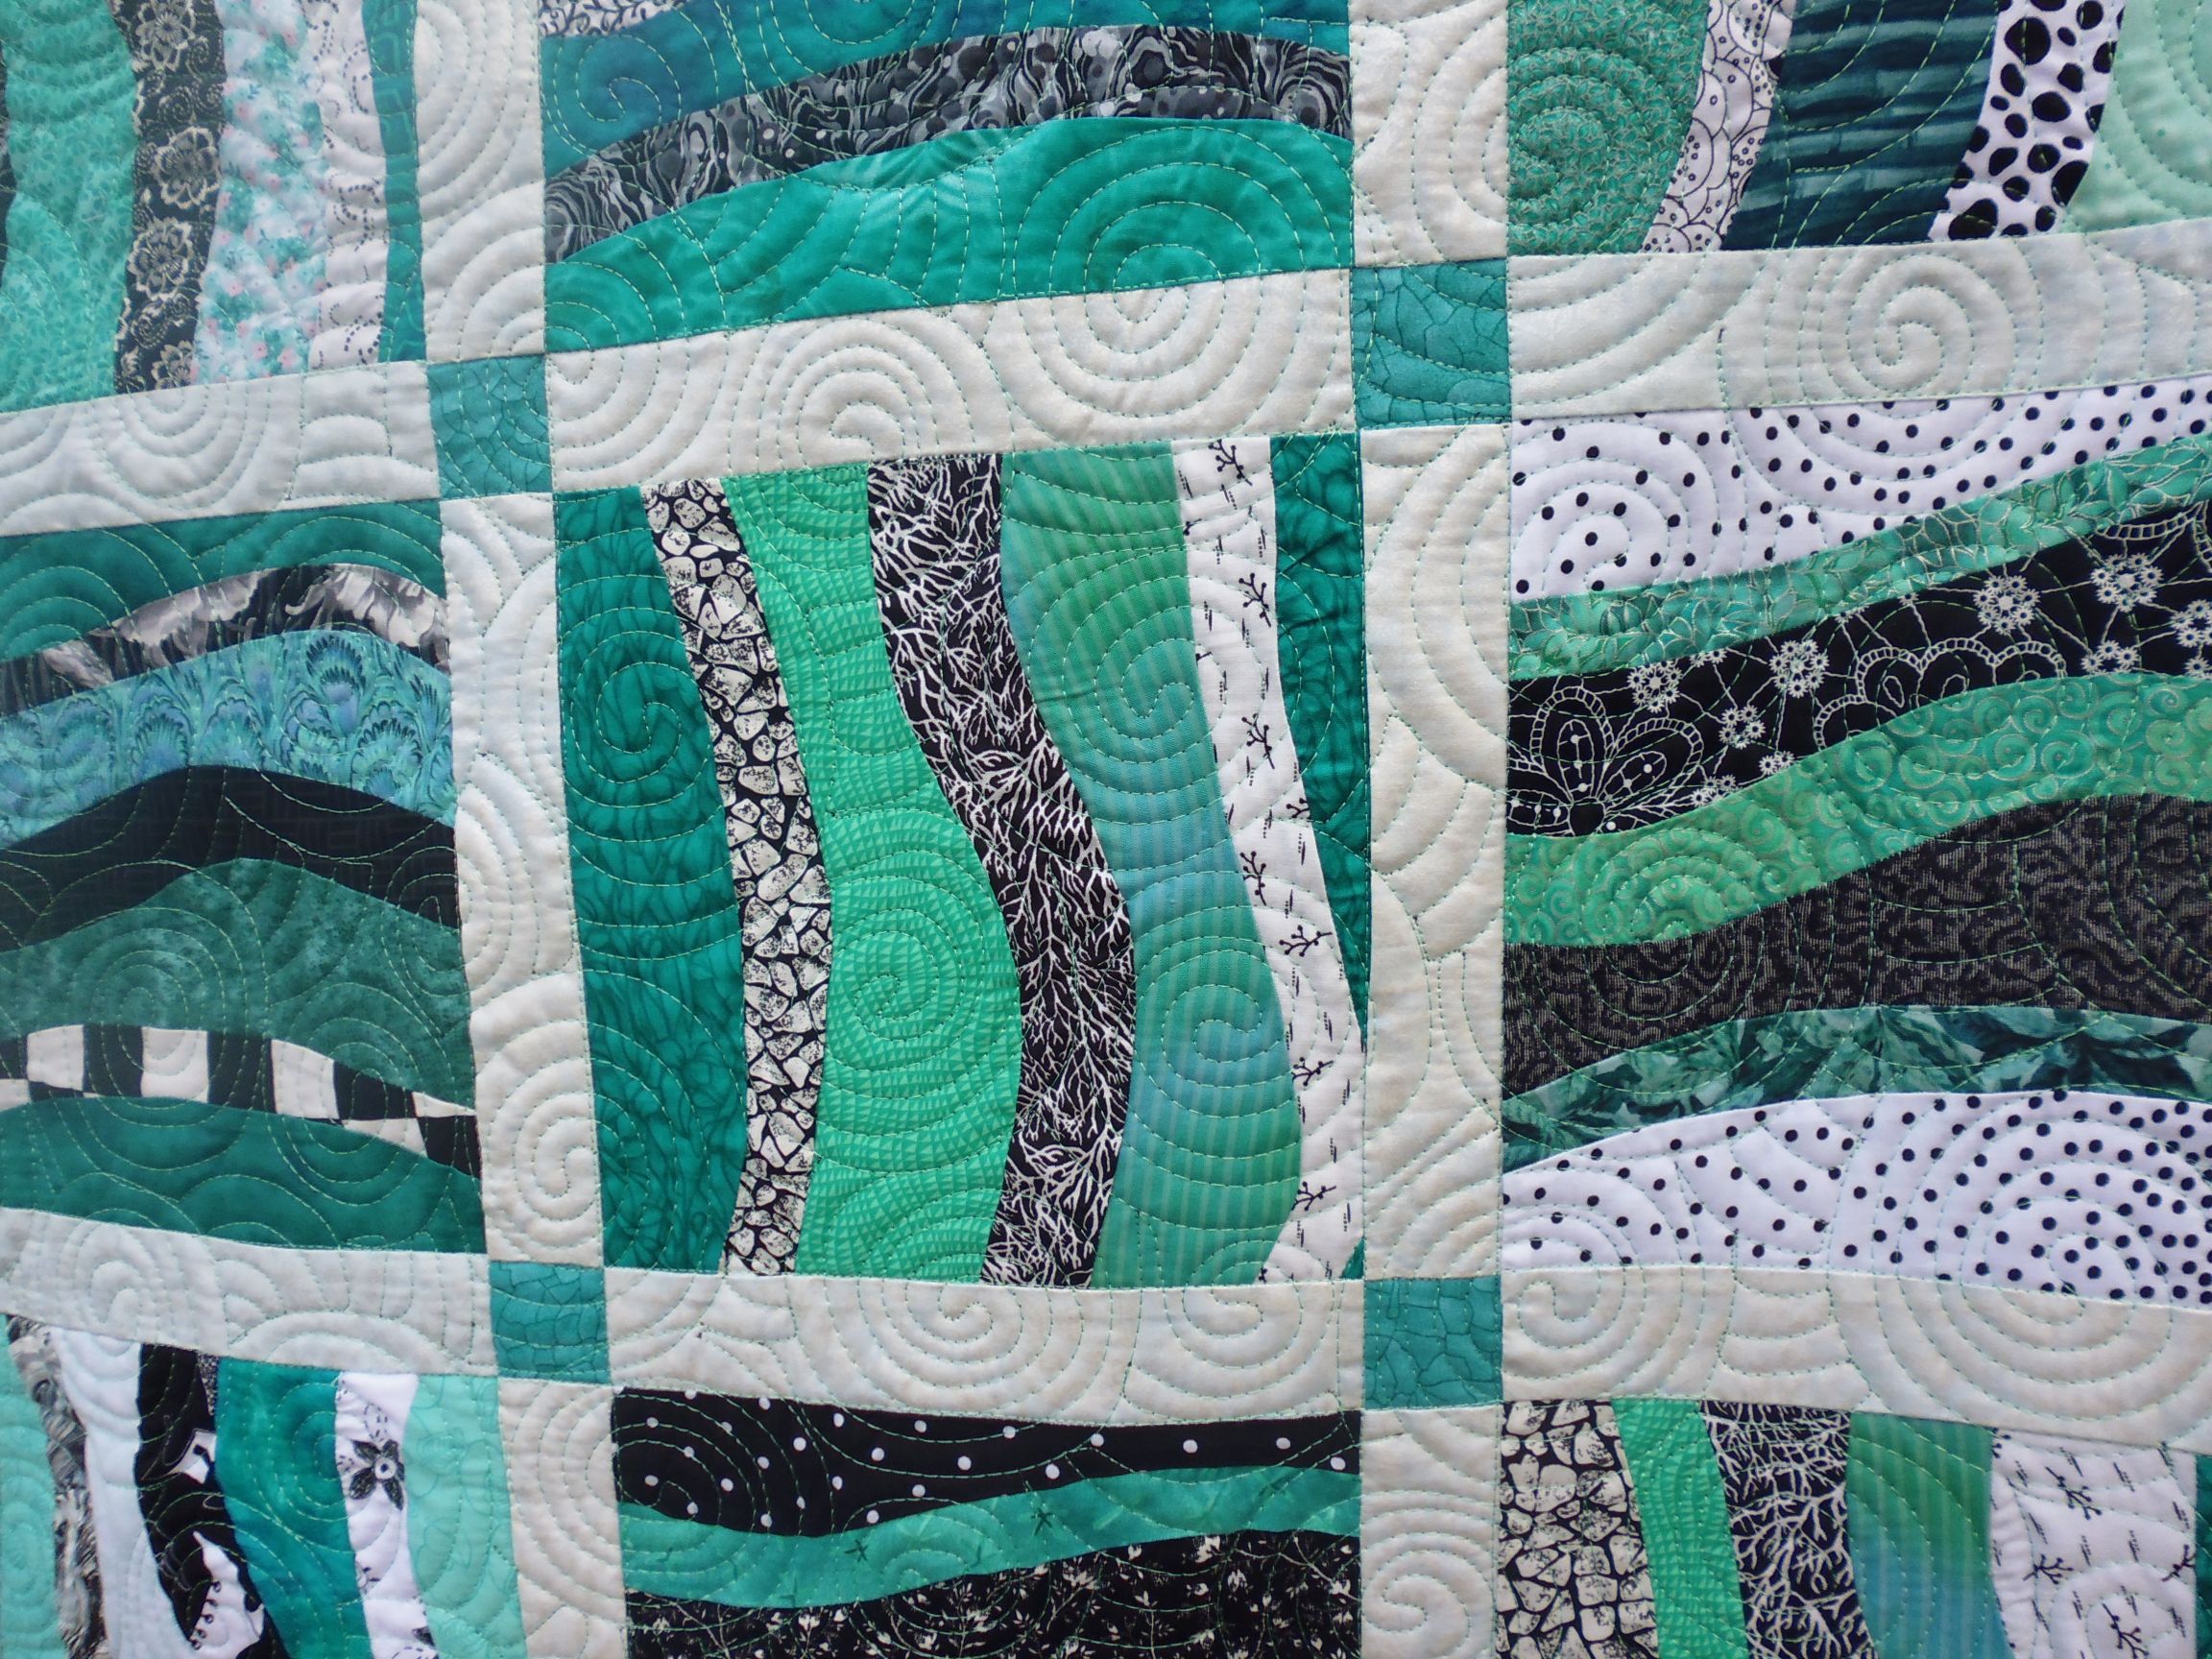
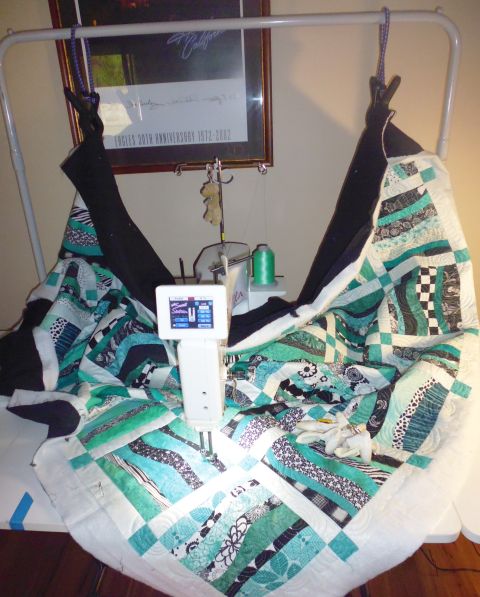
I loved the colours of this quilt! The aqua and black and white were so fresh and crisp, and set off perfectly by the plain black backing fabric.

With the colours and the wavy blocks, my first thought was to quilt it with parallel lines (with curved ends) emulating water, then I thought perhaps large bubbles (as in breaking waves), but decided on large spirals to emulate waves and water turbulence as I was on a deadline to finish this one and needed to quilt it with something that was big and that covered a lot of area fairly quickly.

It was a big quilt, so I used my bungee cord system to reduce drag and the weight of the quilt when moving it under the needle.

It took about 2 hours to stitch in the ditch around each block first, then about another 2 hours to do the spirals.

(Click on a photo to view it larger)

quilt156_04

quilt156_03

quilt156_02

quilt156_01

Threads used:

  • Top: Fil-Tec Glide ‘Mint’ (40 wt, trilobal polyester, colour #60345)
  • Bottom: Fil-Tec Magna Glide pre-wound bobbin (black)
  • Needle: Size 18


2014 Retreat ‘show and tell’

22 07 2014

At our annual quilt retreat this year (first weekend in July), we didn’t have any challenge pieces to present to each other as we had a year off from challenges! But we still had ‘show and tell’ to show some of the work we’d collectively produced over the year.  I haven’t included everything in these photos as some are unfinished gifts for others and to show them publicly now would spoil the surprise. I also haven’t included my ‘show and tell’ as I didn’t take photos of my own (and some are for gifts too). Unfortunately, the photos aren’t the best — I was using the camera and flash on my phone and everyone moved around too much as they enthusiastically explained their work 😉

Some of the works feature fabric painting and couching in metallic yarns, using the new couching foot on the Handi Quilter Sweet Sixteen.

(Click a photo to view it larger)

2014_retreat_07

These are all just squares. The optical illusion is from the placement of the small black and white squares inside the larger squares

2014_retreat_05

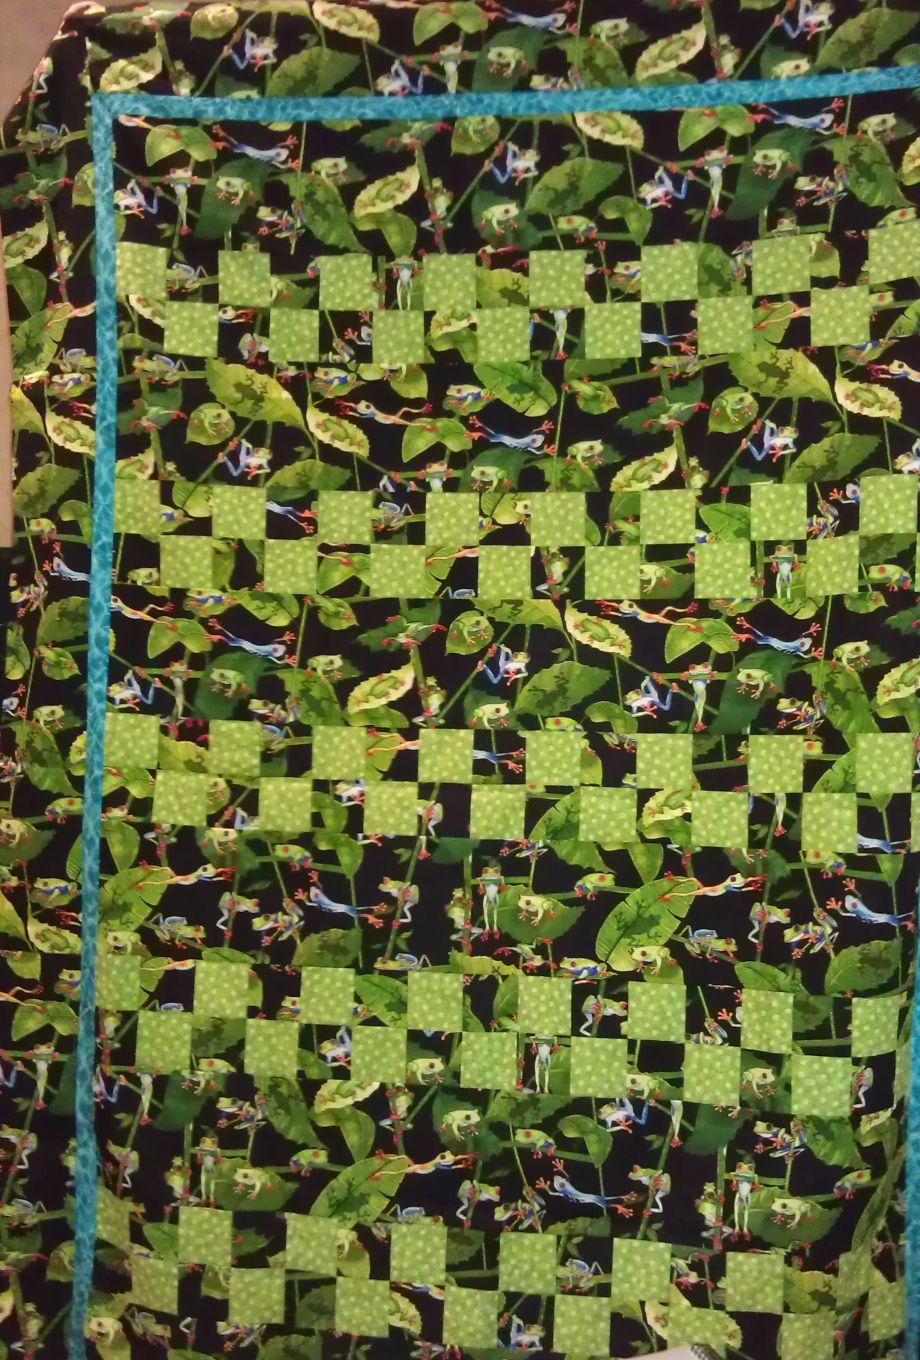
Frogs everywhere!

2014_retreat_06

More frogs…

2014_retreat_08

2014_retreat_09

Cracked Pots from a Helen Godden class

2014_retreat_10

Fabric painting and gold yarn couching on a bag

2014_retreat_11

Other side of the bag

2014_retreat_12

Very organic… and STUNNING quilting (also with some couching in gold yarn)

2014_retreat_13

STUNNING quilting!

2014_retreat_01

More fabric painting and gold yarn couching

2014_retreat_02

2014_retreat_03

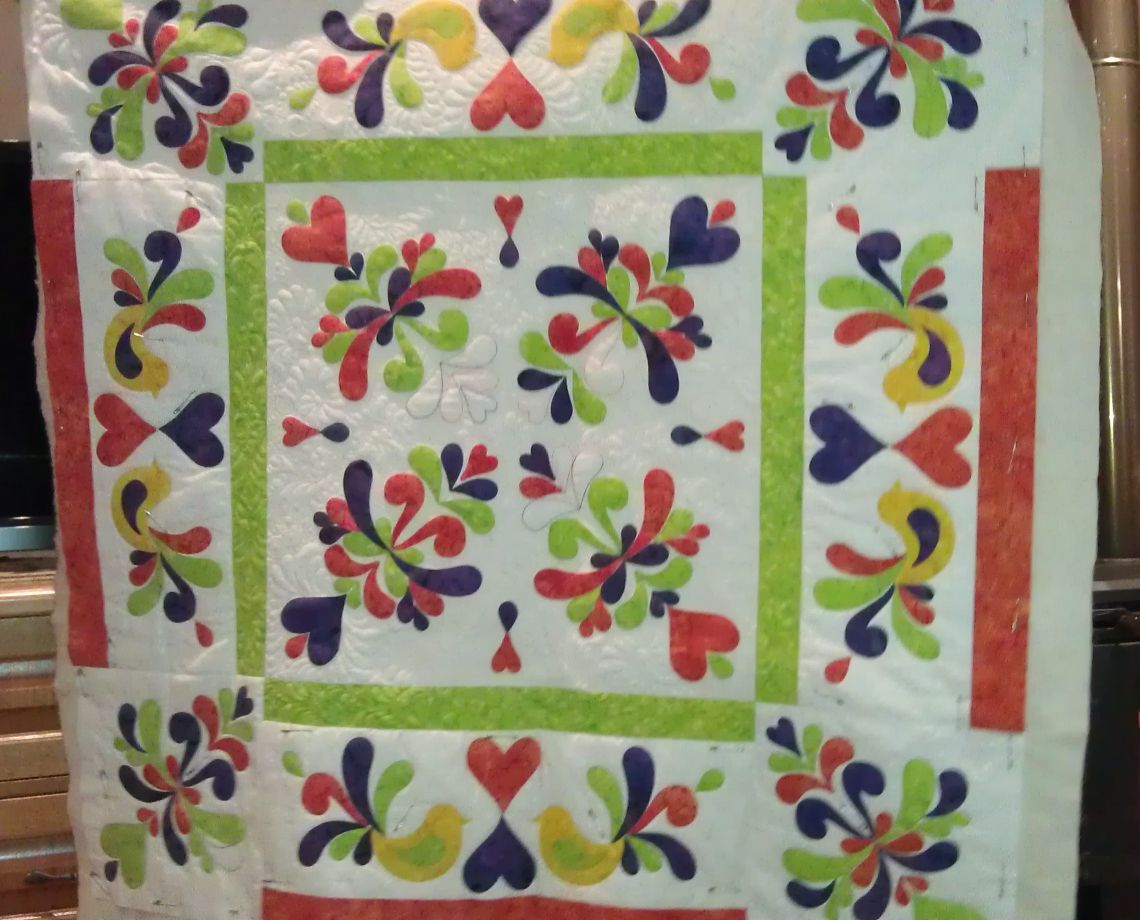
All applique pieces cut with an Accuquilt Go! Cutter die

2014_retreat_04

Cute cockatoo (unfinished top only)


Book US car rental via UK to get insurance included

22 07 2014

This is a very convoluted process, but it saved me a bundle of money!

I usually book my US car rental via an aggregation website like http://www.priceline.com and that was the case for my car reservation for later this year. Back in April, I got a good deal with Budget using Priceline’s bidding process, and was offered full insurance cover for $11/day for the booking, which I was happy to take based on previous experiences.

Unfortunately, after lots of attempts to buy this insurance via Priceline’s website, phone calls (via Skype, thank goodness) to Priceline in the US, to my bank, and eventually to the car insurance brokers in the US, I found out from the brokers that the reason my insurance request likely wouldn’t go through was because I was using an Australian credit card and address, despite Priceline having ‘Australia’ as one of the drop-down locations for this insurance. (I’ve bought car insurance from Priceline before, but they must’ve tightened up some of their processes as I couldn’t get it this time. It’s a pity their website doesn’t tell you why you’ve been rejected, and it’s a pity they haven’t told their customer service reps too, as I would have avoided lots of time on the phone to the US! The Priceline customer rep even told me it was my bank’s problem, so I called them just to make sure, but the bank couldn’t even see the attempted transactions let alone see if/why they had been rejected, so the transaction was being rejected at the US end.)

I could’ve purchased insurance at the counter on collecting the car, but a quick look at the Budget website in the US for that location showed that I’d be paying more than US$40/day EXTRA to have insurance coverage if I purchased it at the counter — that would be an extra US$320+ on top of a US$250 rental!!

So off to the internet of all things, looking for an insurance service that offered rental car insurance for US car rentals by Australians. I found some interesting discussions on the Australian tech forum site, Whirlpool (I find lots of [mostly] good stuff on Whirlpool!), some of which referred me to two rental agencies that included insurance with the car rental (www.rentalcars.com, which includes Collision Damage Waiver [CDW or LDW] only, and http://www.arguscarhire.com, which includes 3rd party liability protection, CDW and others, for a similar overall price for that charged by Priceline just for the car). I may well use these some other time, but the Whirlpool post that caught my eye was for Budget (who I’d already booked with via Priceline), The person who posted said that if Australians purchase via the UK Budget website (www.budget.co.uk), you get the car rental at a good price AND the price includes insurances. I checked the UK website and the price was very similar to Priceline’s but WITH all the insurances included.

Before booking via the UK site, I thought I’d better check the Australian Budget site; however, as soon as I said the rental was for the US, the Australian site took me straight to the Budget US website, where the price was almost double the Priceline and Budget UK price, although because I said I was Australian, that price did include LDW.

So I called Budget in the UK to see if I (an Australian) could book a US car rental via their UK site. I got straight through to a customer service rep (Tom) who said I sure could and he could do the booking for me right then! Tom also confirmed that the rental included CDW/LDW and liability protection with no excess. Within 5 minutes, I was all booked and it cost me less than my Priceline booking with no insurance included. I don’t have to pay until I get to the counter, just like with Priceline. After getting my confirmation, I cancelled my reservation via Priceline, a simple and painless process.

Bottom line: It pays to look for alternatives! Here’s what I found (8-day period, same pick-up/drop-off location and times/dates, same car category [mid-size]):

  • Priceline bid price in April 2014: US$250 (AU$266 at today’s rates) with no insurance (insurance via Priceline — if you can get it — is an extra US$11/day)
  • Australian Budget website redirected to the US site (checking the option for Australian citizen): US$494 (AU$525) (includes LDW insurance only)
  • UK Budget website: GBP144 (AU$254 at today’s rates), which includes LDW and liability insurances and no excess
  • US Budget website (saying I’m a US citizen): US$352 (AU$374) for no insurances; US$764 (AU$813) if I add liability and LDW insurances!

budgetLogo


Testing out my new camera

20 07 2014

In preparation for my ‘bucket list’ trip to the NZ and the US in October/November, when I *know* I’ll be taking lots of photos , I decided to upgrade my digital camera (I had a Canon IXUS 400 that I bought around 2002, which had a 256 MB CF memory card). I purchased a little ‘point-and-shoot’ compact camera — a Panasonic Lumix DMC-XS1 — for just under AU$150 (the 32 GB Micro SDHC card was extra).

And today I went into the garden to test out some of the features such as the 5x optical zoom, the panorama feature (no public pics from that as yet as I was photographing my house and I don’t make those pictures public). I haven’t tried features like burst (lots of photos in rapid succession, which would be ideal for sports or moving animals etc.), or effects such as focusing on a colour and making all the rest of the background black and white.

I was really pleased with how these first photos came out — this little camera (it only weighs 100 g!) packs a punch. I haven’t retouched ANY of the photos below — they are as they came off the camera and as I saved them onto my computer. The only thing I did with some of them was crop out some of the background to centre the object better, and/or make a duplicate in my photo editing software, then crop out even more to better show things like the raindrops. I also didn’t resize them any of them or adjust the angle or apply any effects. As it rained overnight, quite a lot of the photos caught the raindrops perfectly on the flowers.

Click on a photo to view it larger.

King? Protea — one has a cropped version to show the raindrops and inside; the other is cropped to show the raindrops on the outside of the flower.

king_protea02

king_protea01

king_protea03


king_protea04  king_protea05

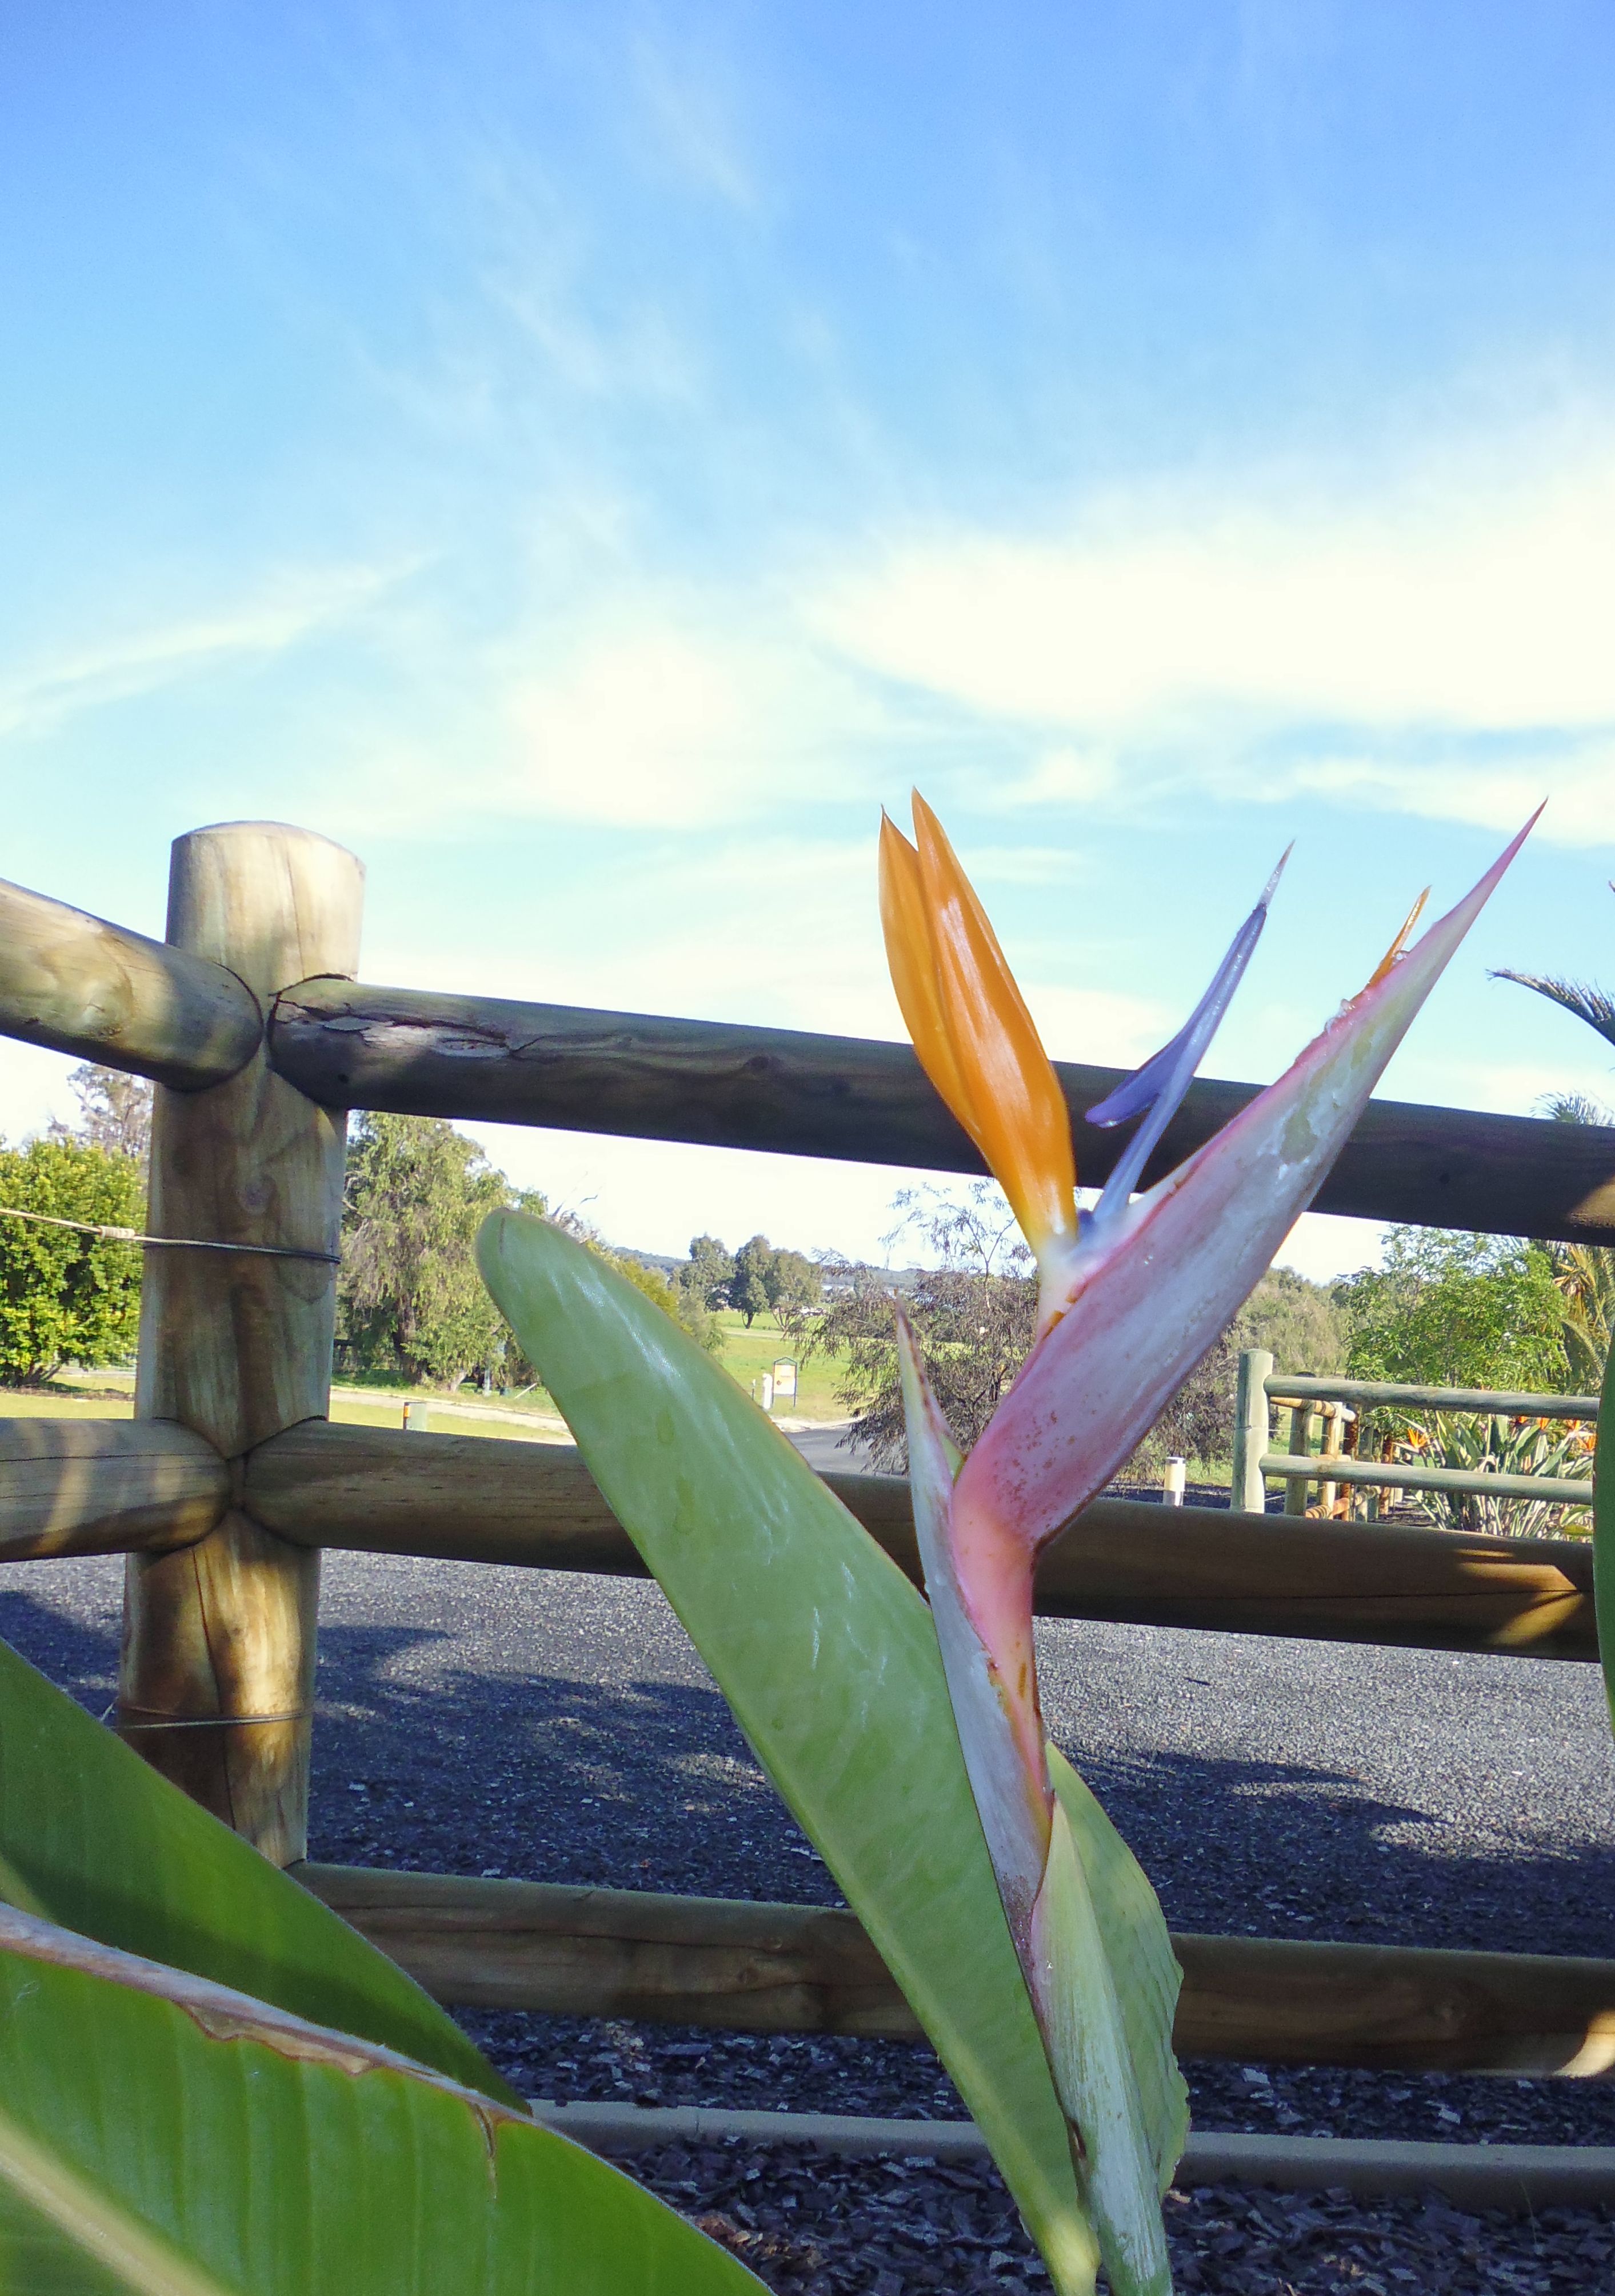
Strelitzia (aka Bird of Paradise) — I have several of these plants in the garden. Most are orange, but there’s at least one that’s yellow, and a HUGE one that’s white (not in flower yet).

strelitzia_orange01

strelitzia_orange02

strelitzia_orange03

strelitzia_yellow01

strelitzia_yellow02

strelitzia_yellow03

Unknown protea — this is just a bud and no more than about 2 inches (5 cm) across, ready to flower. I just love the Fibonacci sequence in this bud! The bottom one is a bit blurry, but it shows the Fibonacci sequence better than the others, and also the size of the flower in relation to dead leaves on the ground.

protea01

protea02

protea03

protea04

Pink Diosma — this plant has TINY little pink flowers and I didn’t think I’d be able to get a decent photograph of them. The bees were buzzing around, but were hard to capture. That said, each of the photos of the diosma have at least one bee!

diosma01 diosma02

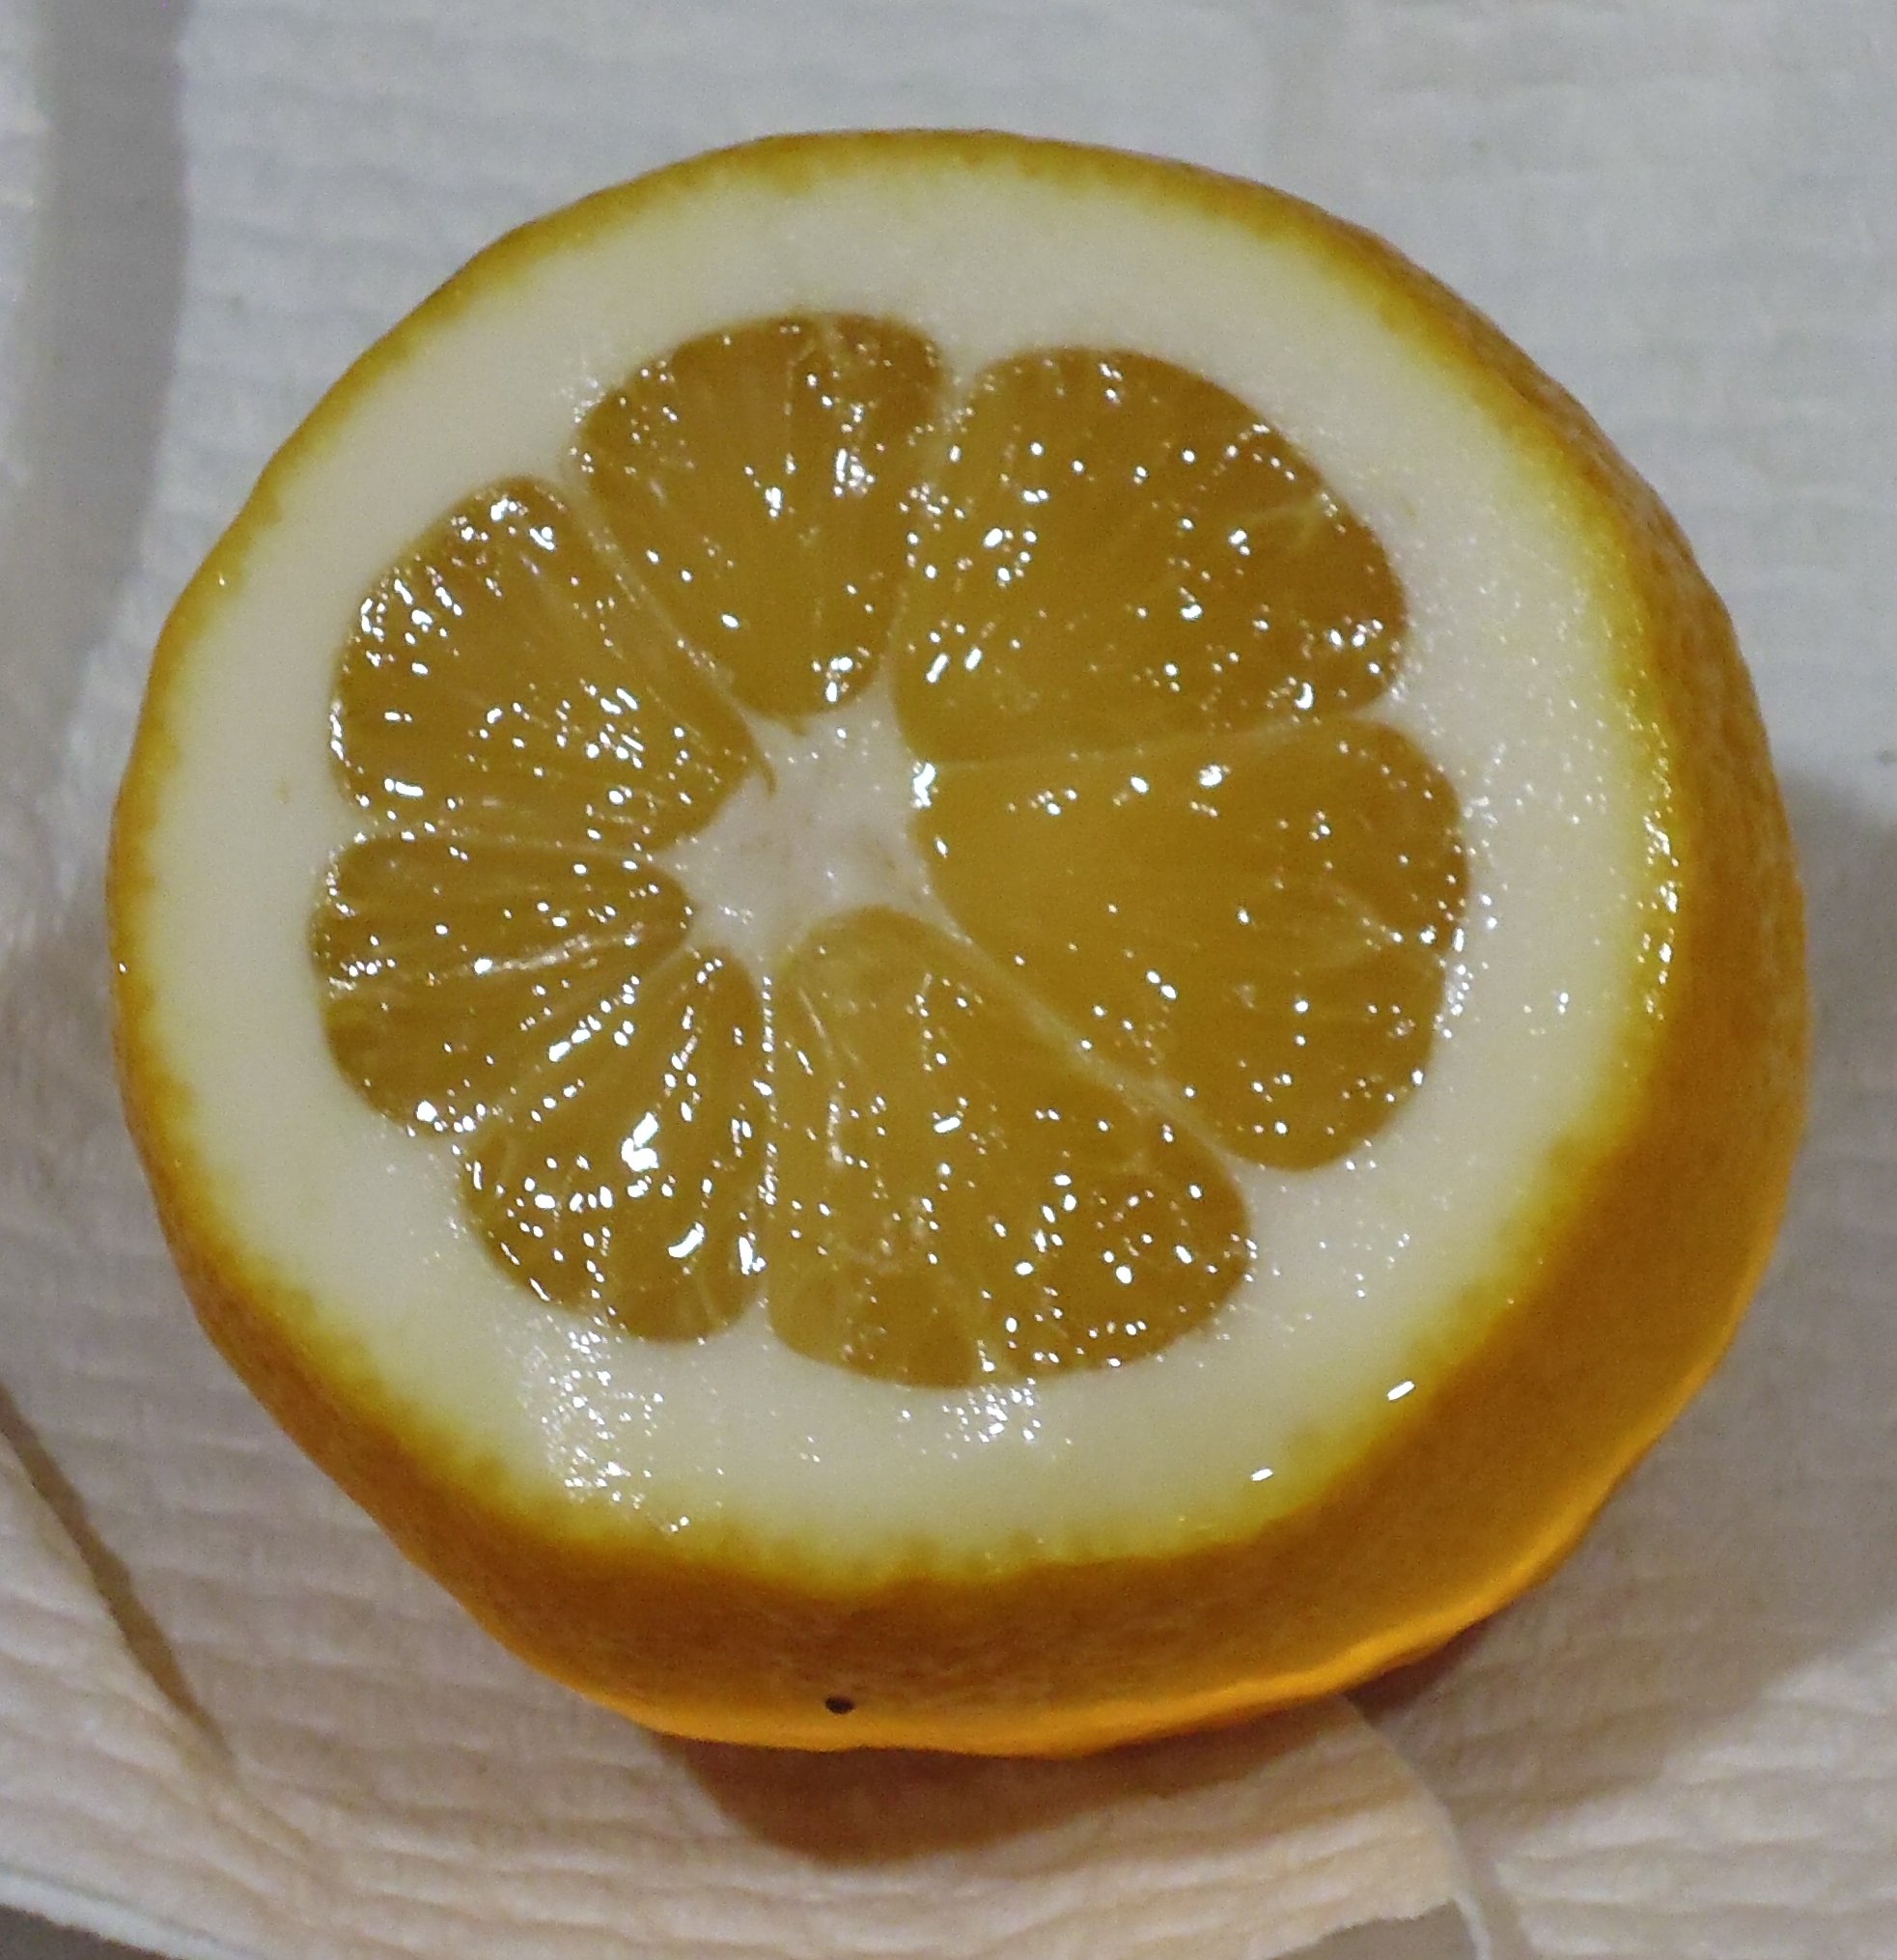
 Update 28 July 2014: Some pics of a freshly cut lemon. Standard auto settings on camera, no post-processing except cropping the image.

lemon01

lemon02

lemon03