When we bought our current house, the three spare rooms had very wide and very heavy slimline venetian blinds. While I don’t mind the look of them, their sheer weight made them a pain to raise and lower, and they were pretty useless for ventilation as the windows open from right to left, not bottom to top like the venetians. So if you wanted some privacy AND some fresh air, you had to endure the rattle of the wind in the venetians and had to either raise them fully to access the window handle, or push your hand between the slats (thus bending them) to grab the window handle and open the window.
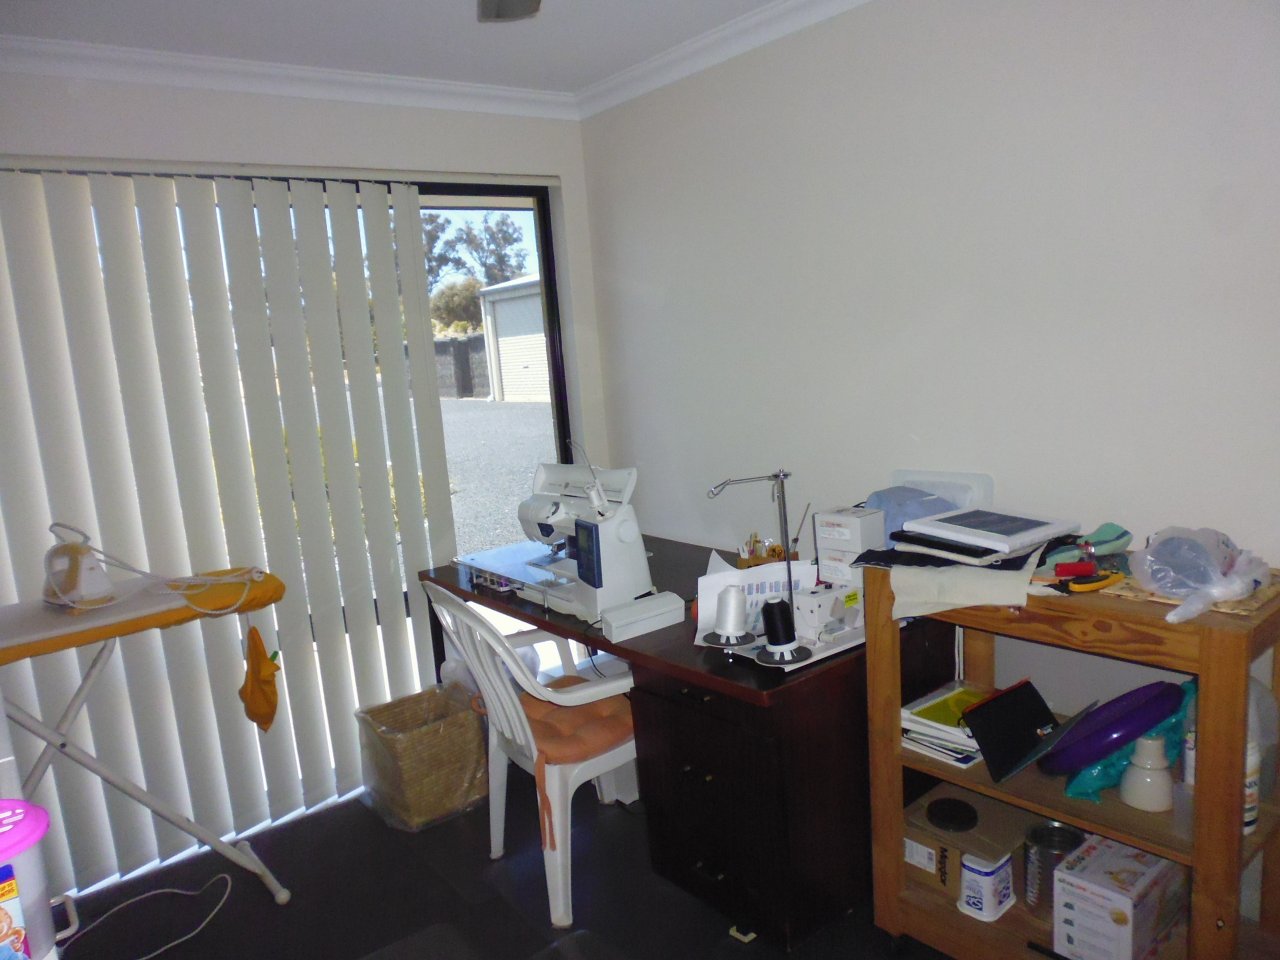
This photo shows one angle in my sewing room from 2011 — you can see part of the floor to ceiling venetians.

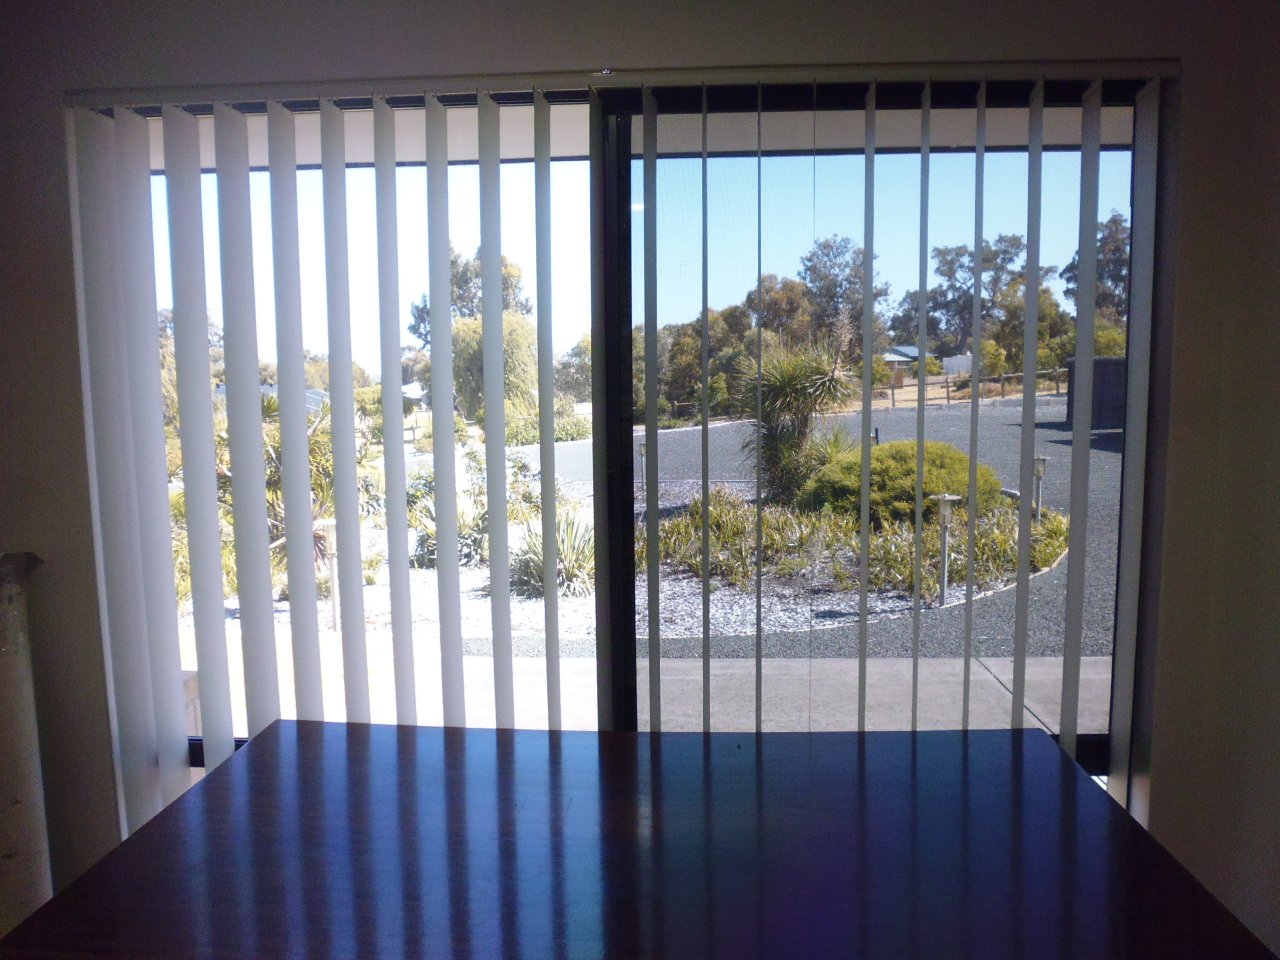
I bit the bullet and had all the venetians in these rooms replaced last week! I loved the look of some of the blinds on offer, but like the venetians, they just weren’t practical. Those that opened sideways that I particularly liked (e.g. panel blinds) couldn’t be adjusted for light, ventilation, or privacy — they had to be partly or fully open OR shut, and there wasn’t really a middle ground to satisfy my requirements for letting in some light as well as fresh air, while maintaining privacy. Even though I’m not a big fan of vertical blinds, they met all my needs (and were the cheapest option, though that wasn’t a primary consideration). I got the blockout ones as two of these windows get direct early morning sun. And to minimise the ‘look’ of verticals, I chose a colour to match the paint on the walls.
Since installing them, what I like is that I can pull them back to let in much more light, AND have the window open to get fresh air, or close them up fully or partially according to the light and breeze.
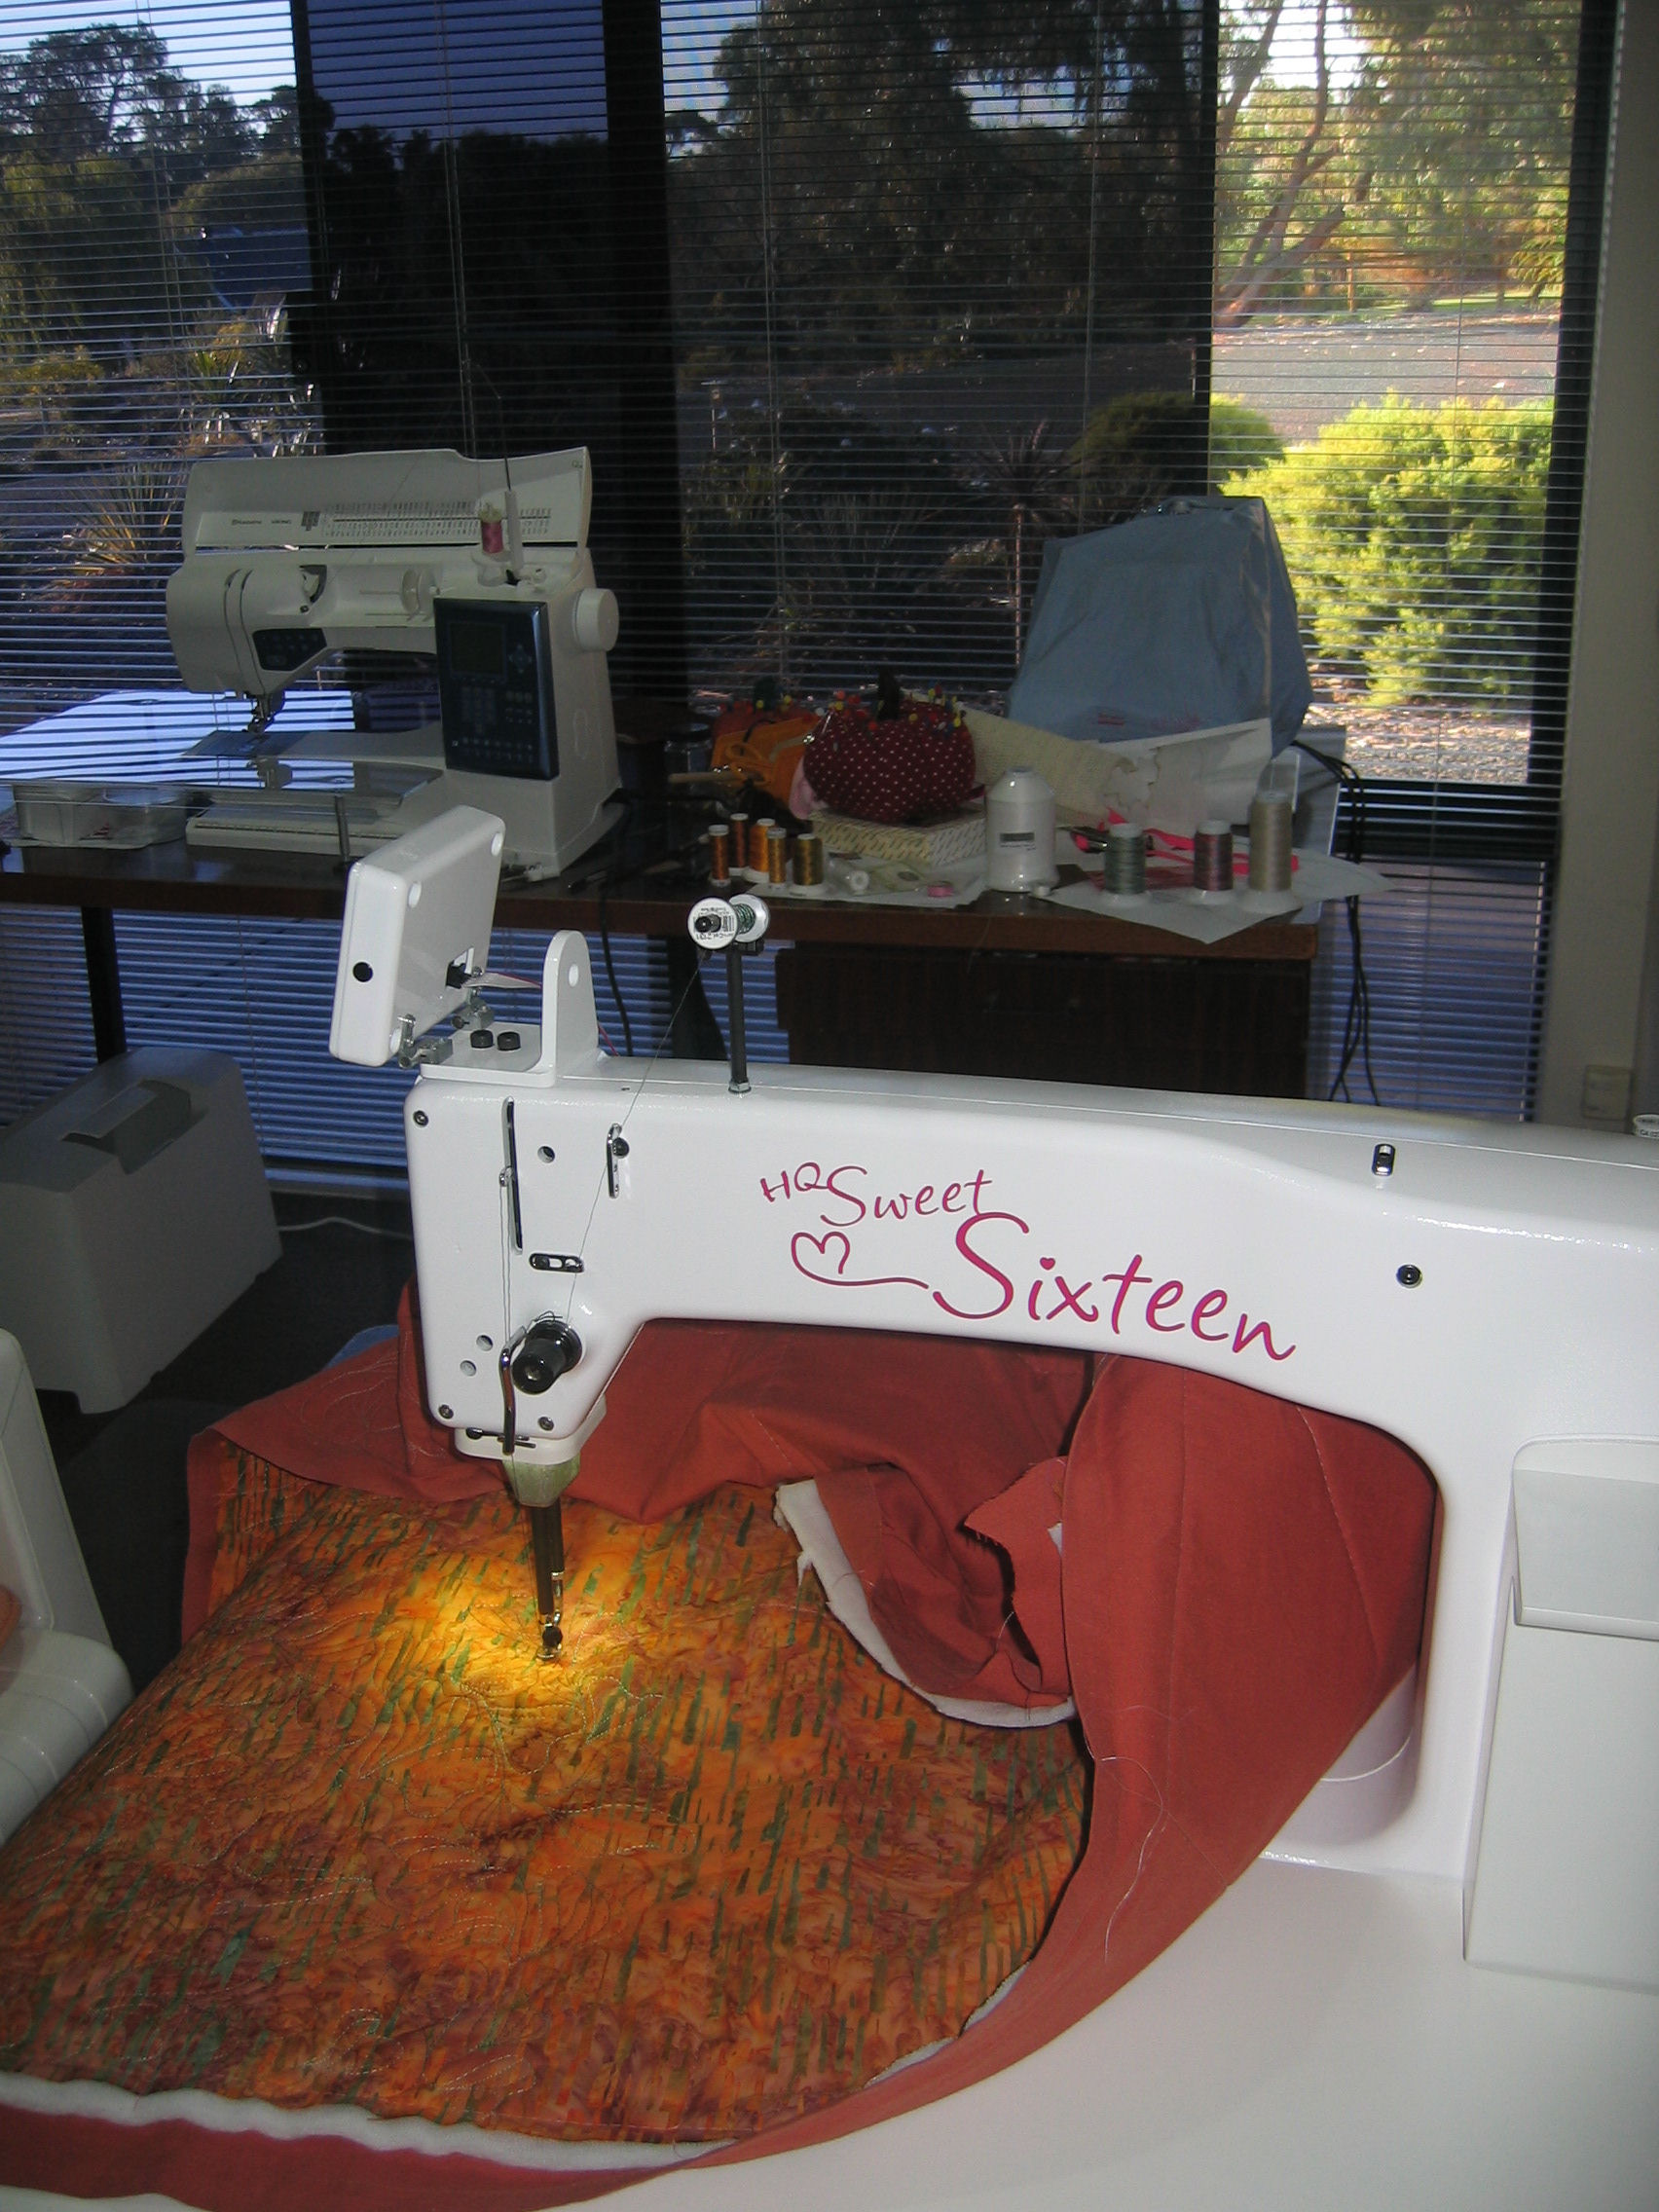
You can see from these photos that I had to clean stuff off the sewing table! It’s the cleanest its been since we moved in 😉 In fact, it was the impetus for shifting my sewing room around…


