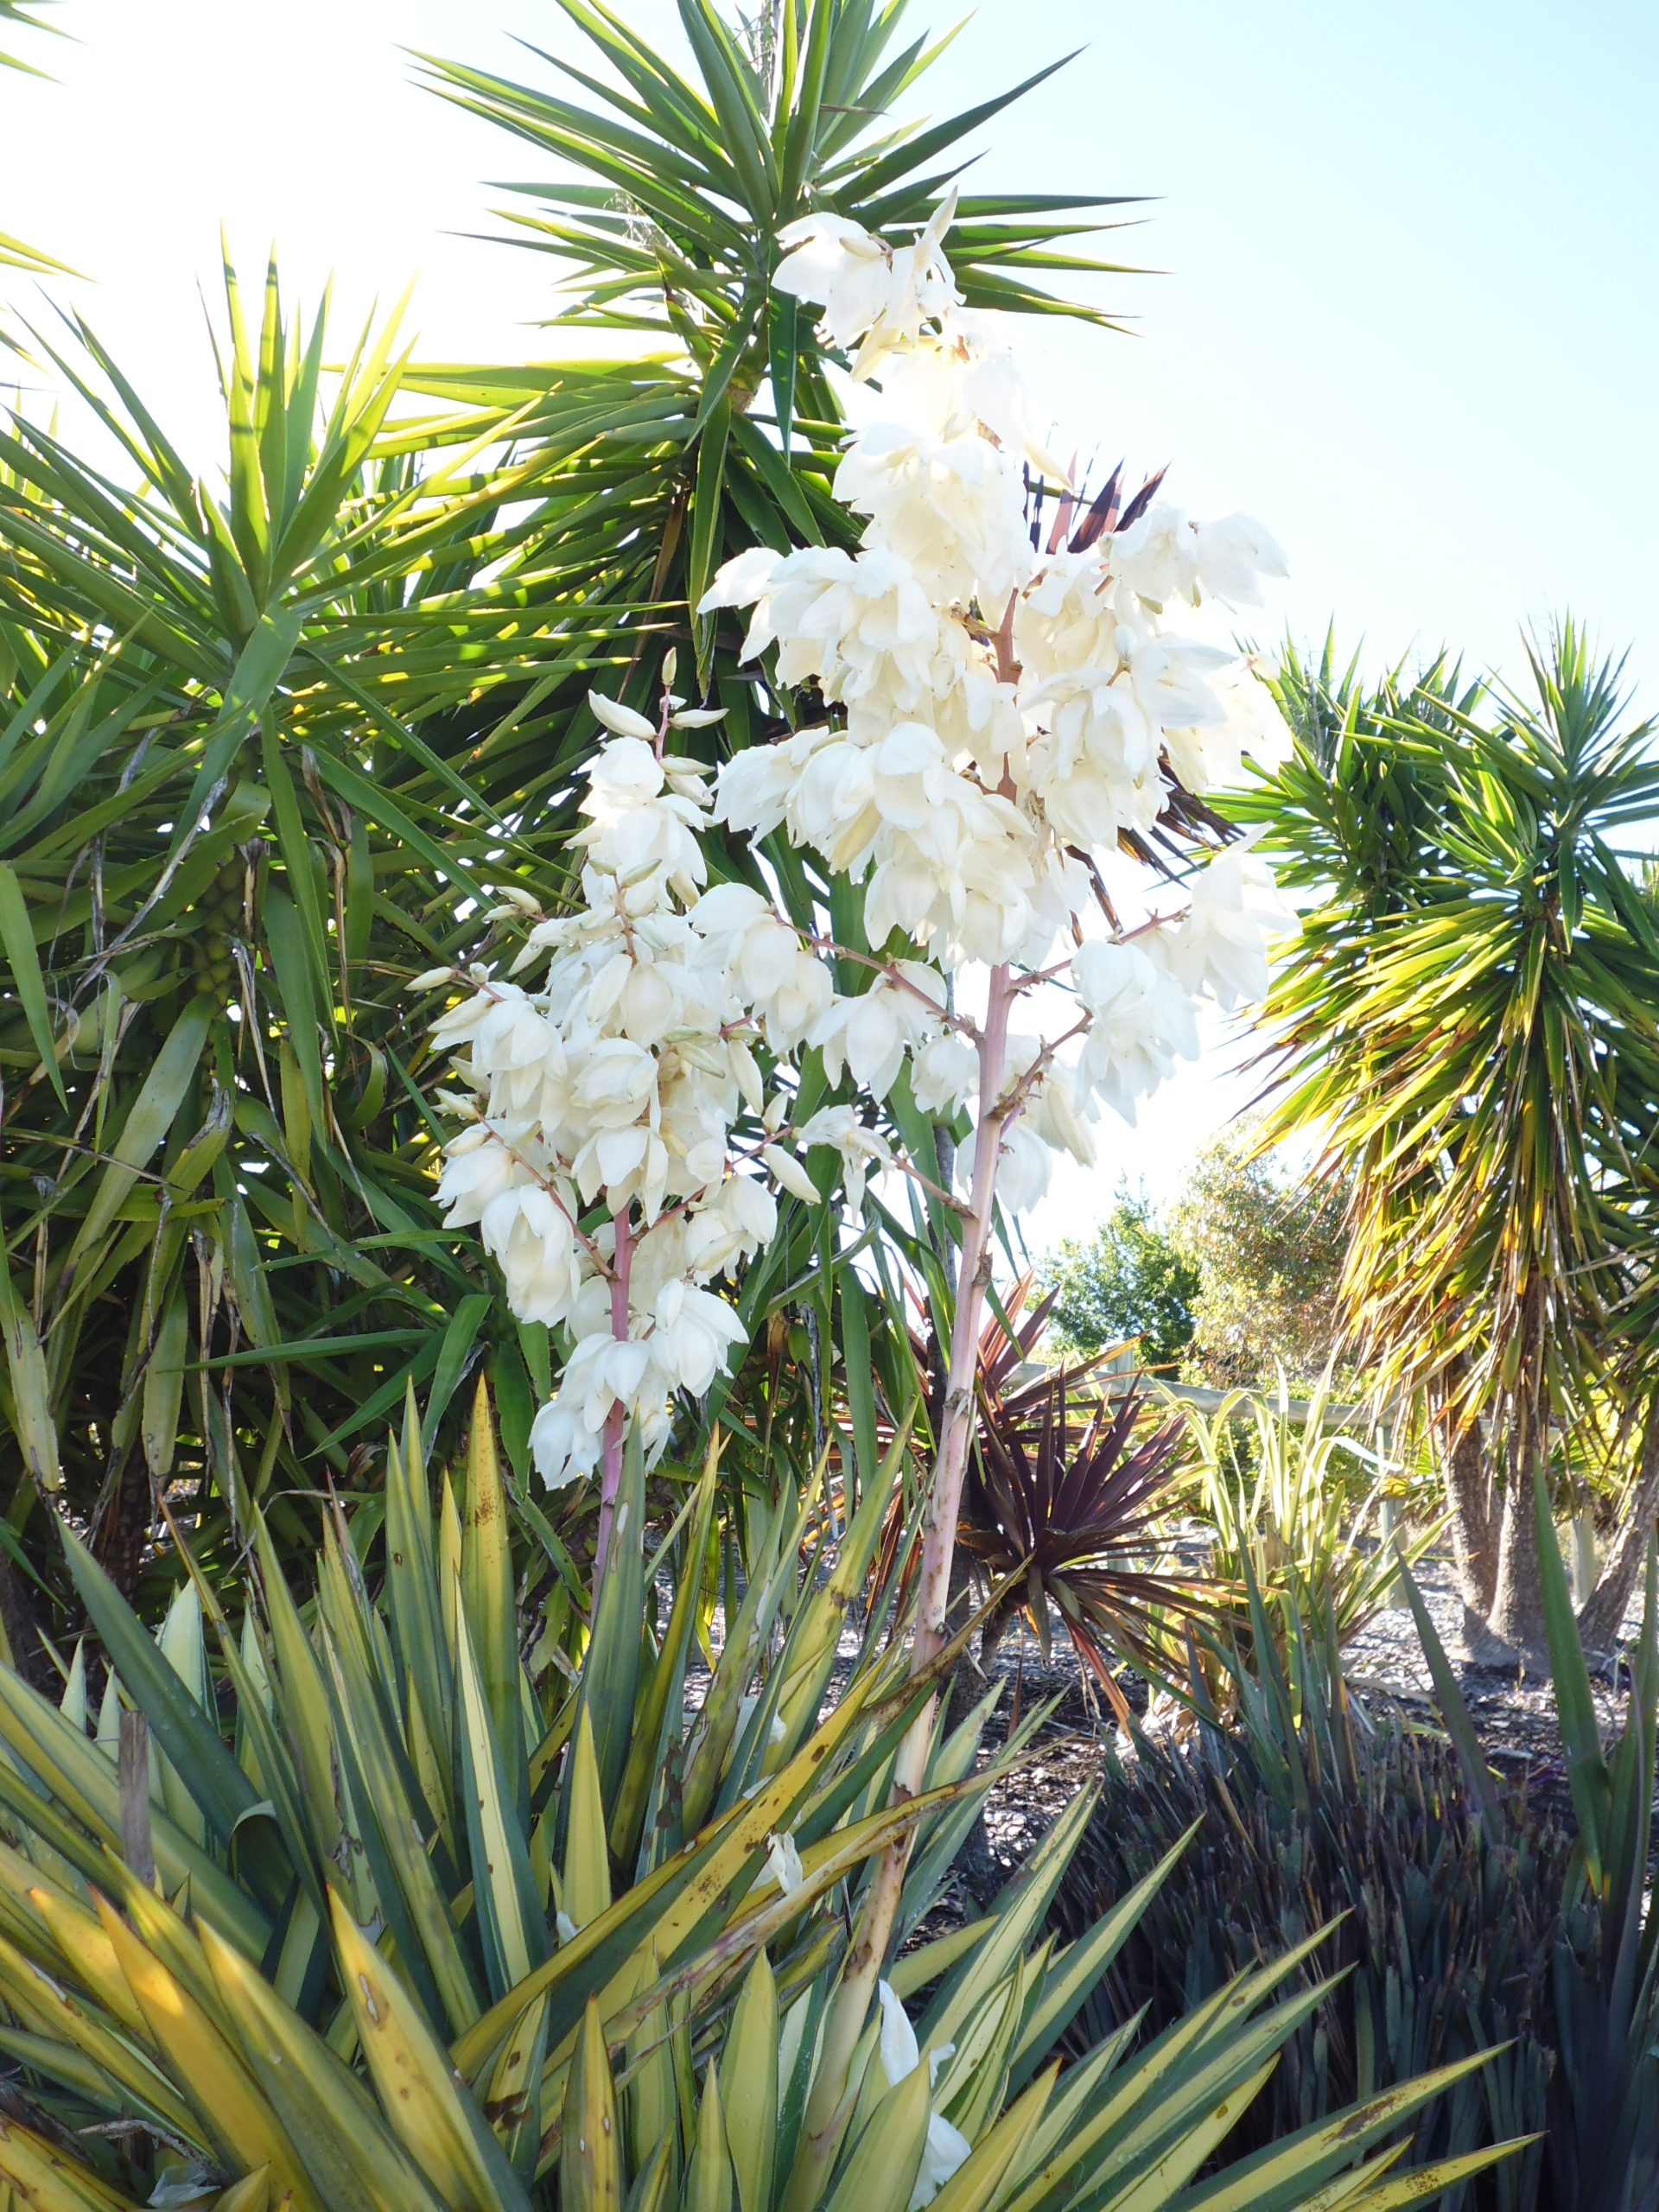
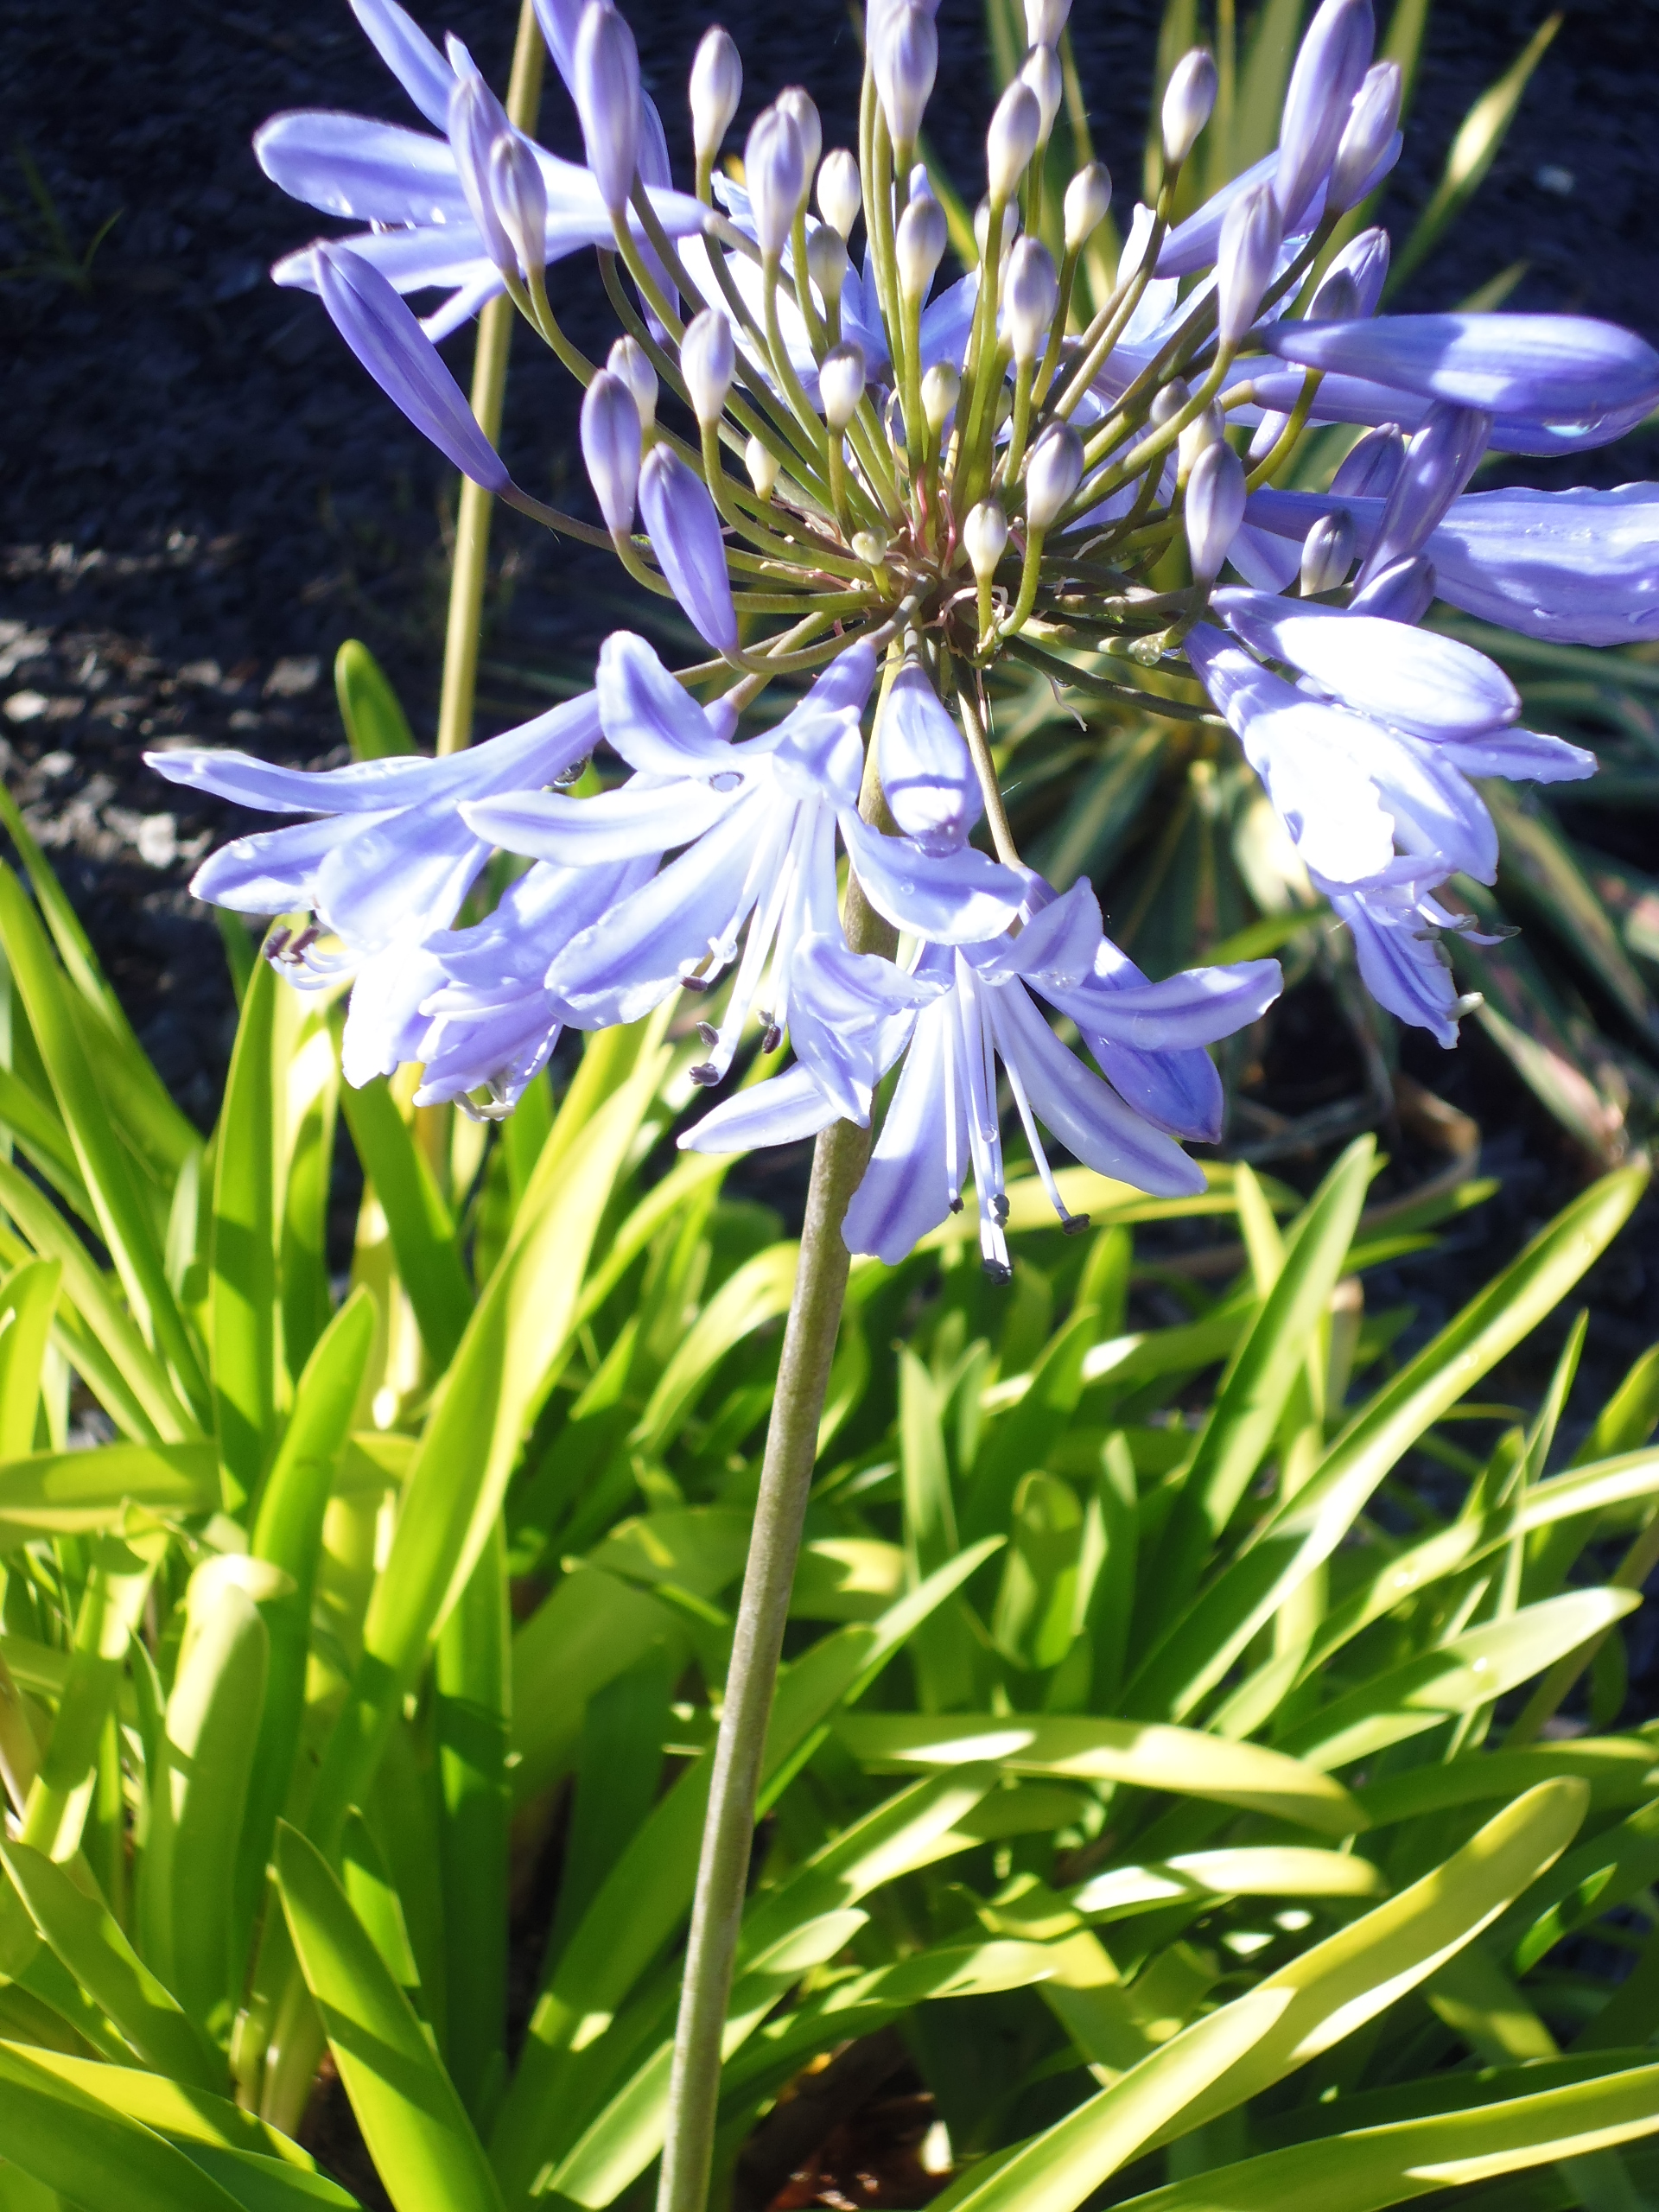
If the temperature changes didn’t tell me that summer was coming, my garden would! From late November into December (at least), the agapanthus put on a fine display, and some of the varieties of yucca flower heads are starting to die off.

If the temperature changes didn’t tell me that summer was coming, my garden would! From late November into December (at least), the agapanthus put on a fine display, and some of the varieties of yucca flower heads are starting to die off.
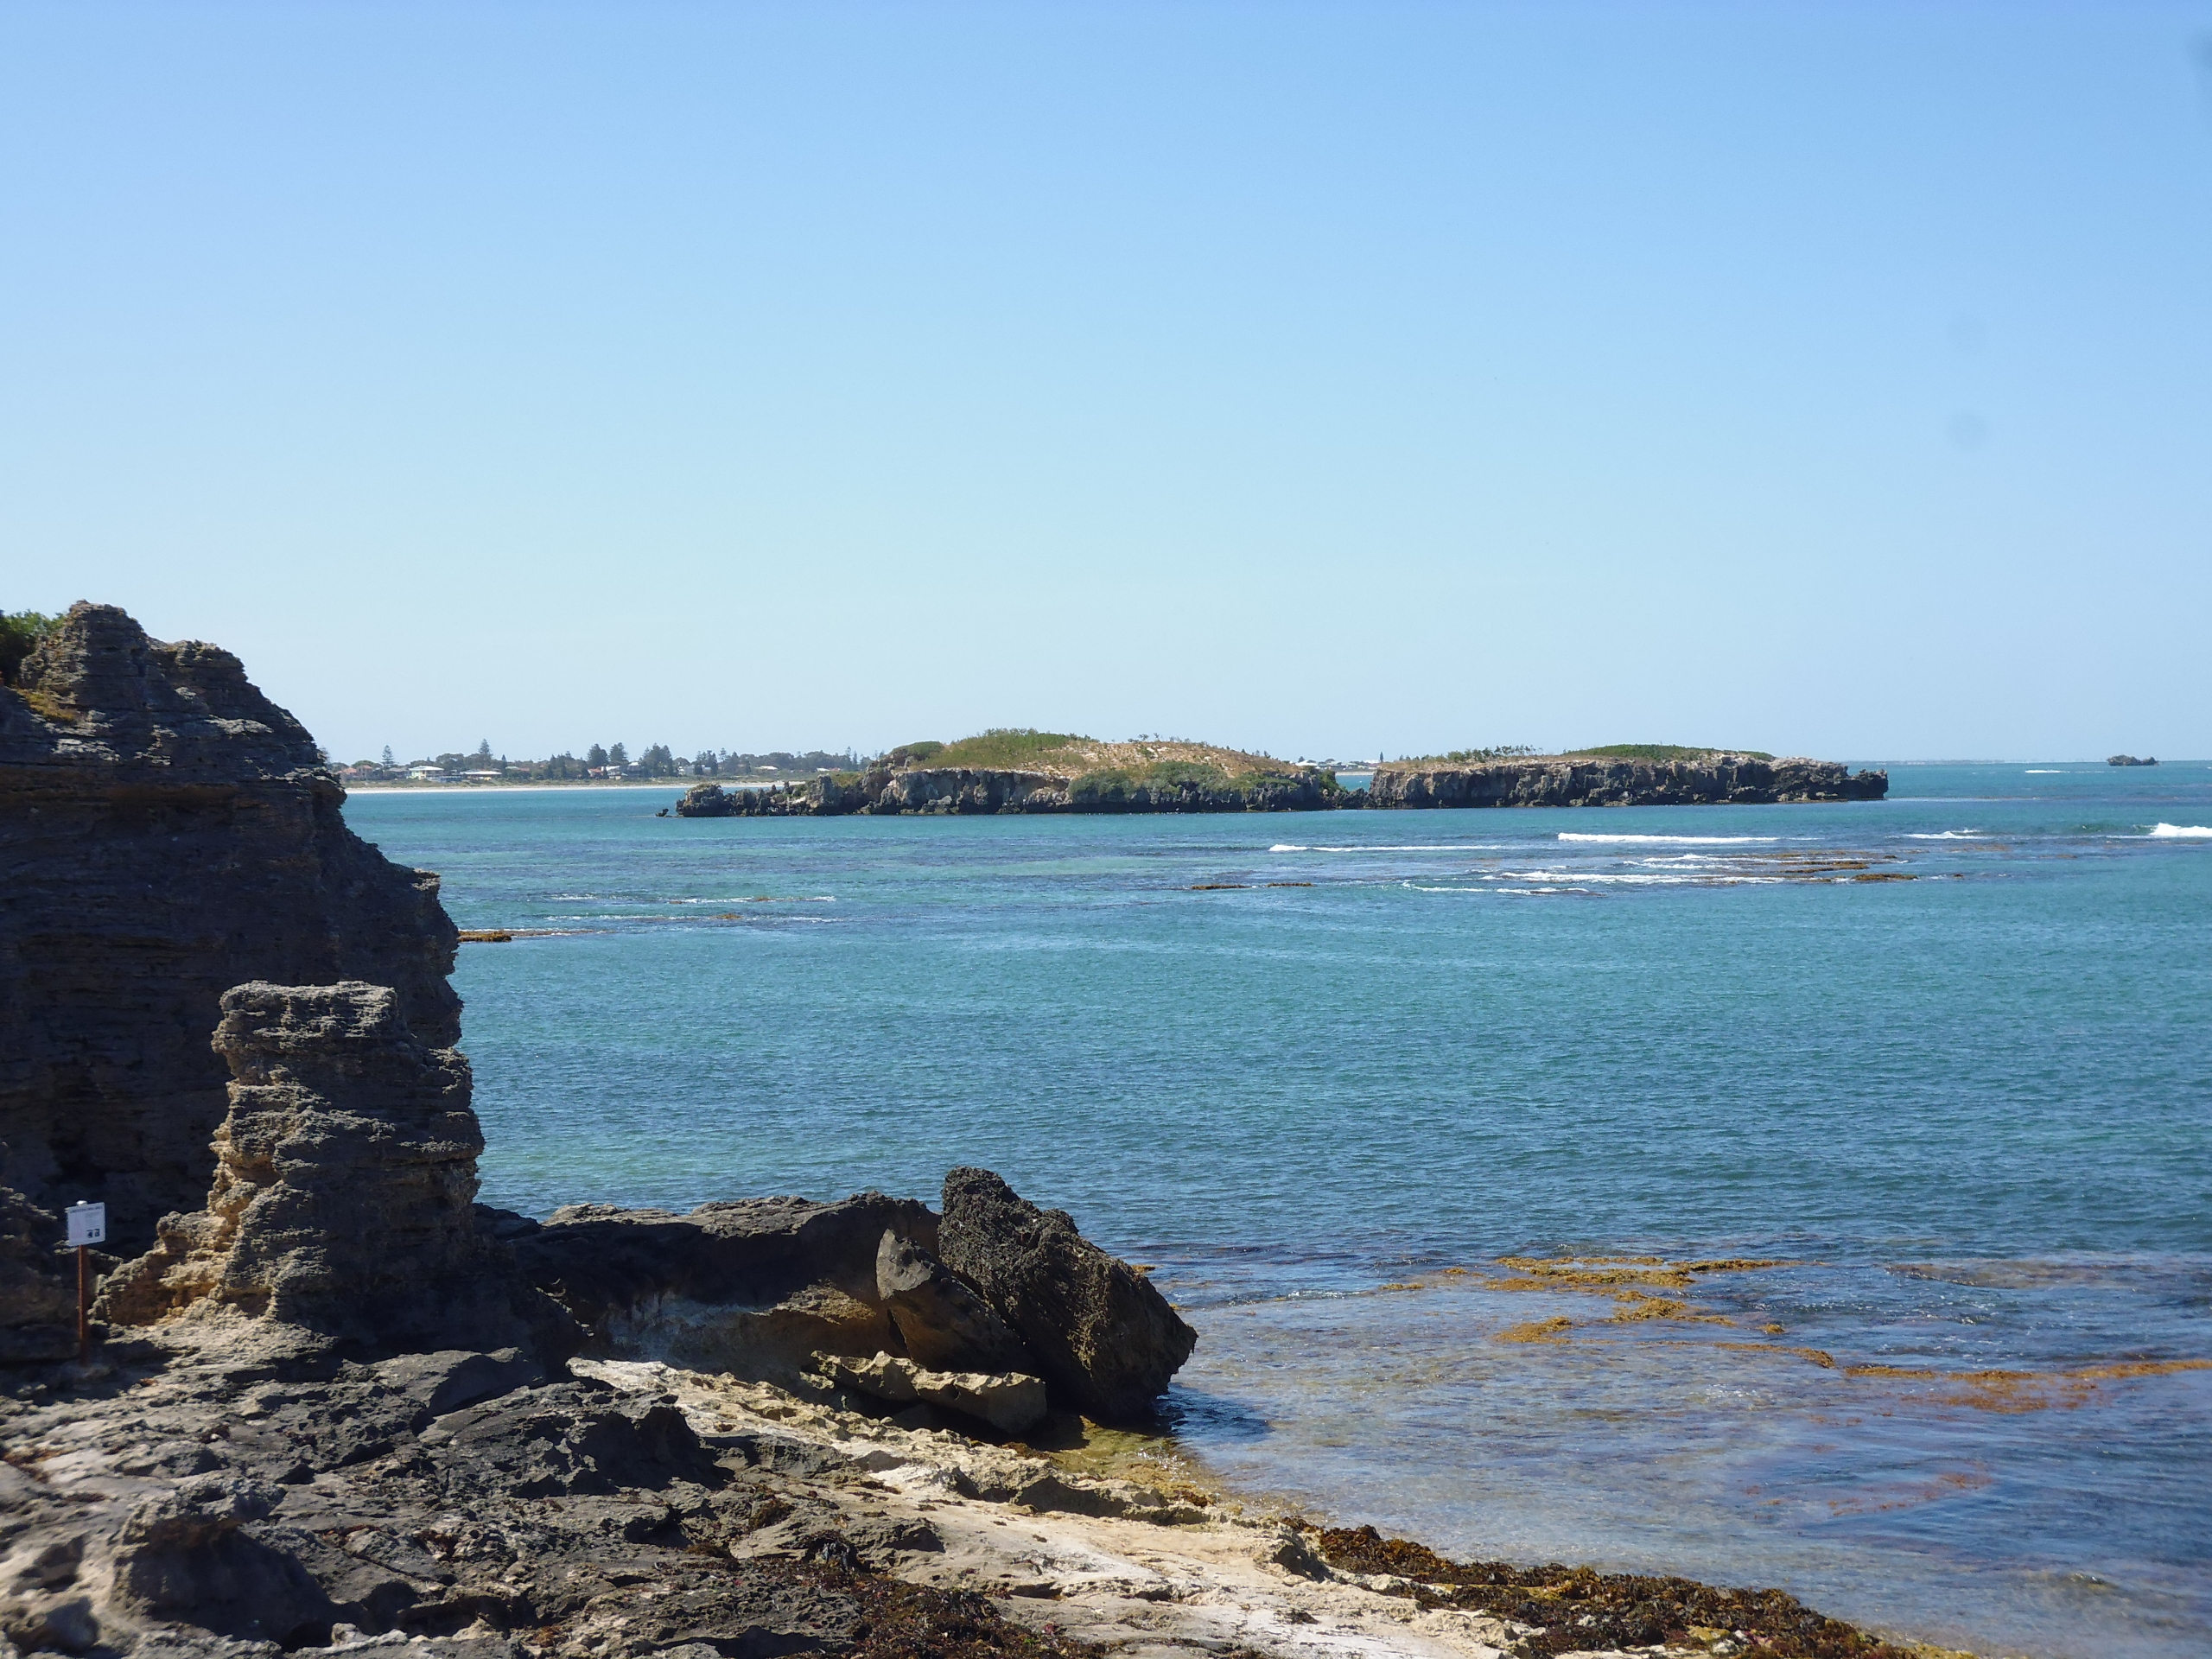
We had to go to Perth last week for an appointment in Rockingham. On the way home, we took the scenic route to Mandurah via Shoalwater and Waikiki, detouring into Point Peron.
These are some of the views from the lookout at Point Peron. The first looks back to the suburb of Shoalwater; the second looks out past the reef to the Indian Ocean.

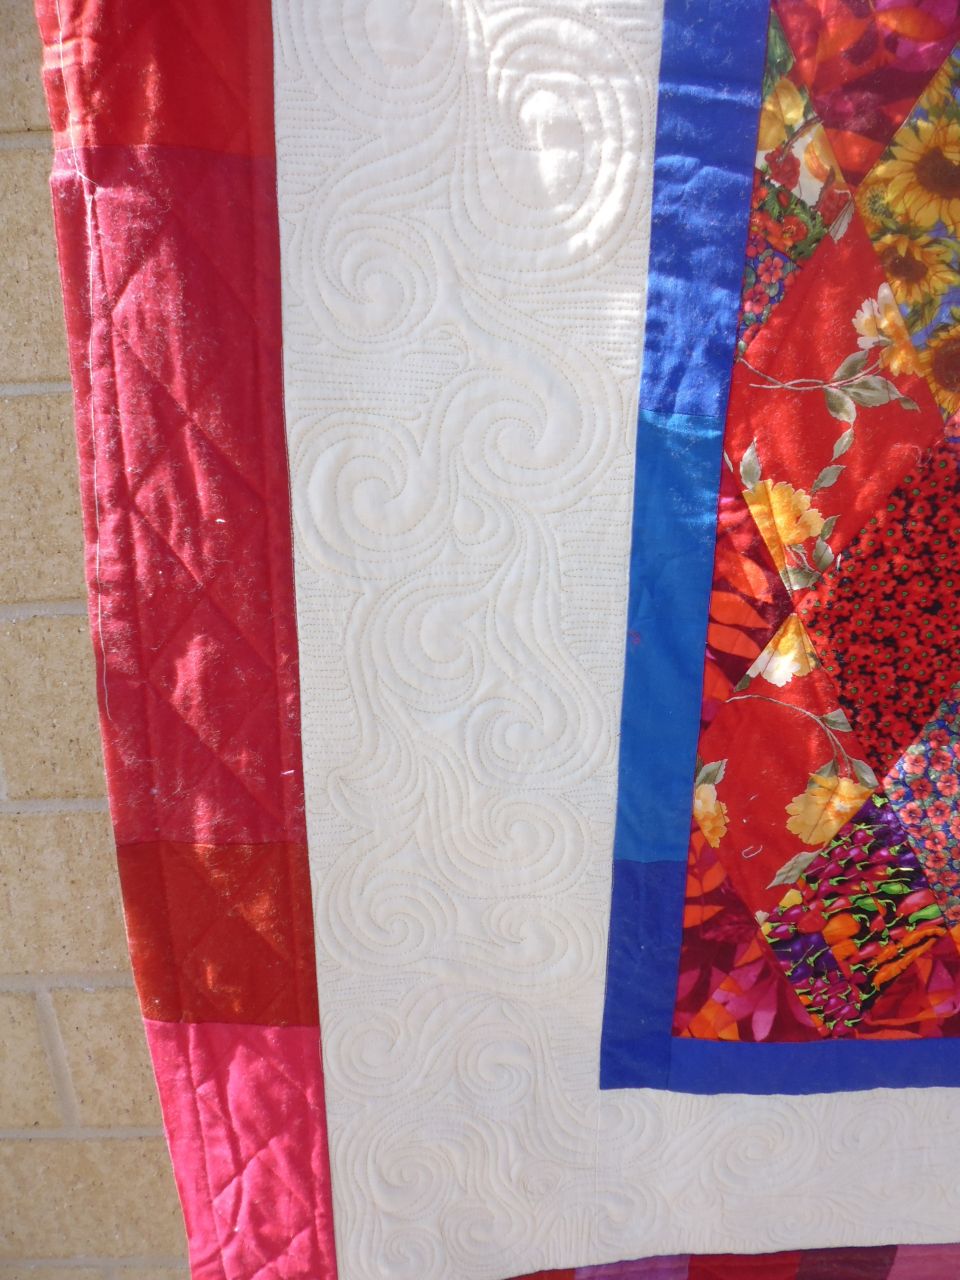
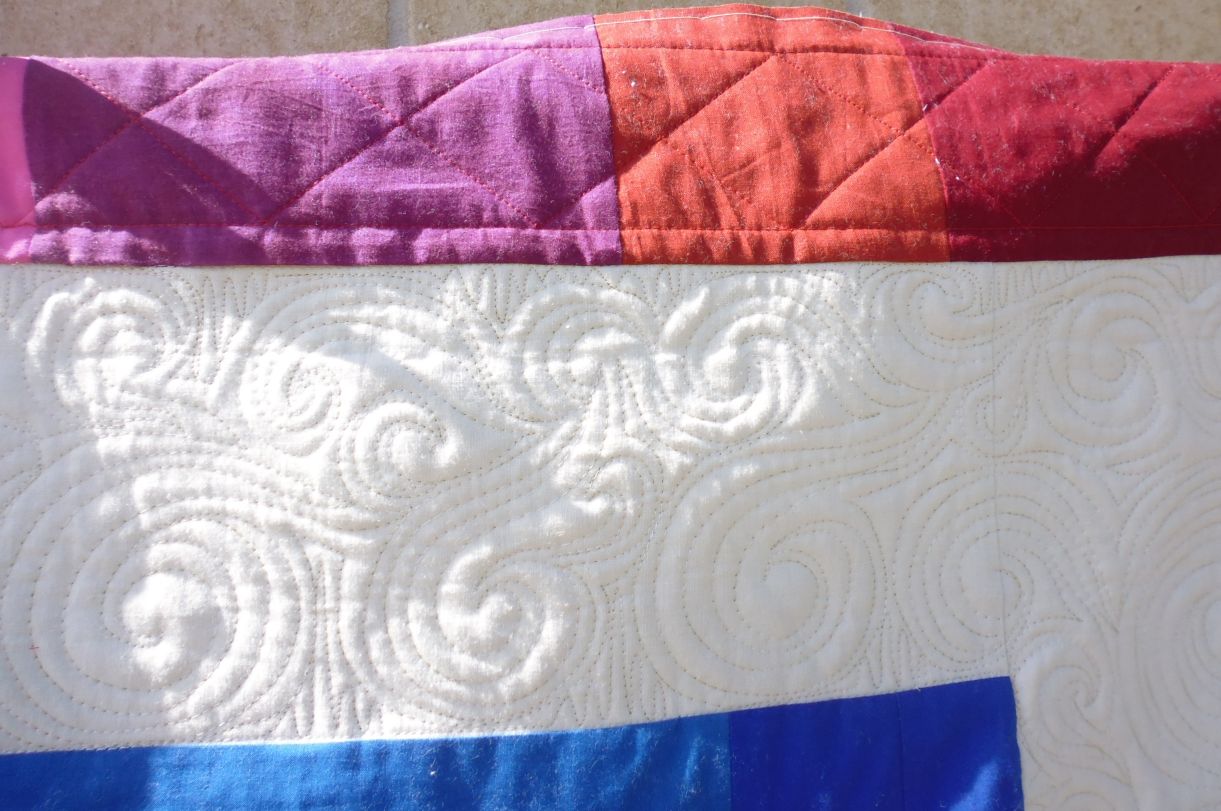
This was a BRIGHT quilt top!
I started by stitching in the ditch around the centre diamonds (and found out not all were diamonds…), then the borders.
As the centre panel was so bright and busy, I just did a simple angled straight line in the centres of each diamond (in red thread), filling in the diamonds in every second row with a filler design.
What to do with that expanse of cream fabric in the large border? I decided to try something new — a motif I’ll now call ‘Blowing in the wind’ as it reminds me of swirling winds. I stitched a sweeping line/S curve out to a curved pointed end, then echoed a couple of times, then started a new sweeping curve. Once I’d finished them all, I echoed around the entire design, then did a perpendicular up/down filler to make the wind swirls ‘pop’. I quite liked the effect and will add this to my repertoire. It was pretty easy to do and didn’t take long.
For the outer border, I echoed stitched about a half inch away from the seam, and then marked the width of my Line Tamer ruler from that stitched line and stitched another line to give me a space to work in. I then measured and marked approximately every 4″ across the length of each border between those stitching lines, and created diamonds from them, reflecting the diamonds in the centre panel.
(Click on a photo to view it larger)


Threads used:
I liked the vibrancy and colours of this quilt.
How to quilt it? Well, it was very geometric with harsh lines, so I decided to soften the look by doing a more organic, rounded all-over spiral motif.
I didn’t stitch in the ditch, just started in the centre and worked my way out. However, I decided to use a 12 wt cotton thread and I had all sorts of trouble with it poking through the back. I think that was a combination using a size 20 needle for this weight thread, AND using a bobbin thread that matched the backing fabric, not the top thread. No matter what I did with the tension I had ‘pokies’ on both sides of the quilt — yellow poking through the navy, and black poking through to the top. I wasn’t happy with the back at all.
Lesson learned: When using a heavy weight thread and a large needle, make sure the bobbin thread matches the top thread, no matter what fabric colour is used on the back. That way any pokies will be less obvious.
(Click on a photo to view it larger)


Yellow ‘pokies’ on the back

Black ‘pokies’ on the front
Threads used:
For this quilt, I decided to do some free-form feather medallions in the centre of each blank block. But before I started those, I stitched in the ditch around all the blocks and borders, and around the main elements in each scrappy block.
In the blank blocks, I started by marking a circle, then did the outside feathers and their echo, then the inside feathers and their echo, followed by some wavy cross-hatching in the middle.
I stitched free-form pointed arcs in the borders, finishing off the corners with a pointed arc and a swirly thing inside it.
(Click on a photo to view it larger)


Threads used:


