The ideal tradesperson

12 12 2013

I think I have discovered the ideal tradesperson (my new handyman)! Why? Well, here’s a list for starters:

  • arrives on time (never more than 5 minutes after he’s told me, or else he’ll phone and let me know that he’s delayed and by how much)
  • cleans up after himself
  • protects my floors etc. with drop cloths
  • explains what’s important on my list and what’s not
  • explains in plain language why some issues are happening
  • takes extreme pride in his work
  • notices other things and fixes or lets me know (e.g. was checking something in ceiling and noticed a pinhole elsewhere in the roof, so fixed it there and then)
  • charges a reasonable hourly rate
  • works at a good pace but not so quick as to be rough-shod and not so slow as to eke out the hourly rate
  • looks me in the eye when speaking to me
  • tells me if something is beyond his capabilities (e.g. plumbing work other than minor stuff) and then offers his recommendation for another tradesperson (but only if asked, so he’s not trying to fob off others on to me)
  • treats my house like his own (e.g. takes off his shoes when inside – without asking)
  • can turn his hand to most things (though he’s quite young, he has built his last two houses himself)
  • does a good thorough job.

Notice that ‘does a good job’ is not the first thing on my list, so while that is very important, all those other things add up too, and any one of them could have relegated him to ‘so-so’ status.

He’s an absolute keeper for future handyman work around the house and I’ve already recommended him to others. He’s only recently gone into business on his own, so I’m more than happy to give him my business now and in the future.

Update December 2022: He’s definitely been a keeper! Everything I wrote 9 years ago about Tony remains the same today, and even though he now lives about an hour away, I still get him to come and work through my ‘Tony list’ each year (typically just once a year unless there’s some sort of emergency) to keep our house in good condition.



Funny user review

11 12 2013

So I’m looking at the Google Play store for a relaxing ambient noise app to see if I can mask my mild tinnitus at night when trying to fall asleep, and I come across this review:

ambient_noise_review

Too funny! No, I haven’t downloaded/tried the app yet…

(Text for those who can’t read the image: 4 stars: Maybe too effective. This app works great. My body is now trained to quickly fall asleep to certain sounds. However, I inadvertently activated your app with my car’s hands-free system today and before I realized what I’d done, I had fallen asleep at the wheel. I awoke in the duck pond in the park. Nobody was hurt, and it isn’t very deep, but there’s an extremely hateful goose patrolling the pond that won’t let me exit my vehicle. It’s like a little honking Cujo. Will rate 5 stars if you bring bread to appease this goose.)


Community Quilt 130

8 12 2013

This was the final one of the current batch. Again, it was a bright scrappy quilt. How to quilt it?

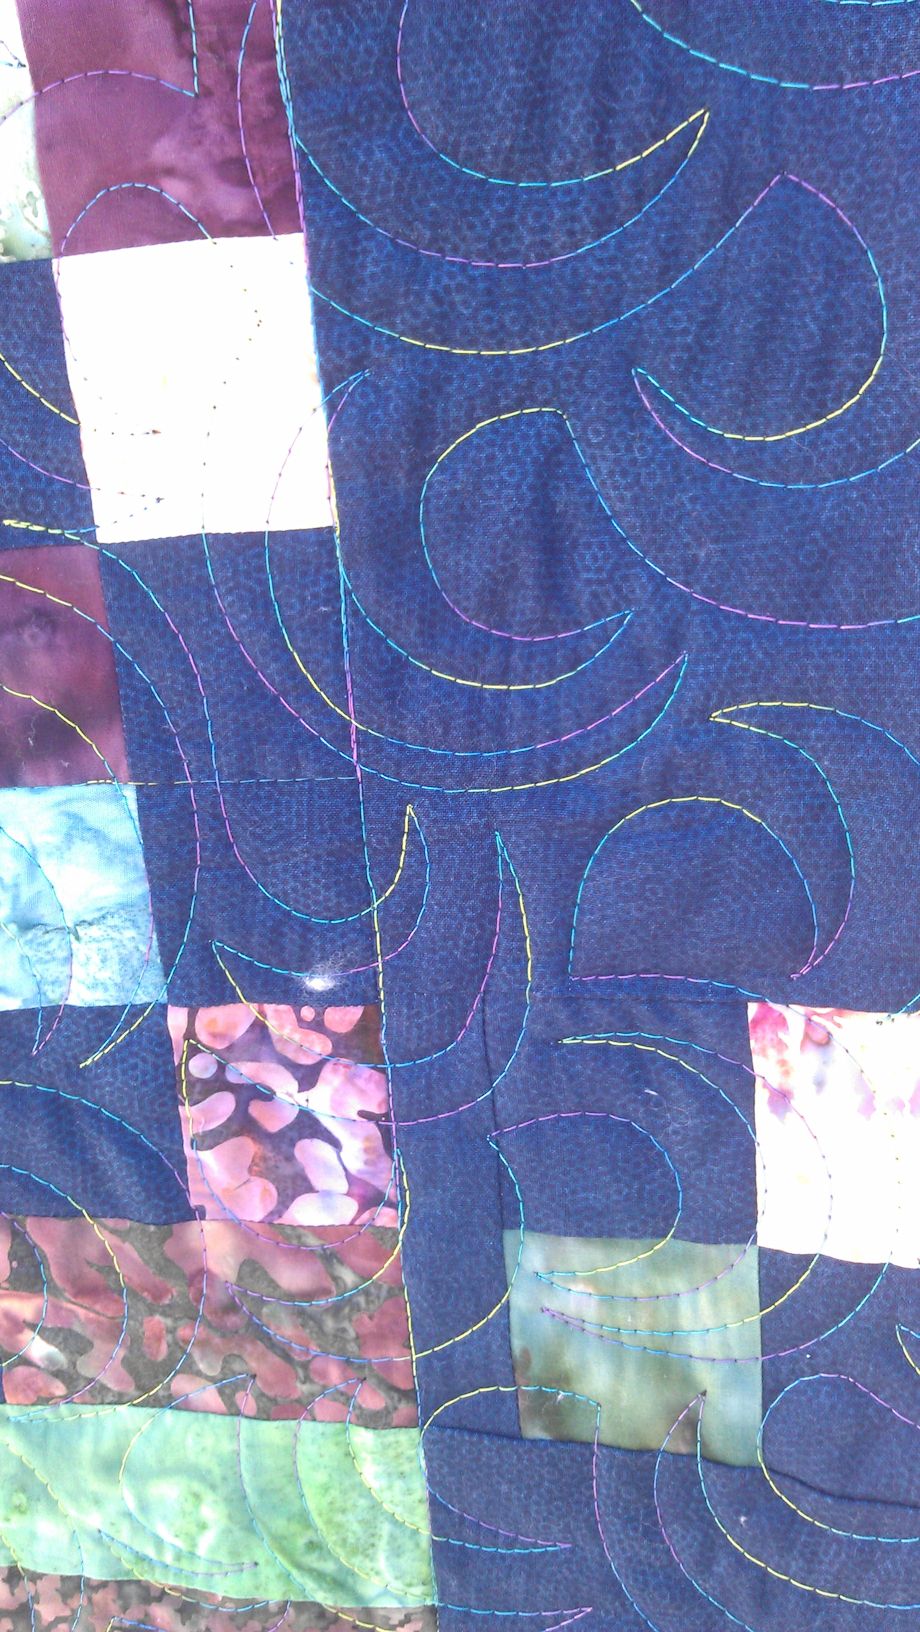
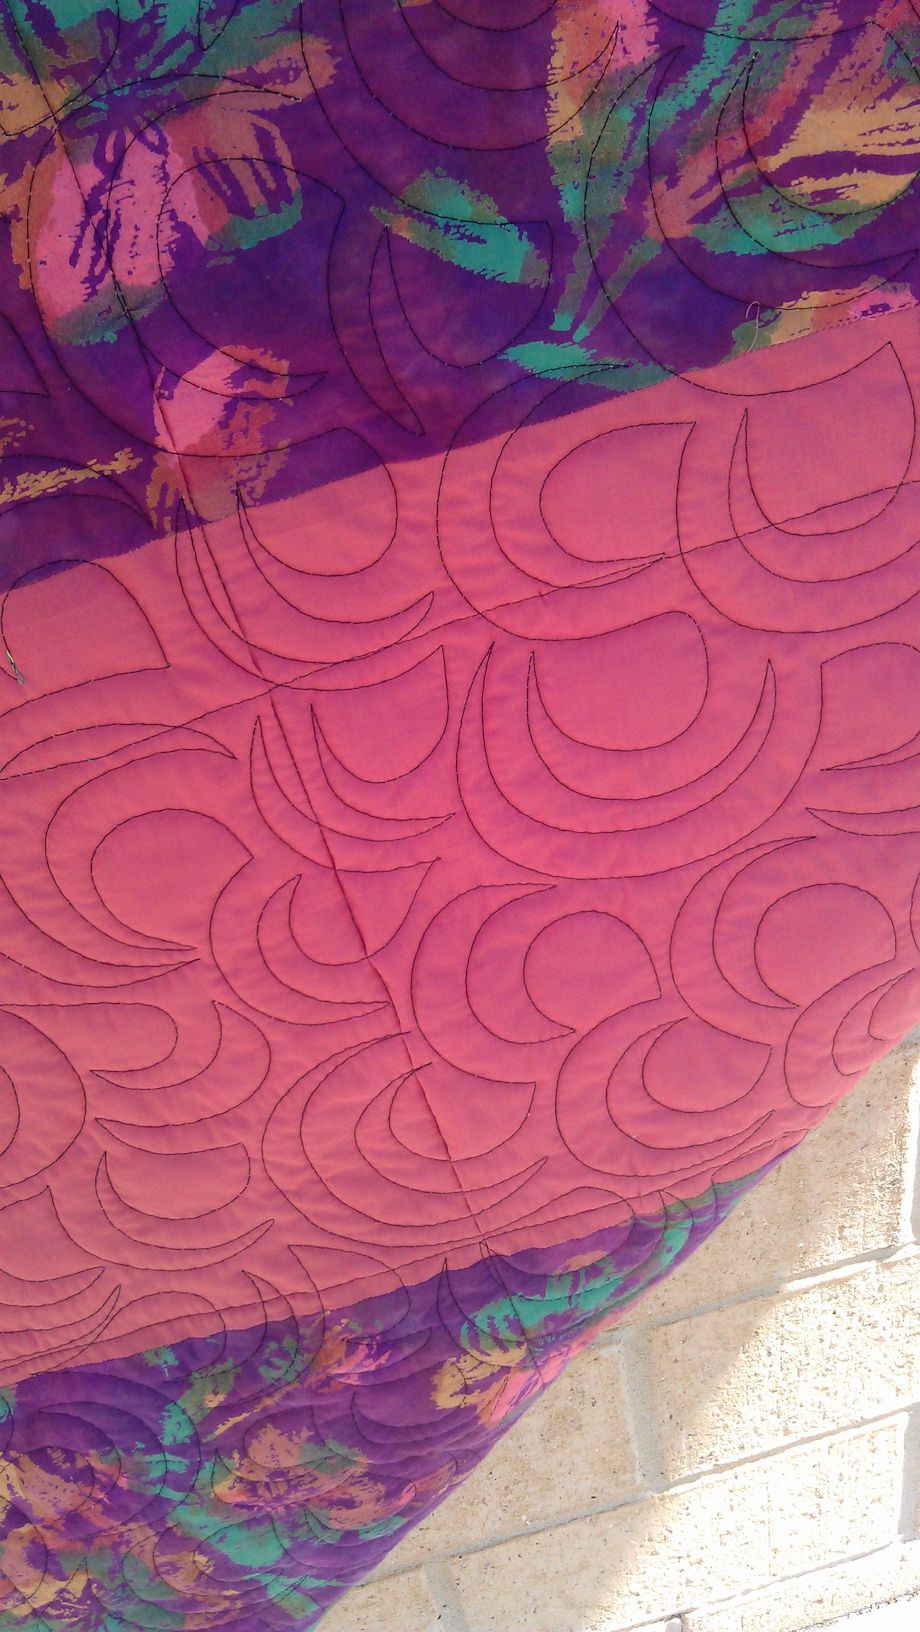
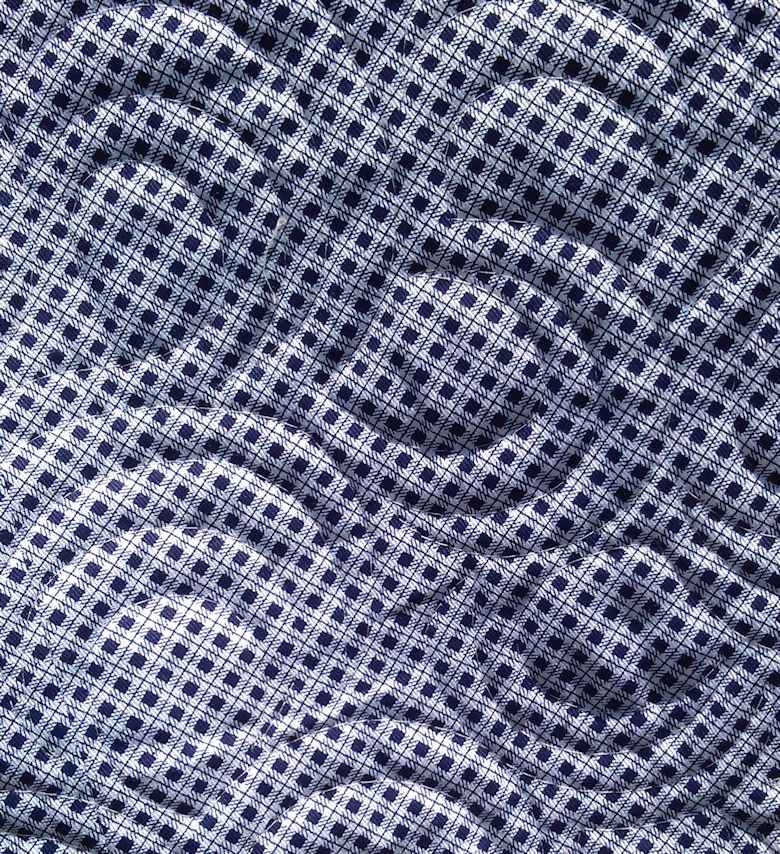
I figured there was more than enough going on in this quilt as far as colour and pattern went, so I opted for an all-over continuous line motif — one of my old favourites: the ‘open headband‘ motif. I made the arcs quite large, which meant I was able to quilt this quilt in just over an hour (I continued the motif into the border so I didn’t have to quilt that separately).

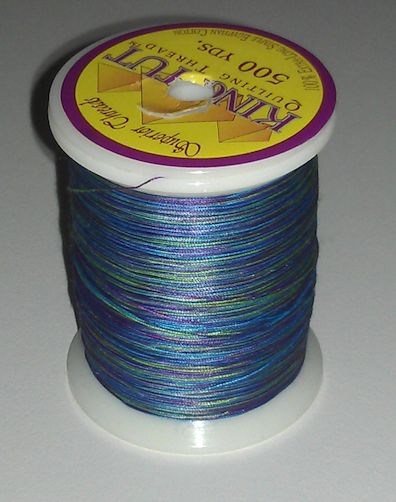
I used a variegated thread in blue, purple, and green, which I thought matched the quilt quite well.

(Click on a photo to view it larger)

quilt130_01

quilt130_02

Back:

quilt130_03

quilt130_04

Threads used:

  • Top: Superior King Tut ‘Arabian Nights’ (40 wt, cotton, colour #935)
  • Bottom: Bobbinfil (white)


Community Quilt 129

8 12 2013

Another scrappy jelly roll strip style quilt… this time in reasonably bright colours. While I quite liked the effect of the strips in the quilt, I’m not sure the border fabric adds much — while the colours are OK, the floral pattern clashes in my opinion.

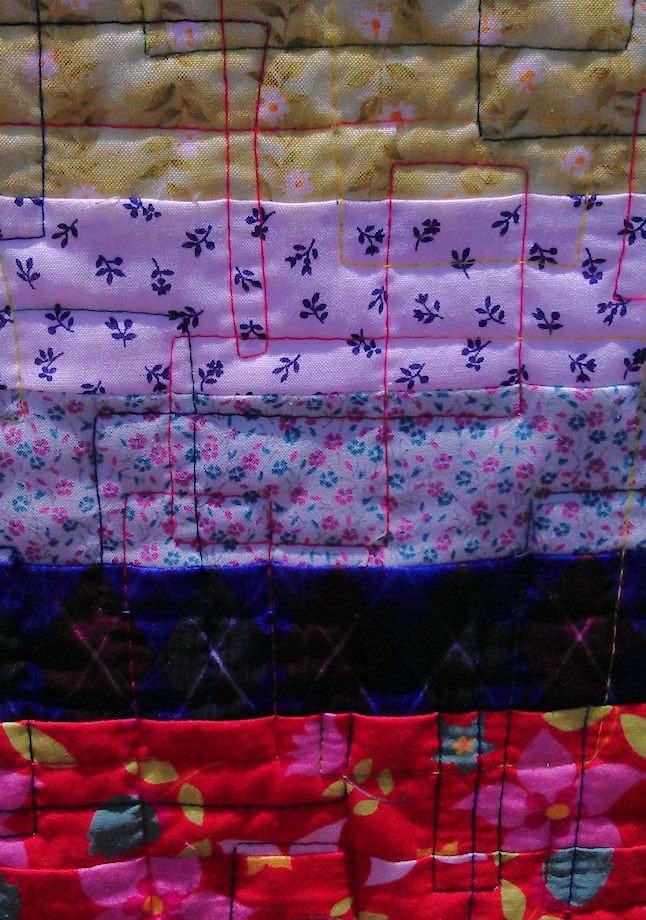
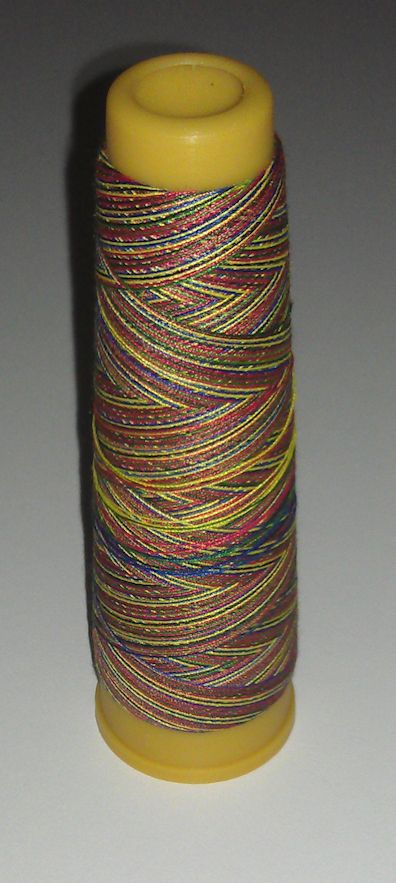
I decided to quilt this one ‘modern’ style, with continuous line stitching in a square/rectangle motif. I used a variegated overlocker thread in primary colours that I’ve had for YEARS, which I though worked quite well with the colours in the quilt.

(Click on a photo to view it larger)

quilt129_01

quilt129_02

quilt129_03

Threads used:

  • Top: No idea! It’s a variegated overlocker thread in primary colours that I’ve had for years and there’s no label on the spool
  • Bottom: Bobbinfil (white)


Community Quilt 128

8 12 2013

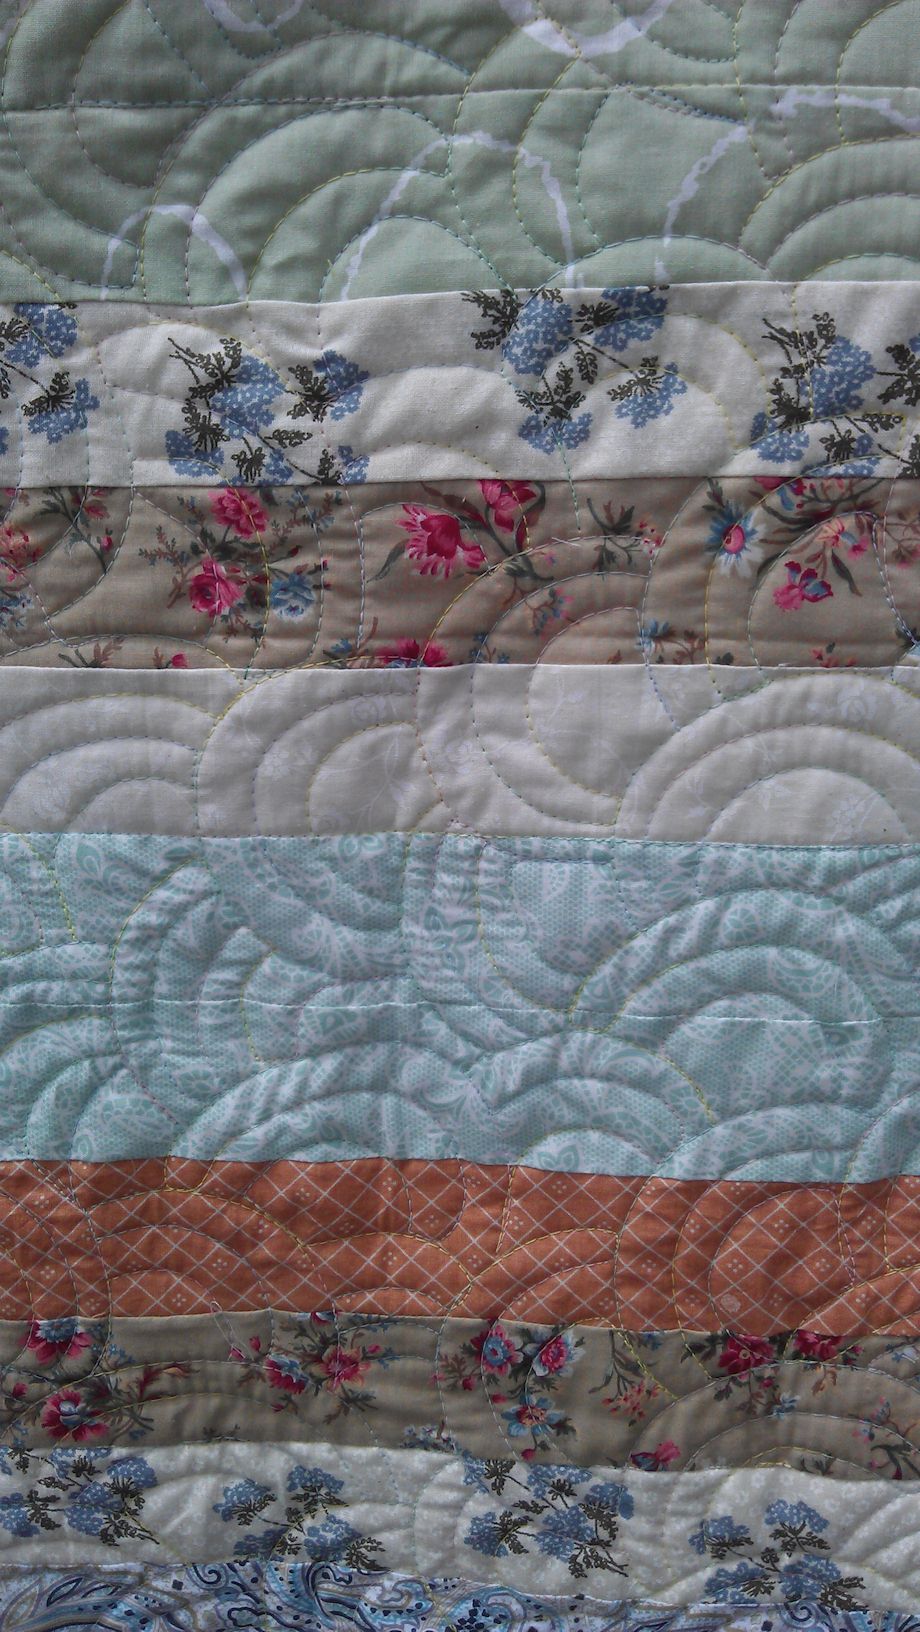
This was a pretty pastel scrappy quilt, done in a jelly roll strip style. The temptation was to quilt it ‘modern’ style, but I decided to use a soft rounded motif instead, using a variegated soft pastel thread.

I like how it turned out.

(Click on a photo to view it larger)

quilt128_01

quilt128_02

Back:

quilt128_03

quilt128_04

Threads used:

  • Top: Wonderfil Silco (40 wt; cotton; color #SCM03)
  • Bottom: Bobbinfil (white)


Community Quilt 127

30 11 2013

This was a big quilt, made mostly with batiks in purples, pinks, yellows, blues and greens.

After stitching in the ditch around all the large blocks and the border and the outer edge, I decide to counter the rectangular/square design by quilting it in a rounded motif. I used my favourite ‘open headband‘ motif, making the arcs much larger than usual to try to get this quilt stitched fairly quickly as I wanted to get it back to the Community Quilts coordinator on Monday. I extended the quilting design into the border.

I really liked how the King Tut variegated thread (in blues, greens, purples and yellows) matched the fabrics so well.

(Click on a photo to view it larger)

quilt127_01


quilt127_02

quilt127_03

Back:

quilt127_04

Threads used:

  • Top: Superior King Tut ‘Cairo’ (40 wt, cotton, colour #932)
  • Bottom: Bobbinfil (black)


Community Quilt 126

30 11 2013

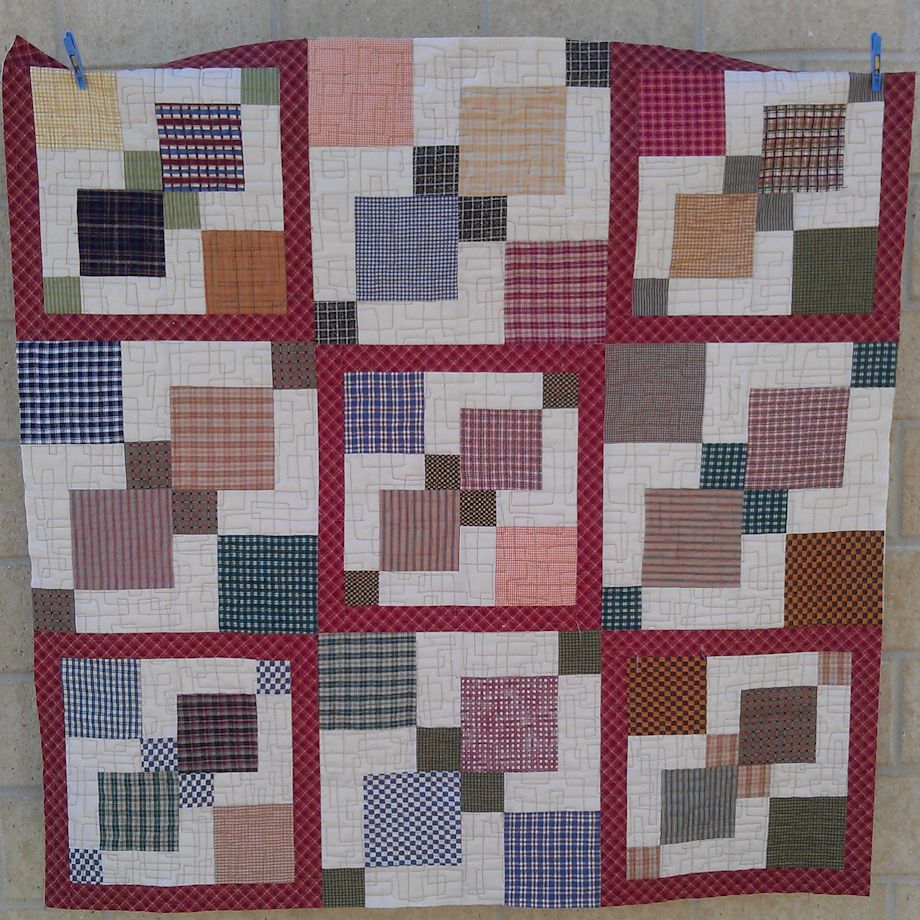
I quite liked this quilt — even though the colours weren’t my preference, they went well together. Normally with a sharp geometric block design like this ( a disappearing nine-patch, if I’m not mistaken), I’d soften it by quilting a curved/rounded motif. But not this time — the quilt design and colours just begged to be stitched with a rectangular motif 😉

This is a continuous line motif I’ve used several times before. It’s pretty easy to do as there really are no rules. And no rulers either 😉

(Click on a photo to view it larger)

quilt126_01

quilt126_02 Threads used:

  • Top: Fil-Tec Harmony ‘Tweed’ (40 wt, cotton, colour #14076)
  • Bottom: Bobbinfil (black)


Perth, late November

30 11 2013

We had to go to Perth a week or so ago to do some legal business. We parked on the edge of the city and caught the free buses into and out of the CBD (all TransPerth buses as well as the CAT buses are free within in the main city blocks — a brilliant strategy introduced by the State Government many years ago).

The bus we caught into the CBD was all decked out in Christmas paraphernalia, which brought a smile to everyone’s faces. The female bus driver had gone to a lot of trouble to decorate her bus. And she was really good with the passengers too, calling out to ‘The lady from the airport, your stop is the next one.’ to a tourist who had just arrived in our city. What a great introduction to Perth for that person.

bus

Once we were in the city and had breakfast, we waited in the gardens at the Central Park building for our appointment time. It was a gorgeous day and the all the trees in Central Park were well laden with leaves and a surprising number of birds. Here’s the view from the park bench we sat on, with the soaring Central Park building dominating the sky.

central_park


Development?

17 11 2013

I live in a beautiful part of the country. Close by are farms, farmlets, a large estuary, etc. Work has been going on to run power and install a street light at the intersection of the main road into our subdivision. I wondered if there was more to it than that…

And at the end of last week I found out. On my drive into town, I saw several earthmoving trucks and vehicles on the farmland opposite the newly installed street light, and noticed the cattle were all gone (the horses and the camel went ages ago). A temporary road has been constructed into the farmland and it looks like a new subdivision will be going in there. I checked the local shire’s minutes on their website and found that the land is being divided into six lots, presumably ‘special rural’ lots with small acreage. (Update: I found more info on the application for subdivision on the Shire’s website and each lot will be 5 to 10 hectares — that’s about 12 to 25 acres for those who can’t convert hectares to acres! Further update (Dec 2013): There are five blocks with ‘For Sale’ signs on them, all around 5 hectares, and priced ‘from $690,000’, though I can’t find them listed on the real estate agent’s website yet.

I know I shouldn’t be a NIMBY as somewhere along the line the land where I live was also once farmland, but it’s a shame this beautiful farmland will be subdivided. Where do to the cattle go now?

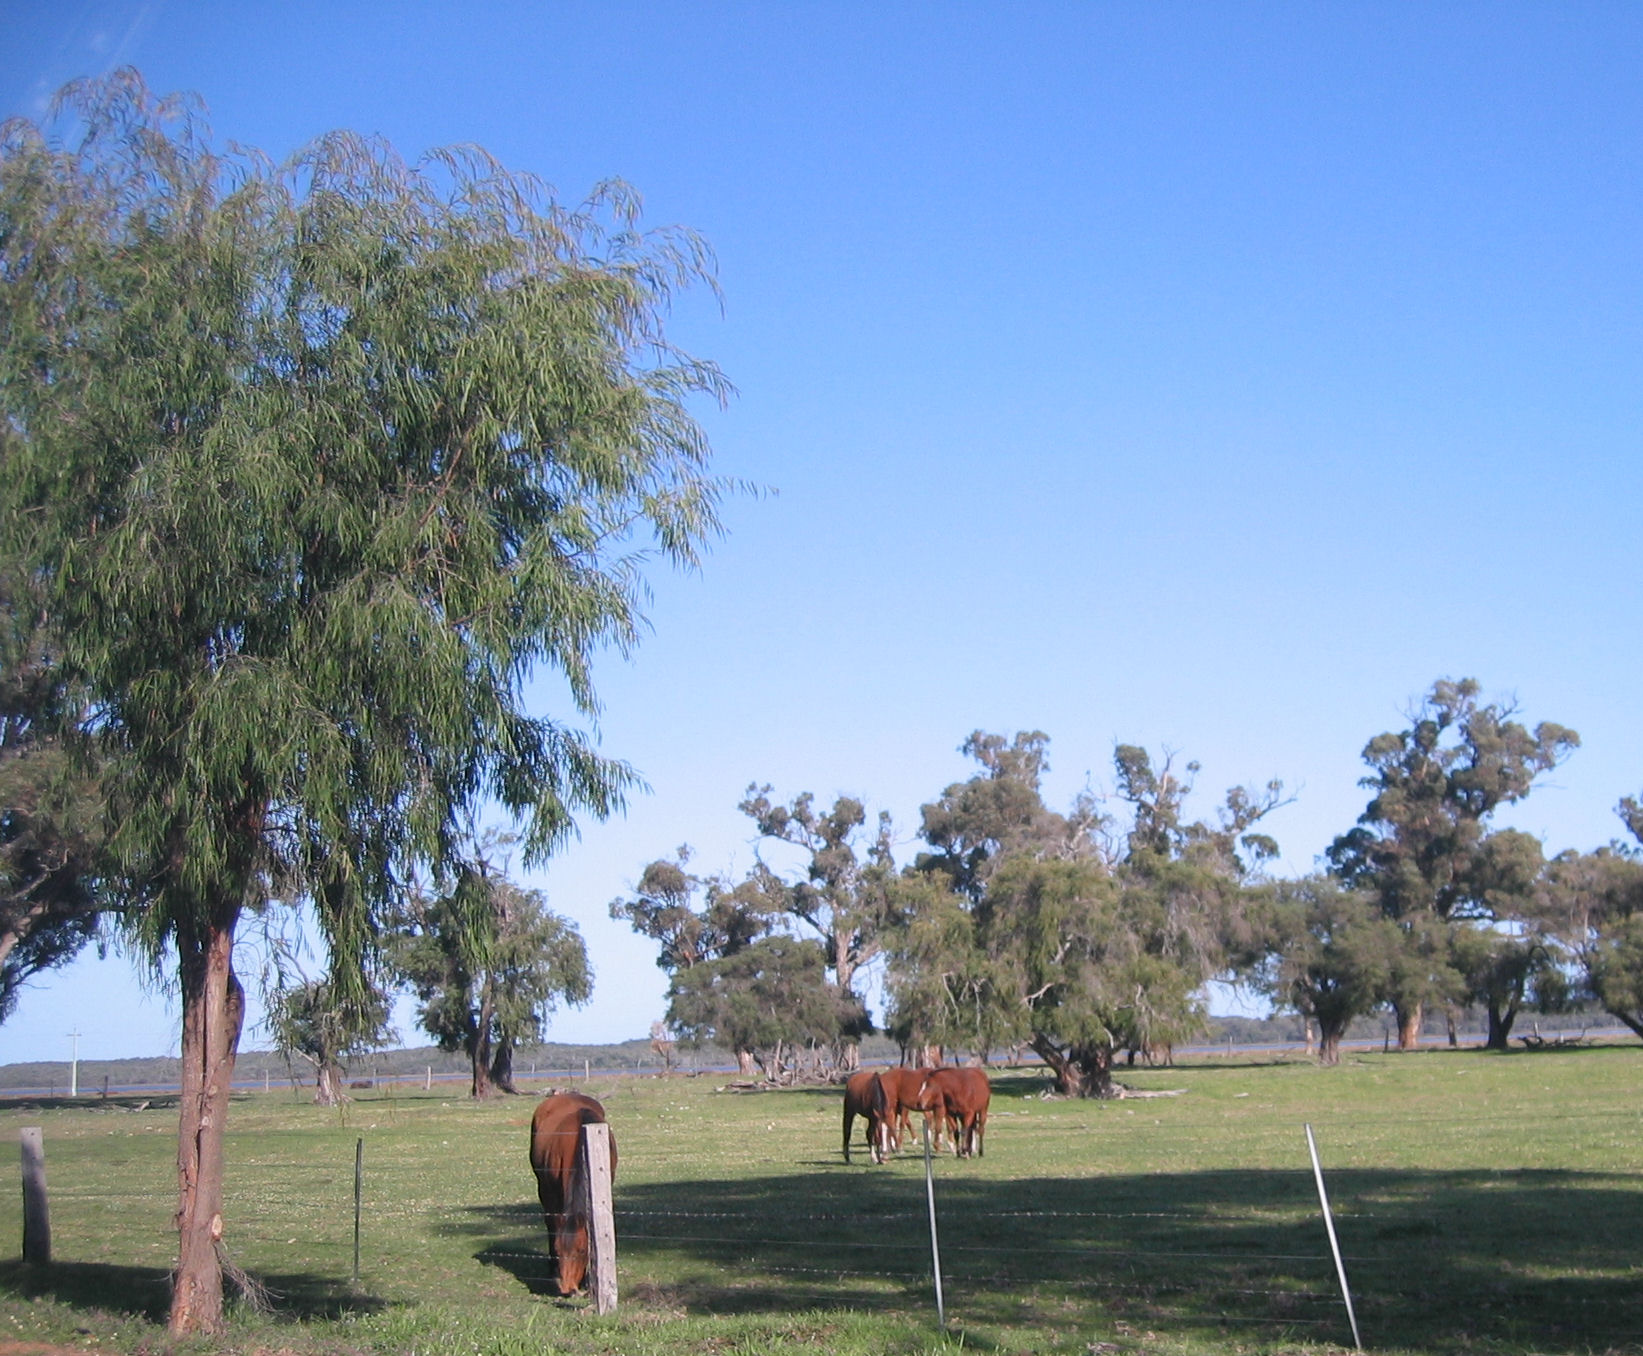
Here’s some photos of the area I took back in 2010:

cathedral_ave01

cathedral_ave05_horses

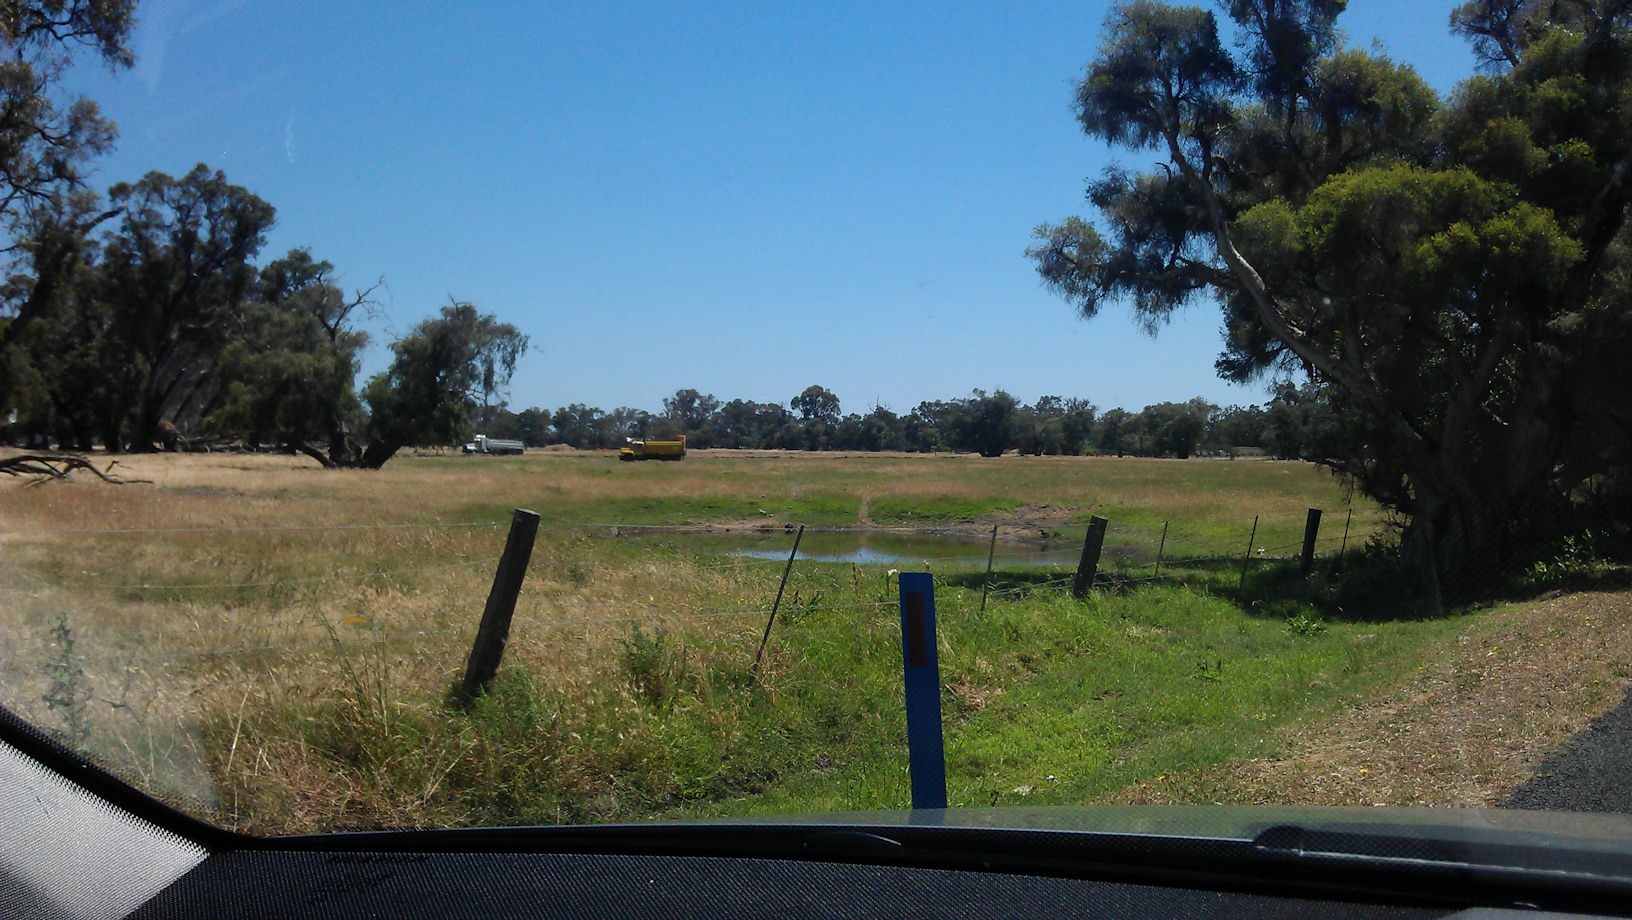
And here’s a photo I took on Friday showing the first stages of the development:

development

I hope they’ll keep all the ancient peppermint and tuart trees…

Update February 2014: Well, I bet the developers aren’t happy! Within about two to three weeks of the ‘for sale’ signs going up, the local shire/State health department put up this notice about 20 metres just before the southernmost driveway into these lots (there might be one at the northern end too, but I haven’t driven that section for a few weeks). Nothing like putting off prospective buyers!

development02

Yes, we live in a high risk area for mosquitoes, and you’d have to be Blind Freddie or living under a rock not to know that; it was one of the considerations we had when deciding to purchase here. But this really spells it out for any prospective purchaser, particularly someone from another state or country who may not know that the entire south-west corner of Western Australia (including Perth) is subject to mosquitoes carrying Ross River Virus, especially areas close to still water, such as the estuary that these blocks front on to.


Community Quilt 125

17 11 2013

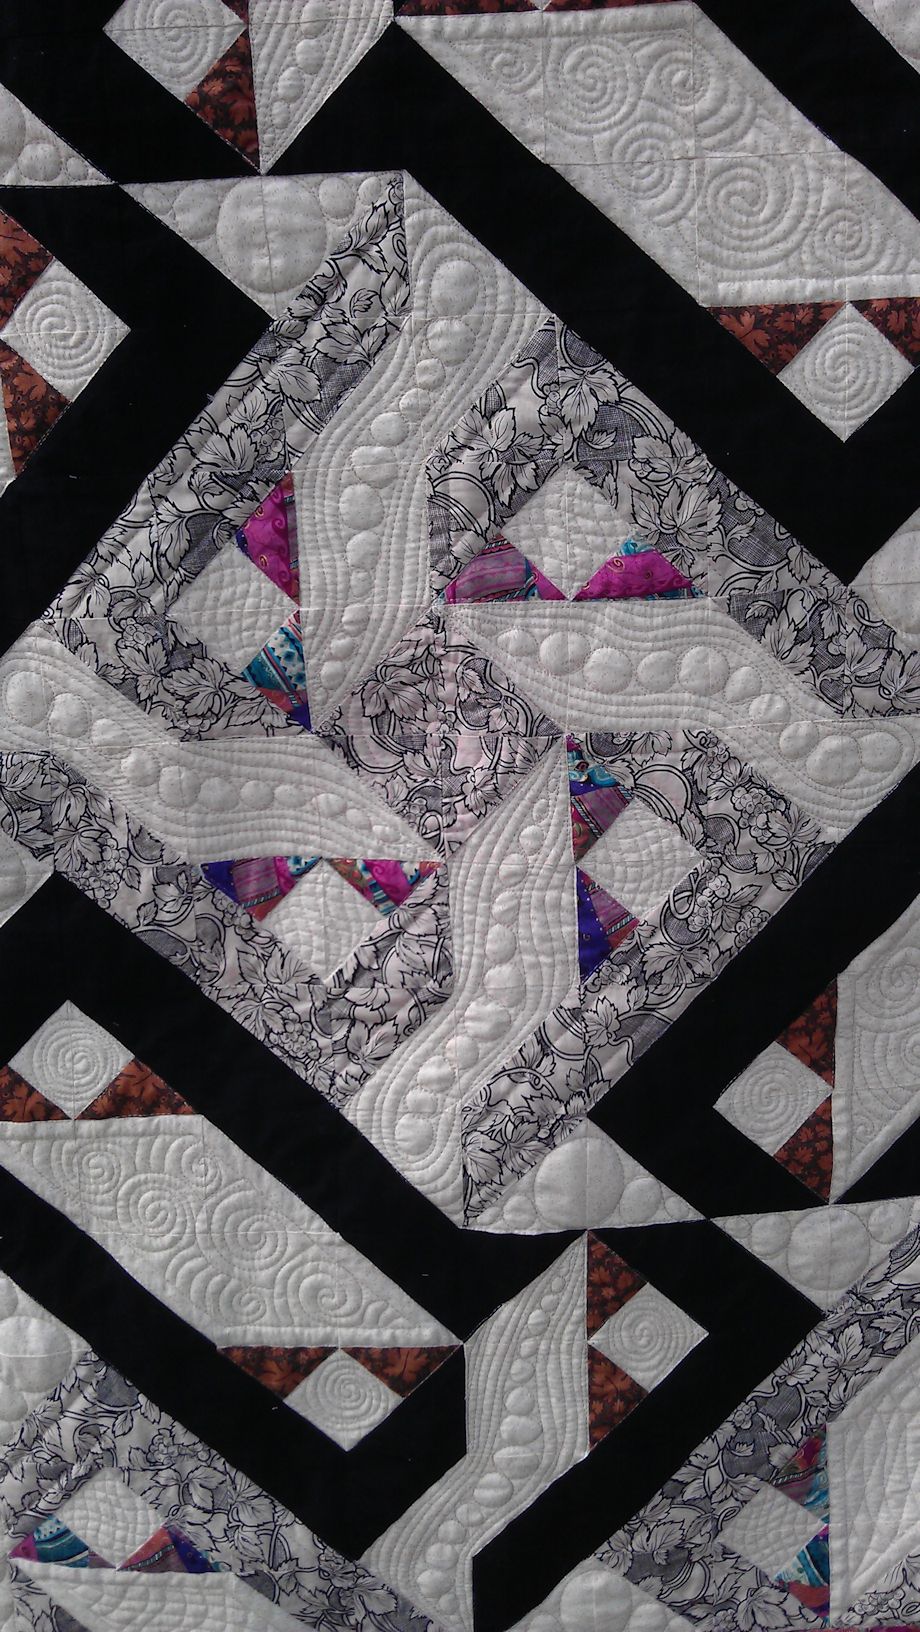
This was an odd quilt — I didn’t ‘see’ the pattern in it until I saw it as a thumbnail image on my camera, and by then I’d already quilted it ;-). The pink/purple with the cream/black/brown was also odd, although looking at it finished, it seems to work.

(Click on a photo to view it larger)

quilt125_02

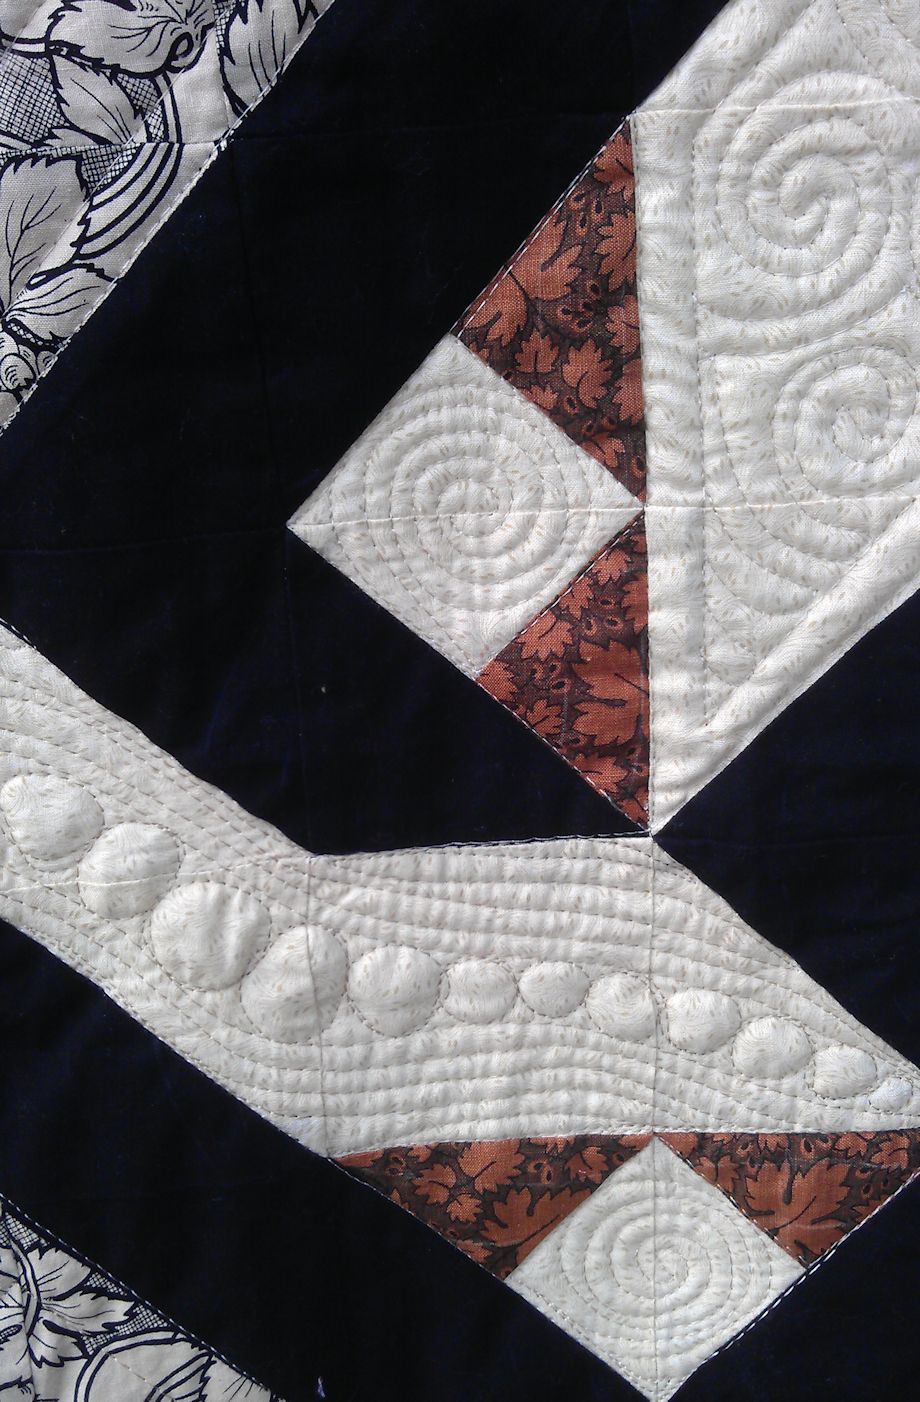
How to quilt it? Well, as there were so many odd-shaped blocks, I started by stitching in the ditch (ESS, yes EVERY one!). Then I quilted the small cream squares — in the ones surrounded by the cream and black floral fabric I stitched a wavy cross-hatch matrix, and on the ones surrounded by the black fabric I stitched a spiral.

quilt125_05

I followed that by echo stitching 1/2″ in from the edges of each diamond shape, then repeating the wavy matrix in the diamonds within the cream/black floral, and spirals in the diamonds within the black fabrics. So that took care of those spaces.

quilt125_10

Now, what to do for the odd-shaped beige spaces? I started by stitching the centre square in a big spiral, then came out from each corner with a snake-like sweep down the odd-shaped spaces, filling in with circles, then echoing the stitching about 1/4″ from the initial sweeps. I repeated that motif in the other odd-shaped cream spaces on the rest of the quilt.

quilt125_03

For the large cream triangles, I stitched a large circle, surrounded by two smaller circles on each side. Then I straight stitched about 1/2″ in from the seams of the cream/black fabric pieces. I didn’t stitch the black fabric or the pink or brown triangles at all. For all of this stitching, I used a dark cream thread (I ran out of the Madeira, but fortunately had a Robison-Anton thread almost the same colour).

quilt125_09

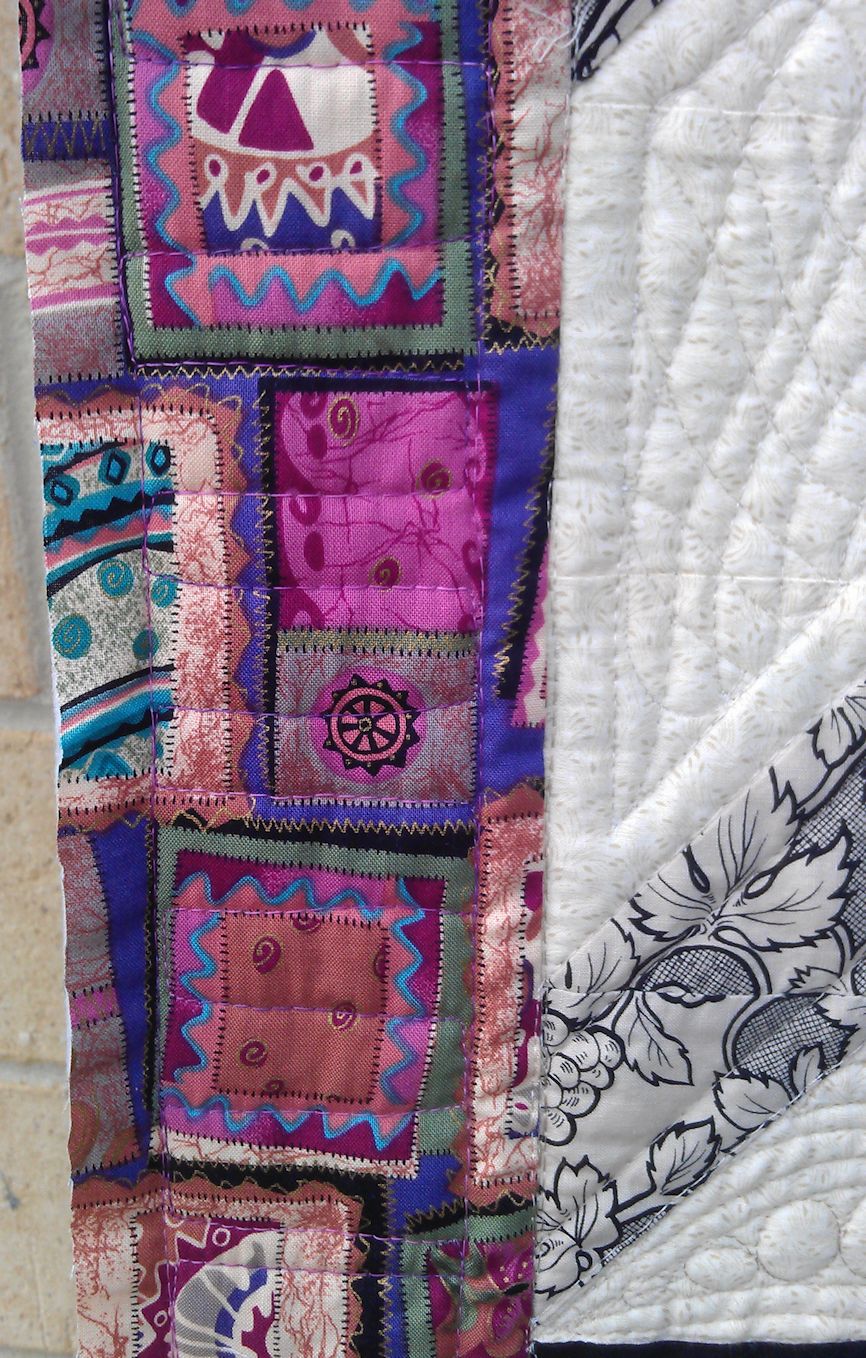
The border fabric was strange, with pink/blue/purple squarish shapes in it. I kept it simple by stitching a straight line 1/2″ in from the seam and 1″ in from the edge, then stitched perpendicularly between these two lines to create a ladder or bookshelf effect.

quilt125_08

The only ruler I used was the Line Tamer for the long straight lines and stitching in the ditch — everything else was free motion quilted, including the perpendicular lines in the border.

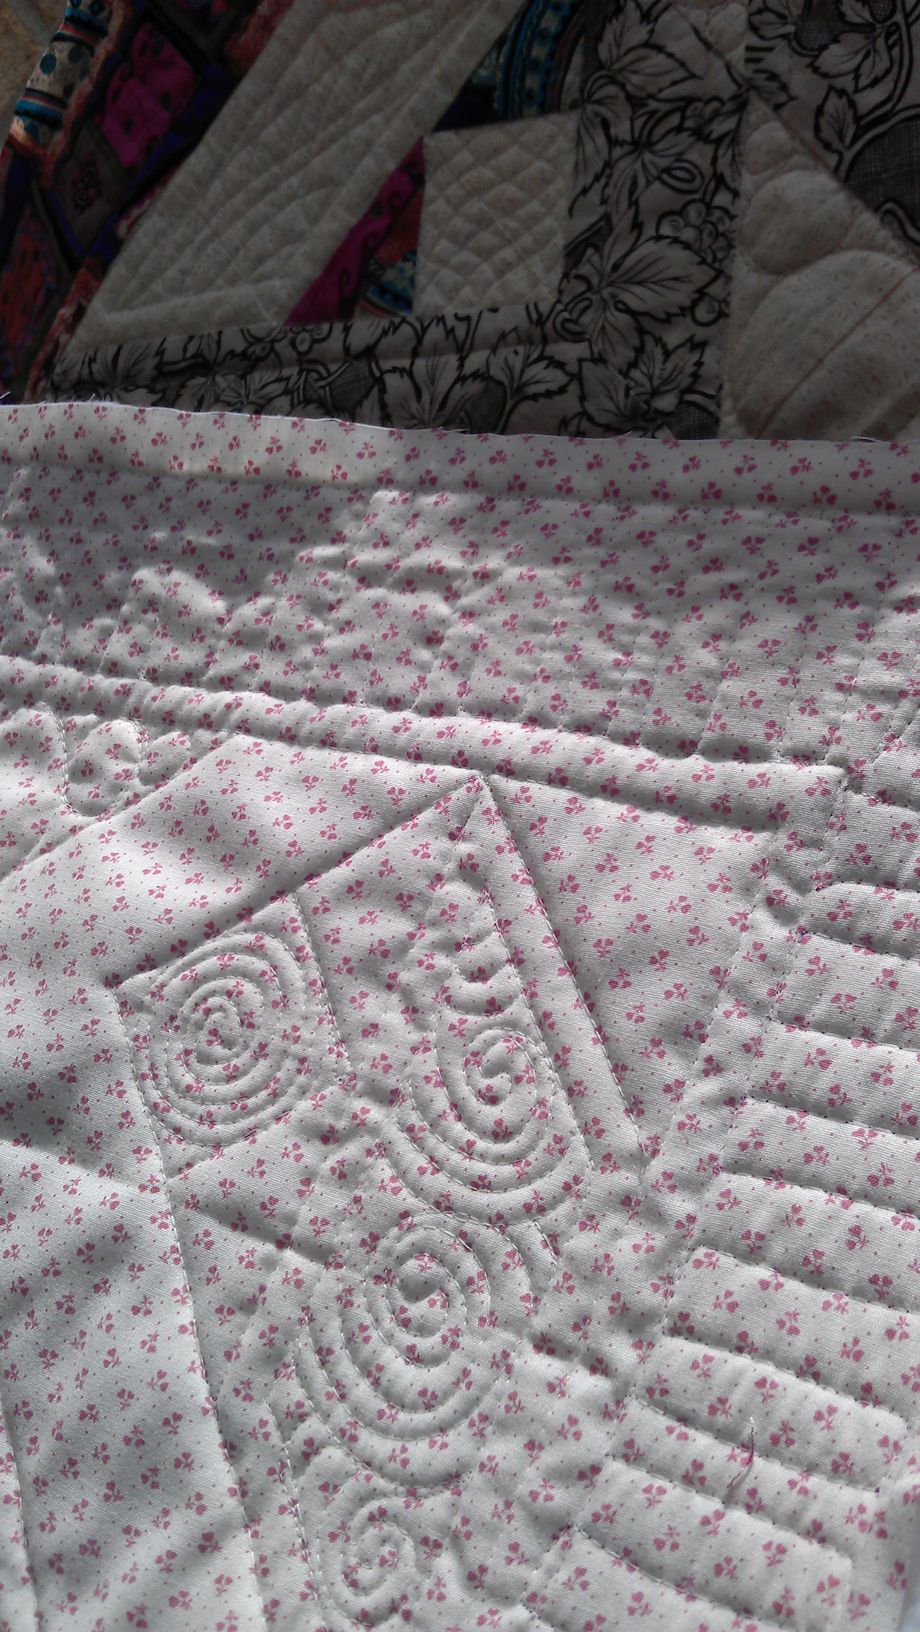
The back:
quilt125_01

Threads used:

  • Top: Madeira (rayon, 40 wt, colour #1082); Robison-Anton ‘Platinum’ (rayon, 40 wt, colour #2571); Superior King Tut ‘Egyptian Princess’ (cotton, 40 wt, colour #947)
  • Bottom: Bobbinfil (white)