Estuarine eucalypt art quilt finished

16 07 2011

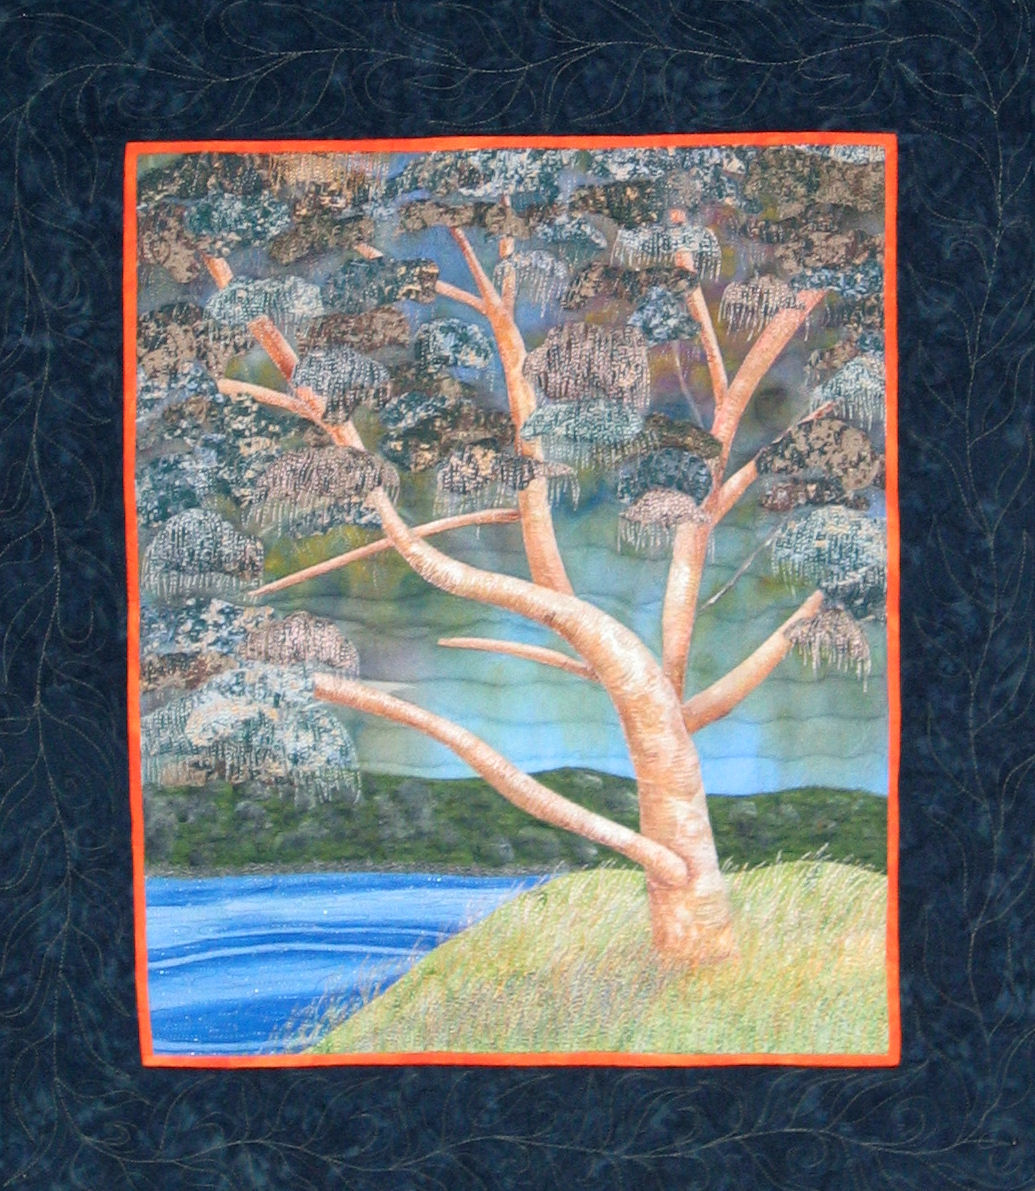
At the Gloria Loughman retreat I attended in June, I went against the flow and decided to create a single tree for my art quilt. This blog post shows the original photo that was my inspiration and my progress up to the end of the retreat weekend.

Since then, I’ve finished it.

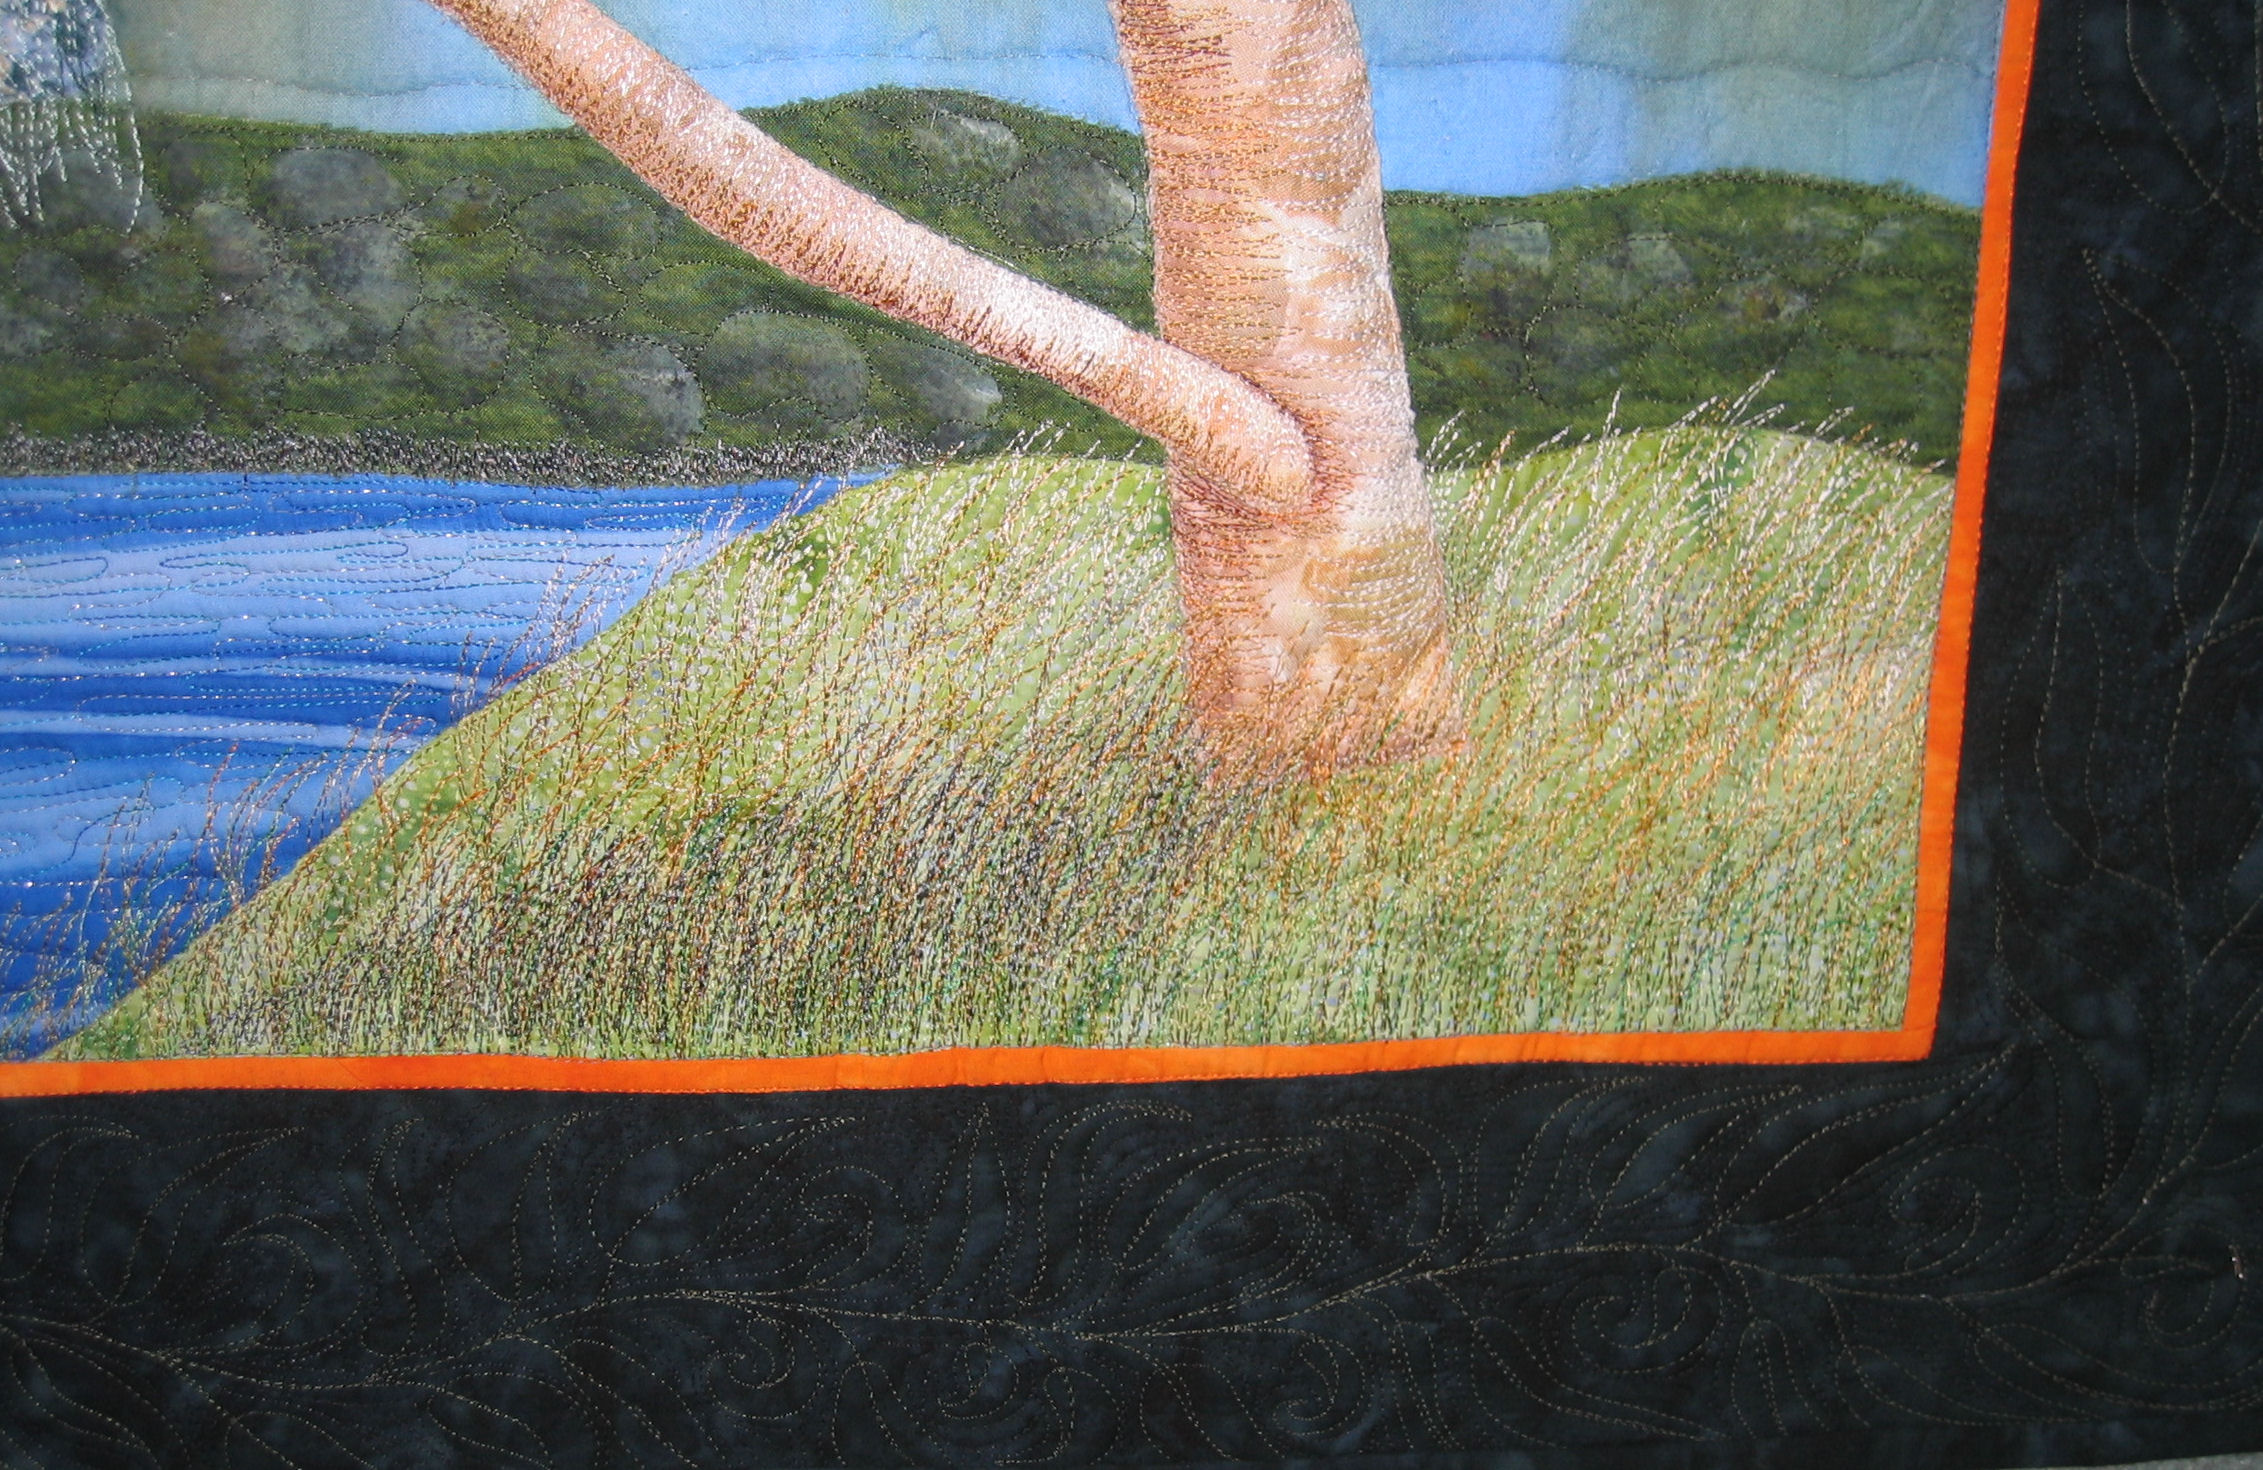
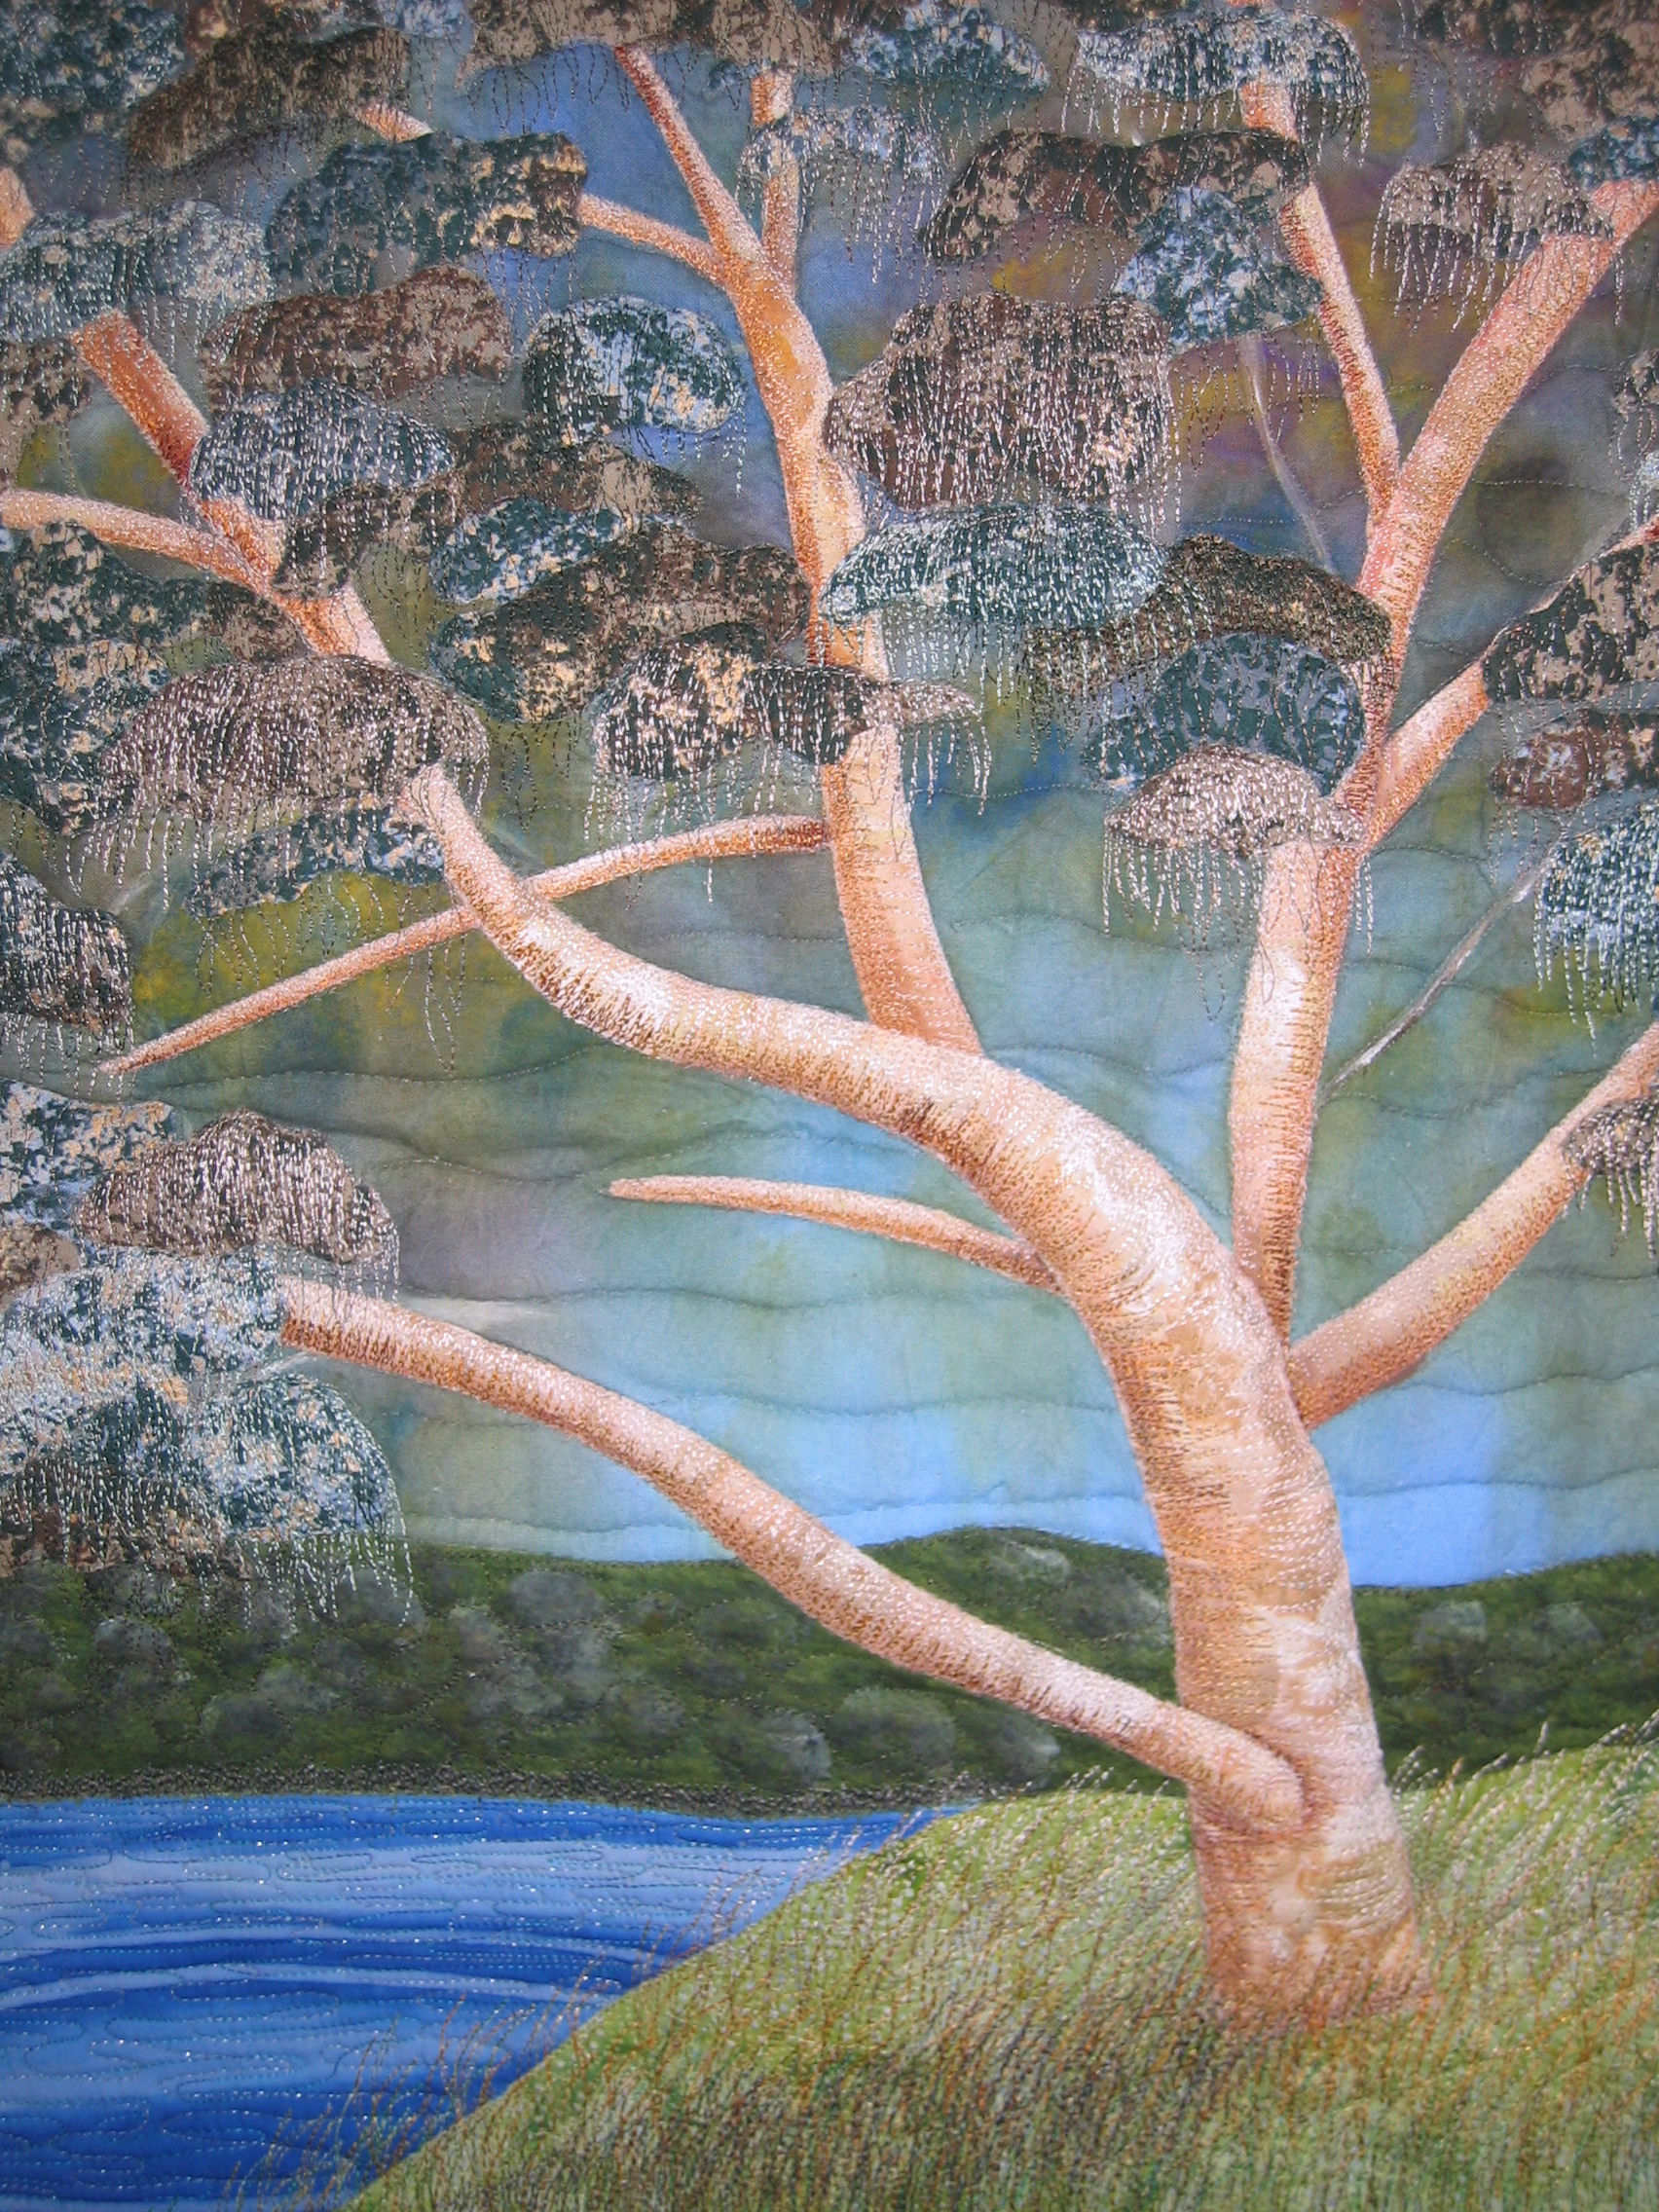
I added a lot more stitching, then a thin border (orange) and a wider dark border, followed by batting to puff out the main tree trunks, then the main batting and backing. Then I quilted it. Even more stitches… I estimate that there are over 100,000 free motion and quilting stitches in this quilt, but I didn’t keep track of the number (my quilting machine can be reset to zero but I forgot to do so!)

I quilted the border with some freehand eucalyptus leaves then used a dark thread to fill in the spaces between the leaves.

Once it was quilted, I added a hanging sleeve (ready for display on a wall), binding, and a label. I’ll put it up for sale on Etsy soon. It’s now available for sale on Etsy: http://www.etsy.com/listing/77935502/estuarine-eucalypt-art-quilt.

Deciding on a price is an interesting exercise. I have to factor in part of the cost of the retreat (where I learned the fabric painting and other techniques), the cost of the fabric and threads (I guess I used 20+ different coloured threads in this piece), the cost of the electricity used to run my machines (and perhaps even a little towards the cost of the machines), and then there’s the time… I estimate that this art quilt took a total of 40 or more hours to make — if I charged by the hourly rate I earn at my day job, it would cost much more than I’ll charge for it.

In deciding a price, I checked out the Quilts category on Etsy, and then sorted the 36,000+ quilts found by price from the most expensive. I am amazed at the prices some people are charging for some of their work. In many cases, I can see the value as I know how much work goes into a piece. But for some of the $5000+ pieces, I have to wonder, especially when it is obvious that the quilt that’s for sale doesn’t even hang straight. Update May 2014: I’ve had this quilt valued, and the certificate of valuation is below. However the valuation only takes account the materials and techniques used and the quality of both — it takes no account of the time to learn the techniques nor the time taken to make the piece, which can be hundreds of hours.

Here are pictures of the finished quilt — click on a small picture to see it even larger, then click on it again to see it full size:
_Valuation 2014_Estuarine_Eucalypt


Eighty cubic metres

16 07 2011

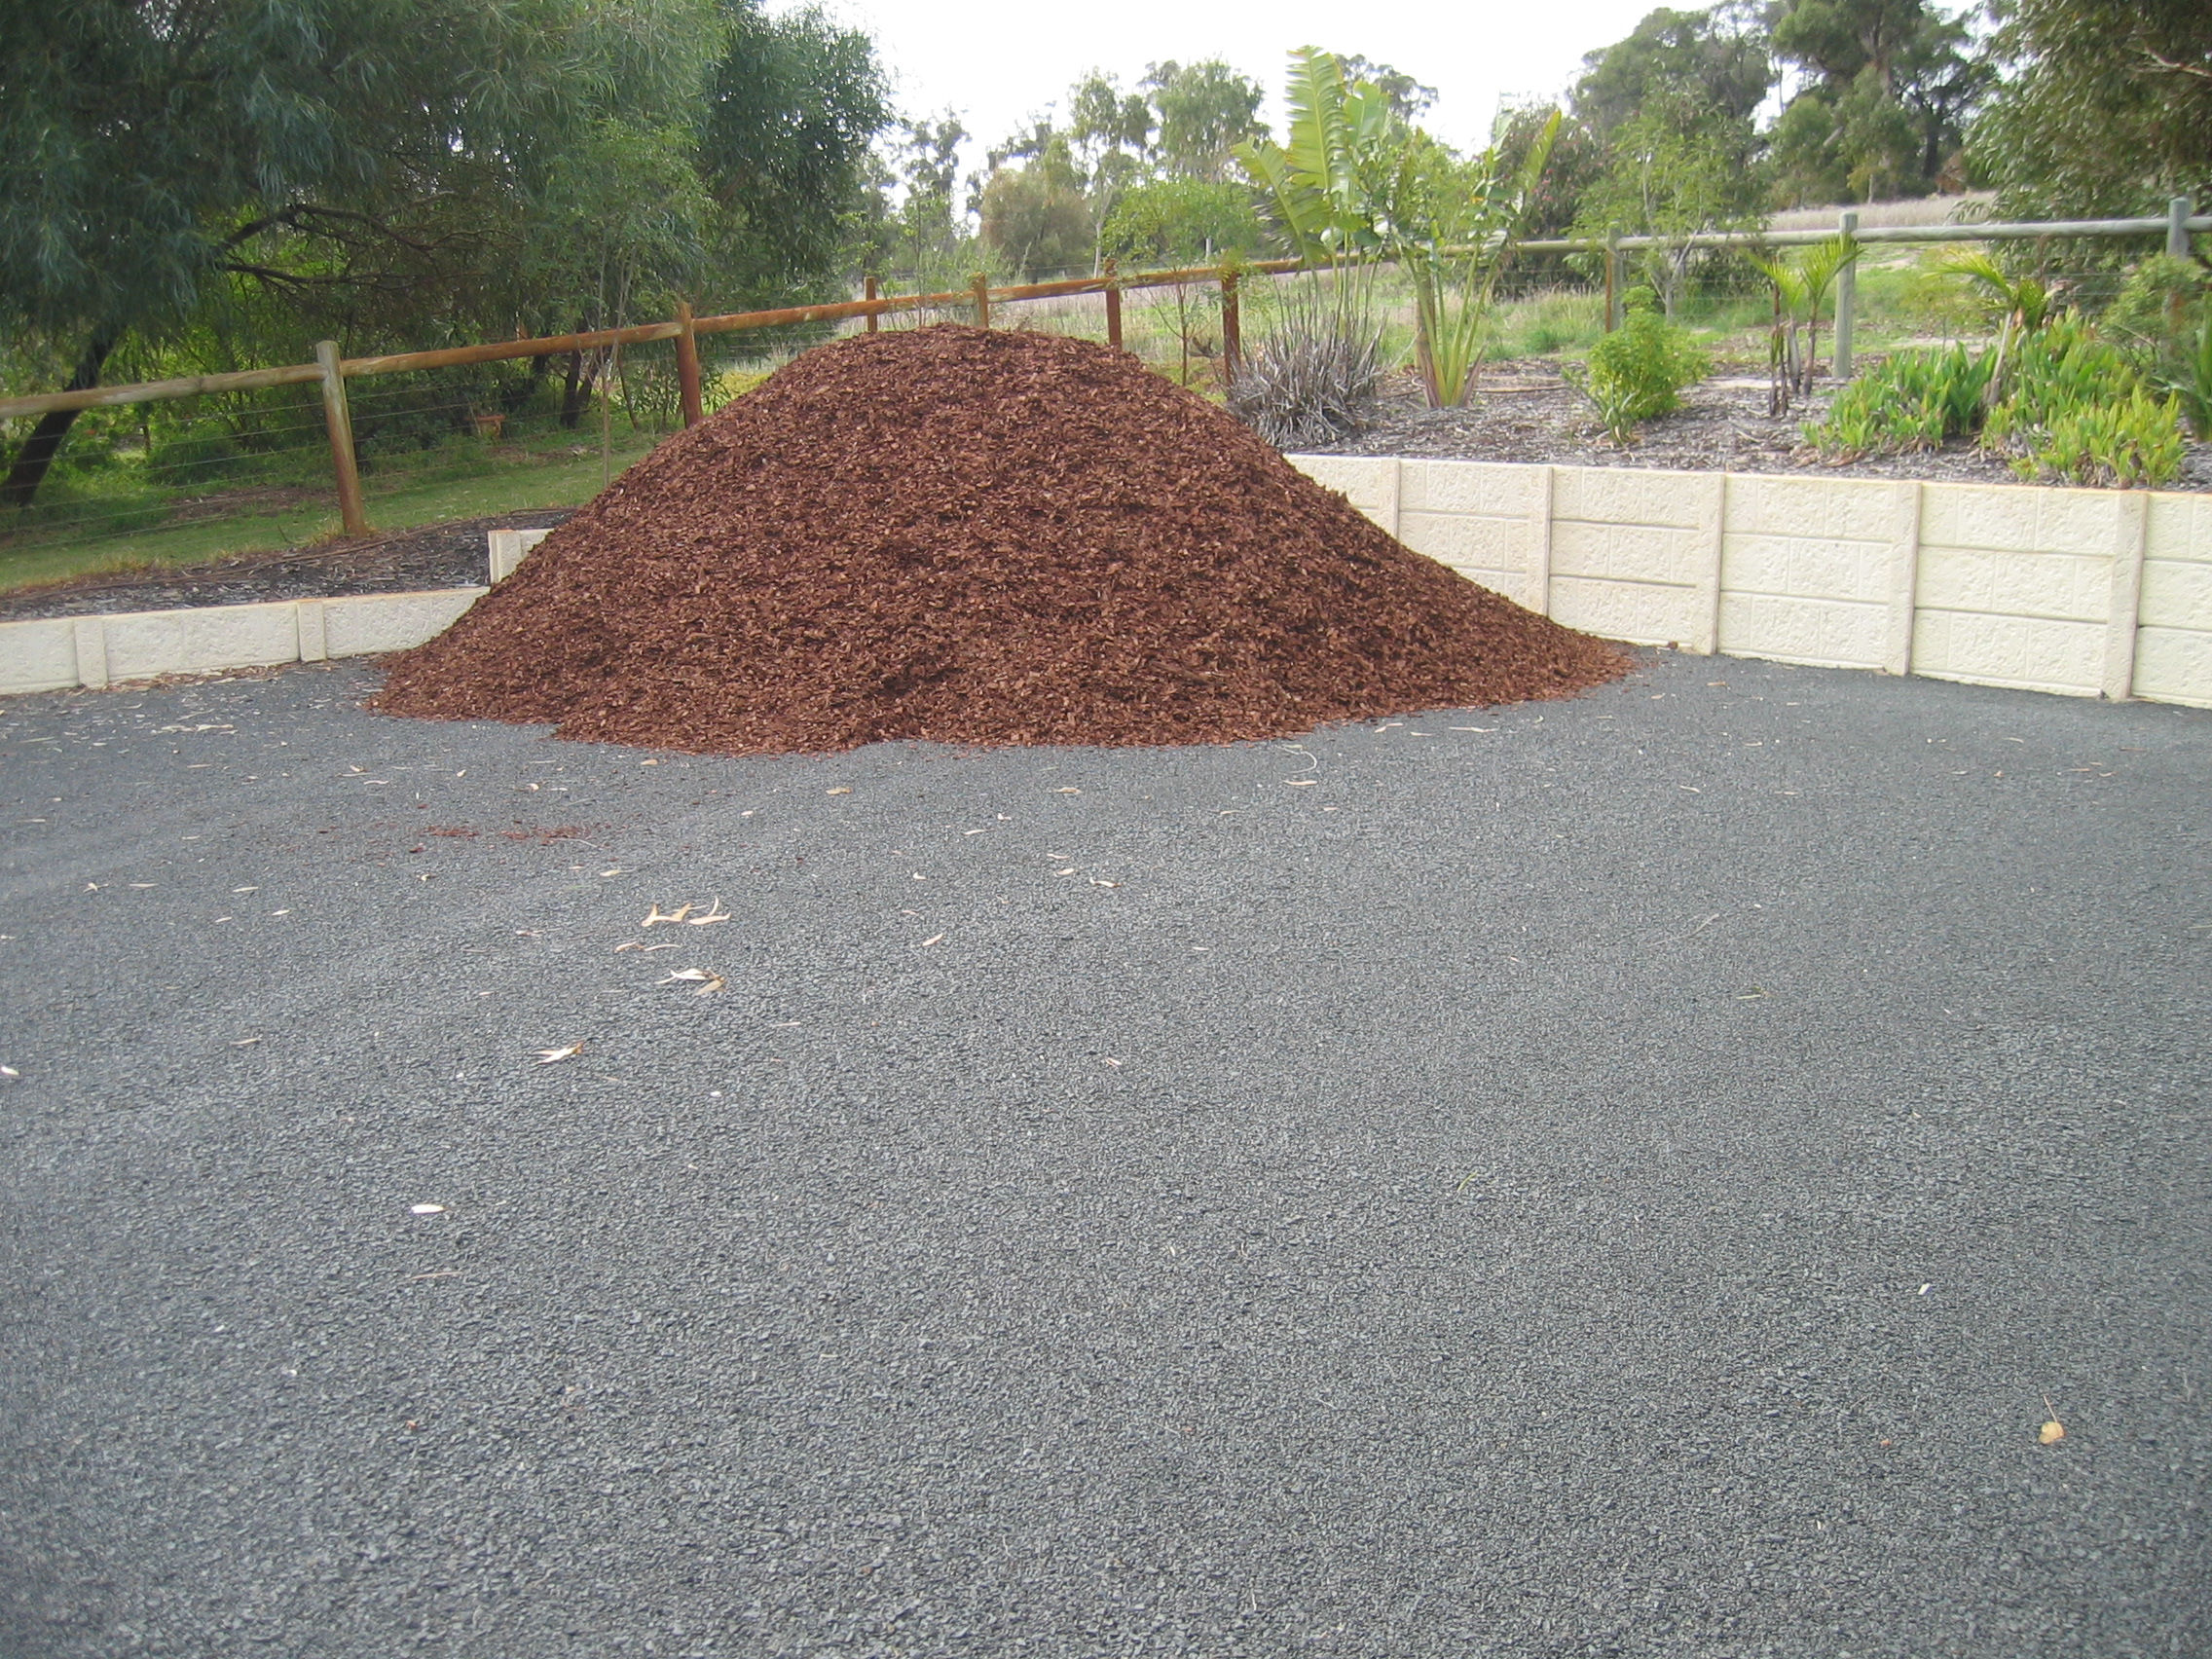
Yes, eighty — 80 — cubic metres of mulch (tree bark) was the amount required to cover our entire garden to a depth of about 2 cm! We have about an acre, but with the space taken up by lawn, hardstand, shed and house, I’d guess there is less than half an acre of garden.

Three truckloads had to be delivered — and no, we didn’t spread it. Two guys, a bobcat, and a wheelbarrow took close to a working week (8 hour days) to spread it all out. If I’d had to do it, I’d still be going until 2020!

The pictures below show the delivery of the first load only — some 35 cubic metres. There were two more deliveries like this…

Mulch at the front of the block -- first load

Mulch at the front of the block -- first load


 Mulch at the back -- first load

Mulch at the back -- first load


First truck load

First truck load

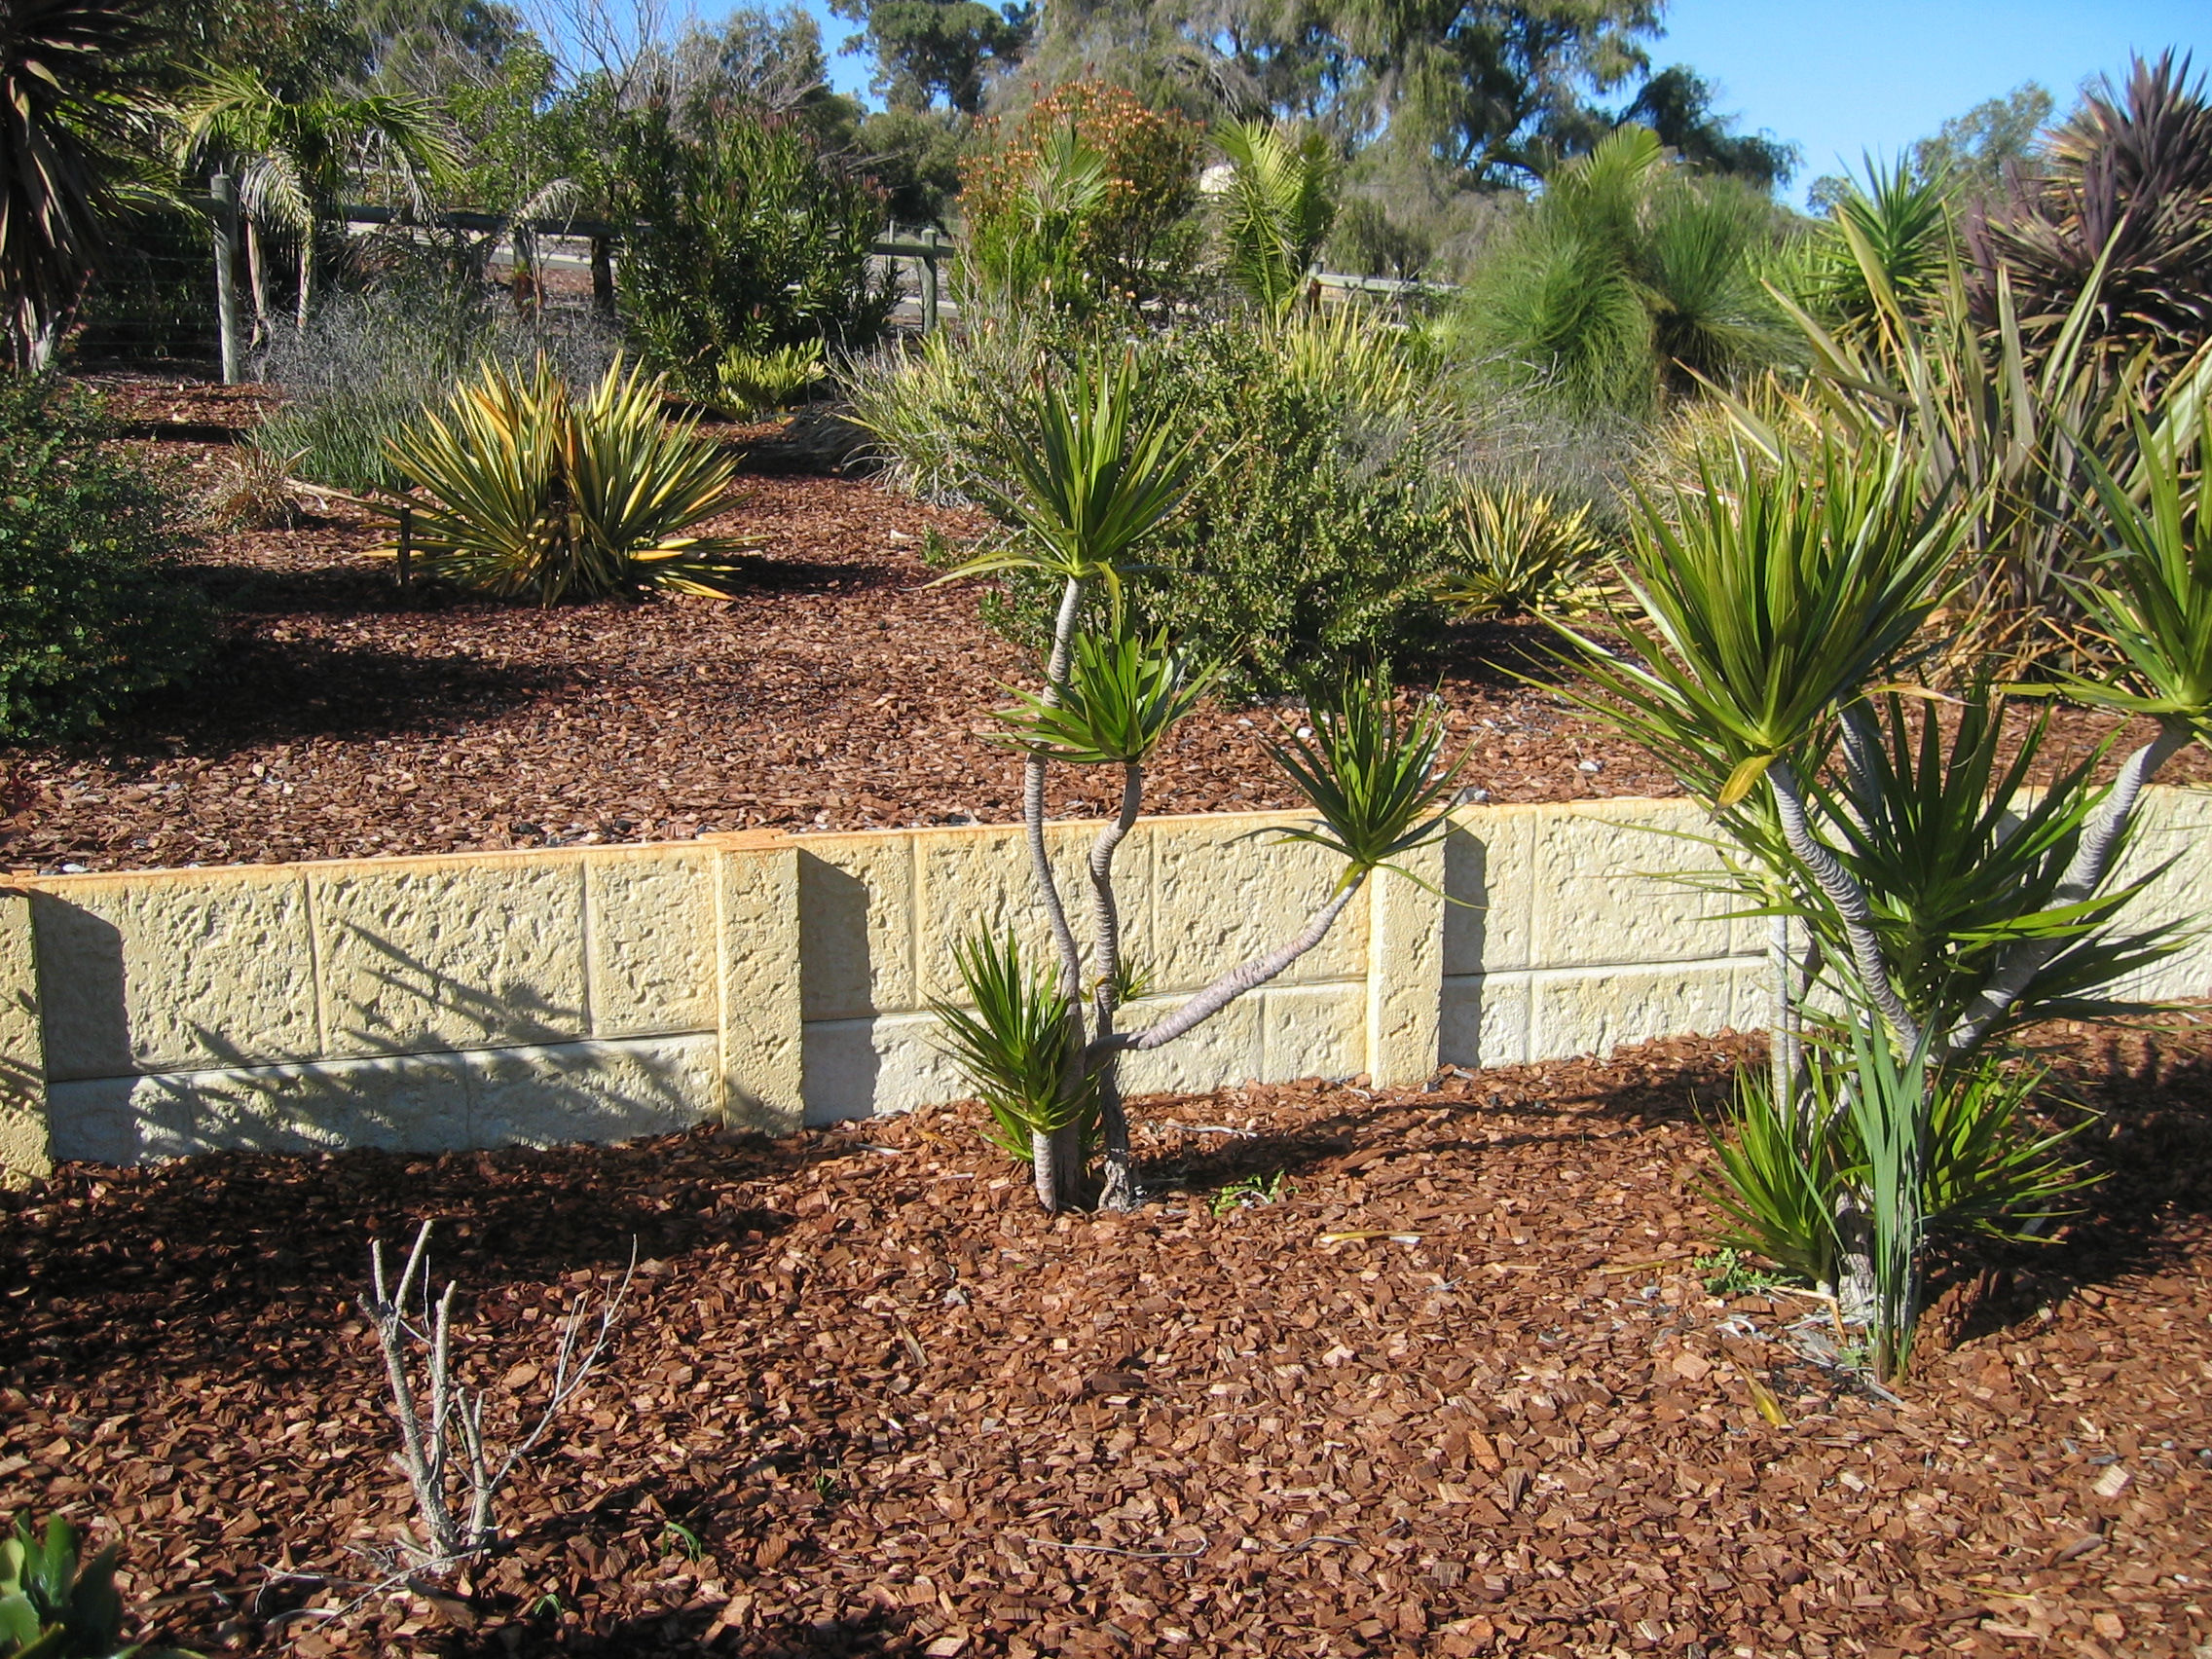
The garden already had tree bark mulch, but I think it was laid before the house was built (i.e. more than 4 years ago), and it was getting a bit thin and weathered in places (as you can see from the picture above).

The garden looks great now! And we got it all done in time for summer — hopefully the water retention will be improved dramatically.

All done

All done


Gloria Loughman Trunk Show

14 06 2011

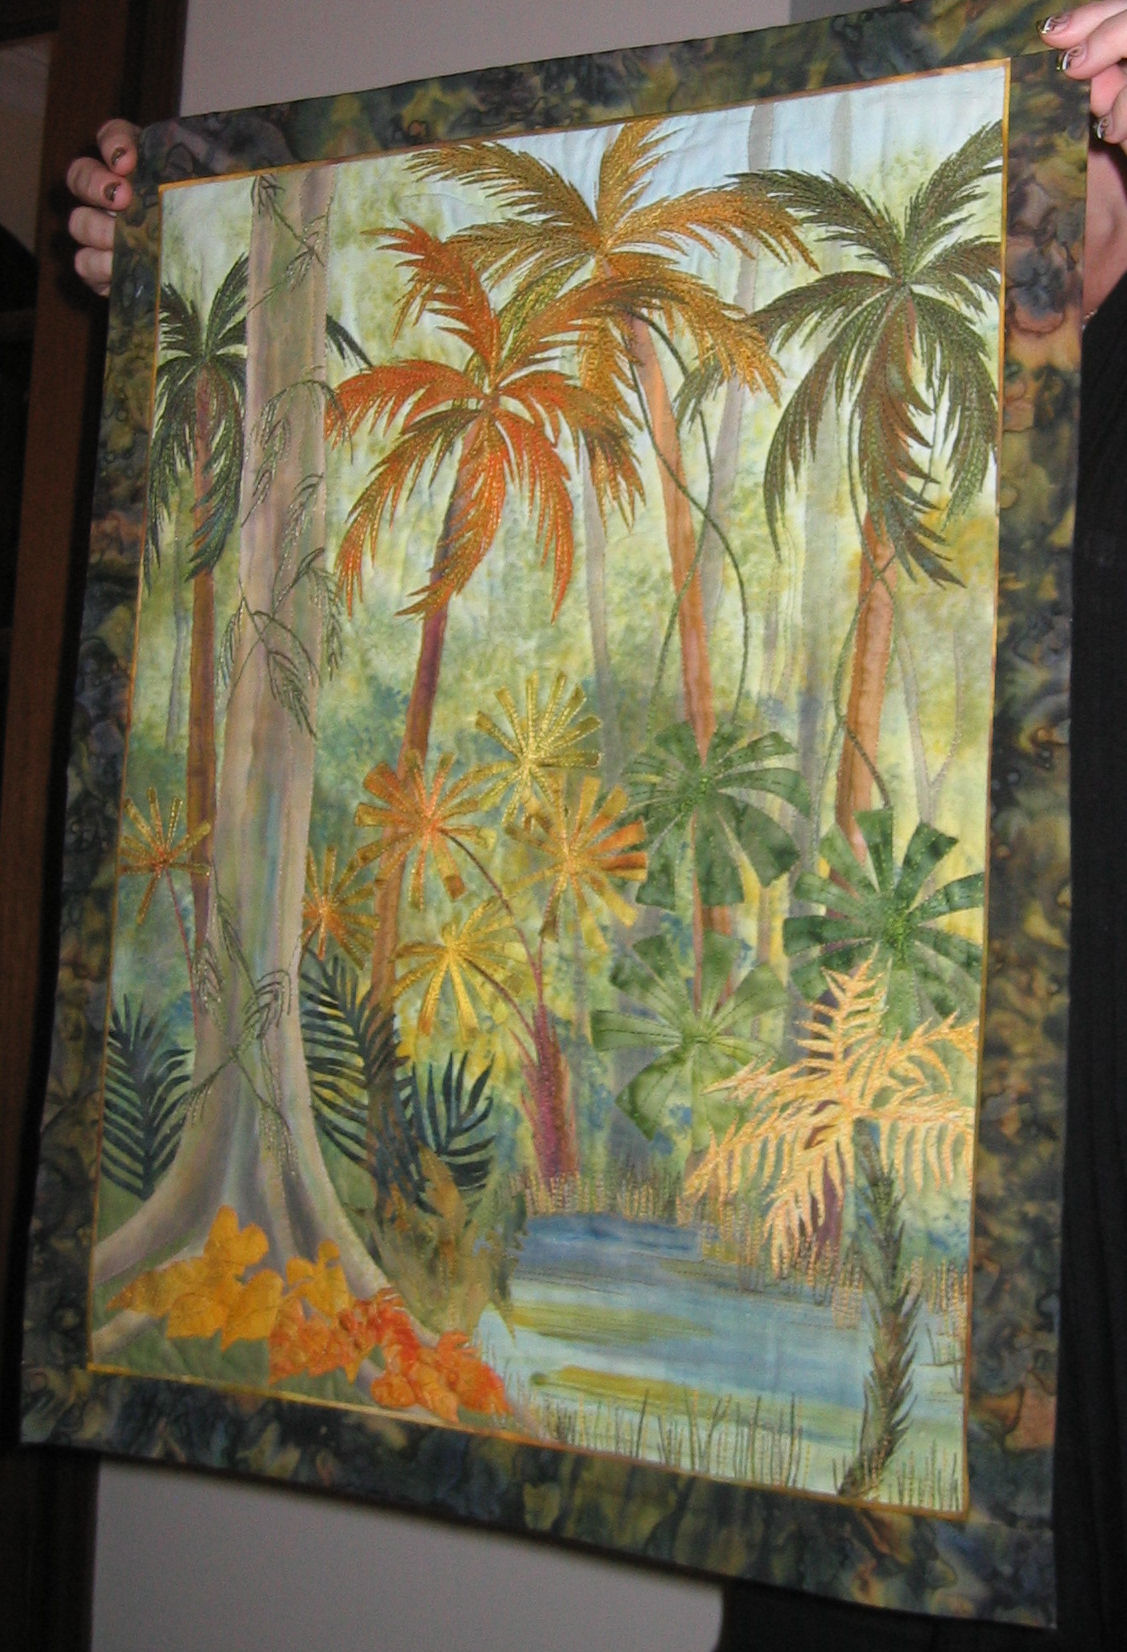
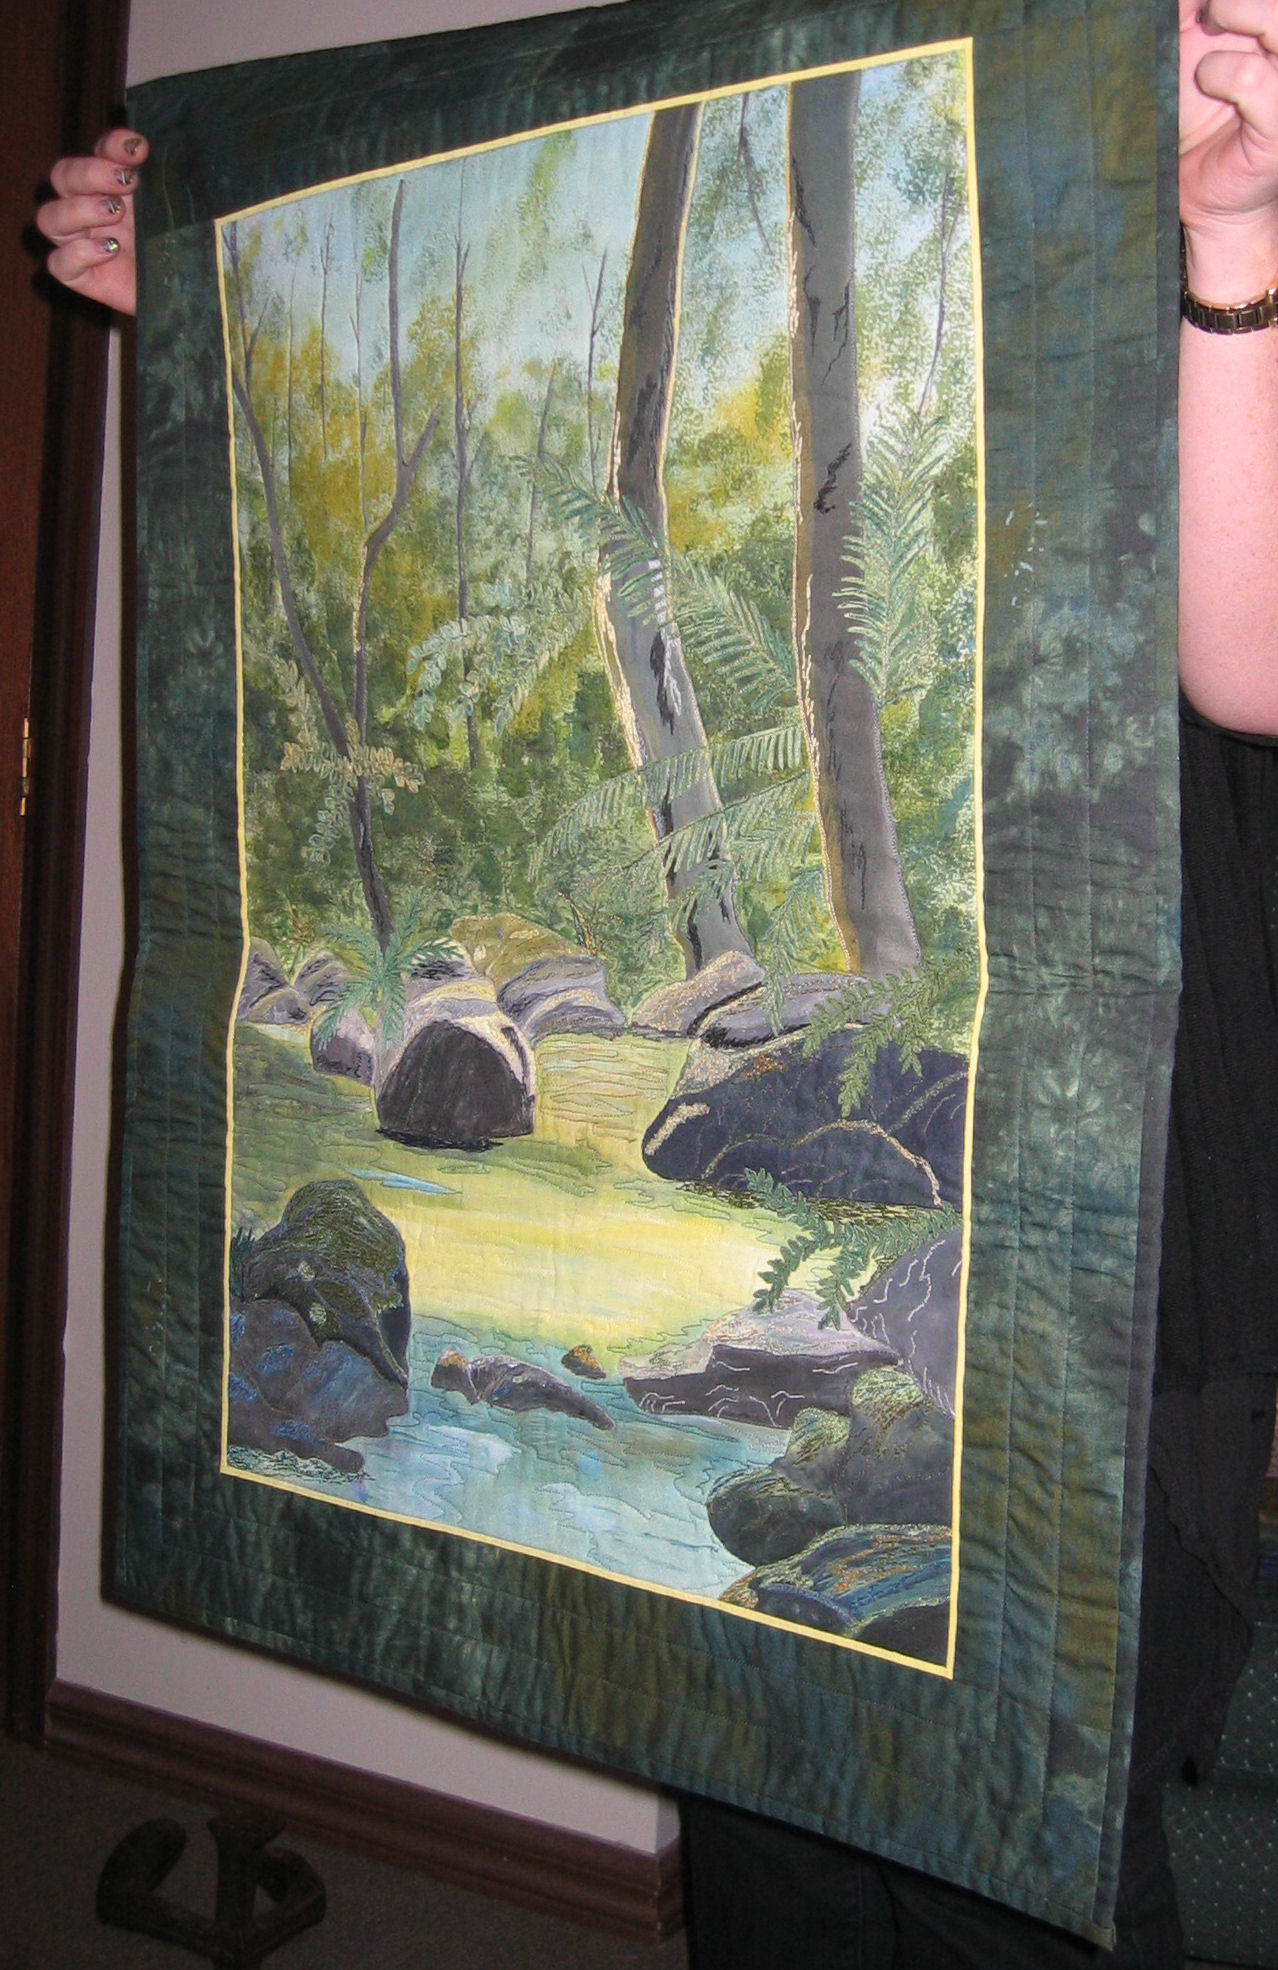
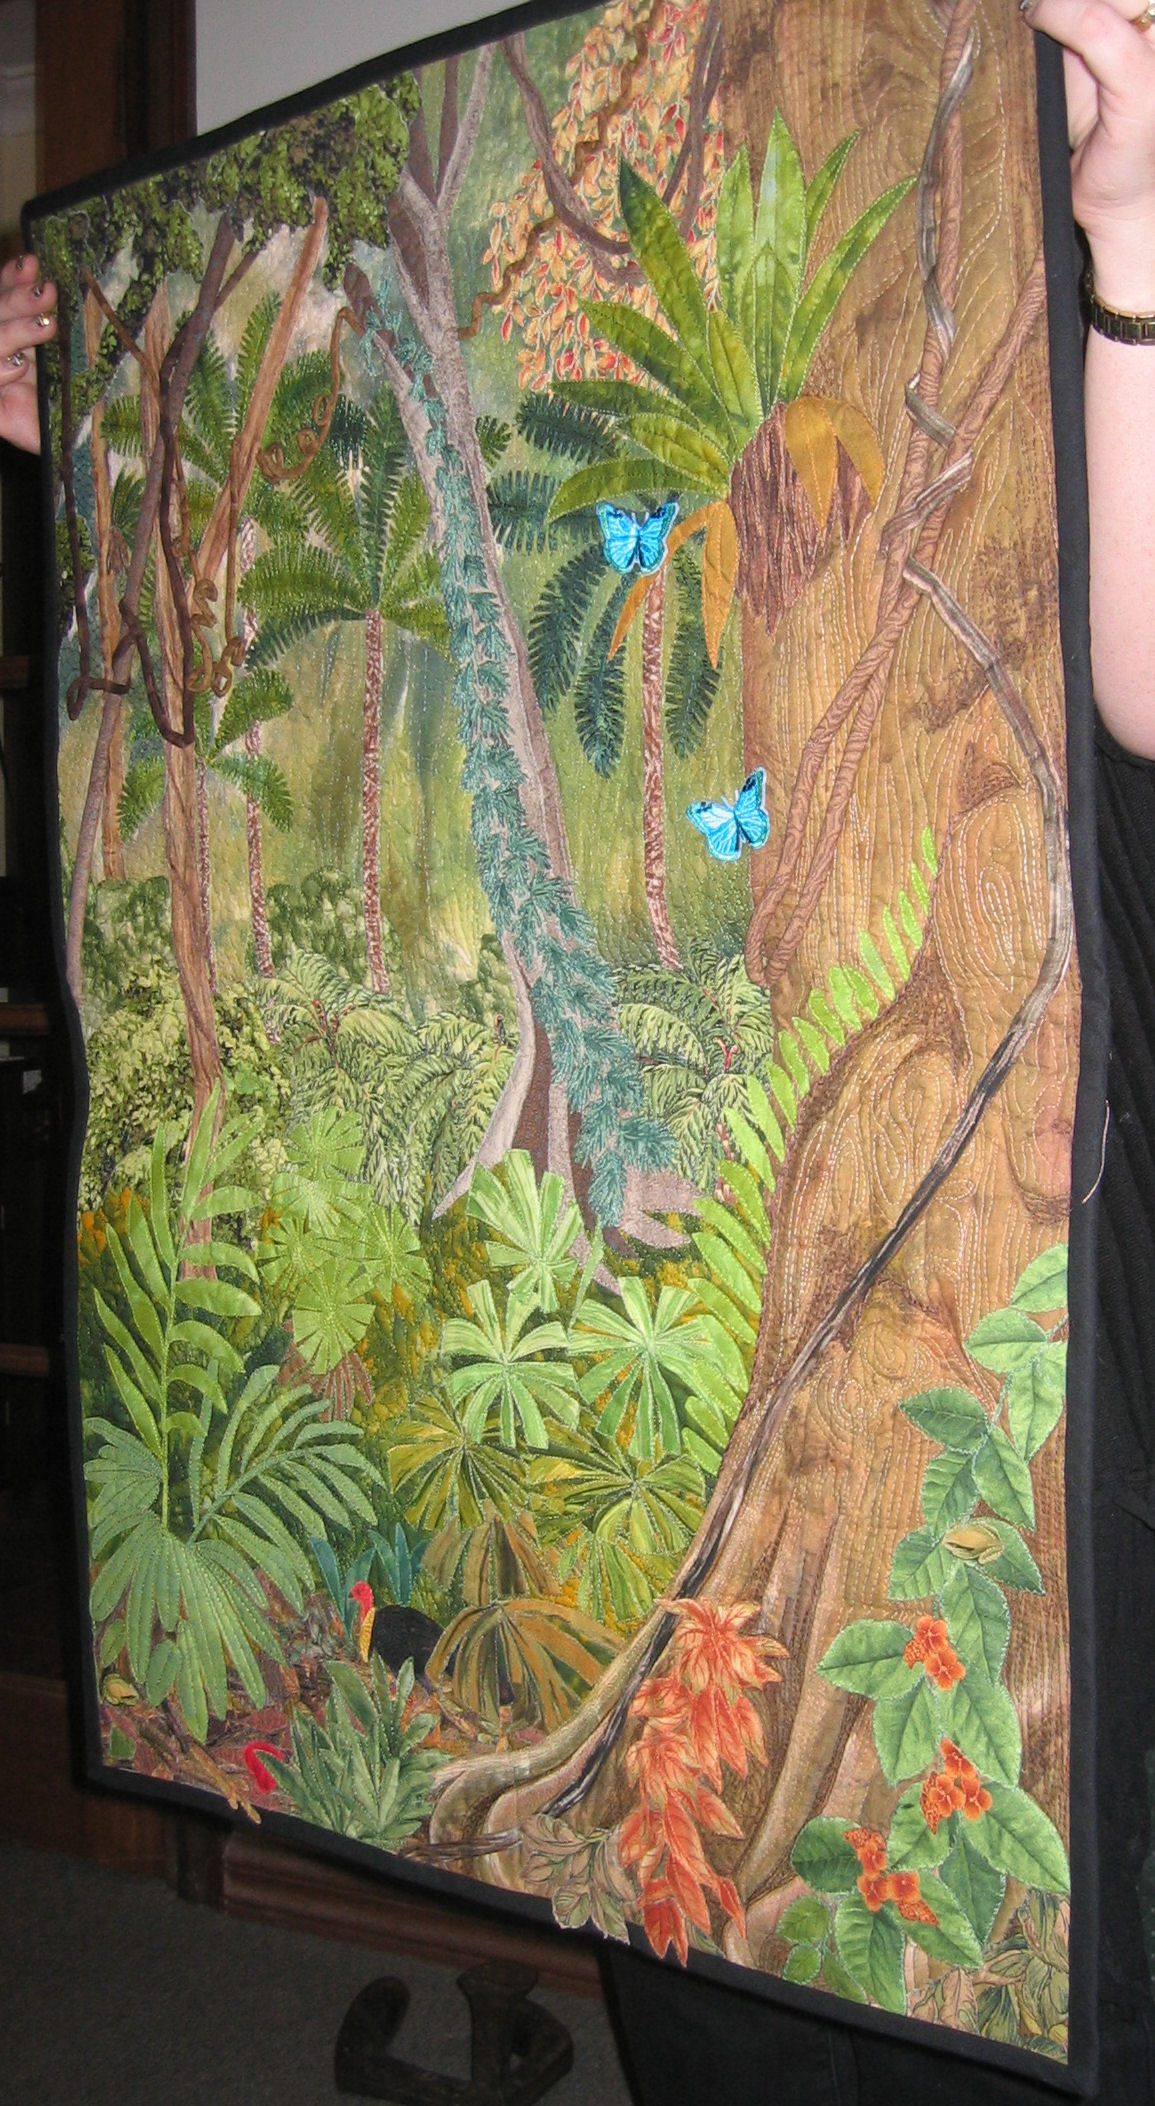
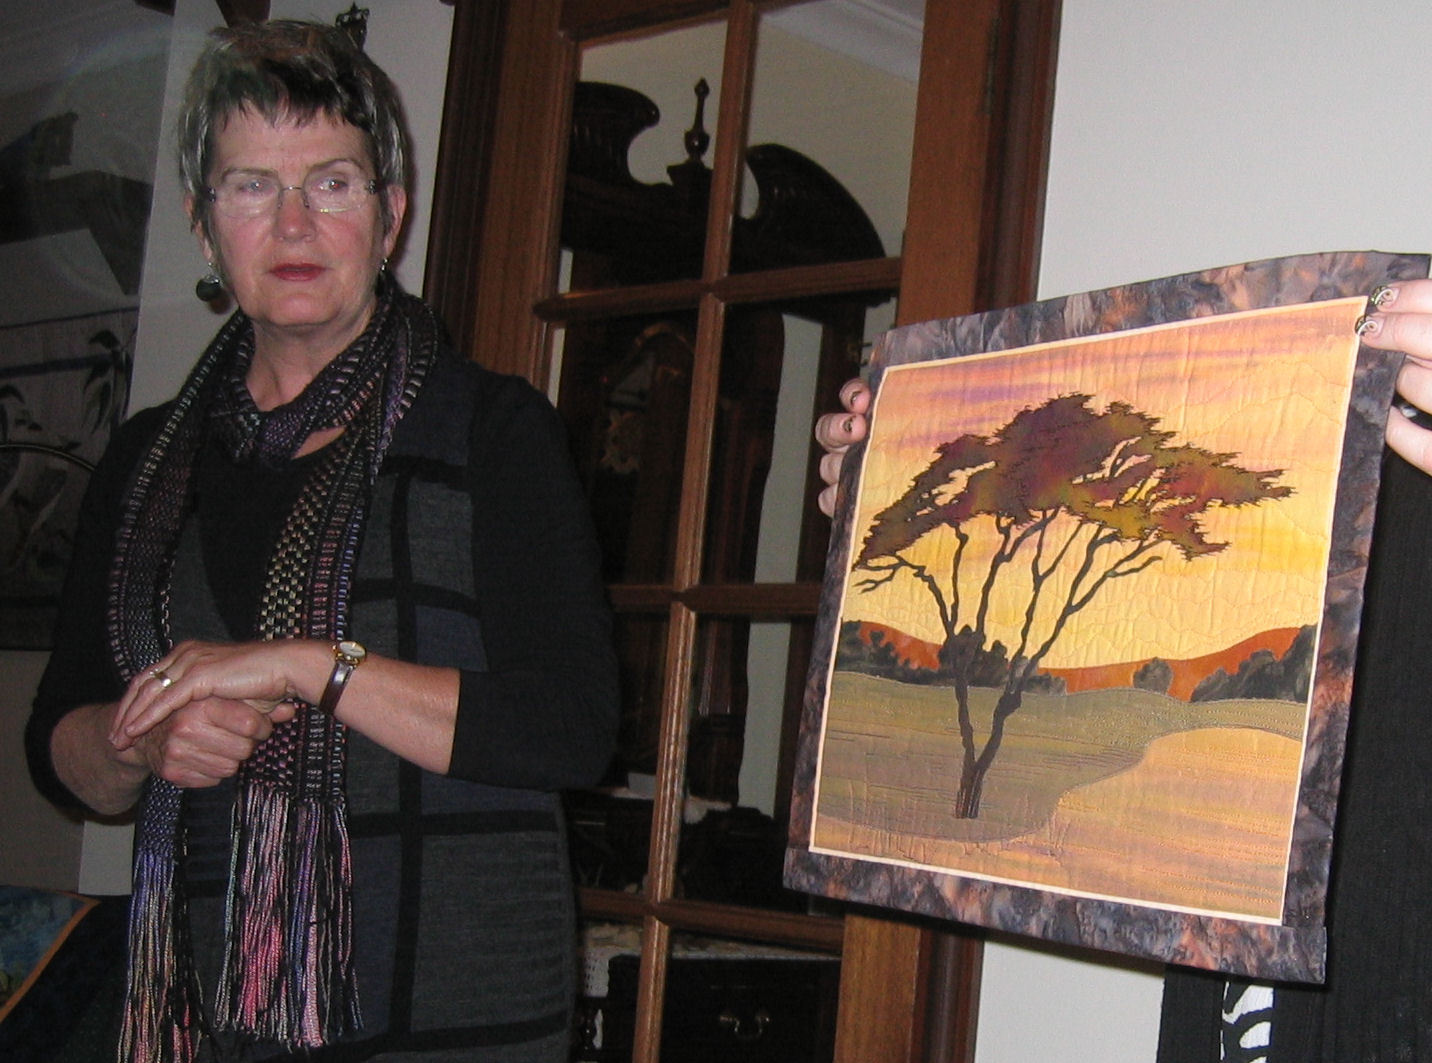
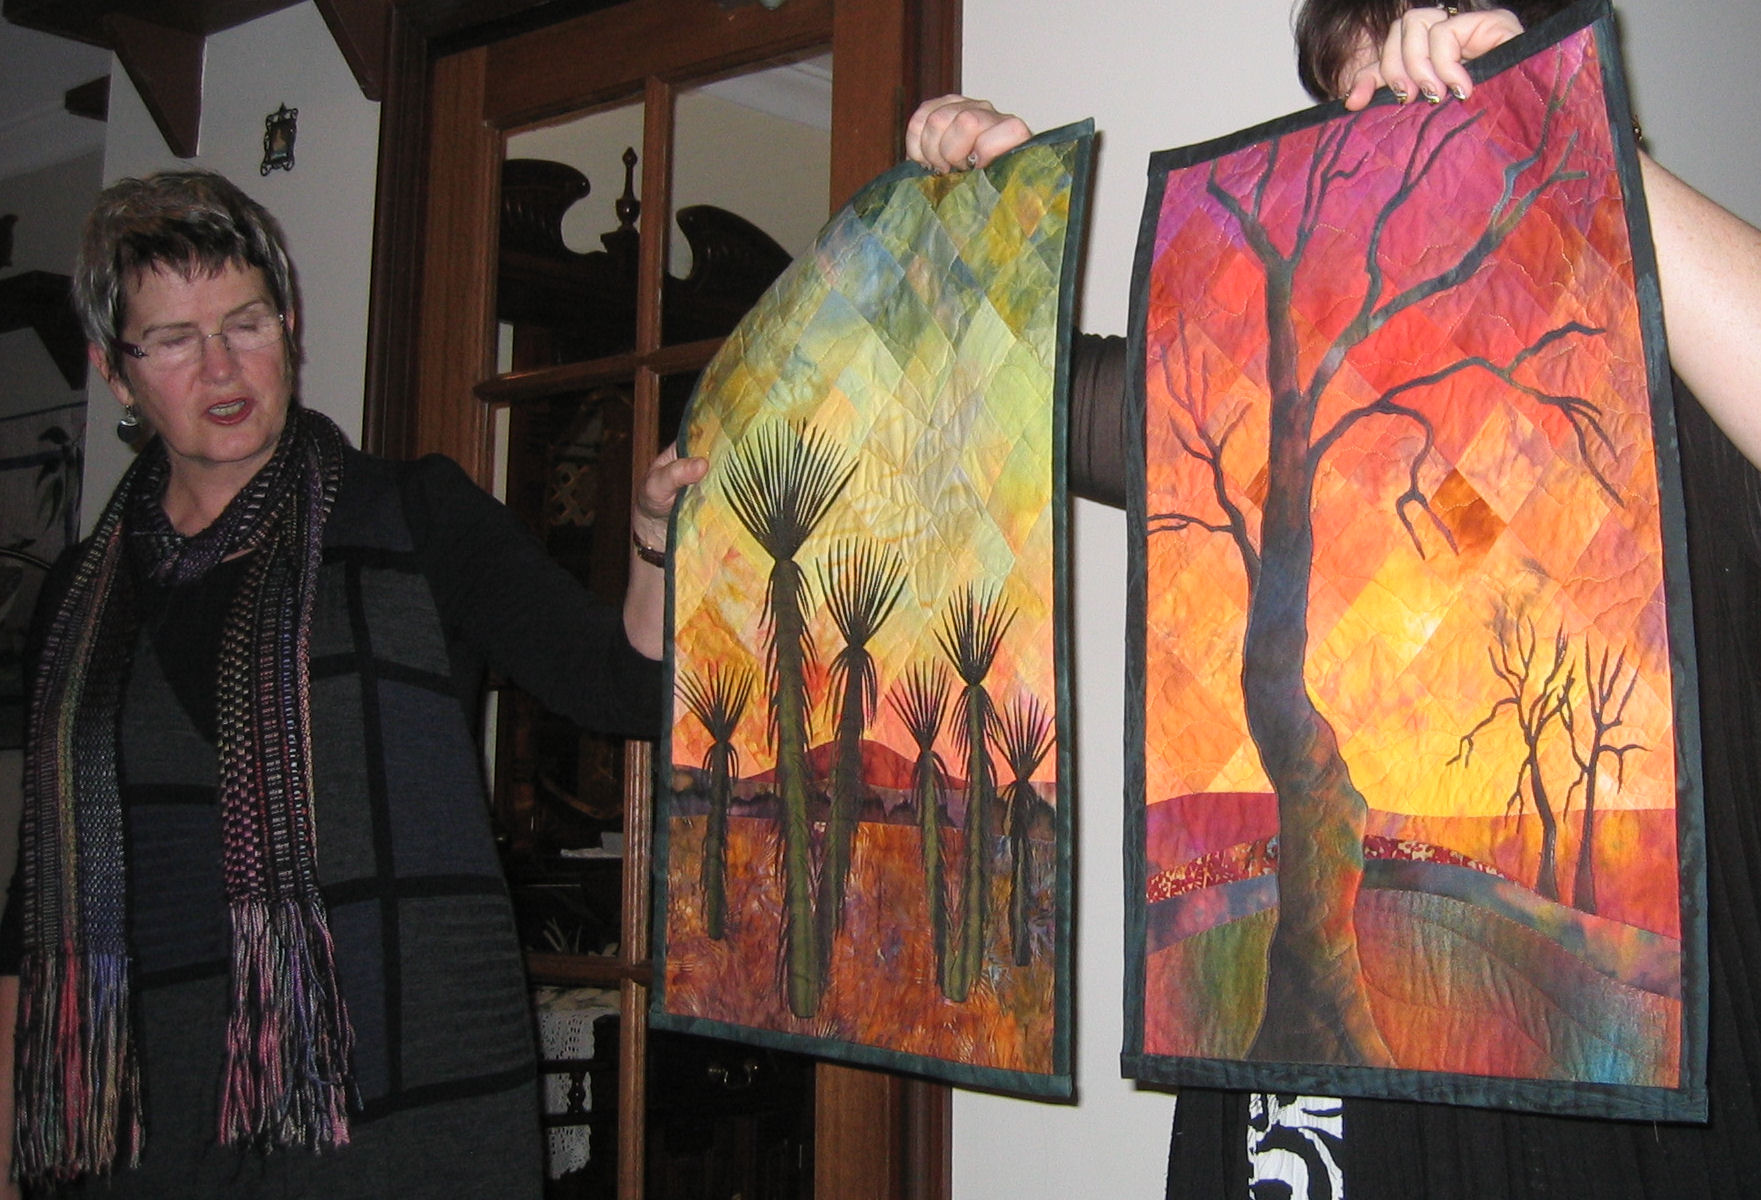
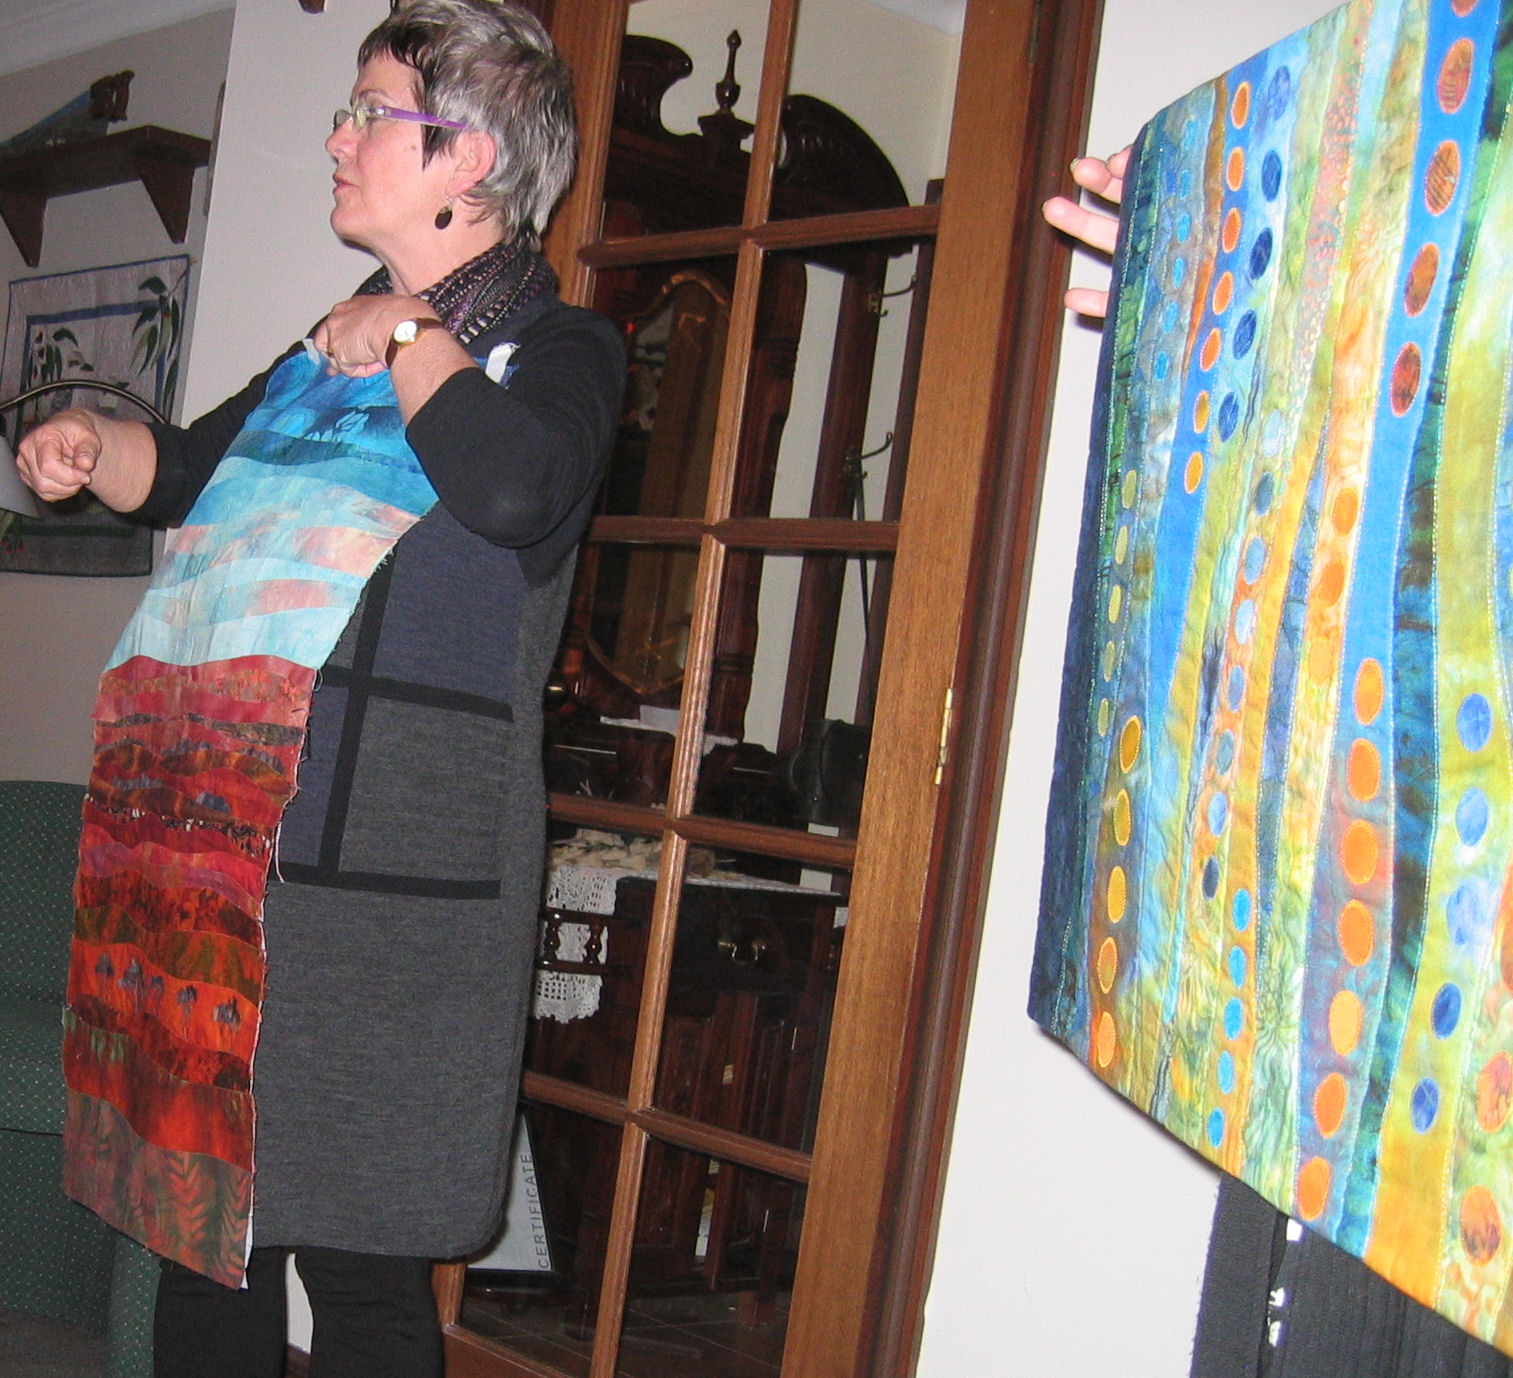
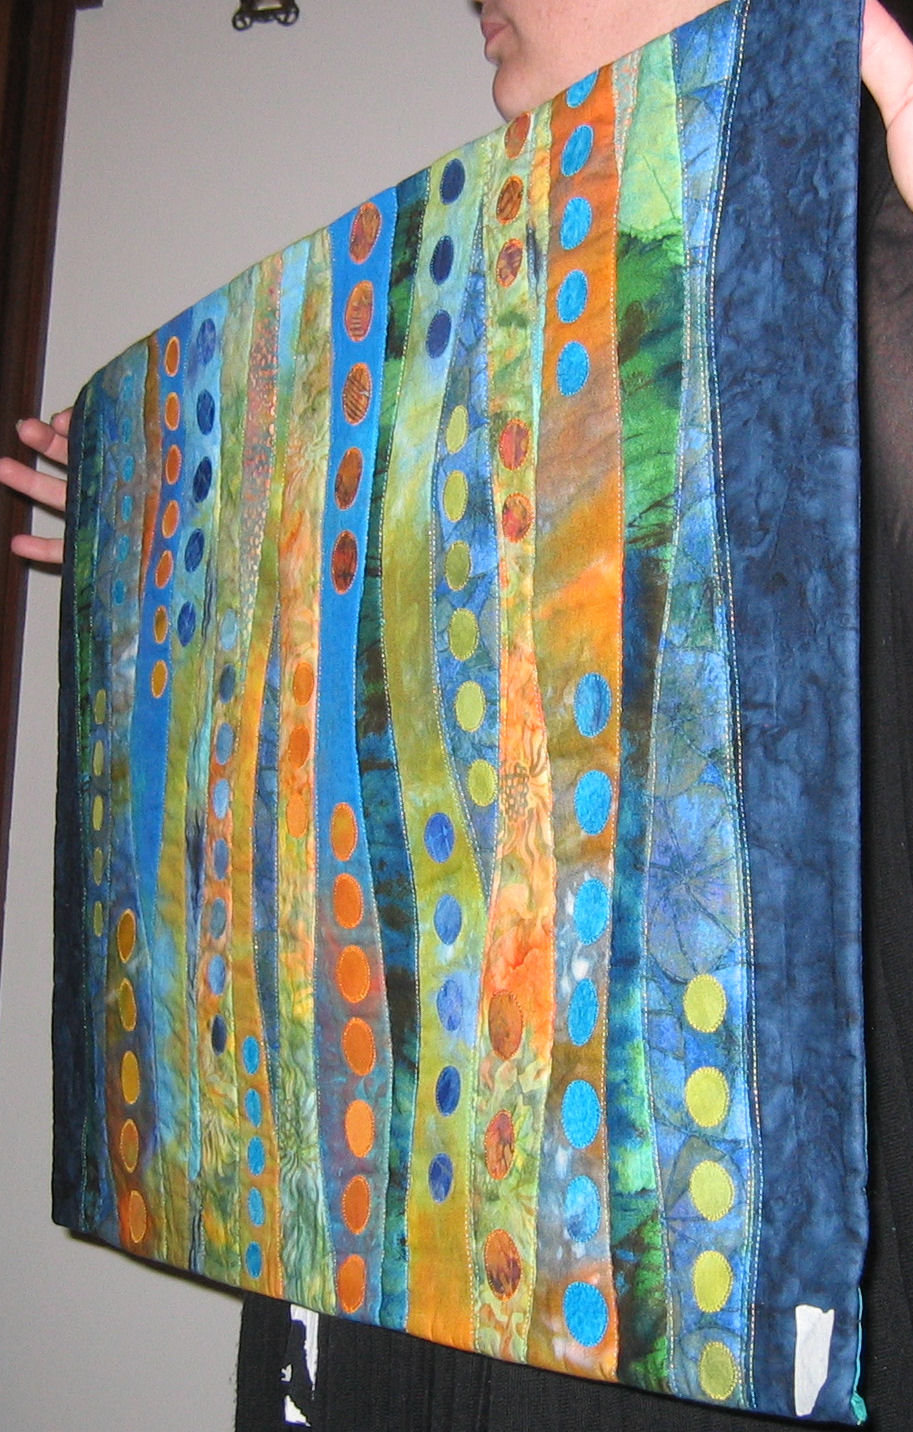
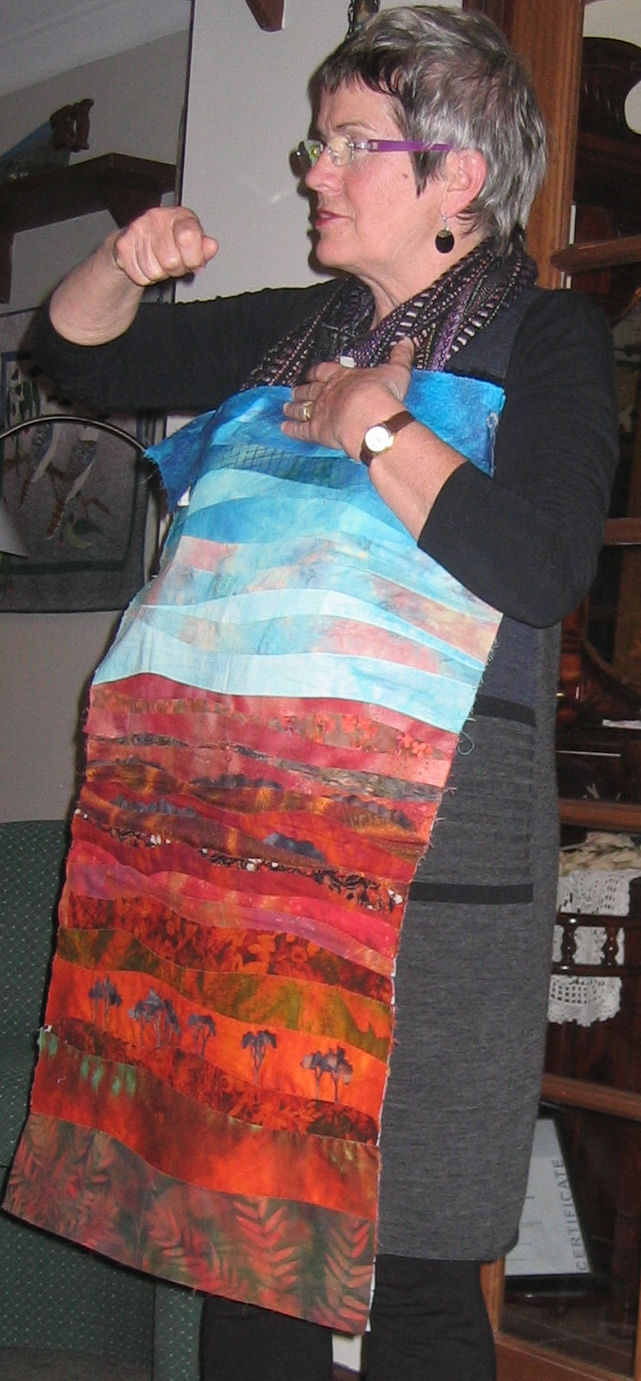
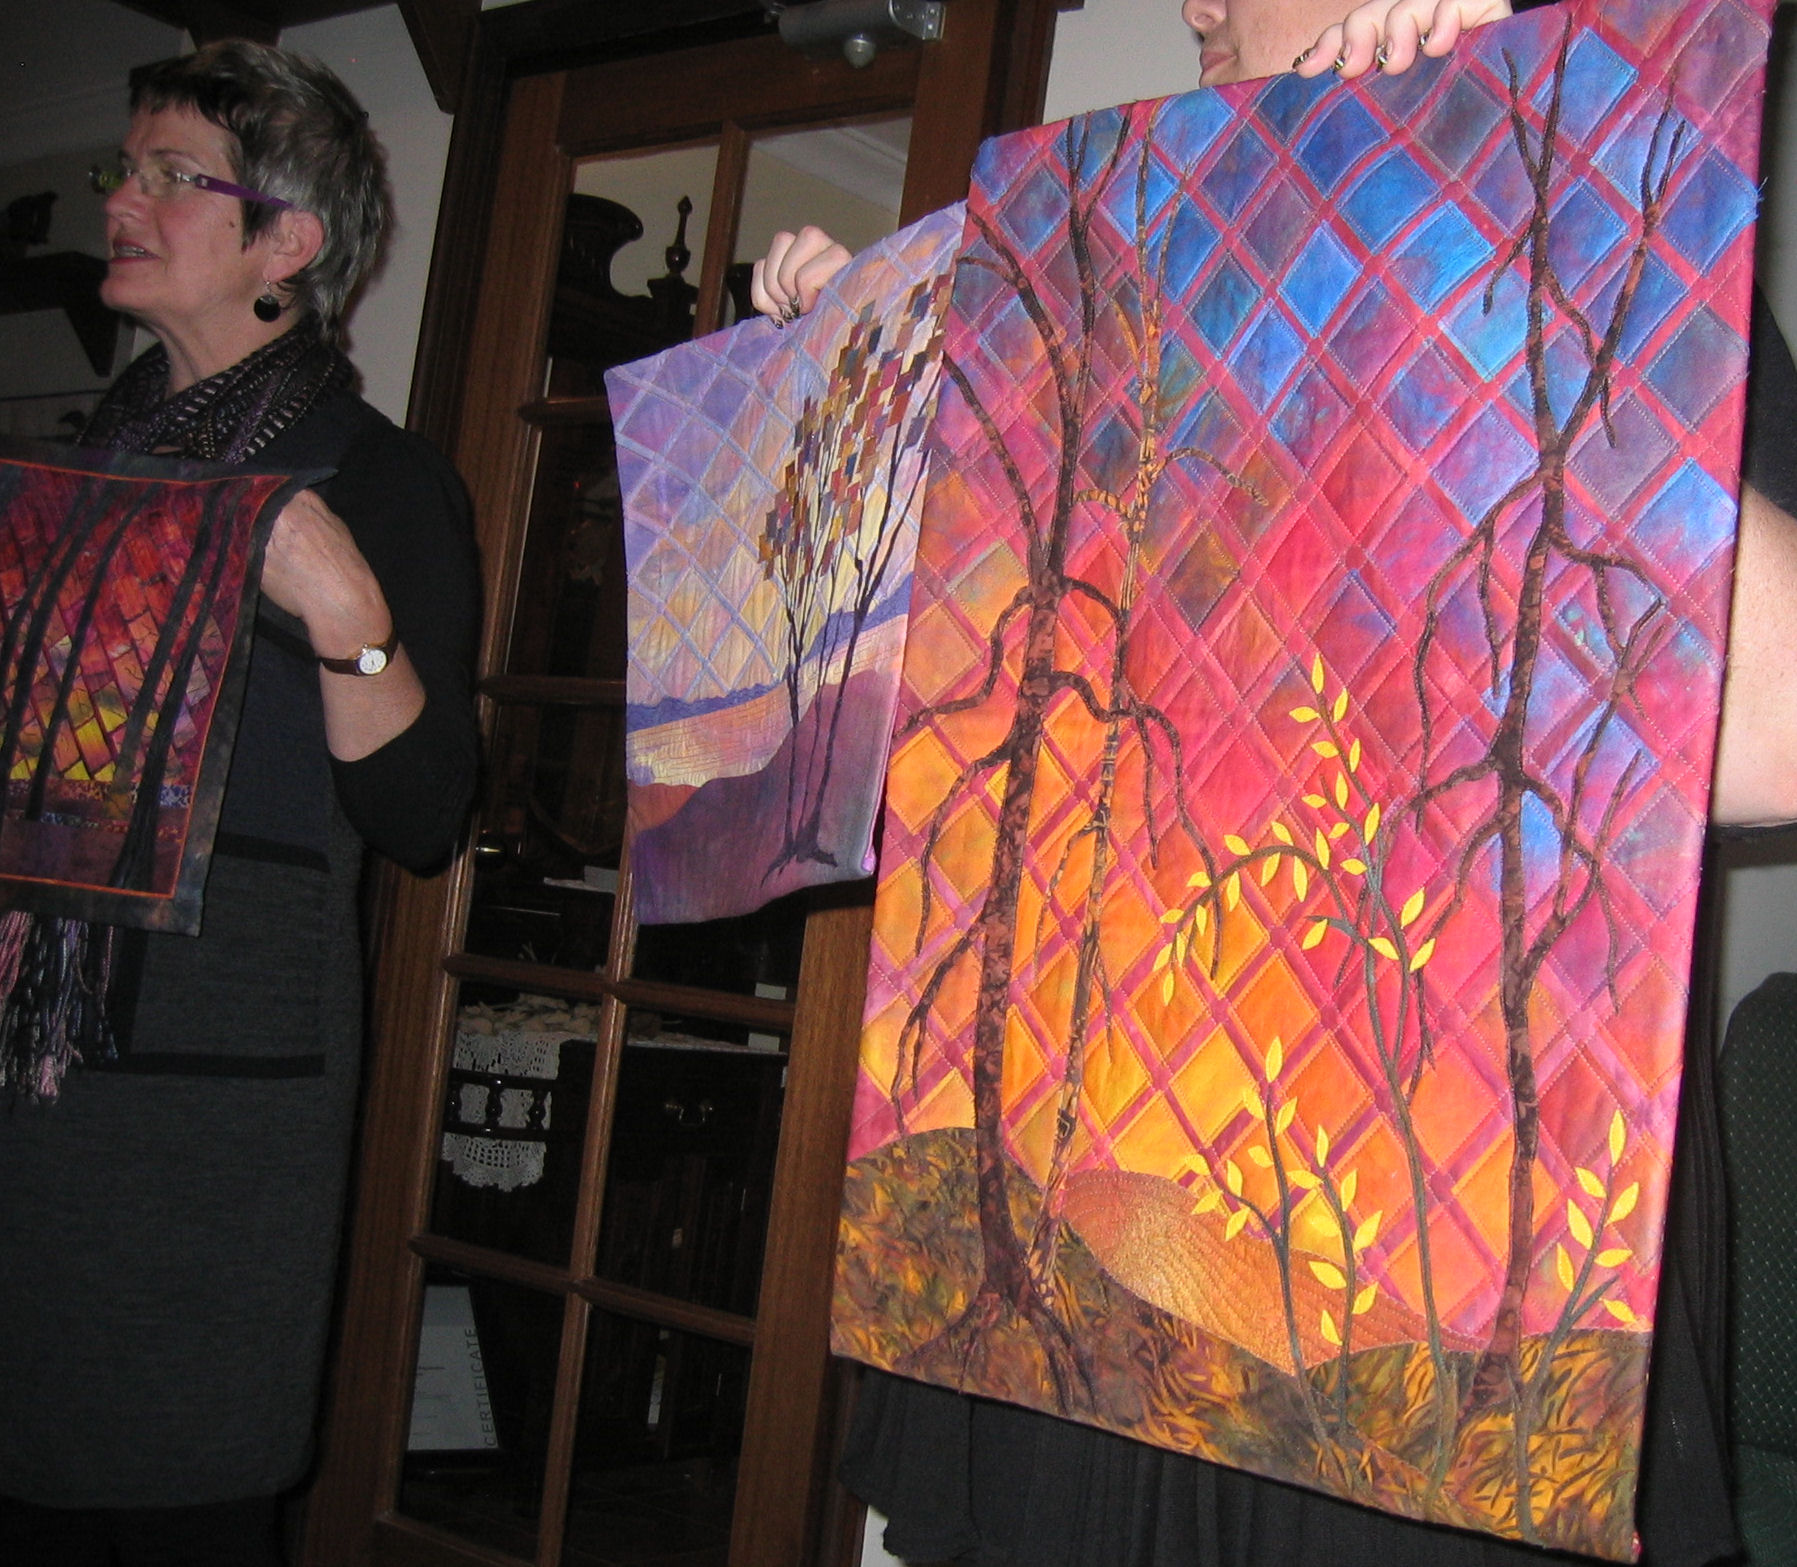
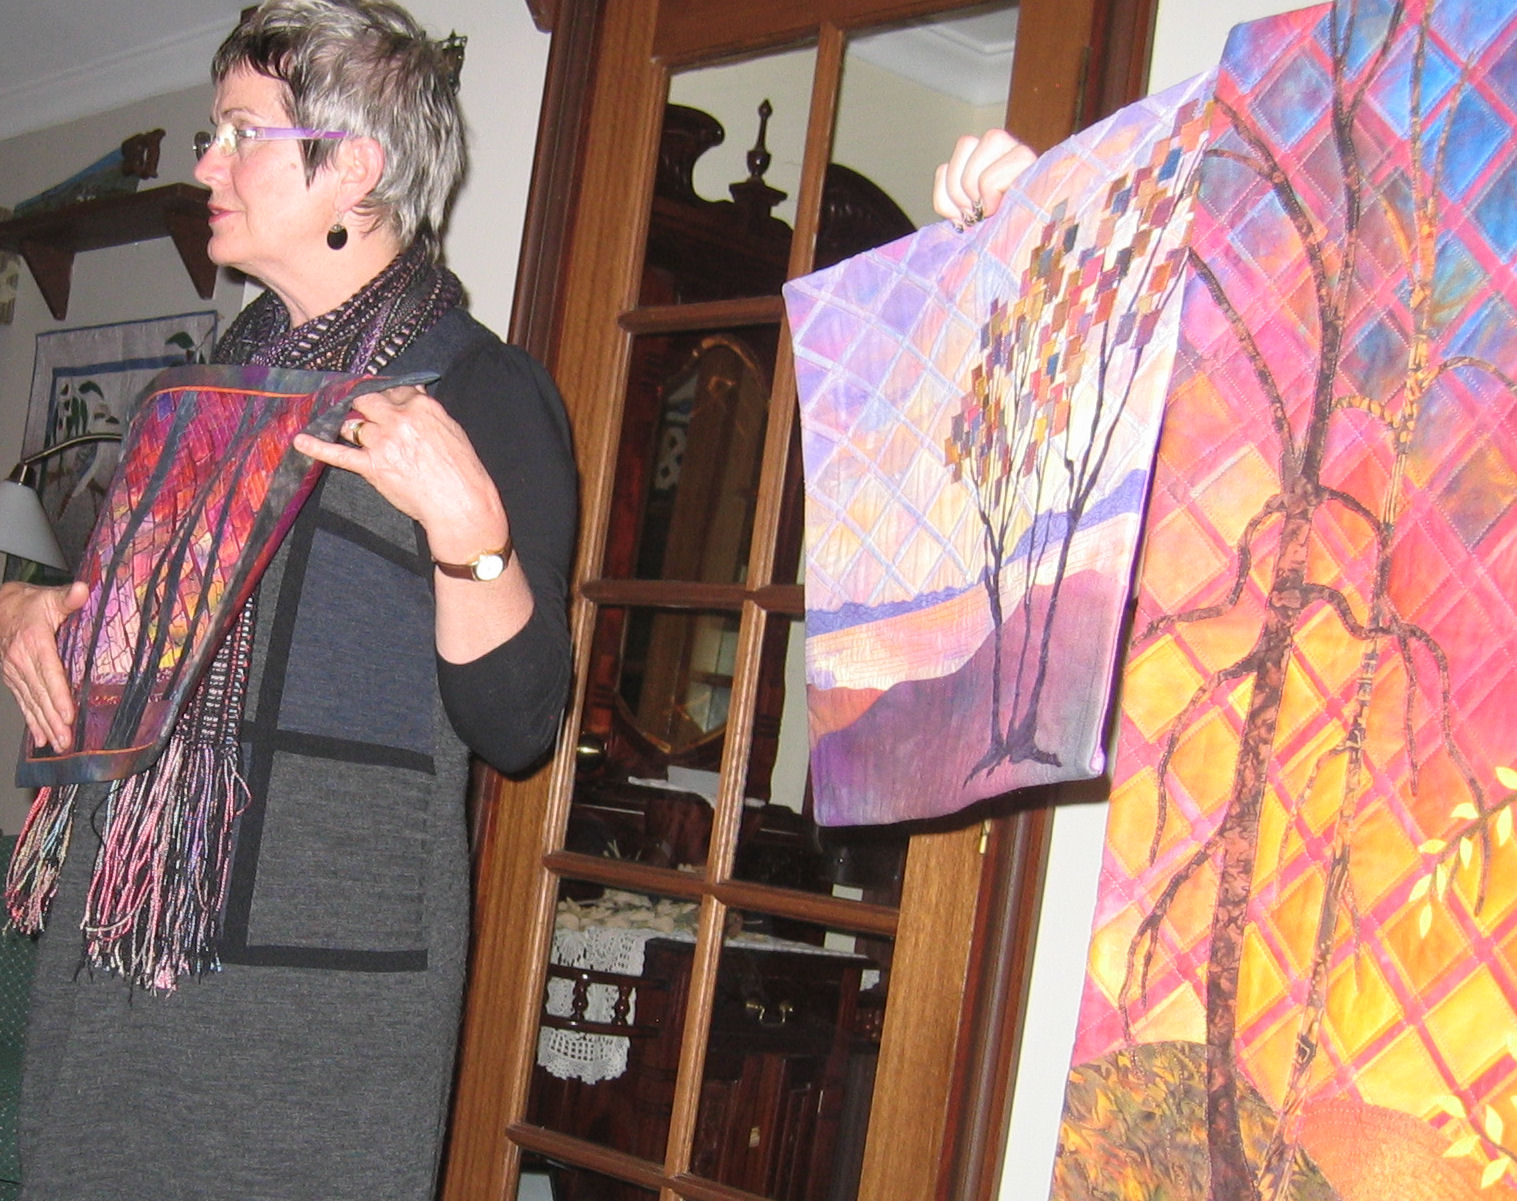
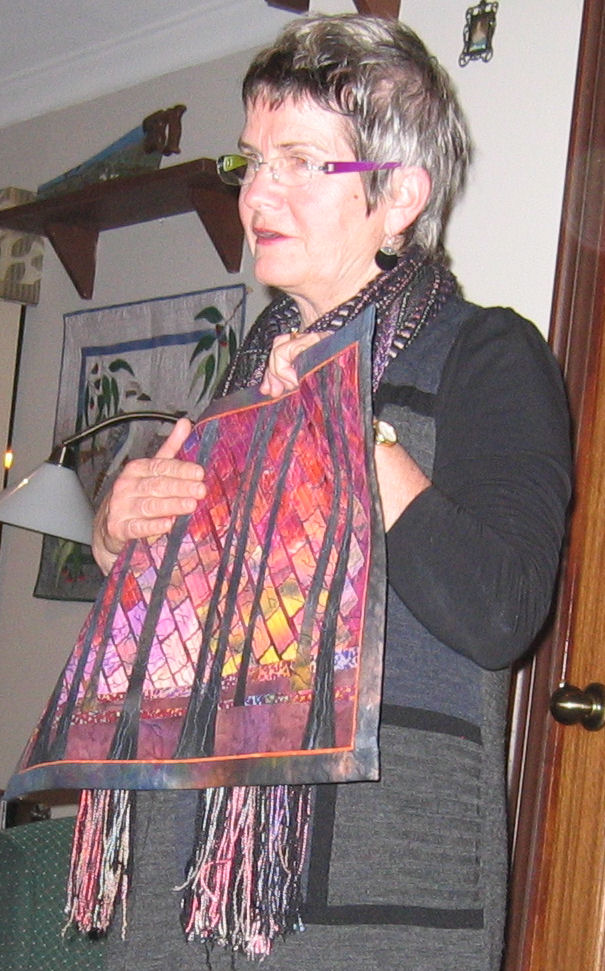
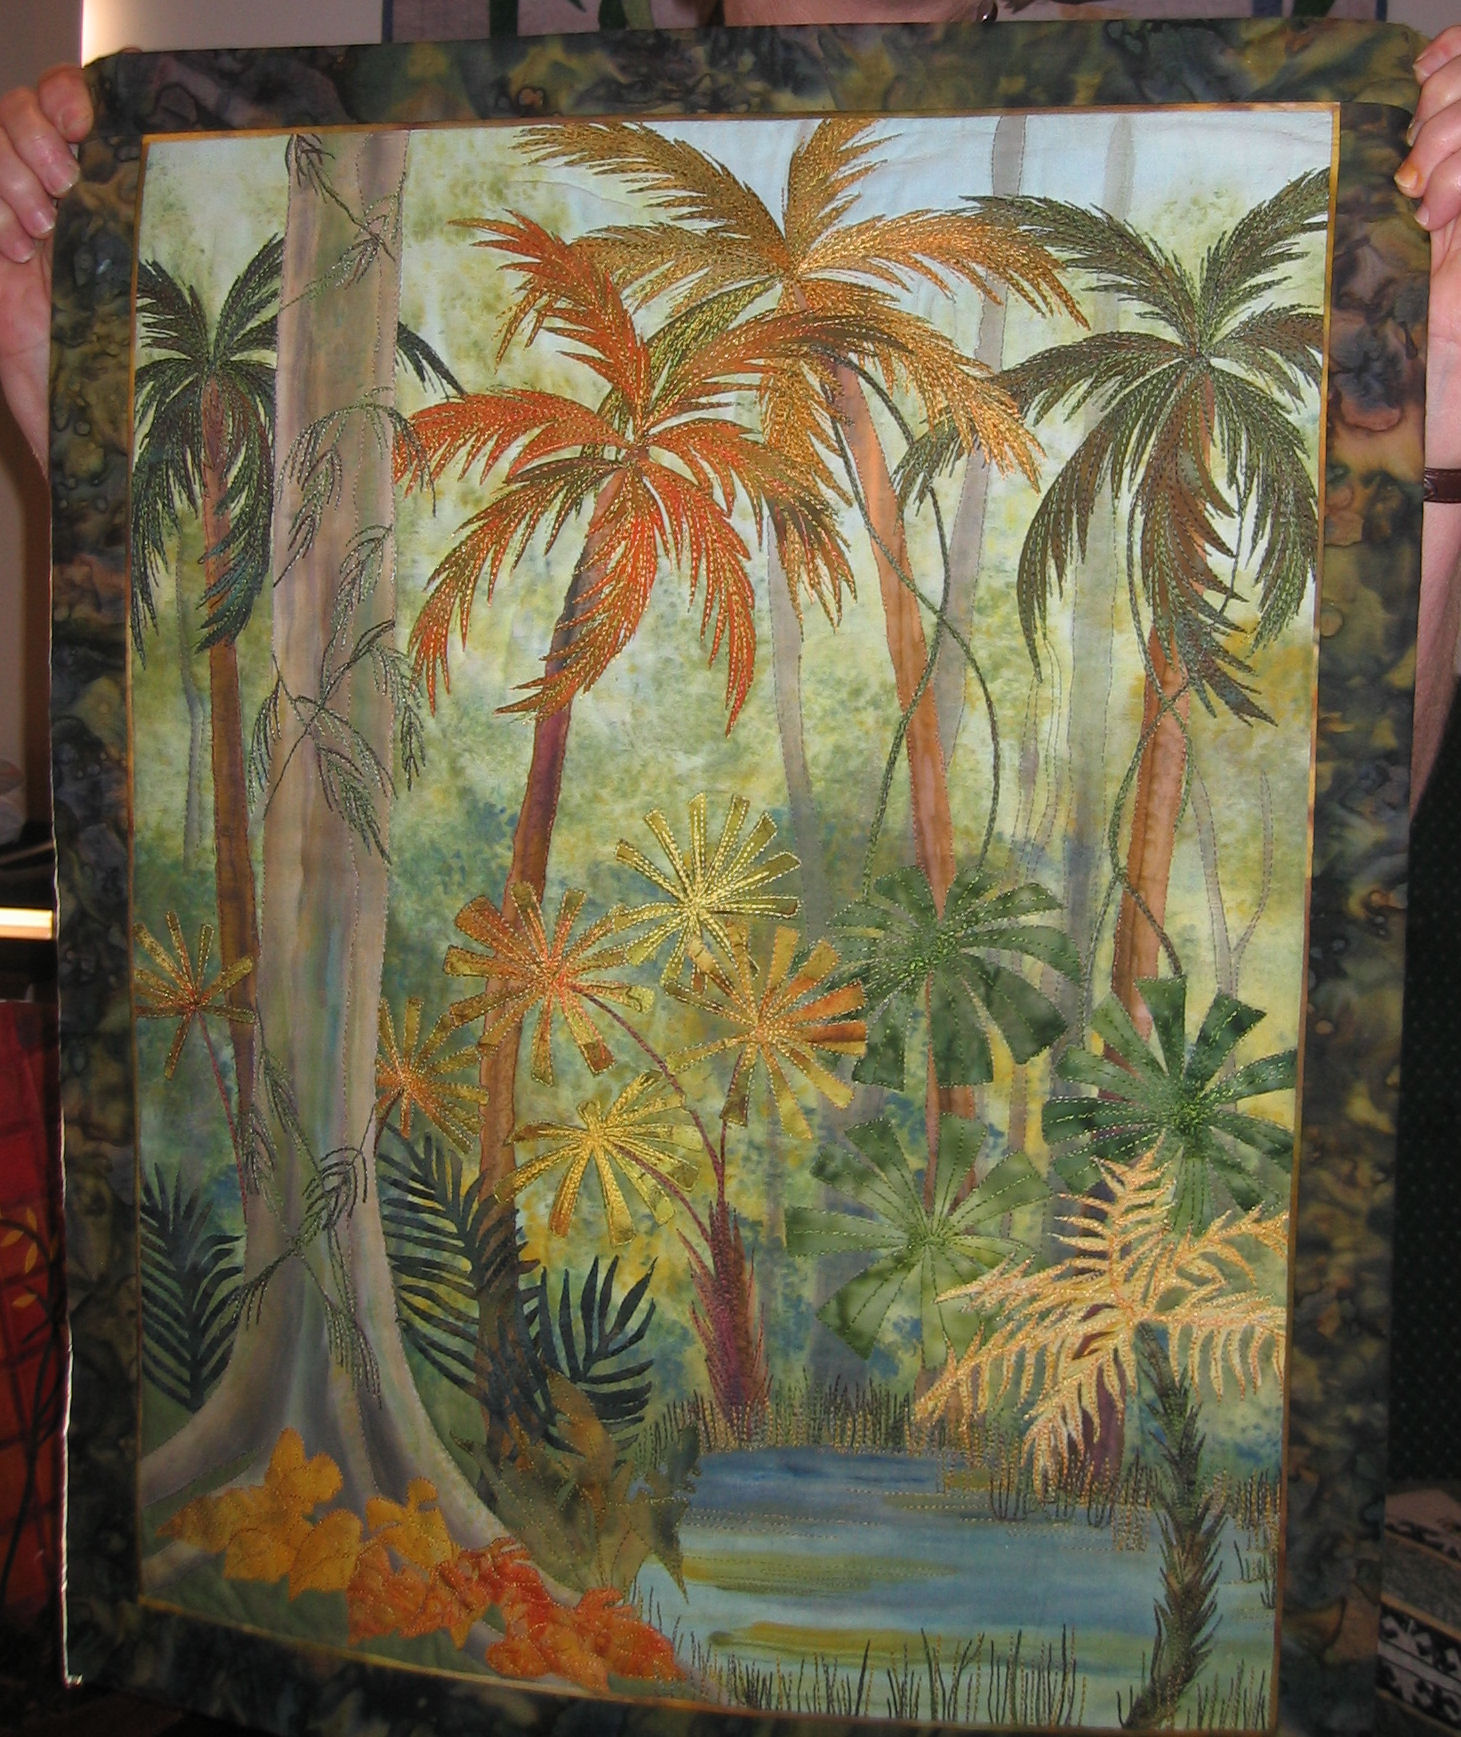
On the Friday night of the Gloria Loughman retreat, Gloria showed some of her amazing landscape art quilts and described the methods she used and the story behind each quilt.

Below are some pictures of the quilts from this trunk show — click on a small image to see it full size, then click on it when it’s full size to see it even larger.


Gloria Loughman retreat

14 06 2011

I had the privilege of attending a quilting retreat on the weekend, organised by my friend Michelle from Handcrafters House in Midland, Western Australia, and taught by one of Australia’s most well-known and internationally recognised landscape art quilters, Gloria Loughman.

On the Friday night, Gloria had a ‘trunk show’ where she showed some of the quilts she and her previous students had made. Baggage limits meant she wasn’t able to bring along some of the big quilts that feature in her books, but what we saw was inspiration enough.

This weekend’s theme was ‘Escape to the Rainforest’ and we learned how to paint backgrounds on fabric (a new experience for me — it was fun and opens up a whole lot of possibilities), as well as how to create a sense of depth and dimension in any scene.

For our ‘rainforest’, we could either use the tree and leaf motifs that Gloria provided, or work from a tree or forest picture of our own. All day Saturday (and into Saturday night) and most of Sunday was spent creating our landscape, the quilt top.

I chose to do a single tree from a photo I’d taken a few weeks back.

Tree picture I used as inspiration

Tree picture I used as inspiration

I was able to get to the point where almost all my surface stitching was done, so I’ve only got a little to finish before putting on borders, then layering it with batting and backing fabric and quilting it. Unfortunately, I was totally immersed in the process and forgot to take pictures as I went (!), so you can’t see how a plain white piece of fabric got transformed into this piece via paint, more paint, and then fabric, more paint, more fabric and stitching — you can only see the almost end result!

My fabric tree

My fabric tree

Stitching detail - grass and trunk

Stitching detail - grass and trunk

Stitching detail - leaf clusters and trunk

Stitching detail - leaf clusters and trunk

It was a terrific weekend — great learning, great people, great organisation (thanks Michelle), great teacher (Gloria is a born teacher and really generous with her time and really friendly; she joined in everything, and she and her husband seemed to really relax and enjoy themselves), and great food, location, and hosts (Avalon Homestead, Toodyay).

Update July 2011: It’s finished! https://sandgroper14.wordpress.com/2011/07/16/estuarine-eucalypt-art-quilt-finished/


Penfolds Grange Hermitage 1985

9 06 2011

Last night we drank a bottle of wine with dinner, but not just any bottle of wine. We drank a 1985 Vintage Penfolds Grange Hermitage! Why? Because it was my husband’s birthday and I was cooking rib eye on the bone for our dinner, and this wine was reputed to be at its peak. I bought this bottle for my husband back in the early 1990s and gave it to him for Christmas. Unfortunately, this sort of Christmas present can’t be opened for 15 to 20 years, so it’s been a long wait for him!

Why did we decide to drink it now? Well, we had opened some dozen or so Penfolds Bin 389s (1990 and 1991 vintages) a few weeks back, and without exception, we had to throw every one of them out — the wine was well past its peak and had turned sour. Very sour. That was SO disappointing, so we decided we’d better drink some of the older wines we’d been keeping for ‘special occasions’ sooner rather than later. Which meant we took another look at the Grange.

A few hours before dinner, my husband opened the bottle (the cork shattered as he tried to remove it, though the seal was good). He then decanted it to let it breathe — and to remove the floating bits of cork. We drank it from Reidel glasses, with a large bowl suitable for red wine.

So what does a $500 bottle of 1985 Grange taste like? (Yes, $500 is around the average price per bottle for this wine on the internet; I think I paid about $75 or $90 for it when I bought it back in the early 1990s — a LOT of money for a bottle of wine then… and now!)

Here’s my (very amateur) assessment of this wine, which was a 99% shiraz/1% cabernet sauvignon mix:

  • Nose: Lovely aroma, but not as full as I expected
  • Colour: Rich earth/plum tones
  • Palate: Very smooth and mellow, with reasonable tannins that exploded in the mouth when I swished it around. But I was surprised (and disappointed) that it finished quite short and didn’t linger in either the mouth or the back of the throat.

Overall, was it worth $500? In my opinion, no.

Yes, it was probably at its prime for drinking, and it matched well with the food, but I was disappointed that it wasn’t as full-bodied as I expected for a shiraz. That said, I’ve never had Grange before, so perhaps my expectations were wrong. It was very nice, but I suspect that in a blind tasting I wouldn’t have picked it as my favourite as it was a little too smooth for a shiraz — for my palate, anyway.

We have one other bottle of Grange left — a 1990 vintage, I think. So when we open that one in about a year’s time, we’ll see how it compares. According to internet reviews and pricing at the moment, it’s a ‘classic Grange’ and resells for around $750+ a bottle! Yikes!

Penfolds Grange 1985 - empty!


More quilts from that one jelly roll

27 05 2011

I’ve finally made the last two quilts from the one jelly roll of fabric I got at the Eleanor Burns Quilting Academy (here’s the first and largest quilt I made: https://sandgroper14.wordpress.com/2011/04/25/bright-jelly-roll-lap-quilt-finished/).

The last two are smaller — one is a lap quilt about 36 inches (93 cm) square, and the other is a gender-neutral cot/crib quilt. Again, I’ve quilted them densely. I was particularly pleased with the feathers I did in the border of the lap quilt –I really like the method for doing these that I’ve learned from the Diane Gaudynski book. And I love the rubber ducky backing fabric!

Both quilts (and the larger lap quilt) are now for sale in my Etsy store, where there are more pictures:


Crisp autumn mornings

27 05 2011

I try to go for a walk a few times a week, especially now that the weather has cooled down and the mornings are crisp and clear. Sometimes I only go as far as the estuary (about 1 km round trip), but last Saturday morning I did the loop to the estuary, alongside it for about 1 km, then back home — about a 3 km walk on roads and walking/bike paths.

I took my camera with me last Saturday as I needed some photos of trees for a quilt retreat I’m attending in a few weeks time. I got trees, plus lots more! Black swans (in the distance and flying overhead), blue herons, cows… even a camel!

Yes, a camel. I call him ‘Humphrey’ (if you’re old enough, you might remember the novelty song ‘Humphrey the camel’). Usually Humphrey is hard to spot as he lives in a big paddock with cattle, and I might be lucky to see him in the distance. Not so last Saturday — Humphrey was right up near the road, eating grass on the other side of the fence — where it’s always greener!

I’ve just put a couple of pictures from my walk here:

Click on a thumbnail image to open it larger, then click that image to zoom in even further.


‘Underneath the Australian Sun’ has a new home — in Utah!

23 05 2011

My ‘Under the Australian Sun’ piece of fabric art has gone to its new home in Utah. It was purchased by Dana and she has had it framed and it now hangs on a wall in her beautiful home. Dana was kind enough to share her pictures with me.


Kelli’s chickens

11 05 2011

The first piece I quilted with my new HQ Sweet Sixteen was a gift — a table runner/place mat for Kelli. Kelli has just moved from Arizona to Colorado — new home, new job, new phase of her life — and one of the things she wants when she gets settled is some chickens. She’d asked me if I could make a table runner/place mat to match the chicken coasters I have for sale in my Etsy store, and how much would it be.

Instead of charging her, I decided the table runner/place mat + a set of coasters would make a nice house moving/housewarming gift for her. I hope she likes them!

All the applique work was done on my domestic sewing machine, a Husqvarna Viking Sapphire 870, and the quilting was done on my new Sweet Sixteen.

Click the image to see it at a larger size, then click it again to view it full size, where you’ll see the free motion quilting detail.

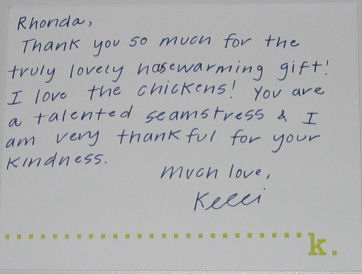
Update: Kelli must be one of the few people left in the world to handwrite thank you cards:


Practising feathers

9 05 2011

Feathers are one of the free motion quilting motifs I’ve been too scared to tackle! I’ve doodled them and that’s helped. I’ve bought some books on different techniques and tried them out. But I still wasn’t happy with my feathers. Until I got the Diane Gaudynski book on free motion quilting that was recommended to me by Joan.

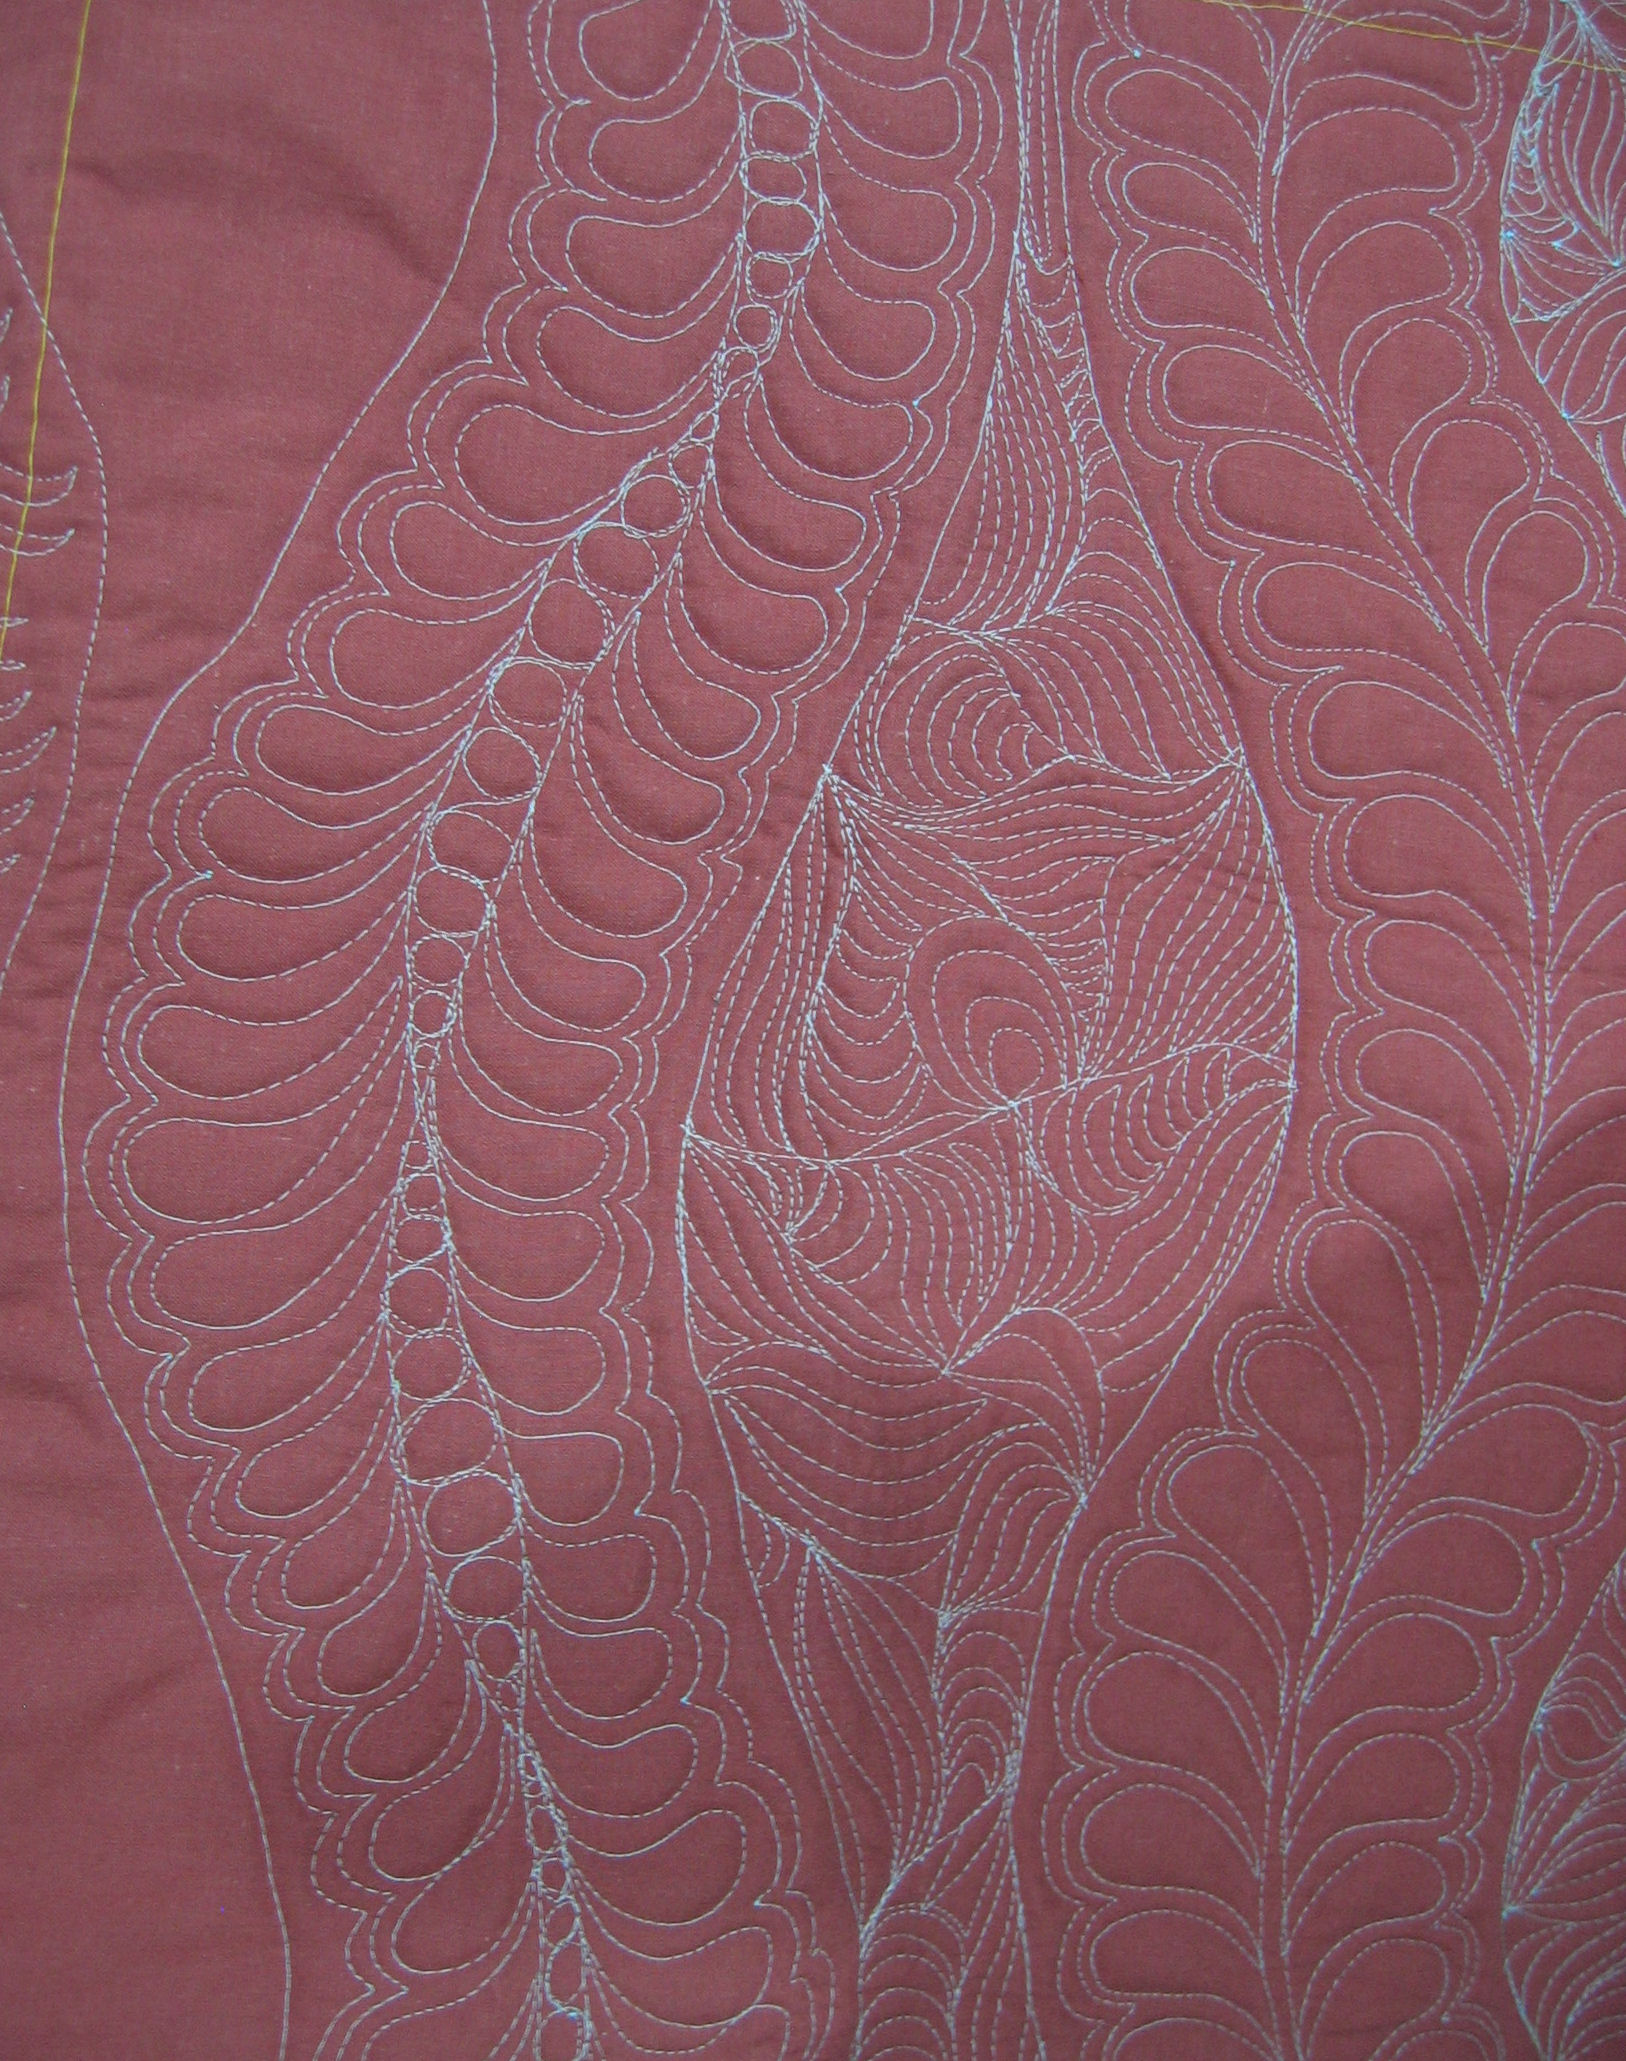
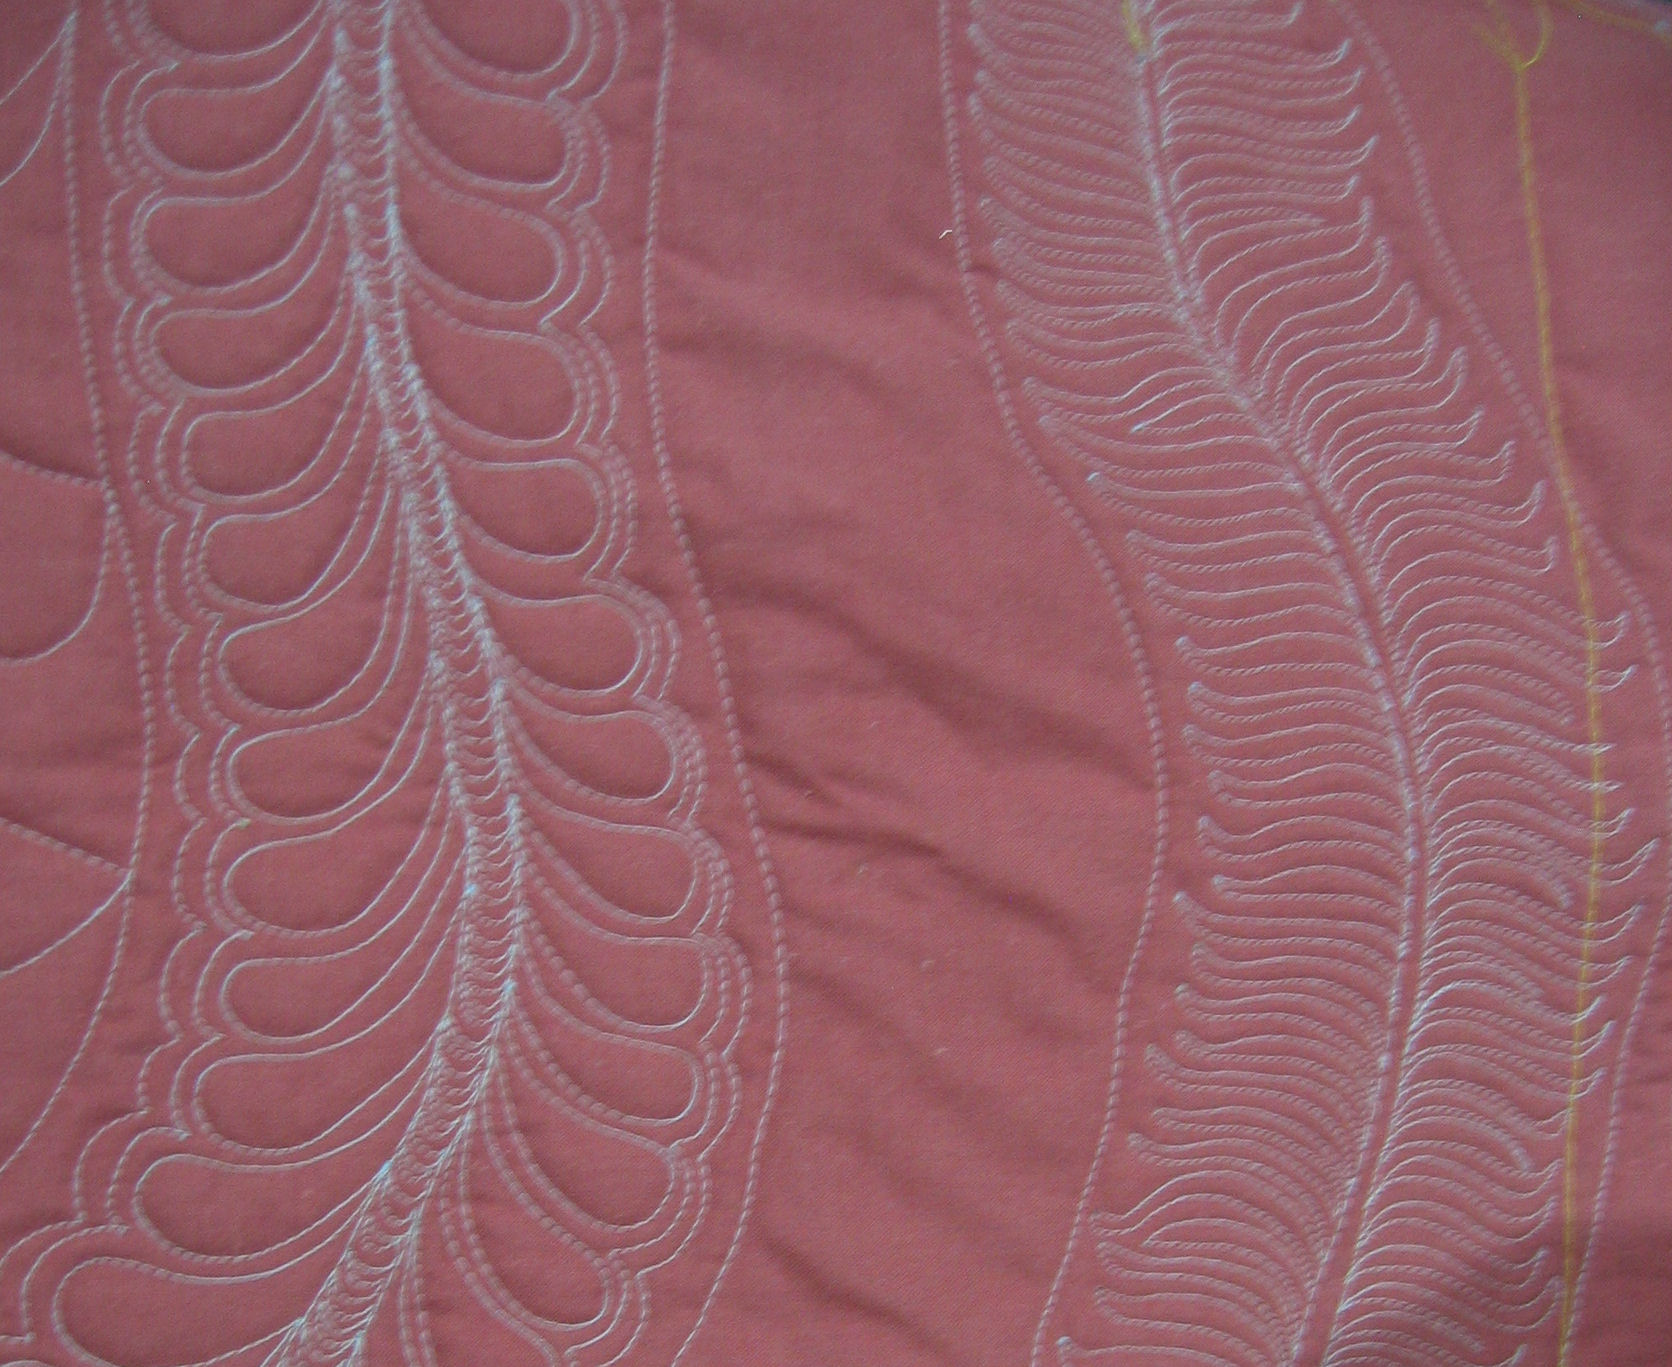
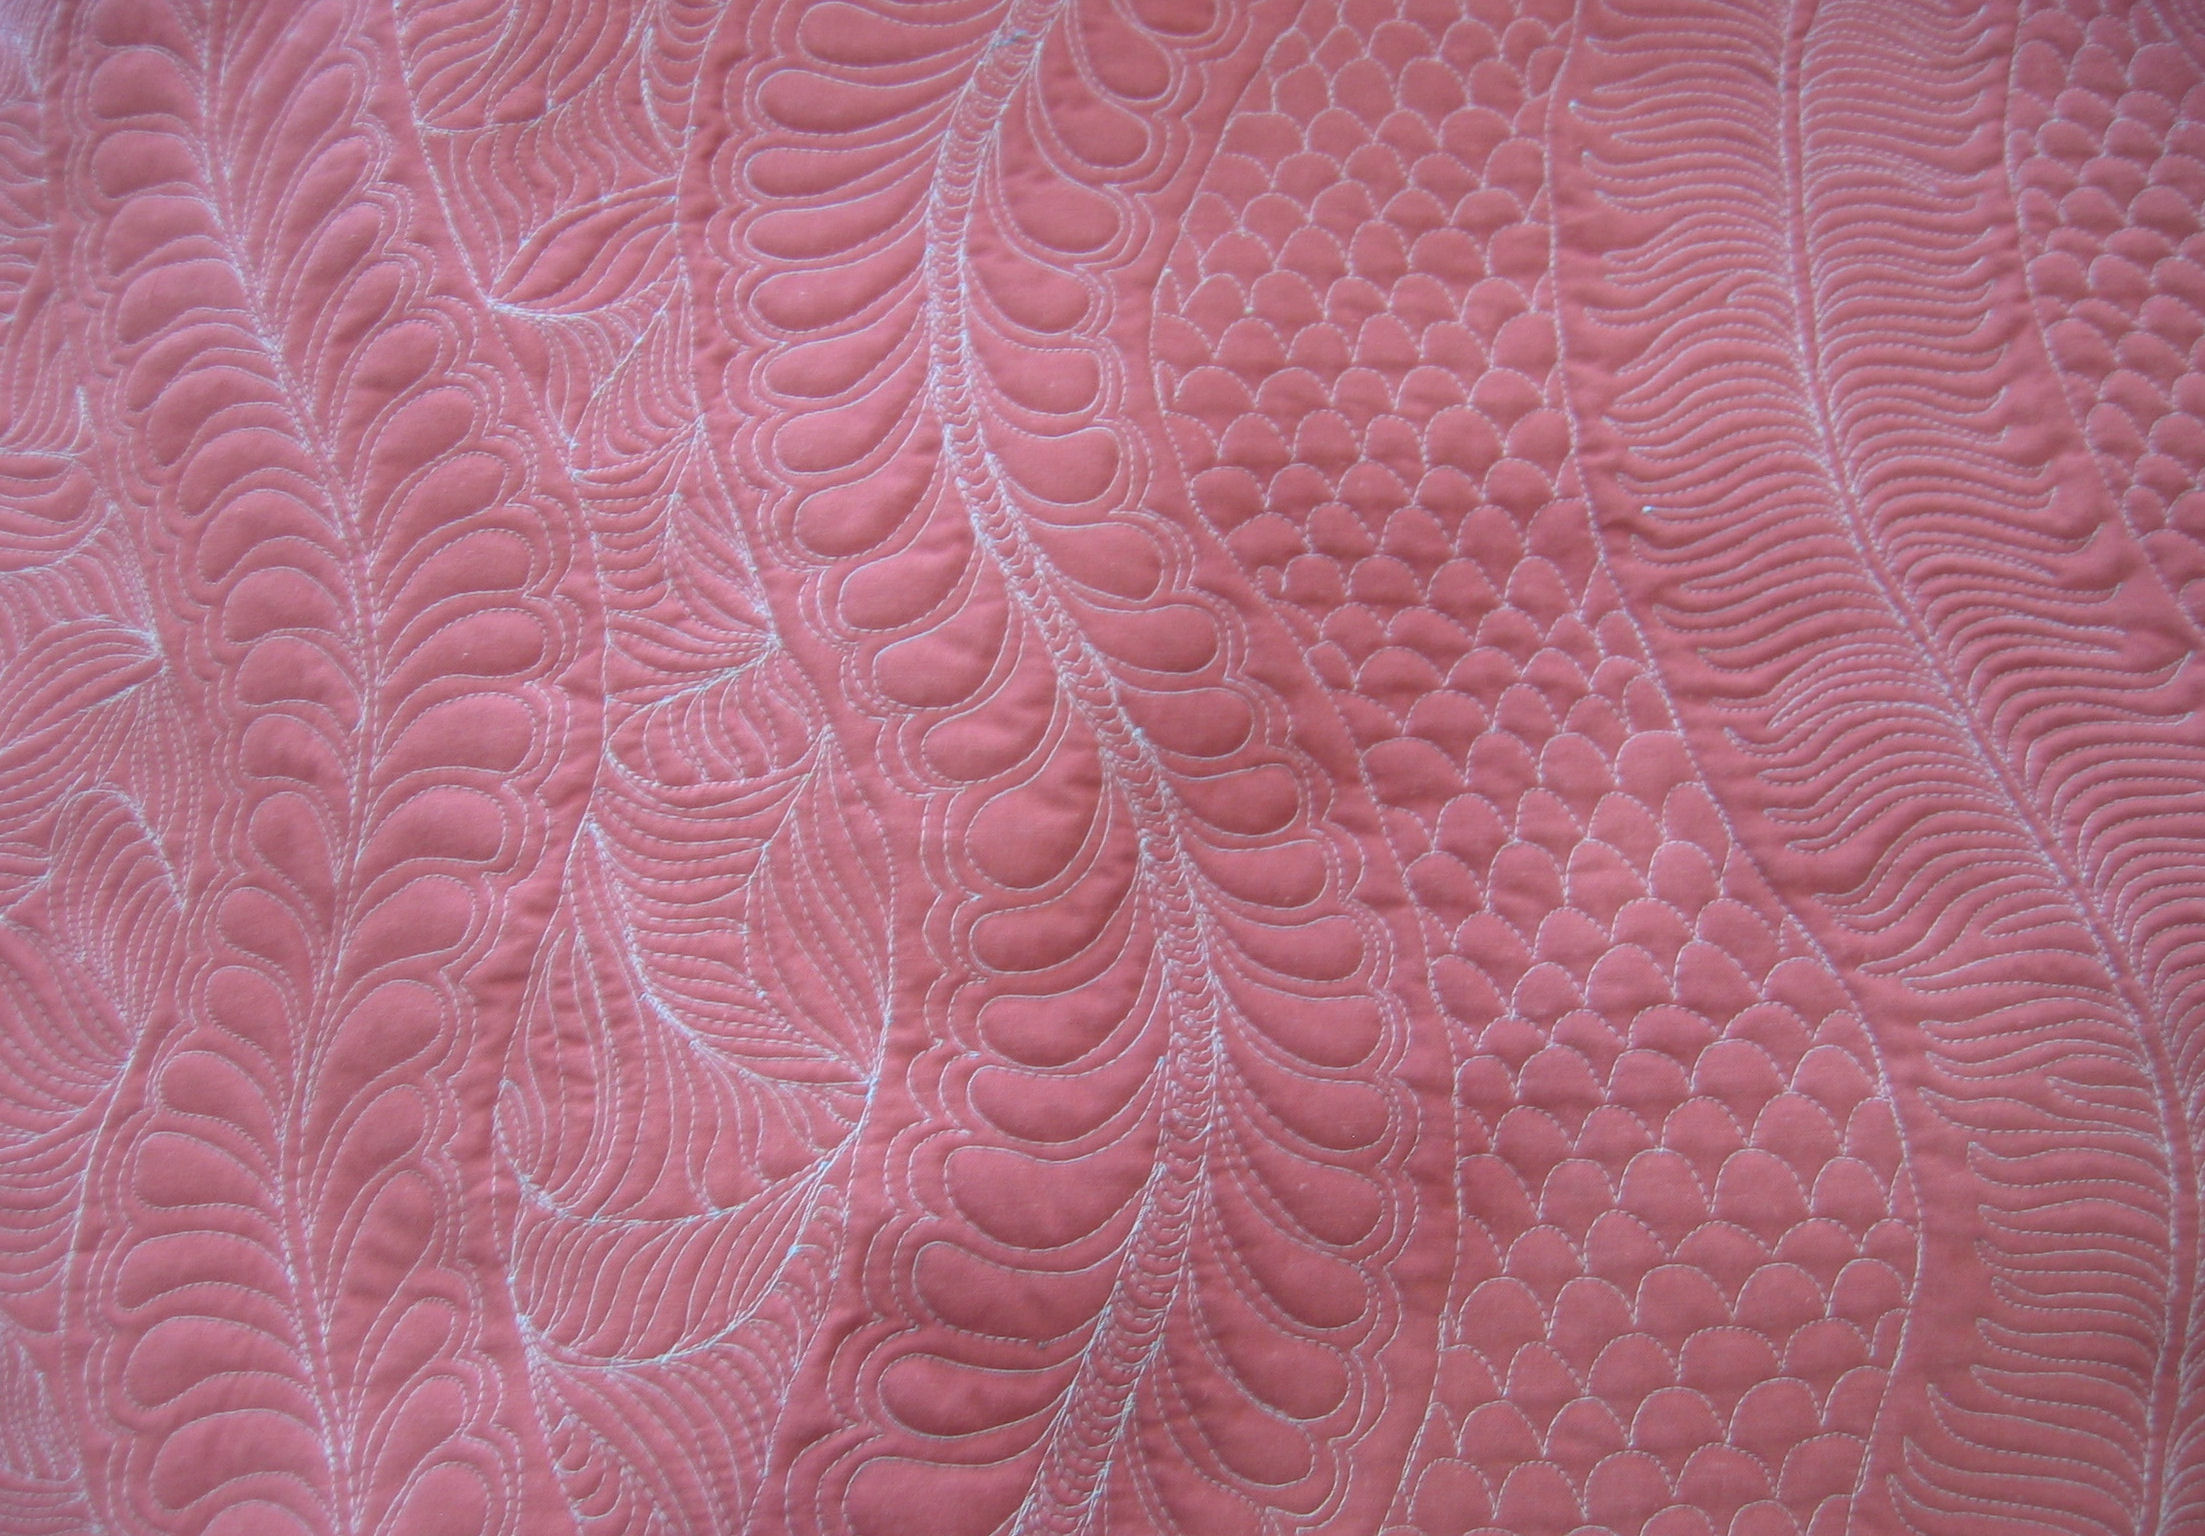
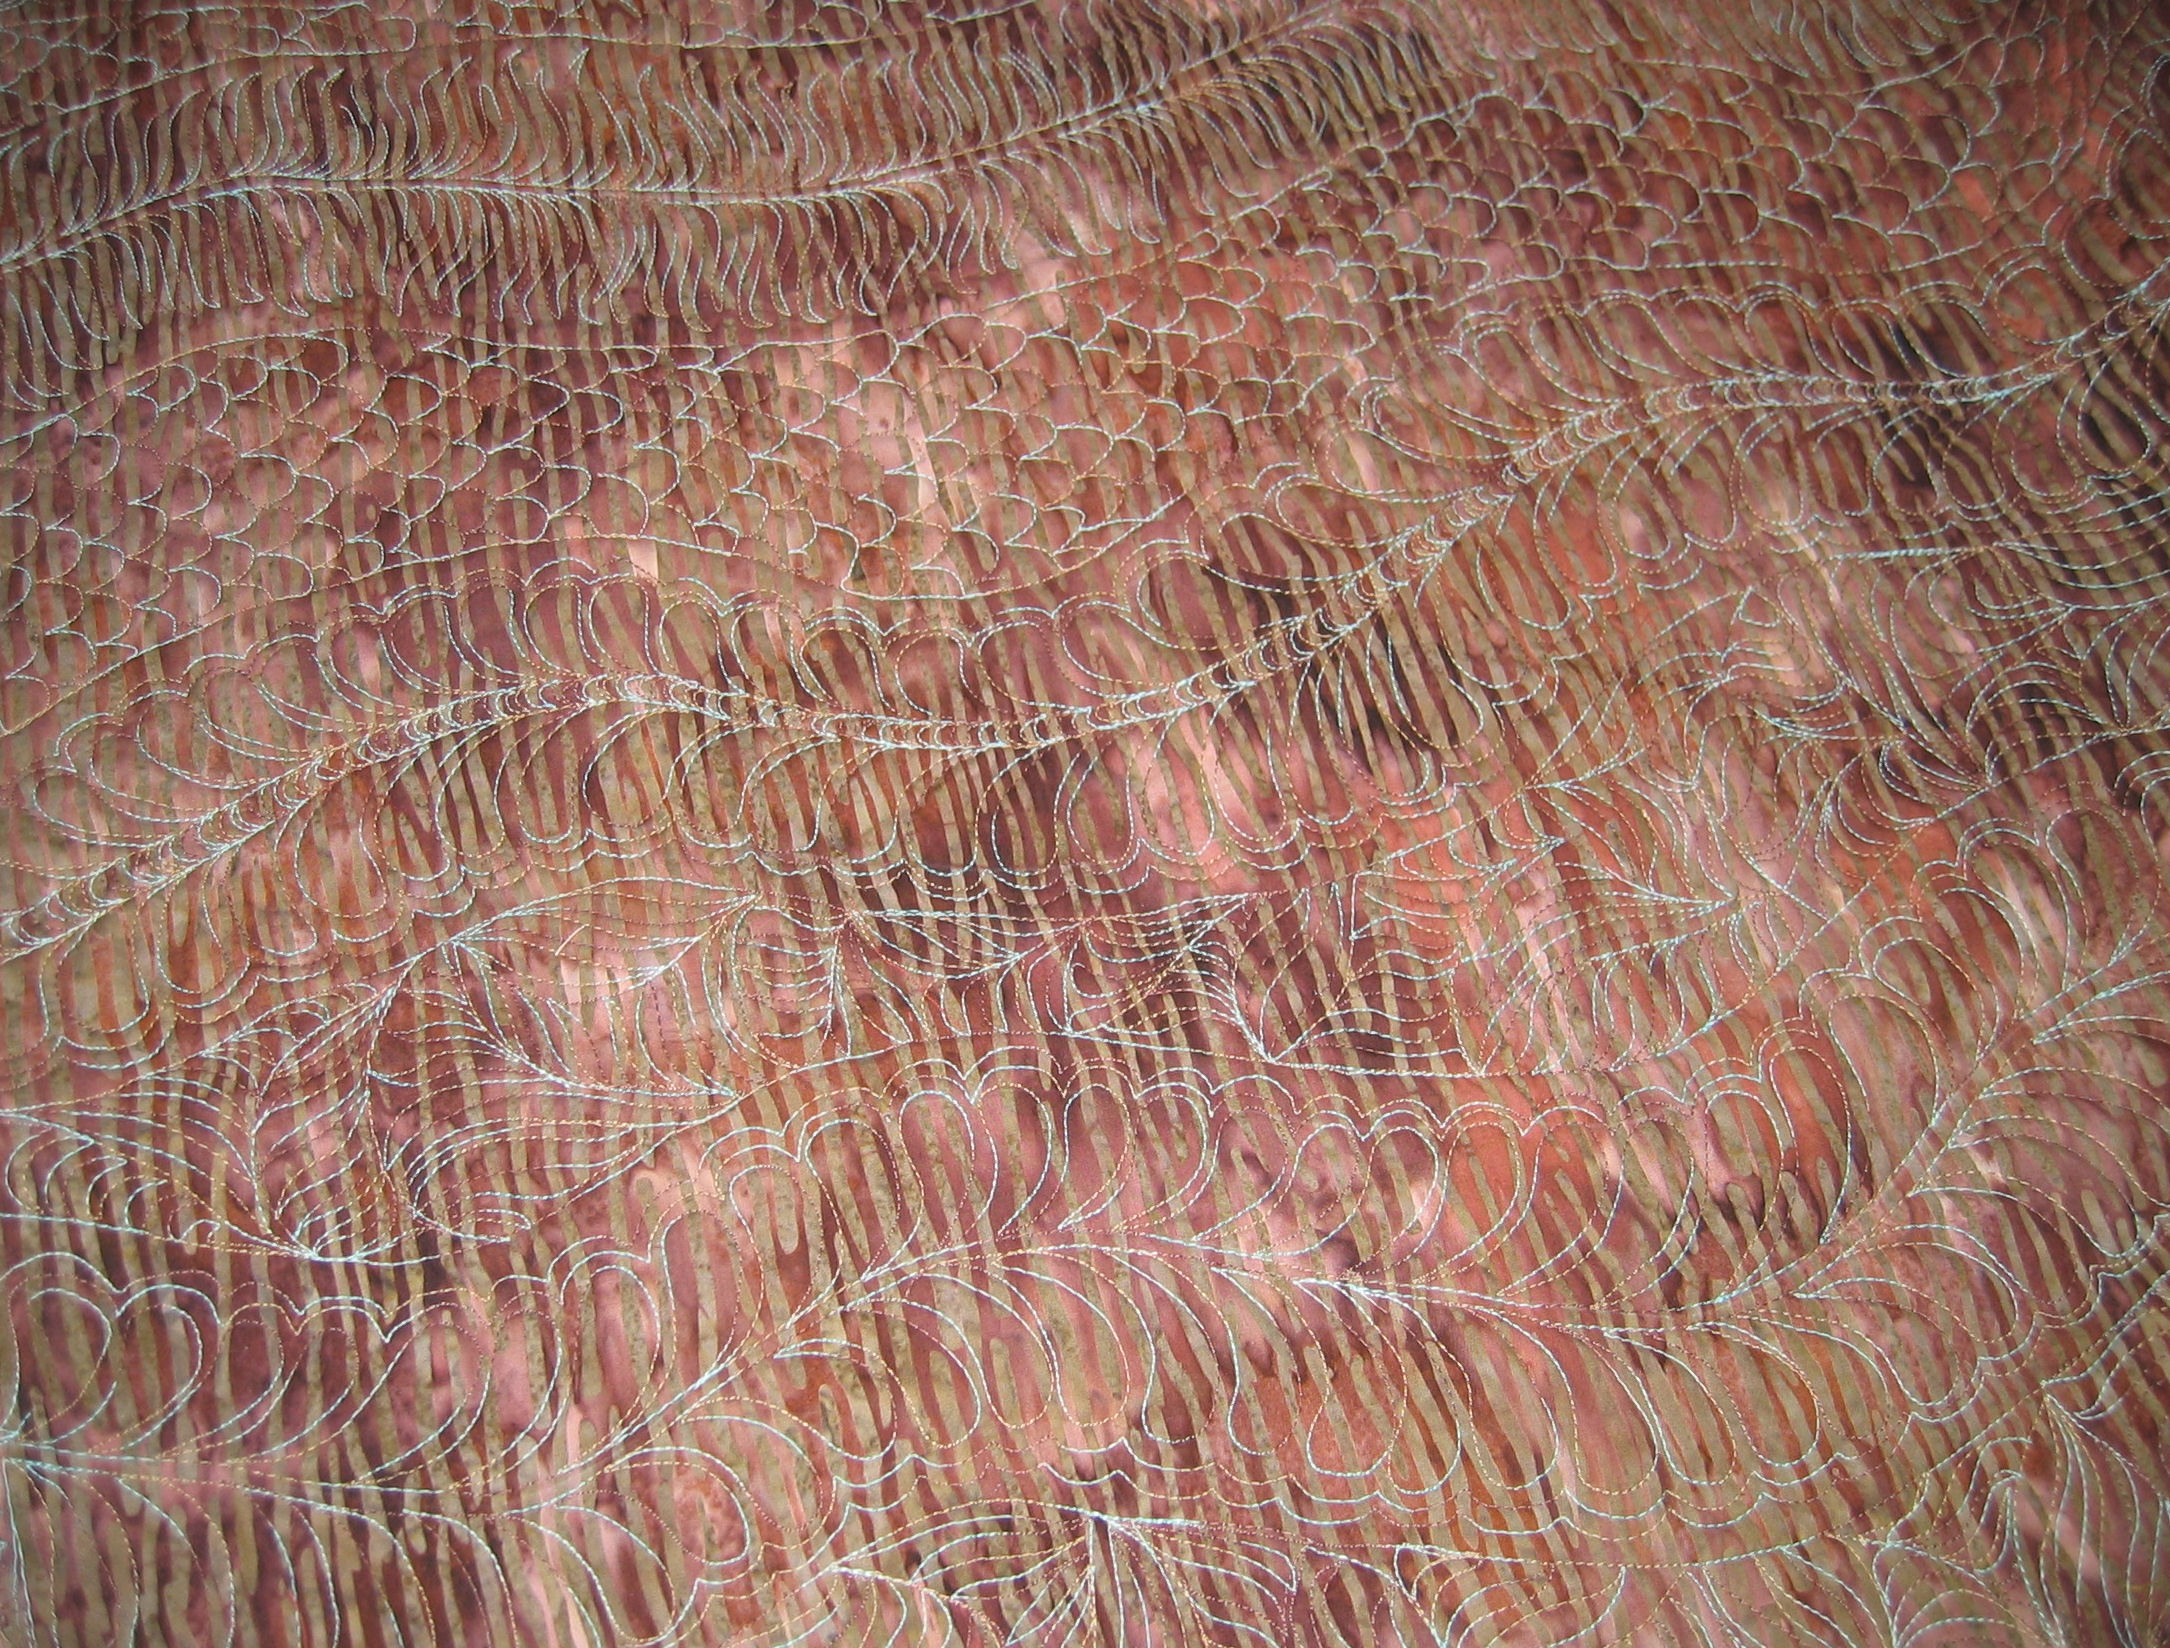
I sat down at the Bee (my HandiQuilter Sweet Sixteen machine) and got started. I marked sweeping curves for the spines, and side rails to contain the ends of each feather shape, put some variegated thread on the Bee and got going! I was really pleased with how my feathers turned out. I did four lines of ‘puffy’ feathers with some different effects in the spines, then a central feather that was more like real feathers or even a fern frond.

The filler in between some of the feathers is based on Karen McTavish‘s ‘McTavishing’, though I don’t think it’s true McTavishing 😉 I haven’t finished the filler spaces yet — I may do pebbles/bubbles or small scallops to the sides of the central feather/fern as there’s already a lot of tight, short curved bits in that feather. Update: Finished! I used scallops in the filler spaces next to the central feather.

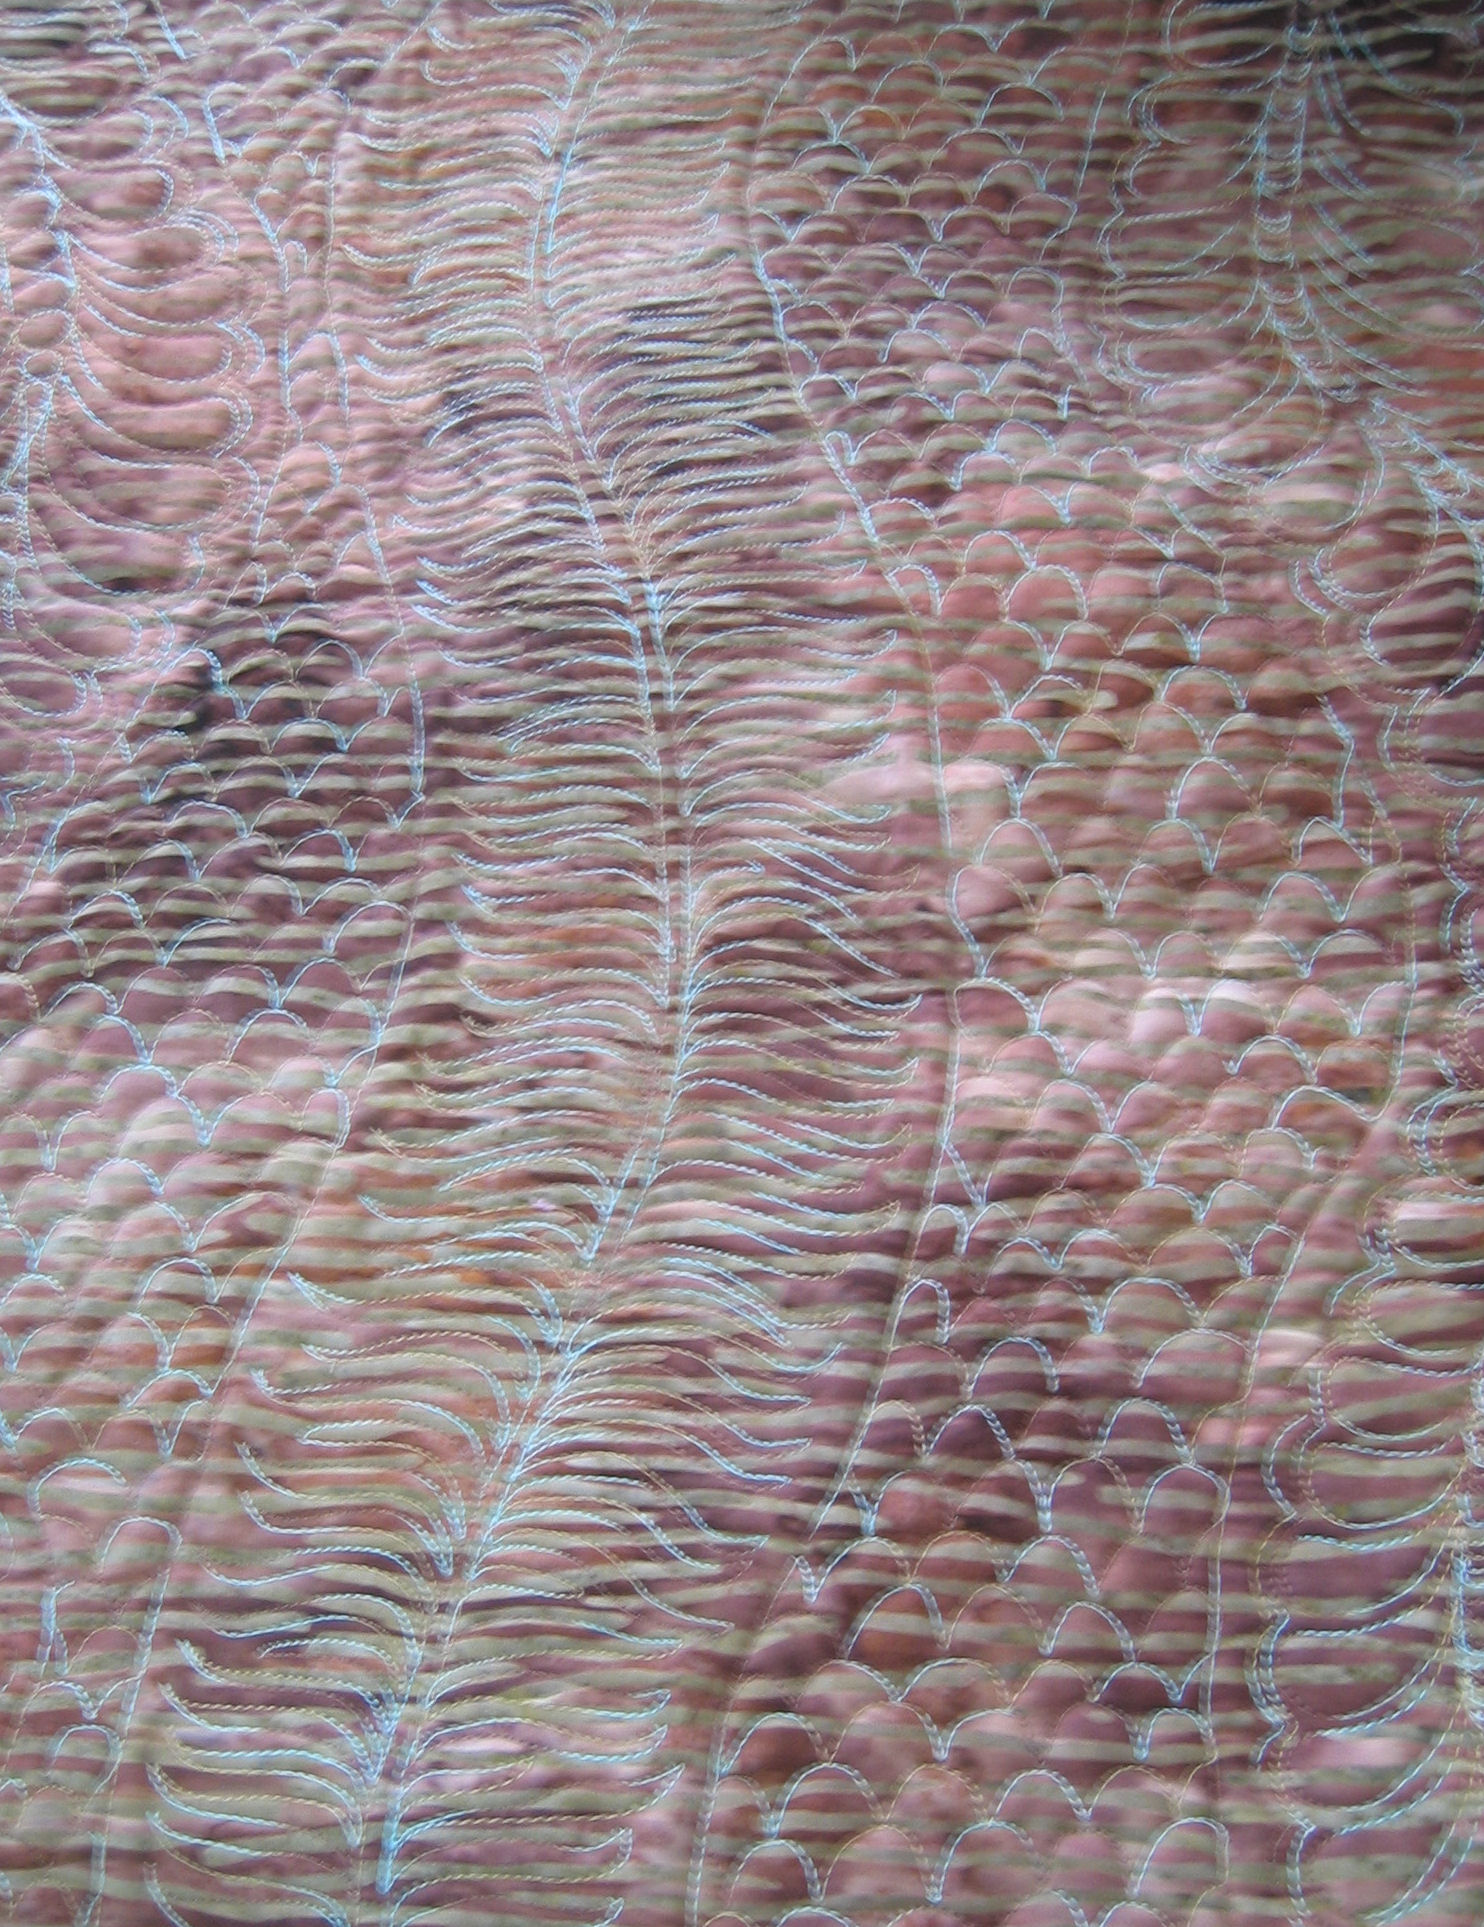
I was pretty pleased with the tension, and, by using a different coloured thread on the back, I had a good indication of when the tension was ‘off’.

I was also pretty pleased with my first real attempt at feathers, using a style that I’m comfortable with — I found Diane Gaudynski’s method very easy to do. Also, other than the sweeping guides, there’s NO marking. I’m far too lazy to mark out a pattern! I just want to quilt it!

Click on a small photo to see it larger, then click on the large photo to zoom in to see the stitches (the yellow thread is my basting stitches — I take these out when I’ve finished a section; the brighter orange photo is with the flash — the rest are taken without a flash to try to get the 3D quality to stand out):