My very own ‘Bee’

5 05 2011

After playing with the HandiQuilter (HQ) Sweet Sixteen quilting machine at the Eleanor Burns Quilting Academy in March, and after really putting it through its paces when a friend lent me hers, I’ve now purchased my own machine!

I picked it up from Handcrafters House in Midland (Western Australia) last Friday, and spent about 2 hours with the lovely Michelle being trained on it. Because I had already used it extensively for about 2 weeks when I had the loan machine from Bobbie, I had lots of questions for Michelle, so instead of the standard training, she mostly dealt with my questions and assessed the samples I brought in for her. Most of my issues were to do with tension, particularly getting the bobbin (foundation) tension right. I learned a lot about tension! 😉

As an aside, just before I picked up my machine, Michelle and her team at Handcrafters House were named HandiQuilter’s International Dealer of the Year, beating some 750 dealers in 10 countries for that award, which is based partly on sales but mostly on customer support and training. Congratulations, Michelle and all your team!

I was originally going to call my machine ‘The Beast’ because it’s such a big and heavy thing, but I decided I needed something a little less horrible for such a lovely machine. After some ideas from my quilting circle of friends, and mulling over some ideas of my own, I’ve settled on ‘Bee’/’The Bee’. Why? Several reasons:

  • B for big, beautiful, brilliant, beast
  • B for my surname
  • Bee as in ‘quilting bee’ and ‘buzzing bee’ (my husband reckons it makes a noise like a bee when he hears it from another room in the house), and of course, ‘busy bee’

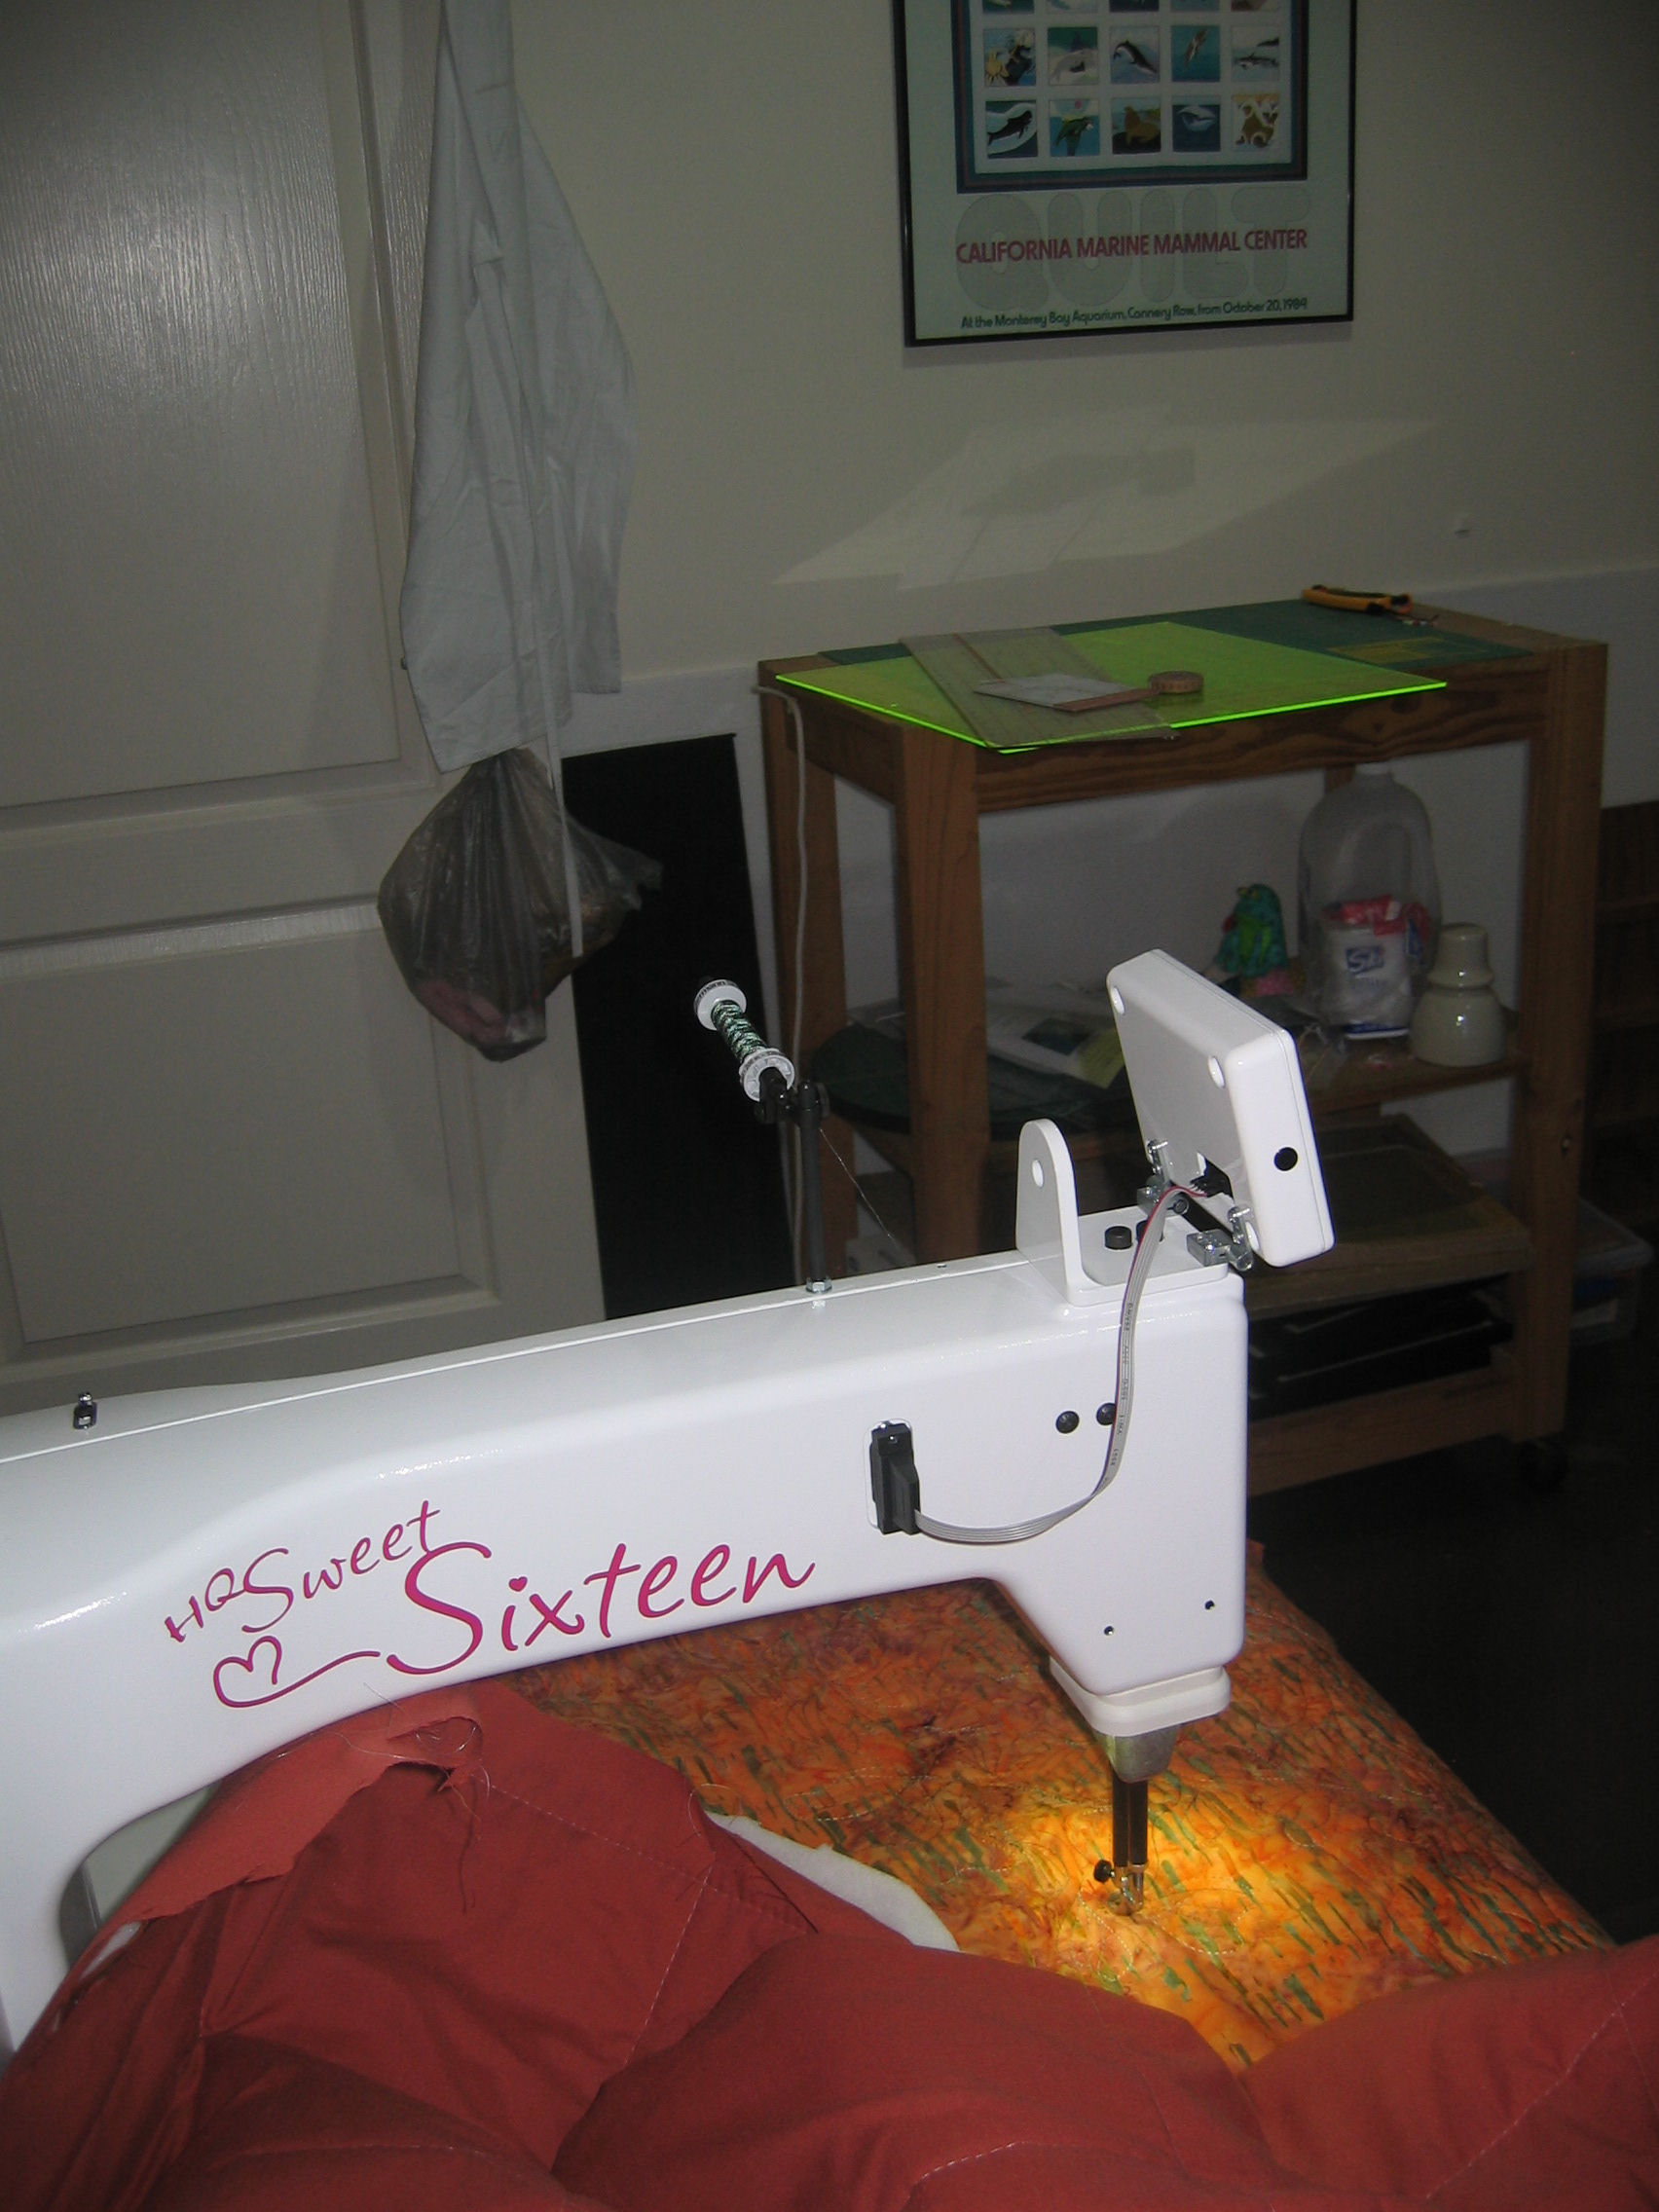
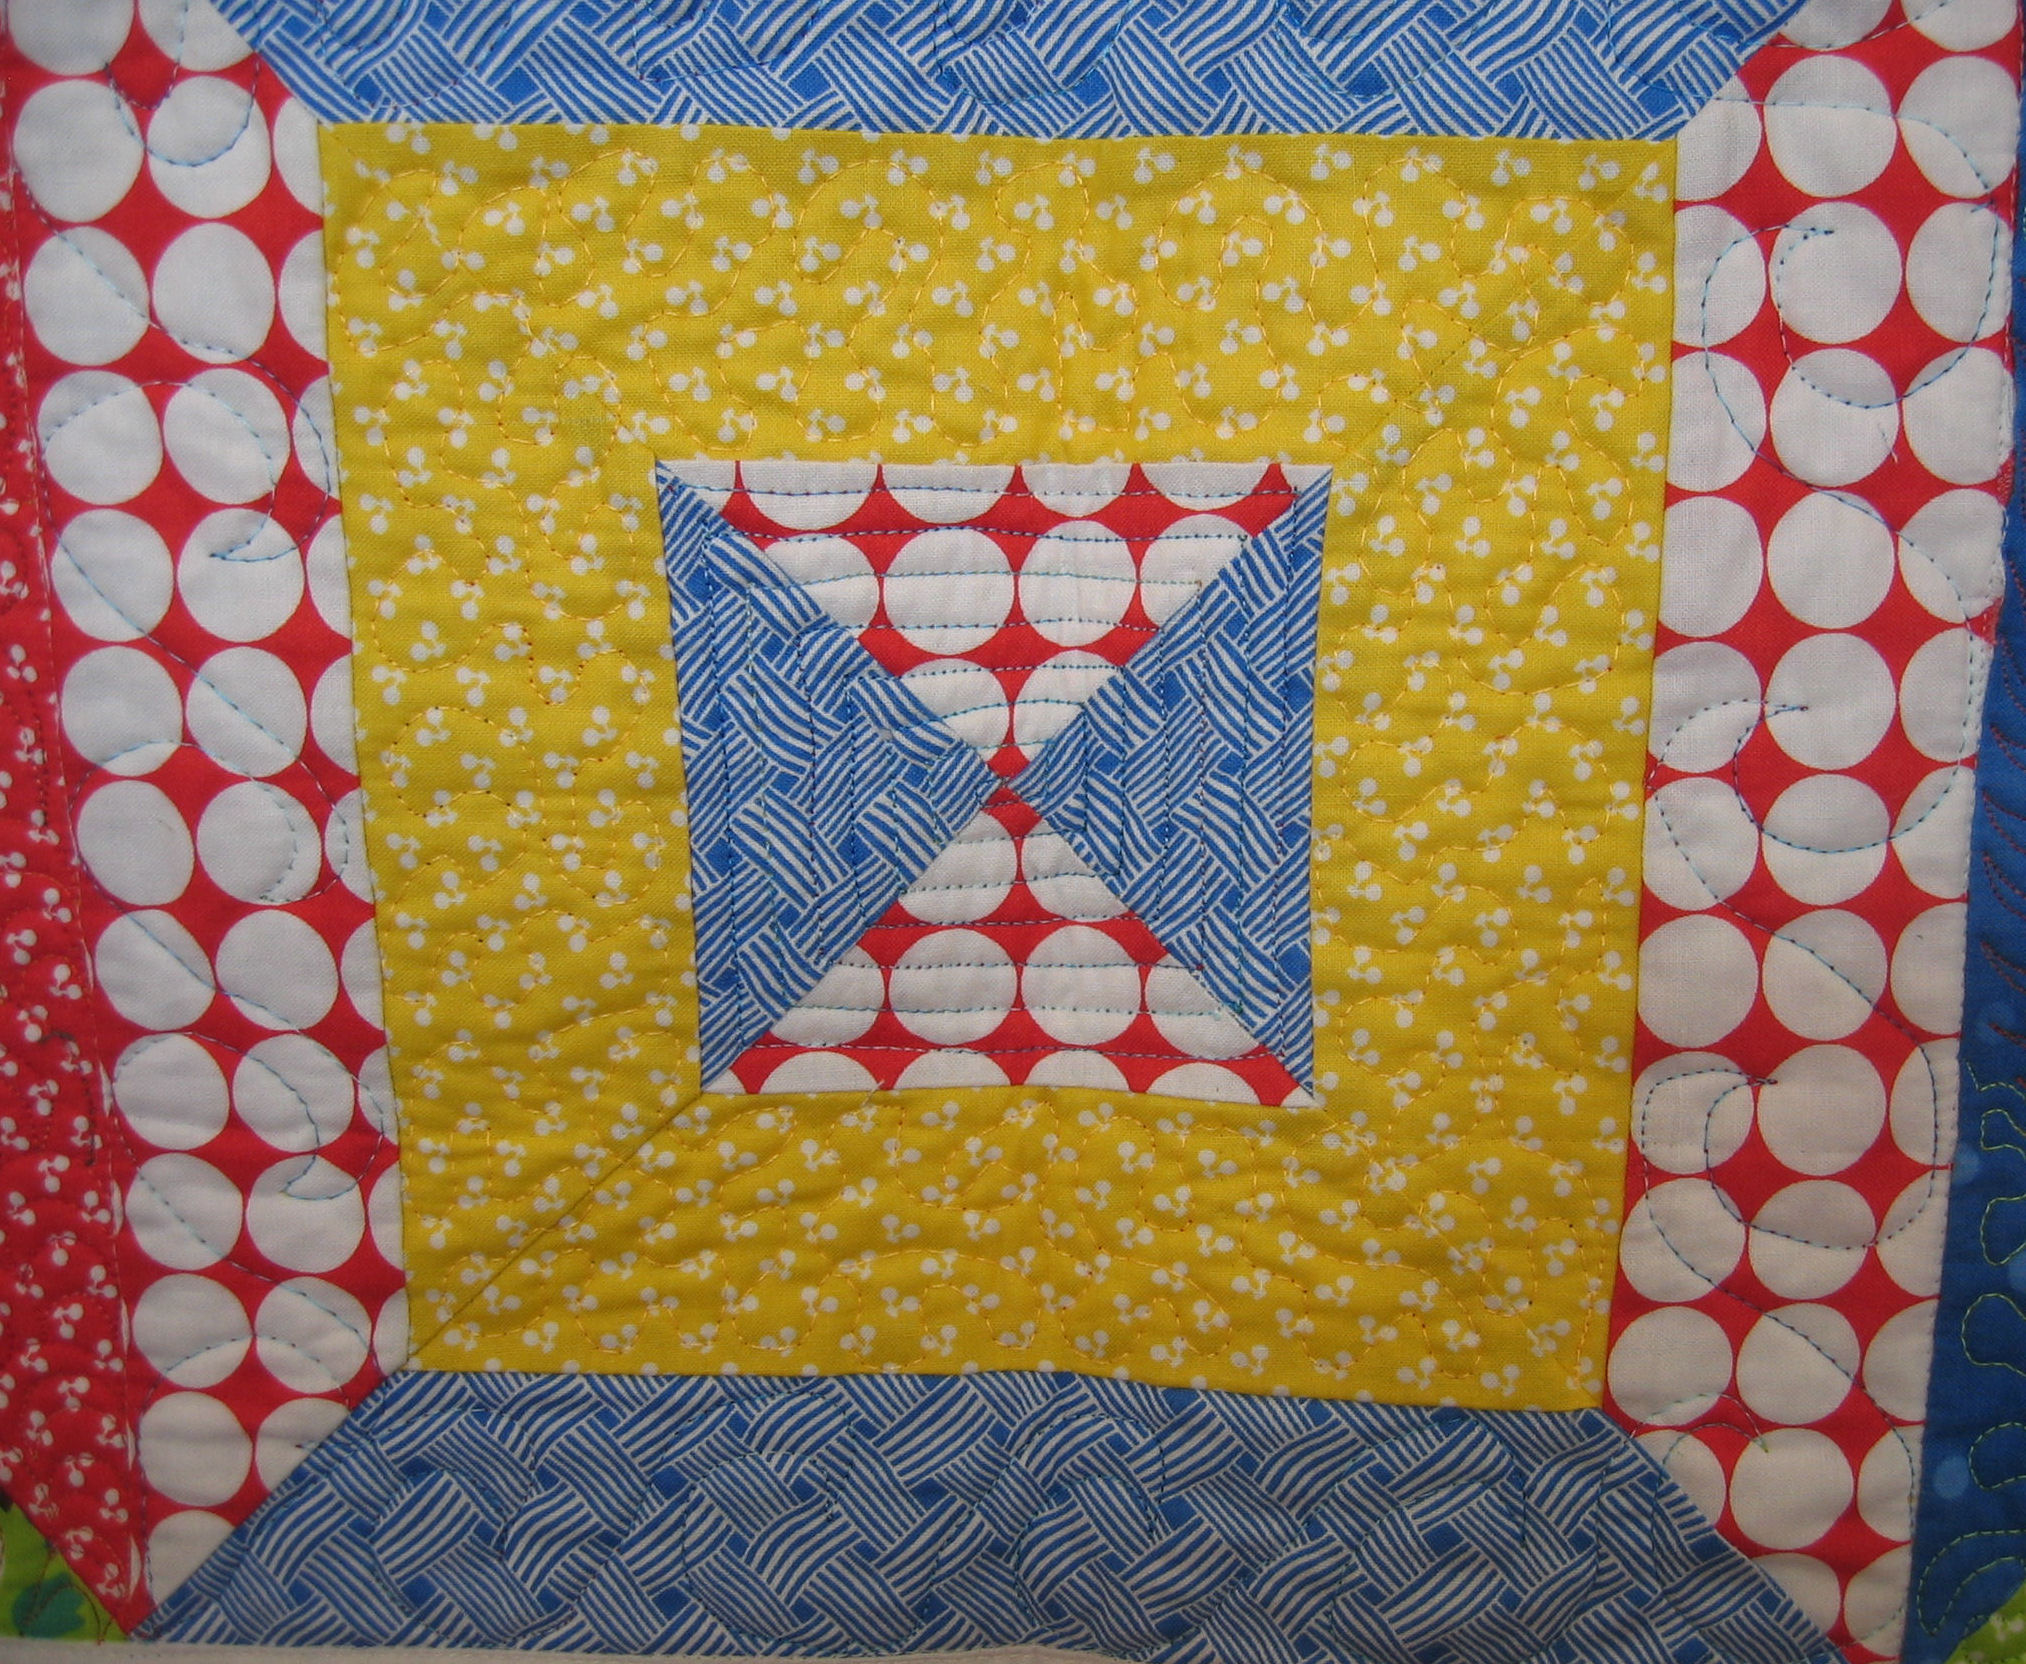
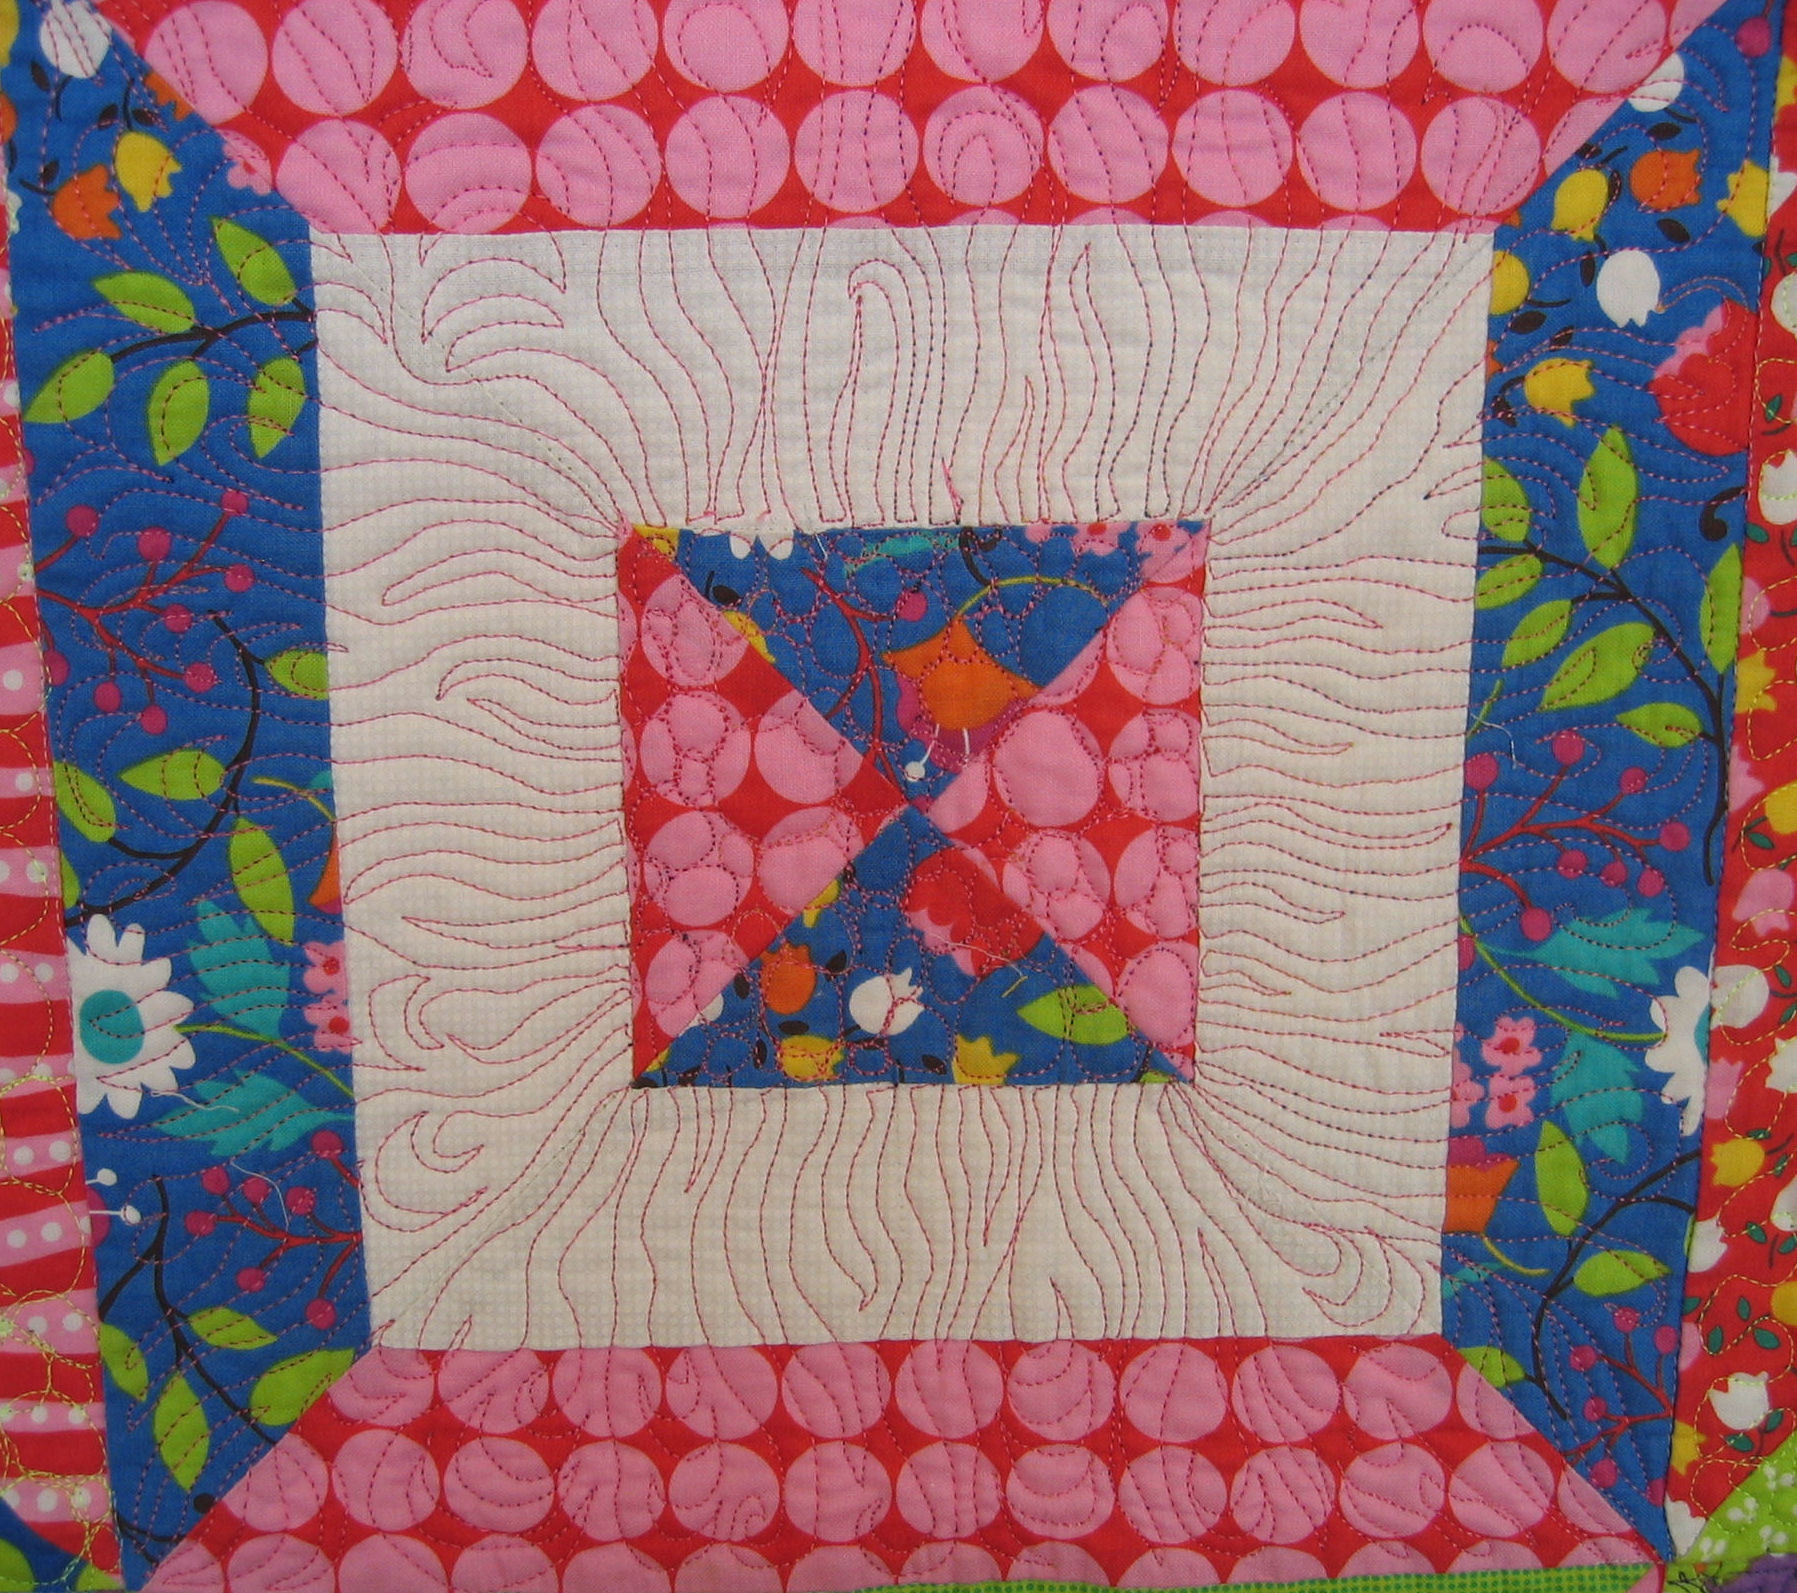
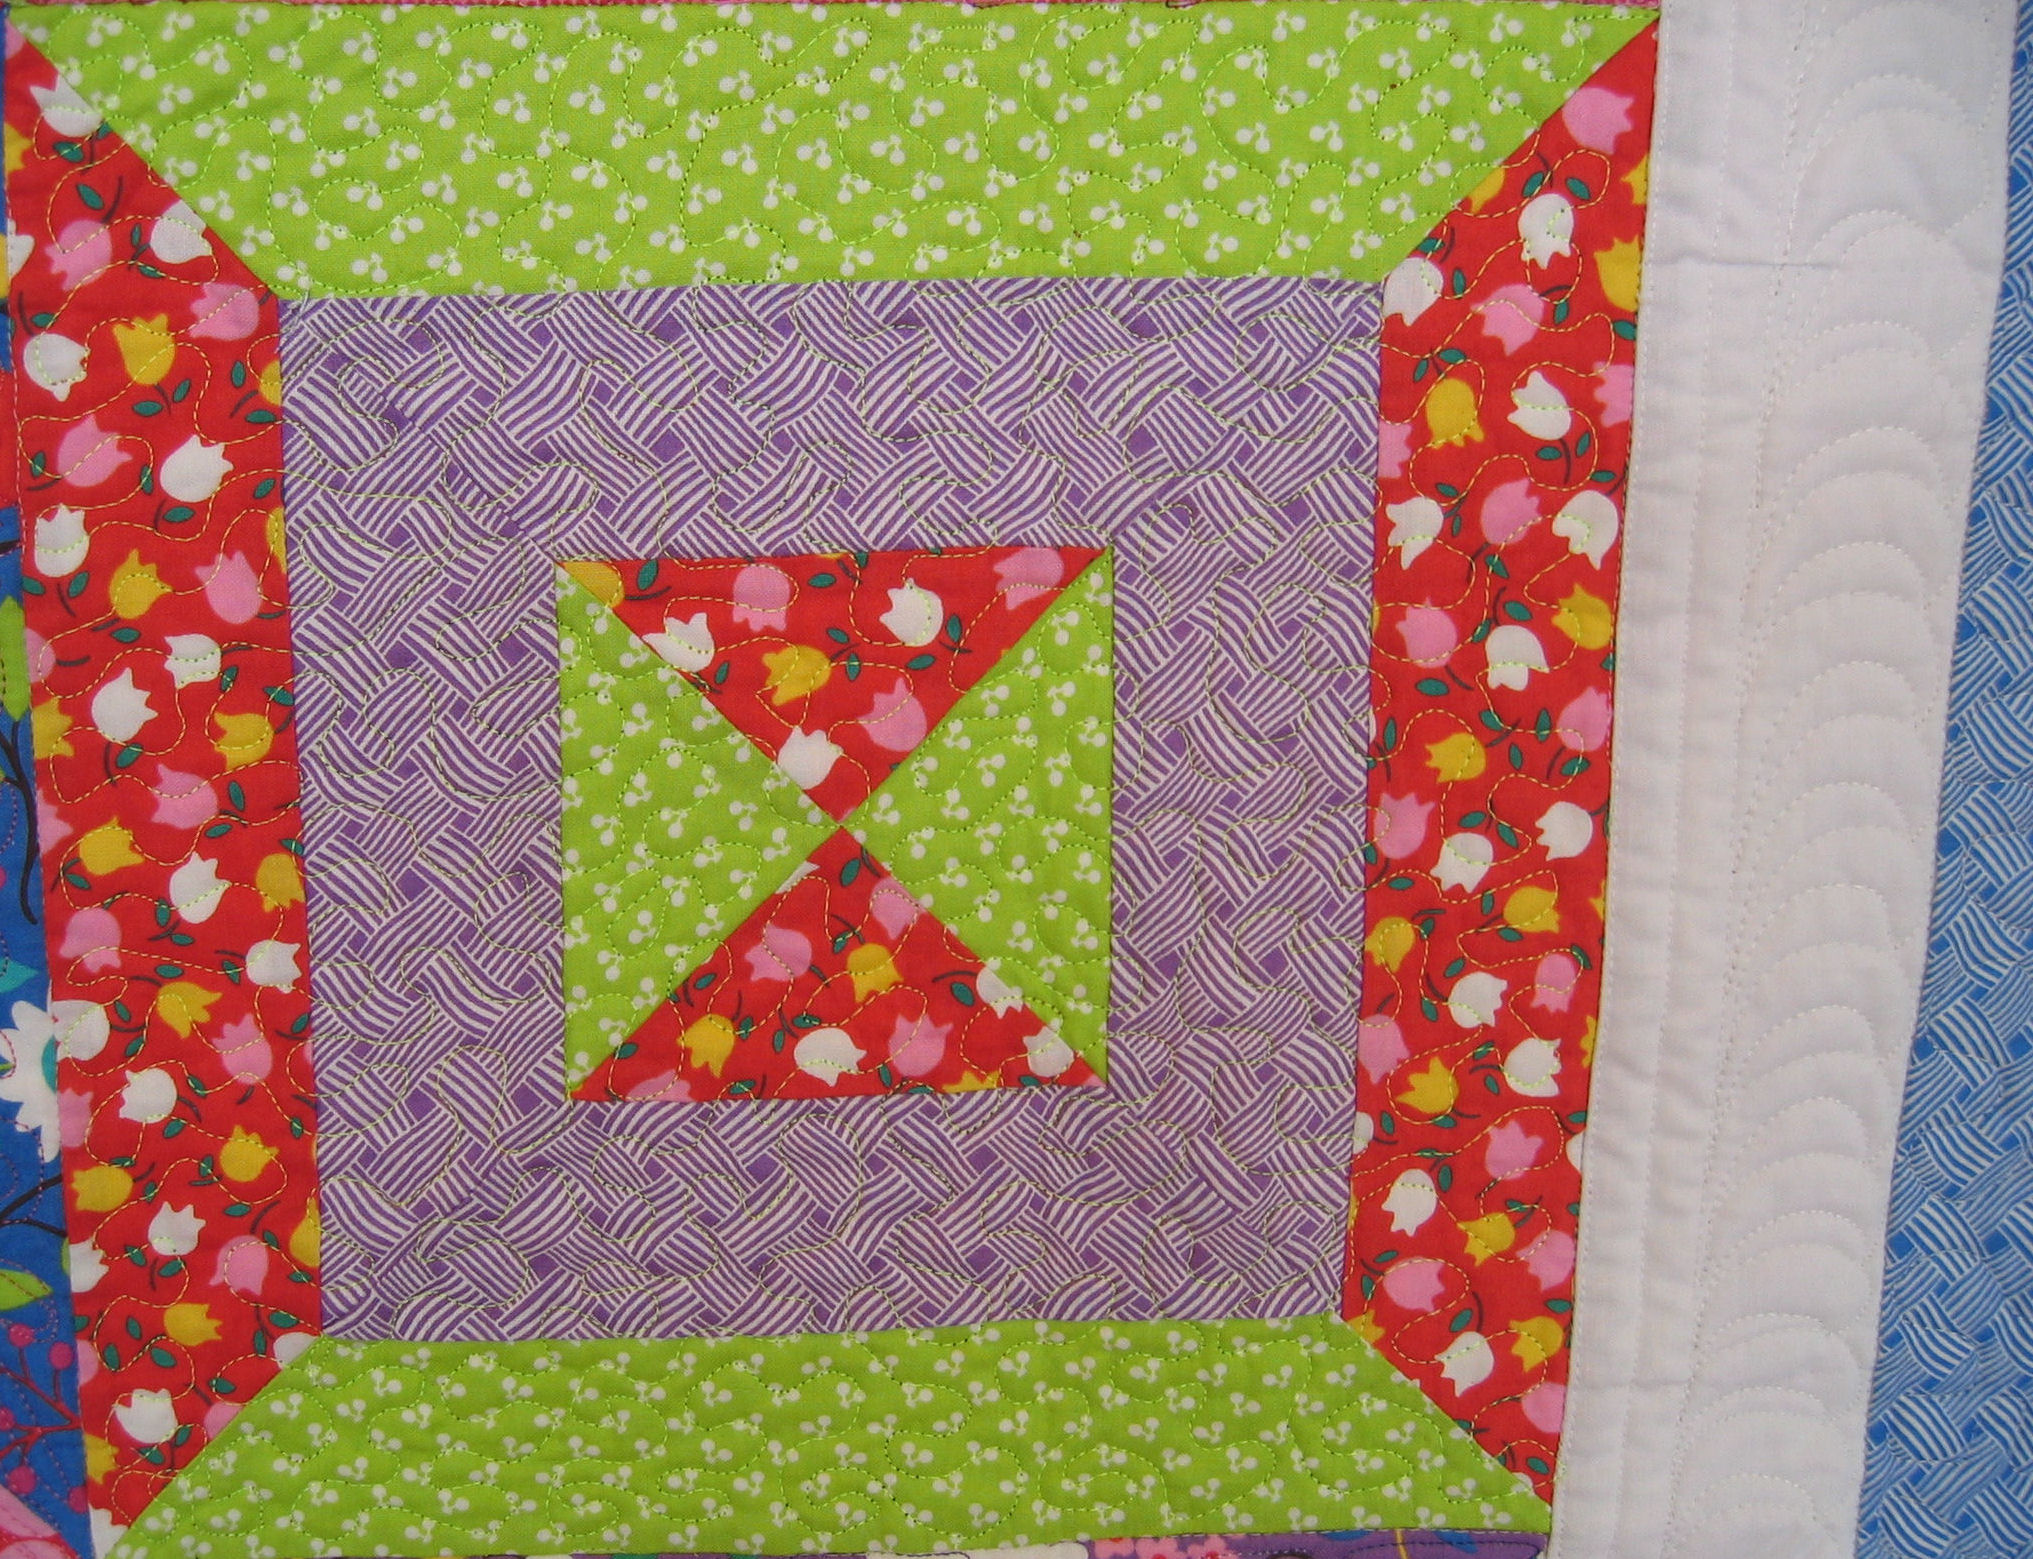
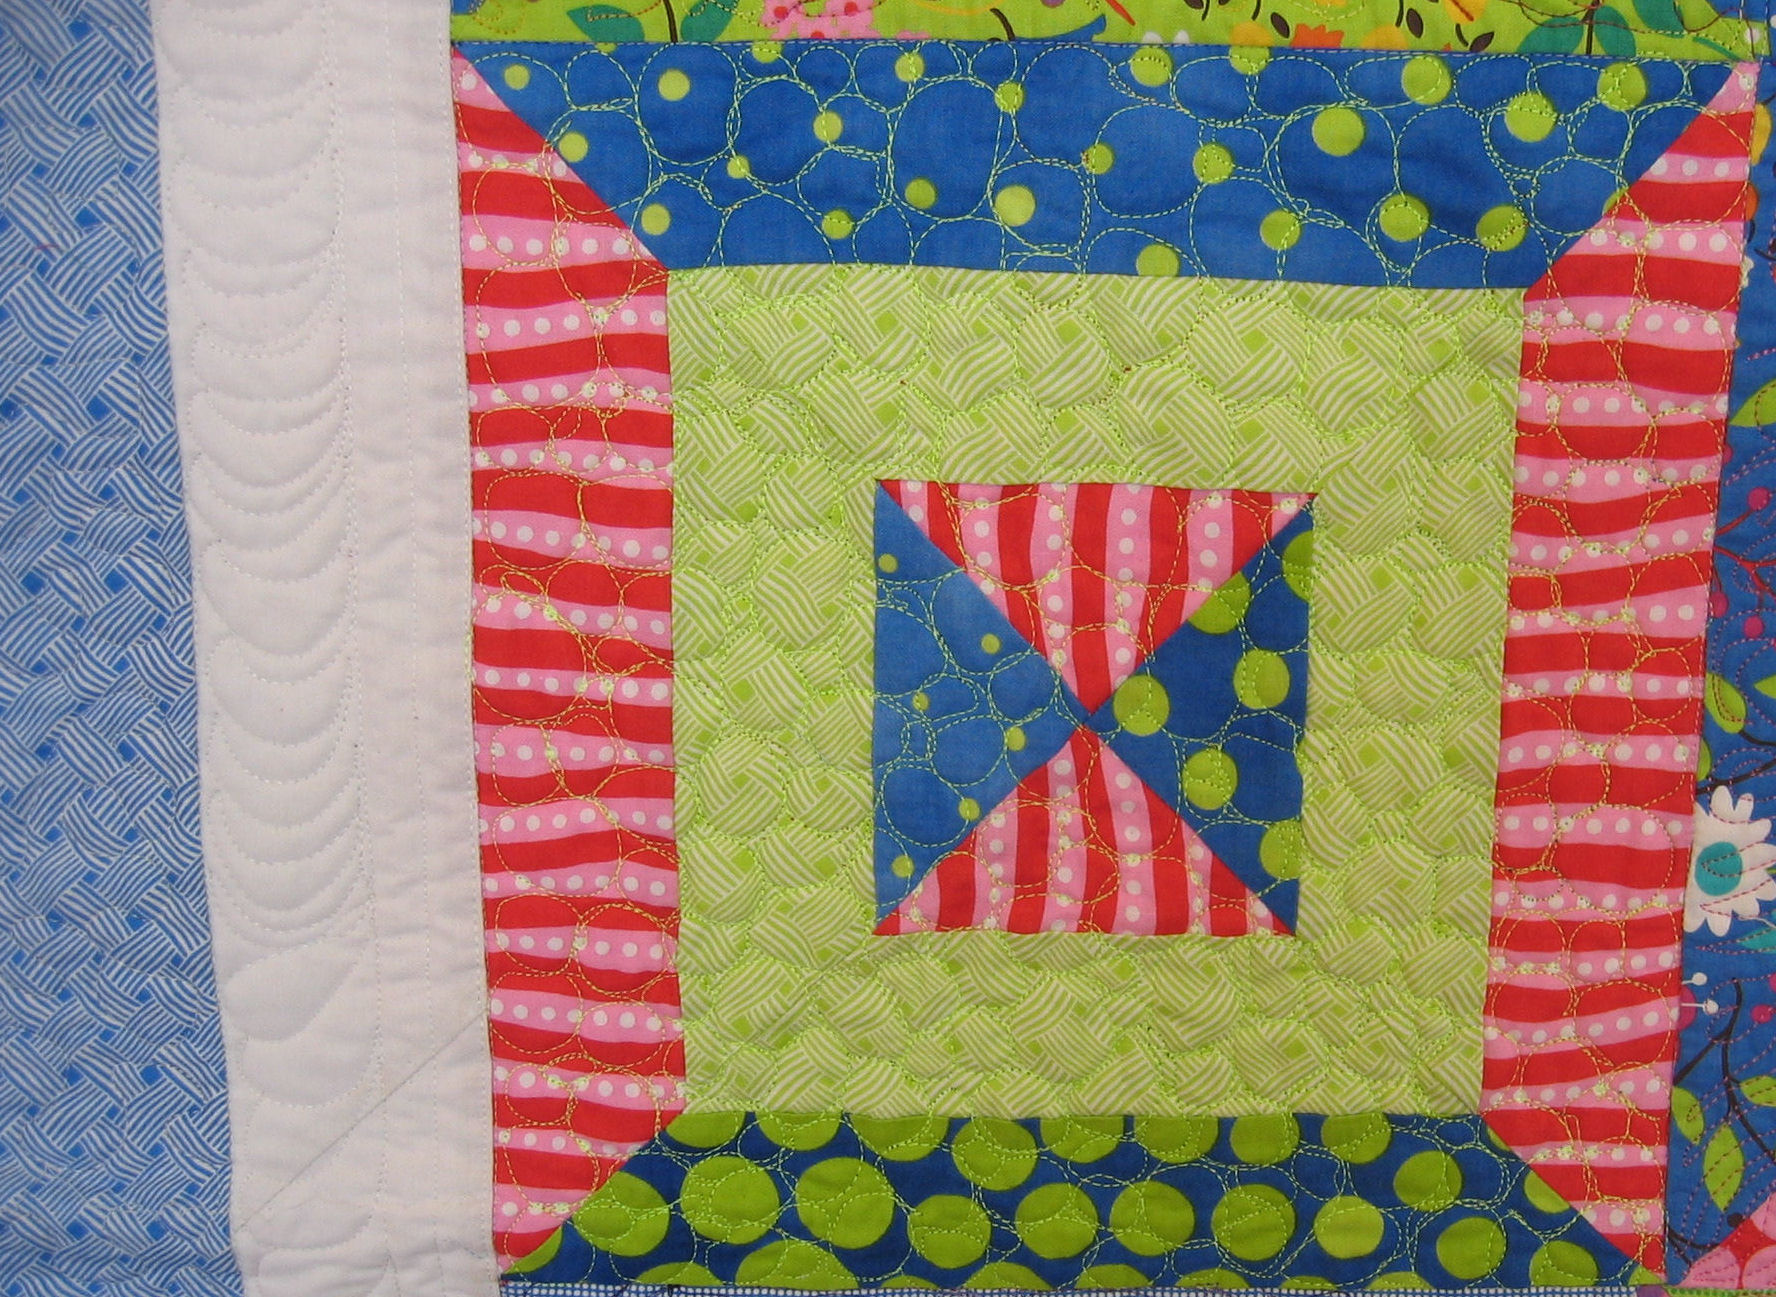
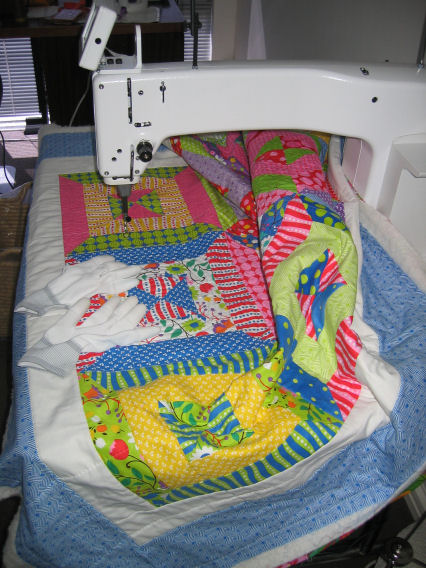
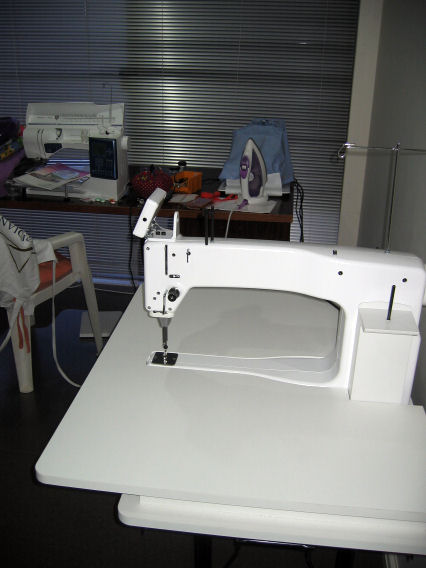
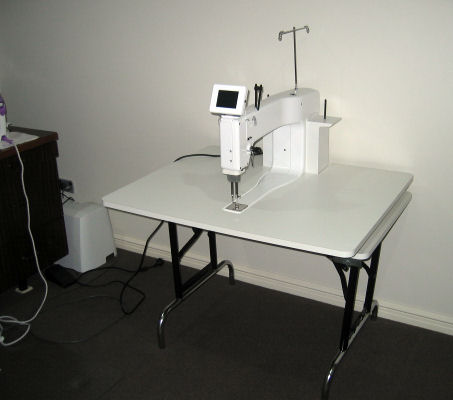
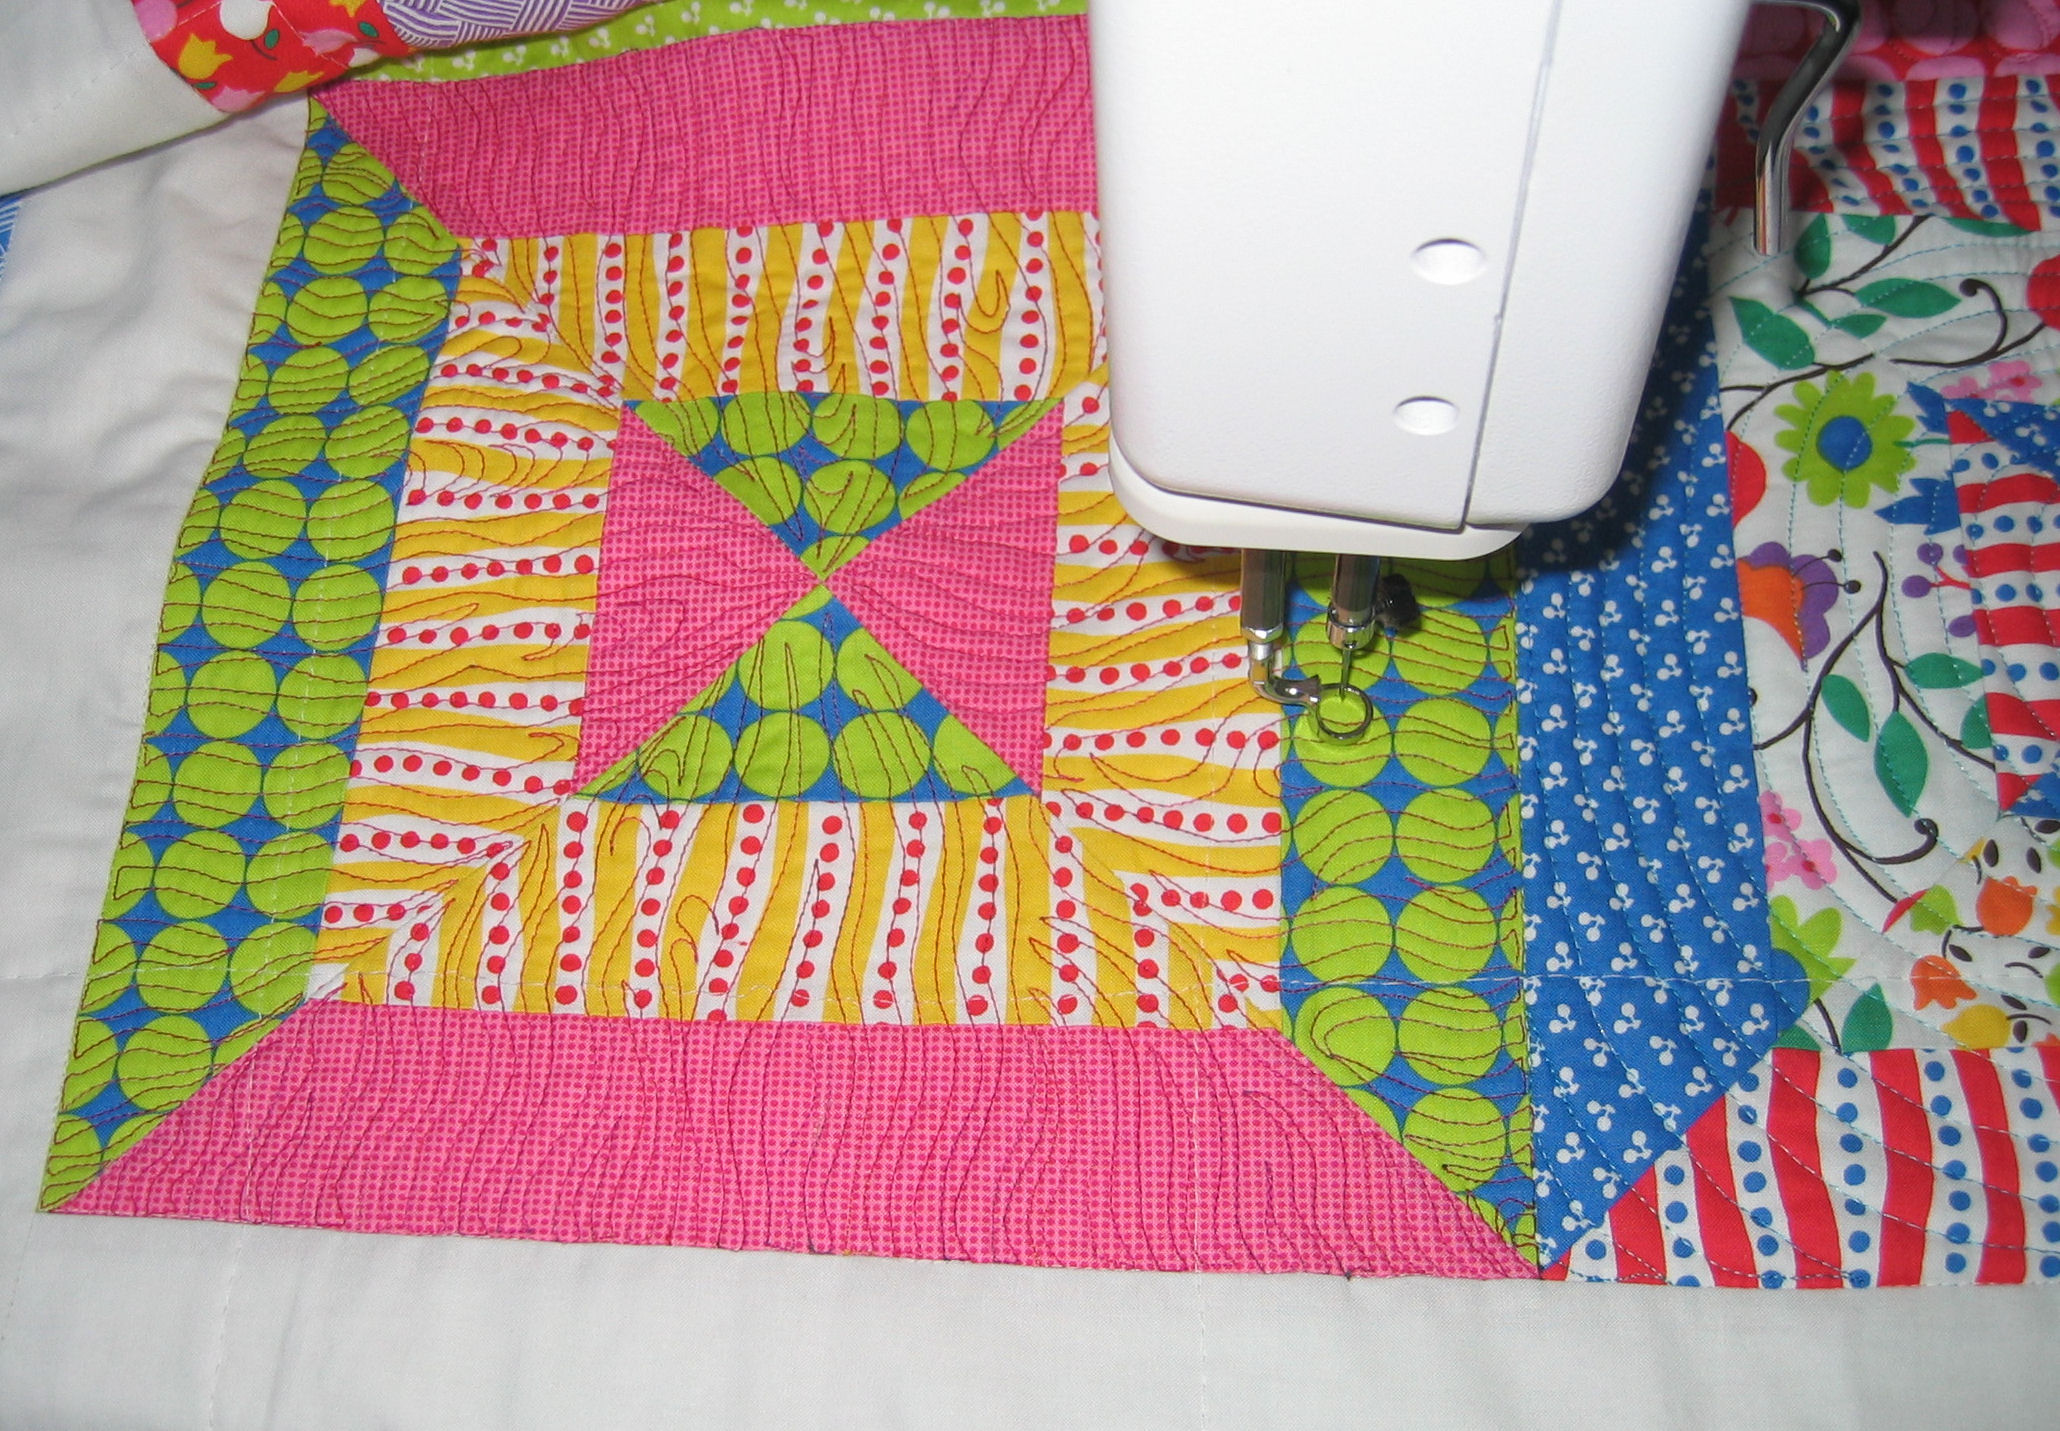
Here’s The Bee in its new home in my sewing room, and with the first largish piece I quilted using it (I did quilt another smaller piece before this one, but it’s a gift for someone who reads this blog, so I won’t post pictures of that until after the gift is delivered!) — click on a small image to see it full size, then, once it’s full size, click on it again to see it it even larger:

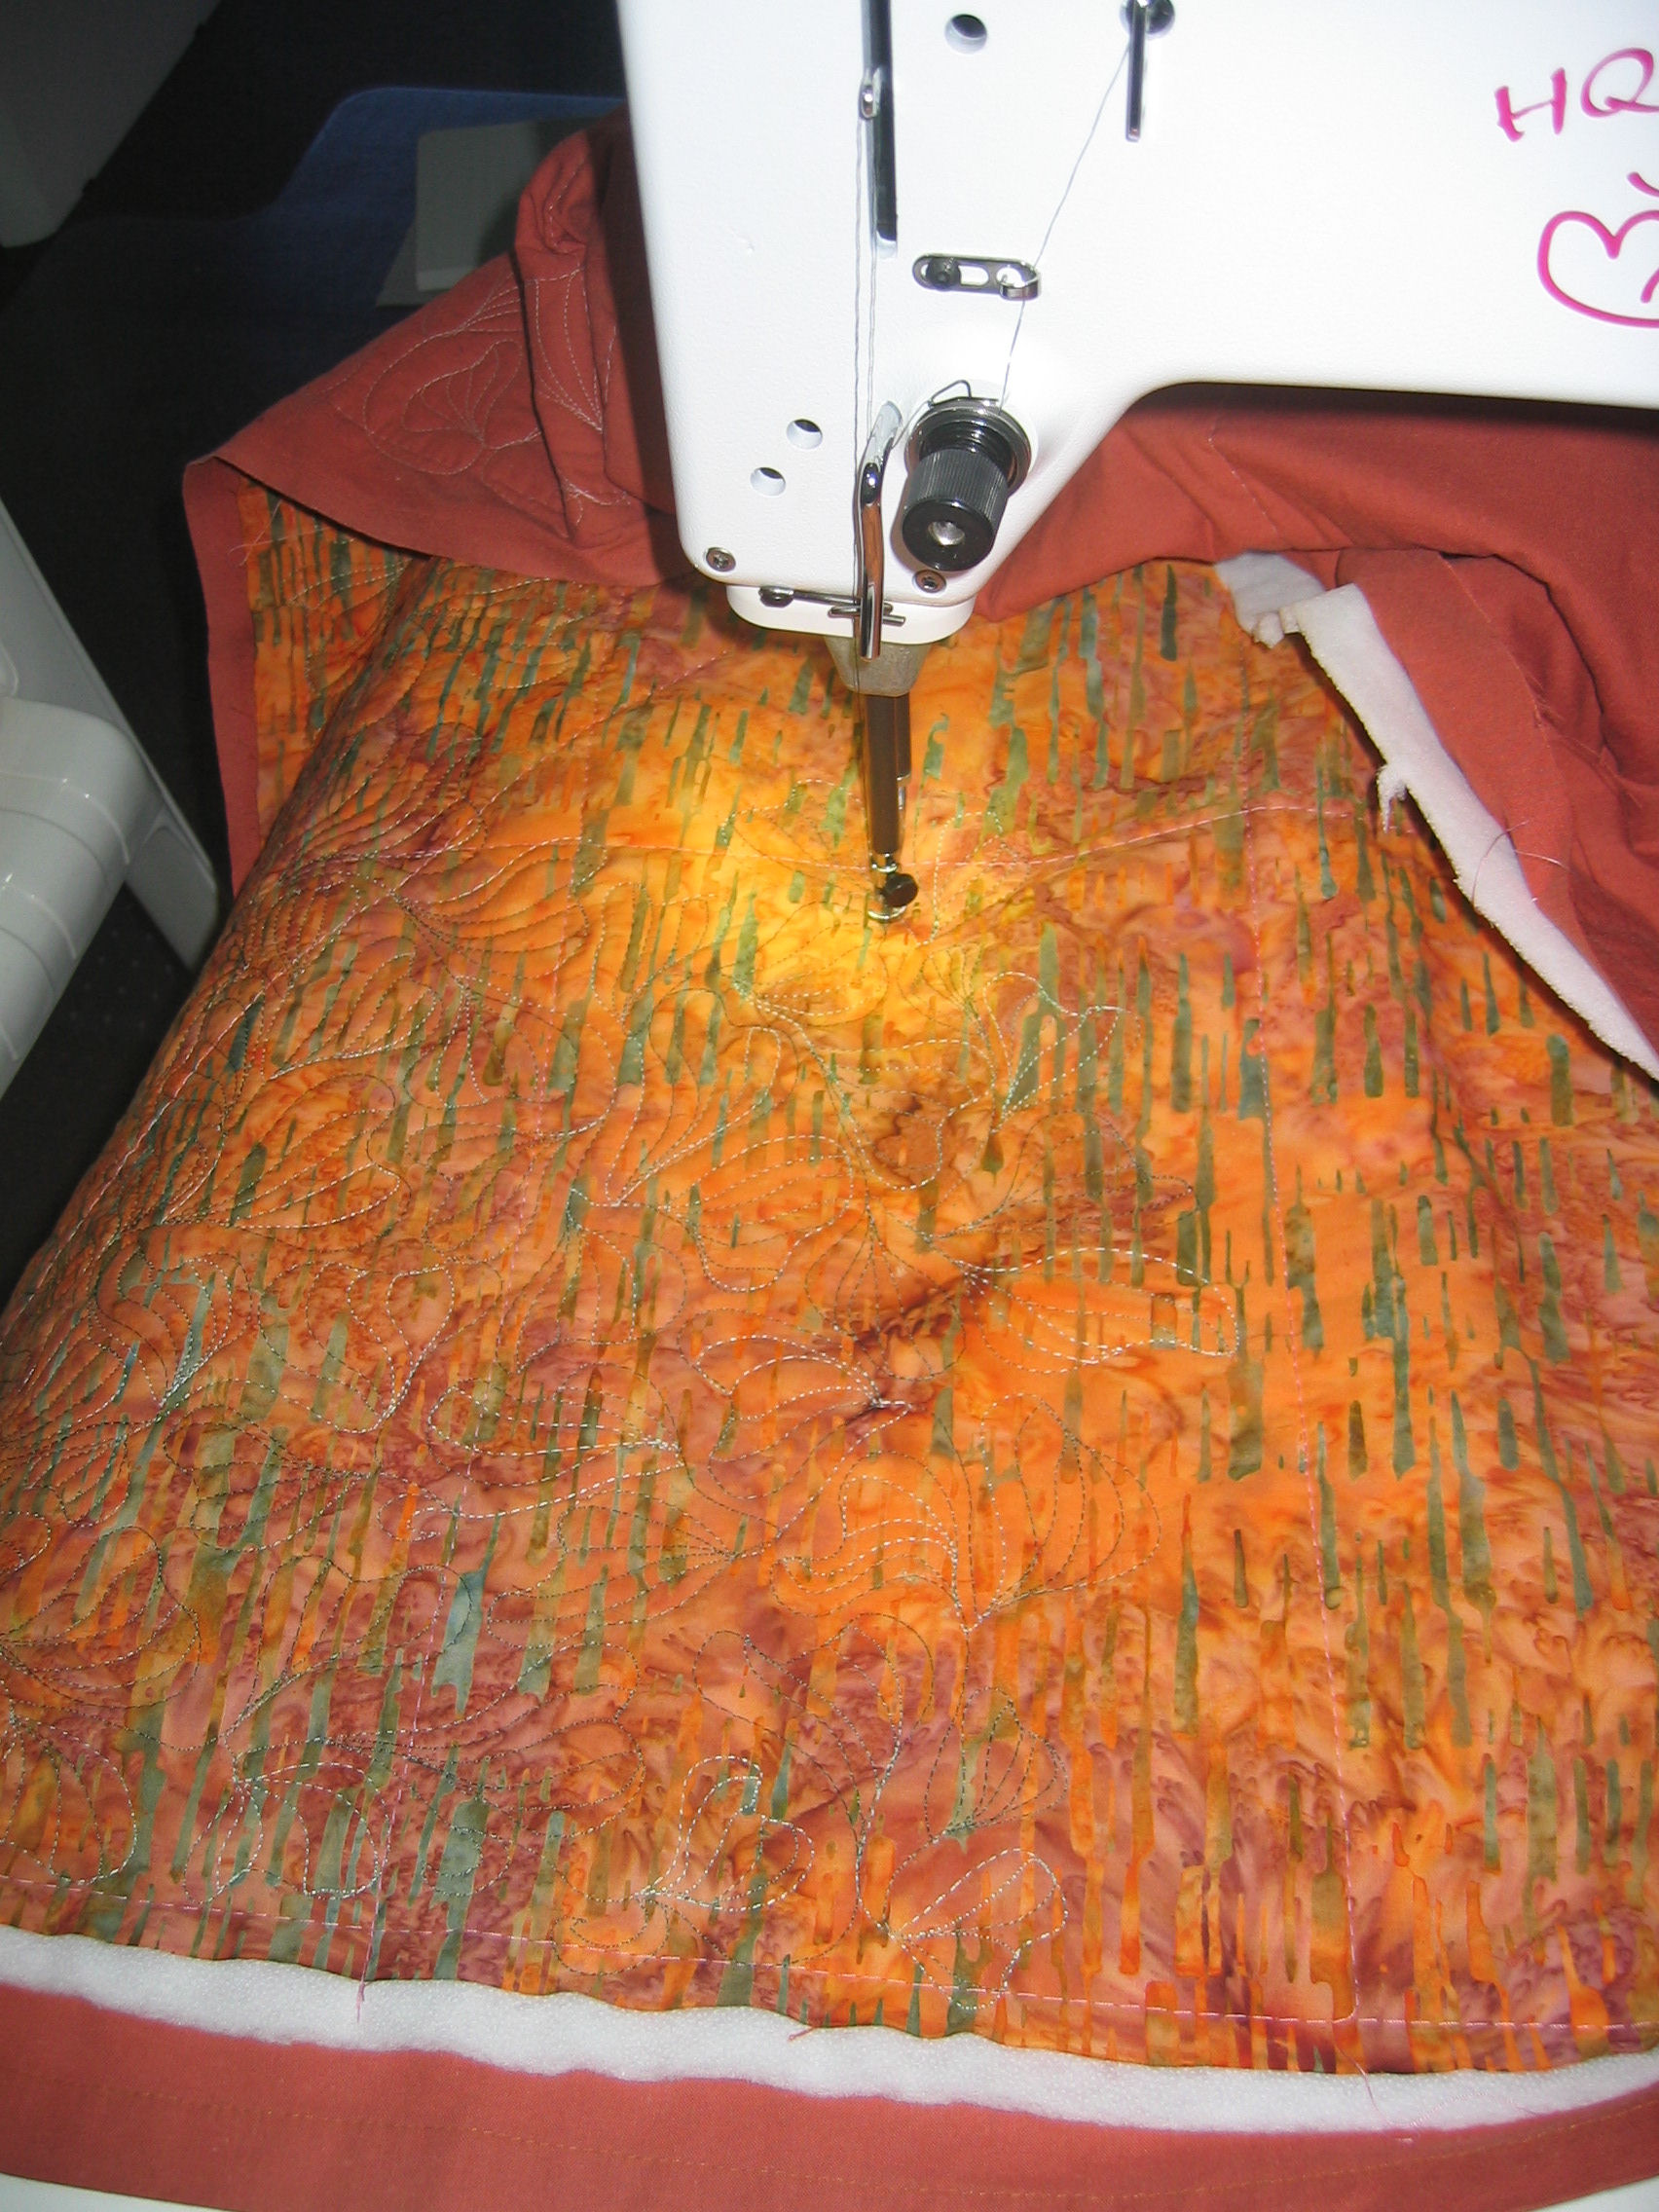
The quilting motif I’ve used on that square metre of orange batik is based on the crocus designs from Leah Day and her free motion quilting project. It’s a design I find really easy to do and is a great filler design for all sorts of large and small areas.

See also:


HQ Sweet Sixteen table

30 04 2011

For future reference… and in case anyone else has the same problem!

I’ve just purchased my ‘Beast’ — a HandiQuilter (HQ) Sweet Sixteen sit-down quilting machine. It comes with several things, including a purpose-built table.

Now this machine is big — and heavy. So it’s important that the table is stable and that the fold-out legs are fully folded out and locked into place before you put the machine into it. Sounds easy, right? Not so much…

There’s one instruction in the instruction manual for the table, which tells you to open the collapsed legs and lock them into place. That’s it.

But there’s a problem. This is one tough table and it has an exceptionally tough metal framework for the legs (and rightly so — it has to hold a lot of weight and deal with a lot of vibration over its lifetime). My dealer warned me that the legs ‘could be a bit stiff’ to lock into place on the fixed frame, and, if they were hard to lock in, to try using a screwdriver to lever the metal bits apart a little so that the hole on the collapsible arm could slot over the dimple on the fixed bit.

So late yesterday afternoon I unpack the table and put it on its back. I open out the legs and try to snap them into place to lock them. Nope. After a few tries, I get a screwdriver and try that. Still no joy. All that’s happening is that little flakes of black paint from the metal are coming off. I ask my husband to help me (he’s much bigger and stronger than me). Between us all we get is frustration. I go out to the shed to get the BIG screwdrivers to see if we can get more leverage. After about 45 minutes trying to get these legs locked away, we give up and agree to try again this morning.

At 5 am this morning (I woke at 4 am and all sorts of ideas for this table were running around my head…), I email my friend who has one of these machines and tables, as well as Michelle, the HQ dealer I bought the machine from. I also post a request to the Yahoo! group for owners of this machine to see if anyone there can offer any ideas.

A couple of hours later my husband gets up. I’ve had a suggestion from the group to try WD-40. My dealer emails me about some of the problems she’s had and how she’s had to kick the legs into place on some of the tables (about 10 kicks before they locked in!). My friend calls me and tells me her husband is coming home from his mine site this morning and she offers his assistance (he’s put together and taken her table apart at least twice). So I call him and arrange for him to drop into our house on his way home (we’re about halfway on his 3-hour drive).

Meantime, my husband’s now properly awake. I mentioned to him that I thought a block of wood might help to pry these metal arms open a couple of millimetres, but I discovered that the design of the arms is such that that’s not going to work (it sounded good in my head at 4 am!). I also mentioned the WD-40 option, and that my friend’s husband would be dropping in a few hours. So off my husband goes to the shed. He comes back with CRC, a block of wood (4×2), and a rubber mallet!

Back we go into my sewing room, where he lightly sprays the area (the dimple on one arm and the corresponding hole on the other) with CRC. Then he places the wood at the bend where the two bits need to lock in and become straight. I hold on to the other end of the wood block and he gives it a decent thump with the rubber mallet. It moved! Two more hits and it was locked away. We did the other set of legs and it was done!

So for anyone else having the same problem with their HQ Sweet Sixteen table’s legs, save yourself some time and frustration and have to hand a block of wood, a rubber mallet, and some CRC (or WD-40) before you start. I’m not sure which of those three items was the critical one — I suspect it was a combination of all three.

Thank you to Michelle for her suggestions, to Bobbie for offering Brian to us (it was nice to see him!), and to the Yahoo! group for their suggestions.

Update: There’s a video on HandiQuilter’s Facebook page about locking the legs in place: http://www.facebook.com/video/video.php?v=10150165136526966. However, we did this and it still didn’t work for us…


Gender-neutral cot quilt

25 04 2011

Some time back I received a set of charm squares (5 and 10 inch) and matching 2.5 inch strips as part of a promotional ‘gift’ for subscribing to a quilting magazine. I never figured out what to make with all this fabric and, over time, I’ve used parts of it for some of the travel accessories I make and sell on Etsy — luggage tags, luggage handle wraps, luggage straps and the like (http://www.etsy.com/shop/RhondaMadeIt?section_id=6122839).

I hadn’t touched the pack of 40 five inch squares. Until now.

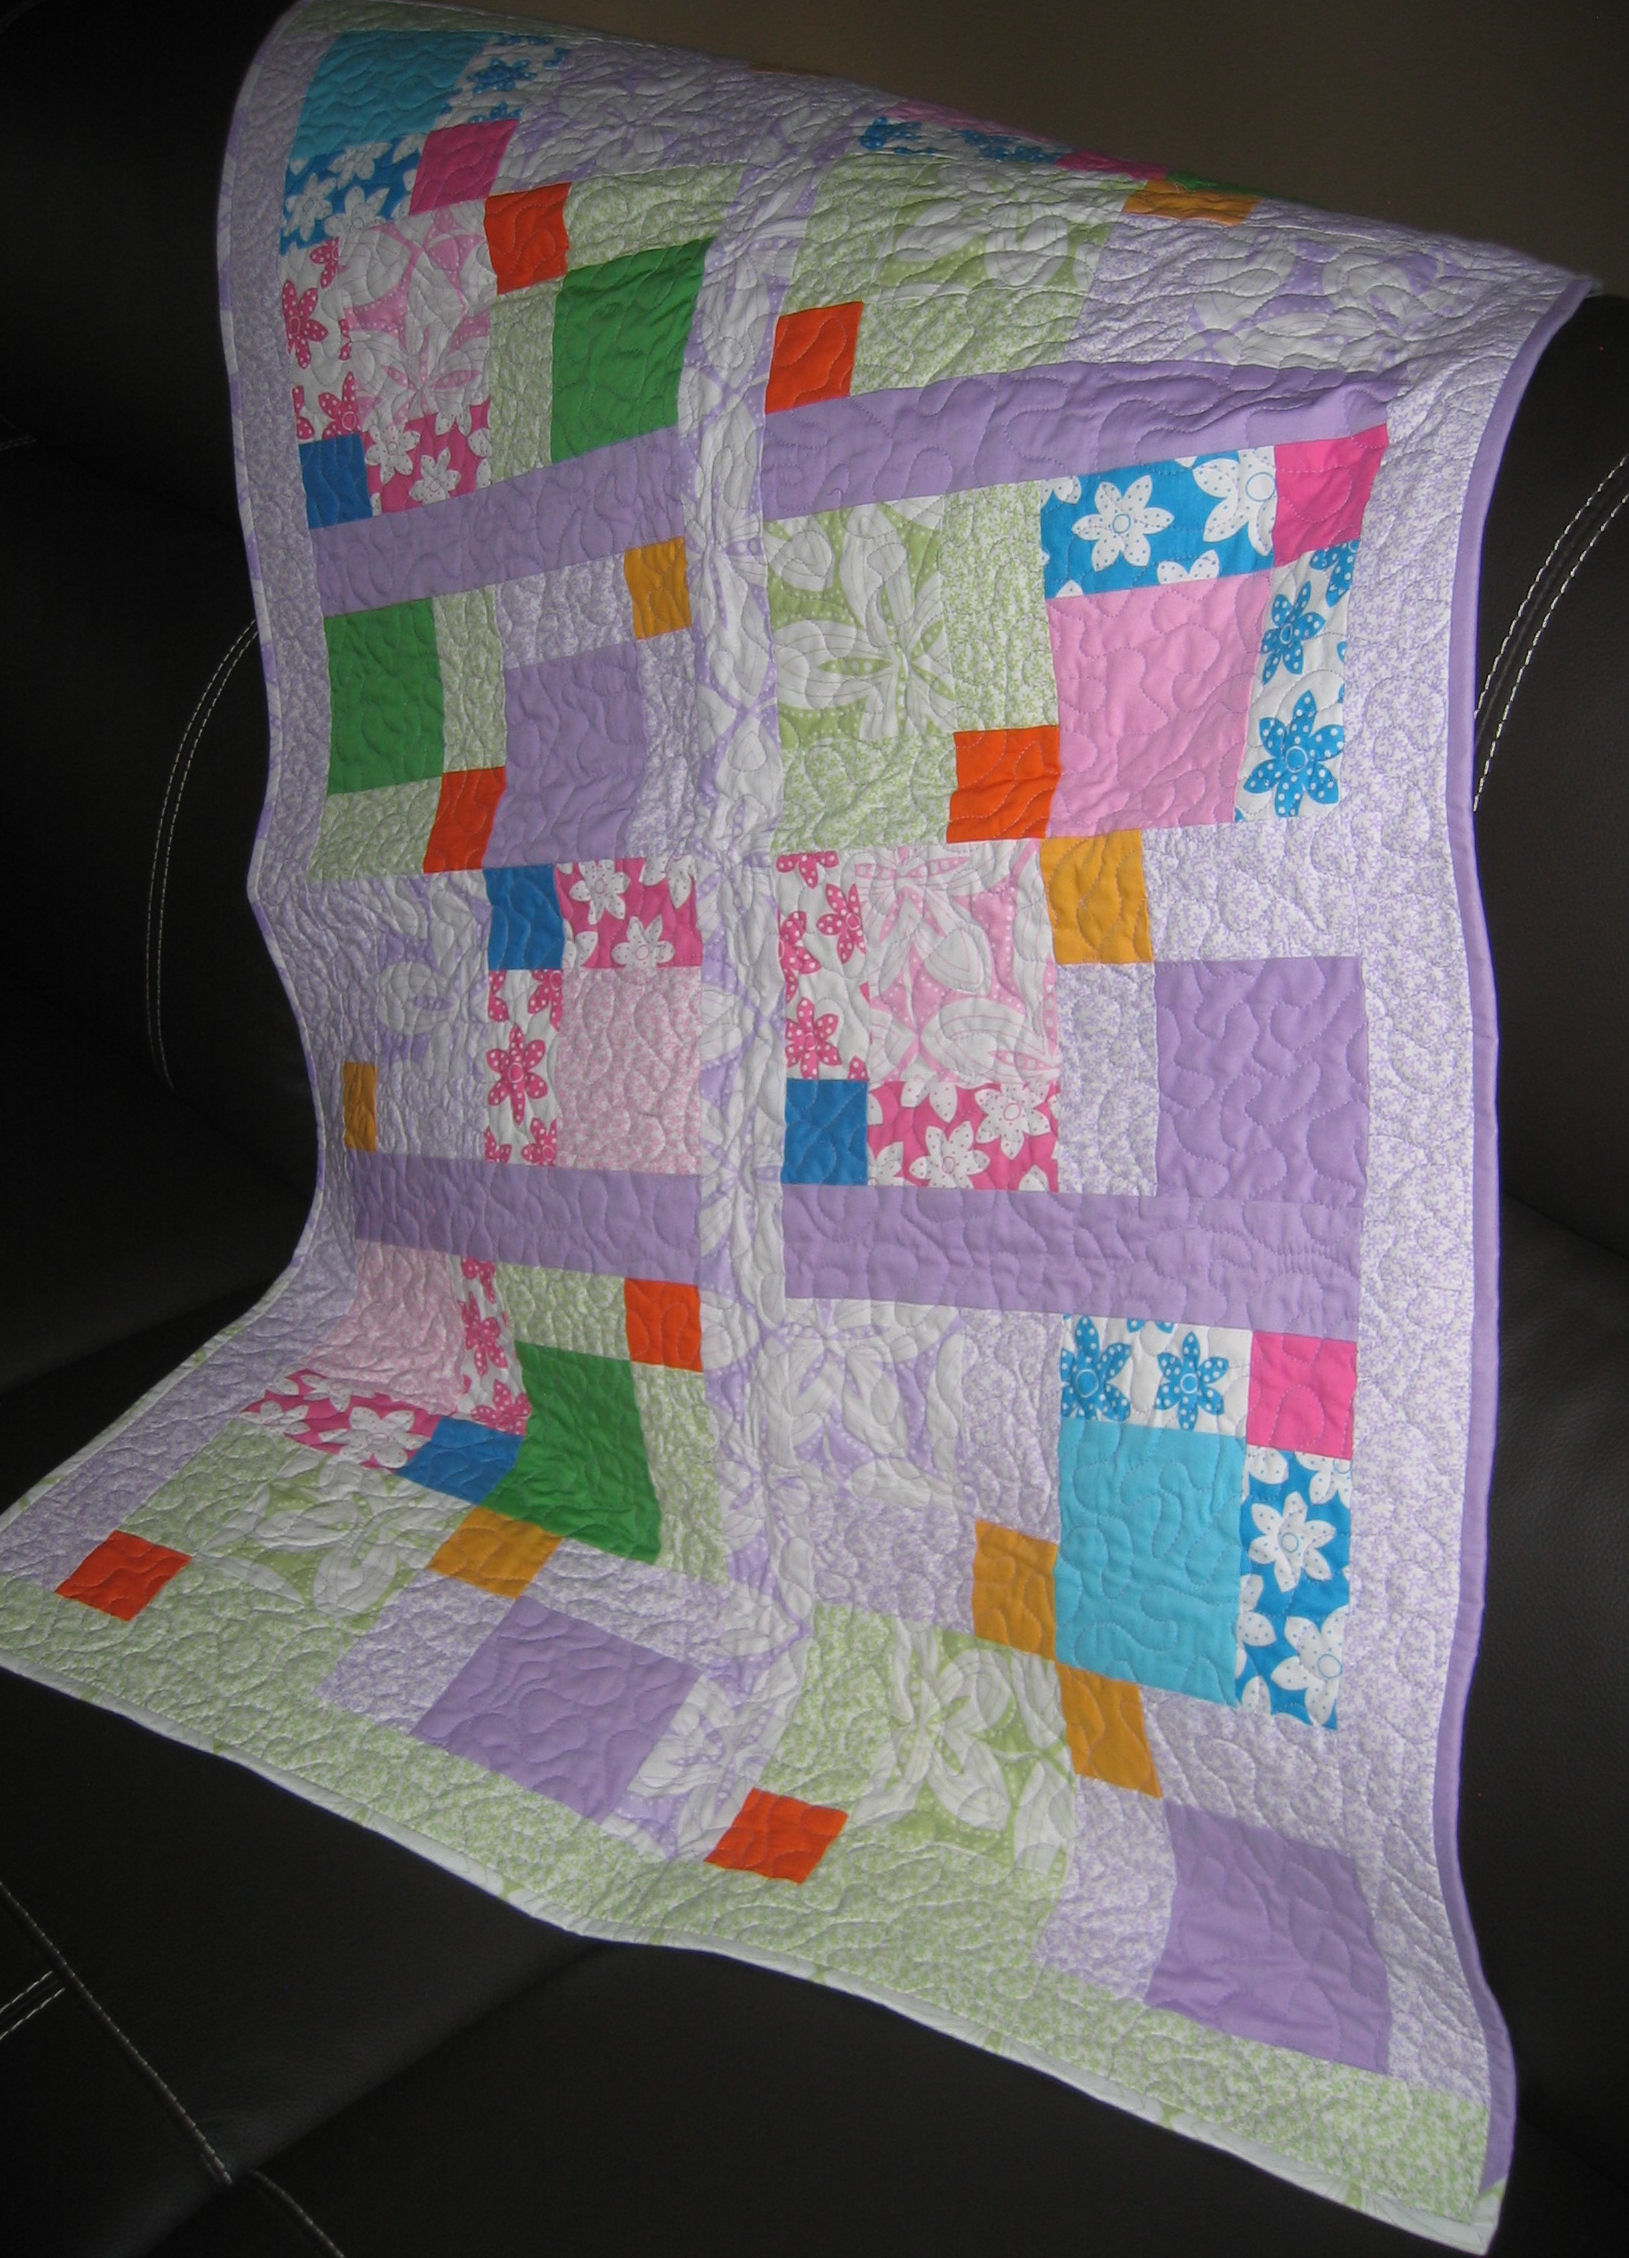
I decided to make a gender-neutral cot quilt out of them, using mostly the lavender and soft greens, peppered with some of the pinks and blues and the occasional orange.

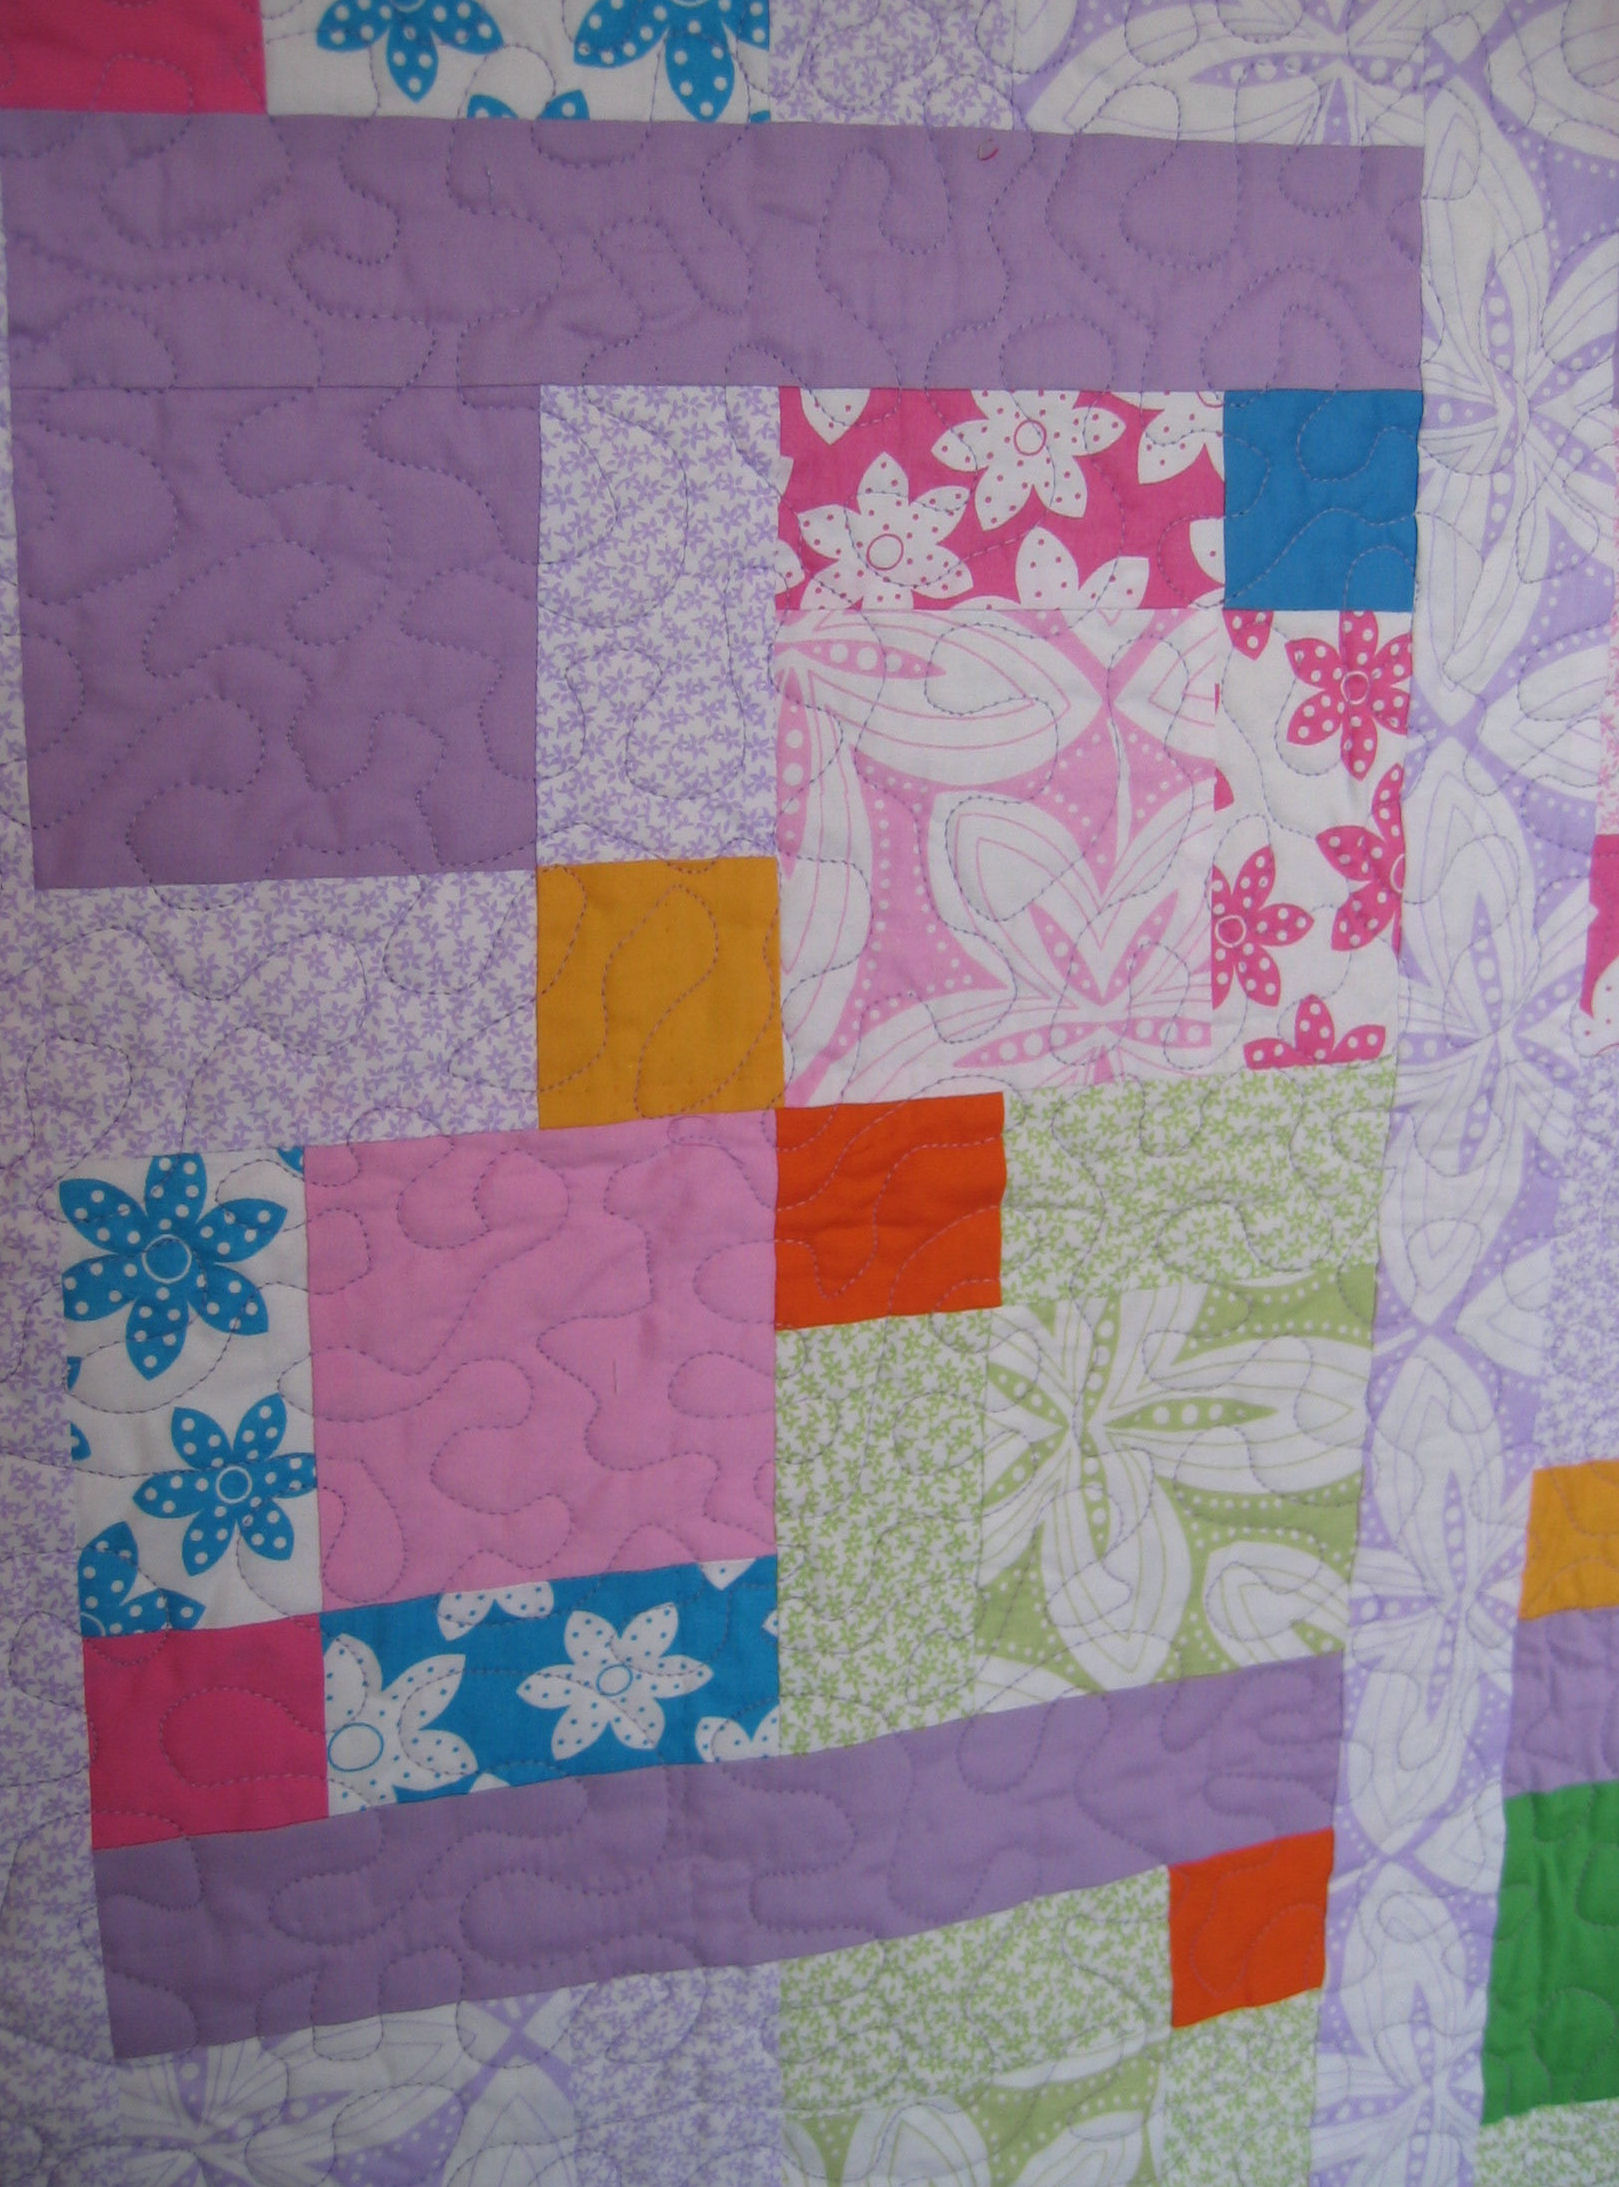
I used a disappearing nine-patch technique and then mixed up the blocks to give a more random appearance. I separated each set of four blocks with sashing strips in the lavenders and greens, added batting and a purple backing fabric, then free motion quilted the entire cot quilt in a large meandering stitch, using lavender thread top and bottom. The binding is a mix of the remaining lavender and green fabrics.

I’ve now added this pastel, gender-neutral cot quilt to my Etsy store: http://www.etsy.com/listing/72831508/lavender-and-green-gender-neutral-cot

Click on a small photo below to show it full size, then click on it again in full size mode to zoom in to see the stitching.


Bright jelly roll lap quilt – finished

25 04 2011

I’ve finally completed some of the projects that were still outstanding from when I returned from the Eleanor Burns Quilting Academy in California last month.

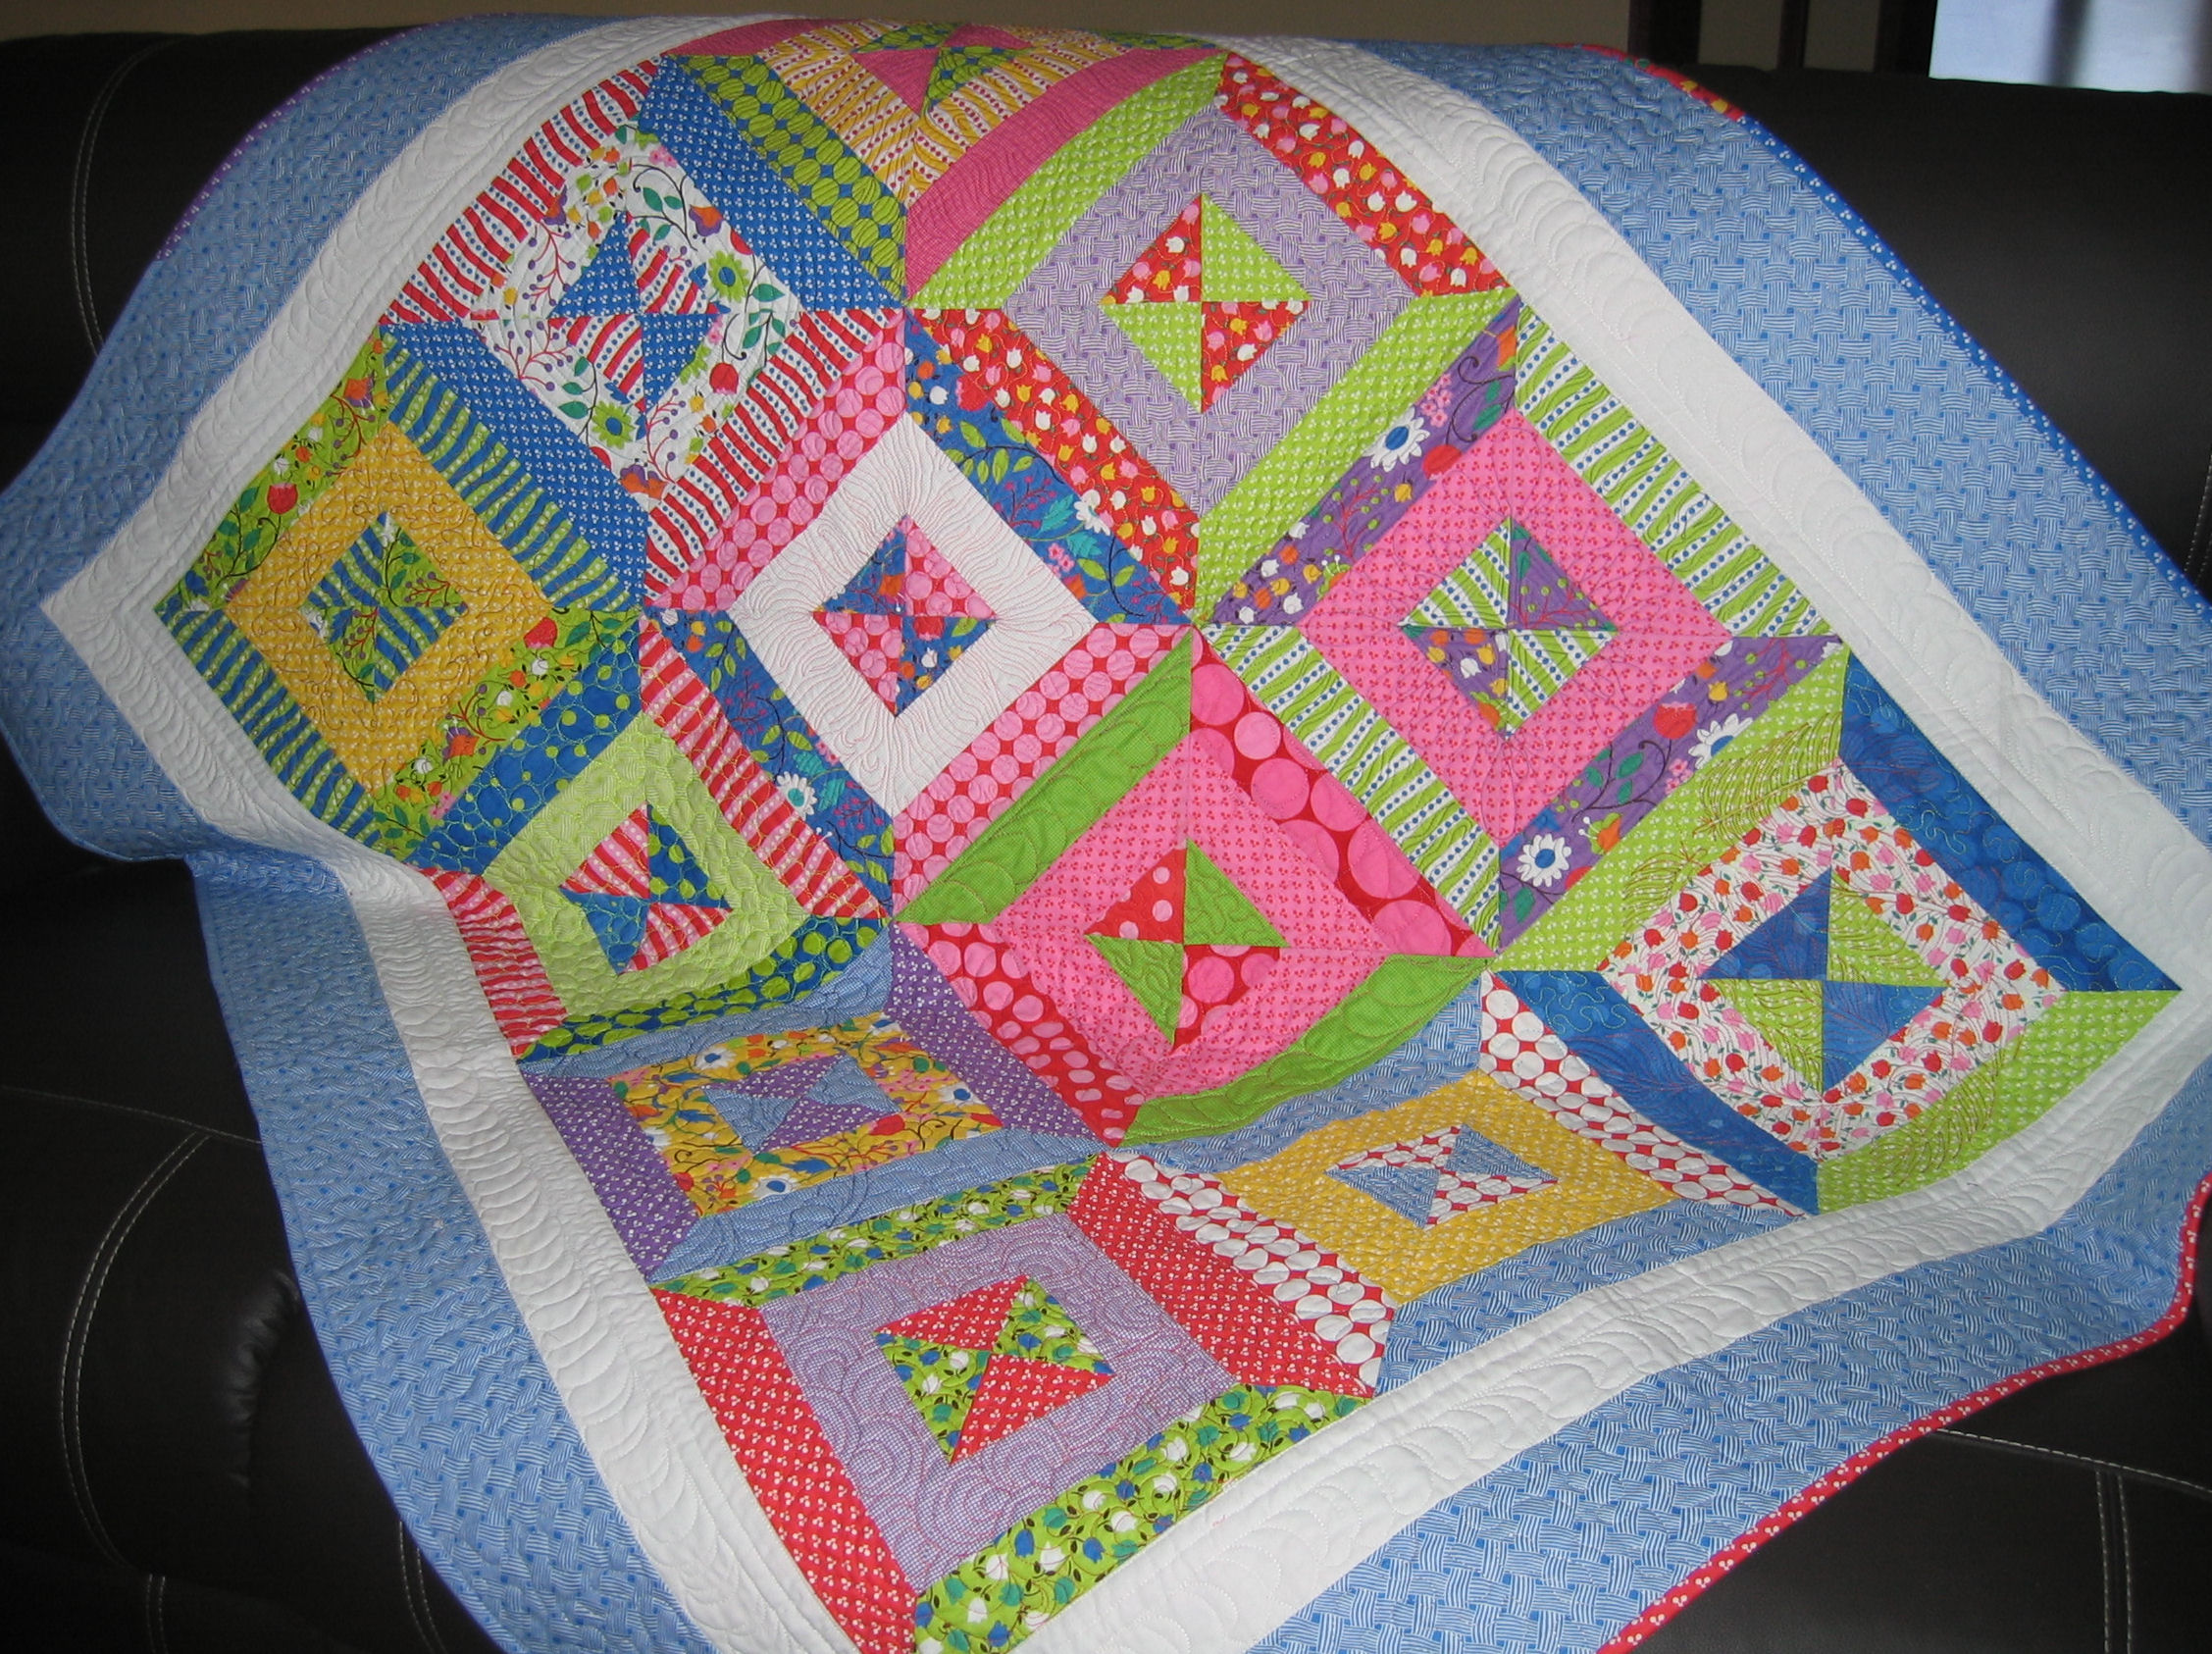
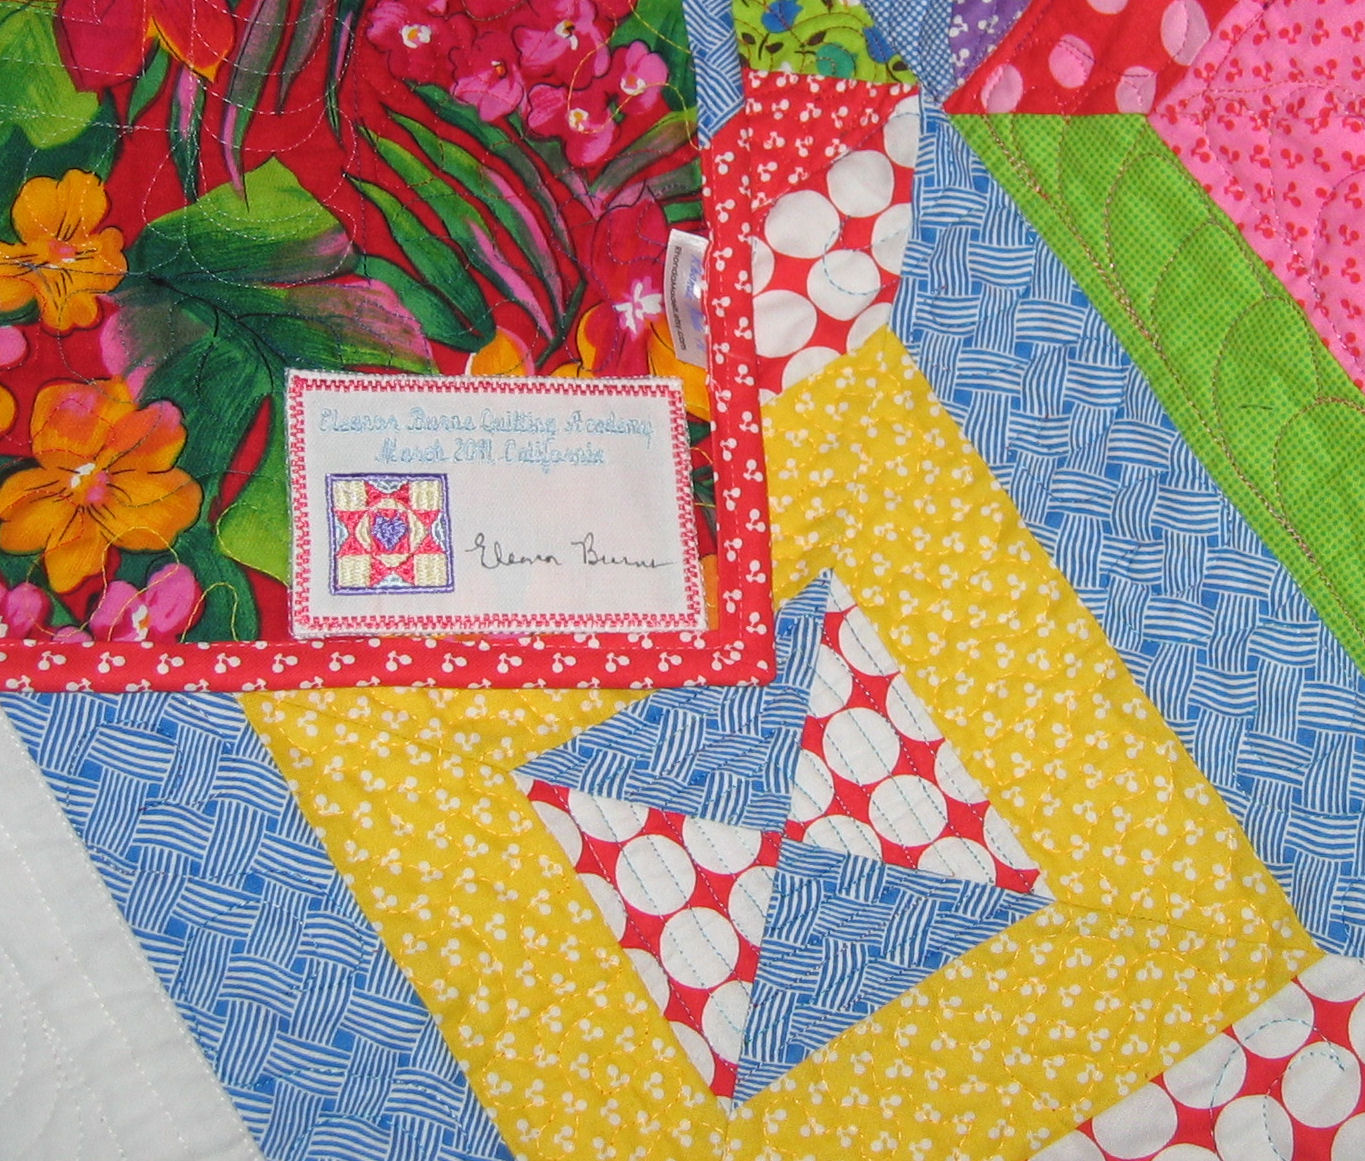
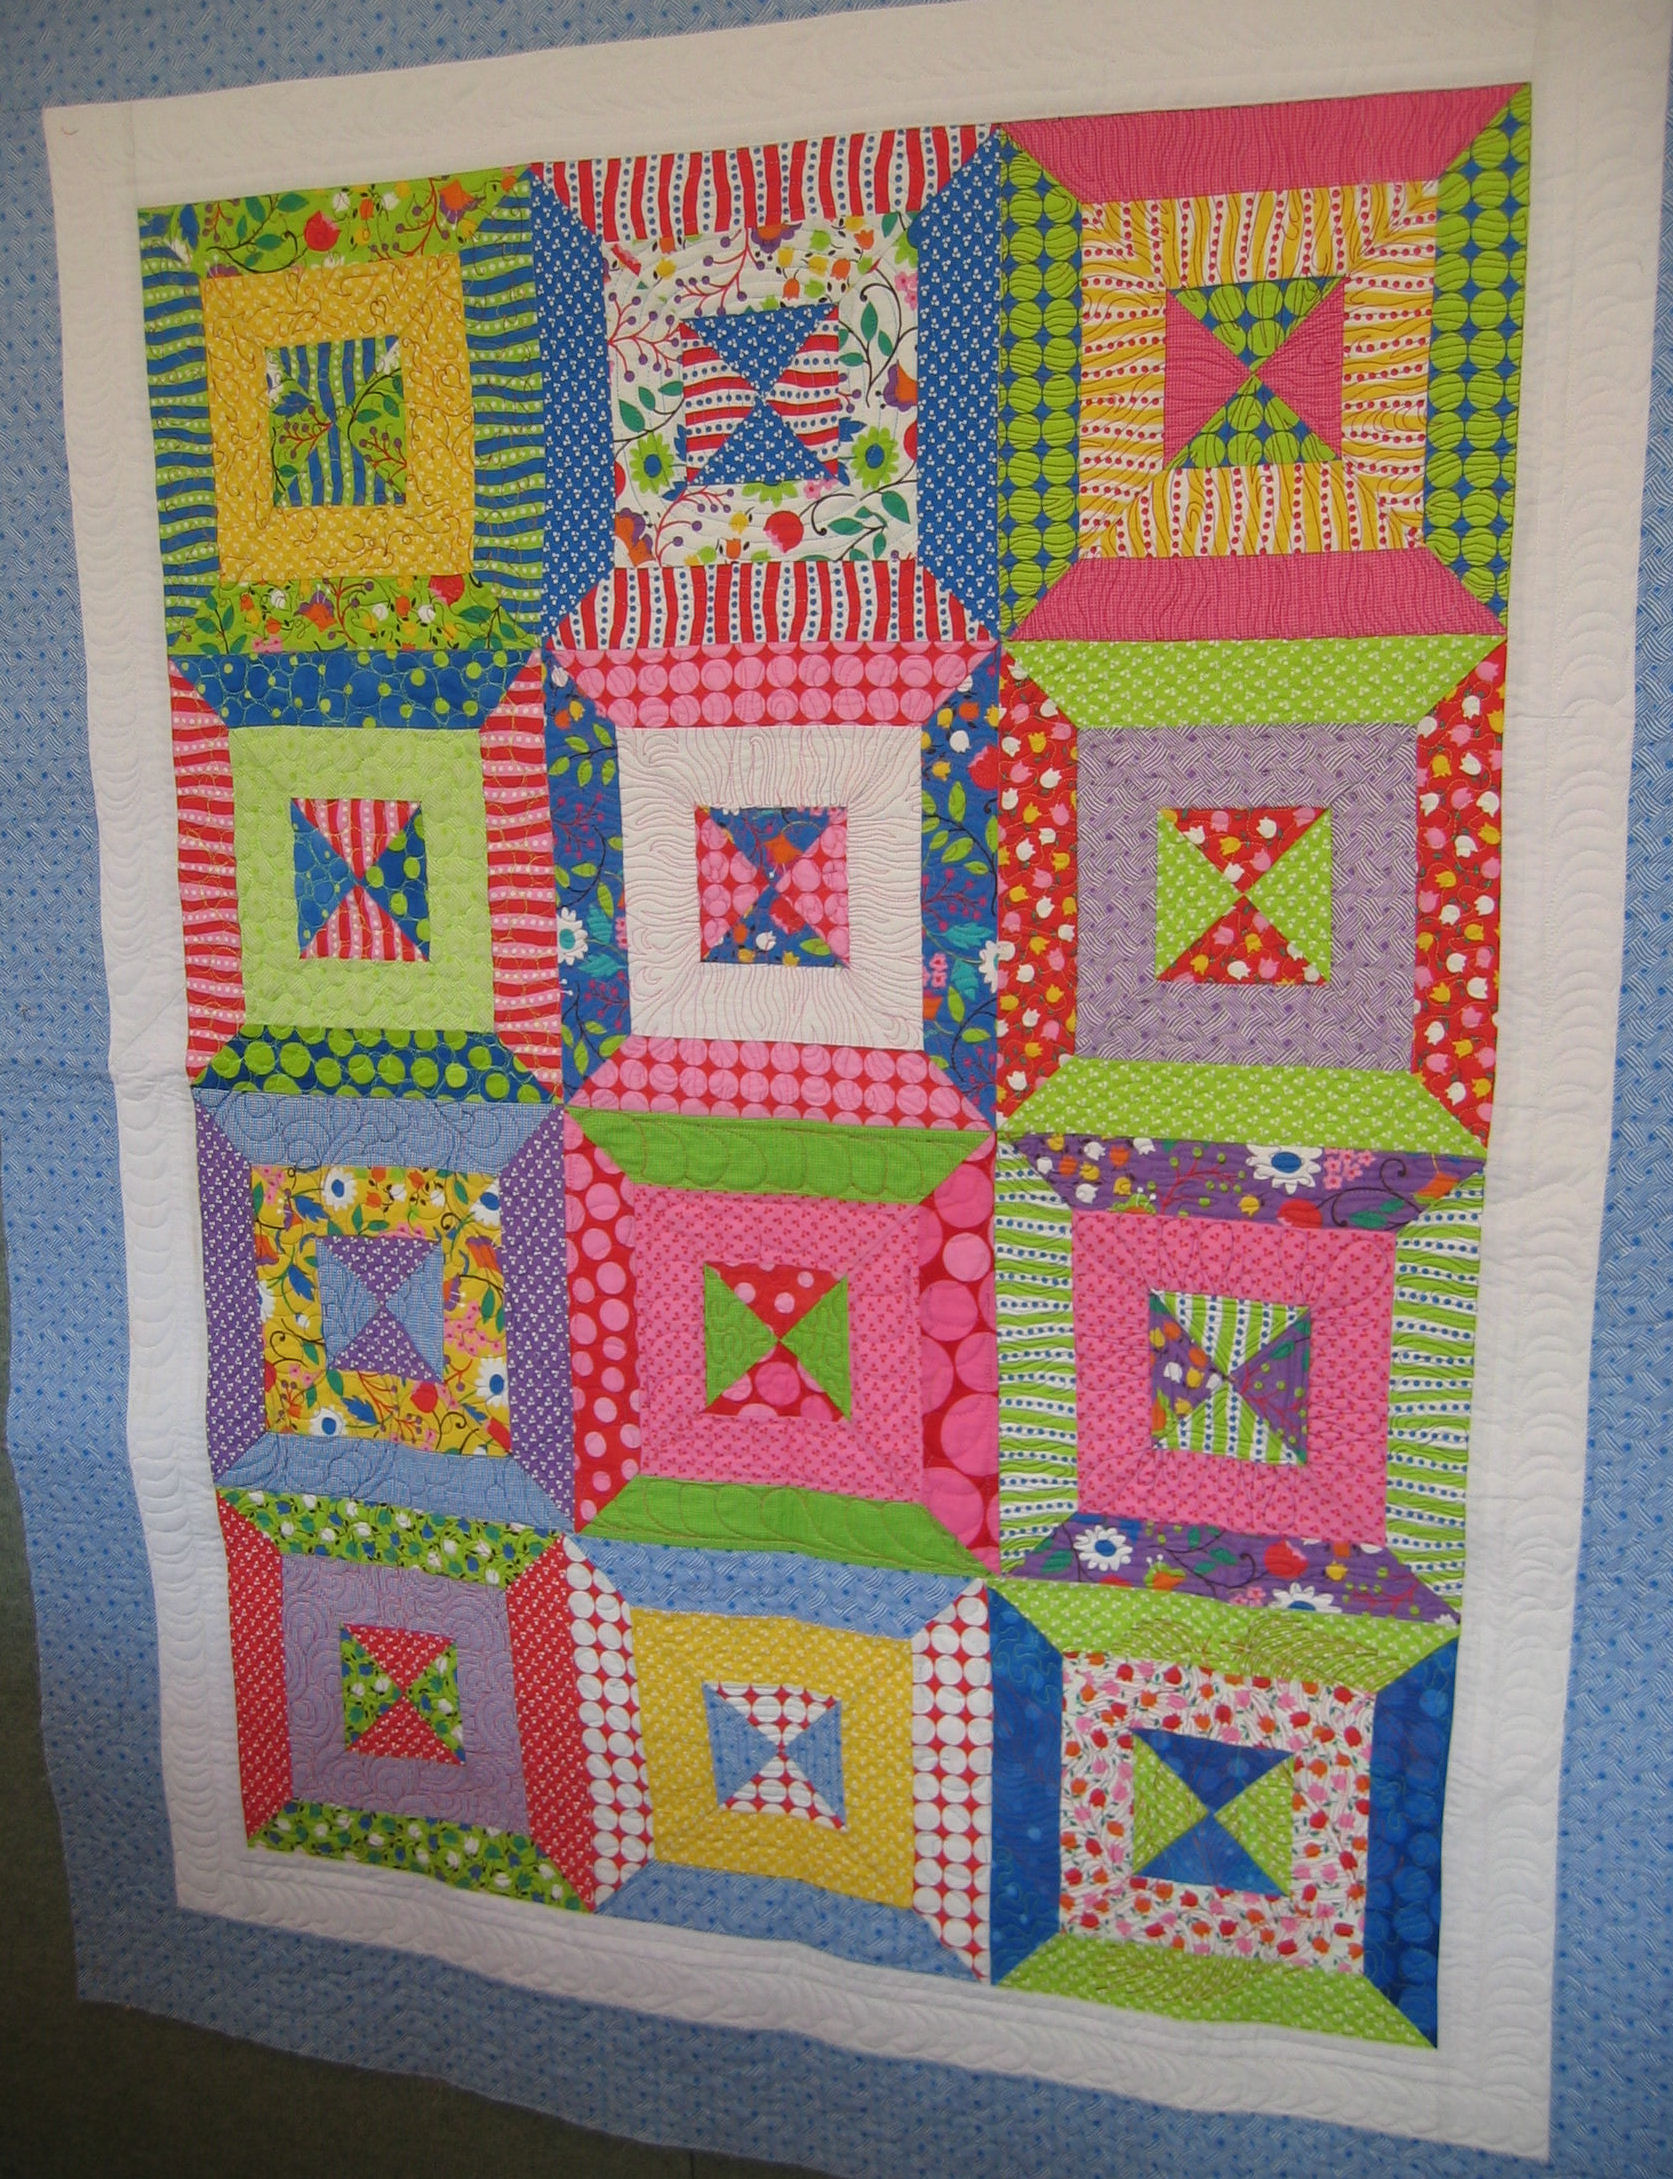
On Day 3 of the Eleanor Burns Quilting Academy, I was in the class that made a quilt top from a jelly roll in 6 hours, using a serger (overlocker). The pattern is an Eleanor Burns design, and Eleanor gave us labels for the pieces we made, which she autographed using a permanent fabric pen (see the photo of the label).

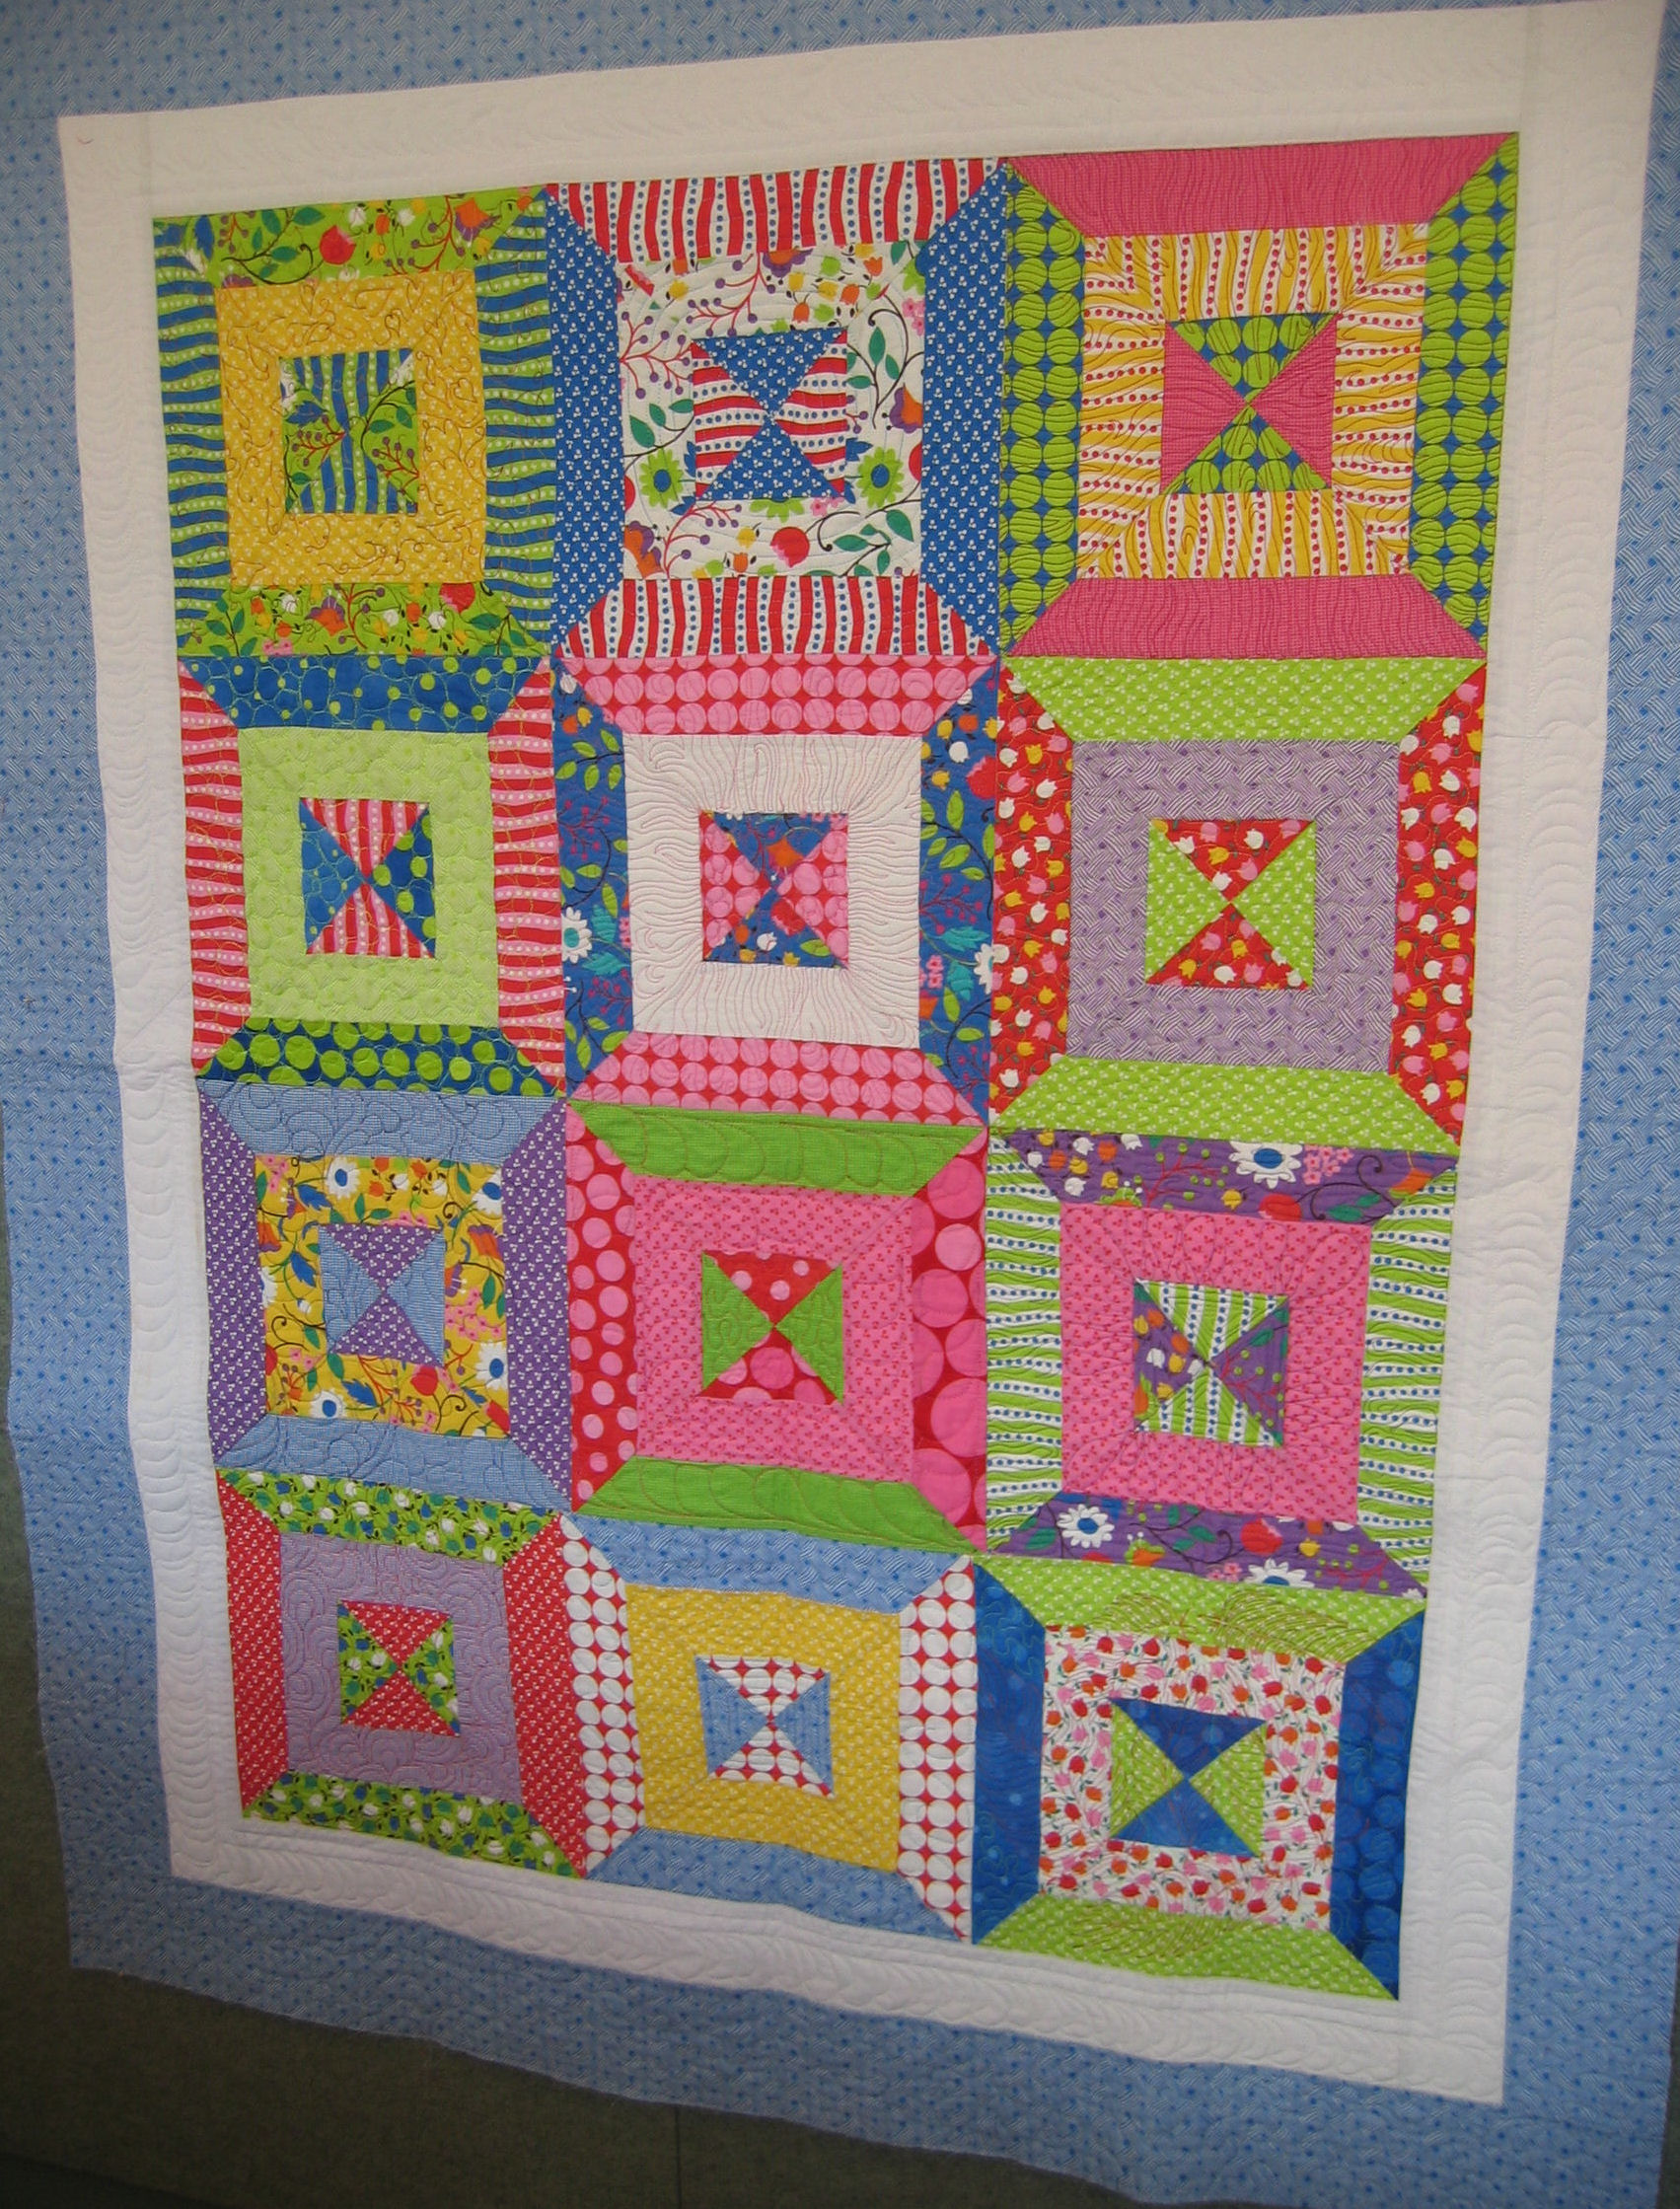
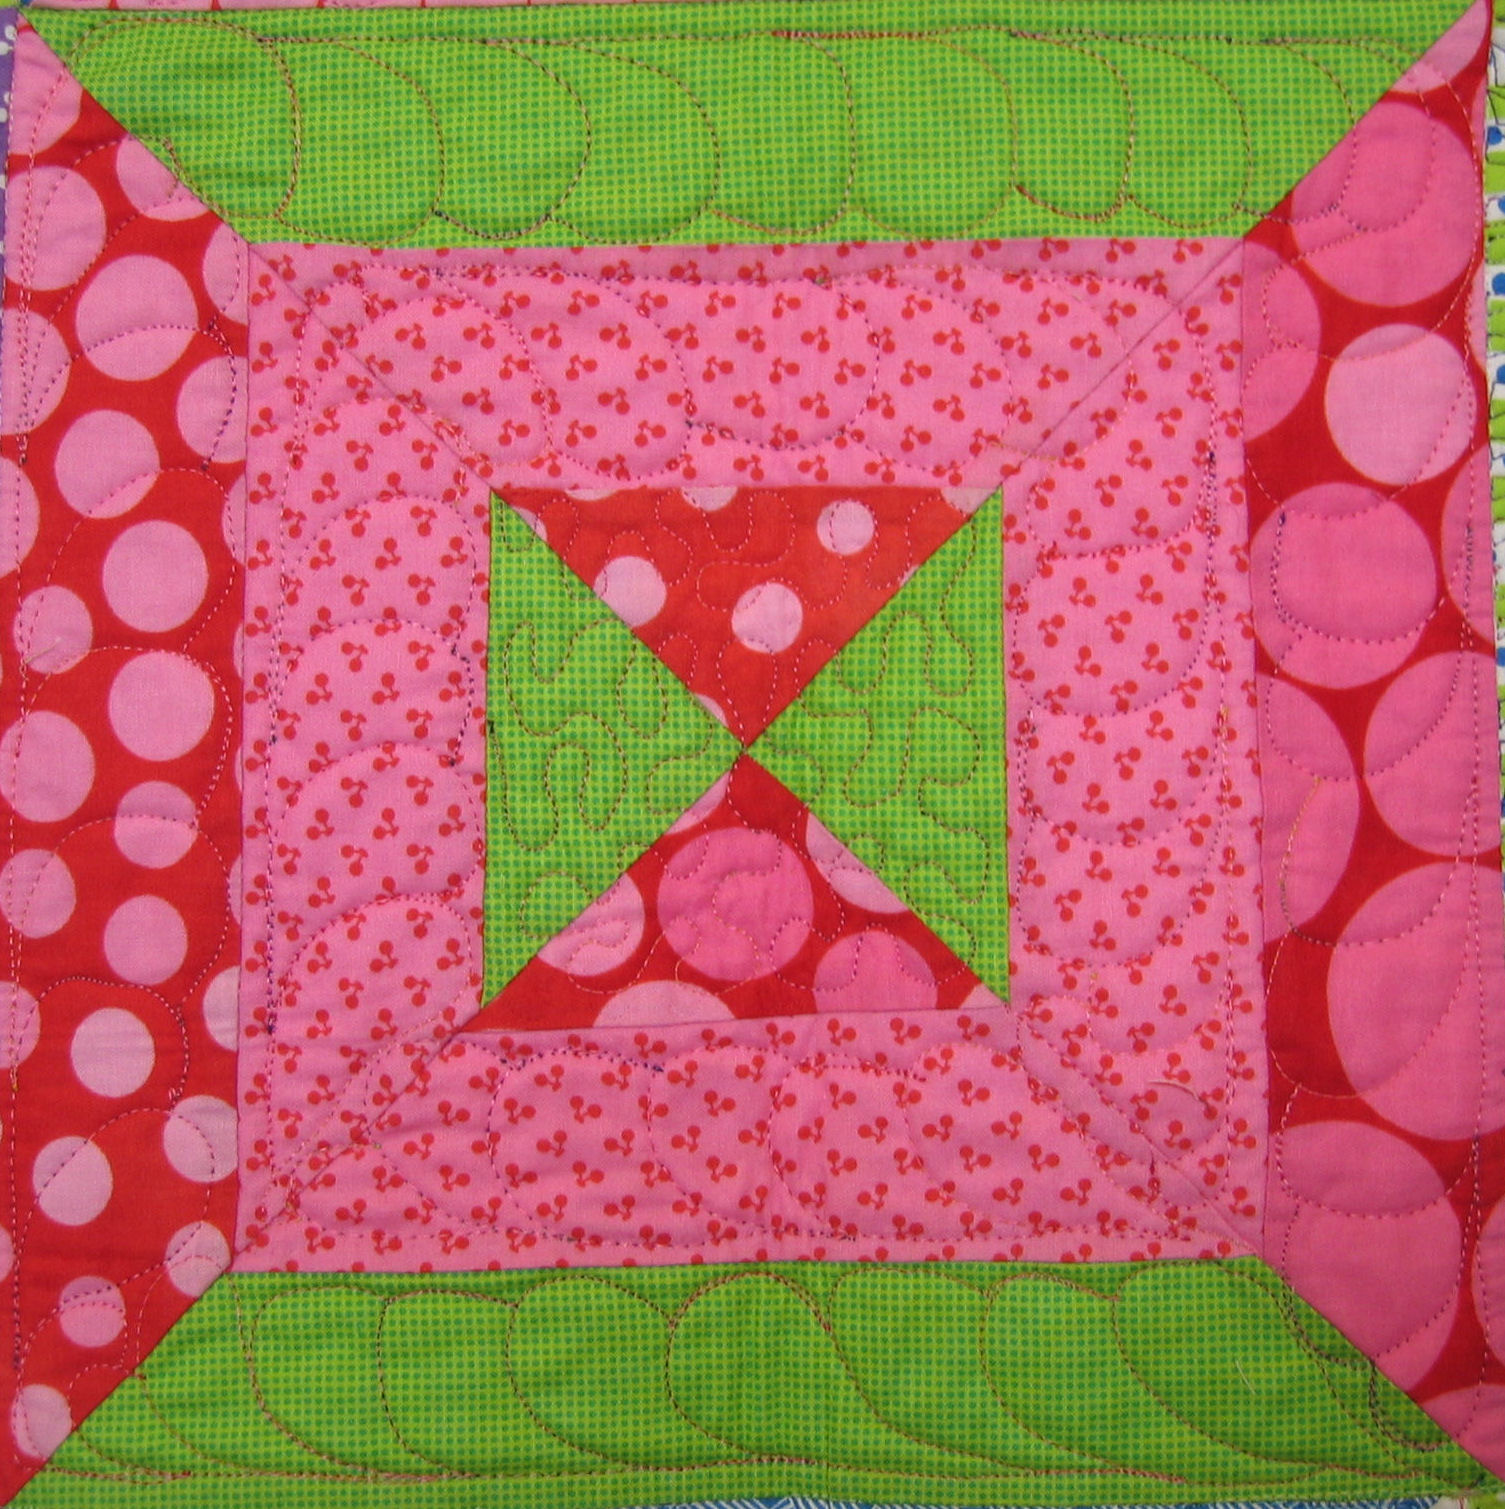
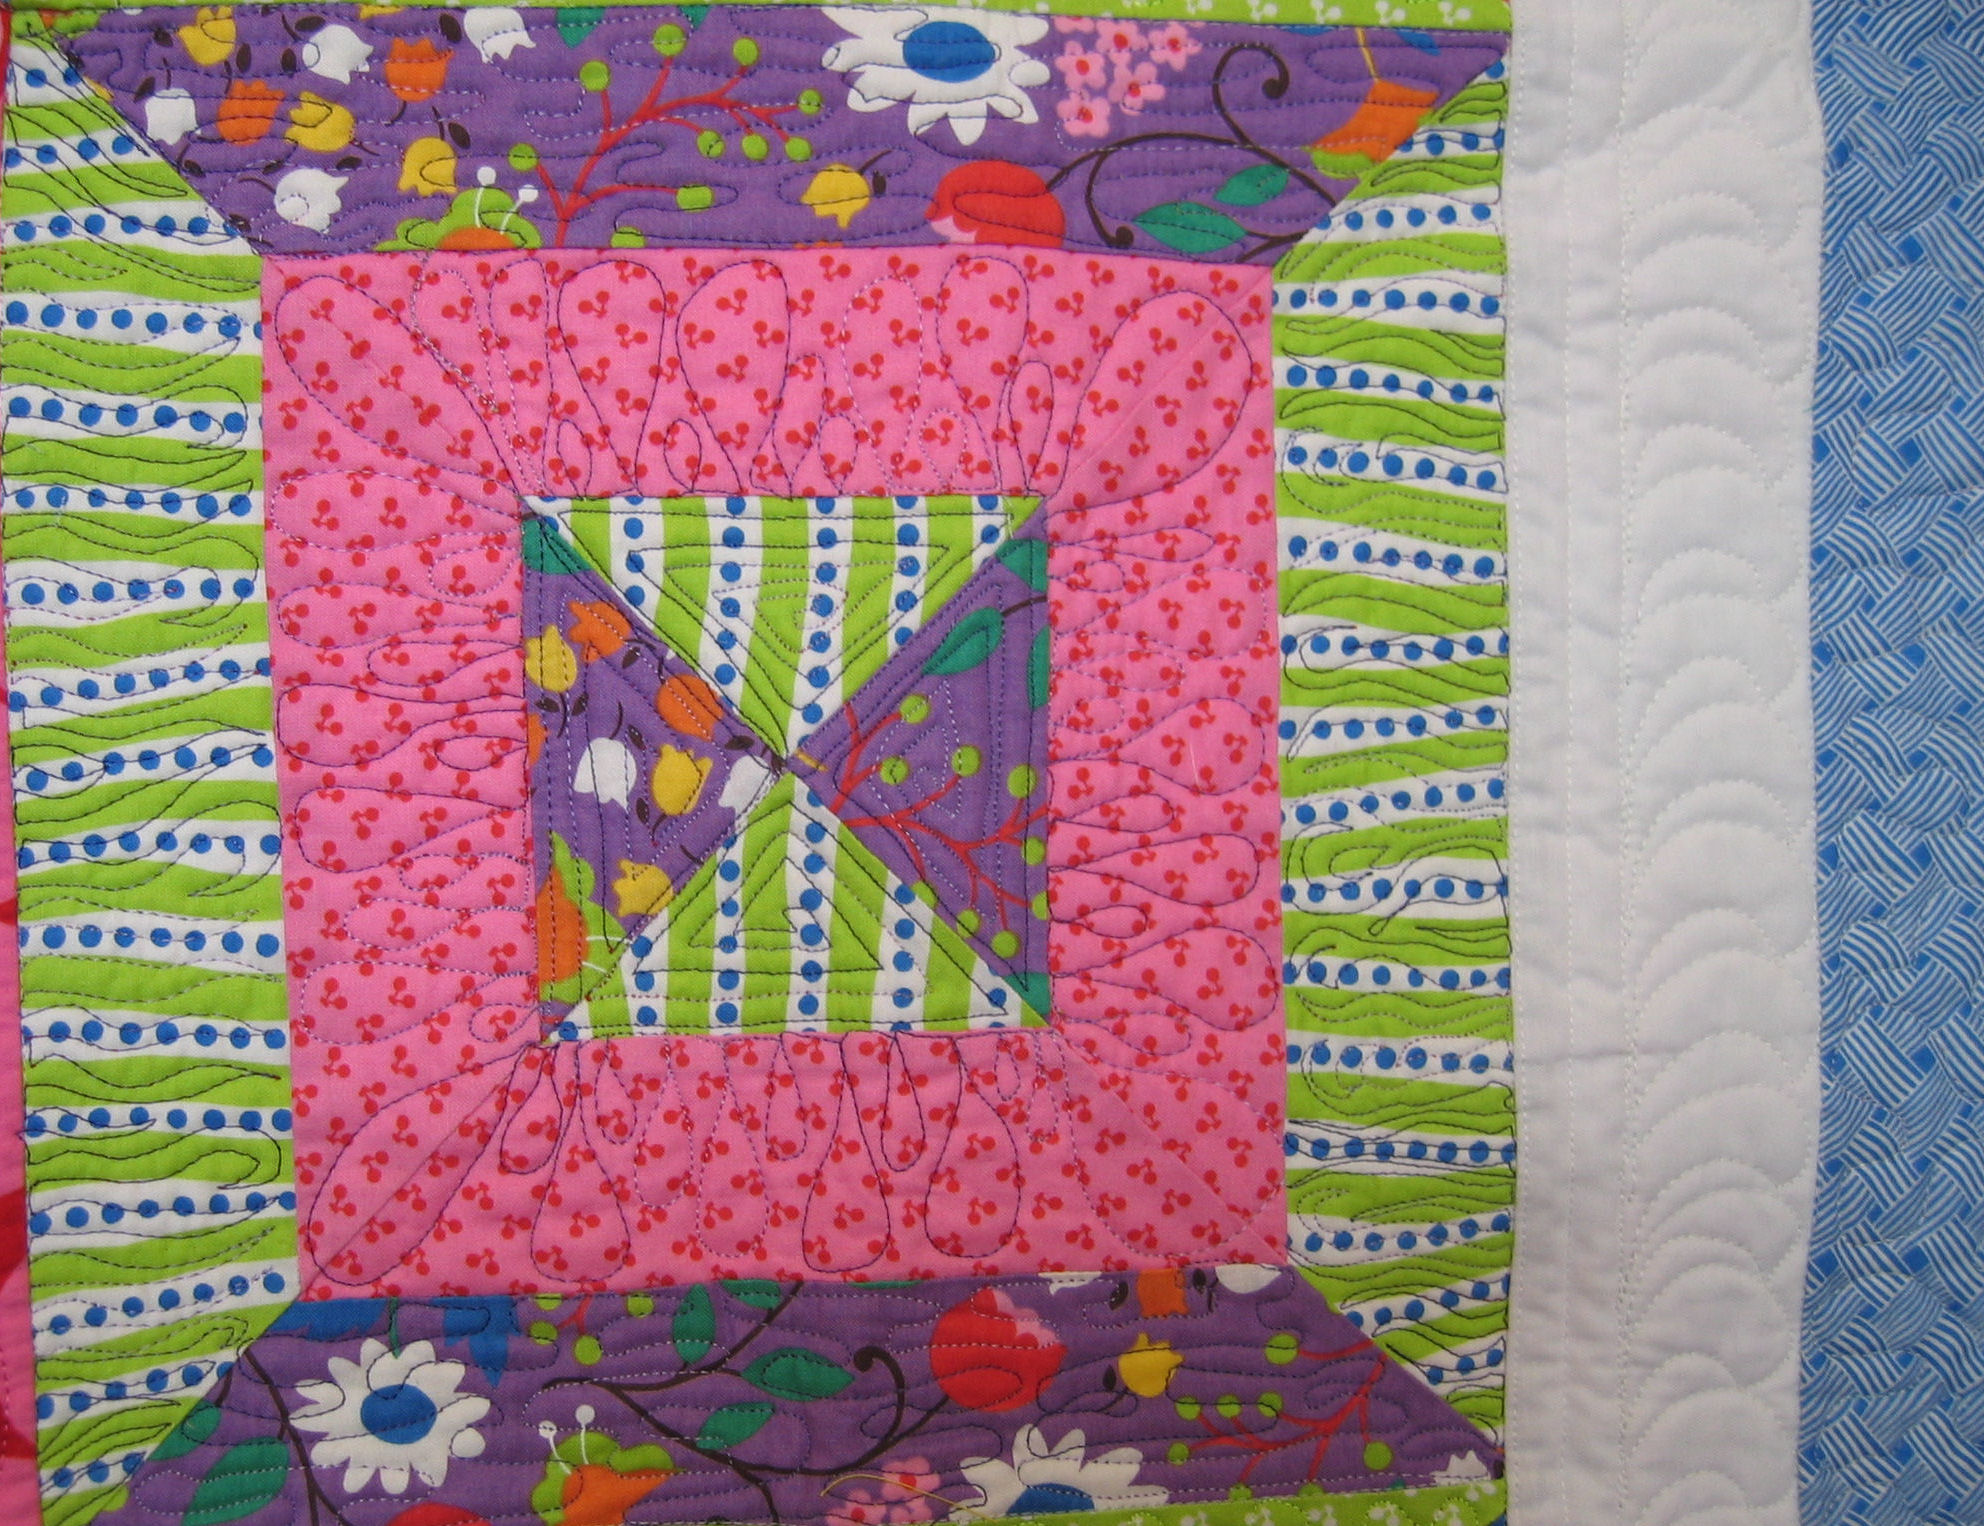
When I got home, I added the borders, the batting, and the very bright backing fabric, then spent many many hours (about 10?) free motion quilting it on a HQ Sweet Sixteen. I found that flame motifs worked well in the square blocks, and so did several blocks with flame variations. I used a red, yellow, blue and green variegated cotton thread in the bobbin, and while it worked well with the backing fabric, it did show through a bit in some parts of the stitching. I did hooked feathers for the white border. Finally, I bound this quilt with a mix of the jelly roll and border fabrics.

I’ve now added this very bright lap quilt to my Etsy store: http://www.etsy.com/listing/72828803/bright-lap-quilt.

Click on a small photo below to show it full size, then click on it again in full size mode to zoom in to see the stitching.


Cushion cover – finished

25 04 2011

I’ve finally completed some of the projects that were still outstanding from when I returned from the Eleanor Burns Quilting Academy in California last month.

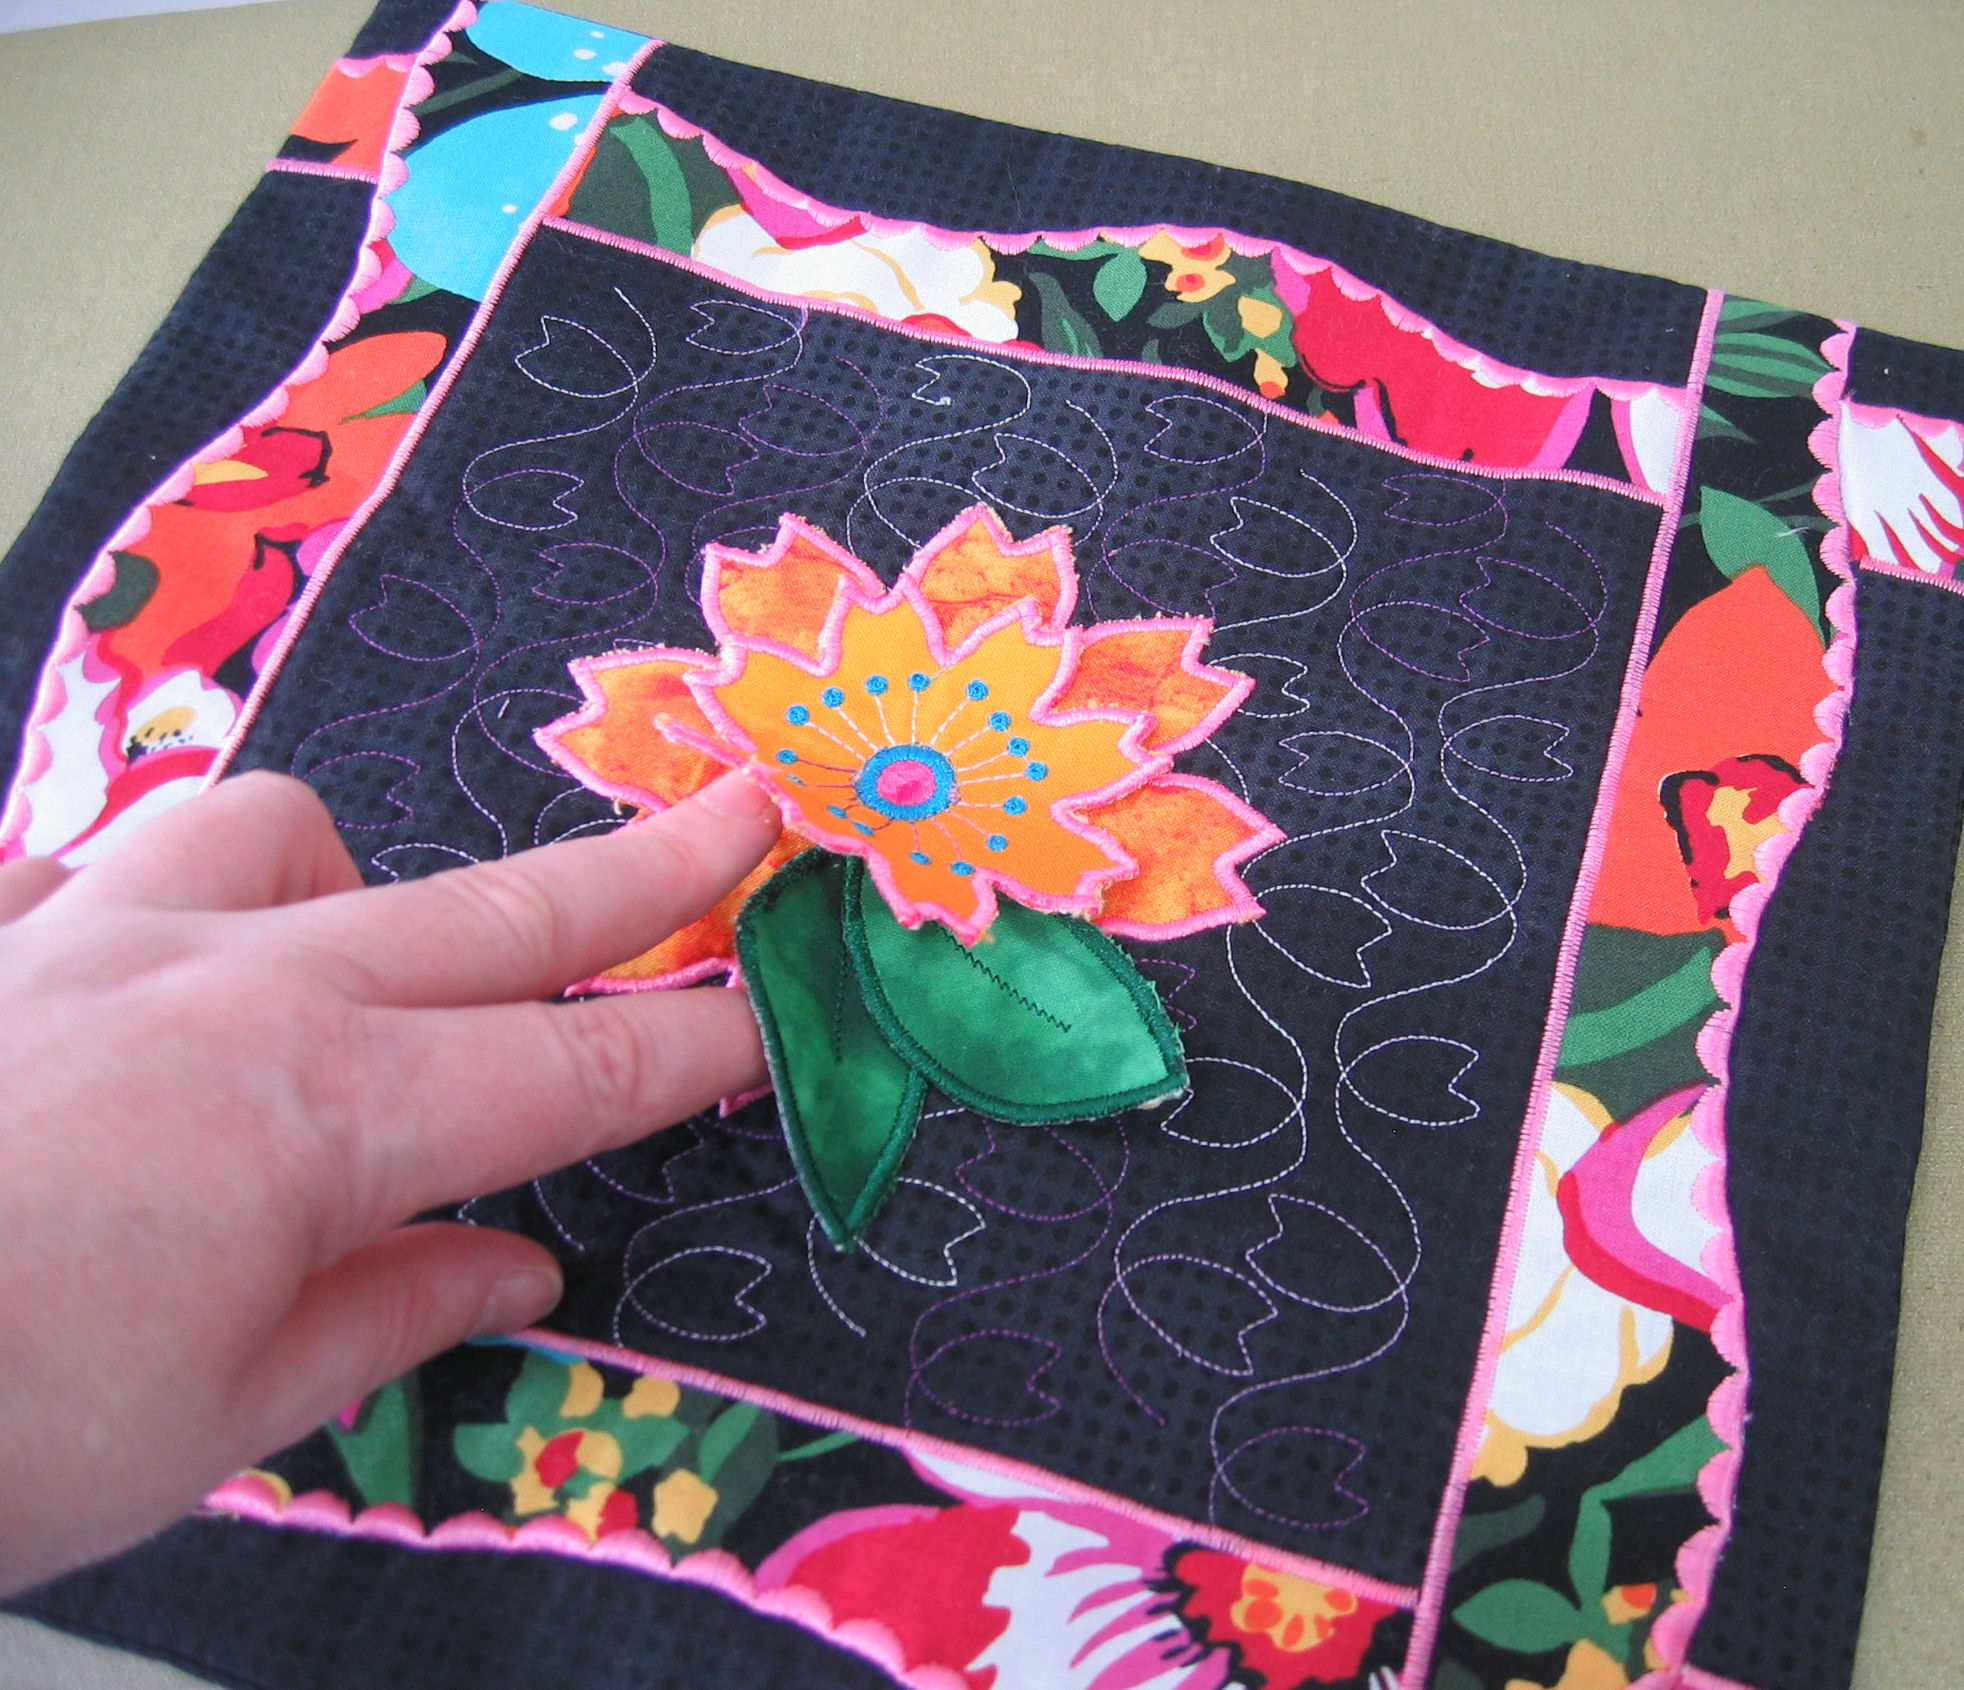
On Day 1 of the Quilting Academy, I was in the class that made a cushion cover in 3 hours, using various embroidery machine techniques, including making three-dimensional pieces.

The only thing I had to do when I got home was finish the buttonholes and add some buttons — those pink and black polka dot buttons are just so cute and matched the super bright colours on the front of the cushion cover perfectly!

I’ve now added this cushion cover to my Etsy store: http://www.etsy.com/listing/72827683/bright-floral-cushion-cover.

Click on a small photo below to show it full size, then click on it again in full size mode to zoom in to see the stitching.


Black and gold table runner – finished

25 04 2011

I’ve finally completed some of the projects that were still outstanding from when I returned from the Eleanor Burns Quilting Academy in California last month.

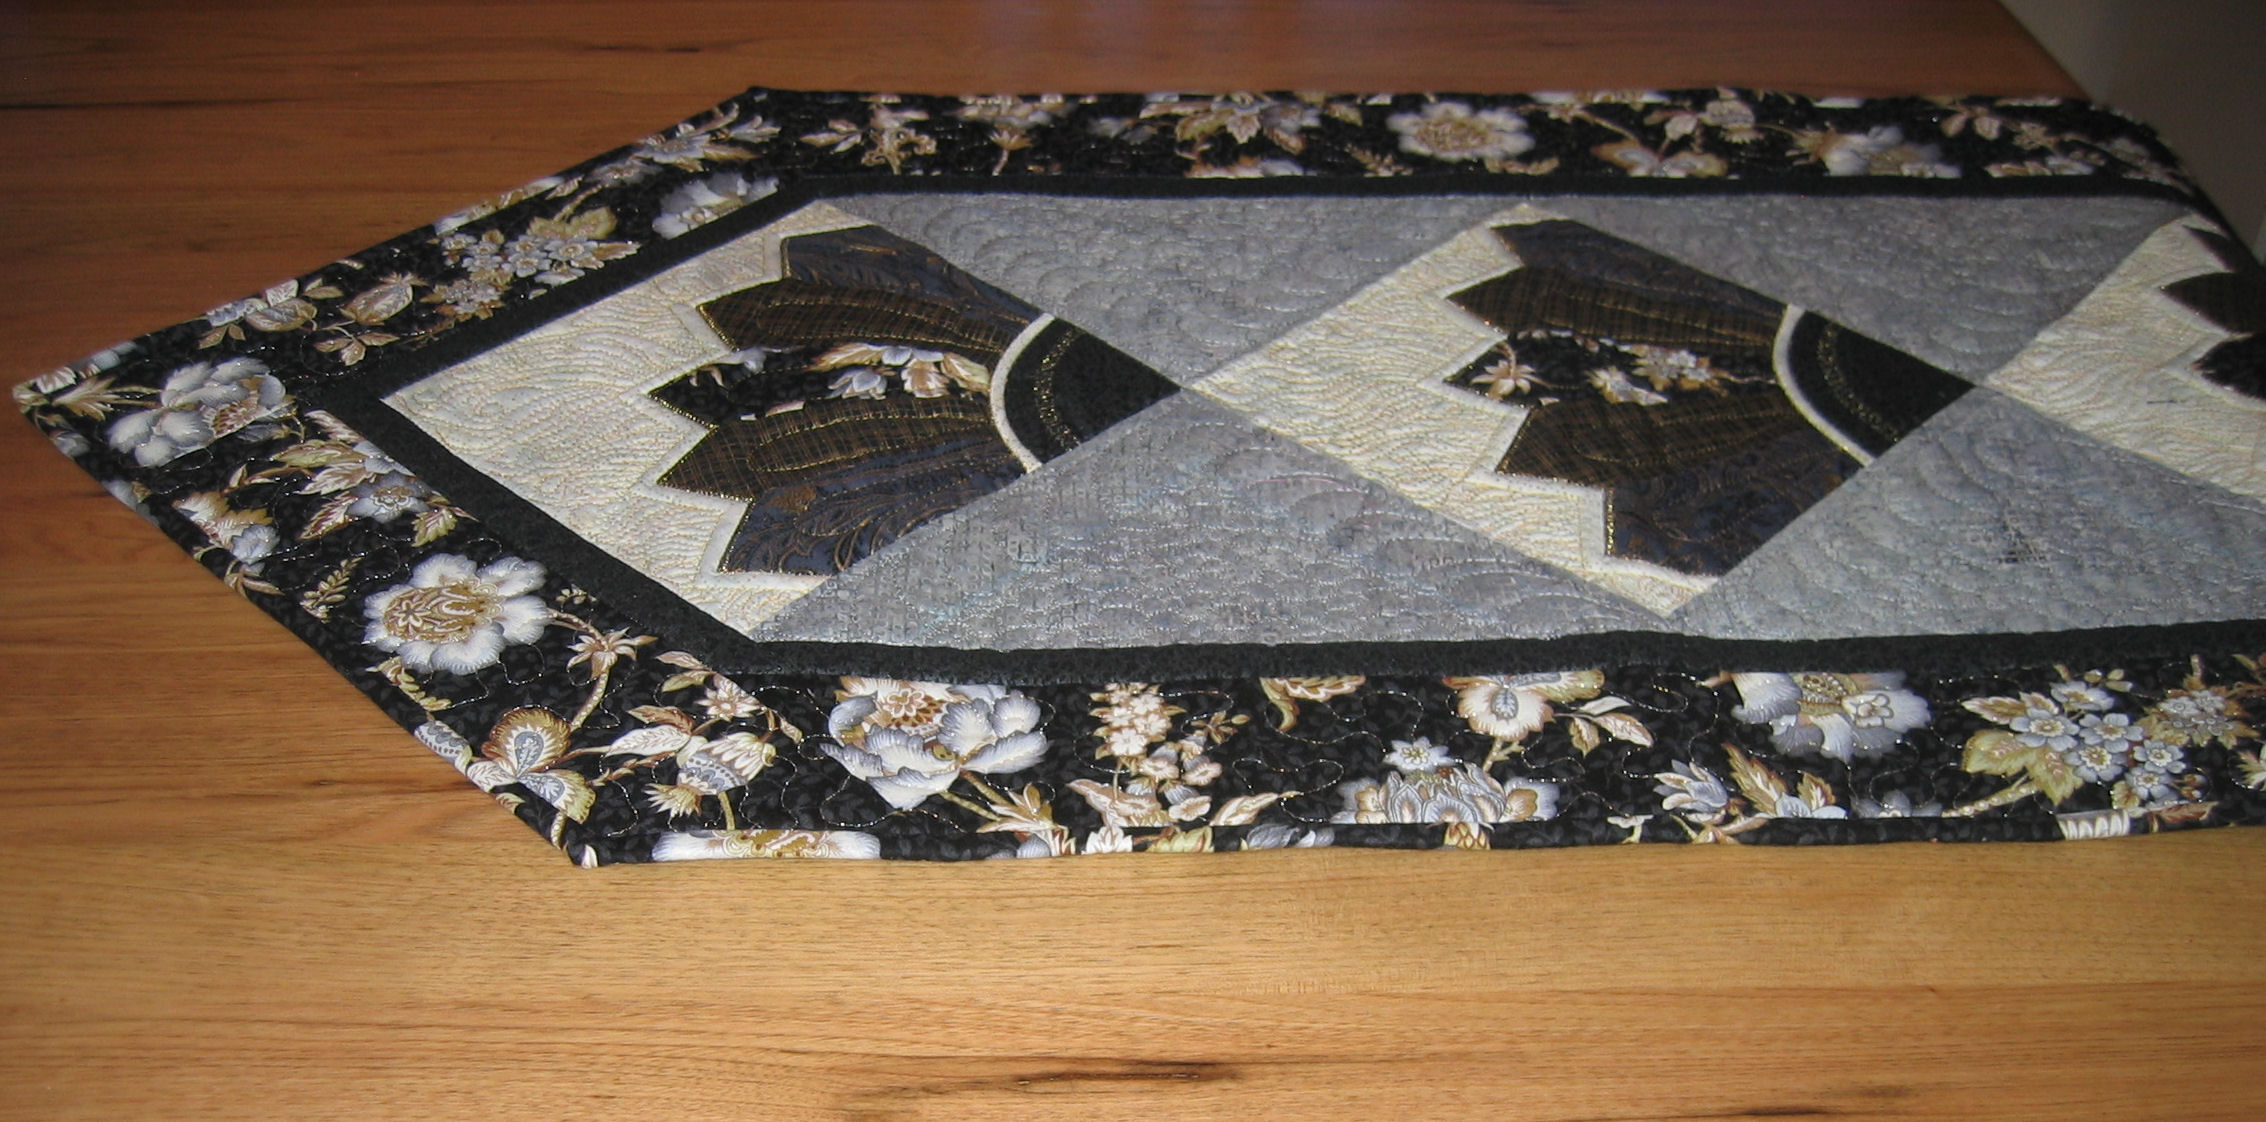
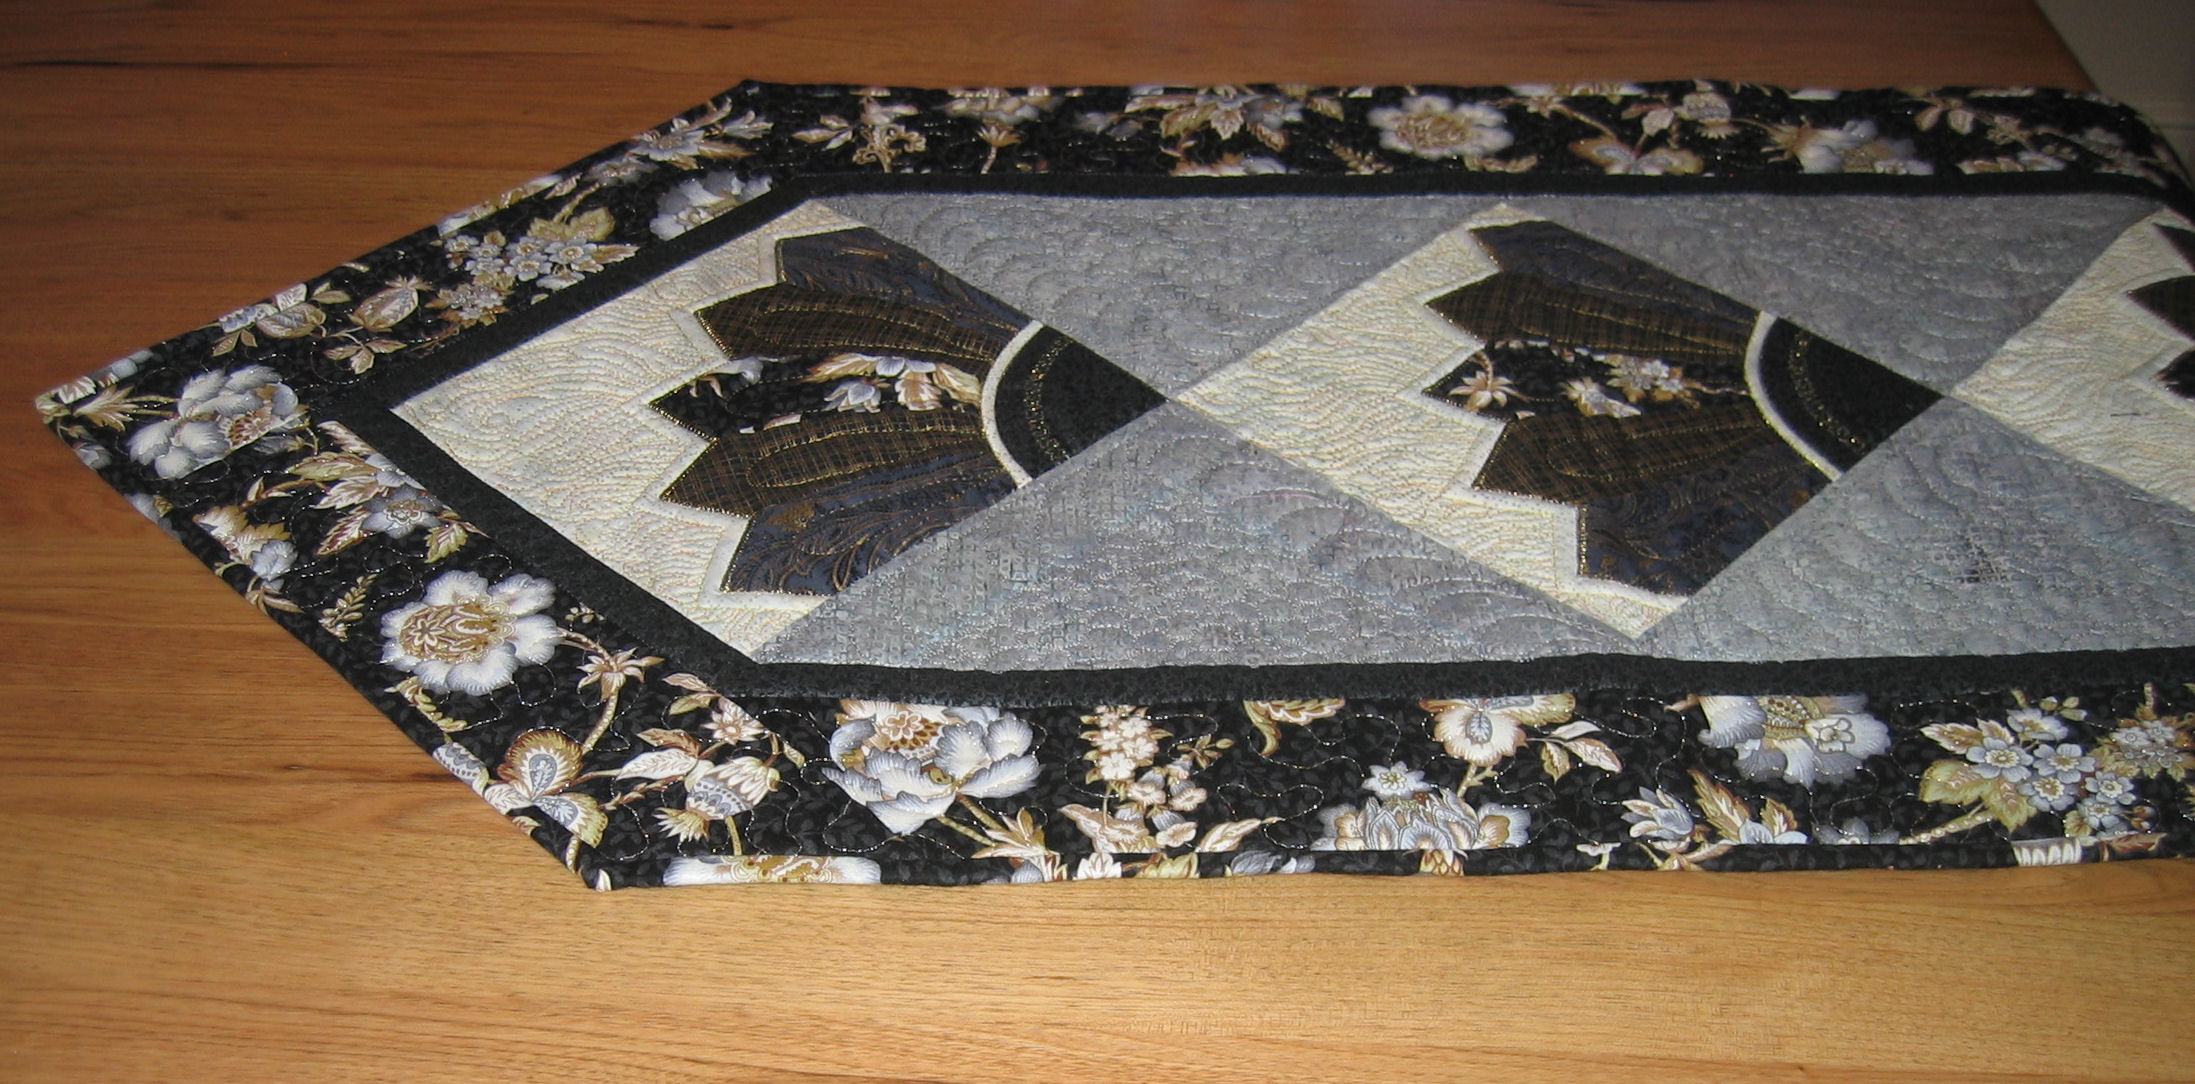
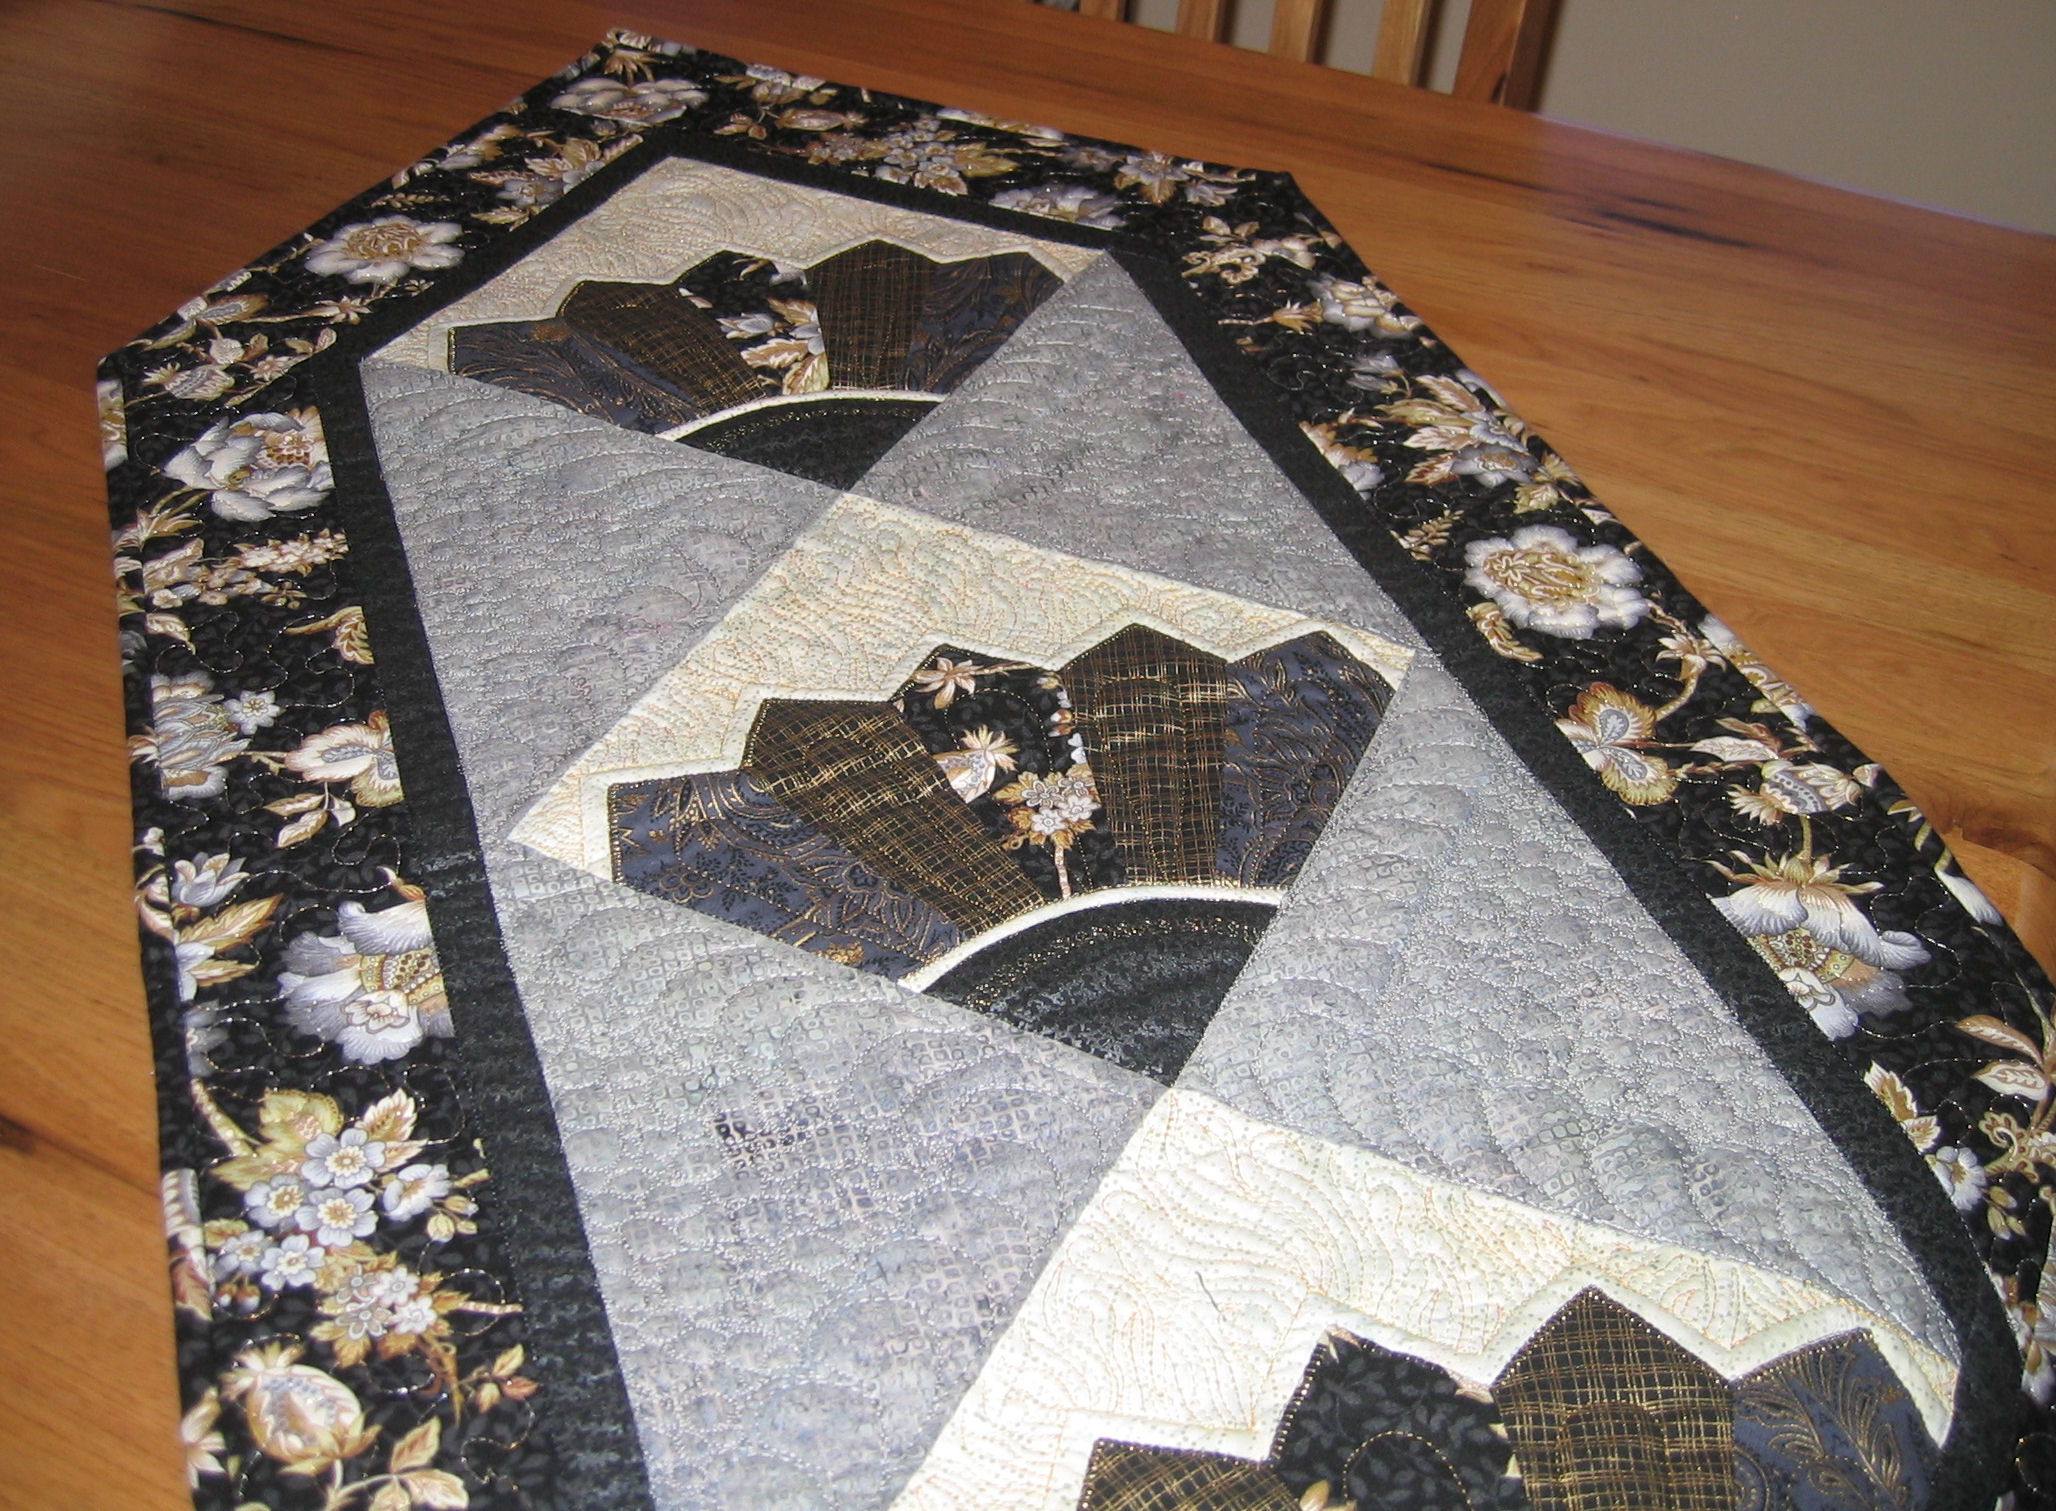
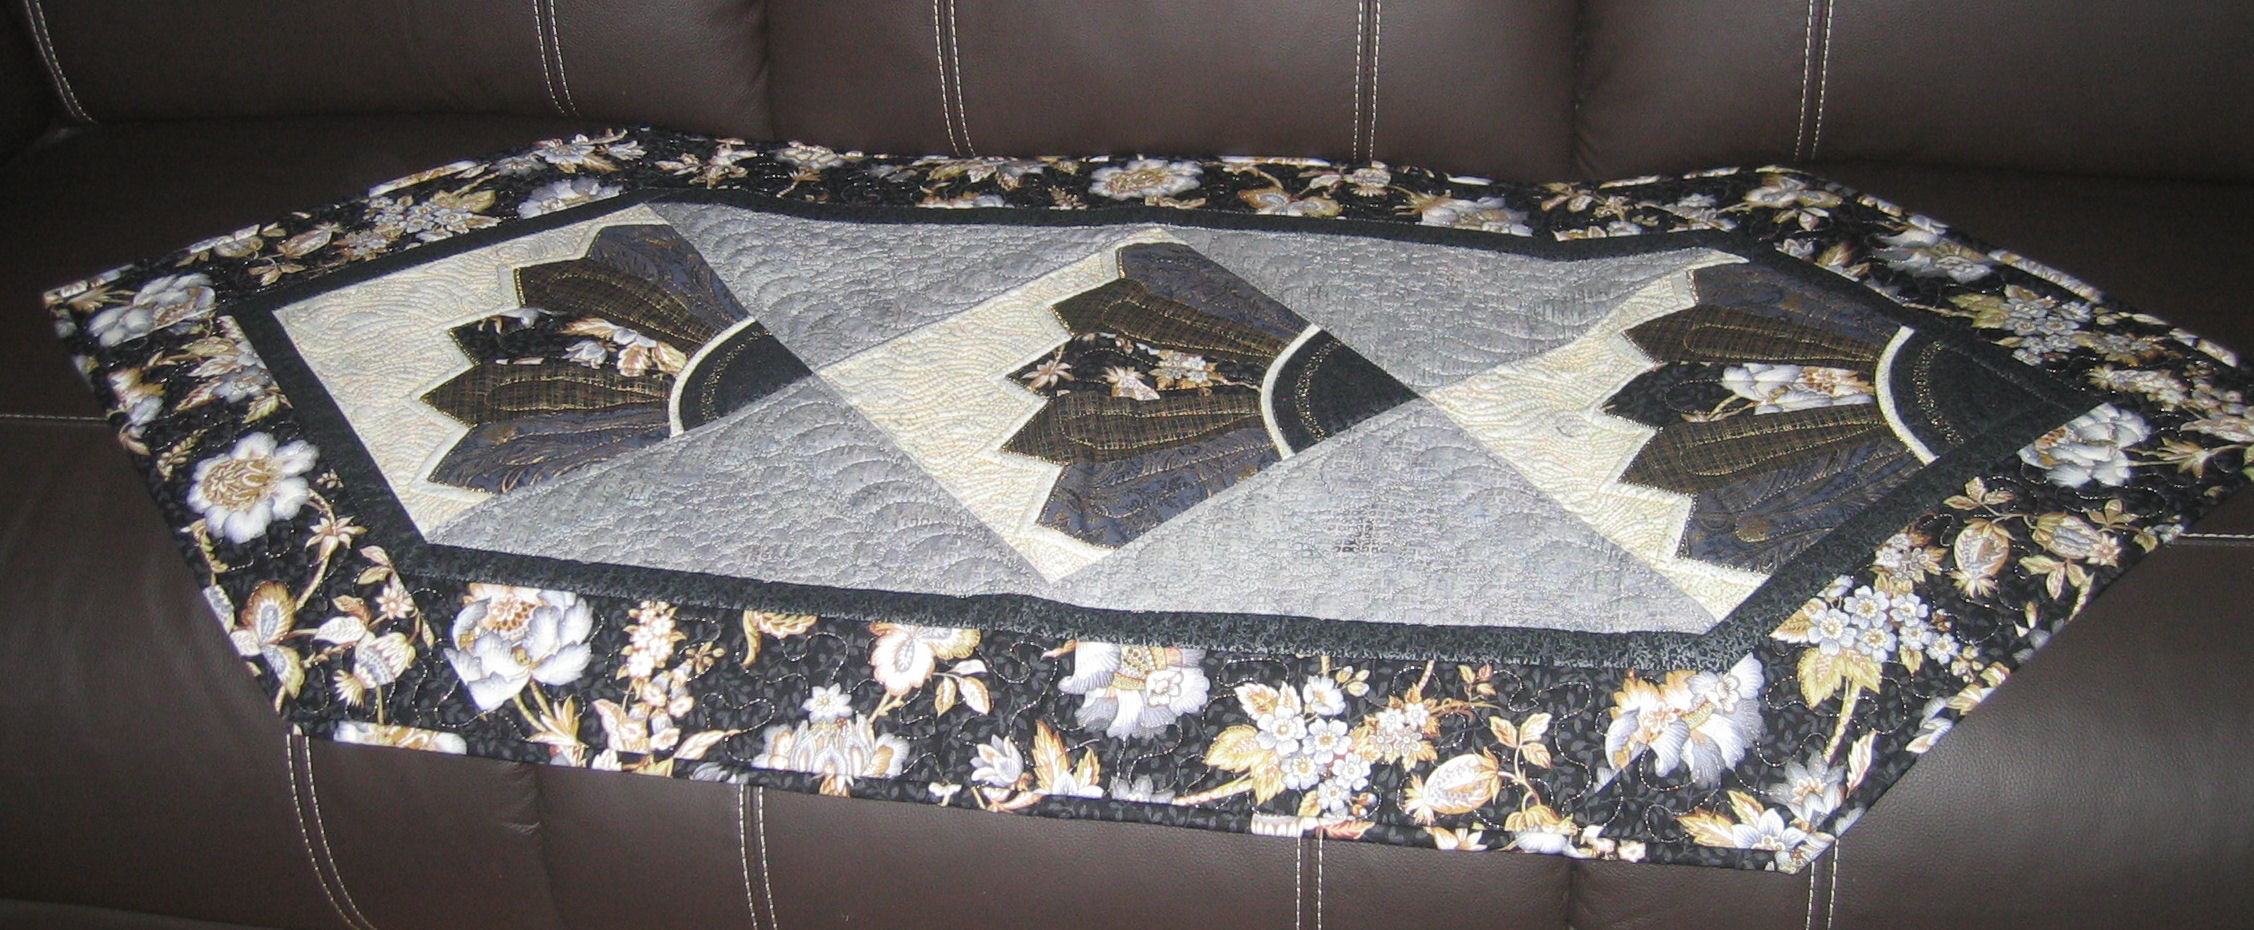
First cab off the rank is the black and gold table runner I made in Eleanor’s class (see https://sandgroper14.wordpress.com/2011/03/19/quilting-academy-day-2-march-2011/ for details). She’s signed the label too!

I added insulated batting and my own backing fabric, then spent many hours free motion quilting it. These were the first feathers I free motion quilted after a couple of weeks of doodling them!

I was surprised how easy they were to do after doodling. Something about a brain shift and a hand/eye coordination thing, even though doodling is the direct opposite to free motion quilting on a domestic sewing machine. With doodling you have paper that’s kept static while you move the pen; on a sewing machine, you have a static needle (pen) and you move the quilt (paper) under that needle. I doubt I could do that with real pen and paper!

I’ve now added this table runner to my Etsy store (http://www.etsy.com/listing/72826221/black-and-gold-fan-table-runner). SOLD! See my comment below.

Click on a small photo below to show it full size, then click on it again in full size mode to zoom in to see the stitching.


Testing ‘The Beast’

7 04 2011

My good — and most generous — friend Bobbie is going away for a couple of weeks, and she’s lent me her HandiQuilter Sweet Sixteen long-arm quilting machine to try out. How amazing is that? I’m really interested in one of these machines, but couldn’t visualise if or how it would fit in my sewing room. I went to Bobbie’s house on Monday to ‘play’ on her machine and that’s when she offered to lend hers to me to really give it a run and see if I like it (it’s a big expense…).

So here’s Bobbie’s Queenie (I call it ‘The Beast’) in my sewing room. I got it set up last night and quilted two more blocks on one of the quilts I made at the Eleanor Burns Quilting Academy last month. And my free motion quilting is improving by leaps and bounds with this machine (plus all the doodling I’ve been doing).

Update: I’ve now ordered my own ‘Beast’ and I pick it up at the end of April. Can’t wait!

Click on a small image to see it full size.

I’ve still got to figure out where the ironing board that was on that wall is going to go! 😉


Etsy Treasuries #66 to 74

30 03 2011

More pieces from my Etsy store have featured in Etsy Treasuries over the past month or two.

Click on a small image to show it in full size.


Hilton Del Mar, California

22 03 2011

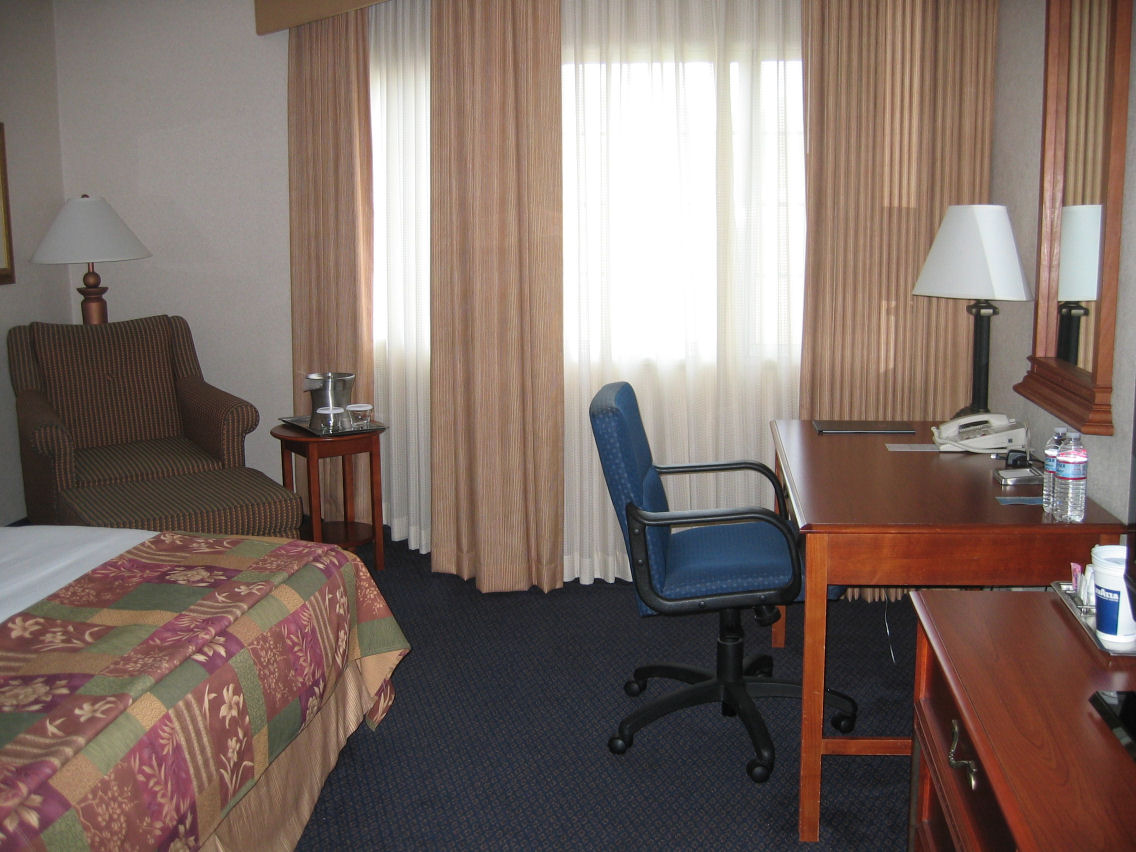
I stayed at the Hilton Del Mar, near San Diego, California for the Eleanor Burns Quilting Academy in March this year.  Here are some pictures of my room at the Hilton when I first opened the door (it never stays like this!) — click on a small image to see it full size.


Quilting Academy: Wrap-up

20 03 2011

Over the past three days, I’ve attended the Eleanor Burns Quilting Academy in southern California. My blog posts for specific days and activities are listed below. This post is about my general impressions of the 3 days. These notes are MY opinion only and do not represent anyone else’s opinion. They are in no particular order.

Venue and food

  • The Hilton Del Mar near San Diego was a perfect location. It was far enough away from the usual tourist spots that there was no temptation to venture further afield. It was also super easy to find (right off the I-5), had plenty of parking (which was free for attendees), and we seemed to have the hotel pretty much to ourselves — at least, the main function areas were ours alone.
  • Breakfast and lunch were part of the deal. There was plenty to eat and it was all very fresh. My only complaint about the food was that neither meal varied much in its selections from day to day — e.g. lunch was the same every day. Breakfast was ‘continental’ but there were plenty of options, including warmish hard boiled eggs, cheeses, masses of fresh fruit and yoghurts as well as several varieties of bagels and spreads, and several varieties of muffins and other sweet goodies. Lunch was light but plentiful — beef and salad sandwich, a turkey croissant, or a vegetarian roll, plus potato crisps, fresh fruit, sodas, water etc. On the first afternoon, we were served icecream, though on the other afternoons the offerings were more pedestrian — a variety of cookies, mostly.
  • The rooms were good, but if you had a room on the I-5 side of the hotel, you had a really long hike between the lobby/restaurant/bar and function areas to the room. There was no traffic noise from the I-5 as the windows were double glazed. I only found one (tiny) elevator and it was an awfully long way from my room. The hotel only has three floors, so instead of a narrow high-rise hotel, this is a low-rise LONG hotel that wraps around the central pool and terrace. I had a couple of issues with my room — I reported them on Day 1 and they were fixed by the time I returned to the room that evening.
  • Internet connection was $9.95 per day or 44.95 for a week. It was promoted as ‘high speed broadband’ but that was a lie. After monitoring the speeds (using www.speedtest.net), and trying both a wired and wireless connection, I called the front desk to find out if the approximately 1 Mbps download speed was normal. After they put me through to someone else ‘in IT’, I was told it was normal! That is NOT ‘high speed broadband’ in my book!
  • Option for no daily service of the room, with a $5 food and beverage voucher for each day that you don’t require daily service. I’ve blogged about this separately.

Quilt Academy

  • Quality of the presenters and helpers: Except for the long-arm quilting session on Day 1, the quality of the teachers was exceptional. They all knew their stuff and they all knew how to teach. They were all really helpful with the newbies, as well as the old hands. Having helpers in the room really helped the teachers get through their content. Even after three days of teaching the same stuff, the presenters were still fresh and passionate.
  • Sessions: The sessions were pretty much the right length. We could have done with an extra 30 mins in the embroidery machine session, but that was the only one where it was a rush to get finished. I’ve already blogged about the long-arm session that was almost all talk and little practical hands-on stuff, so I won’t mention that here. Every other session was very practical and very productive. And we learnt LOTS.
  • Market place: One function room was set aside as a store where you could buy notions needed in the classes (in case you forgot to bring the required items), as well as other goodies from the Quilt in a Day and the Sewing Machines Plus stores. Each person had a number and a bag was kept behind the counter with your number. If you wanted to buy something, you either got it put in your bag for payment and collection on the last day, or, if you needed it right now, they tore off the price tag and stuck that on the bag instead. A great system.
  • Plenary sessions: To me this was the biggest disappointment of the whole three days. There was no general get together at the beginning of Day 1, even just to go over housekeeping details and how we were divided up (and to let us know that there was a room change!), and nothing to say goodbye at the end of Day 3. Also, in the first sessions on Day 1, the teacher didn’t quickly go around the room to at least get people to say their names and where they were from. As we were divided into groups that we stayed with the whole 3 days, I think this would’ve been valuable and would only have taken a couple of minutes. Likewise, there were no general announcements at lunchtimes, and no ‘door prizes’ or similar. Many people didn’t know each other and while we did get to know others by the end of the three days purely by sitting with strangers at lunch tables etc., there was no opportunity to develop a shared camaraderie as a group.
  • Trunk Shows: The Trunk Shows and the opportunity to check out the Quilt in a Day and the Sewing Machines Plus stores were great. I’m sure the stores did well out of our visits, but that’s fine — that’s what these after hours visits were for, as well as hosting Eleanor’s Trunk Shows where she exhibited some absolutely wonderful quilts. The only disappointment was that it wasn’t clear as to how car pooling and shared rides would be done — when we registered, we were asked if we wanted a ride or could offer a ride, but there was no announcement as to how that would occur or if there was a meet-up in the lobby at a certain time etc. I know of at least one lady who missed out on the first night — she went to the lobby hoping for a ride but there was no-one there. That needed better organisation.

So, would I do it again? Yes! Not this curriculum (been there, done that), but another one for sure.

See also: