Midway through Day 3 of the bathroom renos… Not much to report—just more noise.
Plumber came again this morning (more drilling), as did the project manager (more drilling; put up the door frames in the newly widened doorways; marked up for the electricians; installed the cistern). Then came the electricians (3) who’ve done more drilling to relocate light/fan switches, shift one power outlet and add another, including drilling through the wardrobe in my sewing room. Our power will go off this afternoon for an hour or so while they connect it all up (plus work in the roof space — under Western Australian law the power must be turned off if anyone enters a roof space).
Reminder to those who don’t live in Australia: Most houses in Western Australia (and much of Australia) are built of brick, typically double brick outer walls and single brick inner walls. And our electrical voltage is 240V so only licensed electricians are allowed to do electrical work. Every time I see a North American reno show where they just knock down or put up walls willy-nilly or do their own electrical work, I shake my head as our experience here is so different to that.


End of Day 3. The project manager popped in to do a bit and check the work and told me that the worst of the drilling is over!!! Yay!!! It doesn’t look like much has changed but it has and ultimately all that work will be concealed behind tiles and paint.
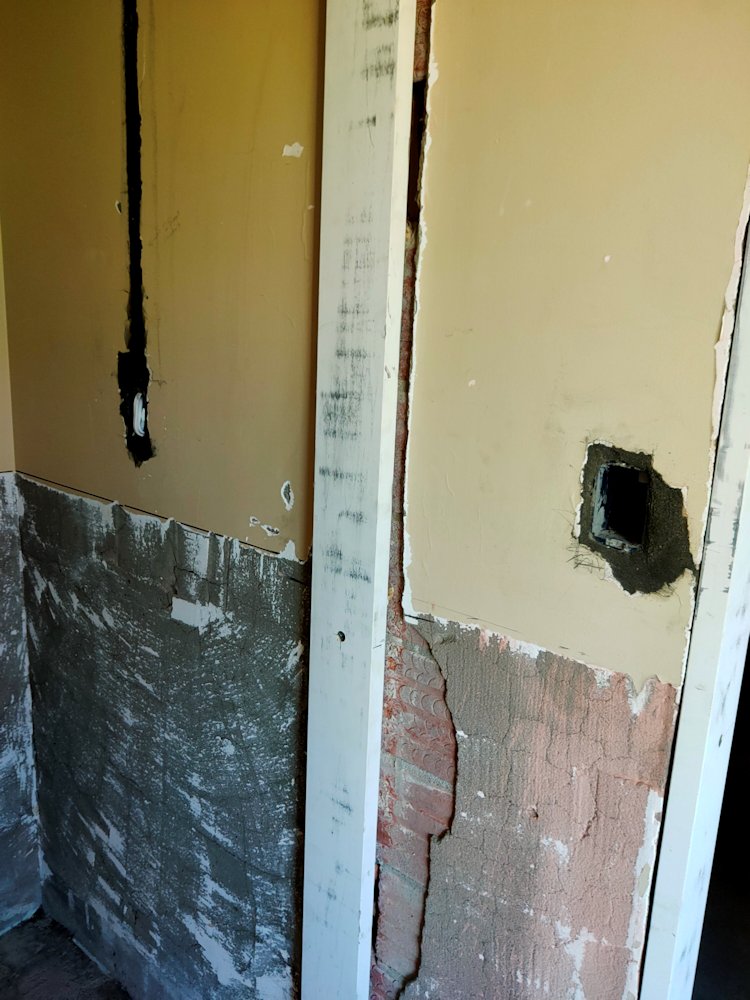
The photo below is of the new power point locations on the wall below where the vanity and mirrored cupboards will go. The power point on the far right wall had to move because it’s where the sliding door will run. You only get to do this once so I went for it and said 2x double power points!
Next one is of the new light/fan switch location inside the toilet. The previous one was inside the left of the door frame, but with a sliding door, that was going to be a silly place. The project manager suggested here, handy to where you open the door, so here it is. The other is the relocated one for the light/fan switches for the main bathroom. The architrave for the doorway is now in place.
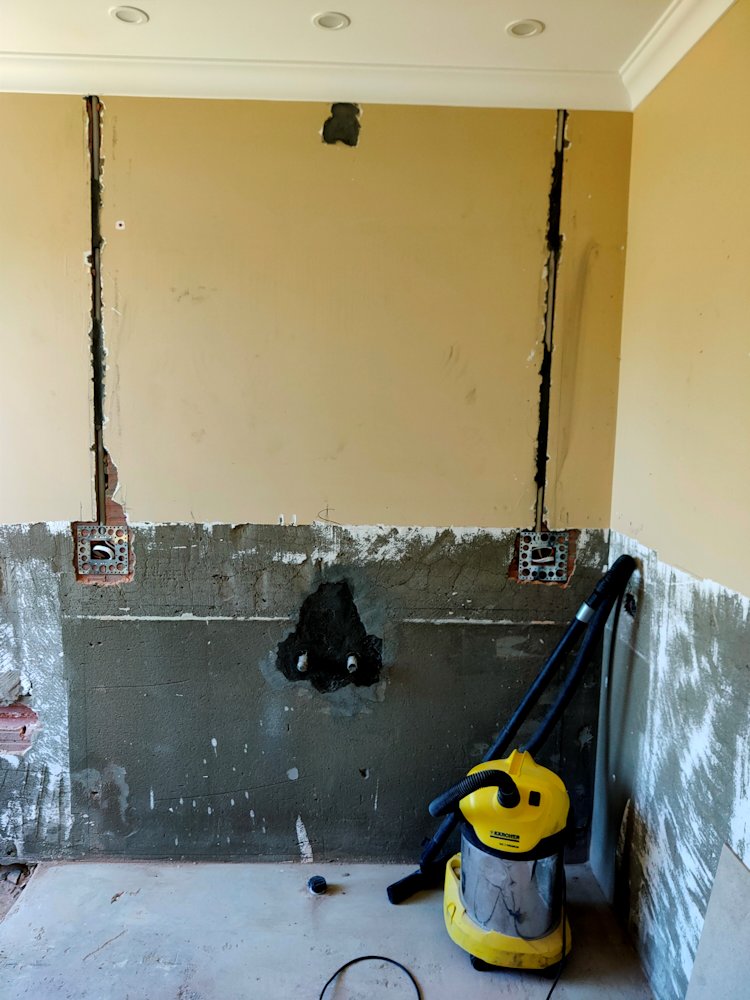
This final photo doesn’t look much but it was a LOT of work for the plumber. The wet cement hides where the old tapset and shower head pipes and connections were. They had to be pulled out and covered over. The hole near the top of the wall on the left is for the new rain shower head, and the bit sticking out halfway up the right wall is for the new mixer tap for the shower. The original plan was to have that tap much further right so you don’t have any chance of scalding yourself when turning on the shower. But those plans had to change quickly once the demolition guys had exposed the bare wall. Why? Because if you look on the right wall, towards the corner, you’ll see a ragged line of grey cement. And when the project manager and I went outside, we discovered that that bit of cement conceals the ONLY hot water pipe into the house. They couldn’t run the pipes between the tap and the shower head without cutting into that pipe—it’s likely not very far below that cement. So the compromise is to move the tap to the right side. It couldn’t remain on the left as it would be too close to the fixed-glass shower screen and would almost certainly be a scalding hazard as there’s no room to move out of the way.


Leave a comment