First full day of class today. Pam explained the thread painting process and then we were into it, working straight away on our prepared photo. No practising!!
The basic process with a photo printed on fabric:
- Add fusible to the back of the photo, then fuse it onto the background fabric. Make sure you leave at least 4 inches of background fabric around all edges of the photo so you have something to hold onto.
- Add batting and backing and pin baste all layers together.
- Start with the eyes and the black edges around the eyes. Mark with black pen first, if necessary, then stitch with black thread.
- Finish the eyes with other coloured thread. Get the eyes right first; everything else is easy after that.
- Now mark and stitch all other black areas.
- Work from dark to light when stitching.
- Use short tight stitches and check the fine details against the original photo.
- When stitching, don’t drop the feed dogs, and use both straight free motion stitches as well as zigzag stitches for the filler areas.
My progress
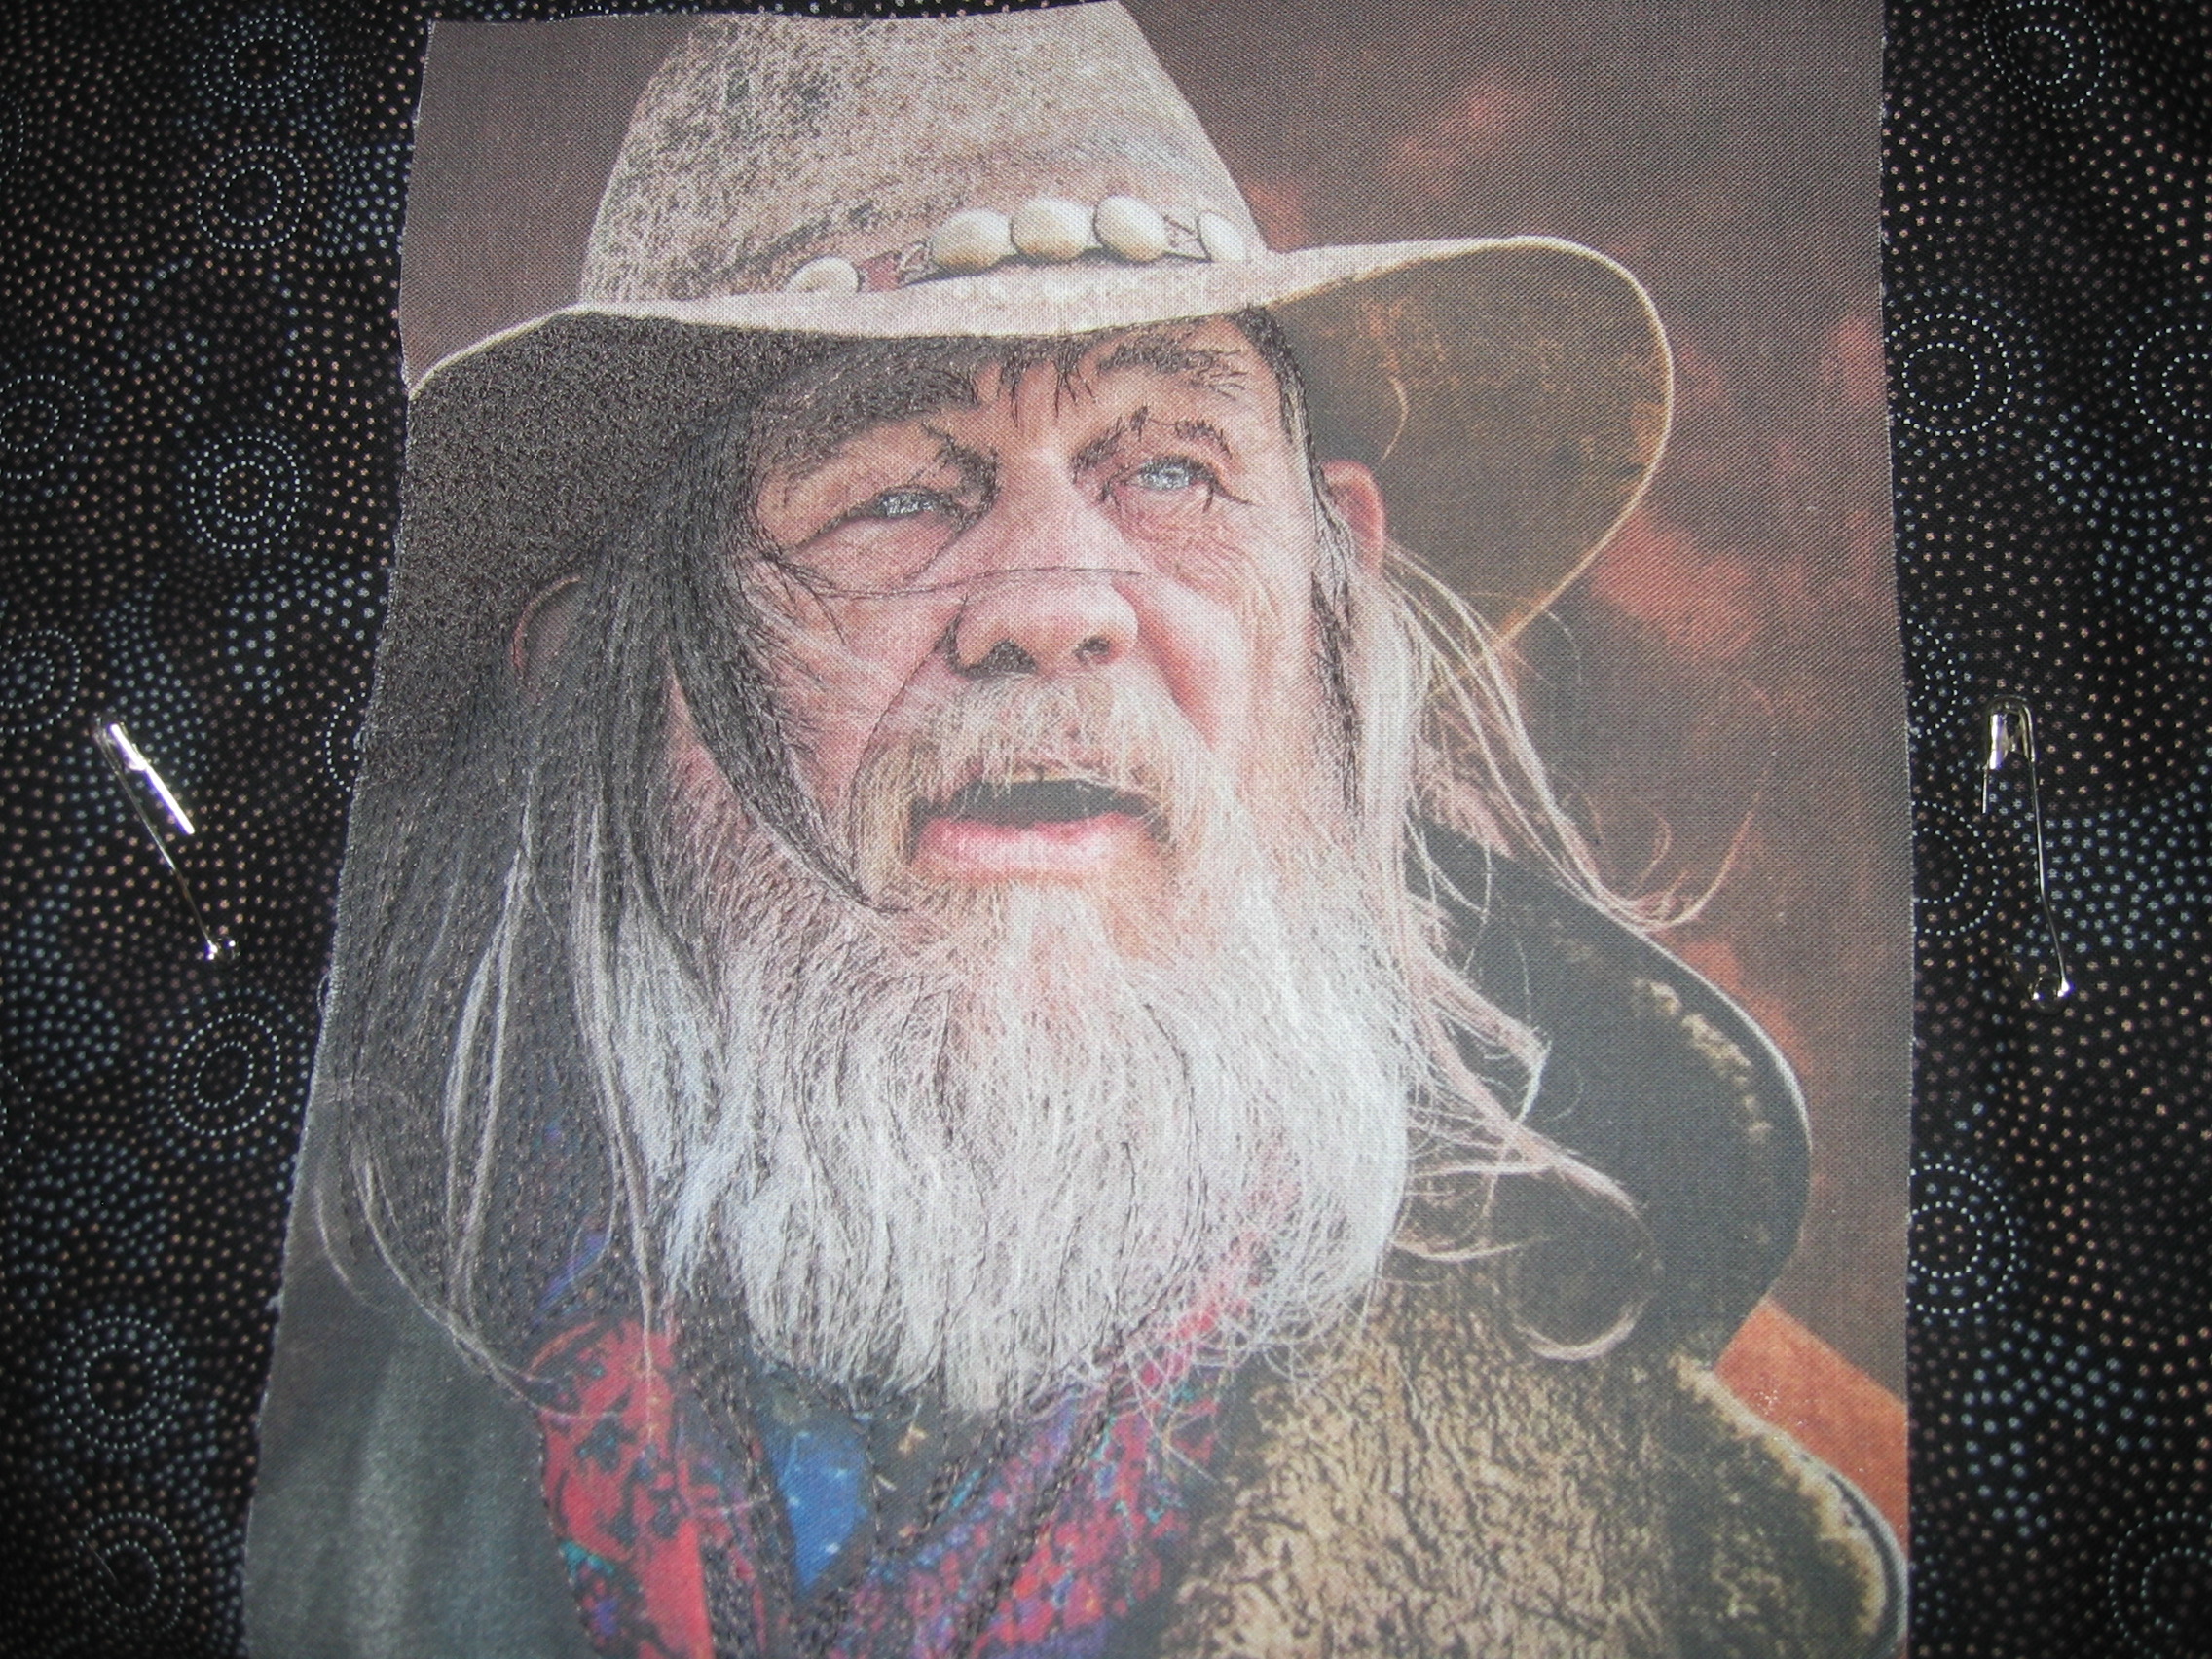
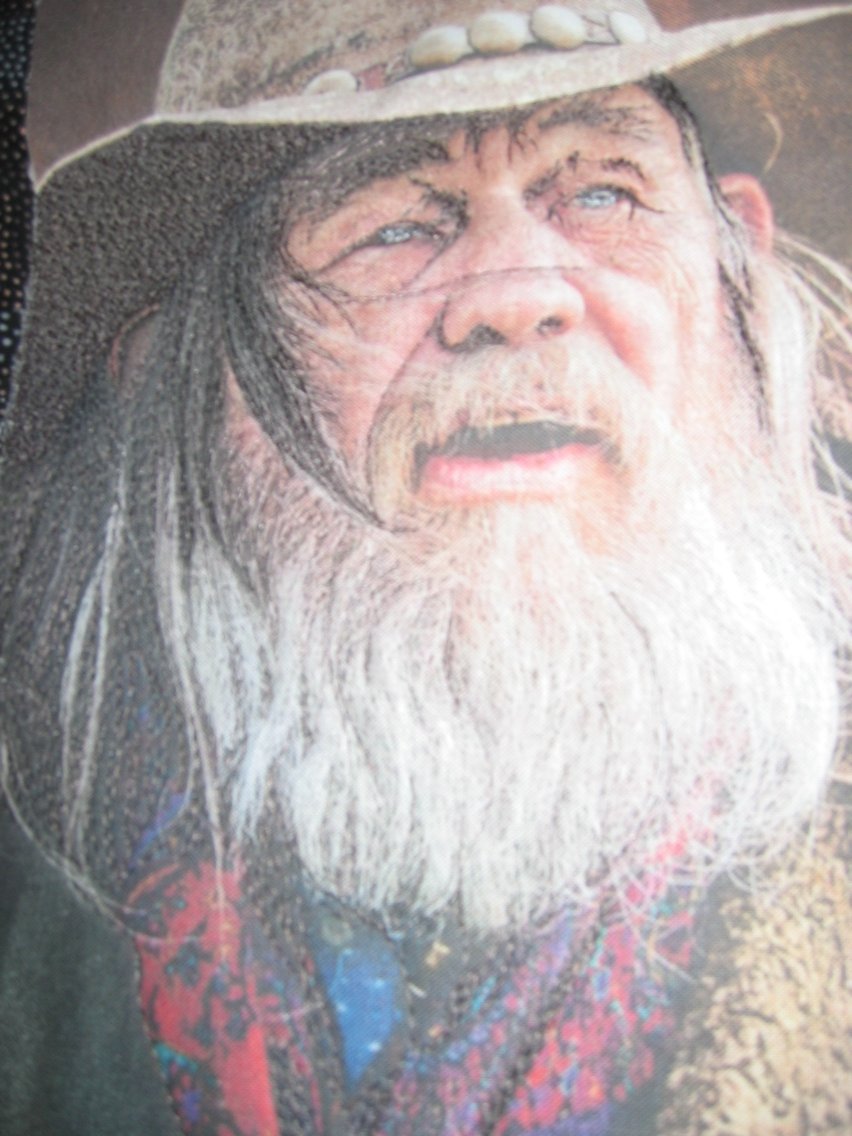
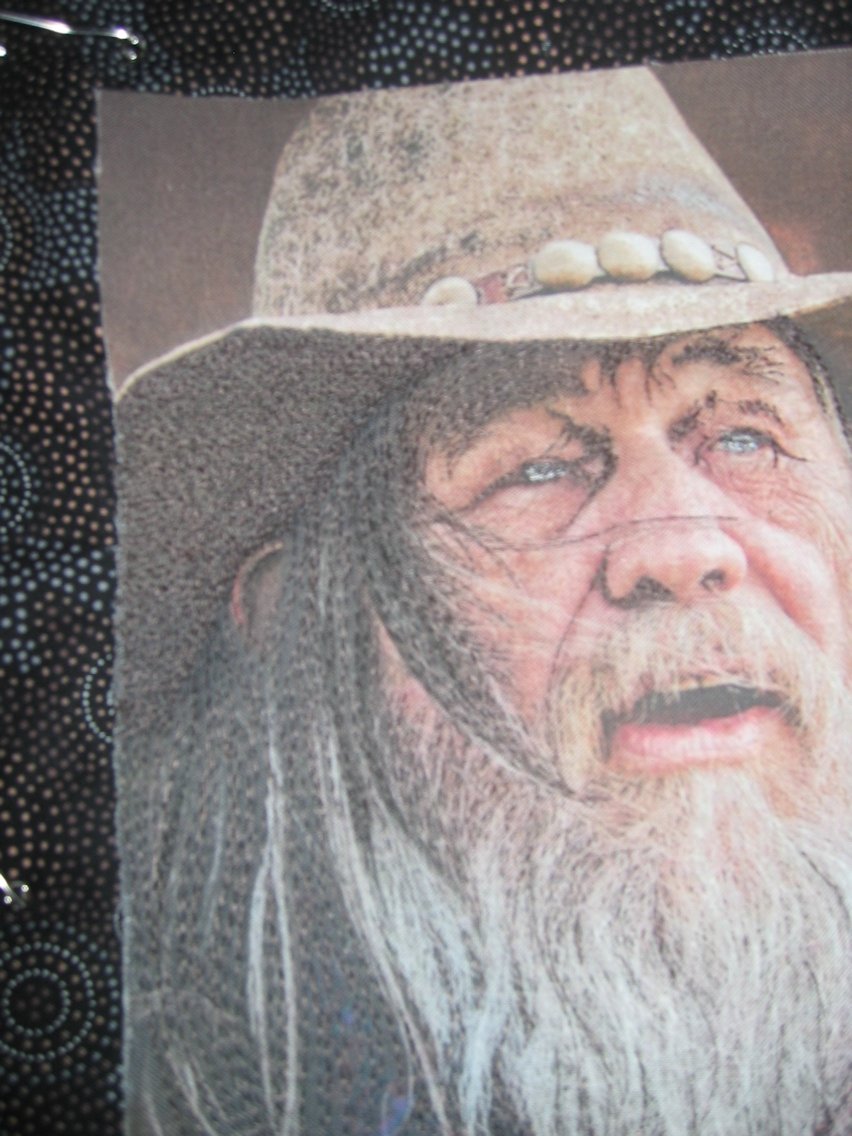
I decided to start with a photo of an old, rugged cowboy (some people thought he looked like Jeff Bridges!). The photos below show the original photo I worked from, and then my progress, from stitching the black of his eyes, hair, hat etc. to adding the pink and tan on his face, the white and shiny grey for his hair, etc.

Original photo of the cowboy, who was my inspiration
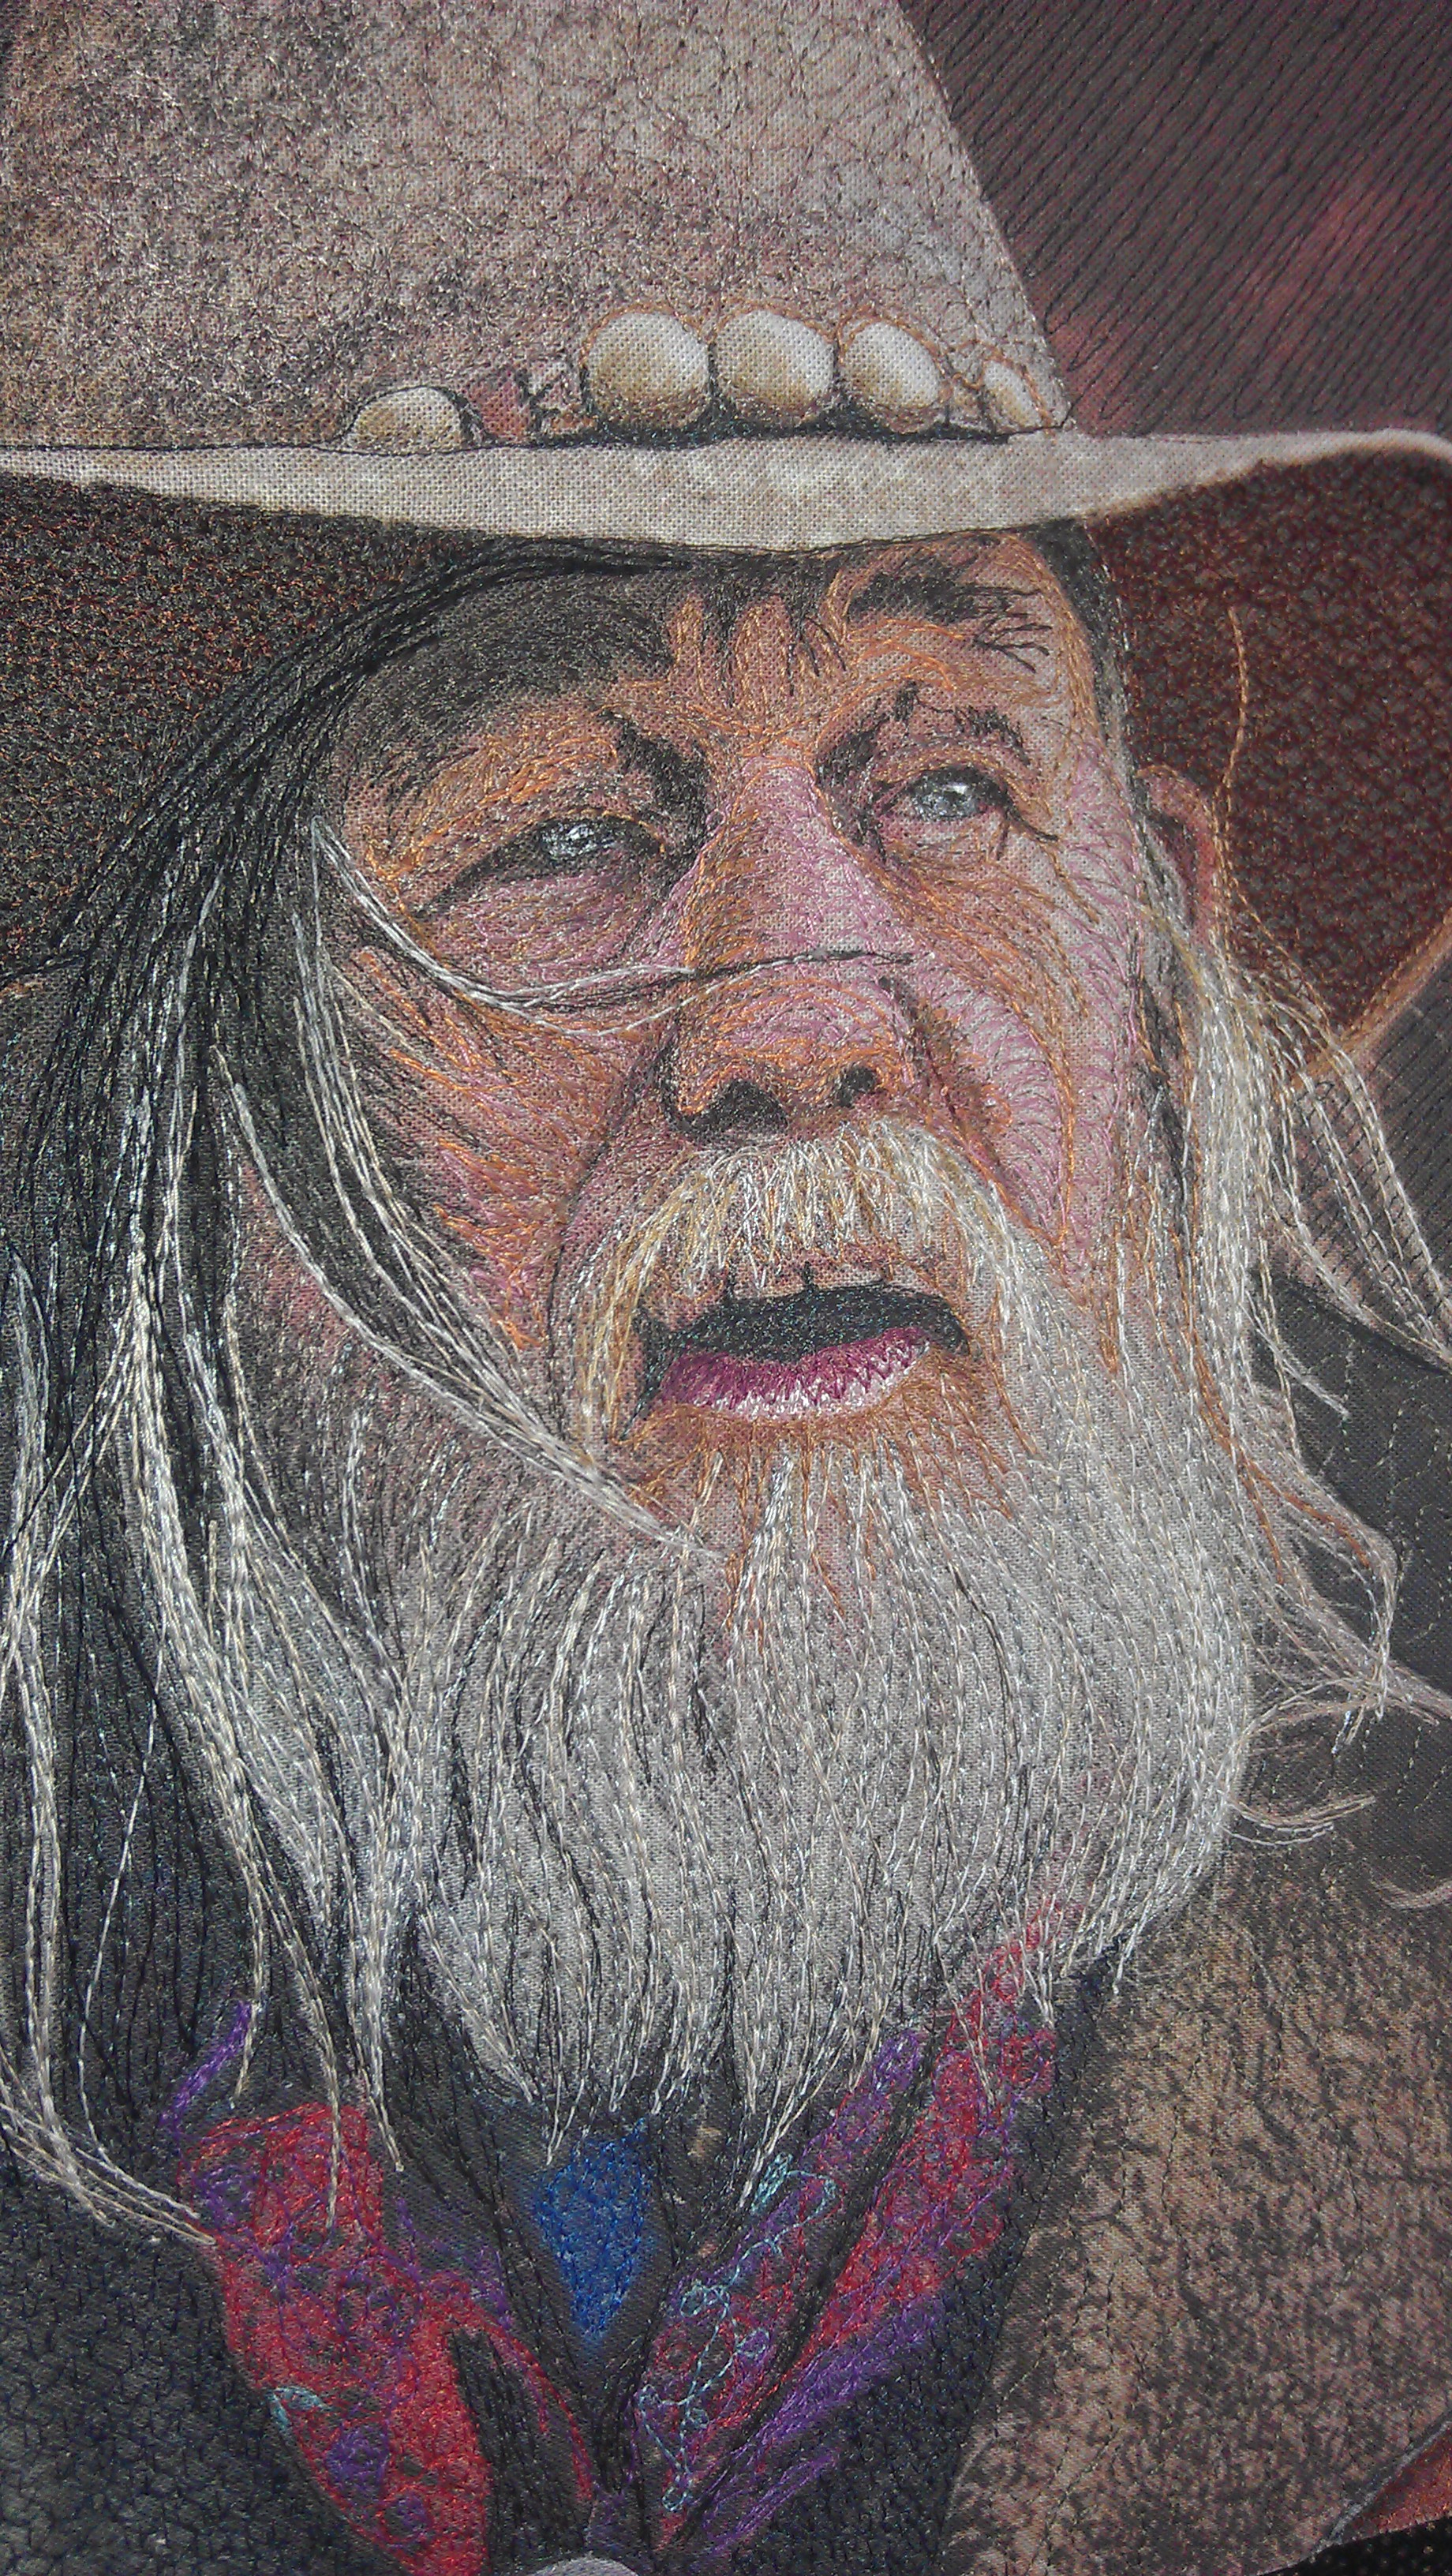
I used multiple free motion zigzag passes (in different directions) on the underside of his hat and on his vest; meandering stipple on the wool collar of his coat; scribble stitching on the top side of his hat; and straight-ish diagonal lines in black for the background. I also added red, blue and purple scribble stitching to his bandana, and various greys for the silver dollar clasping his bandana. I got up a real rhythm doing his hair and beard, and I guess I used about 15 different colours for those elements. I used about 5 different colours in his face. And I dotted a shine in his eyes with some white paint, using the very pointed end of a bamboo skewer (satay stick).
I finished him early on the second day, but I’ve put all the photos in this post to keep them together and to show the development of his face.

Stitching the black areas around the eyes first
Adding more black — eyebrows, hair
Adding dark brown (especially the underside of the hat), and the grey of the eyes

Adding tan to the face and the beard

Pink added to the face, and all other elements now stitched, including the beard and rest of the hair, and the background fabric (I was so into the process I forgot to take photos of each stage!)


I finished him when I got home by adding a thin black border around his portrait and a binding in the same fabric as the background.

I then decided to get him valued by my state’s quilt guild. They valued him at $2000! Yes, that’s TWO THOUSAND! And they added a personal note about how much they ‘all loved this little quilt’.
Update May 2014: I’ve had this quilt valued, and the certificate of valuation is below. However the valuation only takes account the materials and techniques used and the quality of both — it takes no account of the time to learn the techniques nor the time taken to make the piece, which can be hundreds of hours.

Meals
Breakfast: scrambled eggs with sausage links; lunch: chicken Caesar salad, carrot and ginger soup; dinner: pork loin steak with veges, carrot and walnut cake.
See also:
- Day 1: https://rhondabracey.com/2014/02/25/empty-spools-at-asilomar-sunday-23-february-2014/
- Day 2: (this post)
- Day 3: https://rhondabracey.com/2014/02/26/empty-spools-at-asilomar-tuesday-25-february-2014/
- Day 4: https://rhondabracey.com/2014/02/27/empty-spools-at-asilomar-wednesday-26-february-2014/
- Day 5: https://rhondabracey.com/2014/02/28/empty-spools-at-asilomar-thursday-27-february-2014/
- Day 6: https://rhondabracey.com/2014/03/02/empty-spools-at-asilomar-friday-28-february-2014/


So excited to see photos!!!!! Sounds wonderful!!!!!
[…] Great work day today. Finished my first cowboy! Luckily I brought along several photos to choose from as I’ve now completed one. I’ll start the next tomorrow. This time I’ll do an animal instead of another portrait, just so I can get help with stitching the fur. (Photos of the cowboy are in yesterday’s post.) […]
[…] Day 2: https://rhondabracey.com/2014/02/25/empty-spools-at-asilomar-monday-24-february-2014/ […]
[…] Day 2: https://rhondabracey.com/2014/02/25/empty-spools-at-asilomar-monday-24-february-2014/ […]
[…] Day 2: https://rhondabracey.com/2014/02/25/empty-spools-at-asilomar-monday-24-february-2014/ […]
[…] Day 2: https://rhondabracey.com/2014/02/25/empty-spools-at-asilomar-monday-24-february-2014/ […]
Awesome work, Rhonda! …Darlene