Here’s a site worth looking at if you’re at a loos as to how to clean something. While the articles have quite a bit of information, don’t forget to read the comments too, as there are lots more ideas in there too.
http://www.howtocleanstuff.net/

Here’s a site worth looking at if you’re at a loos as to how to clean something. While the articles have quite a bit of information, don’t forget to read the comments too, as there are lots more ideas in there too.
http://www.howtocleanstuff.net/
I forgot to post that I was in my 7th Etsy Treasury a week or so ago. Again, someone was taken with my green leaf coasters, which are still for sale in my Etsy store.
Here’s the screen shot I took at the time of this gorgeous green collection:

From my friend Dave G who said: “Tighten your WHAT? Hell of a name for a vessel full of seamen…”

If you have a large quilt to quilt on your domestic sewing machine, it’s always recommended that you work on a large table, preferably one where your sewing machine can drop down so the sewing area at the same level with the table top. The other requirement is a smooth surface so the quilt can skim over the table top and not get too bunched up or drag.
You can go out and spend $1000 on such a specialised sewing table, but not all of us have a spare $1000 to spend, nor the space to put such a table even if we could afford it.
The other alternative is to think outside the square — instead of dropping the machine down to the table level, why not bring the level up to the machine? Sounds silly, huh? Not if you follow the instructions here: http://shedrum.blogspot.com/2009_01_01_archive.html
With some large sheets of styrofoam, some tape, a knife and a large sheet of plastic, she ended up with a great quilting table — and all for about $18!
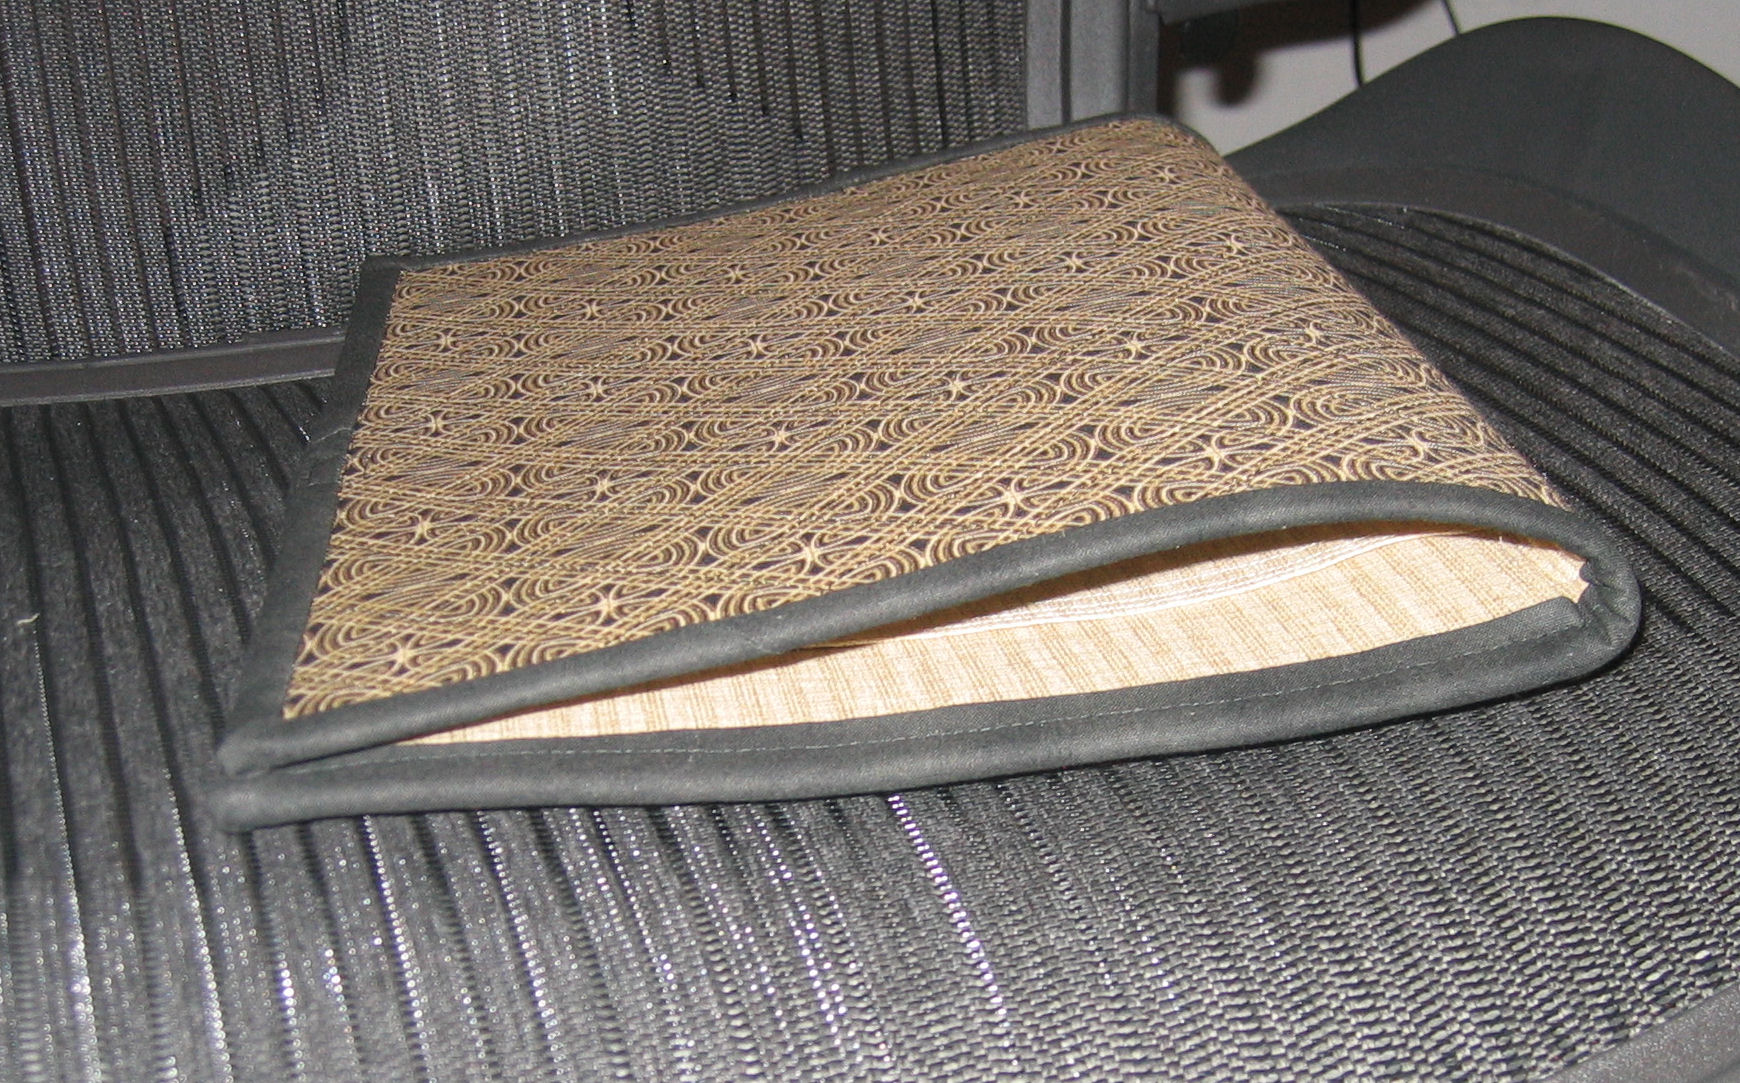
My friend Whitney suggested a while ago that journal/notepad covers might be something I could make. So a few weekends back I experimented by making Whitney one for her birthday! I wrote this post in July, but it won’t be published until sometime in August, after she’s received her present — I don’t want to spoil her surprise!
It took me about 4 hours to make it — without a pattern and just following my nose and an existing folio I already had. I made it so that it can take A4 and Letter notepads, a spiral bound notepad (slips in to the vertical pocket to the right of the spine), as well as a business card, other small items, loose leaf paper, and, after I’d taken the photos, I added an elastic bit to hold a pen in the spine. The closures are velcro.
So, what do you think? Should I make these? The 4+ hour time frame would mean they’d be expensive, plus there’s at least a yard/metre of fabric in one (at about AU$25 per metre) and about 1/2 metre of Stitch and Shape.
Click on an image to view it full size.


When you buy magnetic snaps, they don’t come with instructions! So you either have to figure out how they work (not easy), ask someone who’s used them before, or go to your friend Google and ask it!
I’ve now used magnetic snaps on a couple of tote bags I’ve made. The internet resources I found most useful in perfecting *my* technique (which uses a combination of the techniques from the sites below) were these:
If you’re using ordinary snaps (not the magnetic ones), here’s a tutorial on how to put them together: http://www.gold-fingers.co.cc/2011/05/tutorial-putting-snaps-on-sewing.html
Following on from my earlier post about cleaning fusible glue off a Teflon-coated iron, here’s the problem I had with gunked up sewing machine needles and how I solved it with the help of a couple of people on the Etsy forums.
I’ve been doing some fast free motion quilting on a piece that’s made up of stiff interfacing onto which is fused a piece of fabric. I’ve gunked up (technical term!) 7 sewing machine needles already this evening.
The speed of the needle going through the layers seems to be re-melting the glue on the fusible and sticking to the needle, ultimately causing the thread to snap and the eye and shaft of the needle to become sticky and full of sticky gluey gunk.
How do I clean the gunk off these needles? I’ve tried an orange-based cleaner (which helped to an extent), and am now trying acetone. Any other suggestions?
These needles are perfectly fine otherwise.
These options were suggested:
What I did while waiting for all these suggestions to come through:
The next day I discovered something else: Leave the fused fabric alone for some hours before sewing it!! I left another piece for 24 hours before starting to free motion quilt it and had no problems with glue getting on the needle, whereas the first piece that caused the grief I was sewing within an hour of fusing. I shouldn’t be so keen and eager!
Over time, I get a gunky glue build-up of glue from fusible web on the sole plate of my Teflon iron. I try hard to use an applique ironing sheet (which prevents LOTS of fusible disasters!), but sometimes the glue is almost invisible and before I know it, it has stuck to the bottom of the iron. I also use distilled water for the steam in my iron. I never use the tap water because of all the chemicals in it. It can clog up your iron something terrible.
Today I had a spare 30 minutes, so it was time to tackle the problem…
Teflon is not stainless steel, so using harsh abrasives and scrubbers is not the answer. Off to the internet, where I didn’t find many answers. However, I found some, so I thought I’d collate them here for future reference for me and anyone else looking for a solution.
I’ll try each option over time and report their effectiveness here. But first, some options using things I already had in the house (Note — except where stated, your iron must be COLD):
I found these suggestions on the internet but I haven’t tried any of them yet:
Of course, avoiding the problem in the first place is the best solution so use an applique ironing sheet (or baking paper if you don’t have one), clean off the sheet between each use with a scrap piece of cloth, and have a scrap piece of cloth an old plastic card (like a credit card) near the iron to scrape it immediately you realise that you’ve got fusible stuck to it.
If only I practiced what I preach! 😉
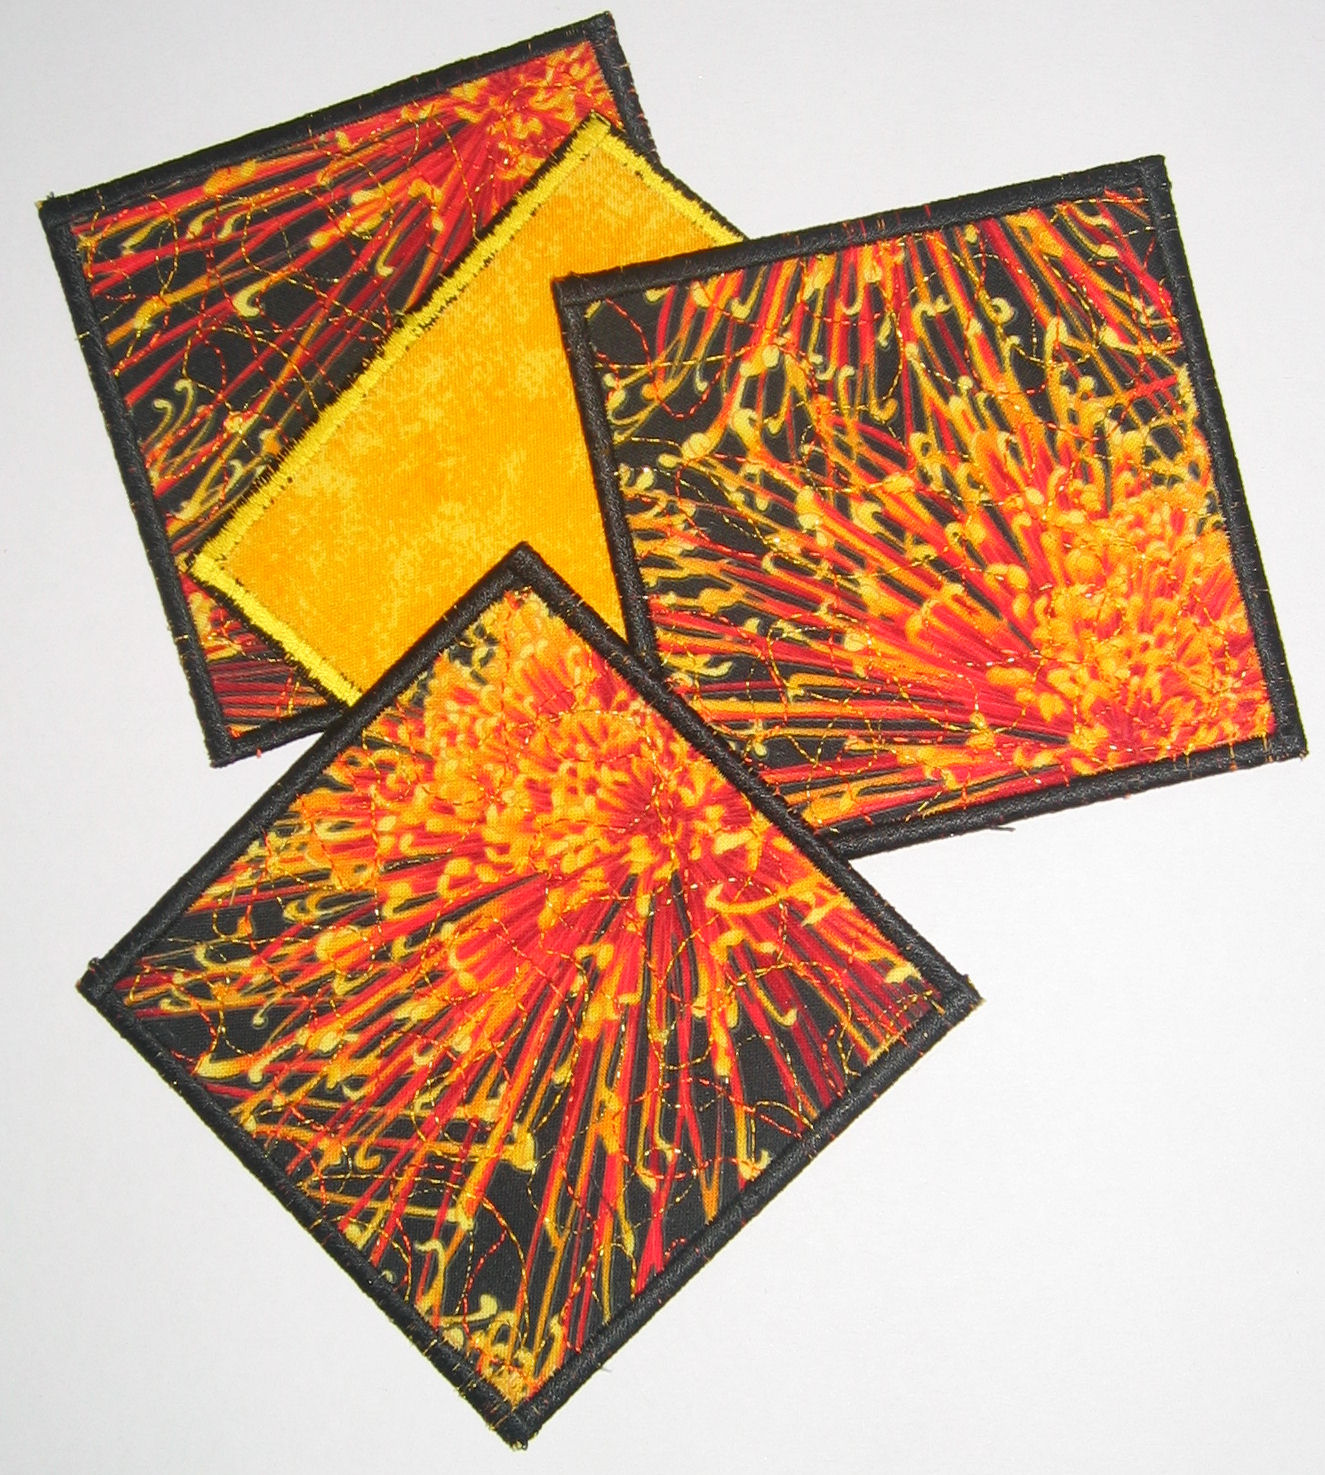
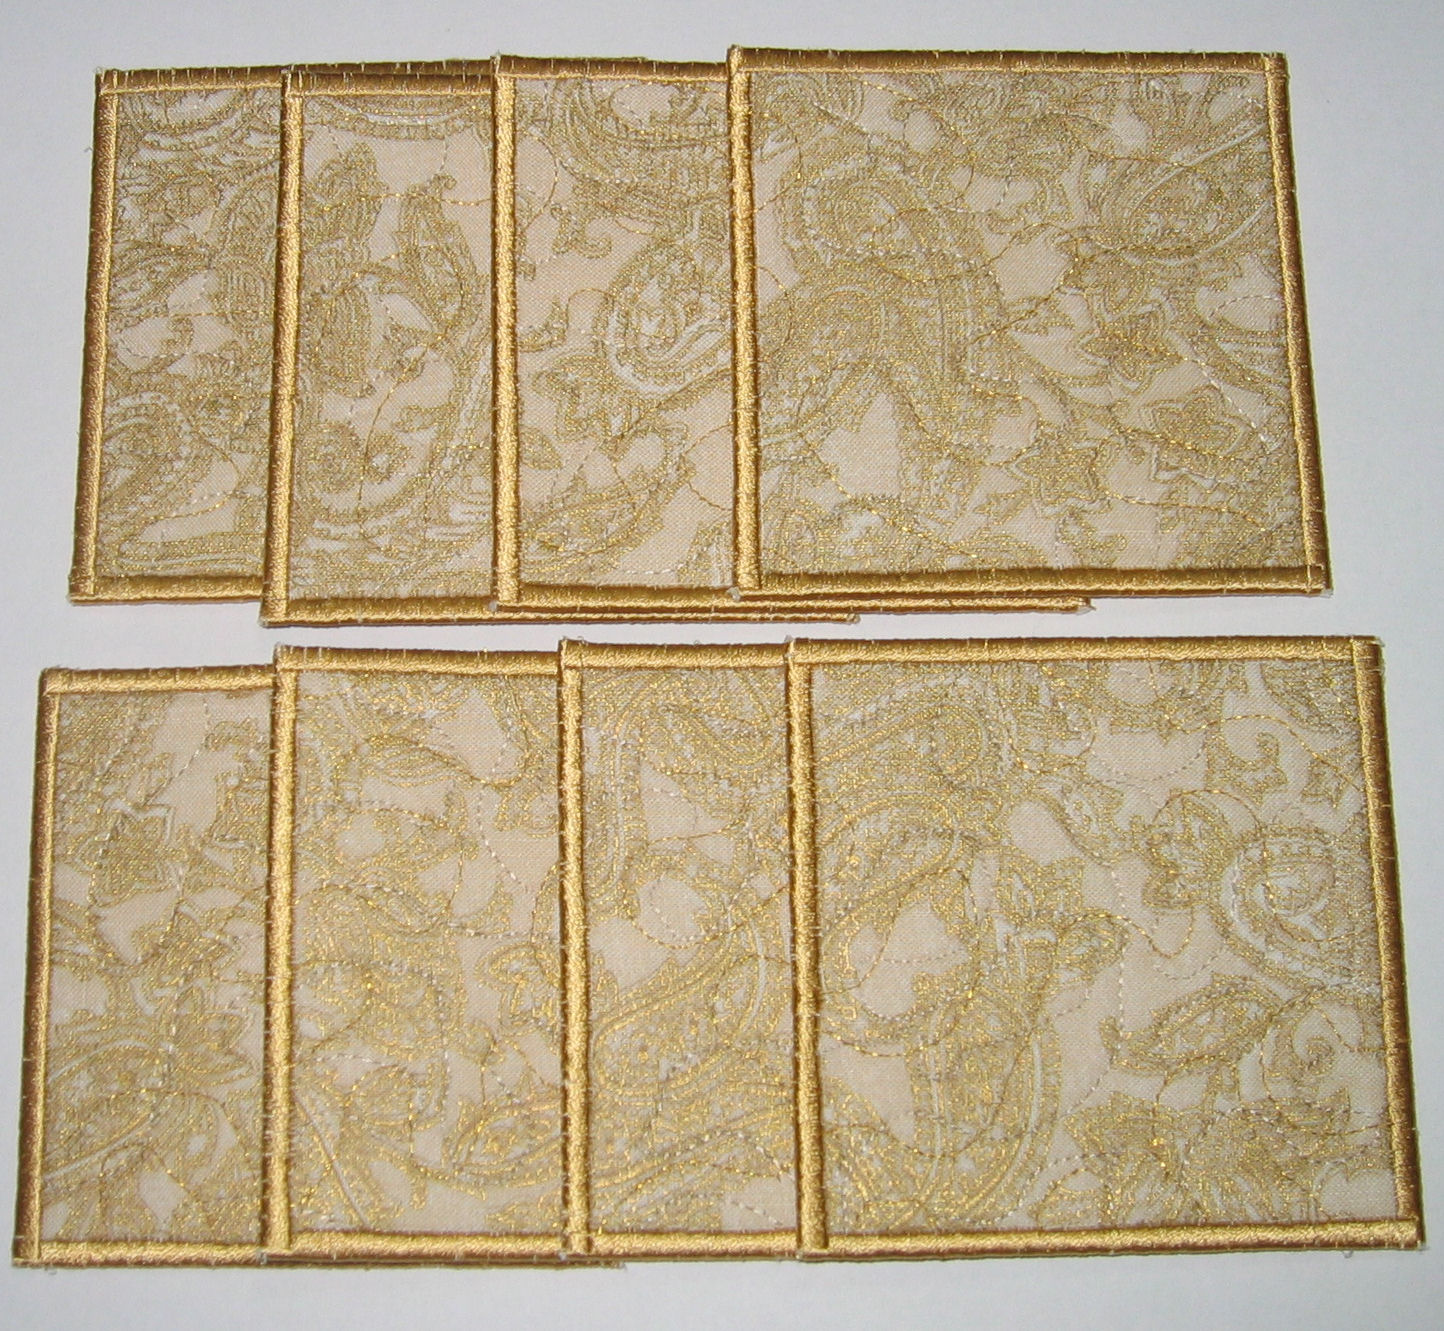
By grabbing an hour or so each afternoon after finishing work, as well as this morning (Saturday), I’ve been able to make all 32 coasters for the wholesale order I received last week.
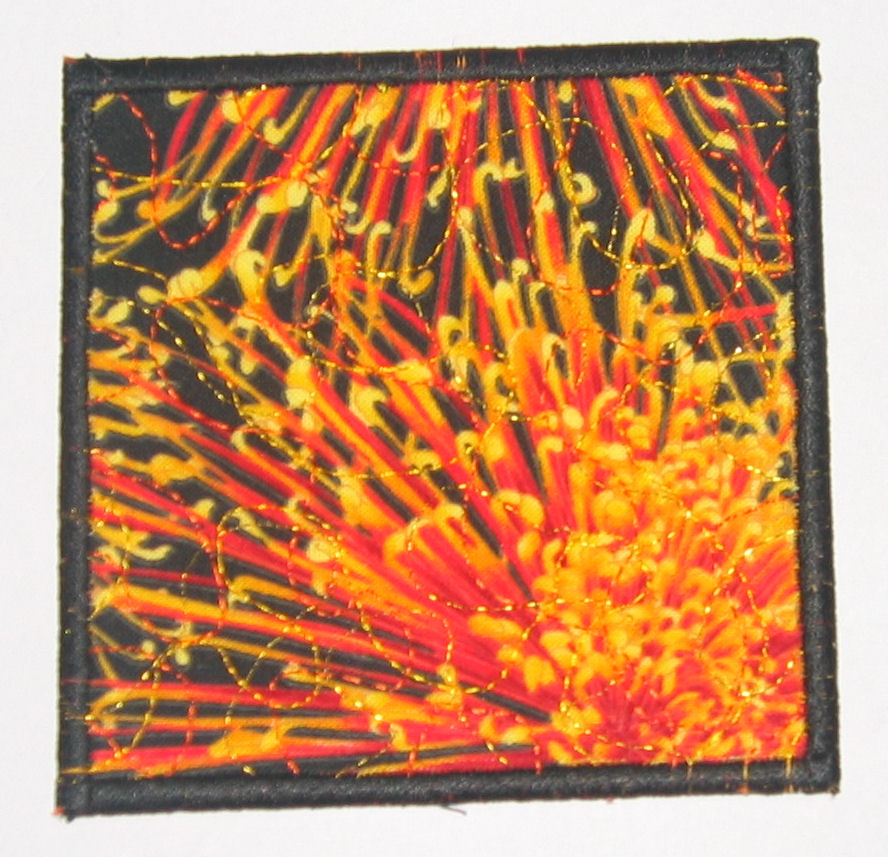
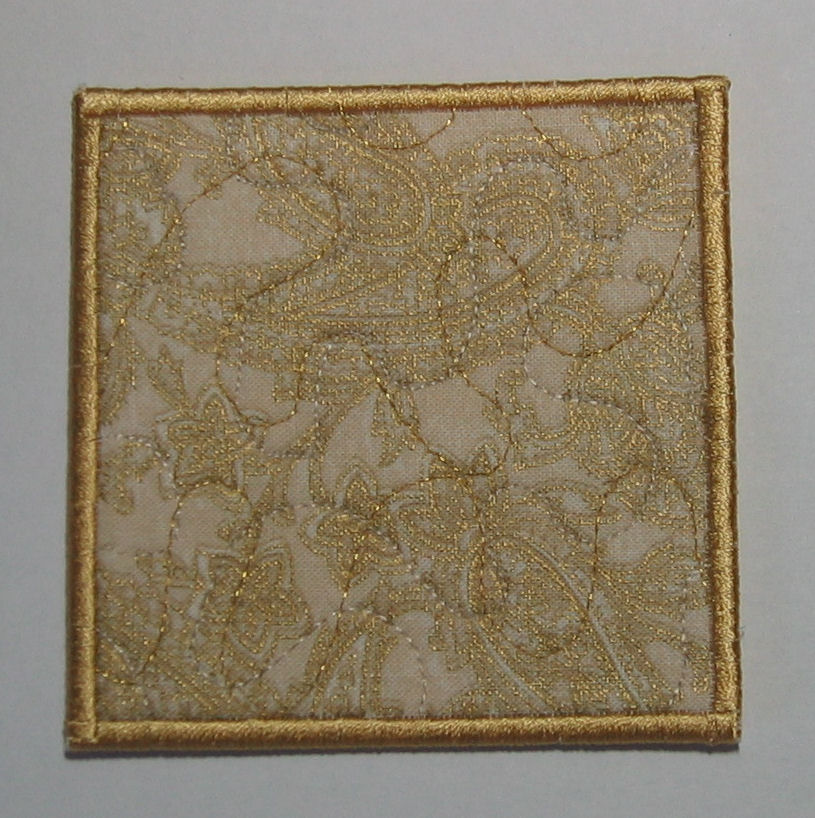
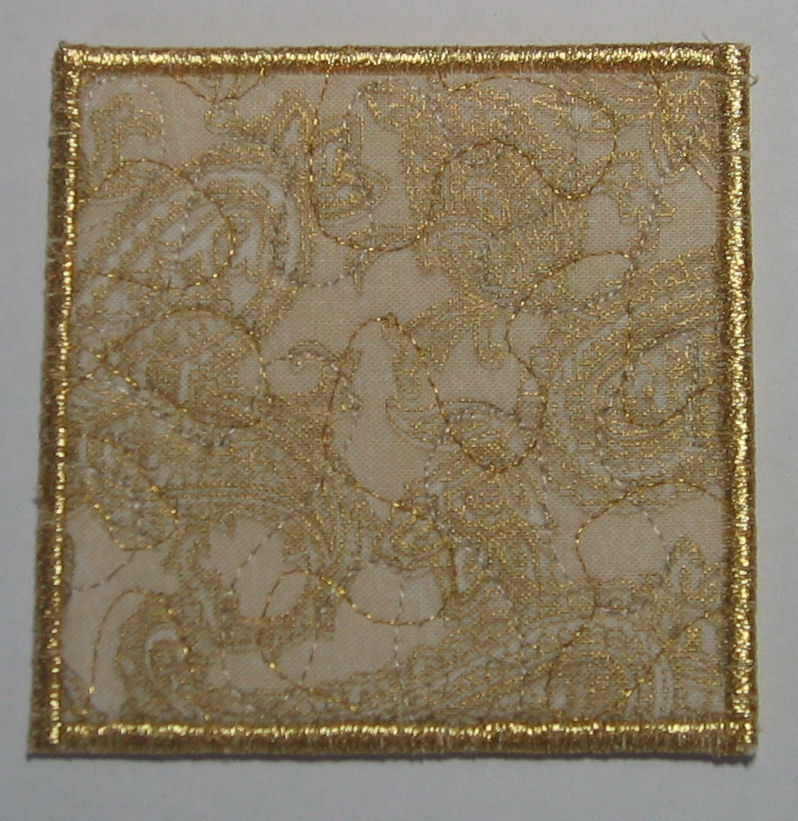
My customer chose two main fabrics from my stash — an orange flower on black, and a cream with a gold paisley pattern. I used a matching backing fabric for each main fabric, and several matching threads for the free motion quilting I did on them. When it came to finishing, I used various thread colours for the satin stitching — each set of four is finished with a different colour (exception: eight of the cream/gold fabric coasters have the same edge finish as that colour matched really well).
For each main fabric, I did one set of four coasters in gold metallic thread. But metallic thread — while pretty — is a sod of a thing to use even with a topstitch needle…
Here are pictures of the finished coasters:

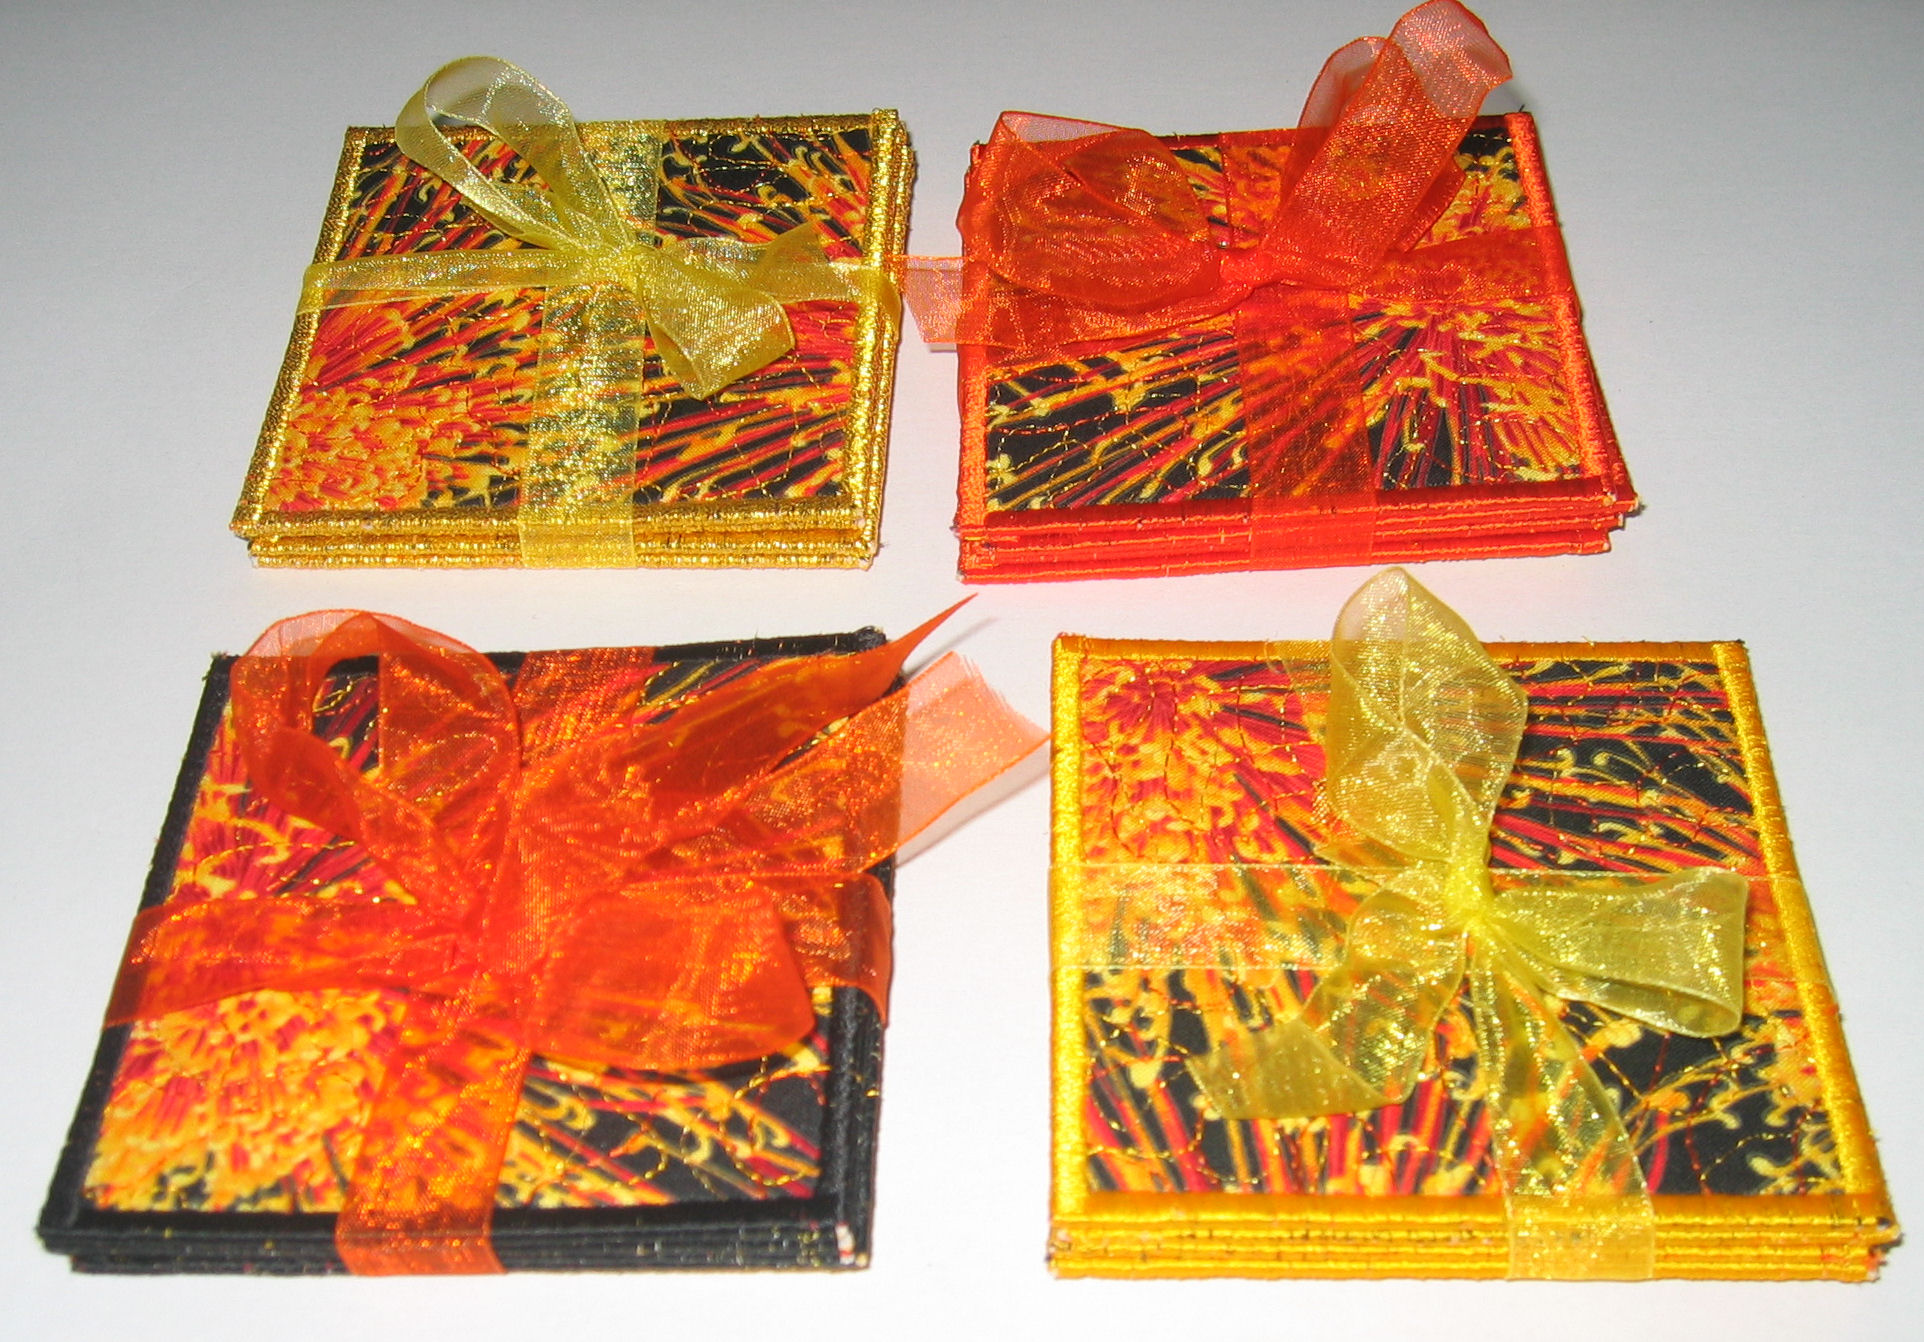


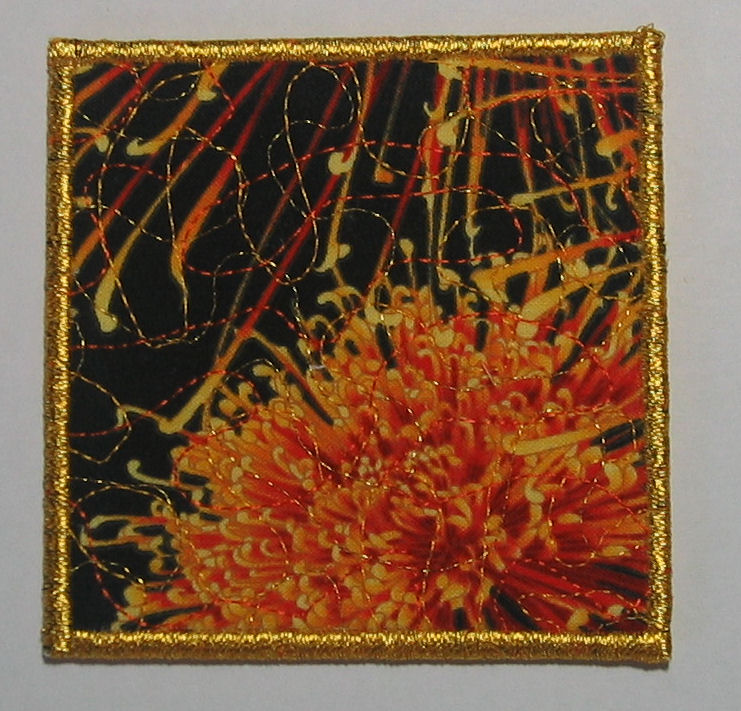
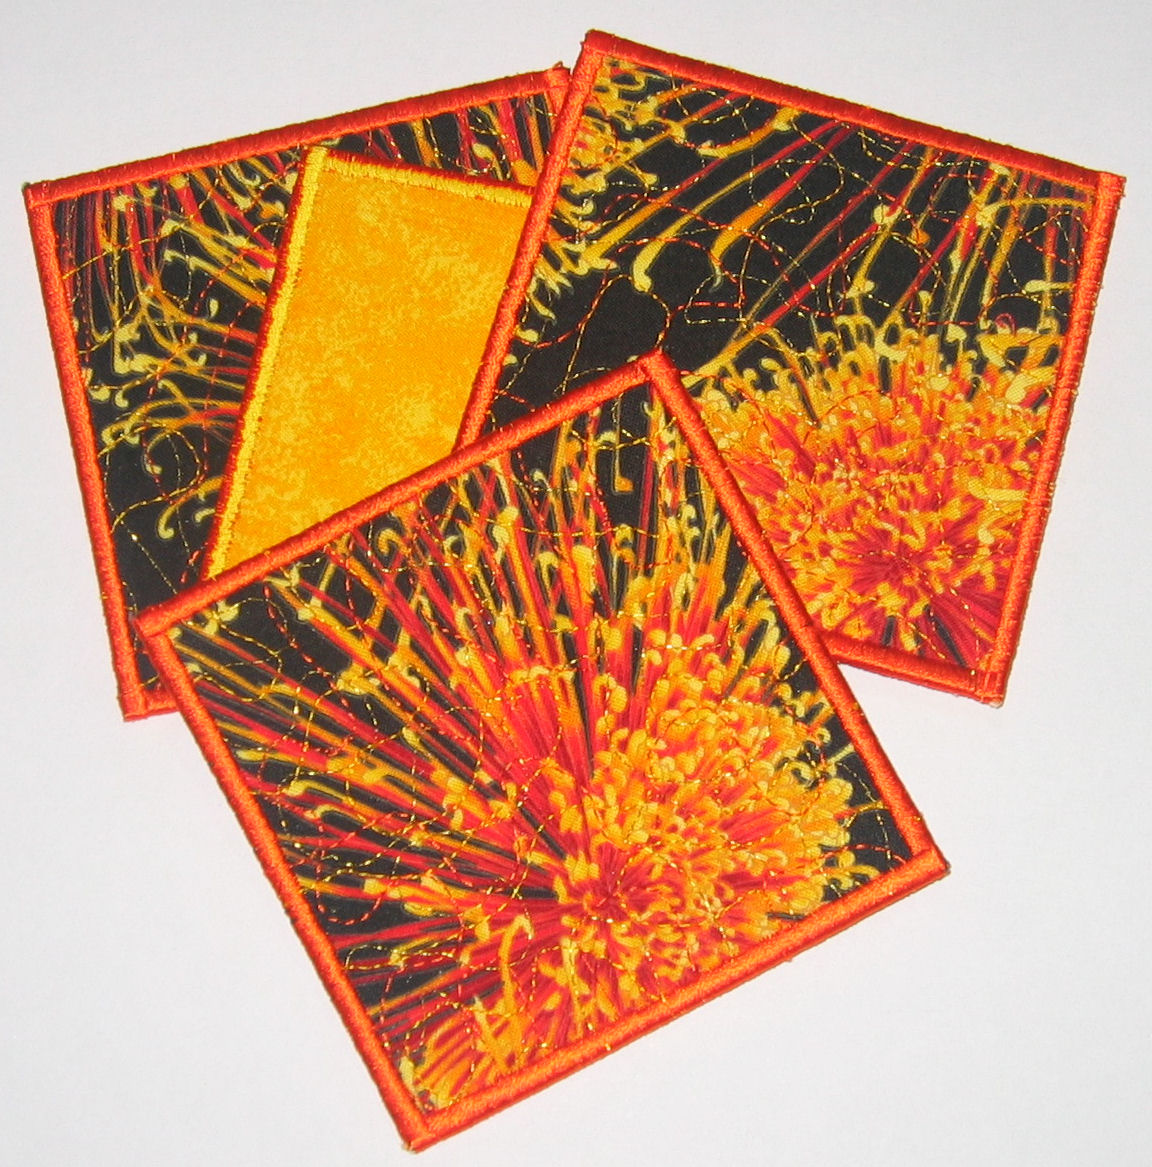


Want your own? Then check my Etsy store for coasters and other goodies I’ve already made.
Cat owners and cat lovers? This is for you!


