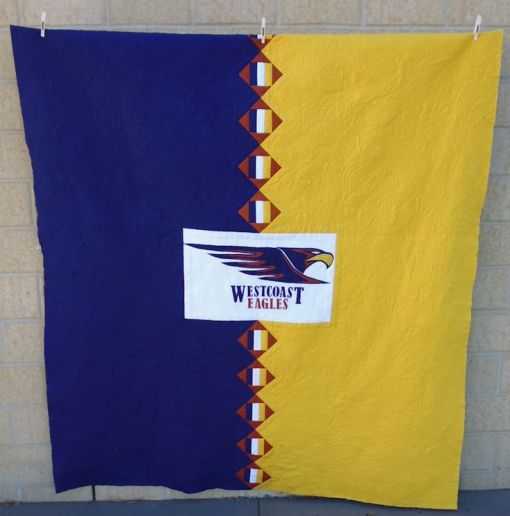
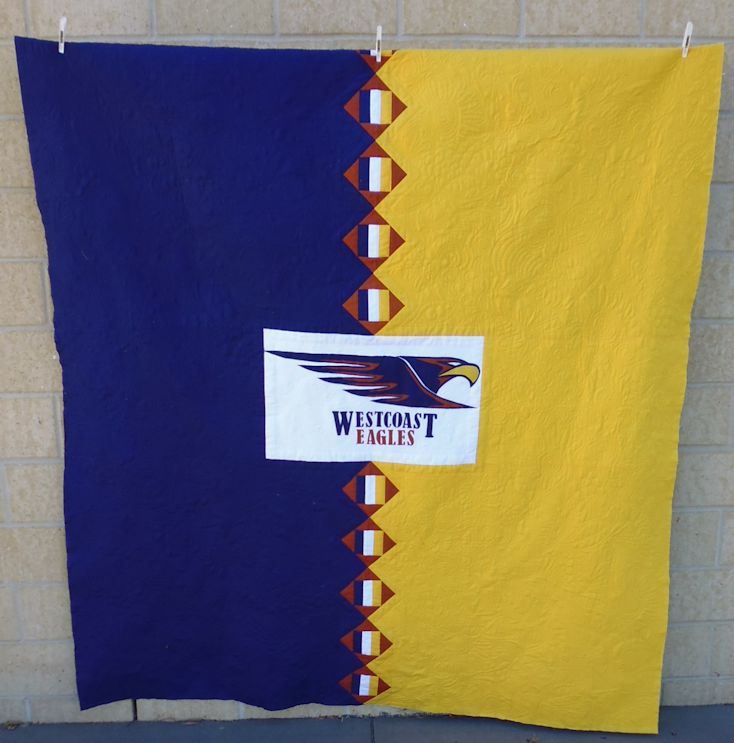
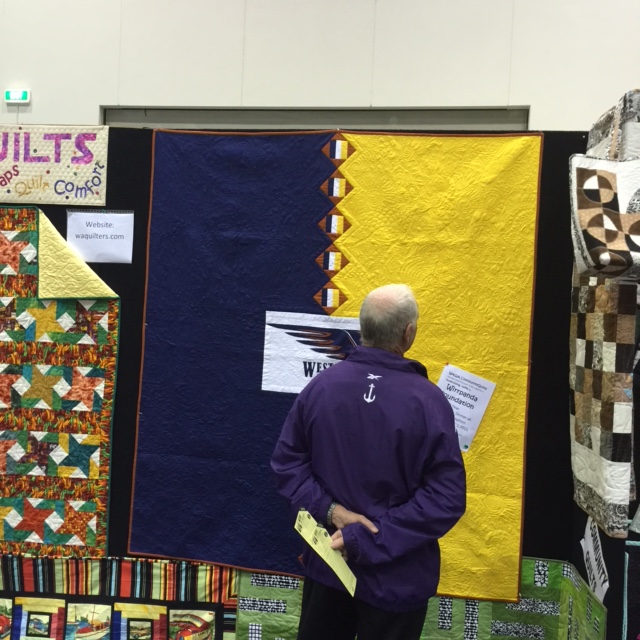
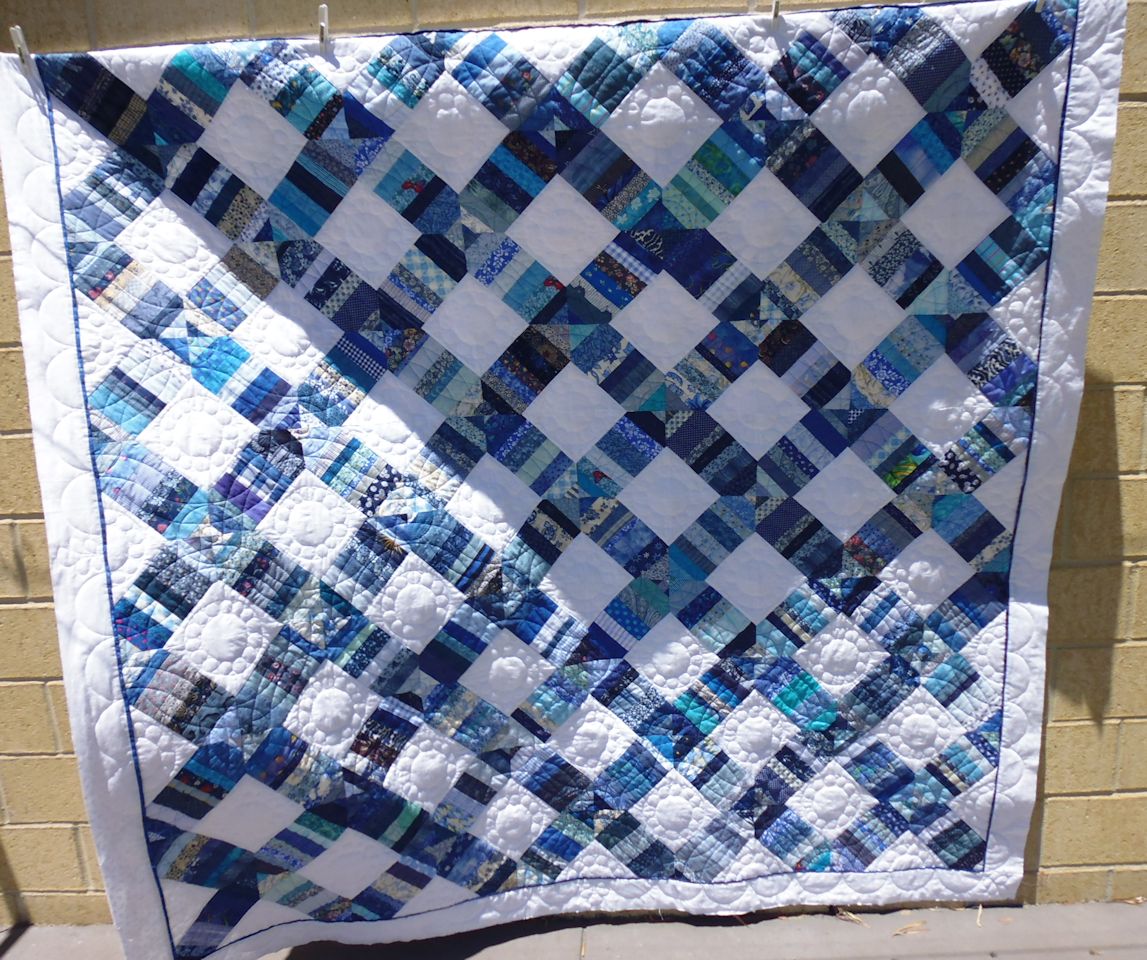
This was a BIG quilt, and my first done using Karlee Porter‘s graffiti quilting method. It’s a quilt for a West Coast Eagles fan (one of the two Australian Rules Football teams based in Western Australia).
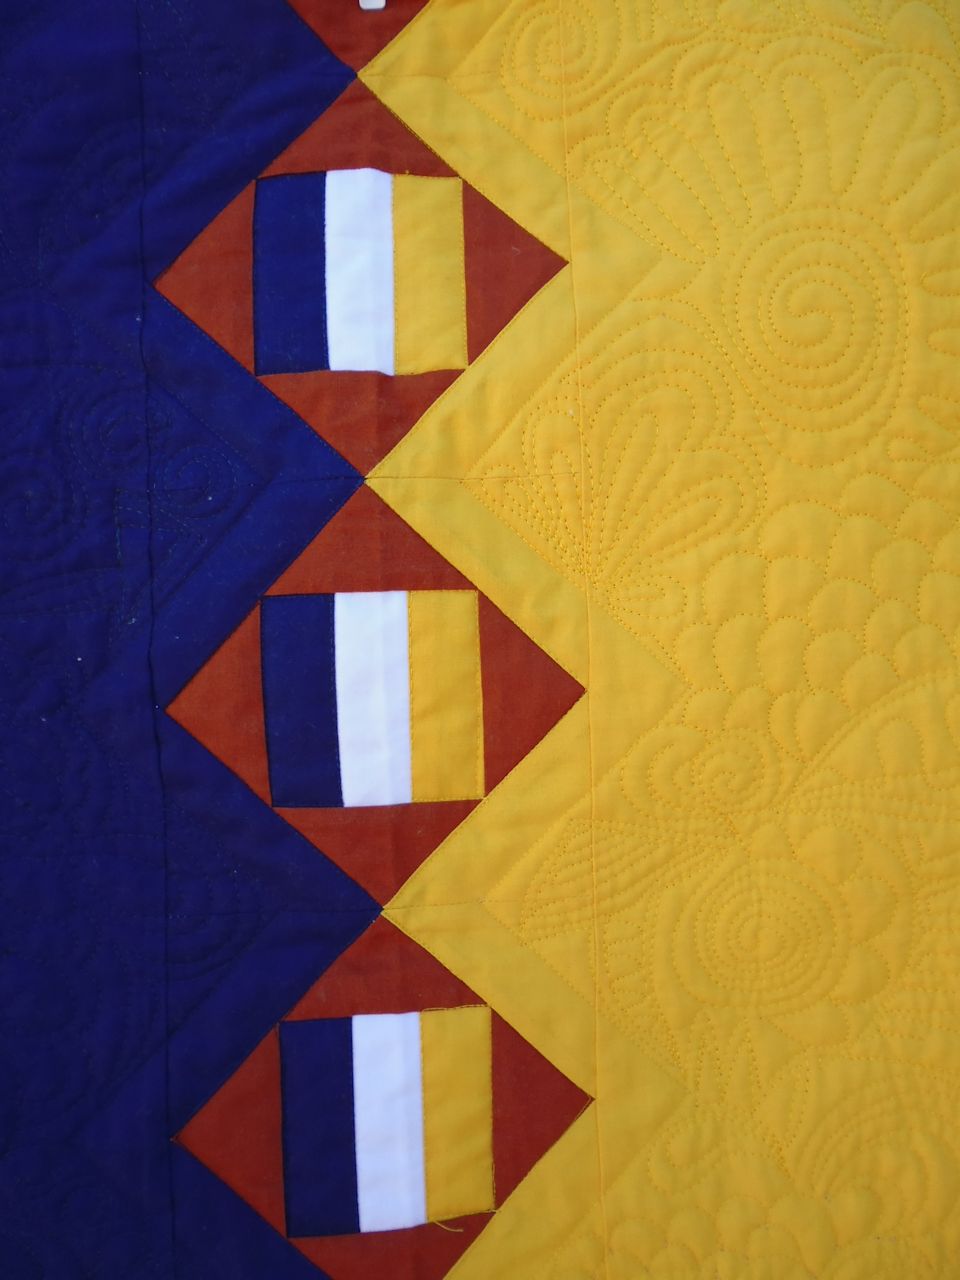
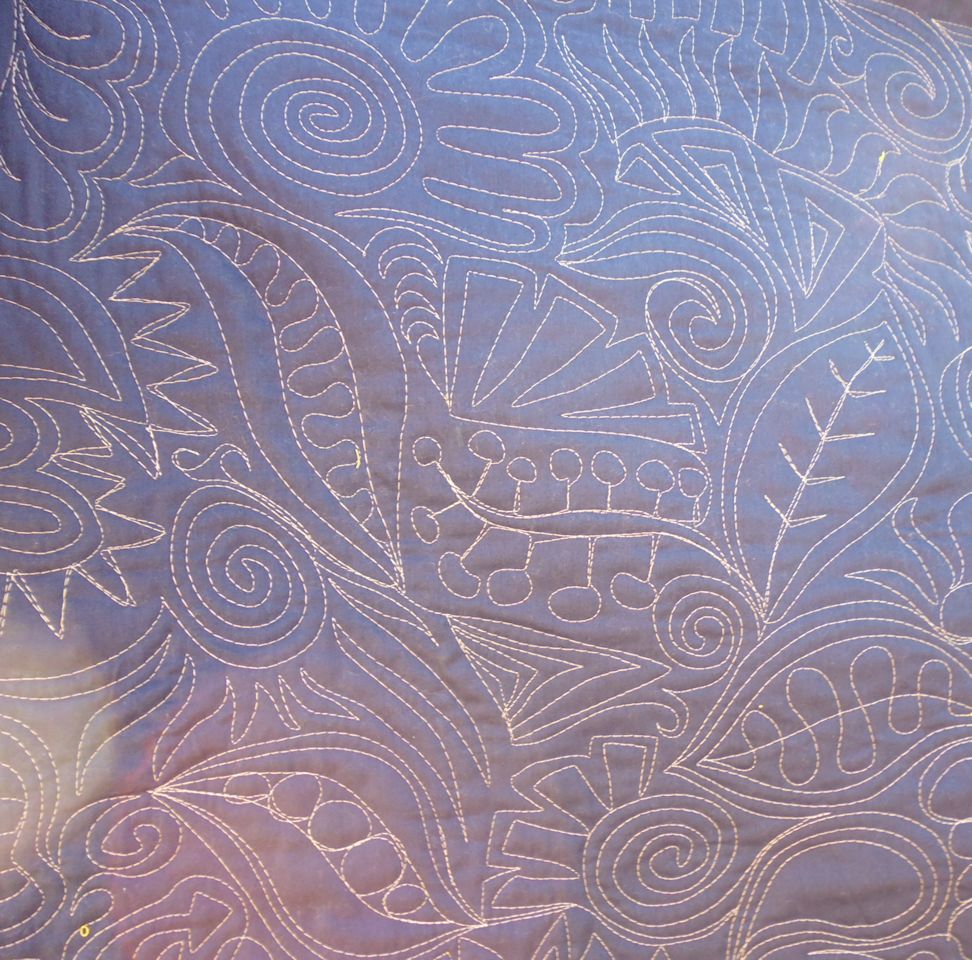
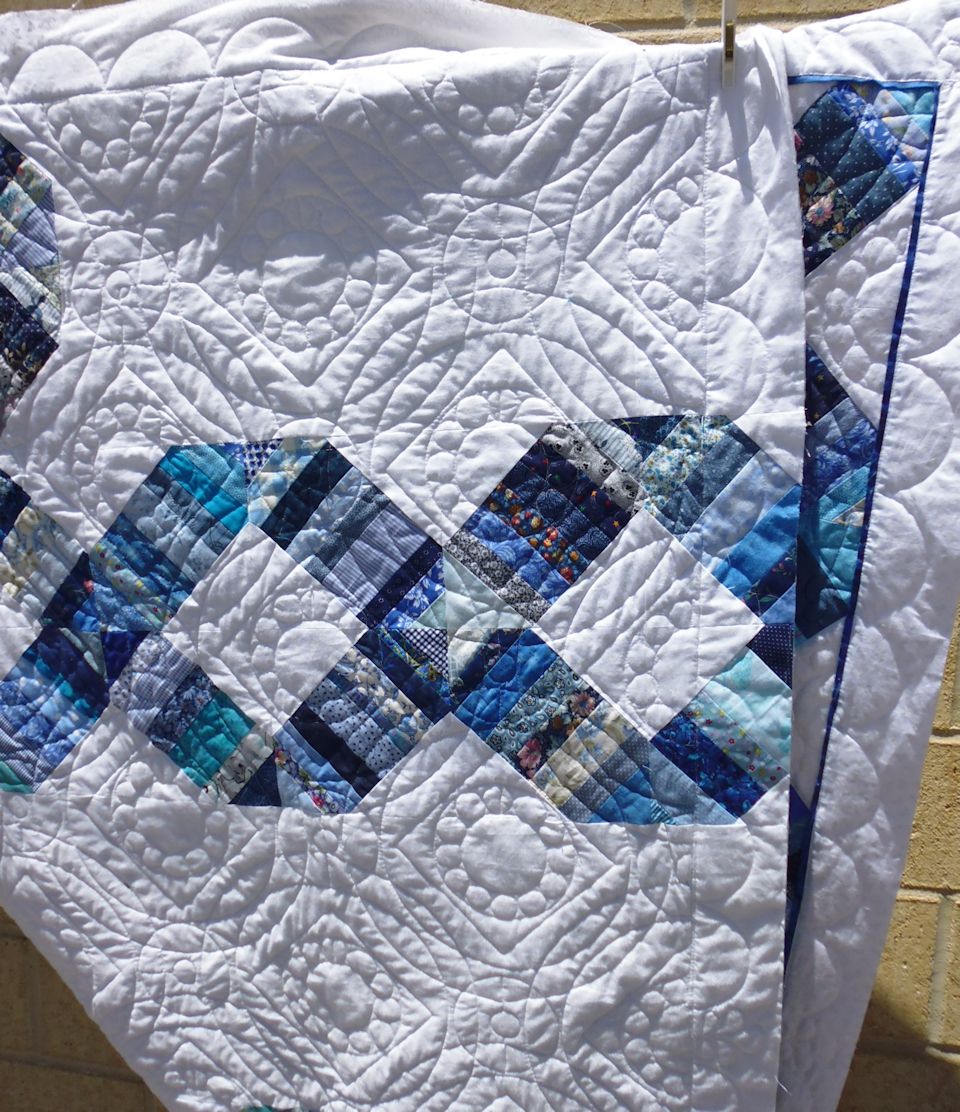
I stitched in the ditch around the centre strip of rail fence blocks, then echo quilted an inch out from these blocks, using a navy thread on the dark blue fabric and a yellow thread on the yellow fabric. I thought about quilting the yellow side in contrasting navy thread and the blue side in yellow thread, but decided against it, instead quilting each side in a matching thread for the fabric.
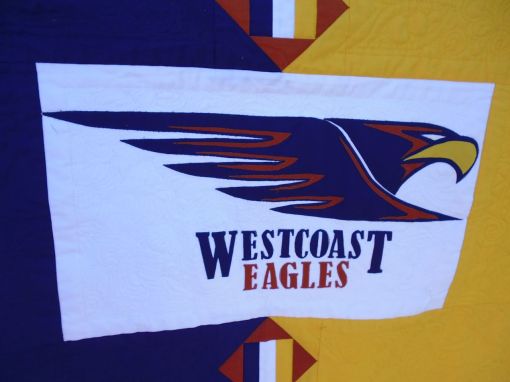
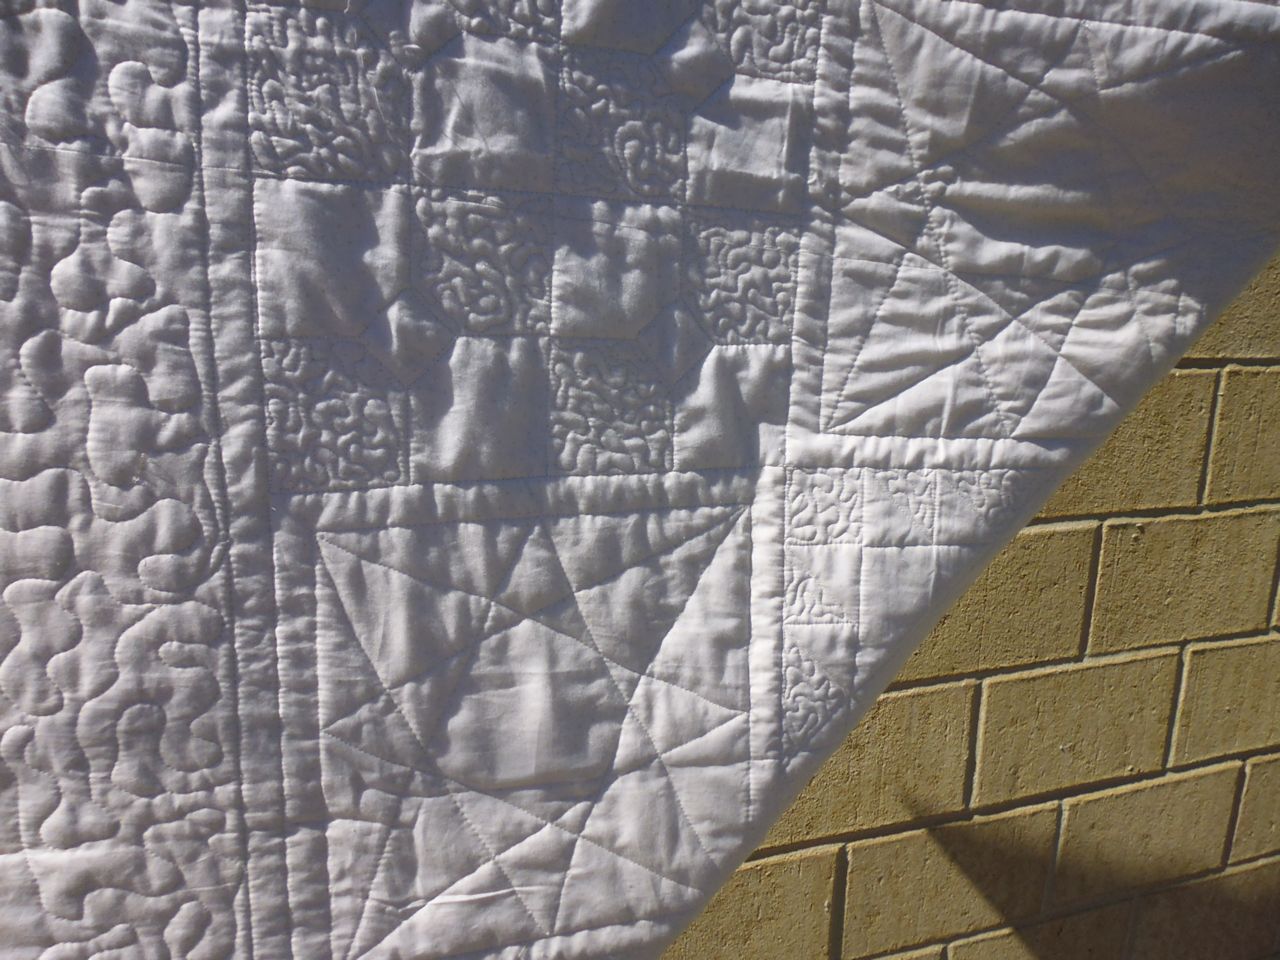
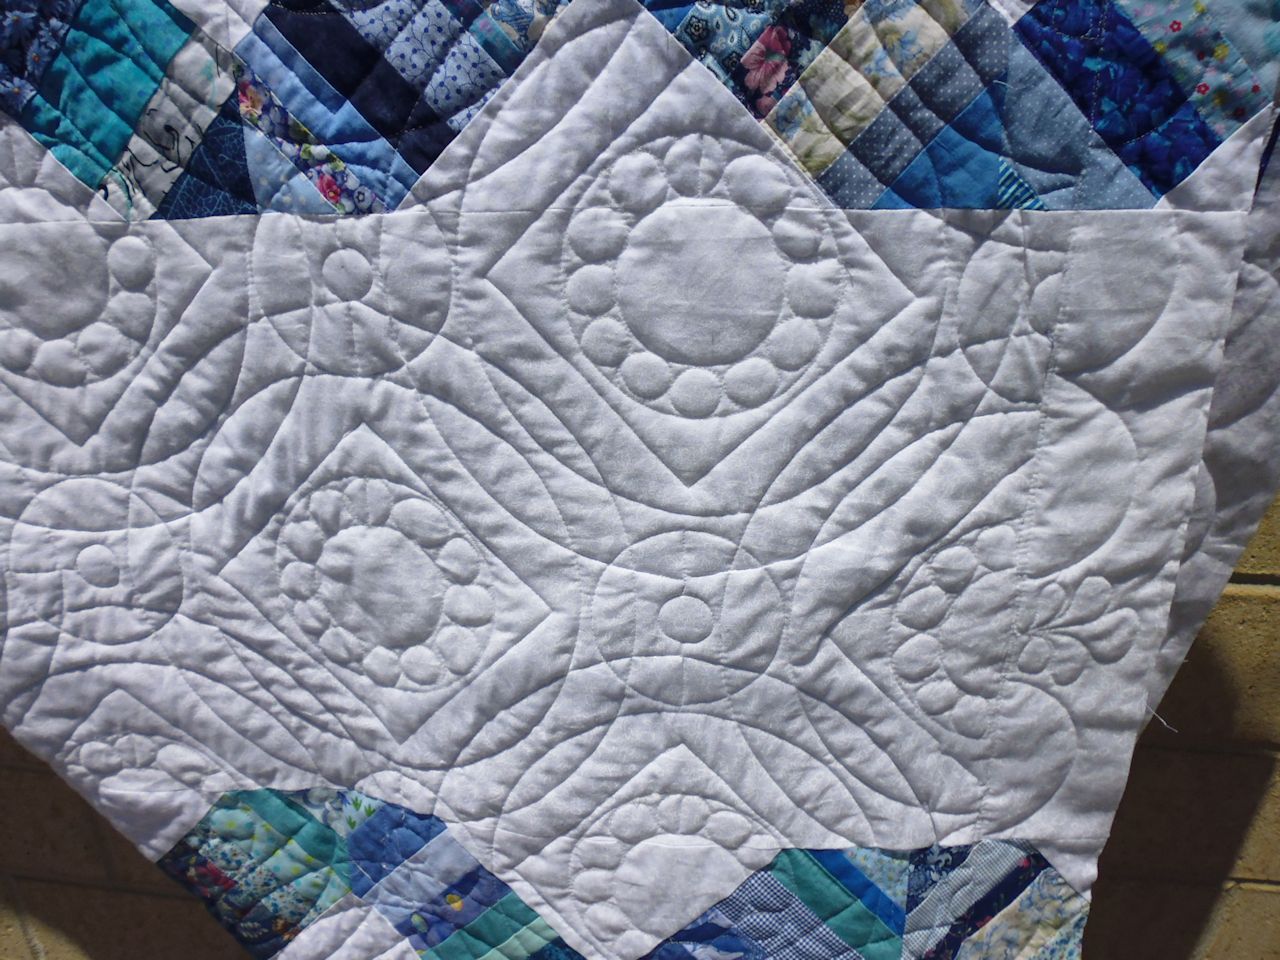
In each large blue and yellow sector, I quilted several instances of ‘eagles’ in cursive script, echo quilting around each one. But most of the quilting is free-form graffiti quilting, with me deciding at the last moment what motif to stitch next. I used McTavishing in the white centre, though it’s hard to see in the pictures below. I also thought about using a contrasting thread to emphasise the word ‘eagles’ on each side, but decided against that too as I thought it would spoil the effect.
This quilt took about 10 hours to quilt.
(I used to be a member of the Fremantle Dockers, the other Western Australia AFL team, so I’ve quilted about 10 small Dockers anchor symbols in this quilt as well 😉 They are so well disguised I couldn’t find any of them the next day!!)
(Click on a photo to view it larger)

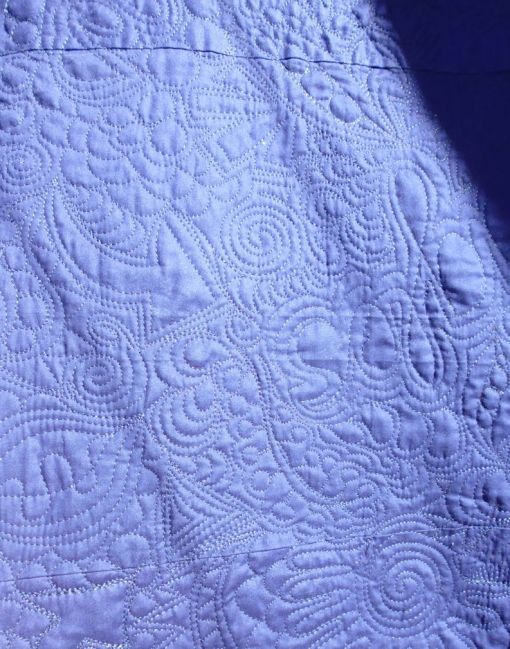
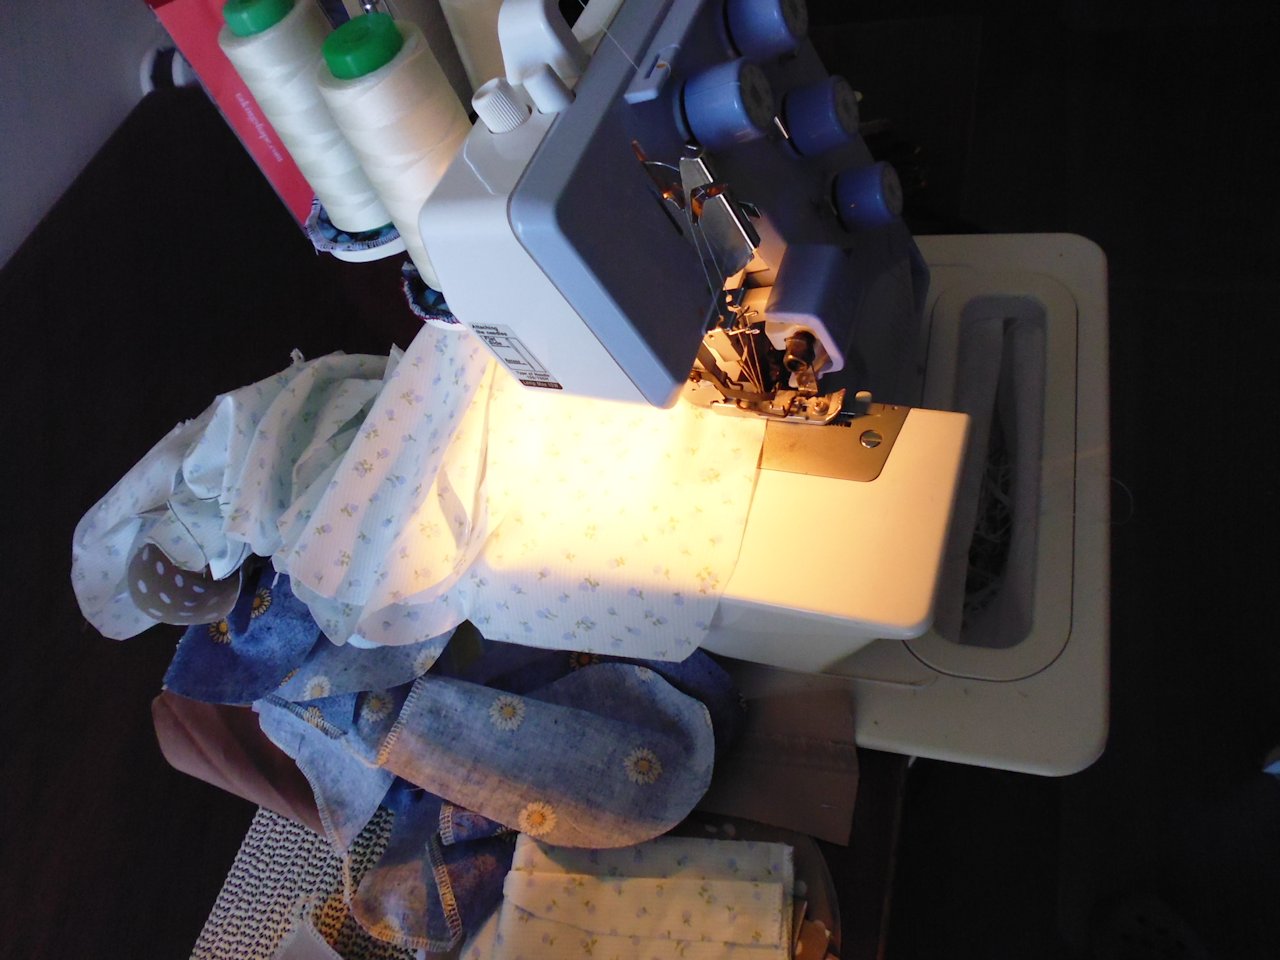
When on the machine:
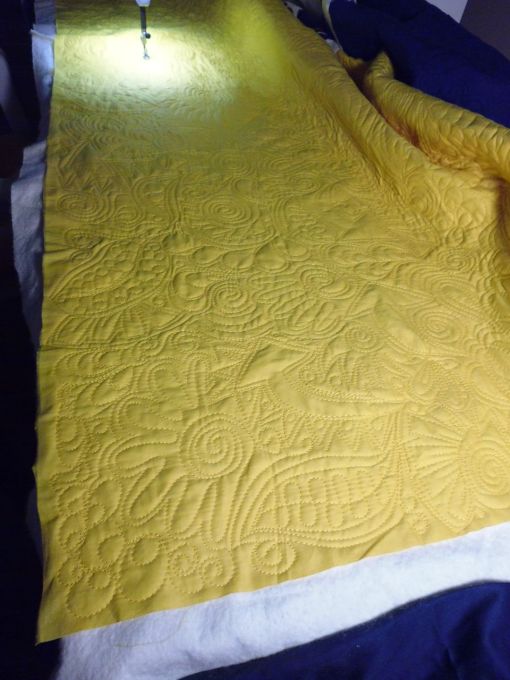

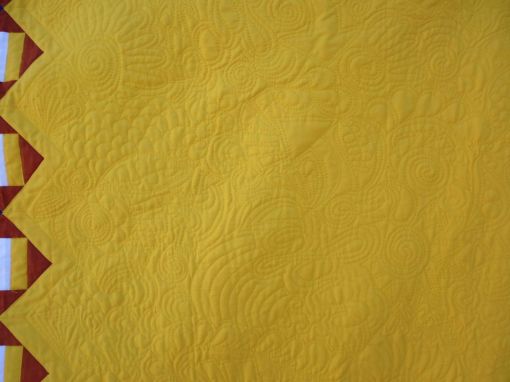
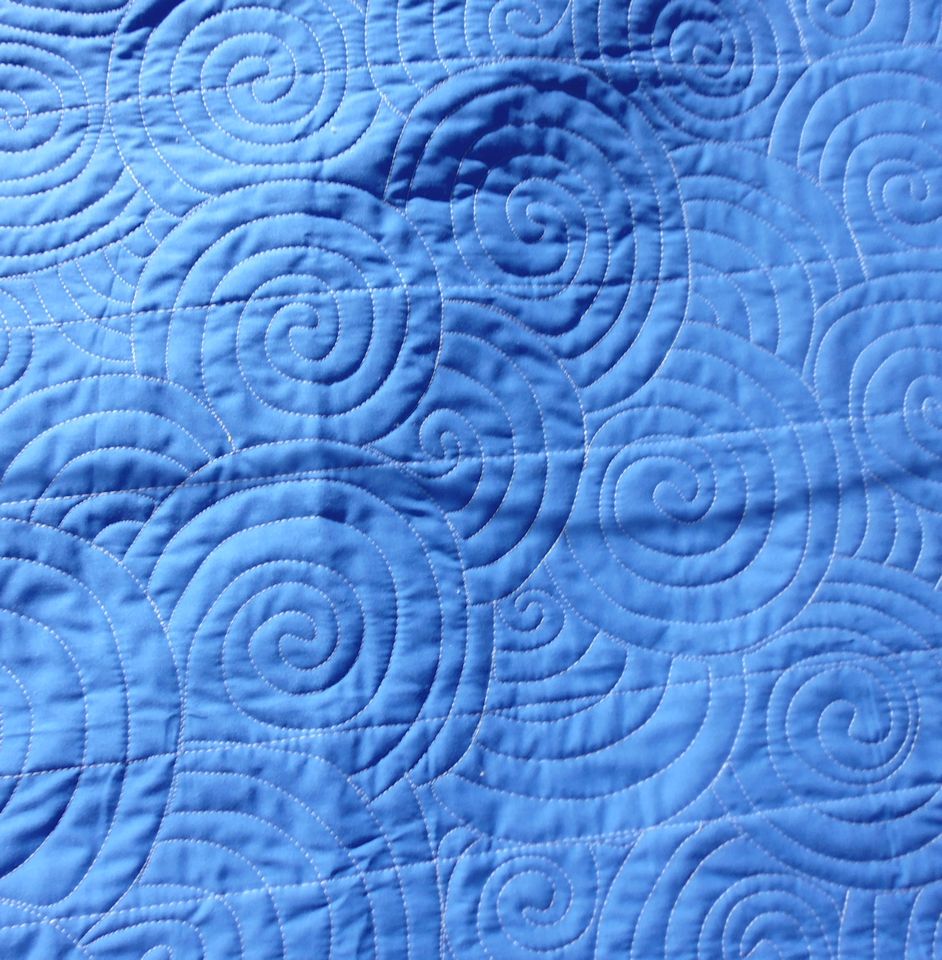
Back of the yellow section:

Update May 2015: This quilt was featured in the Community Quilts display at QuiltWest 2015, and I believe it attracted a lot of attention 😉 The Community Quilts organisers used it as a talking point for the Community Quilts program and mentioned that I’d had the last laugh by stitching some Freo anchors into the design. They pointed out one anchor and challenged people to find more! It seems the men, in particular, were very interested. And everyone thought I had a good sense of humour as well as good quilting skills 😉 The quilt will go to the Wirrapunda Foundation as a raffle quilt later in the year at their 10th anniversary dinner.

Freo Dockers supporter looking for anchors! (note the anchor on the back of his Fremantle Dockers branded sweater)

Hunting anchors

Found one!
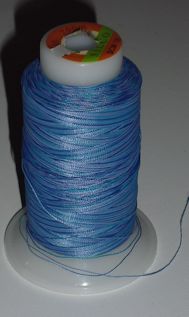
Threads used:
- Top: Fil-Tec Glide in yellow, navy, and white (‘Mango’ colour 80116, ‘Navy’ colour 32965, ‘White’ colour 10000) (40 wt trilobal polyester)
- Bottom: Fil-Tec Magna Glide Classic pre-wound bobbins in Light Tan, Black, and White


