The call went out for people to make items for the wildlife carer groups who are trying desperately to save wildlife injured in the devastating bushfires that have claimed so much land and bush on the eastern side of Australia in the past few months. I heeded the call last weekend, as did many many others from within Australia and around the world. So many heeded the call, in fact, that the coordinating group of volunteers had to press ‘pause’ during the weekend to take stock of what they had received and still needed. One Facebook group went from 20,000 members to more than 200,000 members in a matter of days. Even if each person only made 5 items, that’s 1 MILLION items that have to be transported, cleared through Customs (if from outside Australia), checked for correct materials, sized, labelled, sorted, stored, and distributed. And that takes a LOT of storage space (which has to be paid for), and enormous time and energy from a small group of volunteers. I’ll talk about how best you can contribute—if you feel the need to do so—below.
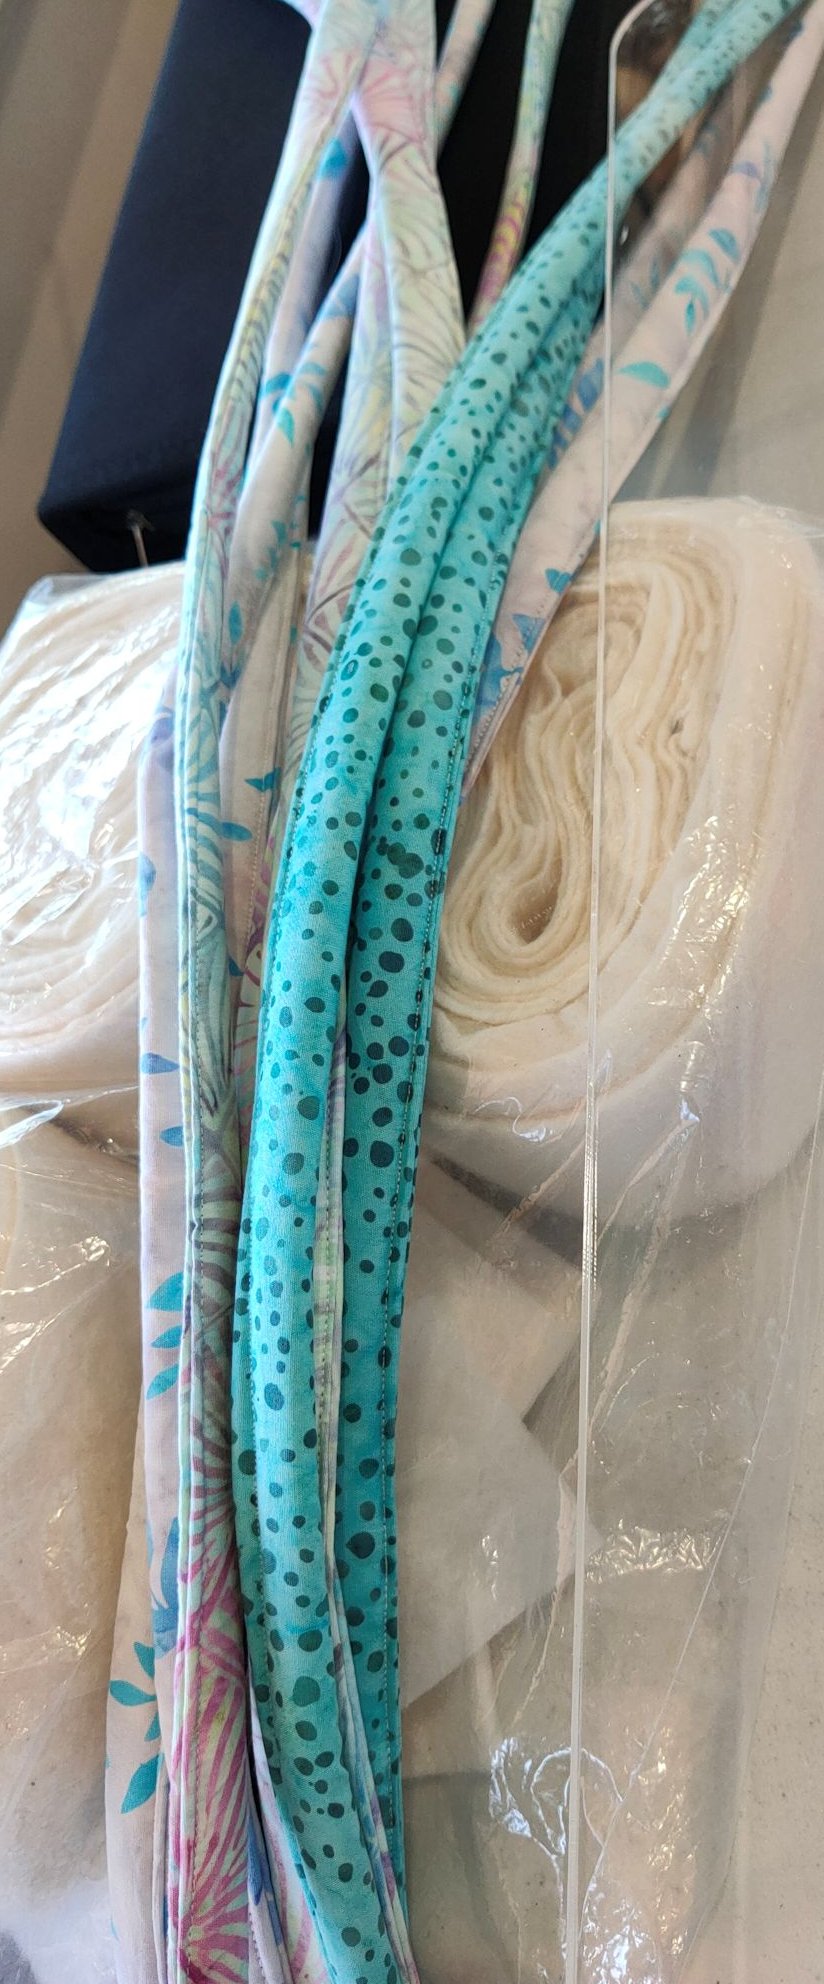
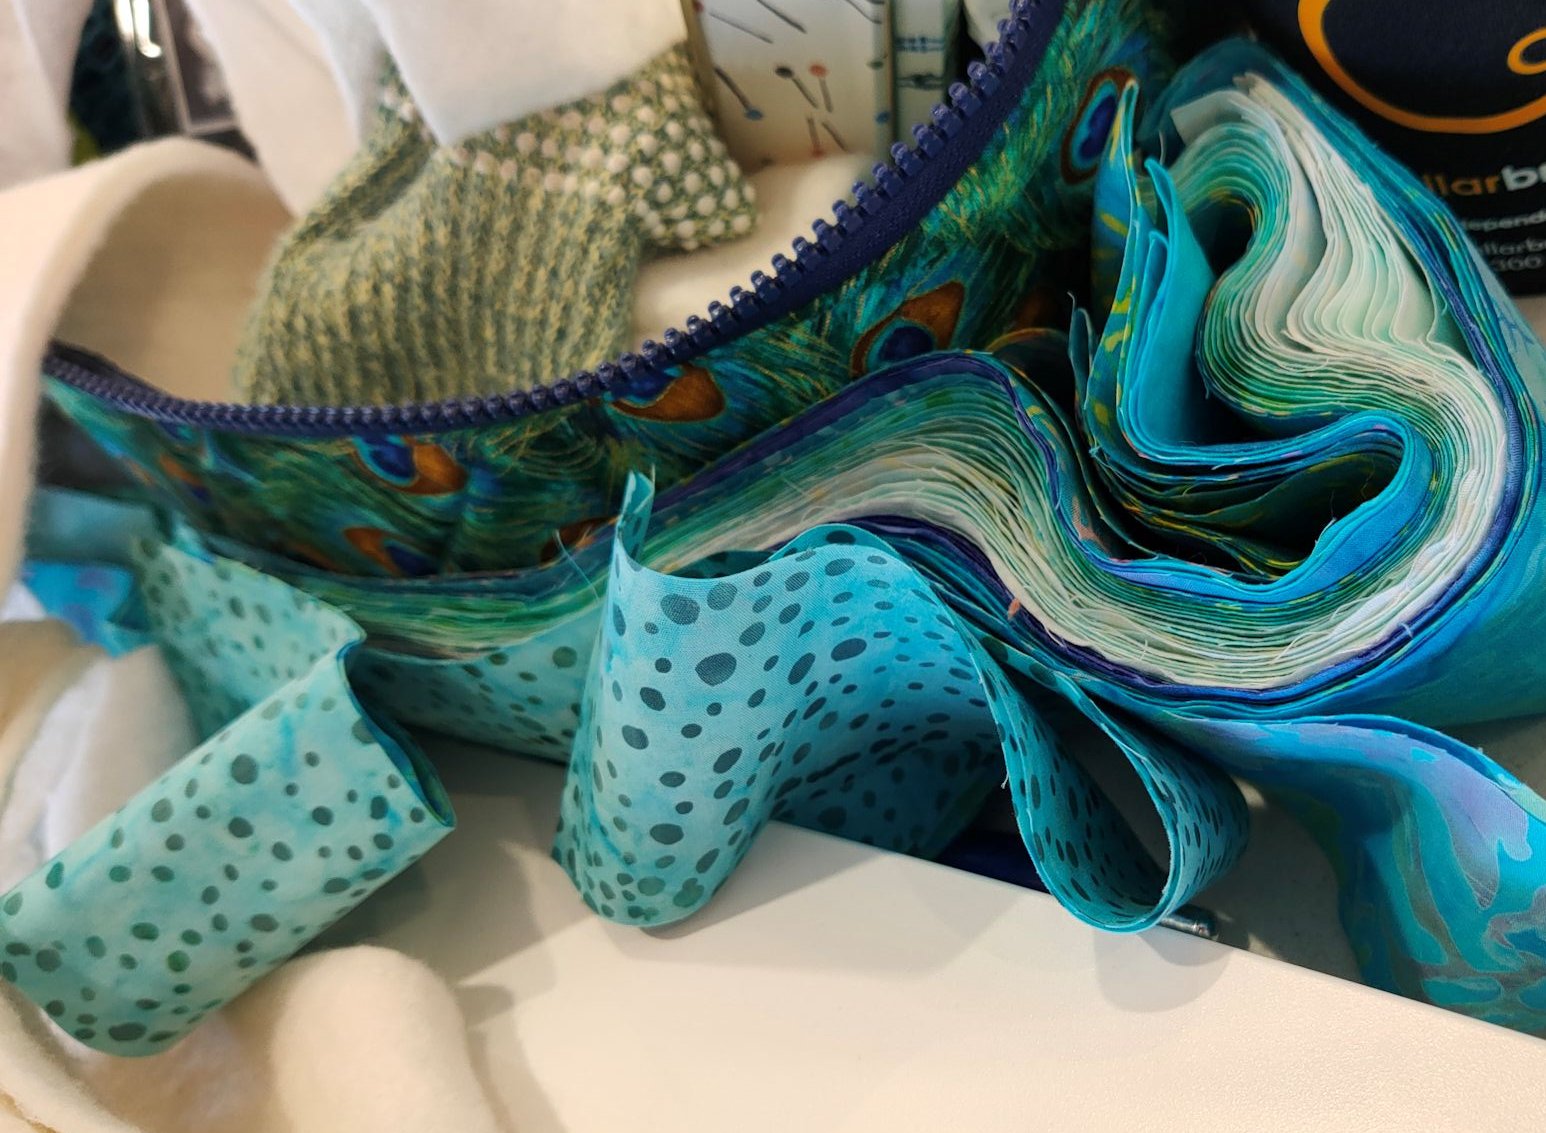
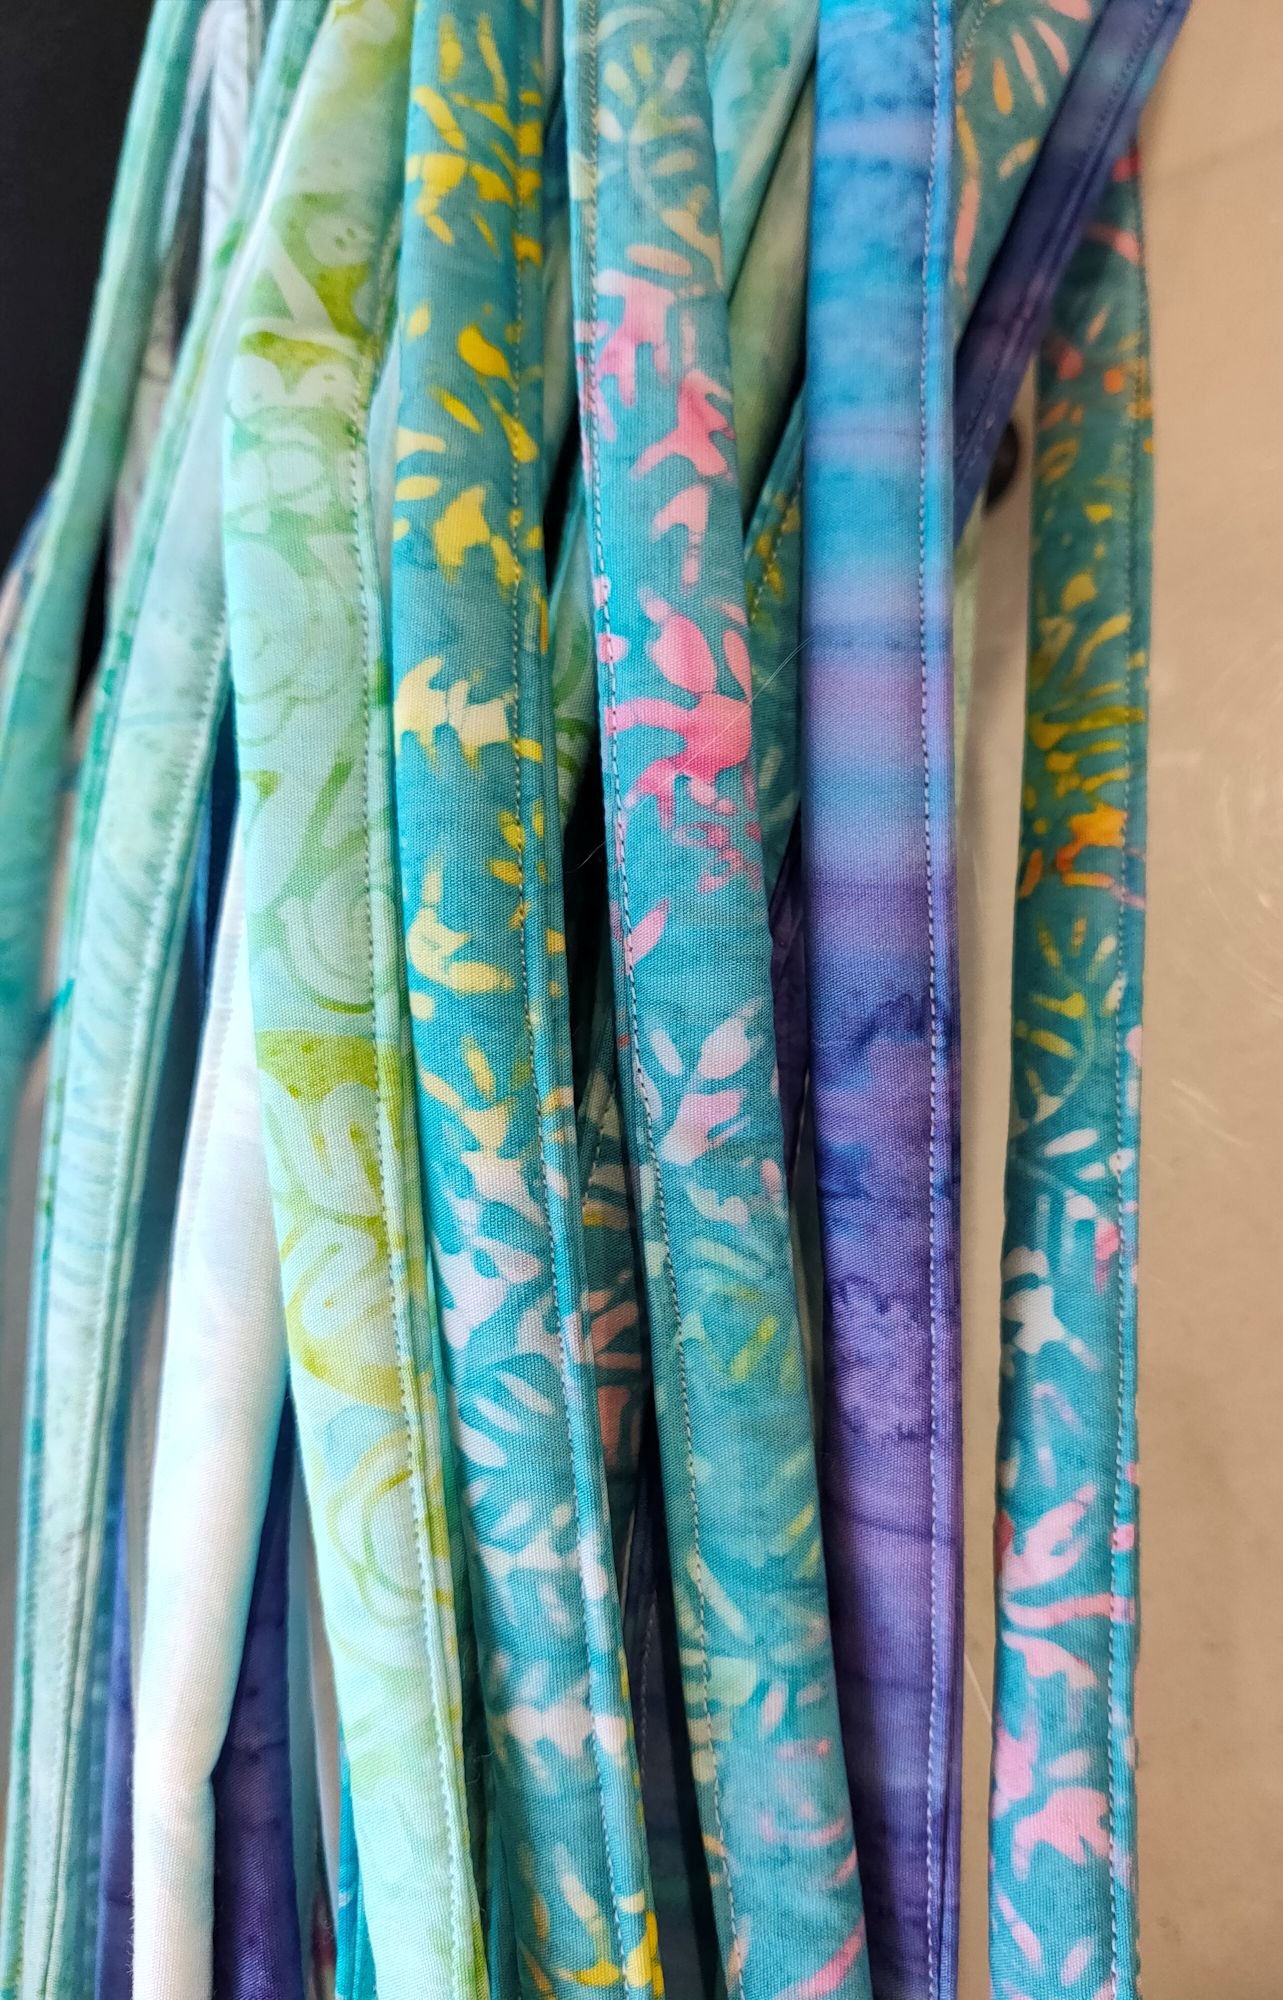
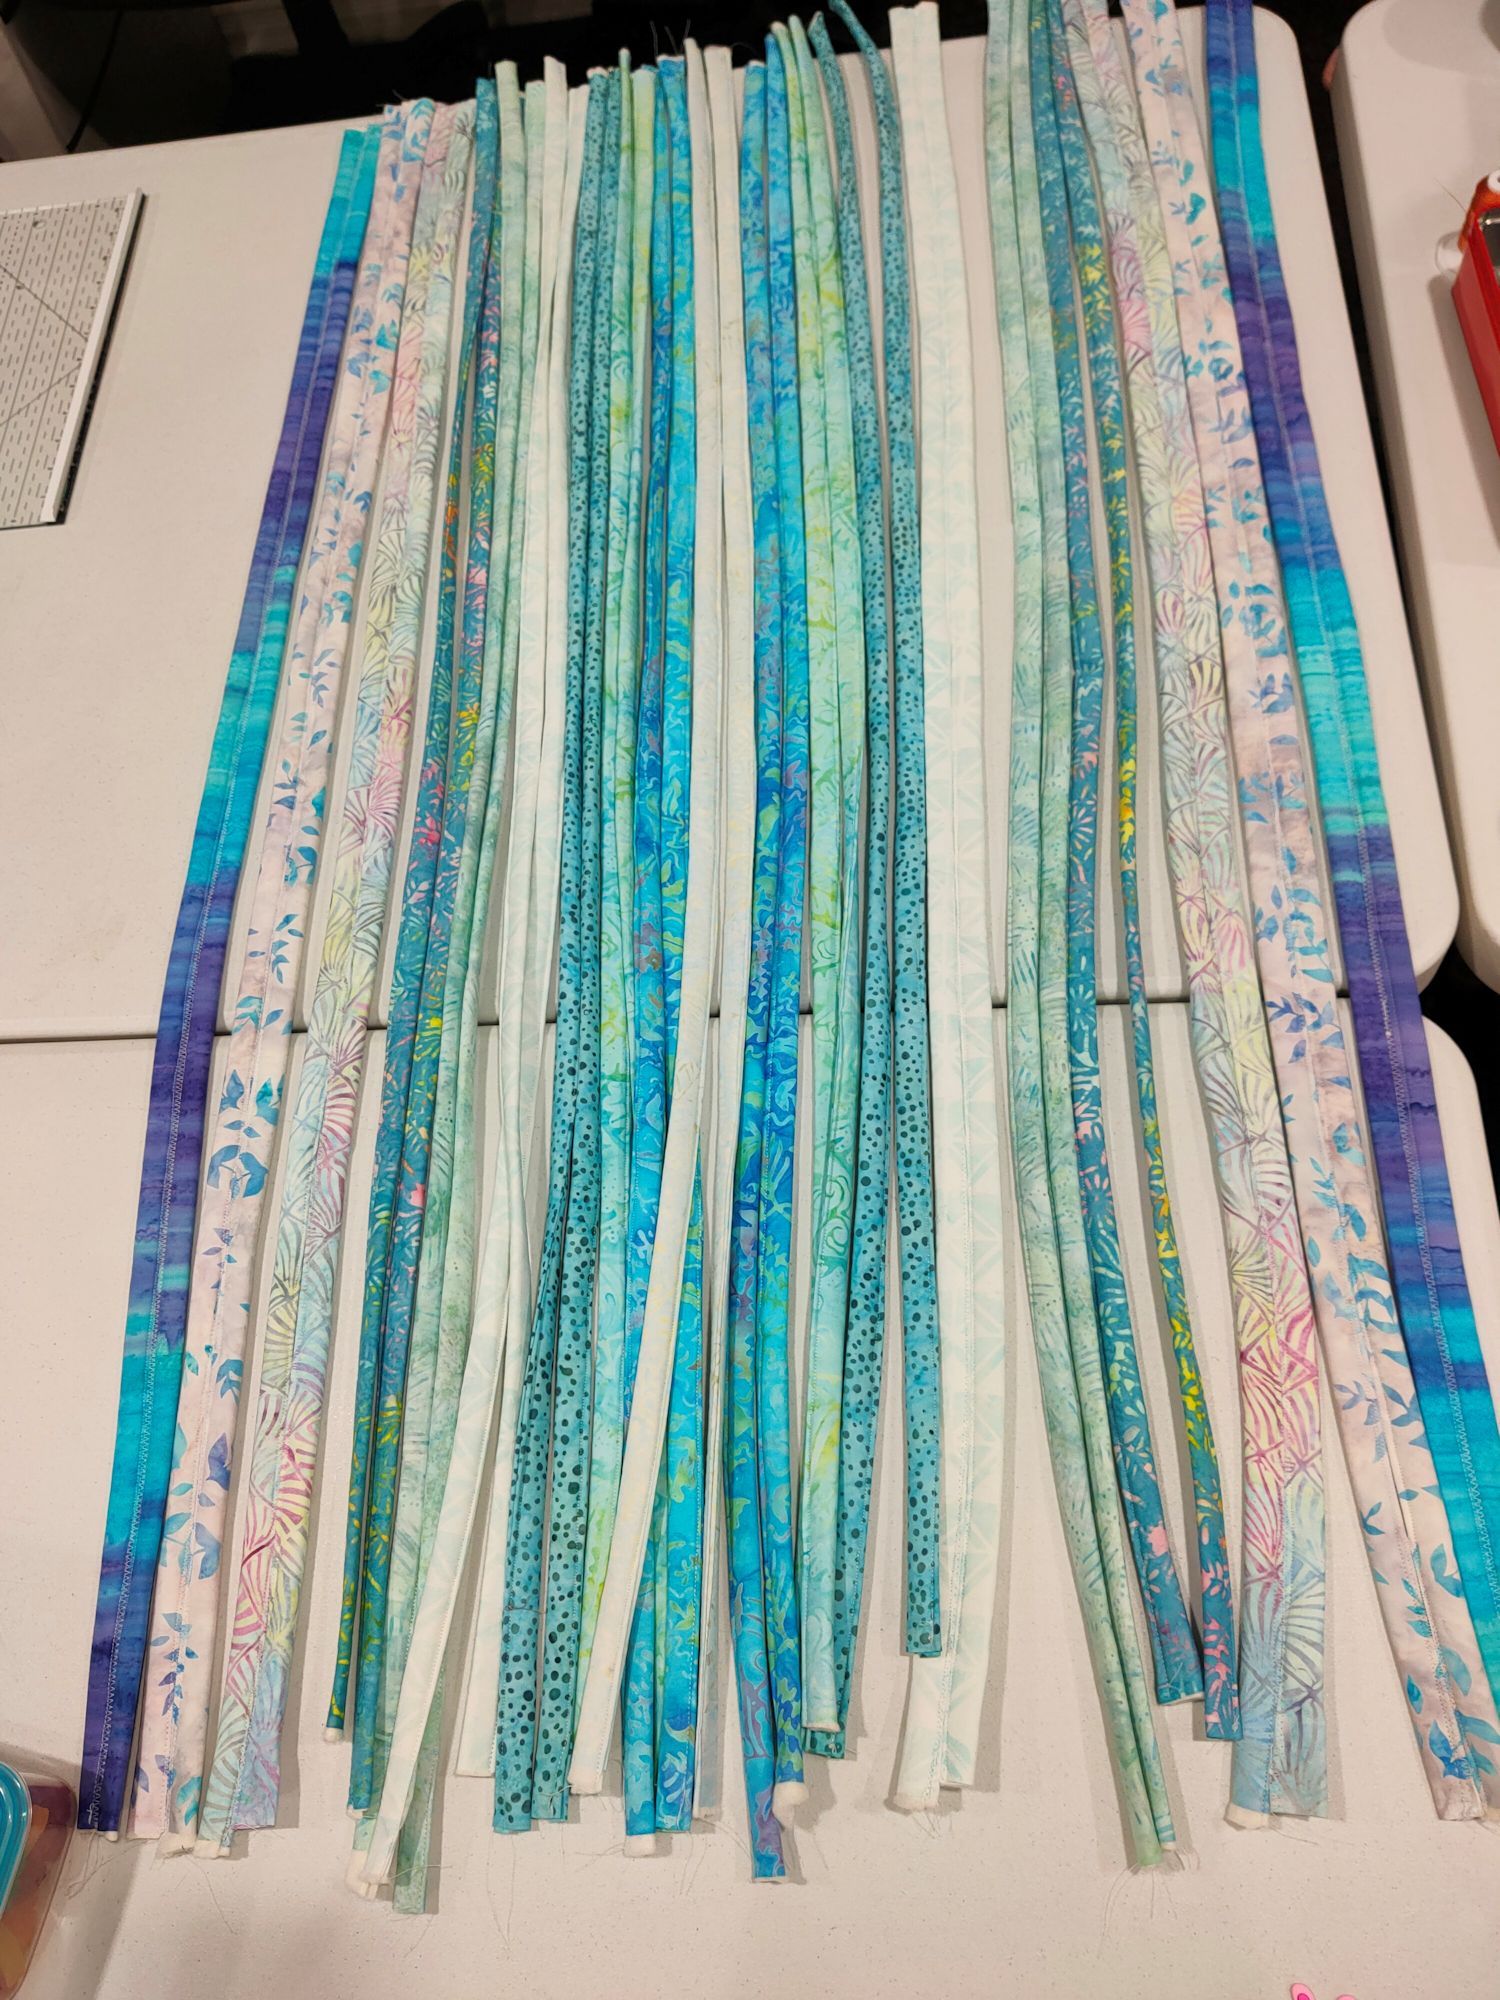
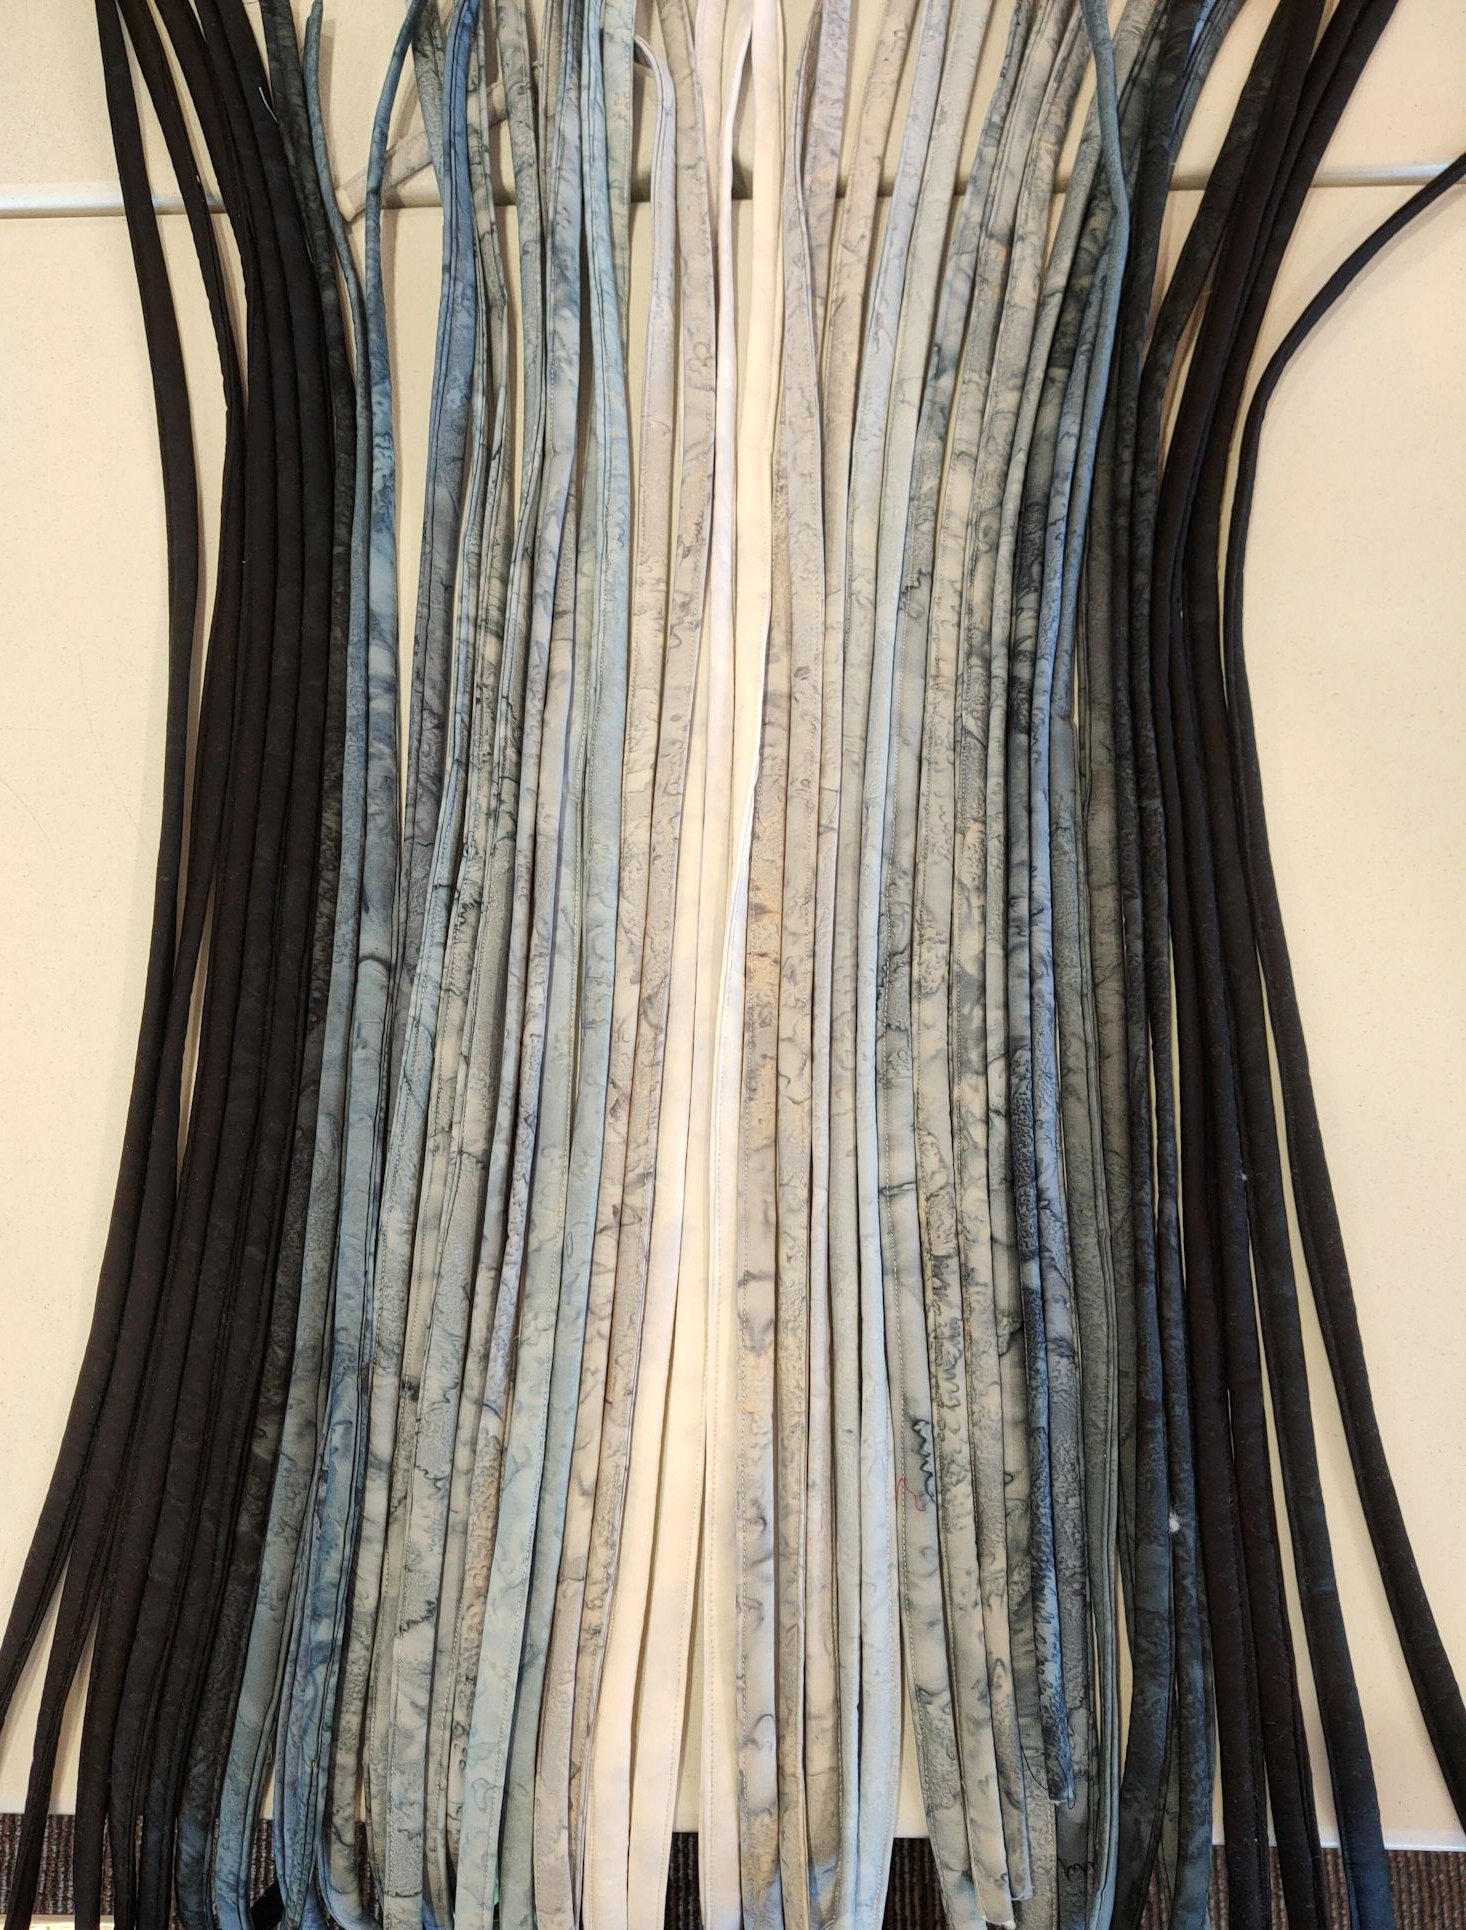
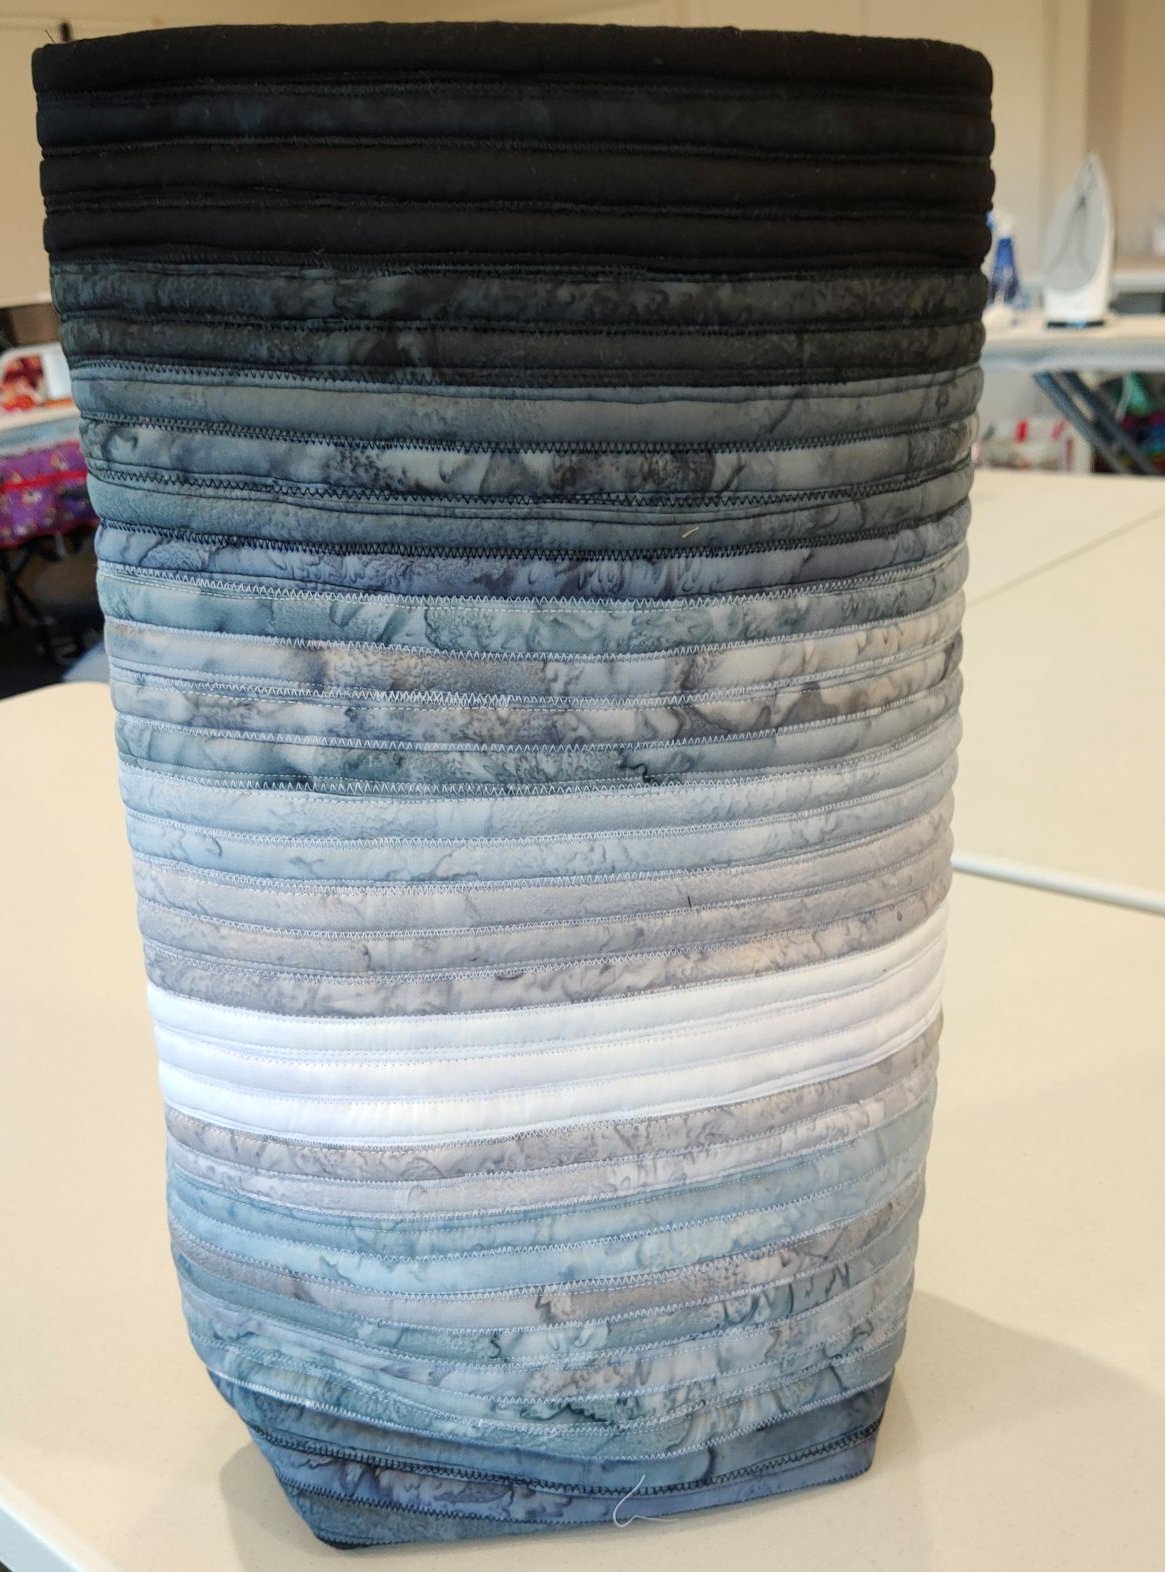
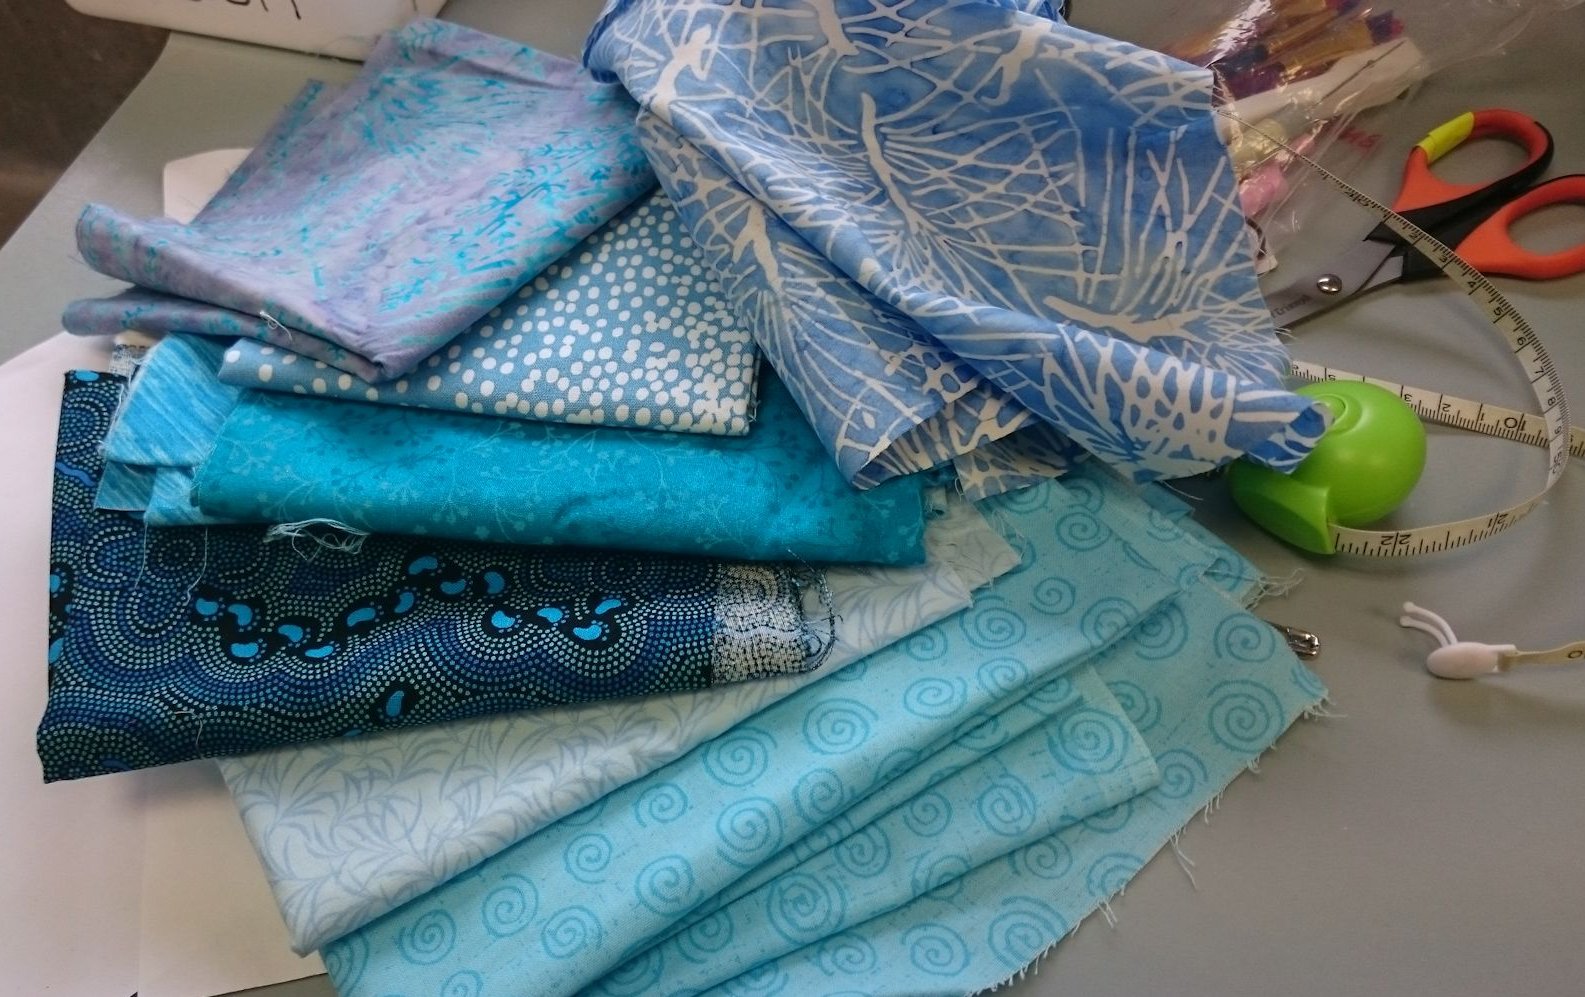
Meantime, I was already well into finishing a 3-day sewing binge converting 15 m of flannelette and 10 to 15 m of fabric from my stash into nearly 20 day and night time joey pouches, and about 10 wildlife pouches in various sizes. I delivered these to my local hub yesterday, and won’t make any more unless there’s another call out for these types of goods.
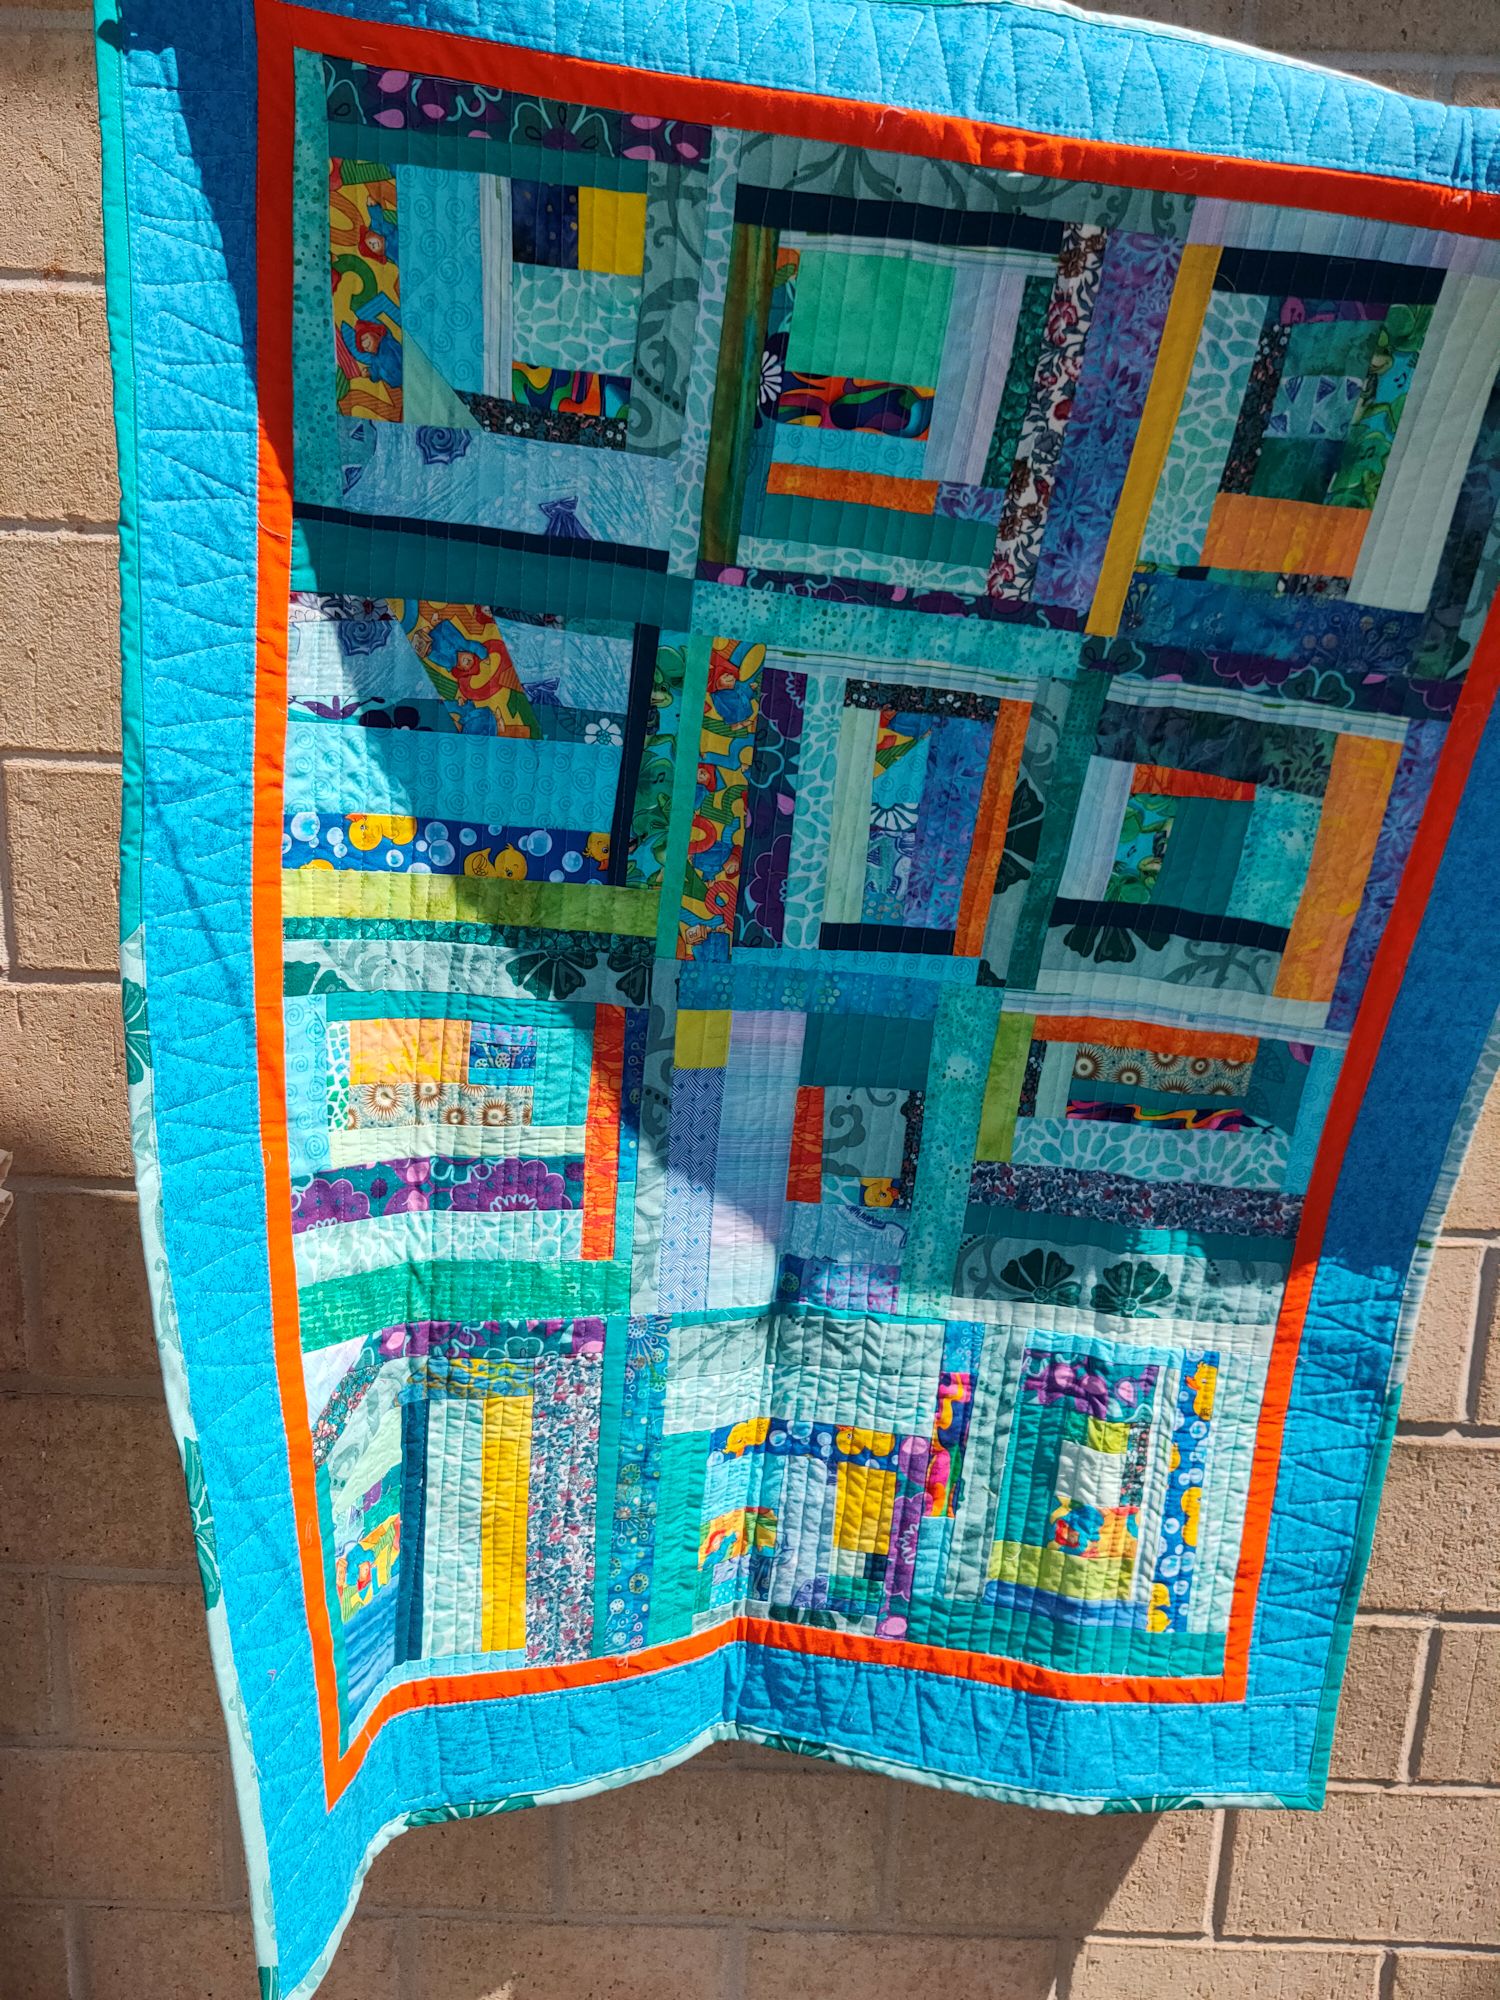
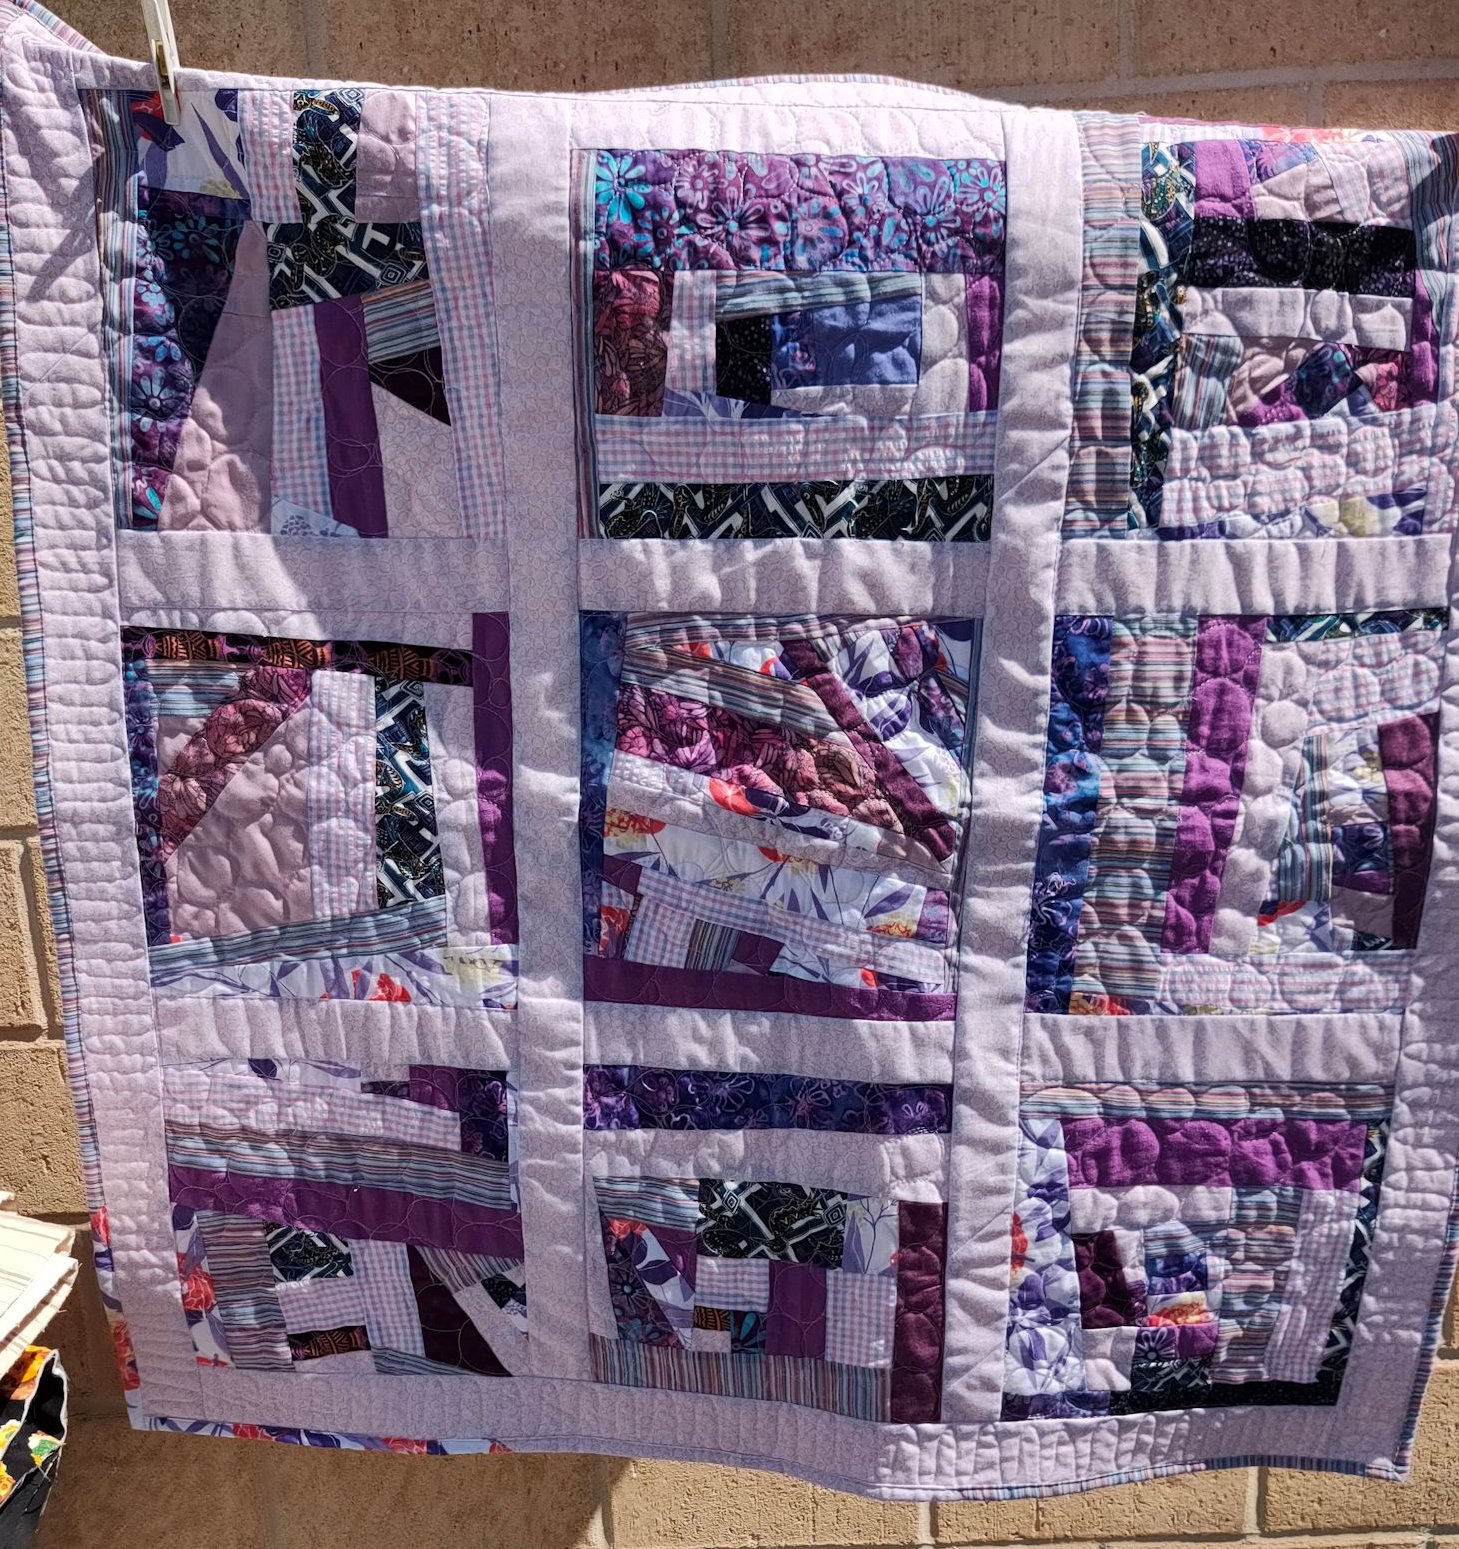
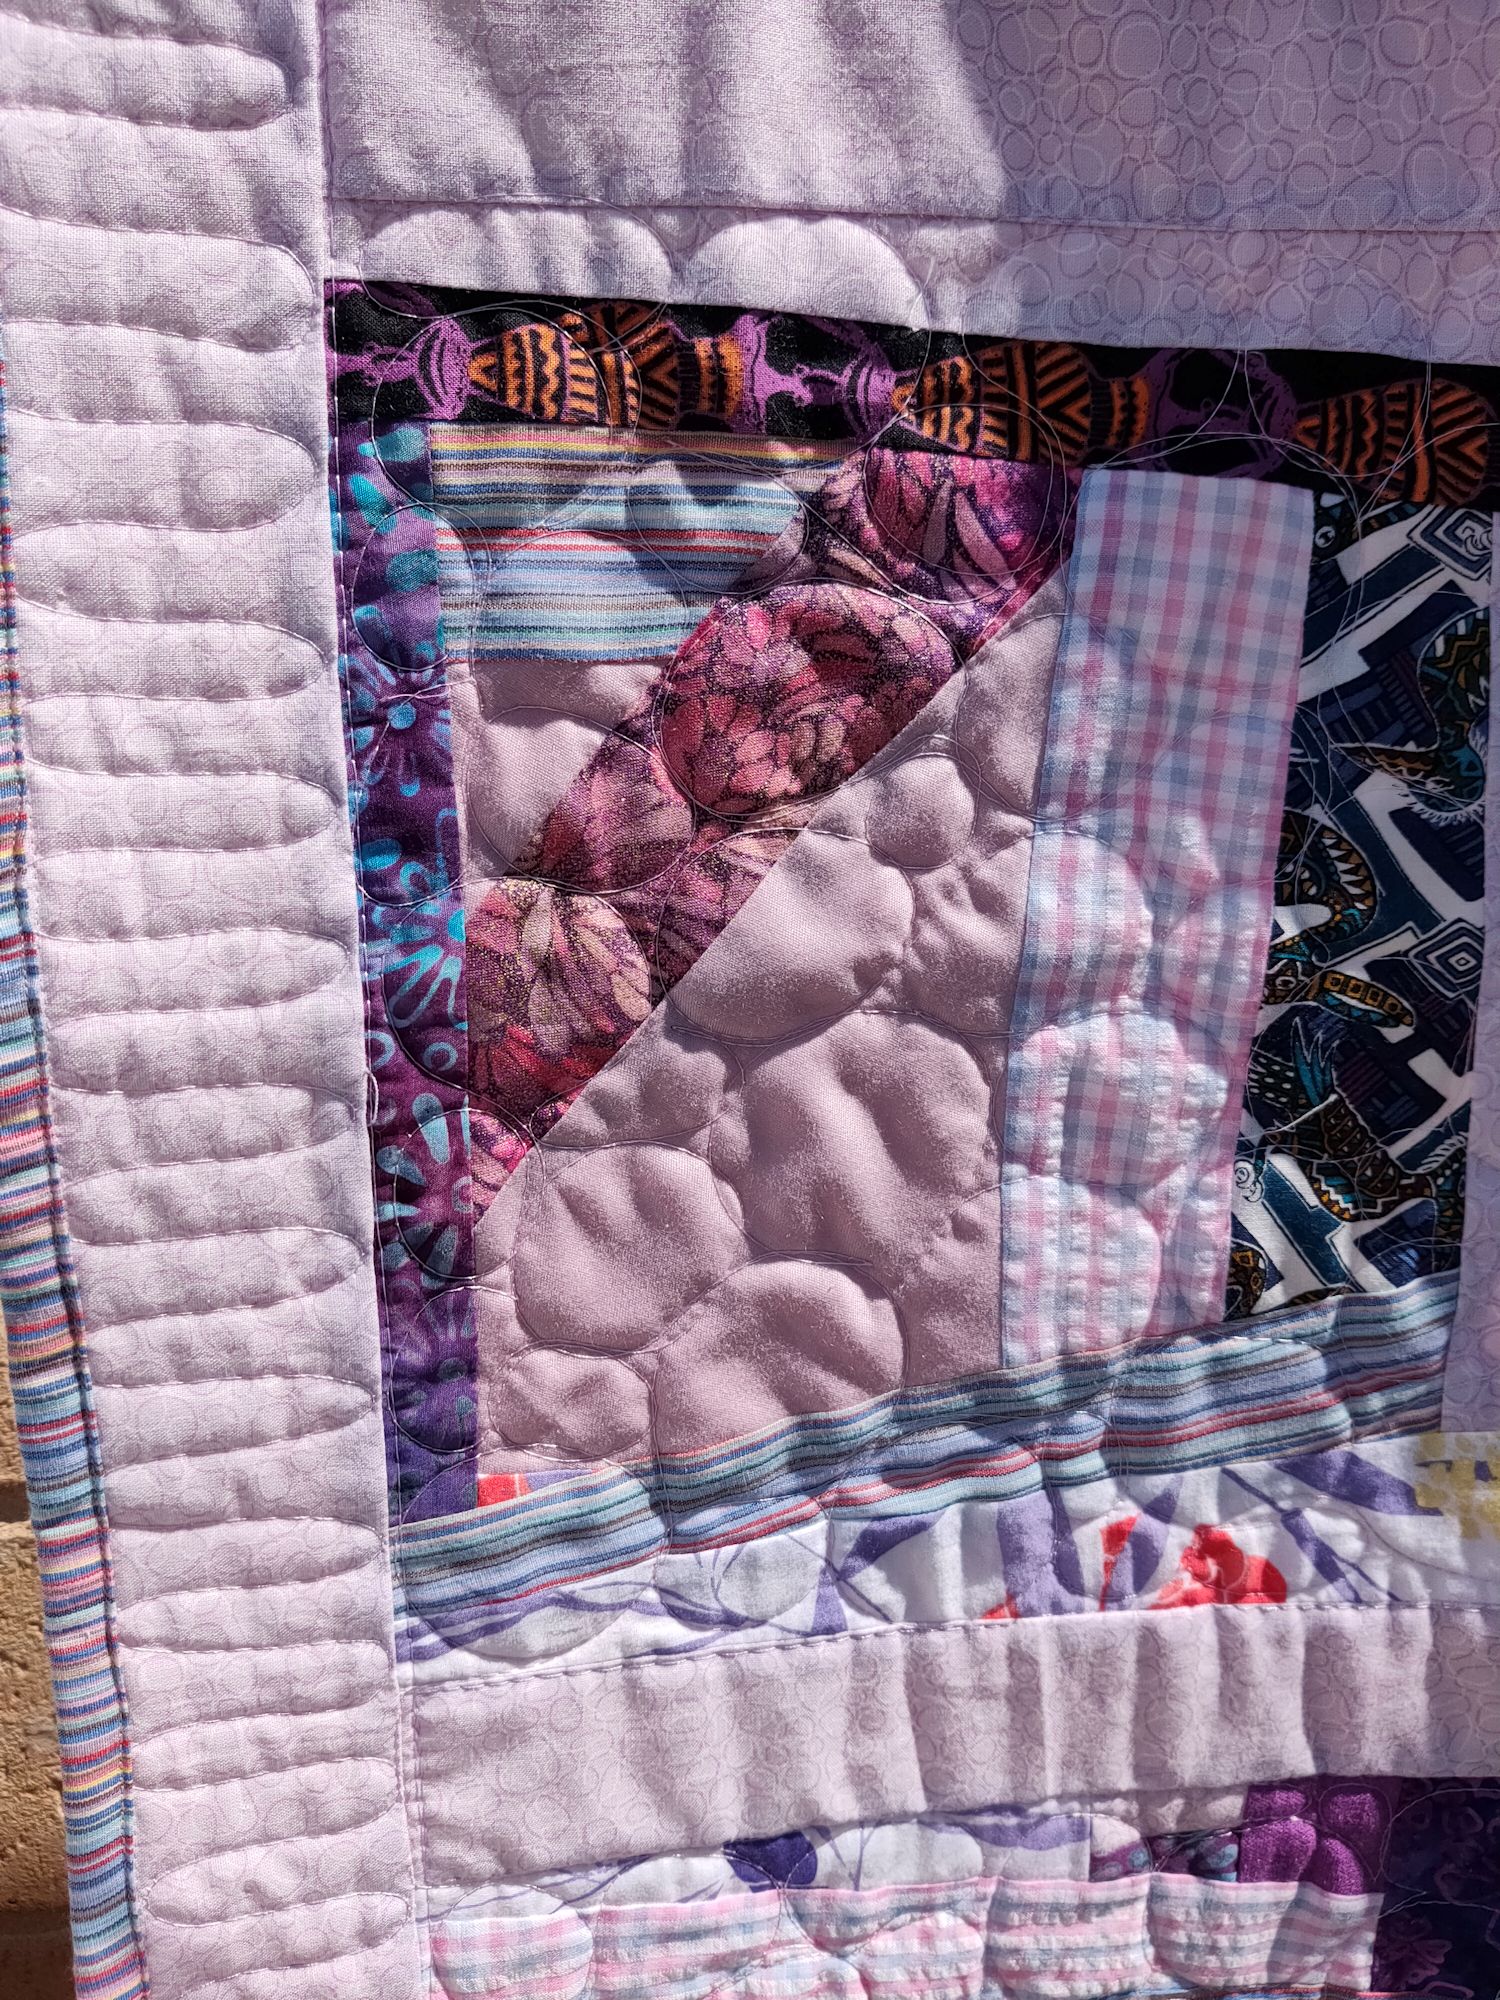
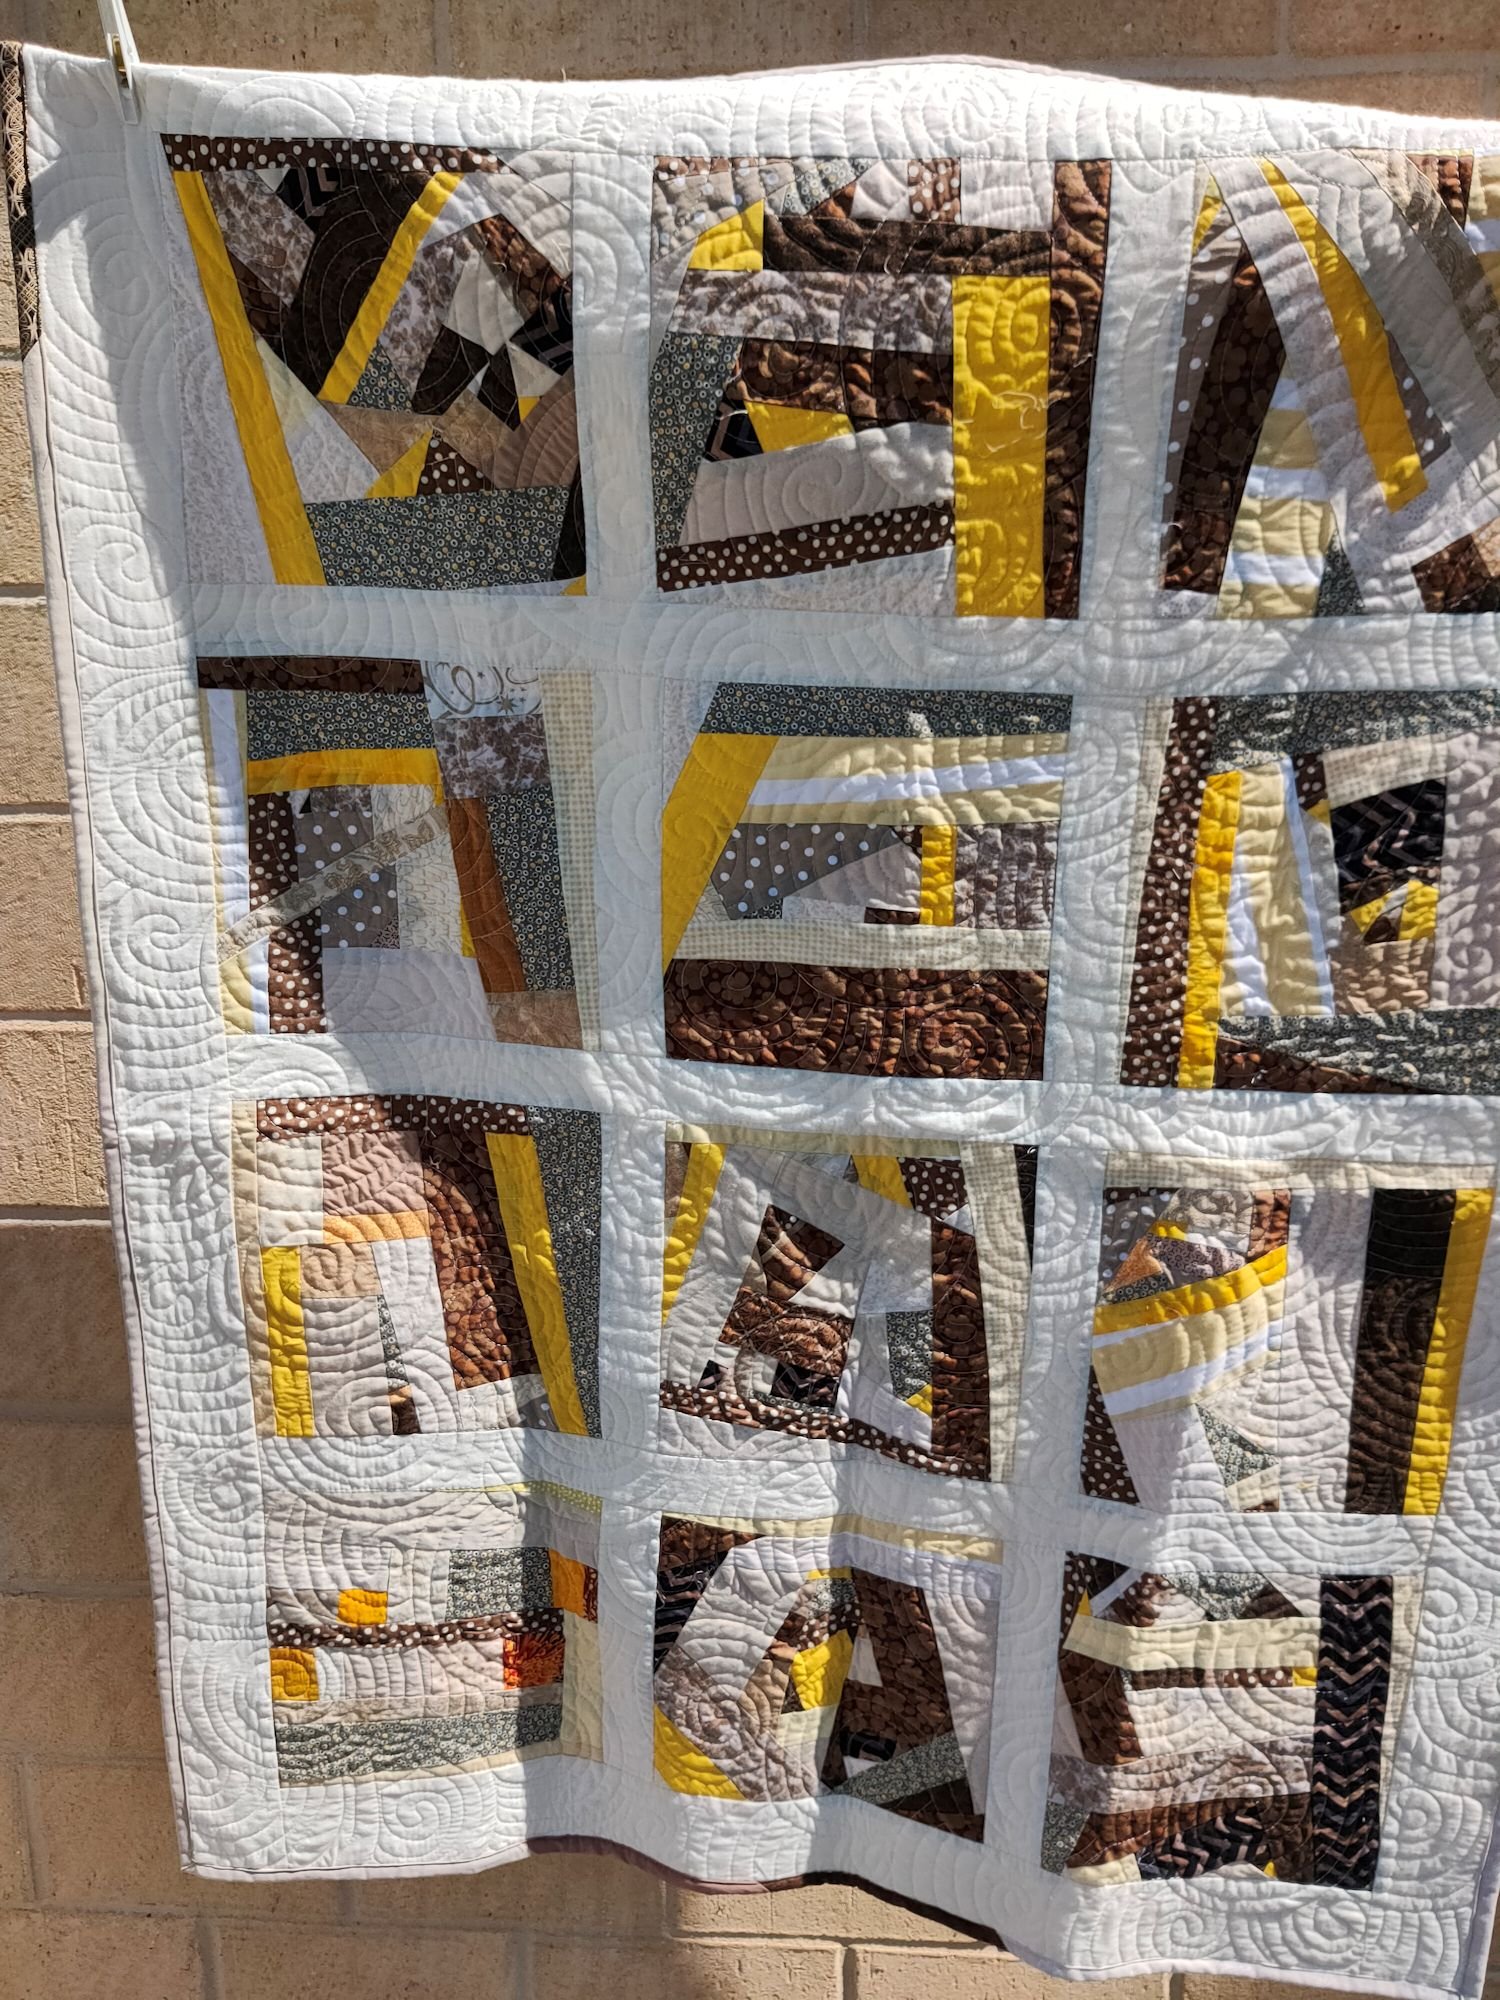
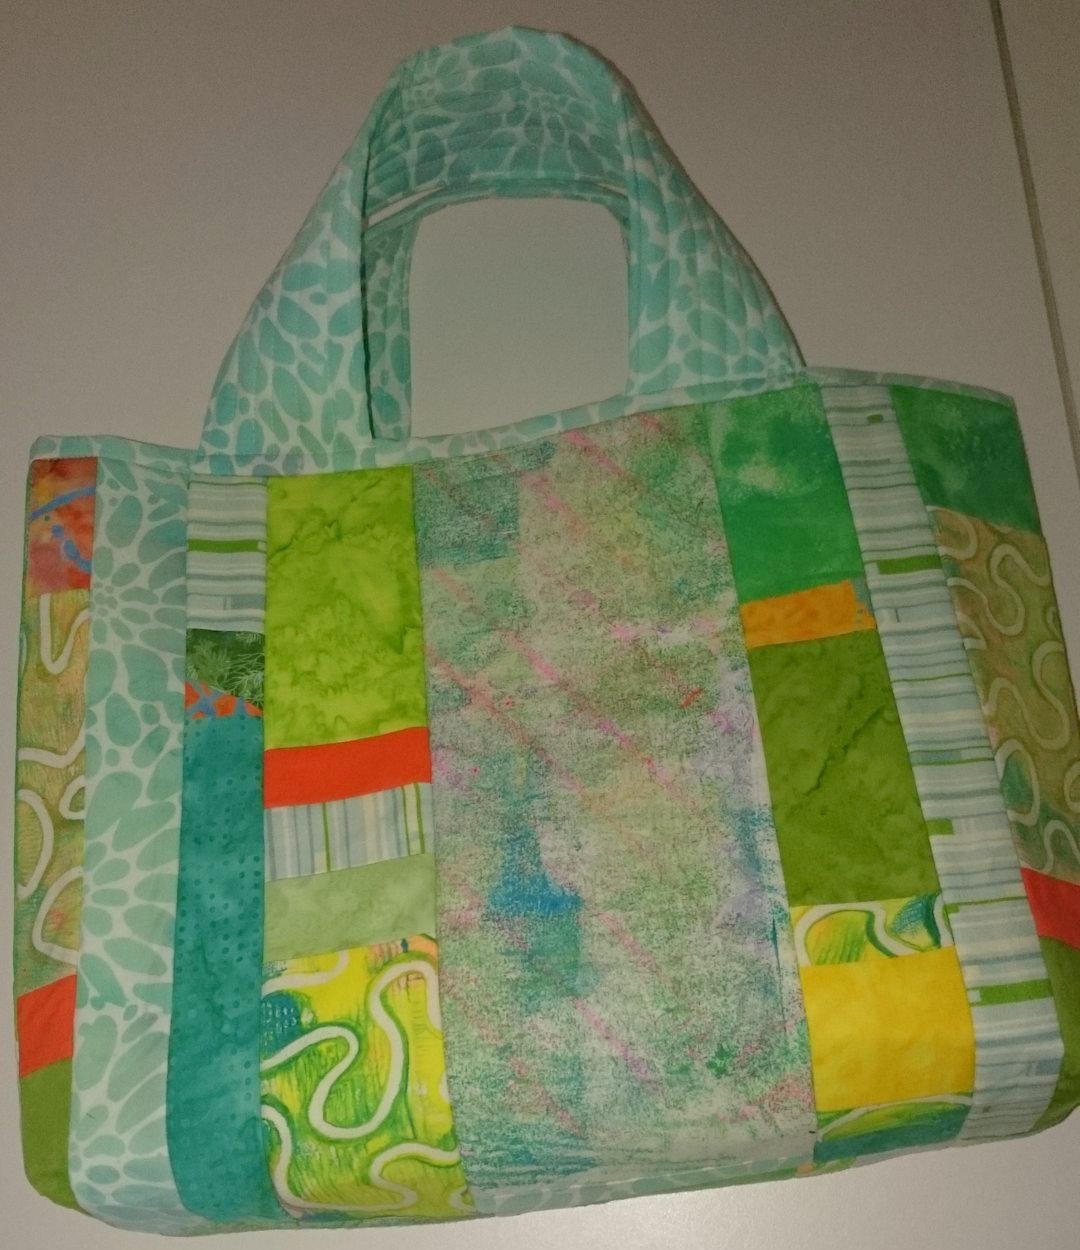
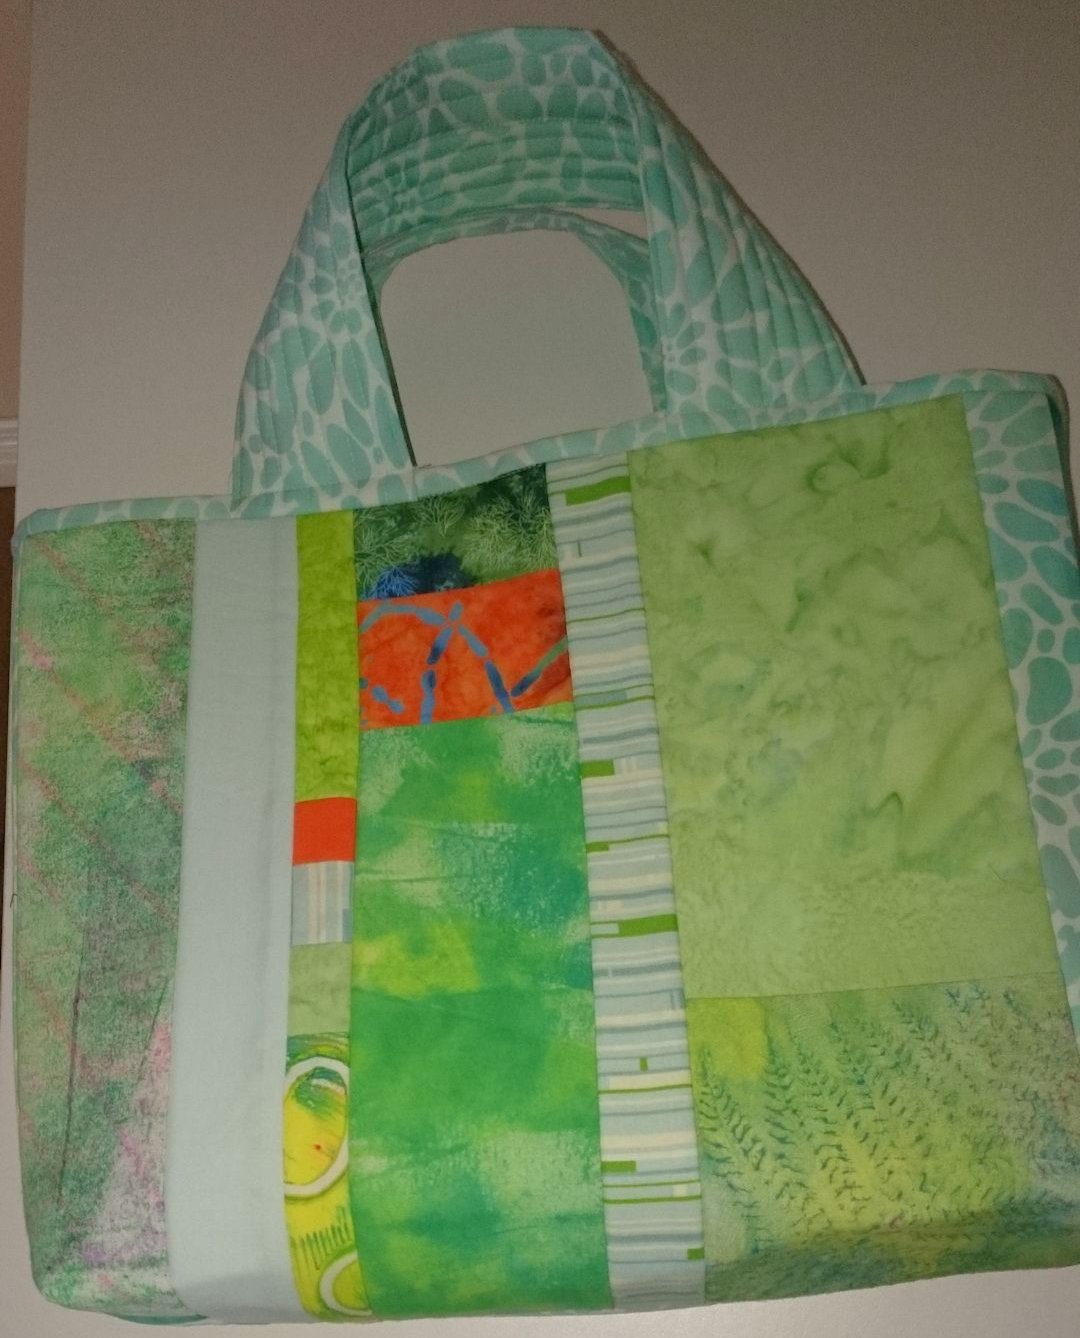
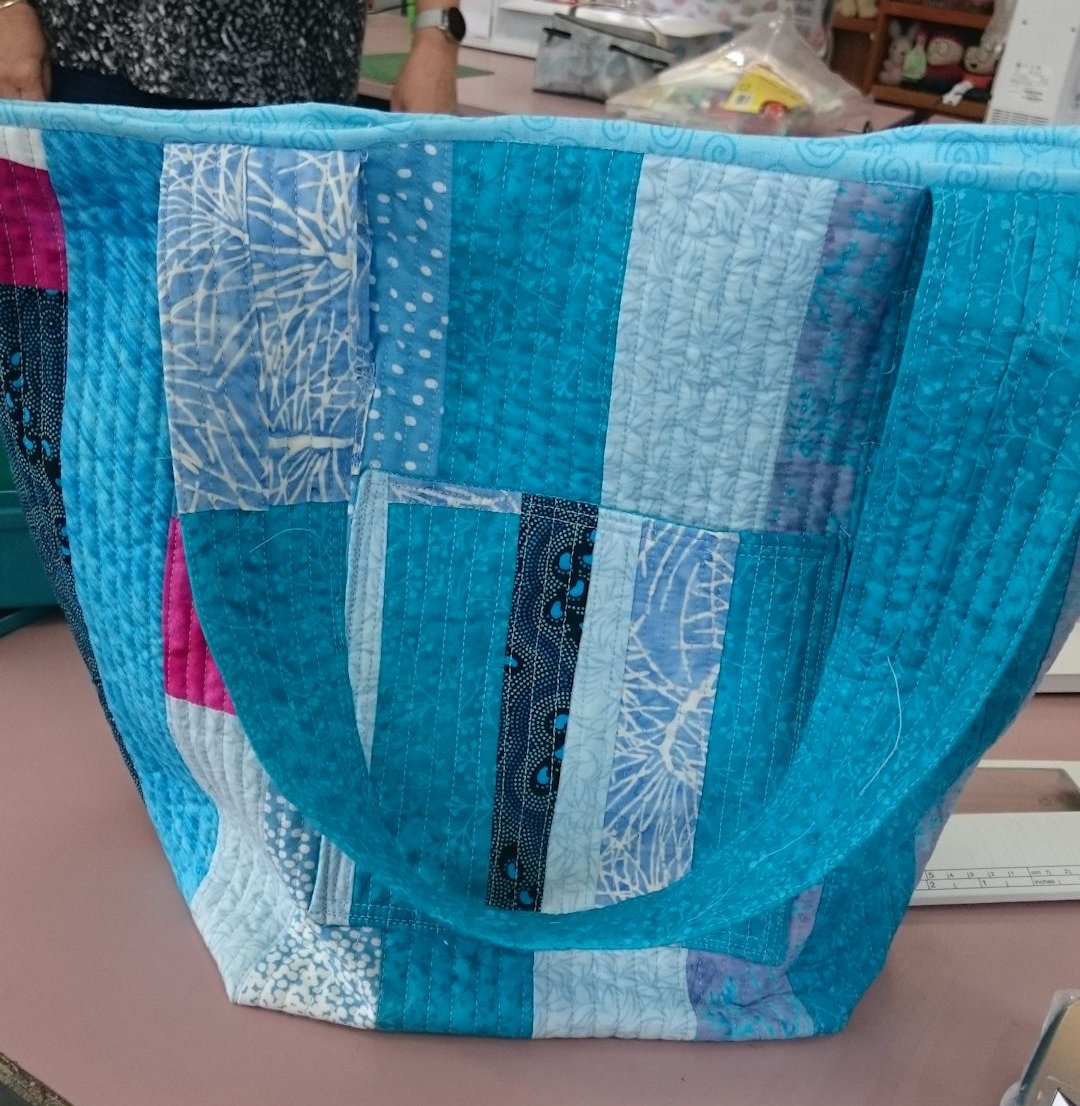
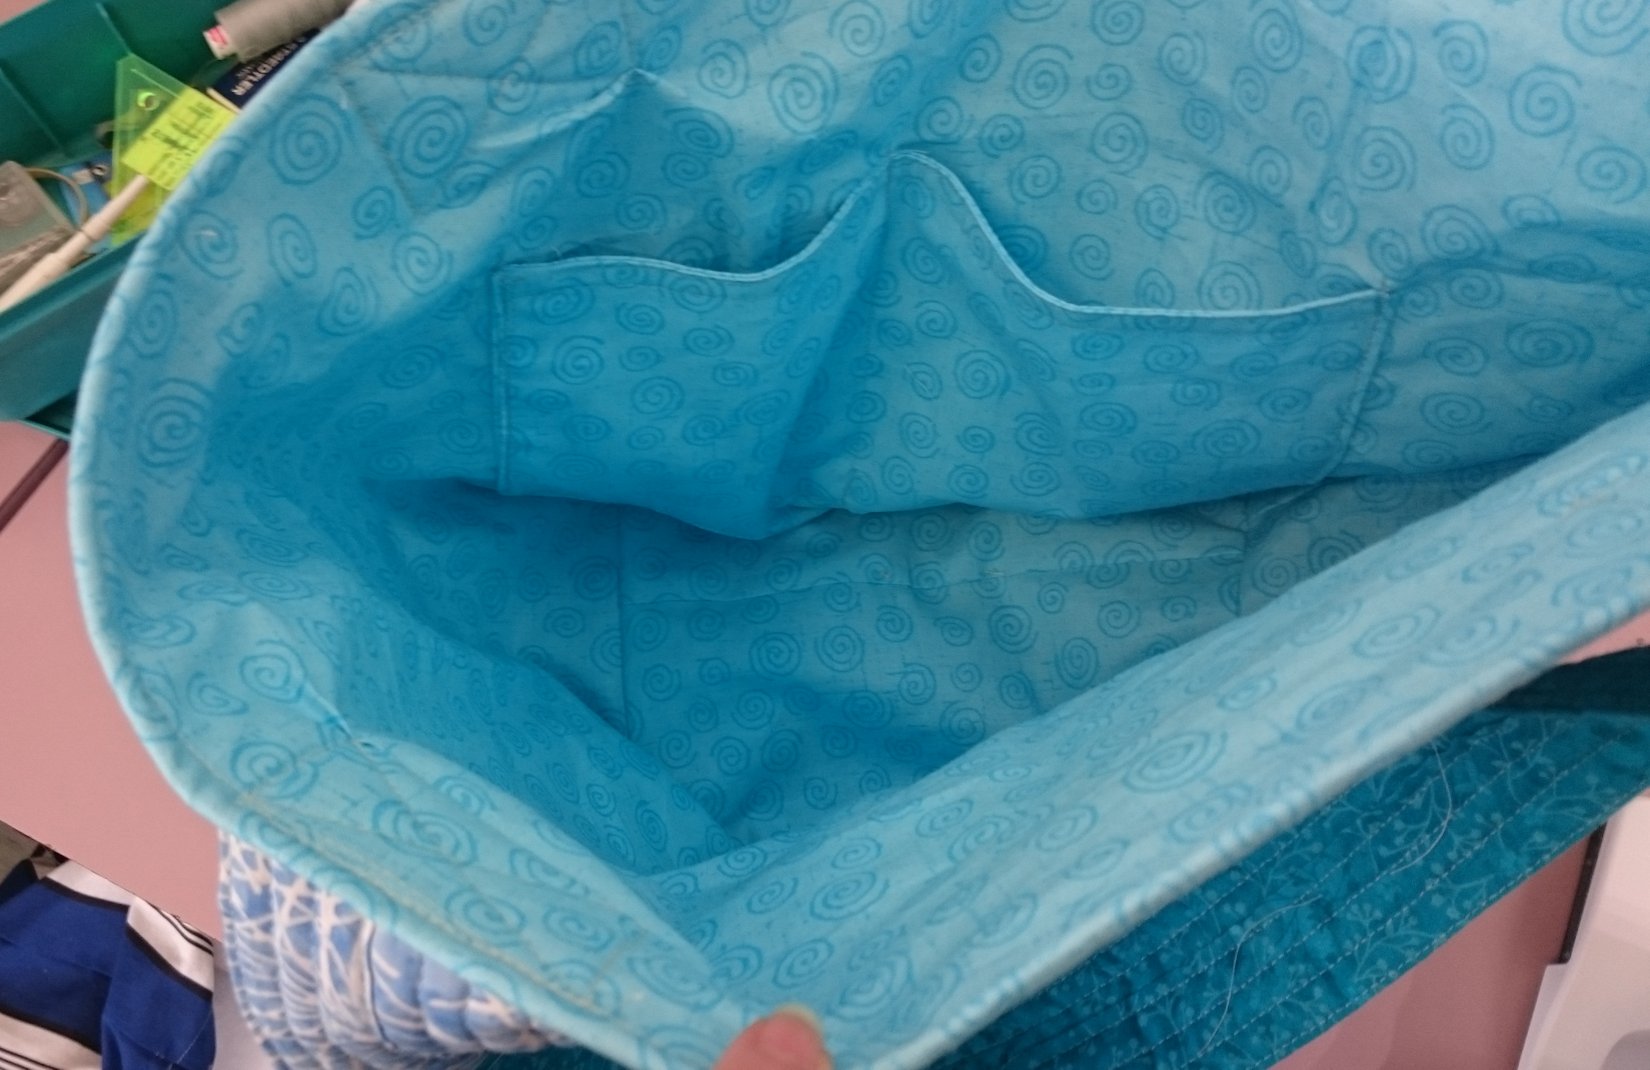
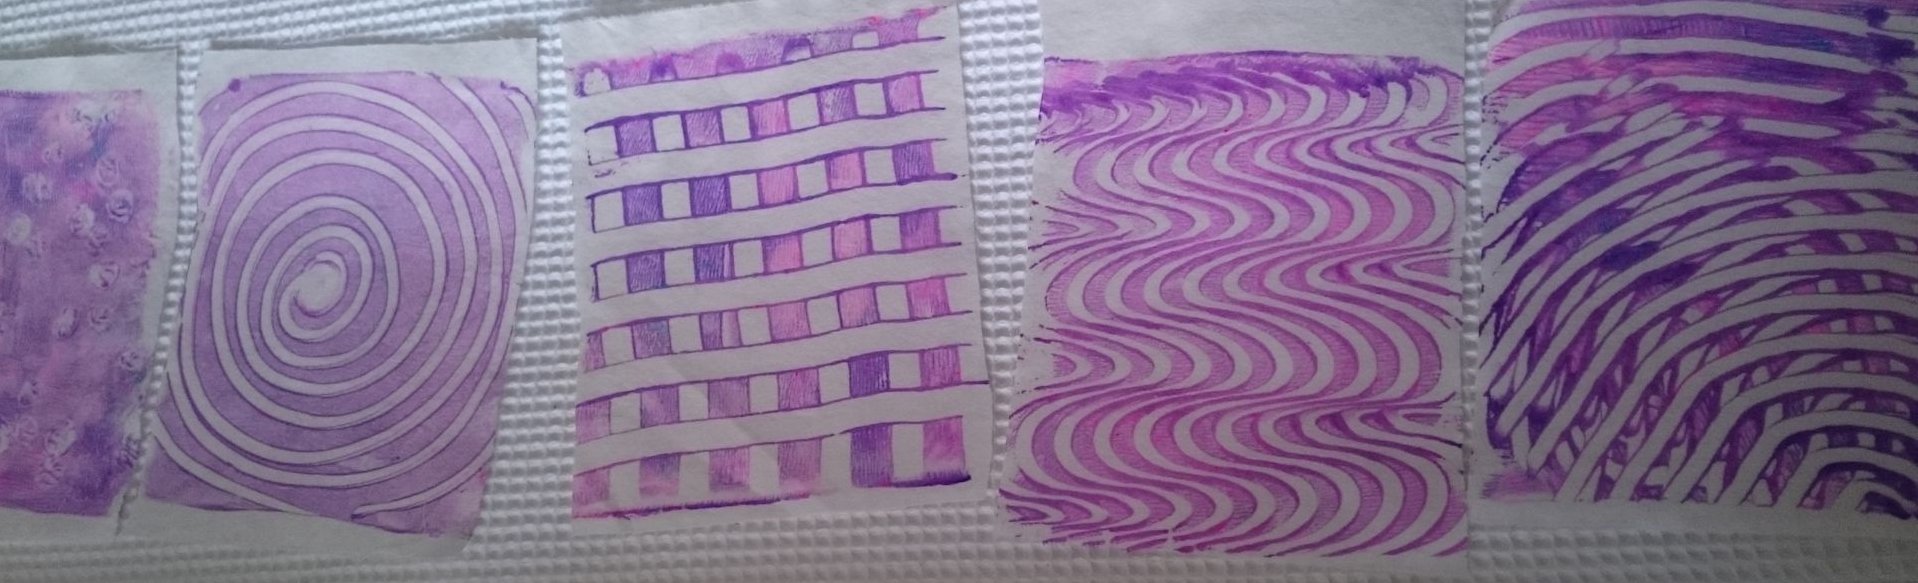
Some examples of what I made, ably modelled by my teddy and other soft toys:

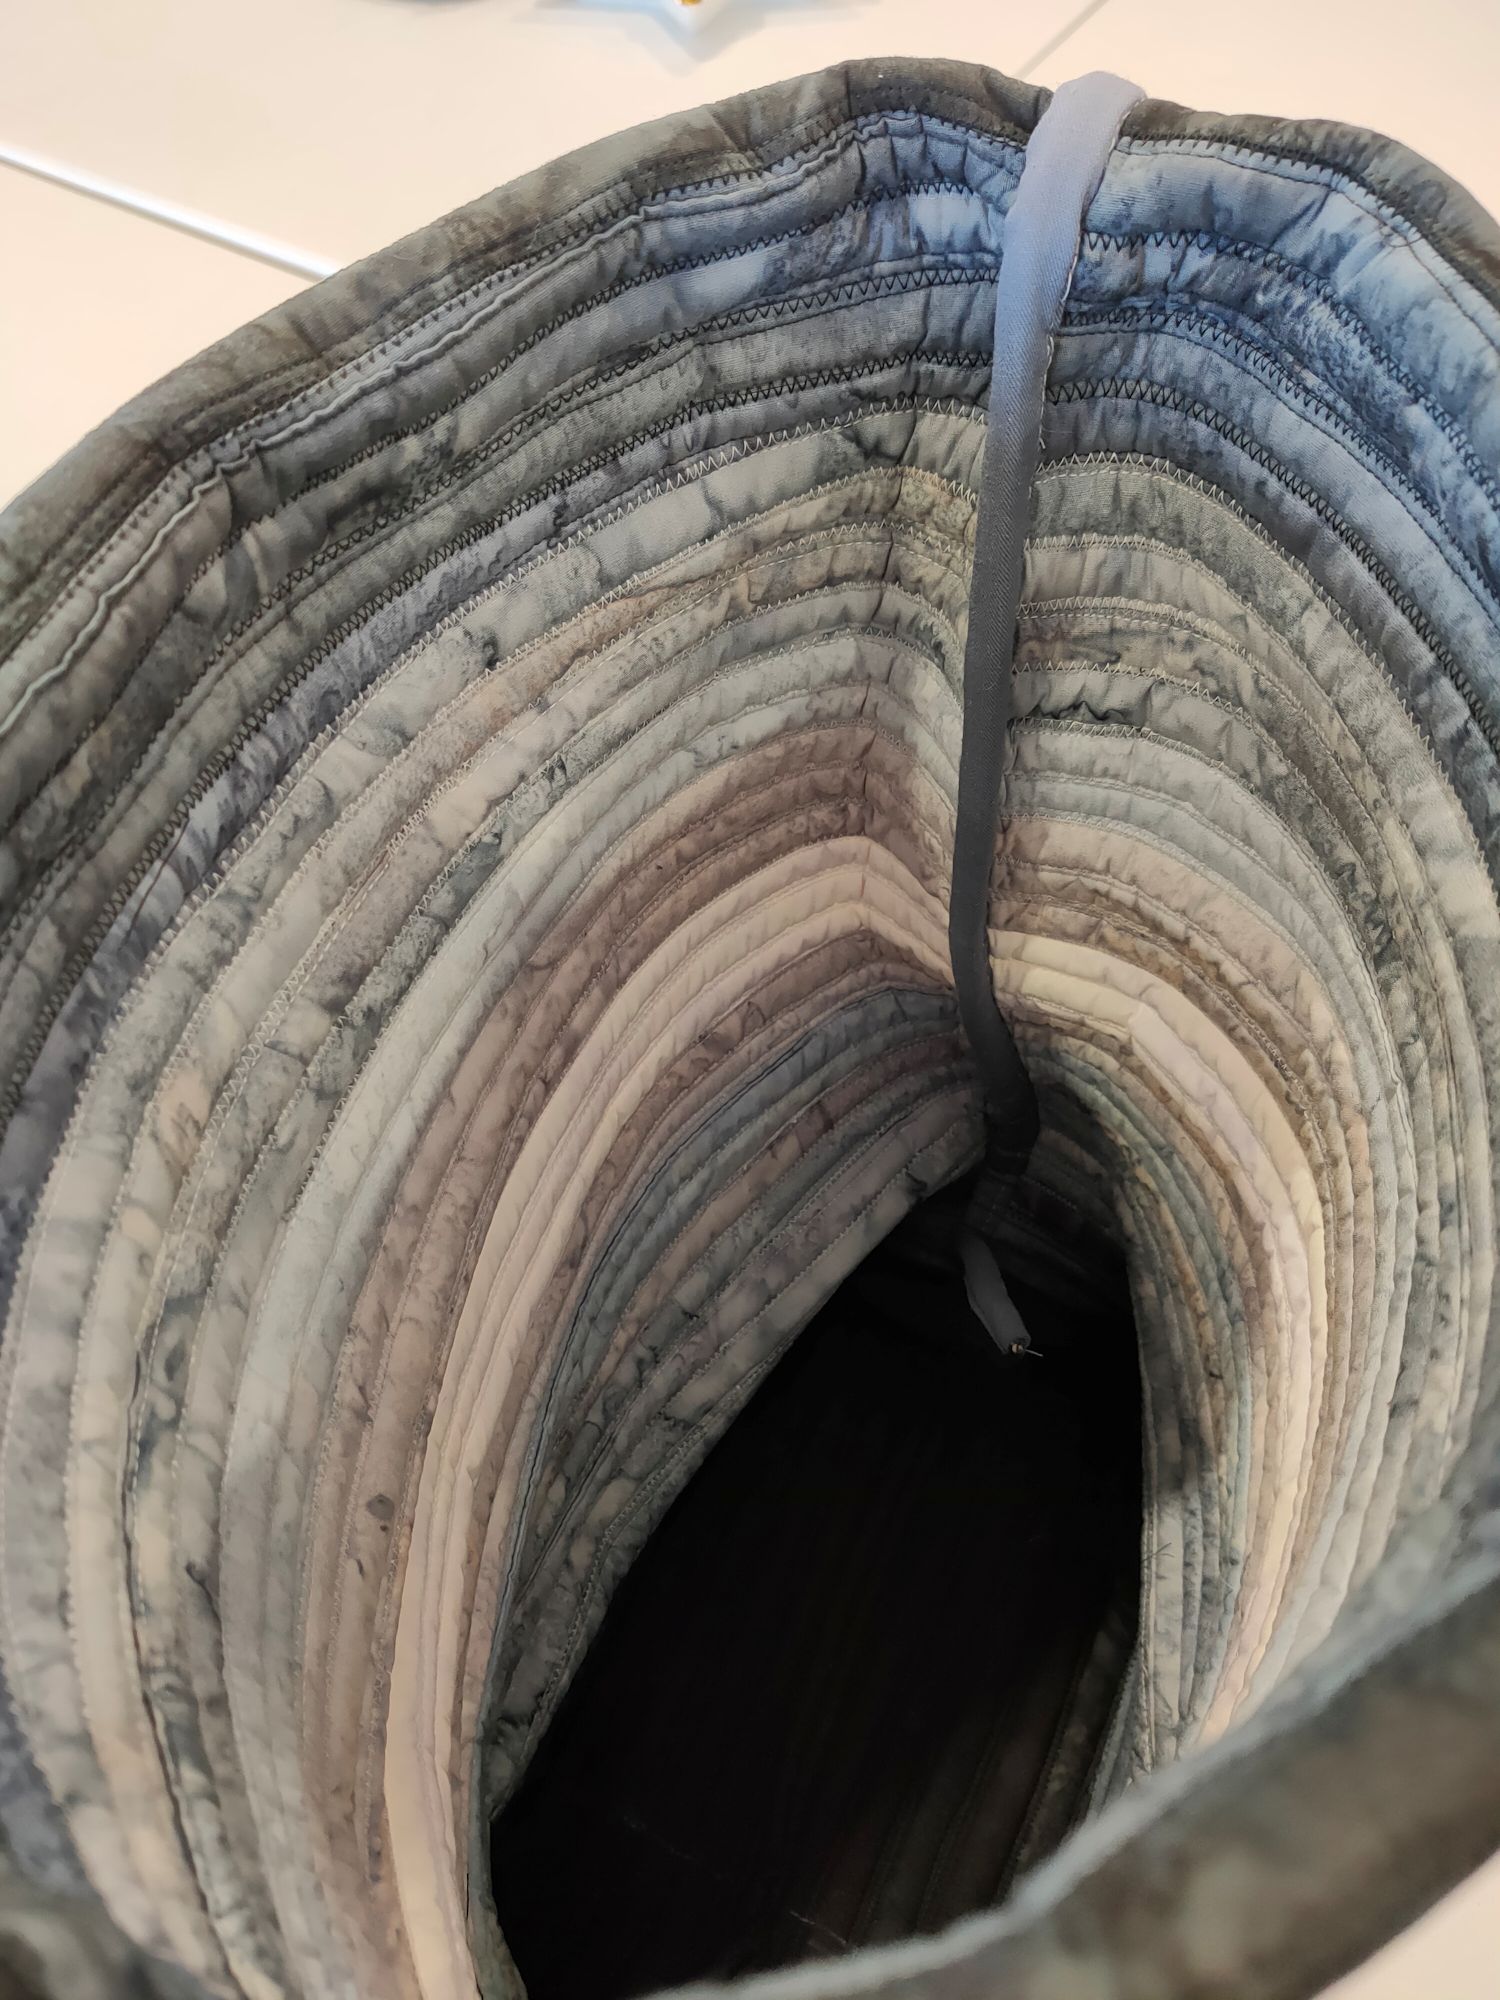
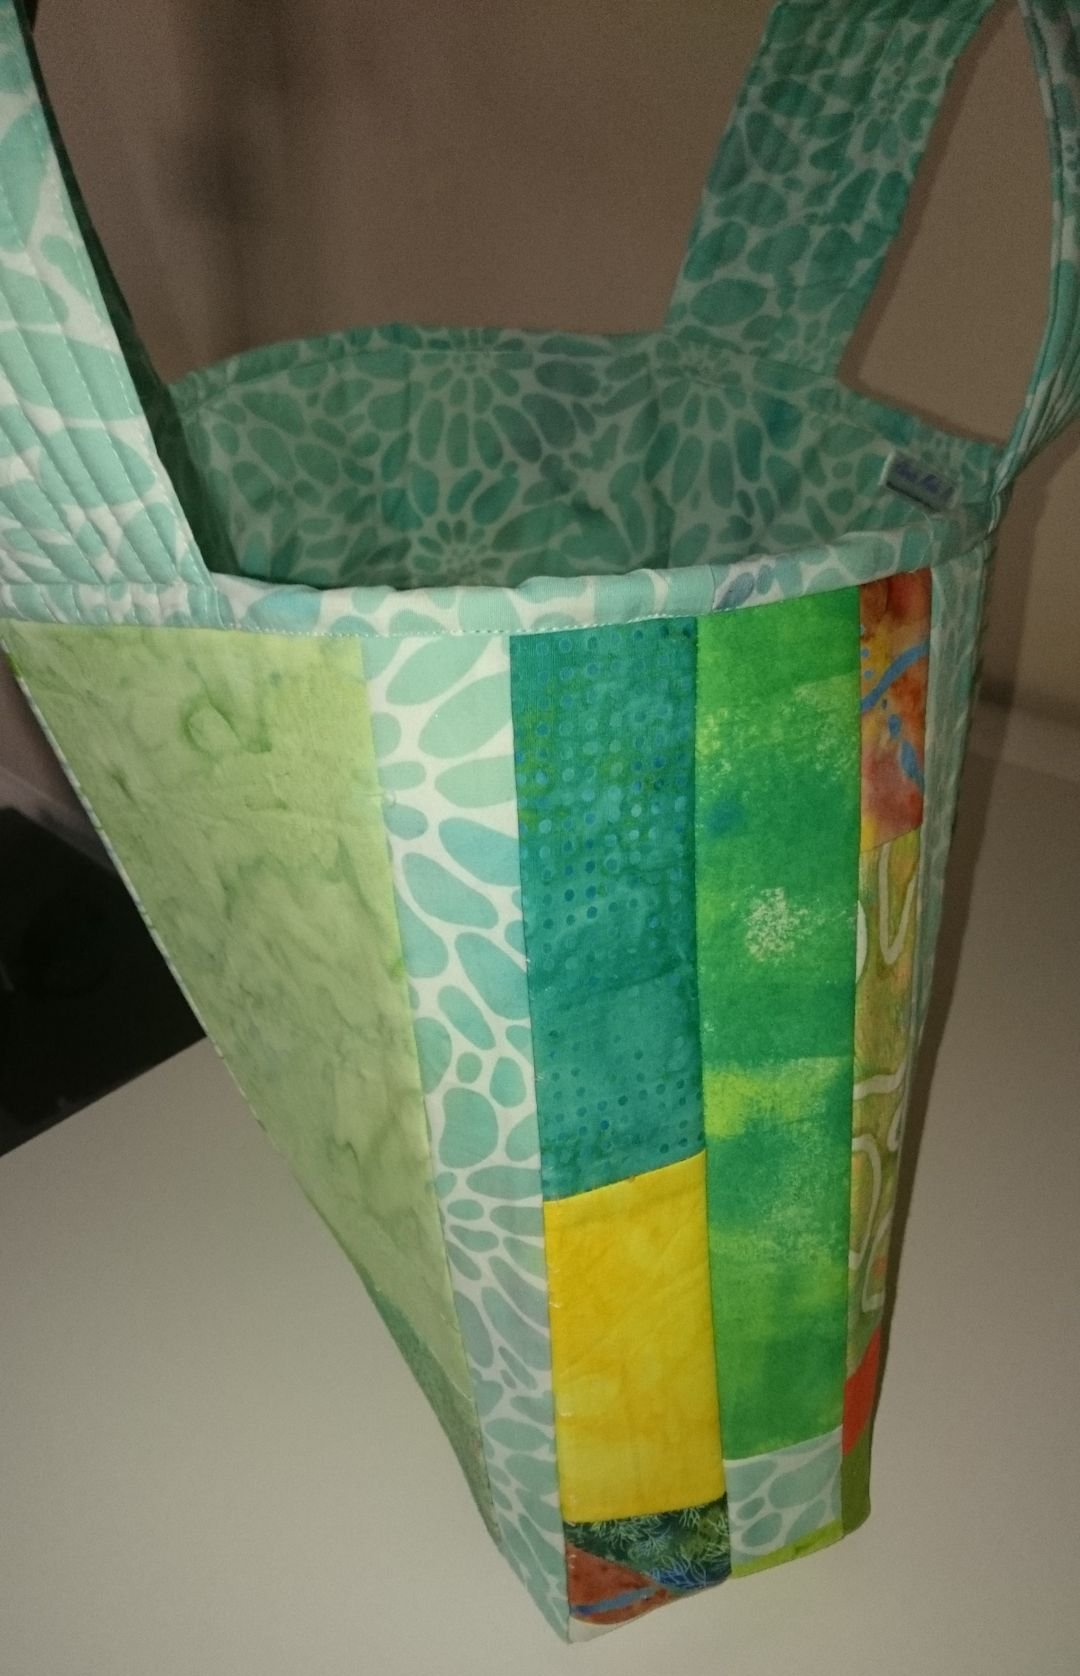
Daytime hanging pouch for a joey — the scooped side allows joey to poke out its head to observe the world around it

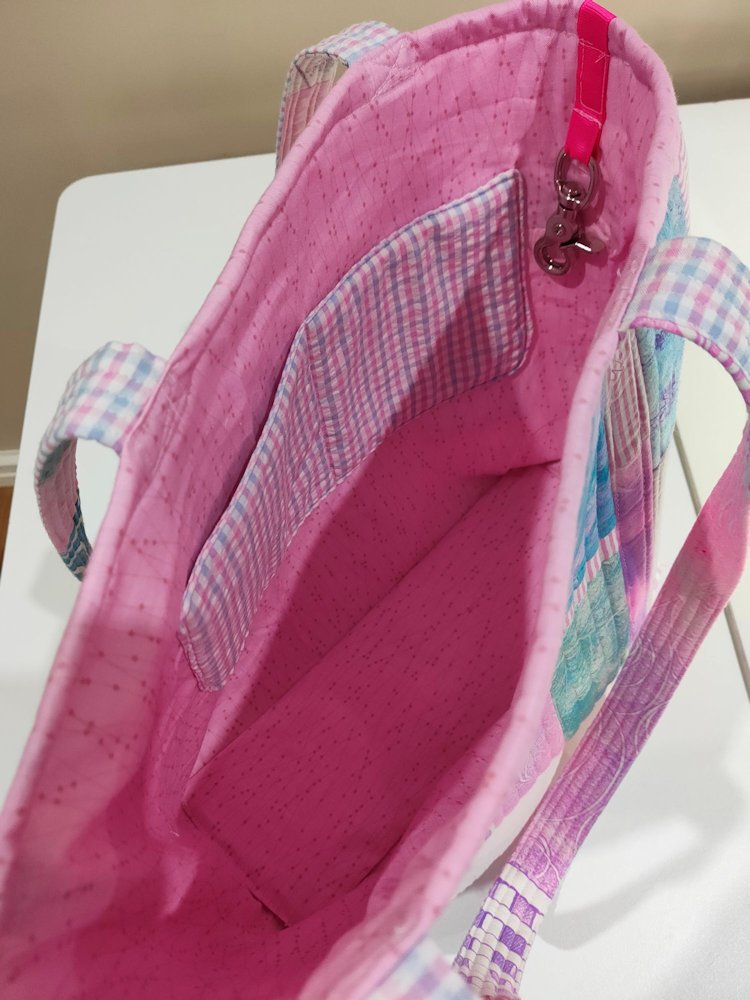
Small wildlife pouch, with 3 removable liners (spares for when others are being washed — frightened little animals poop… a lot)

Night-time hanging pouch — this time there’s no scoop. Joey needs to sleep undisturbed and not be tempted to look out into the world.
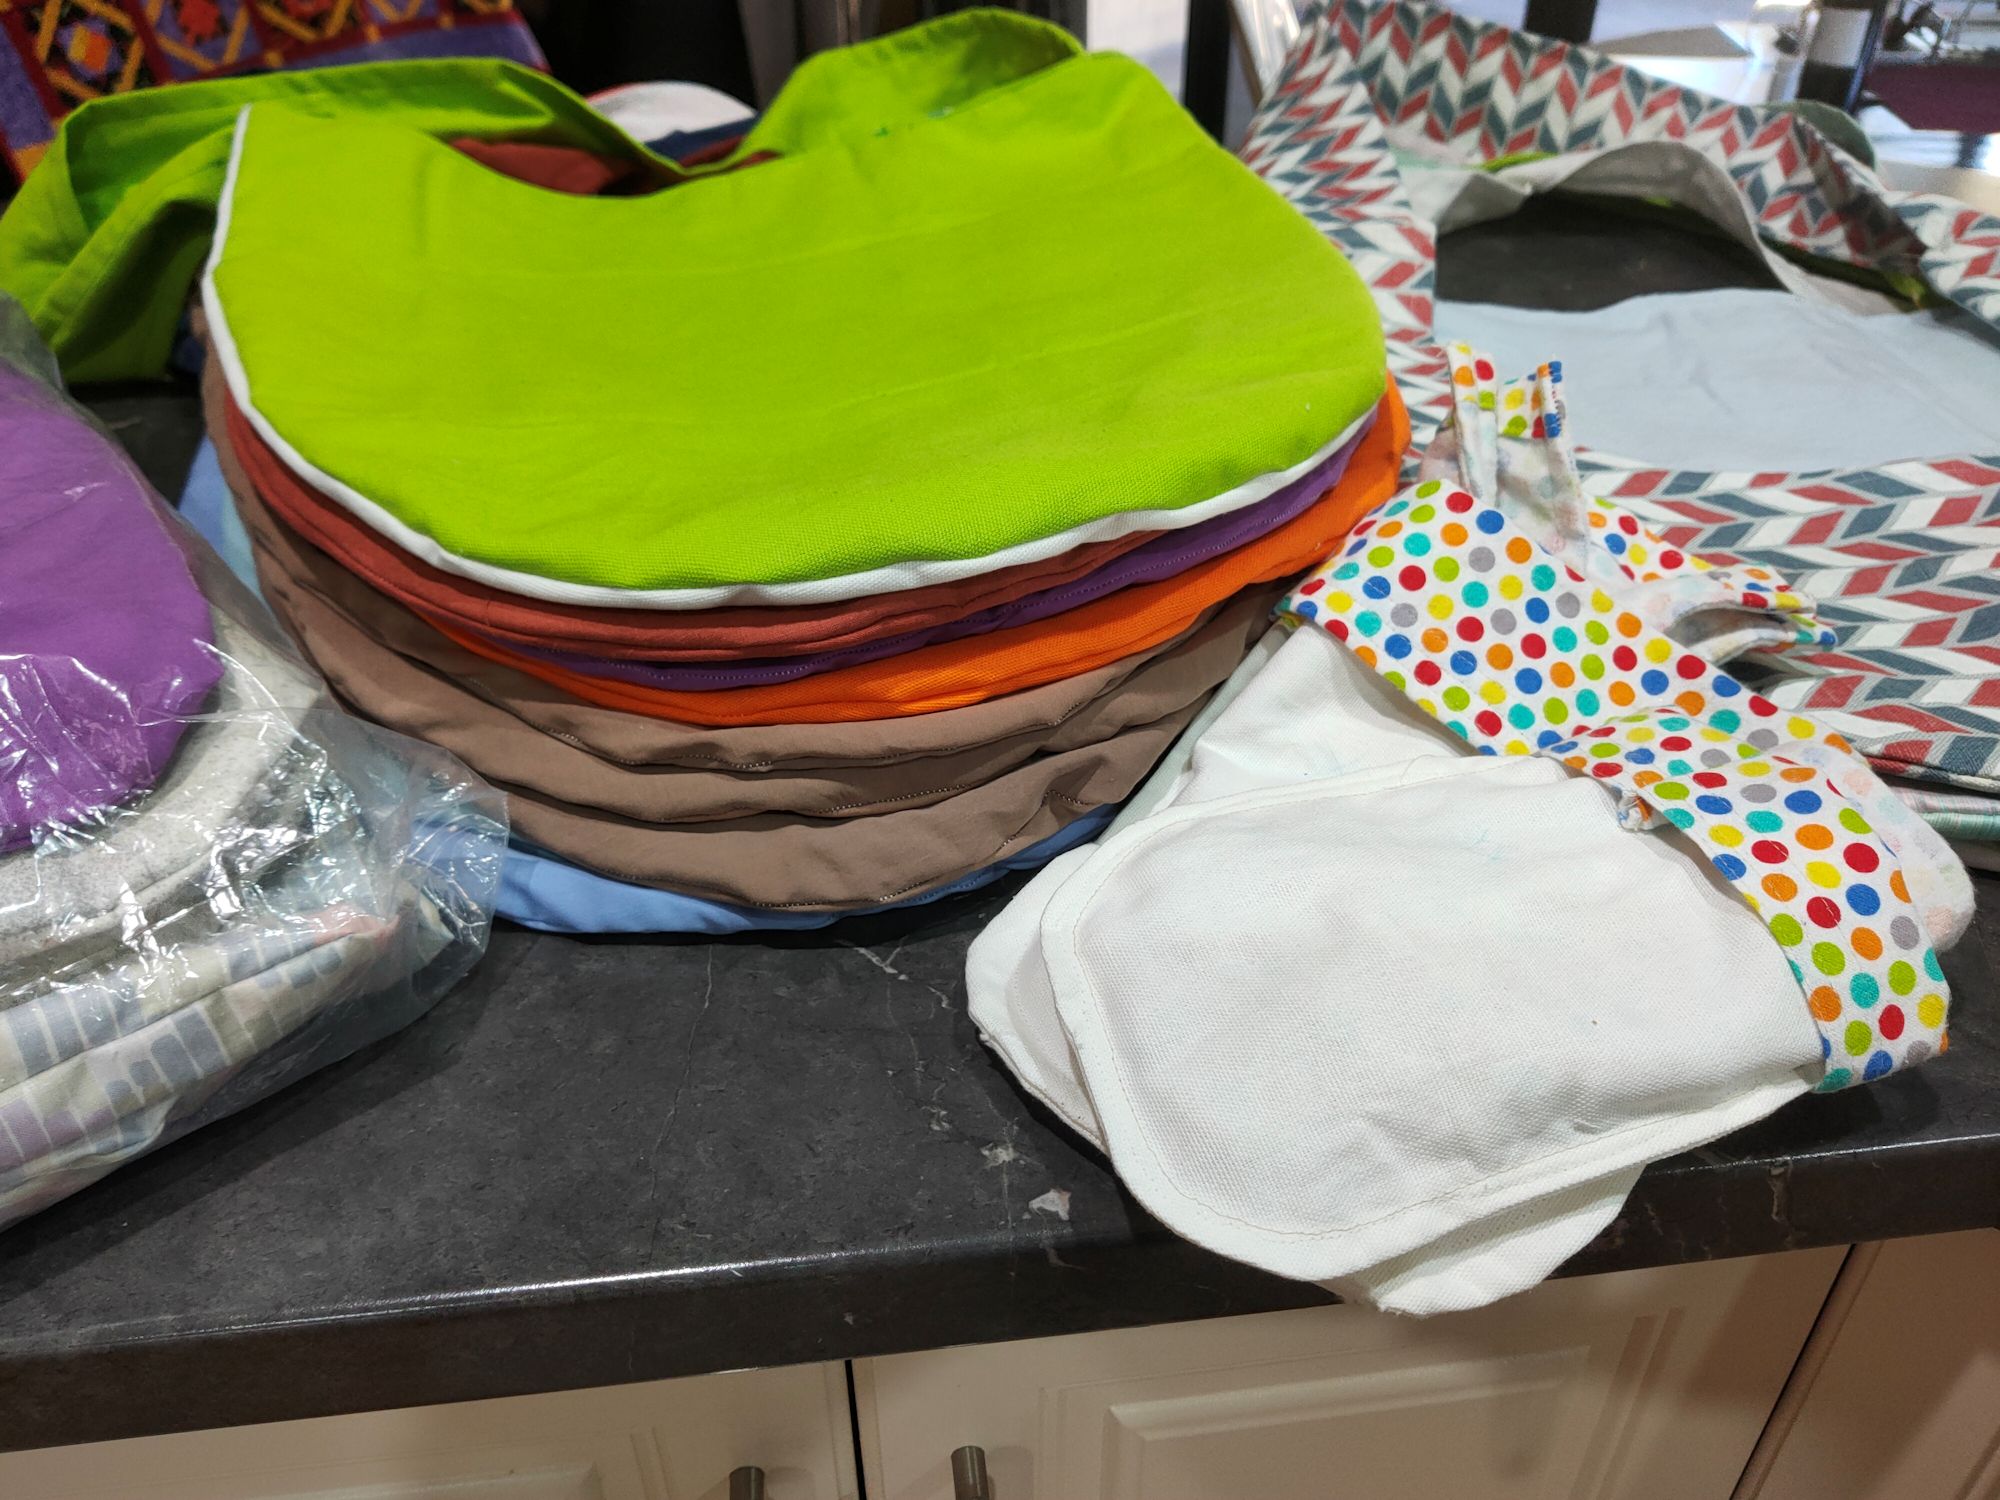
The items I made, ready to be bundled, labelled, and given to my local collection hub
YouTube video of how these pouches are used: https://www.youtube.com/watch?v=UNNt8ssoTvE
How to contribute if you are outside Australia
NOTE: These are my personal opinions and not any official stance, though I believe they reflect the position of the many groups and charities that have been inundated with donations.
My message to crafters outside Australia:
We love and appreciate the need you have to ‘do something’, but there are some not-so-small logistical and biosecurity issues that could mean all your efforts could end up being wasted. Sending unwashed items, items washed in perfumed detergent, items not made of natural fibres, items with pet hair on them could mean rejection of a whole shipment. We don’t have rabies in Australia nor many insects, lice, ticks, etc. that live in other parts of the world—and we don’t want to introduce any pest to the Australian environment that could severely damage our wildlife and agricultural industries (we haven’t got a good track record with introduced pests… just Google ‘cane toad’).
Although it doesn’t feel like you’re ‘doing something’, money is what’s needed for the ongoing support of human and animal communities that have been devastated by fire. As an example, food needs to be supplied to surviving animals in burnt areas, and this need will continue for many months—this food has to be purchased (if not this week because someone donated it for free, then next week and onwards), transported (often by helicopter because roads are impassable, or the terrain is impenetrable), and put in places of need. That takes MONEY, not craft donations from overseas. We have many many crafters in Australia who are meeting the immediate need for animal pouches etc.
So while we are honoured and humbled that you are all feeling so helpless about the plight of the animals etc. that can’t help themselves, money is a far better contribution you can make. Consider how much you would have spent purchasing the fabric/yarn (or how much you’ve already spent on fabric/yarn in your stash) and the cost of sending the goods to Australia (it’s not cheap!), and donate the monetary value of that instead, if you feel the need to ‘do something’. Or make pet beds, nests, or similar and donate them to your local wildlife carer groups—they also have ongoing needs to help them care for animals, but without any of the recent media coverage.
Money is portable and can be given where it’s most needed based on conditions on the ground, noting that these conditions are changing daily. (For people, some want clothing, some want accommodation and food expenses, some want agistment and feed for their horses, cattle etc.; for animals, some carers need pouches, others need food, water, and/or medical supplies, or industrial washing machines to clean the pouches, carry baskets and containers to allow animals to be transported or to sleep without being disturbed etc.).
Money will be spent in the local communities that are hurting the most, helping their economies get back off the ground. Money can buy food for animals, helping the communities and farmers who have produce that they may not be able to sell otherwise (e.g. fruit and vegetables with smoke taint).
Donated goods of any type have to be stored (requiring massive storage space requirements), and have to be appropriate to needs (e.g. no perishables, ‘as new’ not cast-offs/discards/unwanted clothing or furniture), and then have to be sorted and allocated (a LOT of people and coordination is needed to make that happen) (see here: https://www.sbs.com.au/news/daniel-andrews-tells-people-to-stop-donating-food-and-clothes-for-bushfire-crisis). Consider the situation where someone’s house has burnt to the ground in your neighbourhood—someone says the family needs toys, so hundreds of (used, discarded) toys are donated. But the family is living in a single hotel room with no storage for toys, and don’t have a home where they can store the toys. At that point, toys, especially in large quantities, are next to useless for that family, when they are trying to survive by paying for the hotel room (remember, the parents may have lost their jobs because their place of work has burnt down too or because they can’t turn up to work while they’re trying to deal with this crisis), for food for their family, for clothing to replace what they’e lost, etc. Hundreds of toys are the last thing they need.
If you’re outside Australia, especially if you’re in the US, your dollar will likely buy far more than you expect. Currently (14 Jan 2020), US$100 will buy $144 worth of goods in Australian dollars, so you’re getting a good ‘bang for your buck’.
Here are some lists of registered charities that are accepting donations:
- https://thequiltshow.com/daily-blog/142-newsletter/28819-australia-needs-your-help
- https://www.abc.net.au/triplej/programs/hack/bushfire-crisis-how-can-i-donate-and-help/11839842
- https://www.abc.net.au/news/2020-01-01/bushfire-relief:-how-you-can-help-frontline-services/11835156
Links last checked 14 Jan 2020