Each year I go on a couple of private quilting retreats with friends—private in that they are closed groups and by invitation only. One of them is held in January, one of the hottest months in Australia, but where we go has a huge studio room with super bright light and wonderful air conditioning to work in. This year I decided to make some things out of the three jelly rolls of fabric I bought in Bali last September.
Notes to my future self:
- Use the Jelly Roll Sasher (https://pqw.com.au/product/jelly-roll-sasher/) to make life easier.
- Invest in a pre-cut/pre-wound roll of batting suitable for this jelly roll technique—it’s SO worth it as the thickness and width are perfect. Yes, it’s expensive, but it’s less wear and tear on your machine (and needles), your time, and your sanity!
- If you do cut your own batting strips as I did initially, try and use only thin batting, and make the width 2.25 inches, NOT 2.5 inches as I did (I then had to cut them down again to 2.25 inches as they were way too thick to go through the jelly roll sasher and/or the sewing machine (I broke a couple of needles…).
- If you make a rectangular rug or a bag or container, don’t forget to put a few unsewn strips to one side for binding the top and bottom edges (rug), and for handles and to cover the inside seams (bag/container).
First up was a rectangular rug (I made an oval one last January, so this time I wanted to change it up), made with gorgeous aqua toned batiks.

The Jelly Roll Sasher helps keep the fold in place
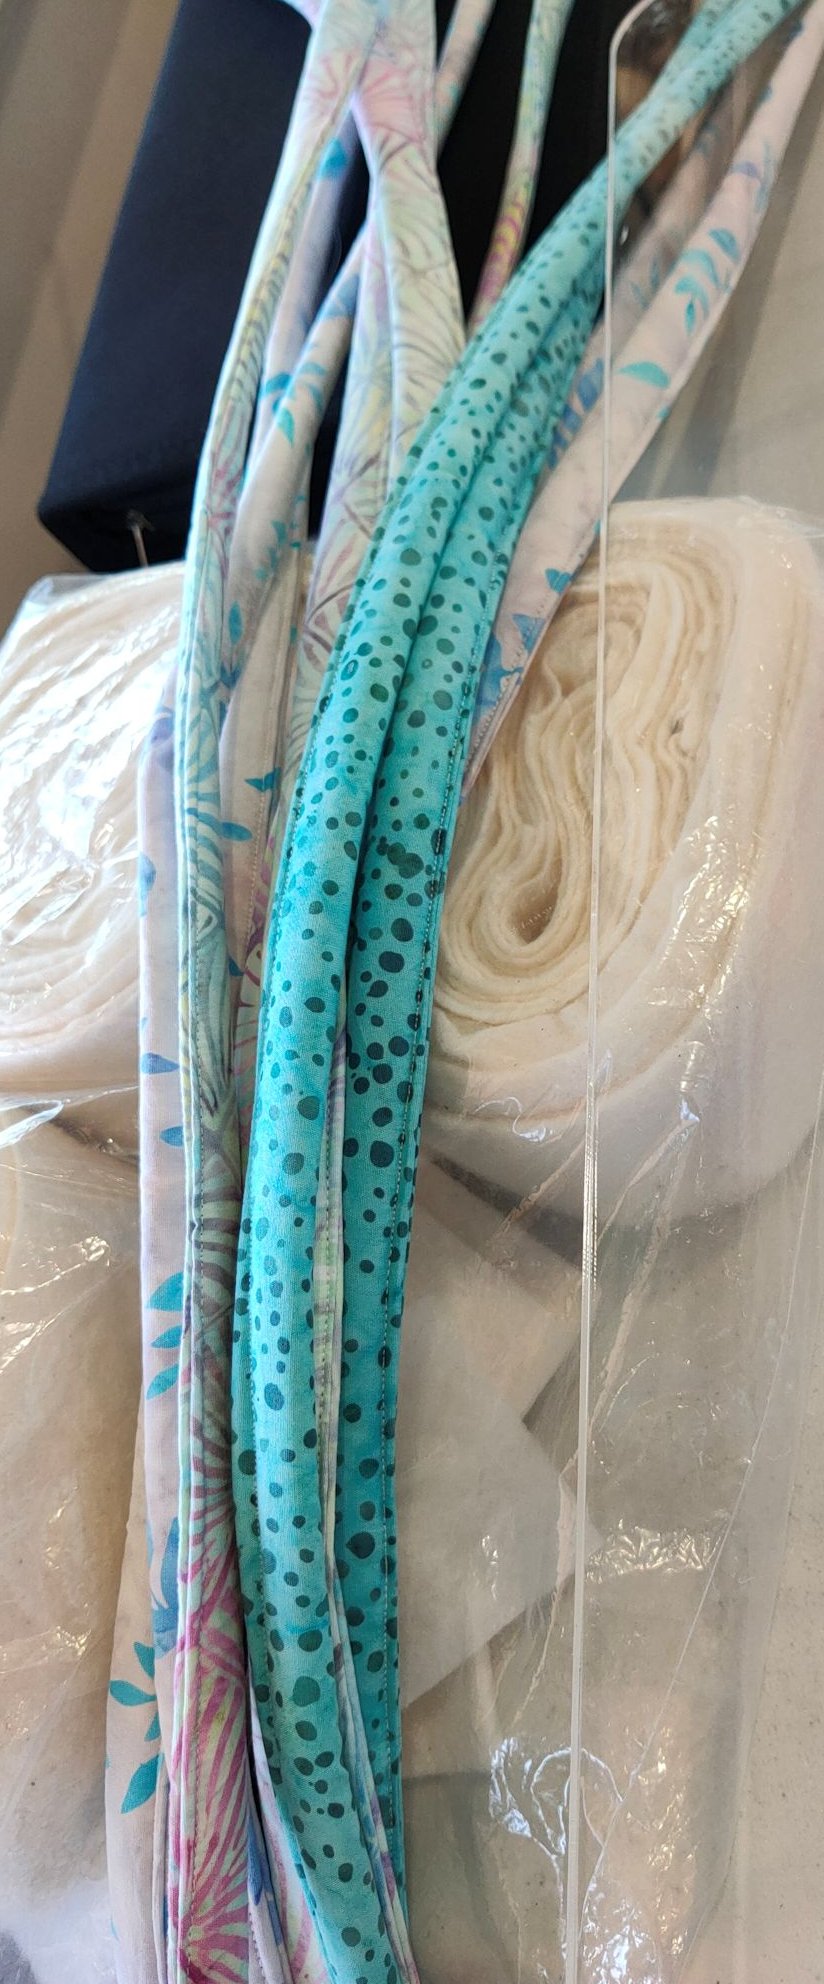
The first few strips – for a rectangular rug, you stitch each strip separately. You don’t join the ends of each strip to the next one
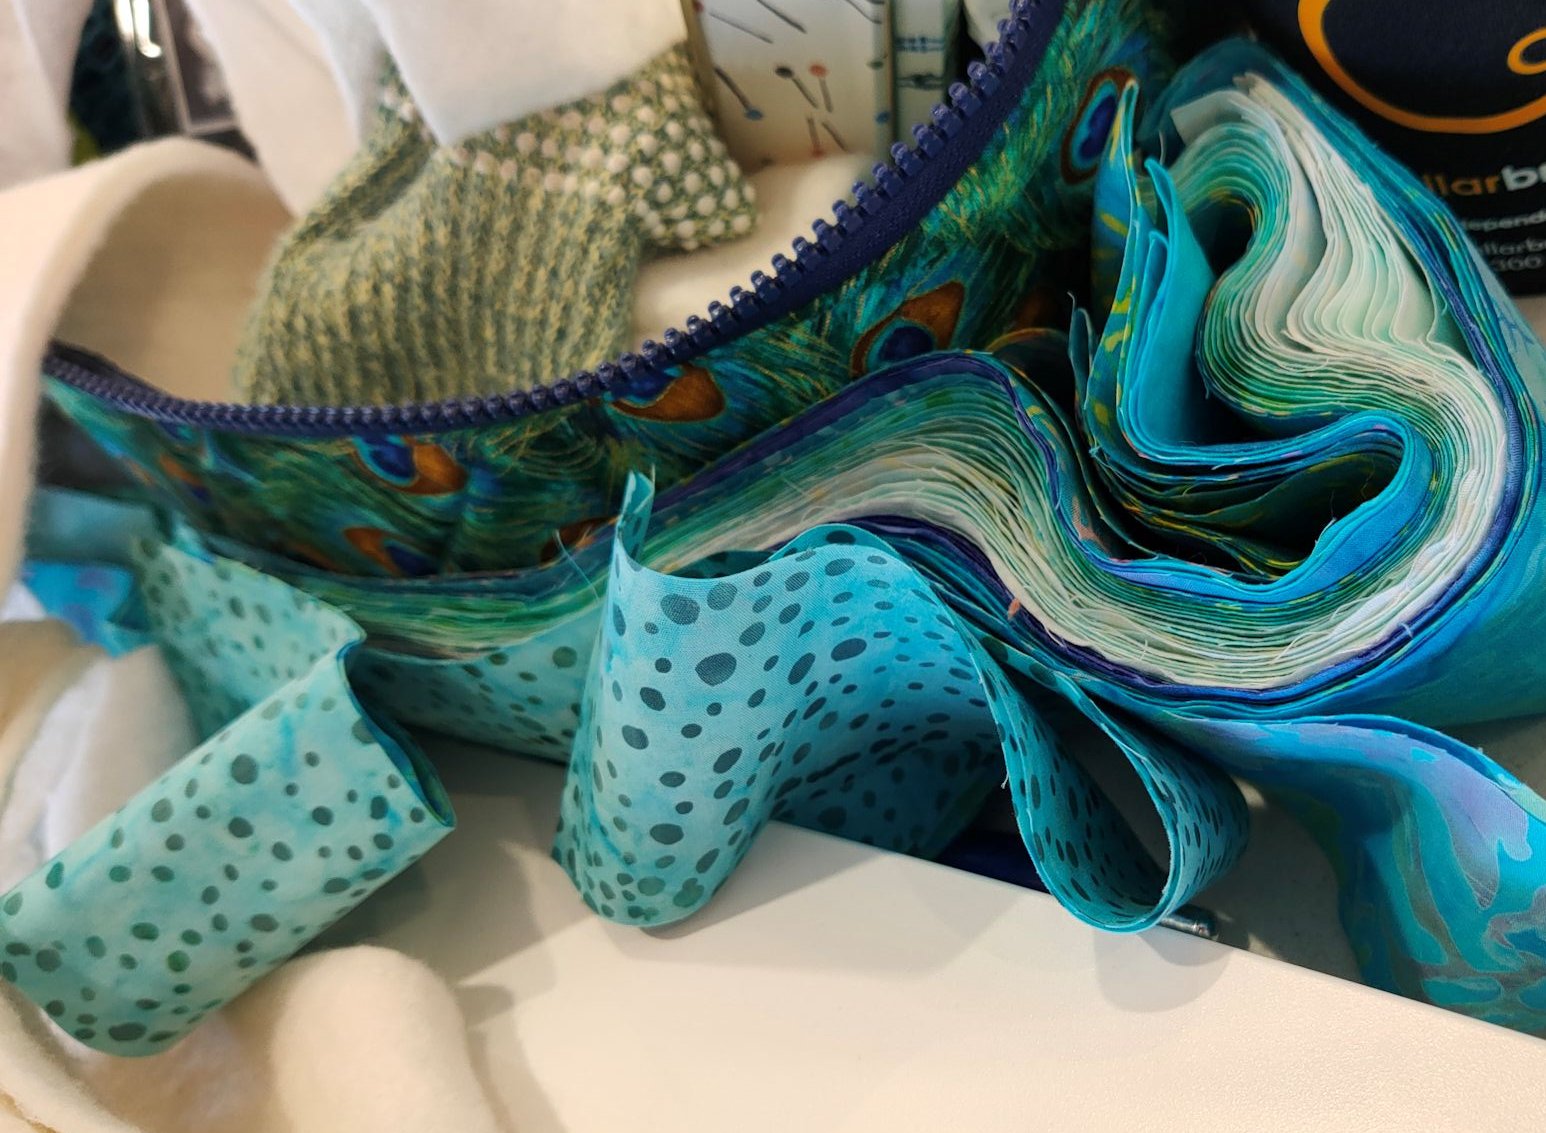
Strips waiting to be matched with batting strips and then stitched

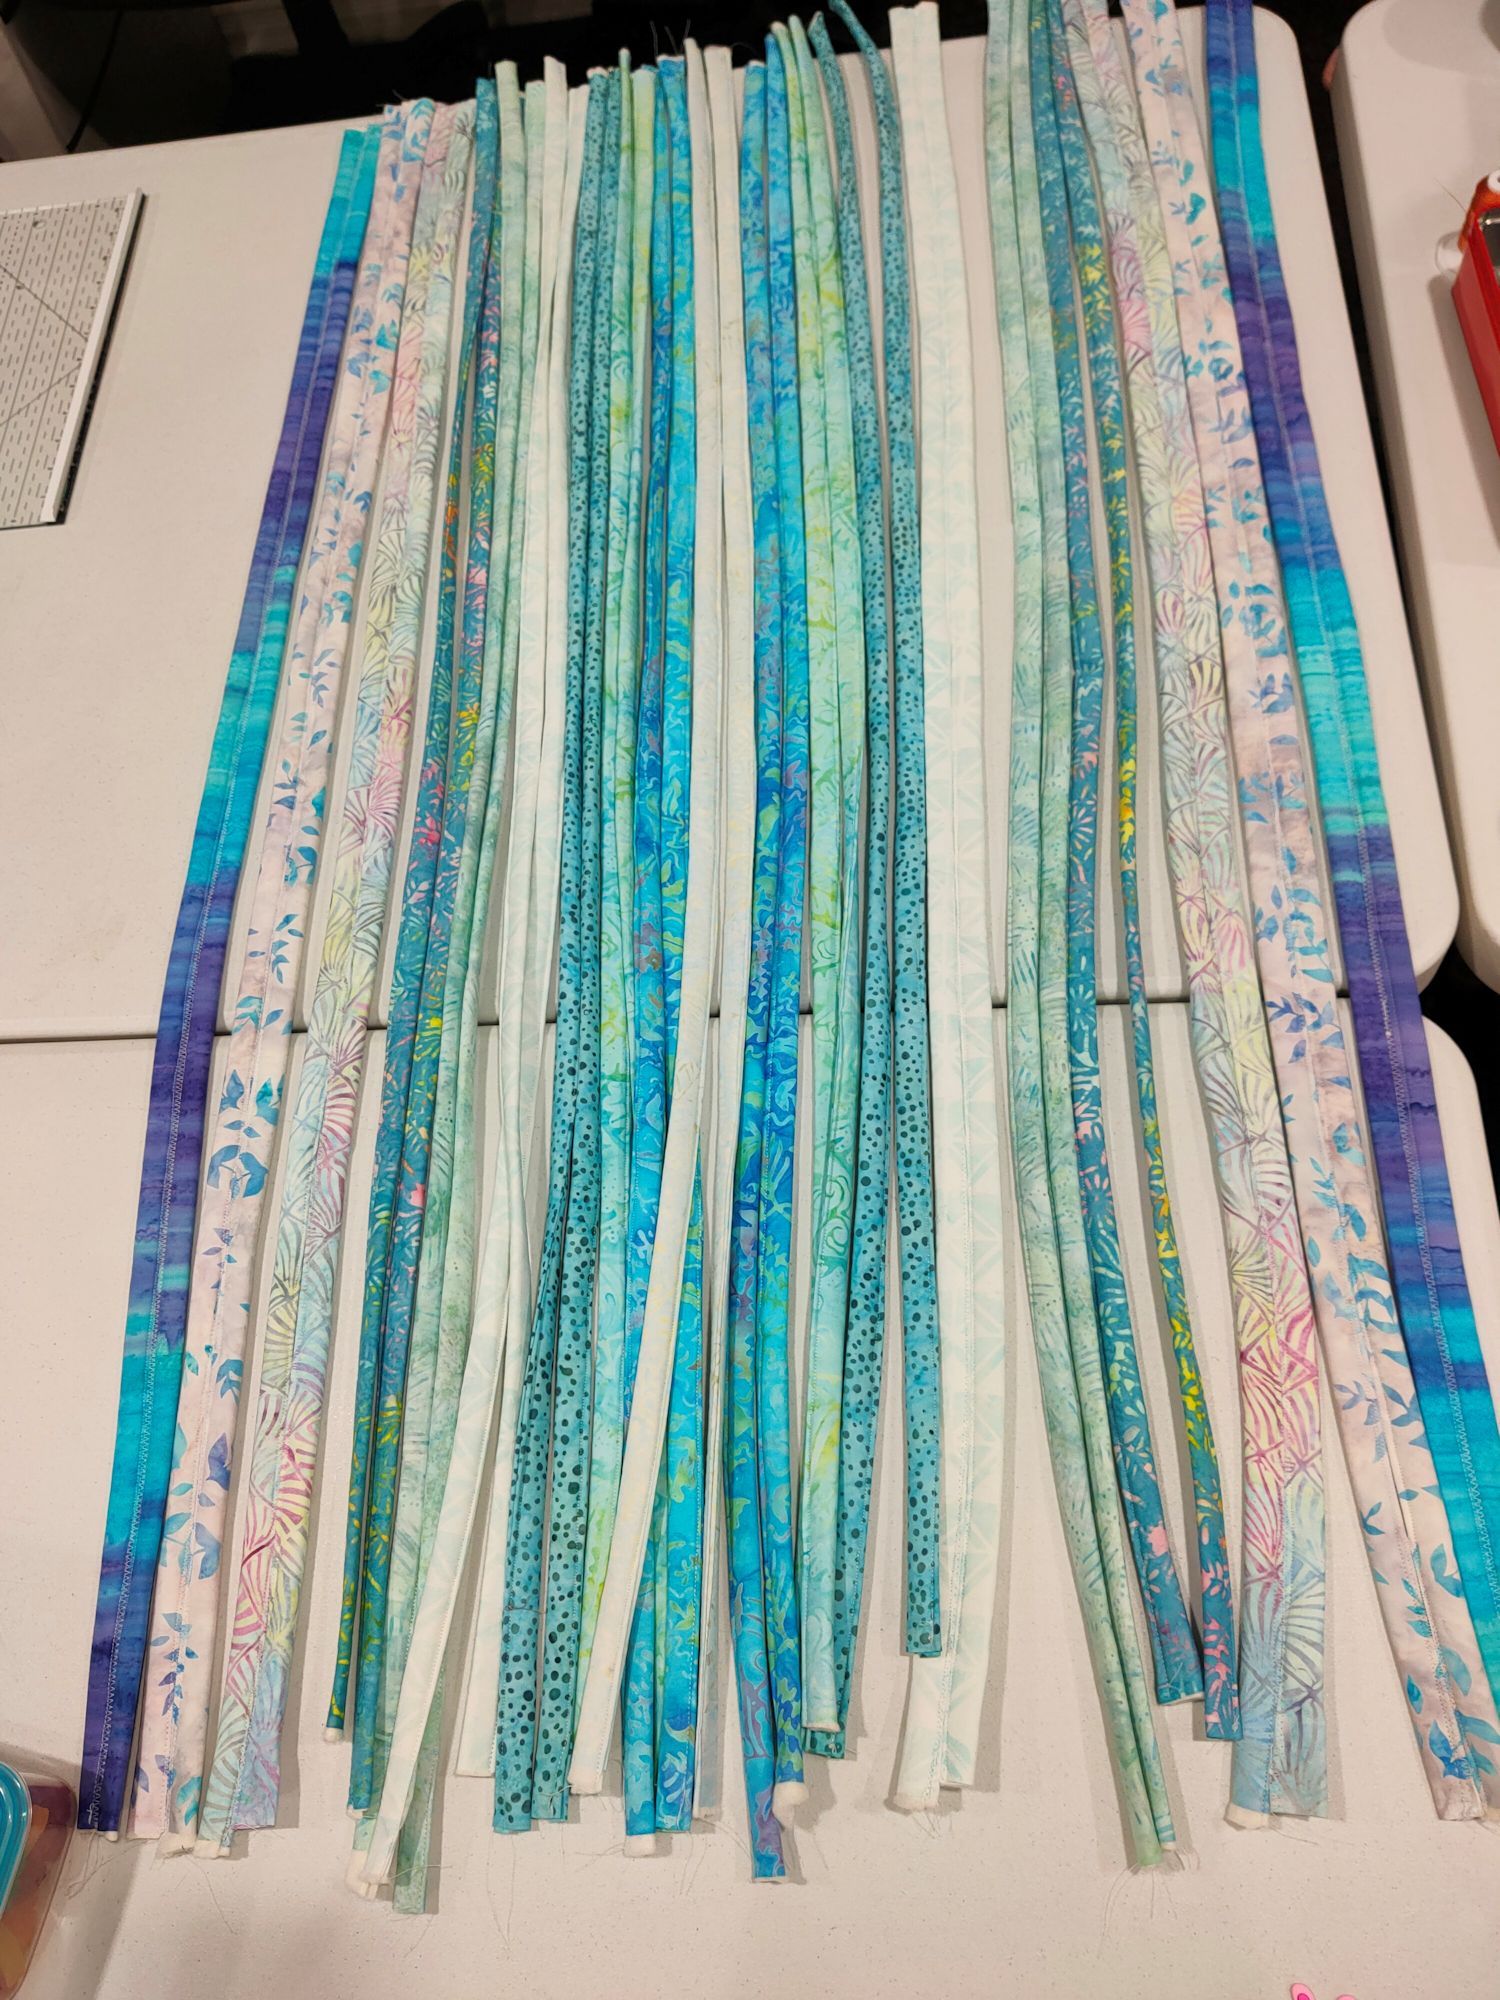
The jelly roll ‘dreadlocks’. Eventually you’ll have 40 to 42 individually sewn strips.
More strips. I chose to stitch at the edge of the join, not in the middle of each strip as some videos and instructions tell you to do. I like the slight puffiness this gives.
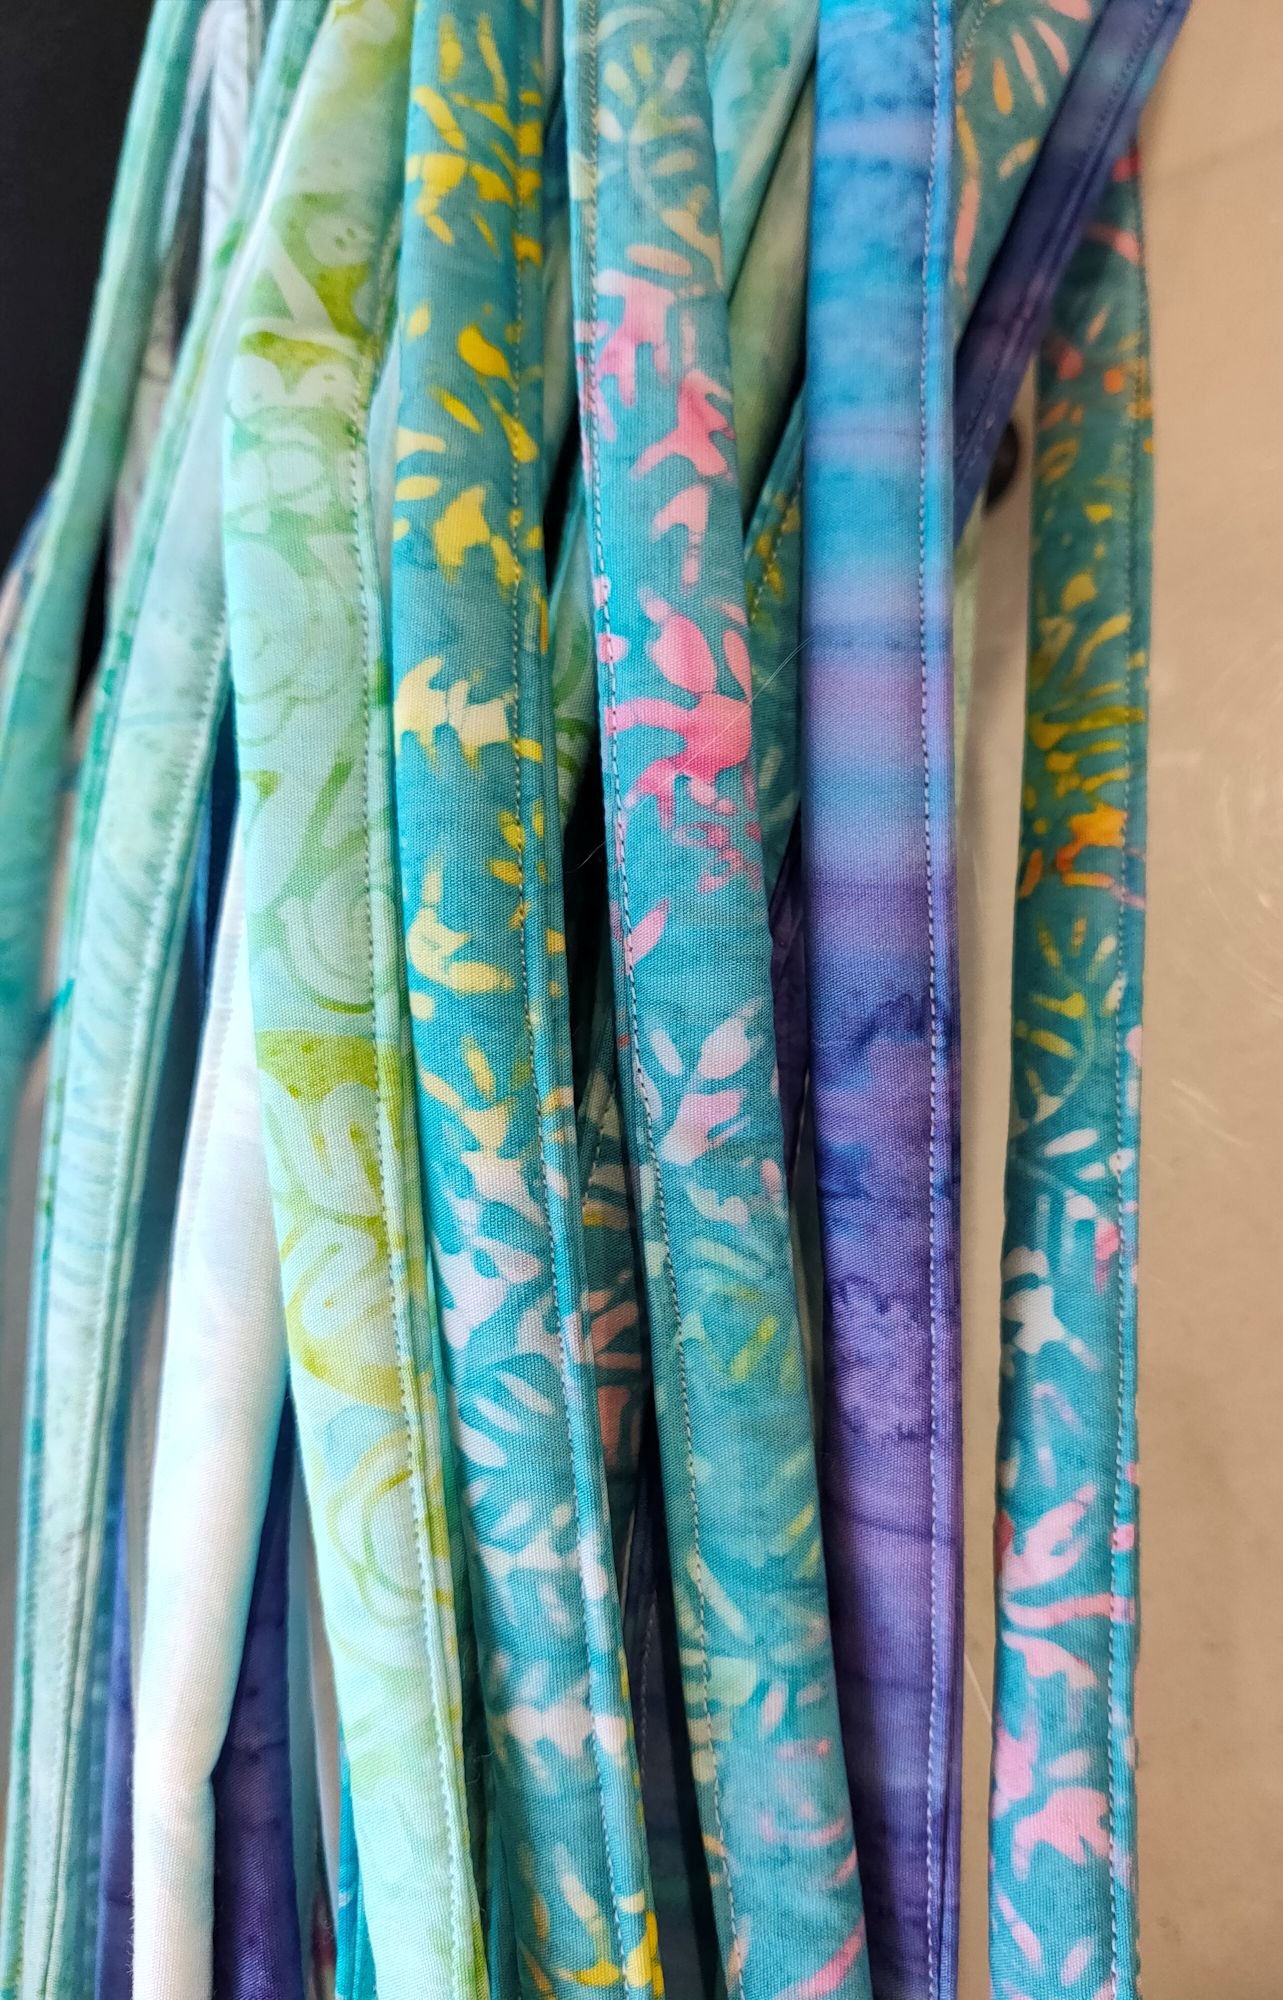
Auditioning the colour array. At this stage I was thinking of putting the darker strips on the outside of the rug.
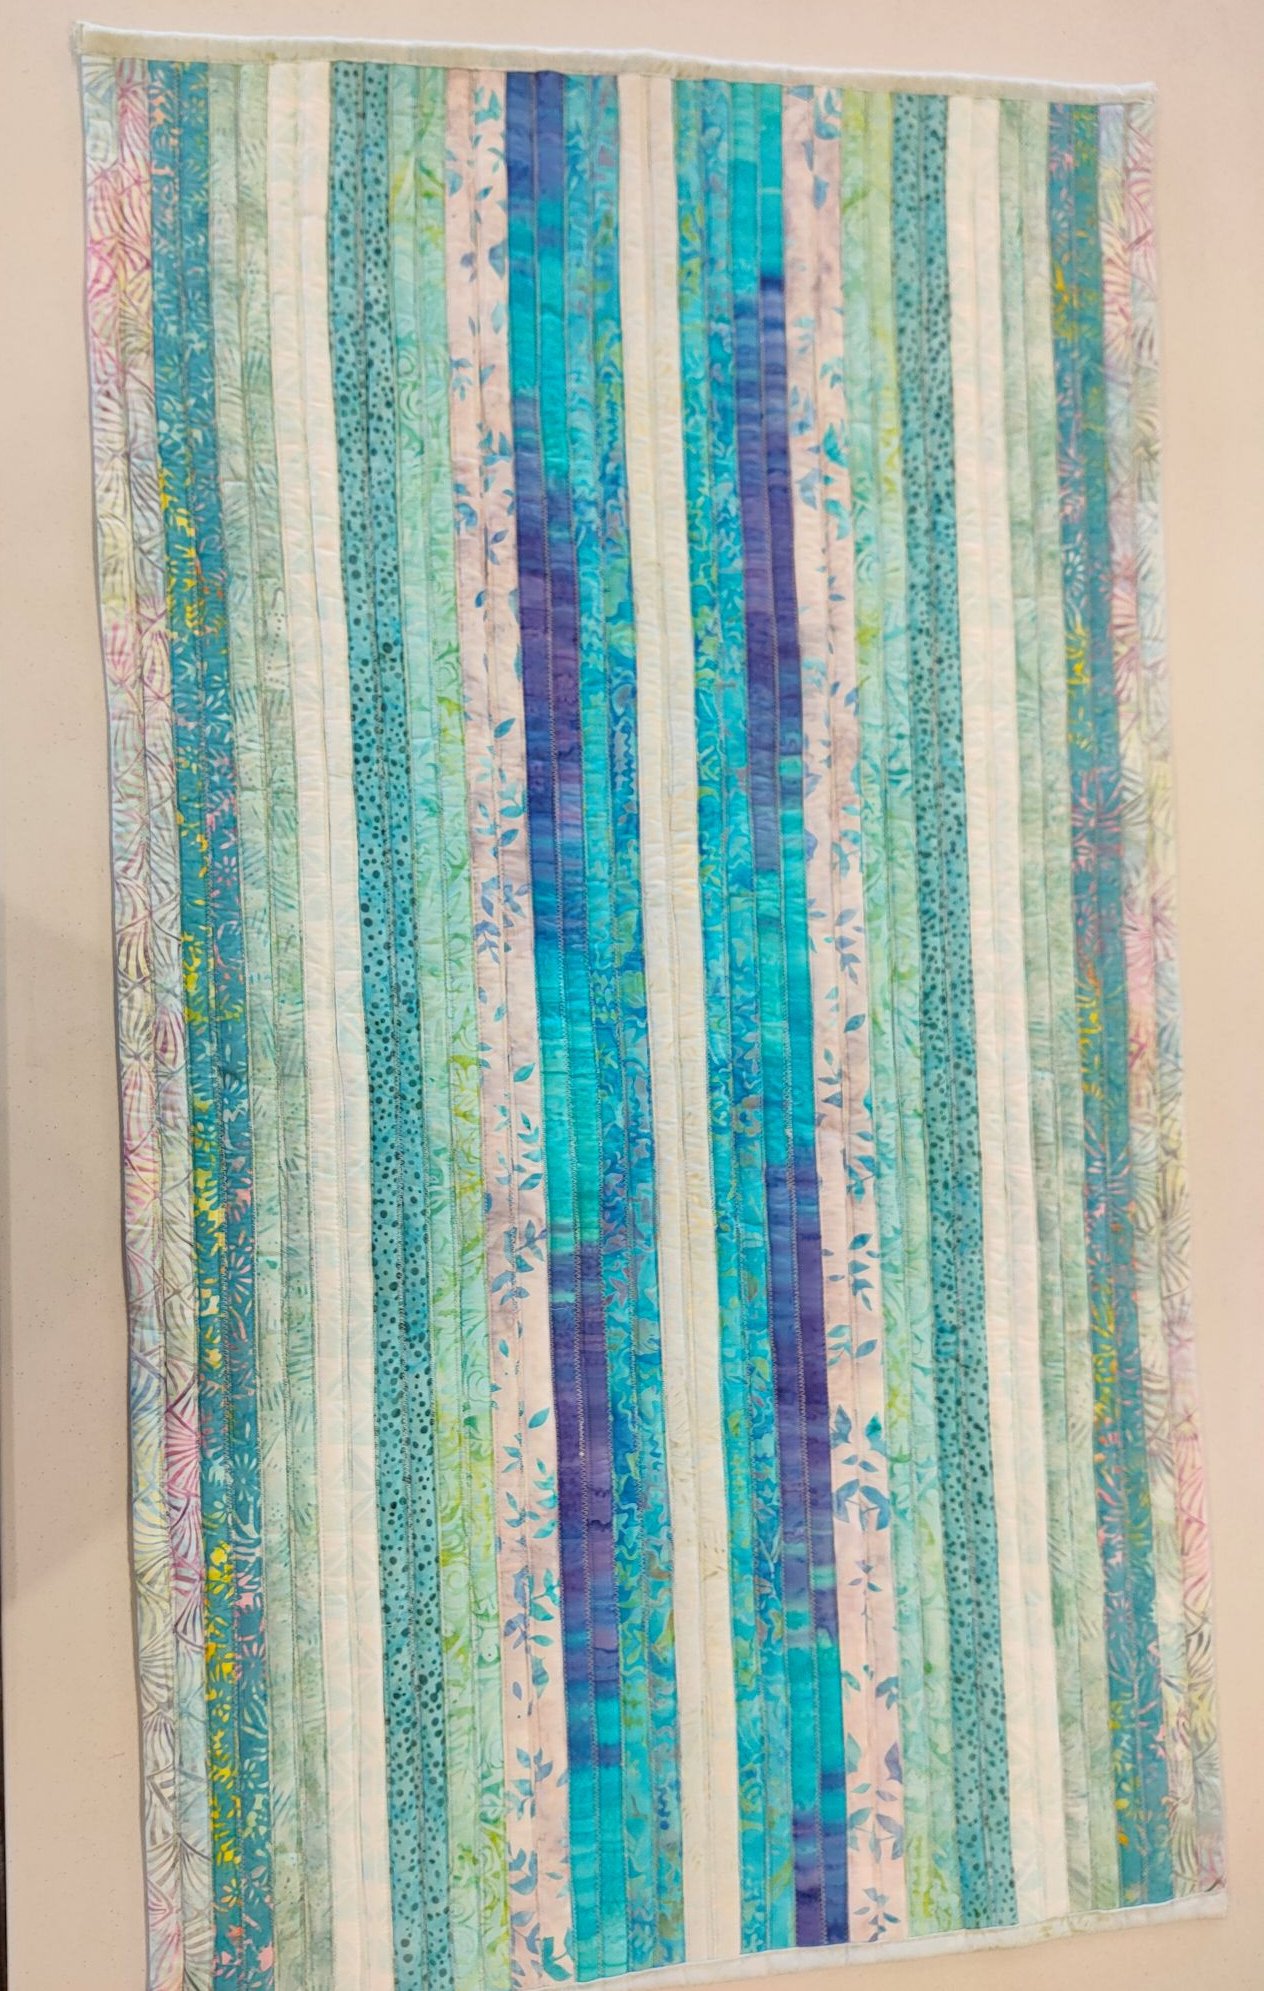
The final rug. I decided to put the darker strips closer to the centre, and kept aside a couple of unsewn strips for the binding at the top and bottom edges of the rug.
Next, I decided to make a bag. That changed when, on the advice of one of the other ladies, I left off the handles and made a large container, into which I think I’ll put the trash can in my sewing room. I love the oranges and purples and pinks and how those colours blend so nicely together. And turning down the top a couple of rows adds extra stability. Stitching through the layers at the bottom was hard, though, and really taxed my machine.

I used a pre-cut/pre-wound roll of jelly roll batting for this second piece.
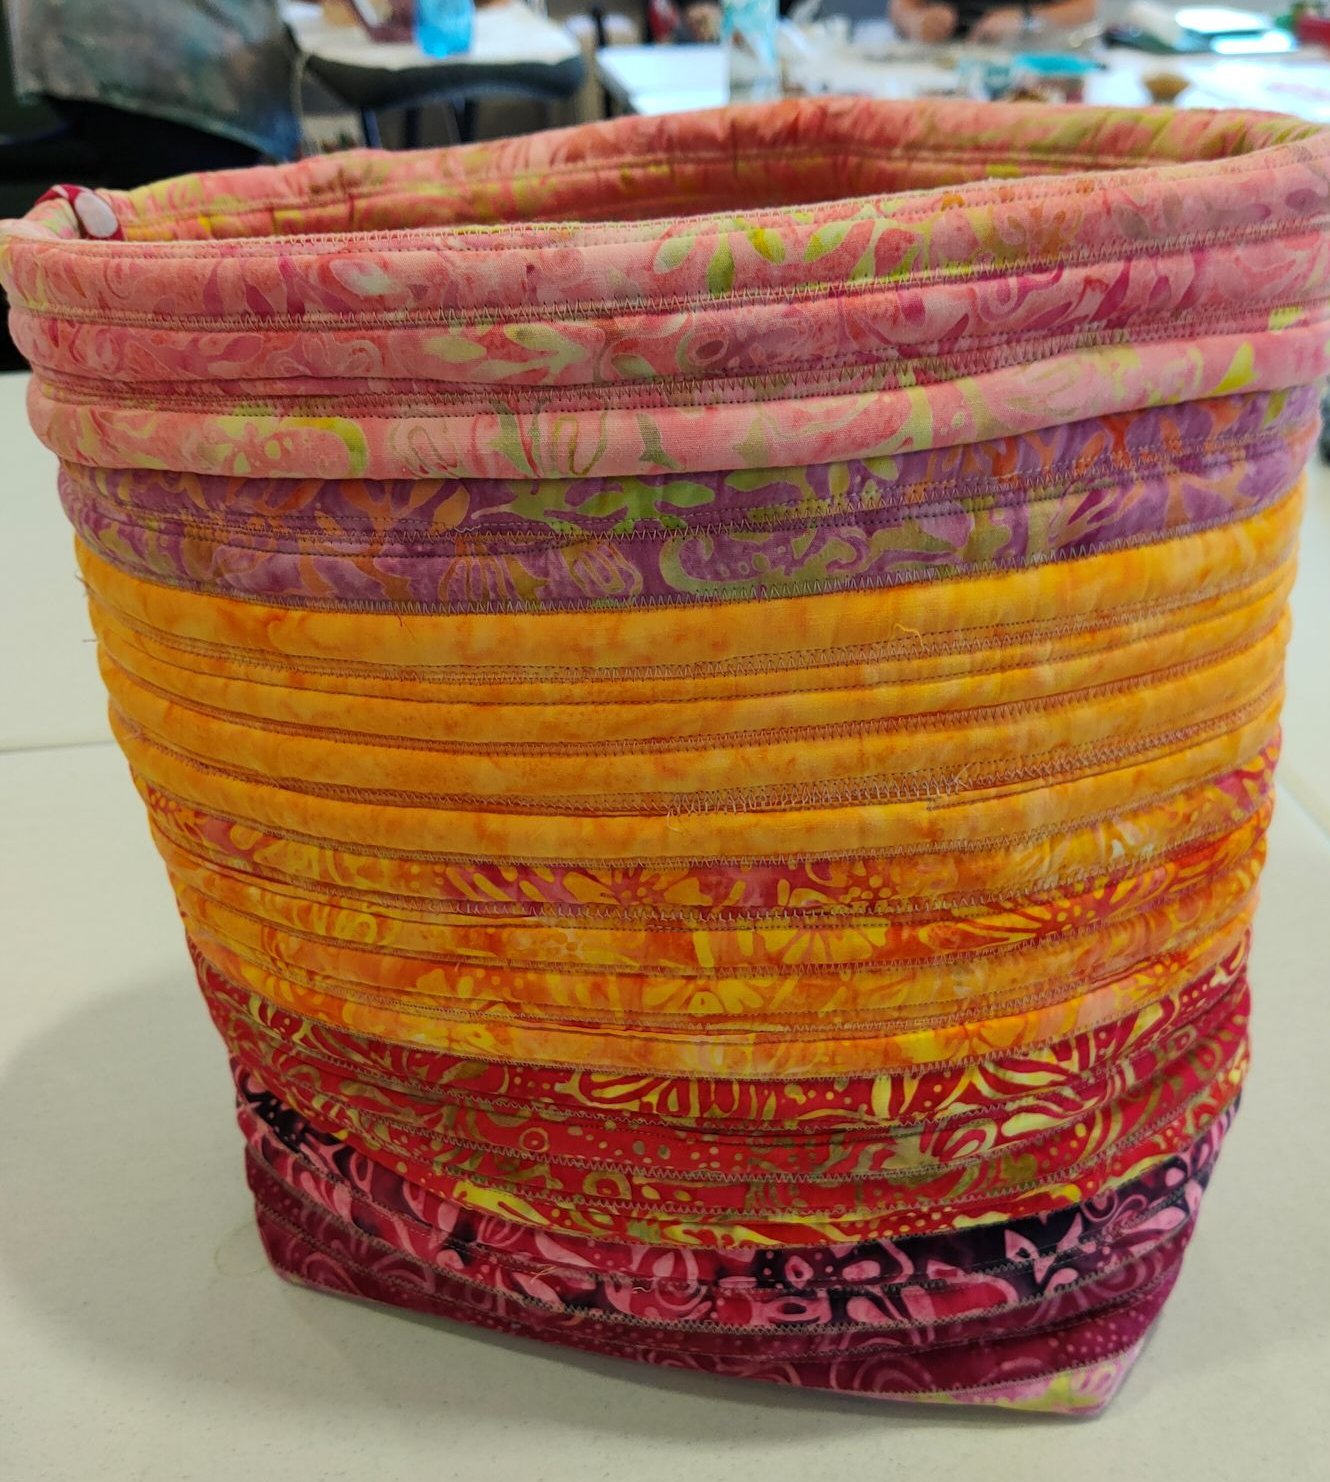
The finished container with the top turned over for stability.
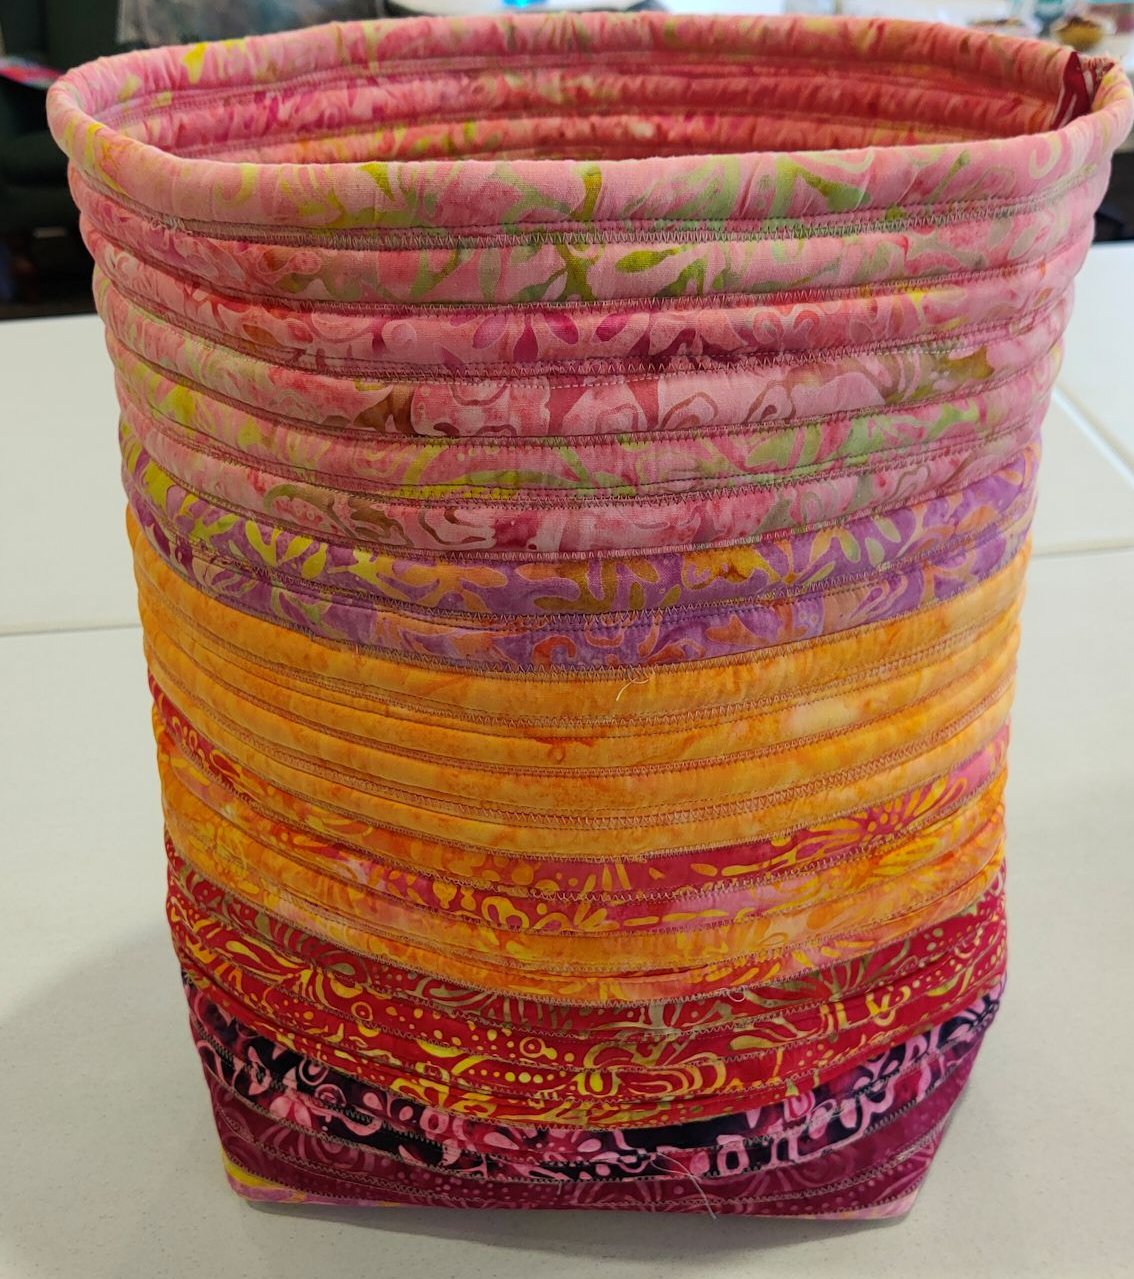
The finished container (top not turned over). Size is about 16 inches wide by a similar amount high and about 6 inches across the bottom. I still have to add a covered piece of stiffening into the base to help stabilise it.
Finally, I made a similar one to the orange one, but this time in blacks, whites, and greys. However, I forgot to leave off about 8 rows so it’s way taller than I expected or liked. I’ve since unpicked those rows and removed them, but have yet to finish this container (my next blog post will explain why…).

The range of colours as per how the roll was put together.
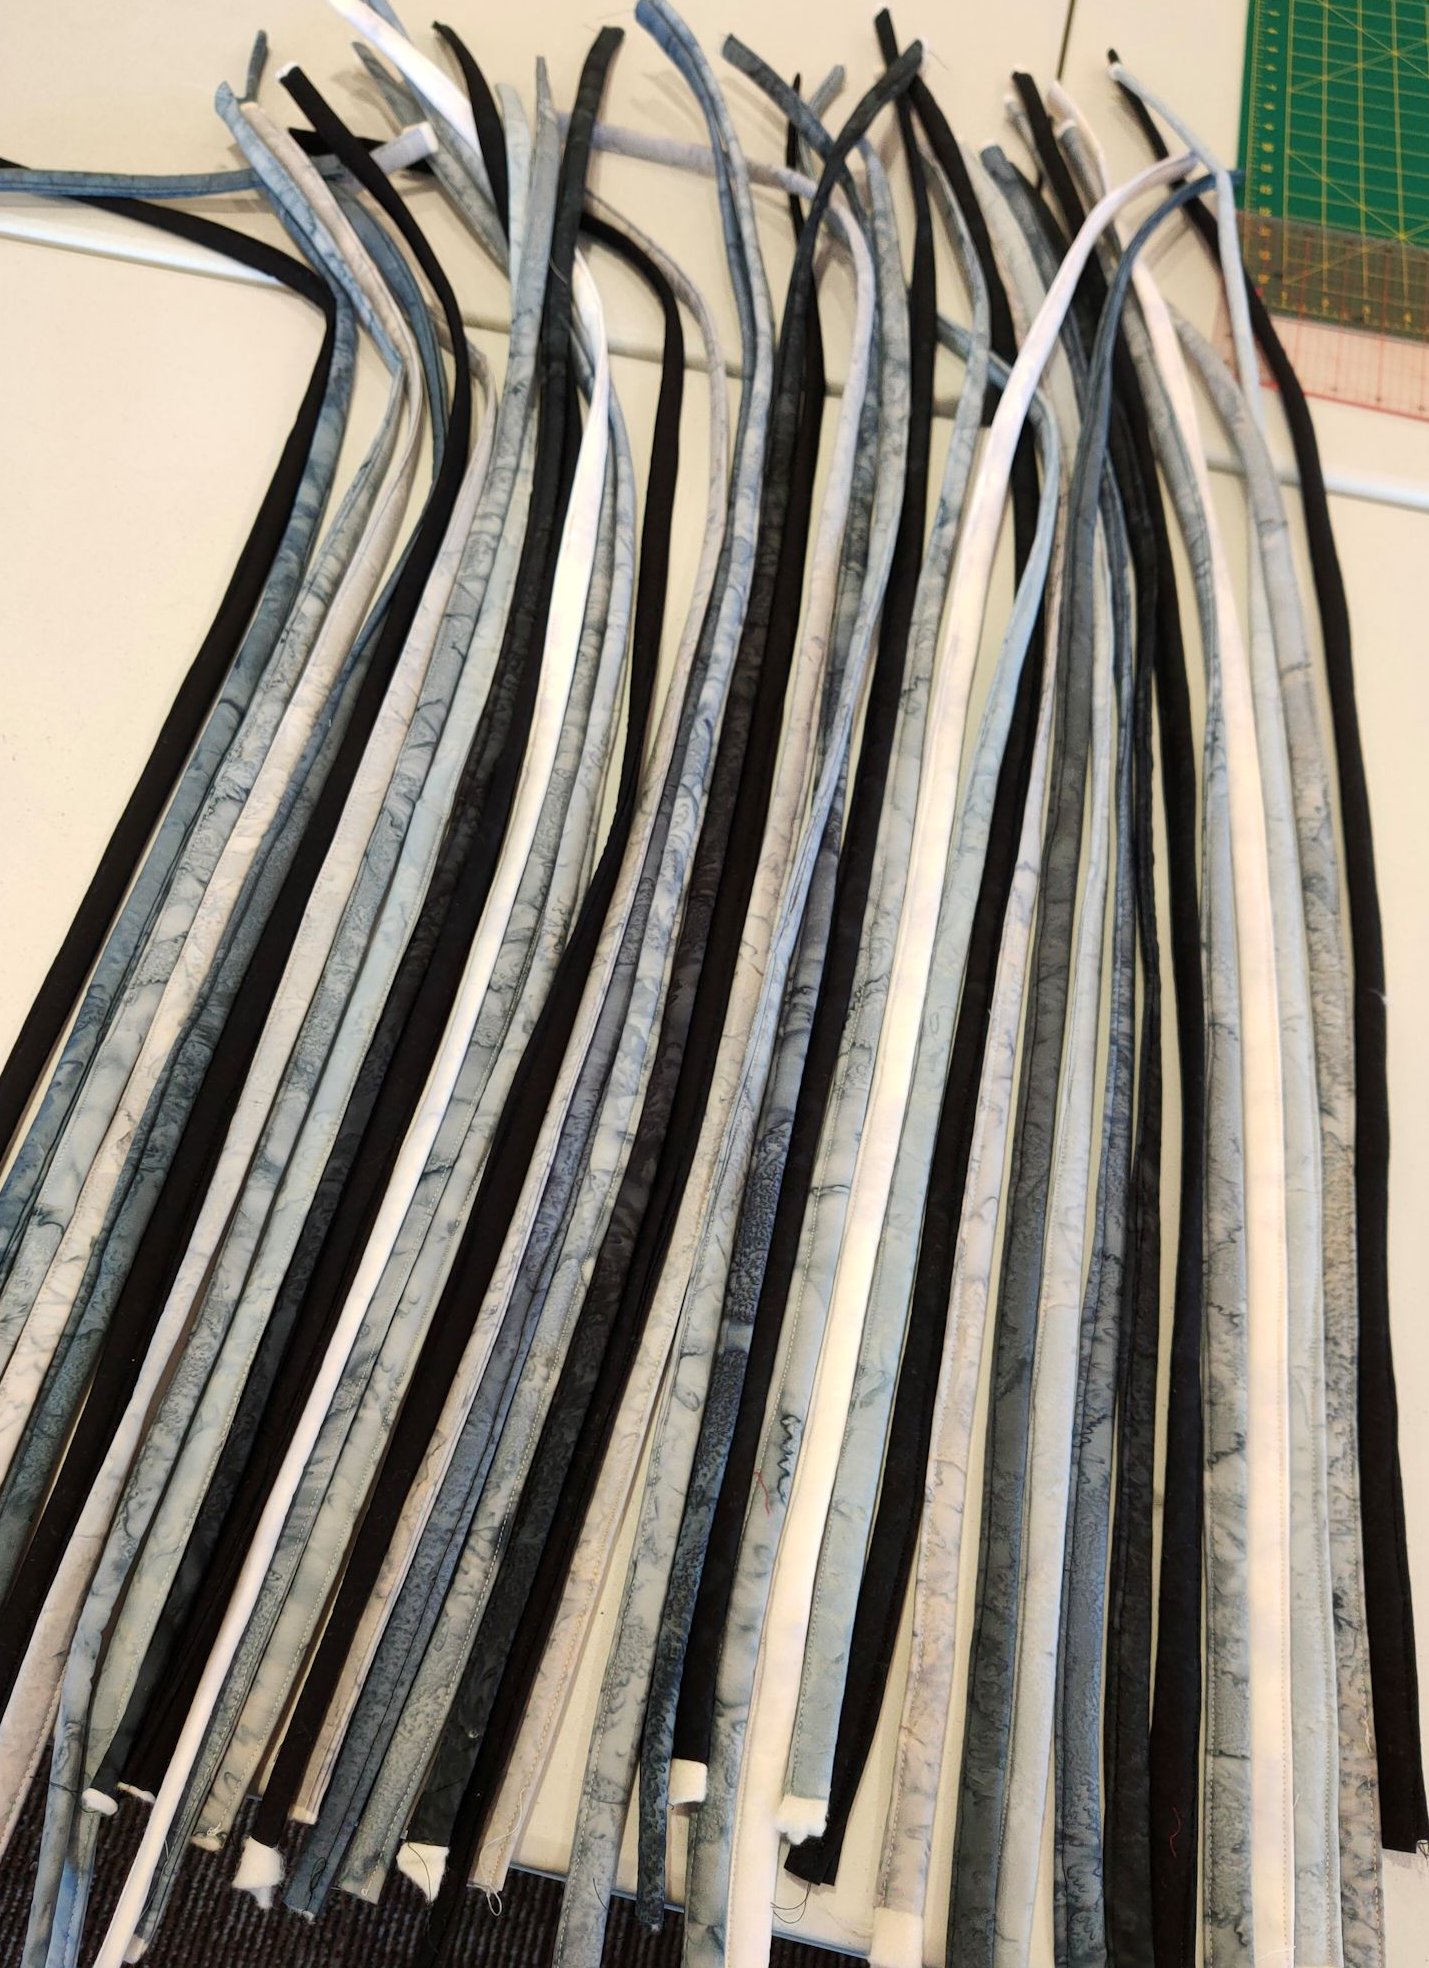
Jelly roll ‘dreadlocks’ in the colour order that the fabric came off the jelly roll. This was my original colour plan.

Next colour audition was gradation from black through the various shades of grey to white—an ombre effect.
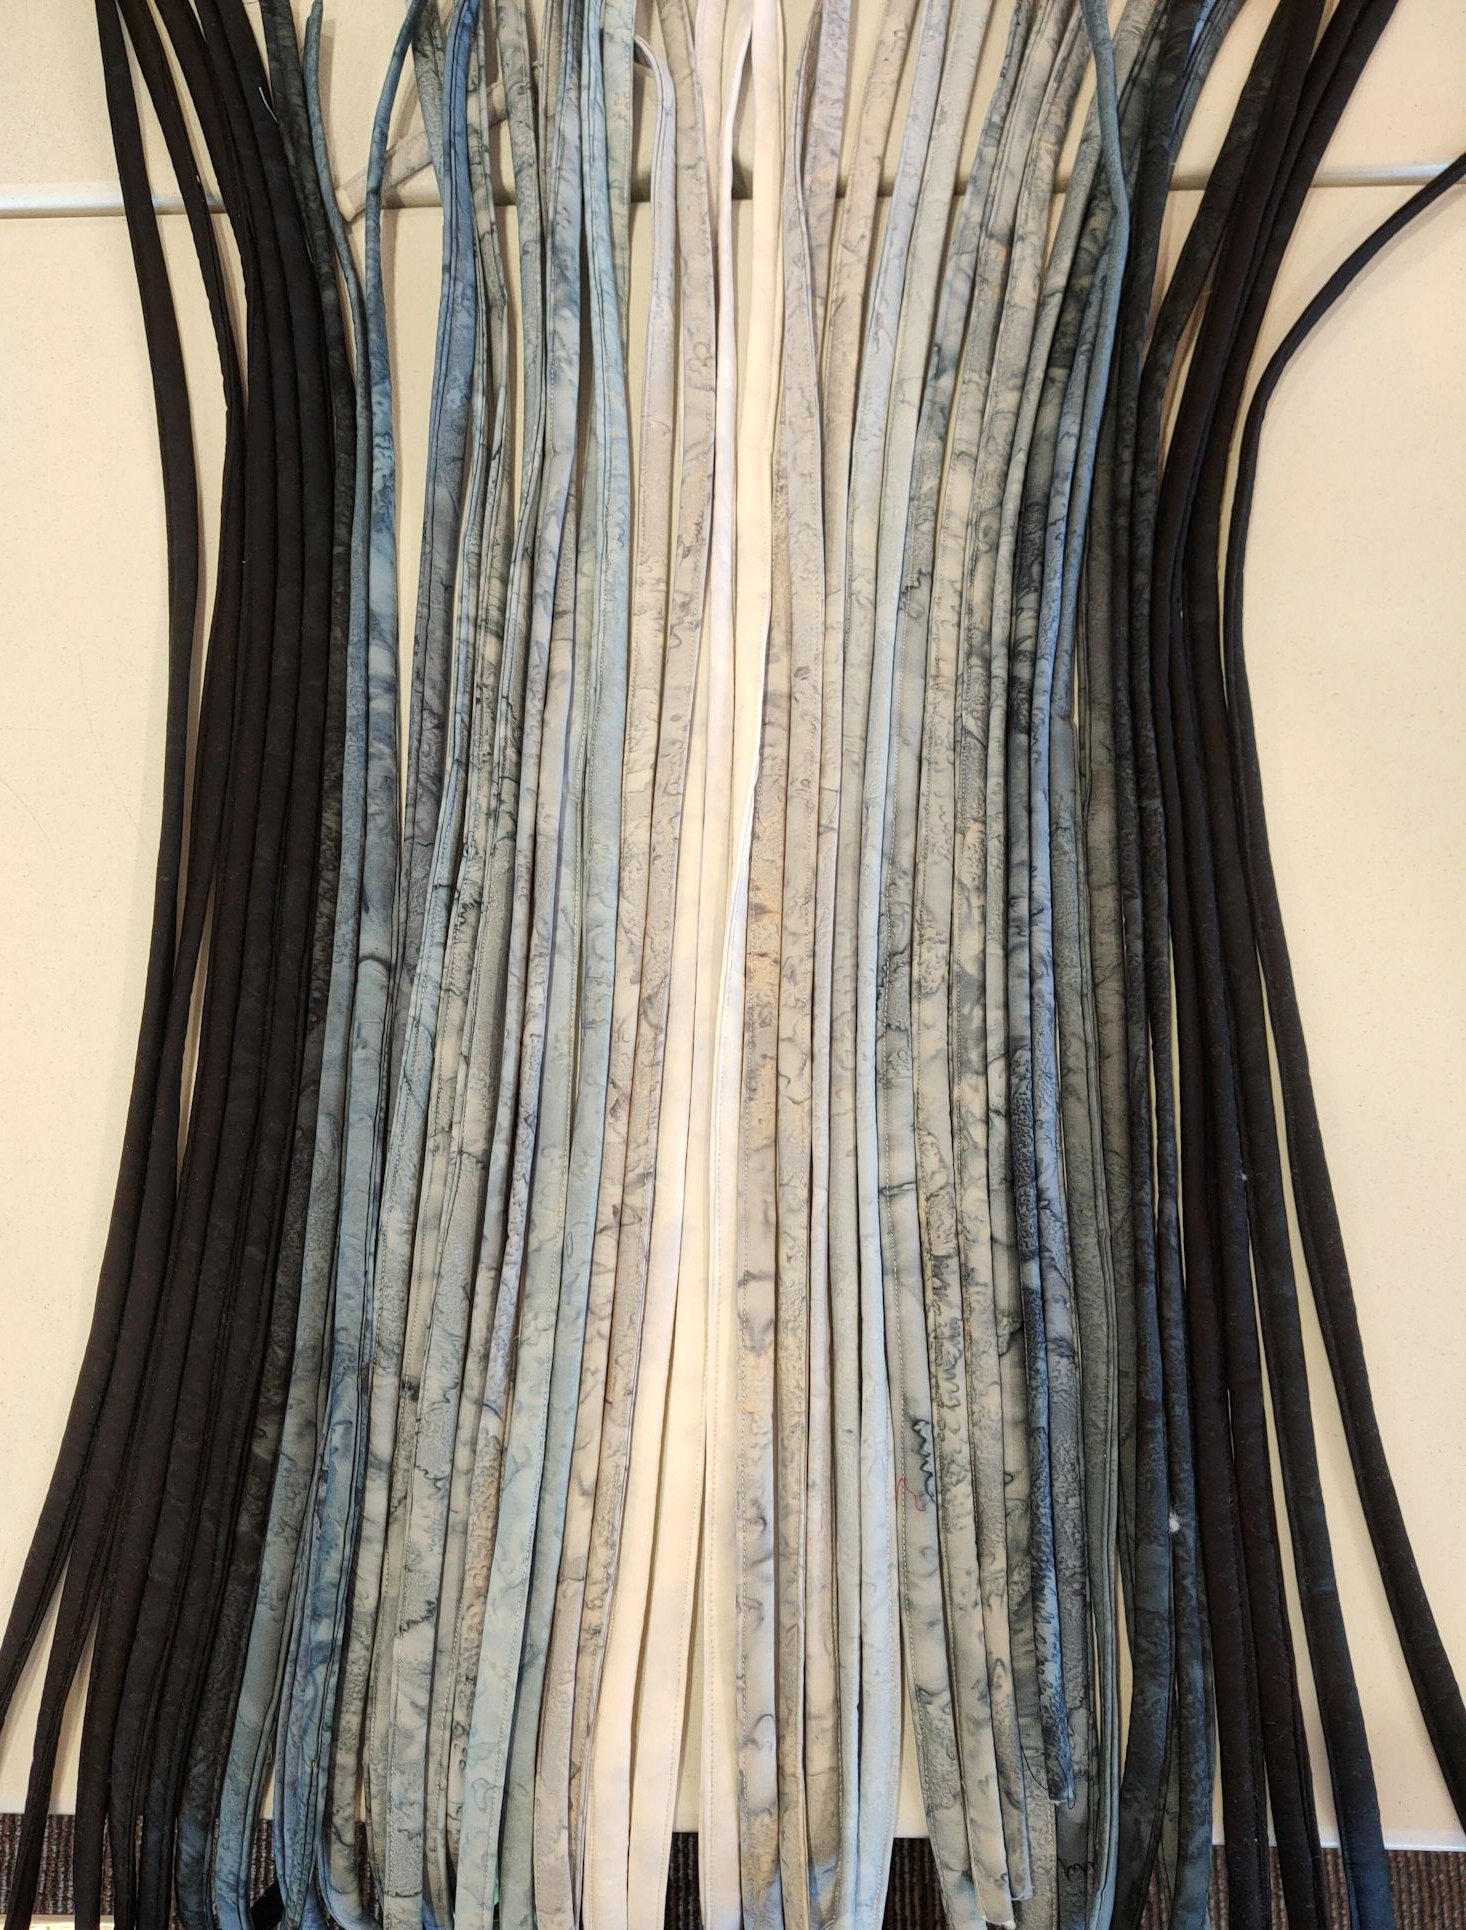
I finally settled on black on the outside, grading to white in the centre.

The sewn piece, ready to be trimmed and made into a rug or a bag or a container, or whatever.
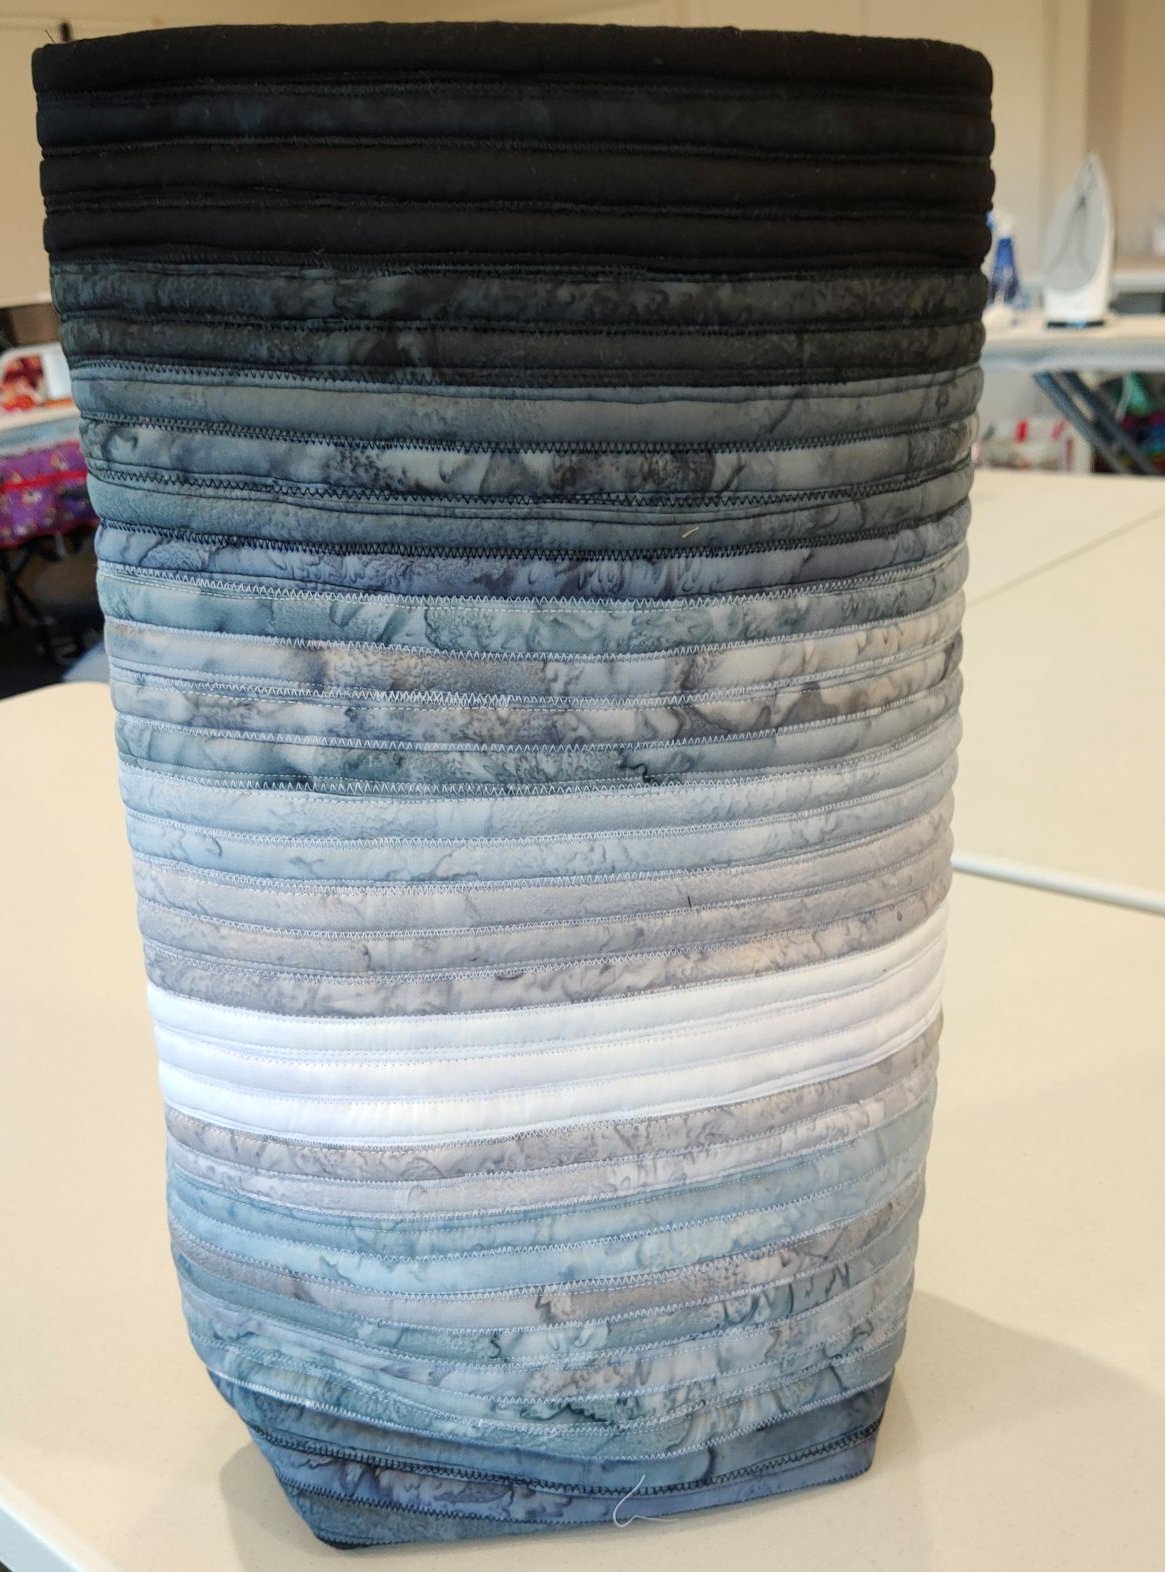
The container made from the stitched jelly roll piece. It’s way too high for a trash container or a bag, so I have to unpick about 8 rows from the top.
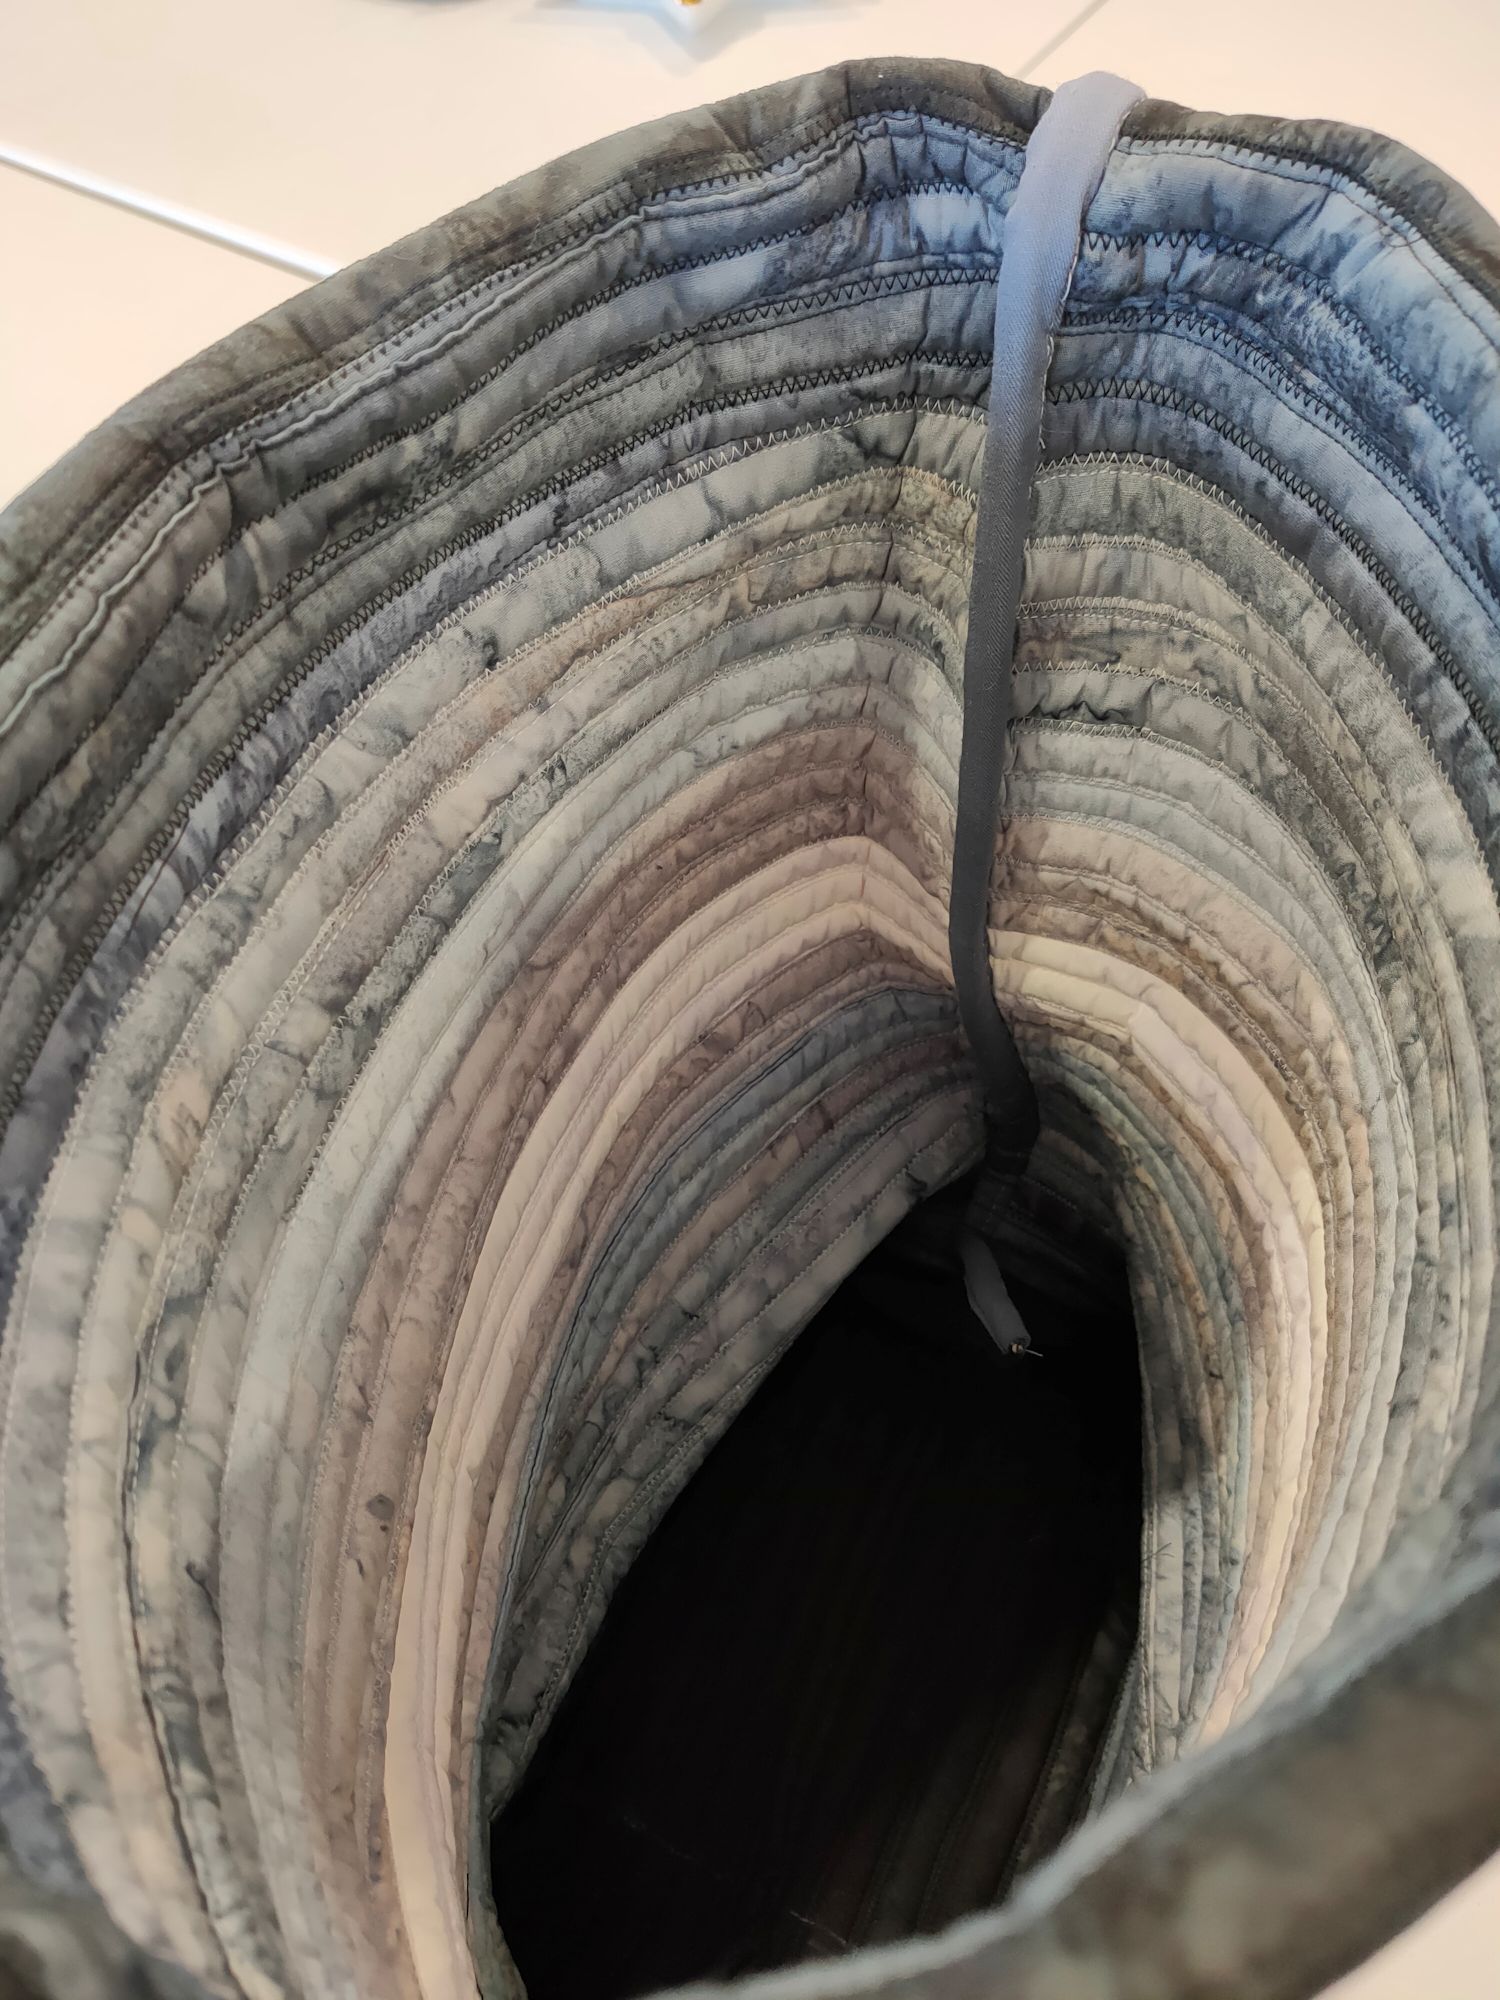
Looking down inside the container. I used a plain grey fabric to cover the open seams.


Leave a comment