I really needed a decent design wall in my sewing room. I’d been making do with a ‘portable’ one I’d created from the Australian equivalent to foam core board, which I’d bought some years ago from a picture framing business.
(Aside: Australian hardware stores don’t sell foam core board; in fact it’s very hard to get here. Why? Because we build and insulate our houses differently to those in the US. Most housing in my state is double brick outer walls, with single brick inside walls. We don’t build with timber, though some cheaper houses may have an internal timber frame, and many have timber struts/frames for the roof, though steel is more common in newer houses. Our insulation tends to be ceiling insulation [not wall — it just doesn’t get that cold here] and comes as batts or blown-in fibrous material. As a result, it’s almost impossible to buy the sort of ‘foam core board’ that’s readily available in US stores such as Home Depot.)
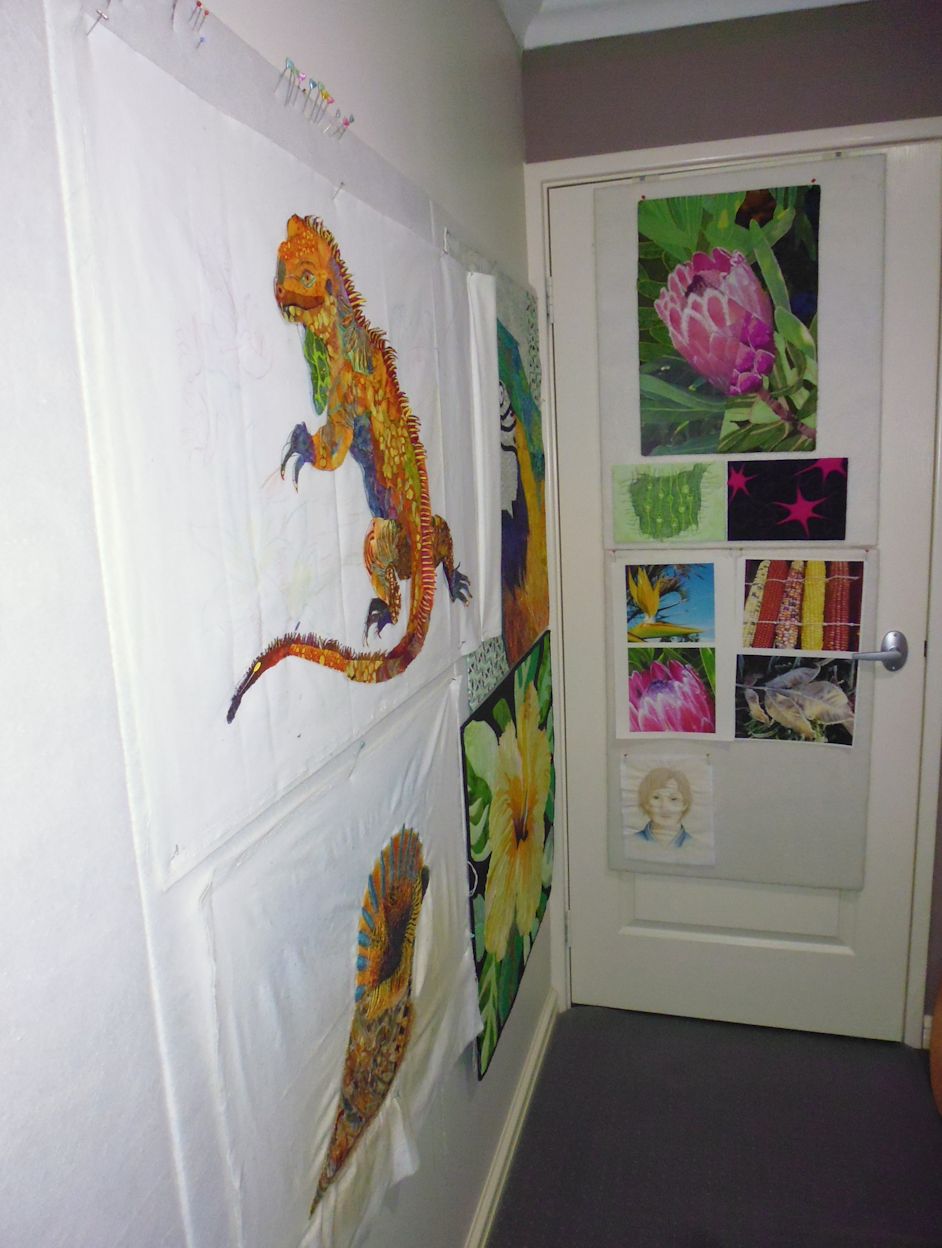
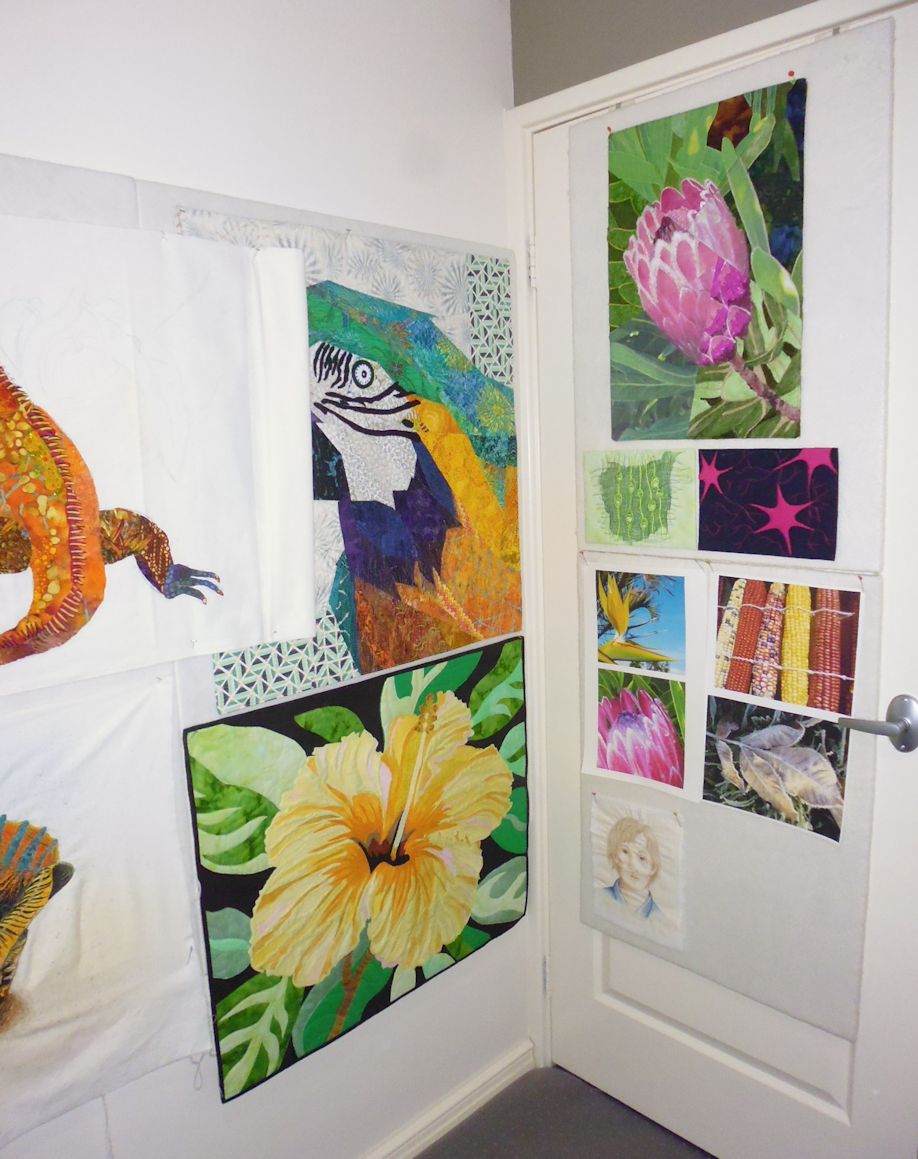
I’d been toying with the idea of creating my own design wall based on something I’d seen on the internet (see: https://thequiltshow.com/daily-blog/142-newsletter/27057-hope-yoder-easy-quilting-design-wall-tutorial/). And I finally got around to it. Off I went to Bunnings (the Australian equivalent of Home Depot), and purchased several sheets of acoustic panelling (principally used for pin-up/bulletin boards) in various sizes, then wrapped them in batting, stretching then stapling the batting down, and finally using duct tape to cover the staples on the back. Next, I stuck down some 3M Command Strips (the ones that hold 7 kg weight) on the back—one at each corner, so theoretically capable of a 28 kg load per design wall panel.
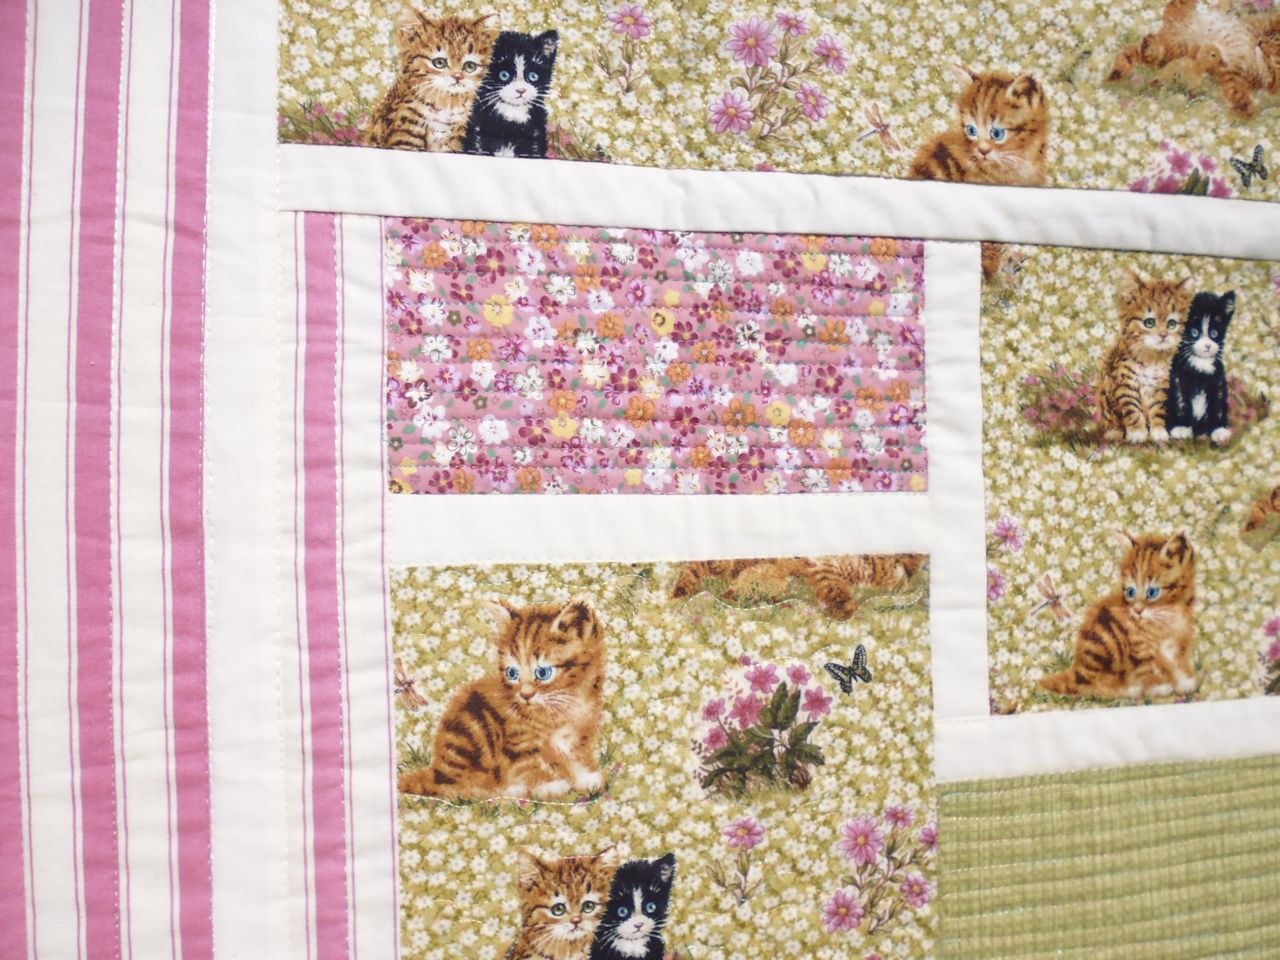
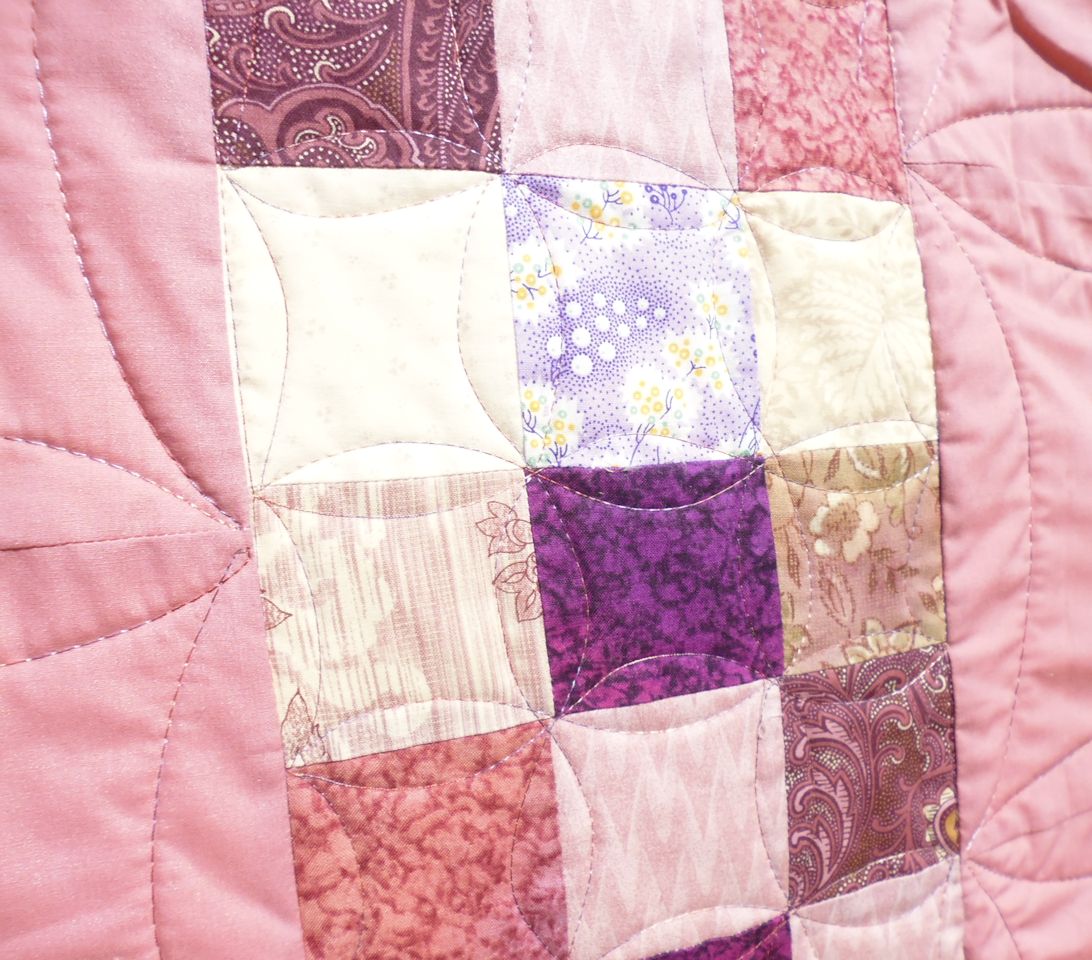
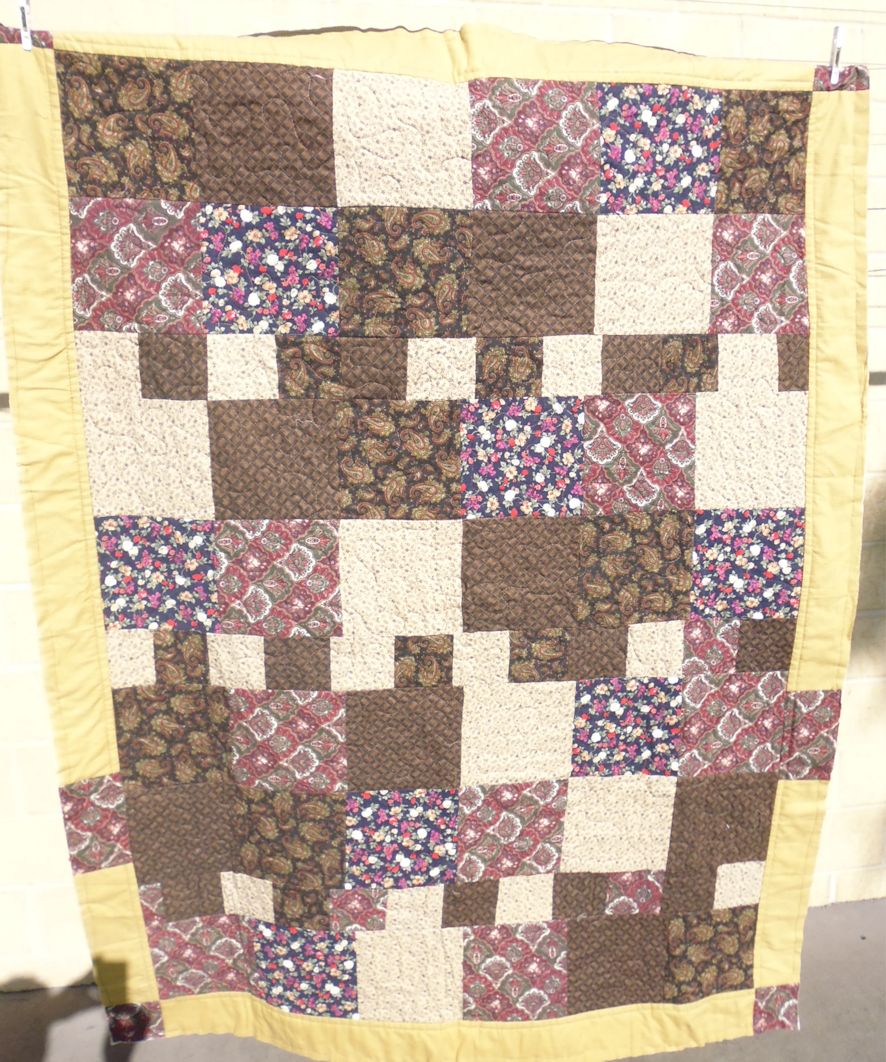
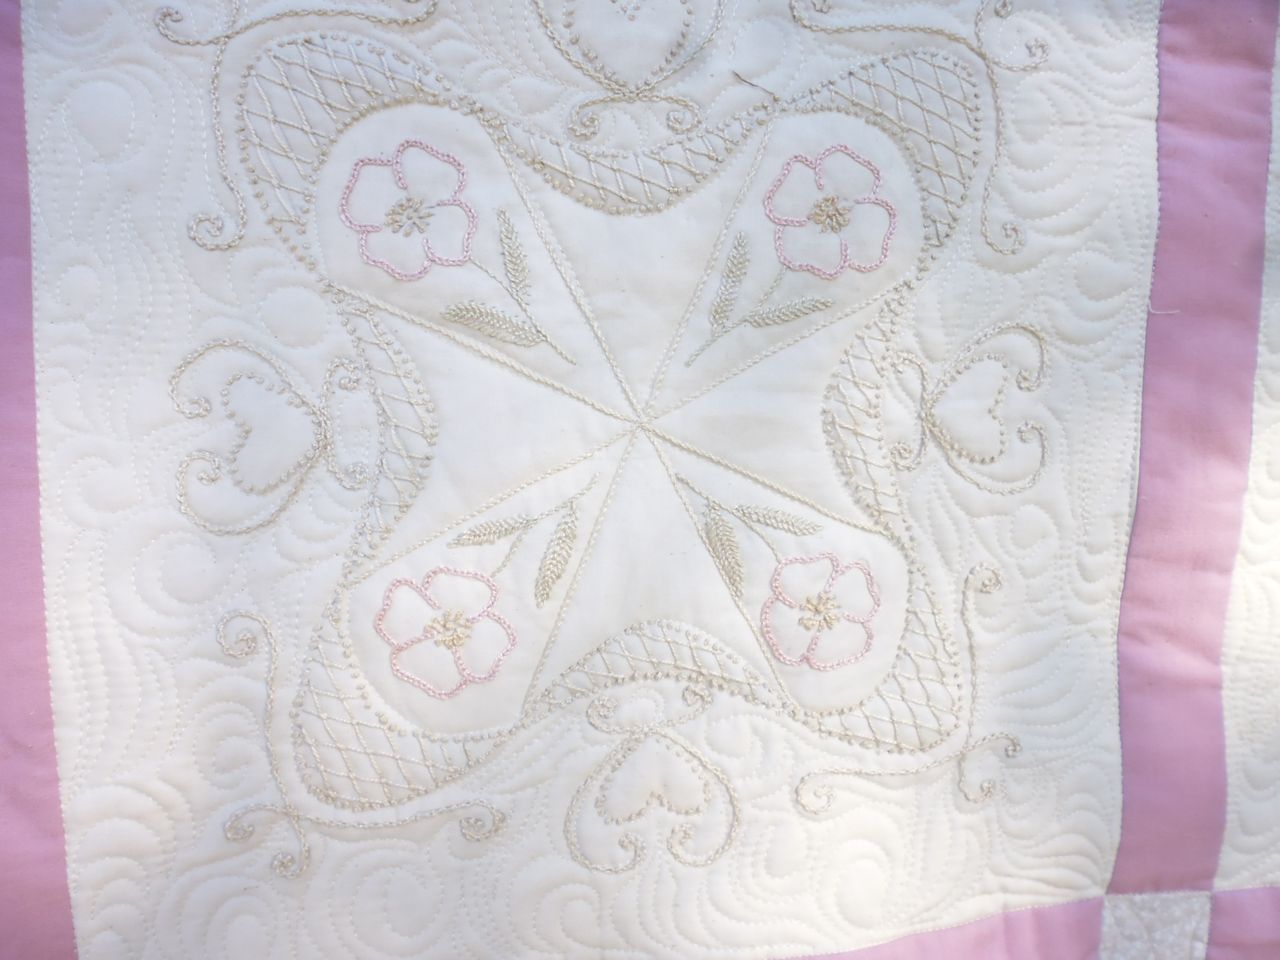
Then I stuck the two narrow panels to the wardrobe door in my sewing room (using every available space!), and the 3 larger panel to the only spare wall in my sewing room. Finally, I pinned up some of my art quilts—both finished ones that I can’t hand anywhere else, and those in progress.
I’m pleased with the result! And so far (several week on), the Command Strips are holding up beautifully.