The latest batch.
(Click on a photo to view it larger)
Community Quilt 418

Community Quilt 419


Community Quilt 420
Community Quilt 421
Community Quilt 422

The latest batch.
(Click on a photo to view it larger)
For most of this year, my renewable energy rebates have been way down. When I compared this year’s billing to previous years’ rebates for the same billing periods, there was a noticeable drop-off. For example, from Nov 2017 to Jan 2018, the system fed some 800 renewable units back into the grid. From Jan to Mar 2018, a period of perfect, mild, sunny, summer weather, it fed only 79 units into the grid, compared to Jan to Mar 2017, when it fed 500 units in, and Jan to Mar 2016 when it fed back 408 units. The same pattern occurred over the billing cycles for the first half of this year — the feed-in units were down substantially, and we hadn’t changed our electricity use.
I called my solar PV people to see if there might be a reason for this big drop. On their advice I checked the overall output from the system, which was a tad down on the average, but not enough to be significant. We decided to wait another billing cycle and see if there was any change. When the latest bill arrived, it was clear that something was up. Instead of the usual 100 or so feed-in units over May to Jun (winter months), it was zero. Nada. Nothing.
I decided to take two measurements at the same time over two consecutive days of similar weather. And it was then I noticed that something wasn’t right with some of the figures displayed on the inverter. In particular, the PIN 1 and PIN 2 figures. When the system was installed, I was told that the PIN figures were the ones to focus on as they told me how much electricity the system was producing at any moment in time. The PIN figures have always been slightly different, but always within 50 or so of each other.
However, when I checked on these two days, the PINs were way out. For example:

Normally, these figures should be about the same. Instead, they differed by more than 1500 units. The same for the next day.
I got back on the phone to the solar PV people and sent them the photos I’d taken of all the displayed information on the inverter, and my concern about the wildly varying PIN numbers. Yep, something was up. They organised for a local solar guy to come out and check the system, particularly the arrays on the roof. And it was there that he found the reason. One of the two isolators (one for each array) was full of condensation, what looked to be salt (we live near the ocean), and some rusty grungy stuff. No wonder it wasn’t working! (click the photo to see it larger, with all the water drips on the top and back, and the salt particles on the dry surfaces)
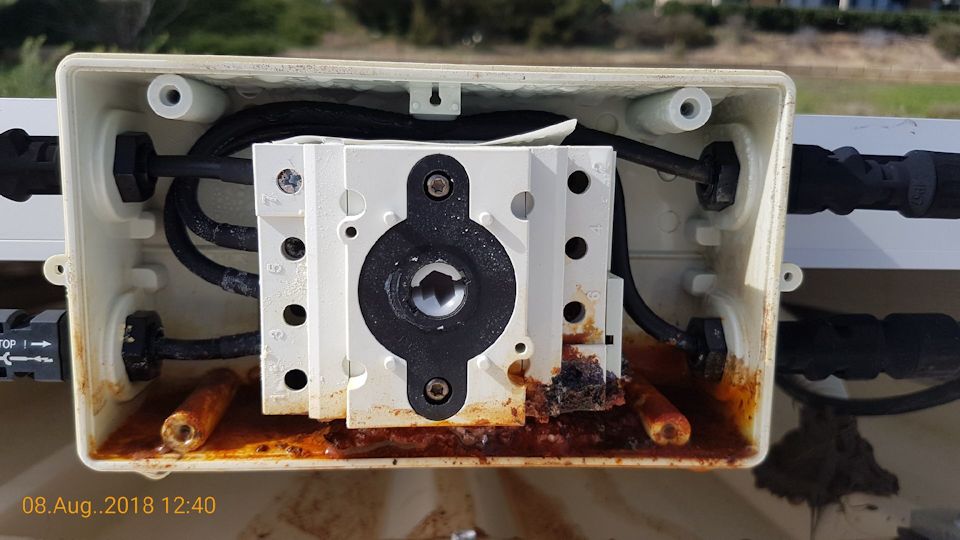
Yesterday, he came out and replaced both isolators (I figure if one was like this after 5 years, the other might not be good either, even though he said it was fine and still well sealed). The new isolators have better weather protection (a new standard brought in since we had our system installed 5 years ago), so here’s hoping the problem has been solved for good.
When he’d finished, I checked the inverter display and both PINs were back to being within a few units of each other. Problem solved!
Still busy with work, so while I’ve quilted some more quilts and taken photos of them, I only got around to processing the photos today and putting them up on this blog. Because I’ve forgotten what I did and what threads I used for most of them, I’ve put all into this one post. I’ve only made comments for any that were exceptional for some reason.
(Click on a photo to view it larger)


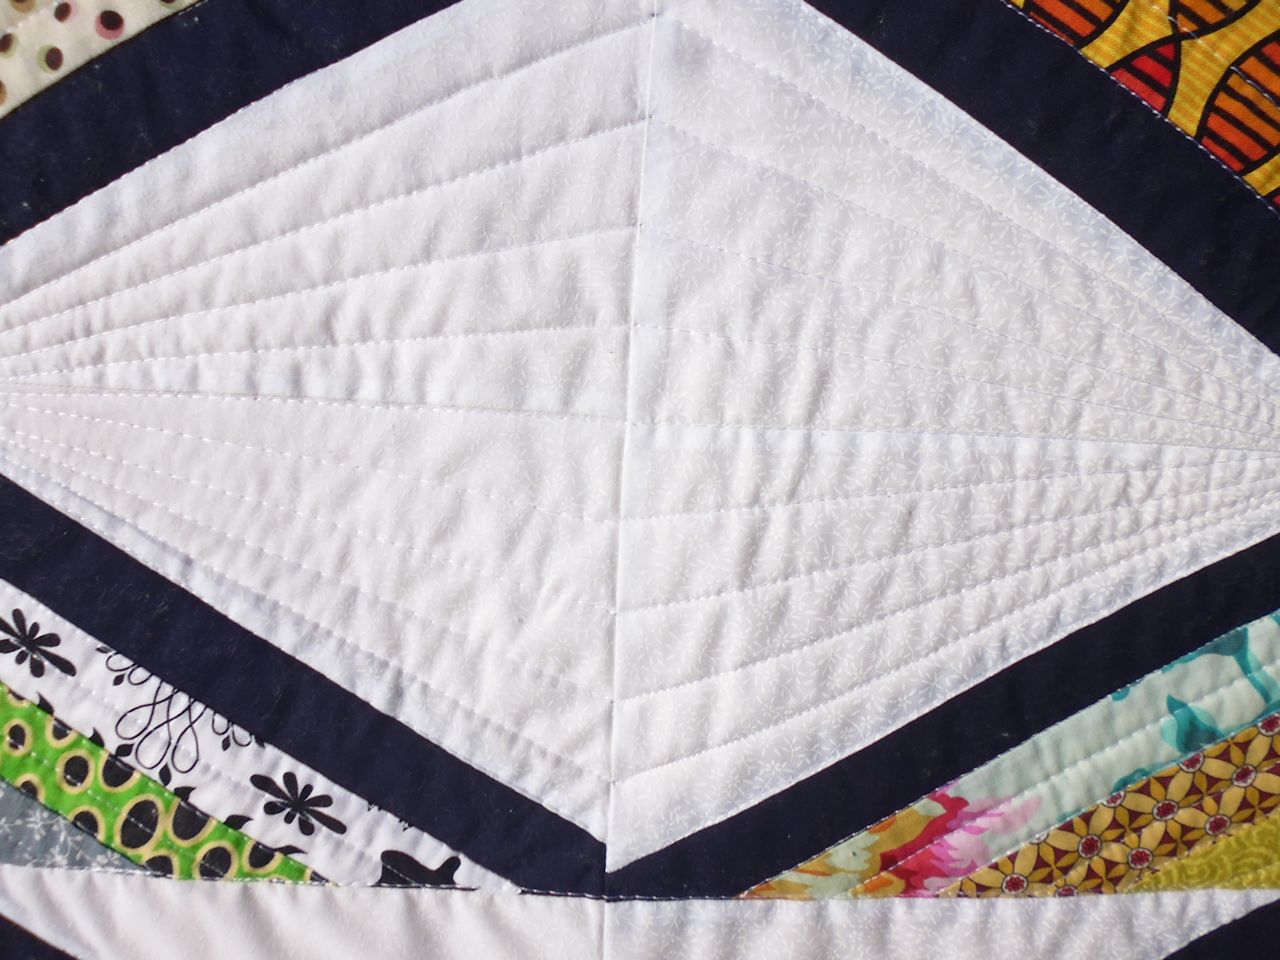
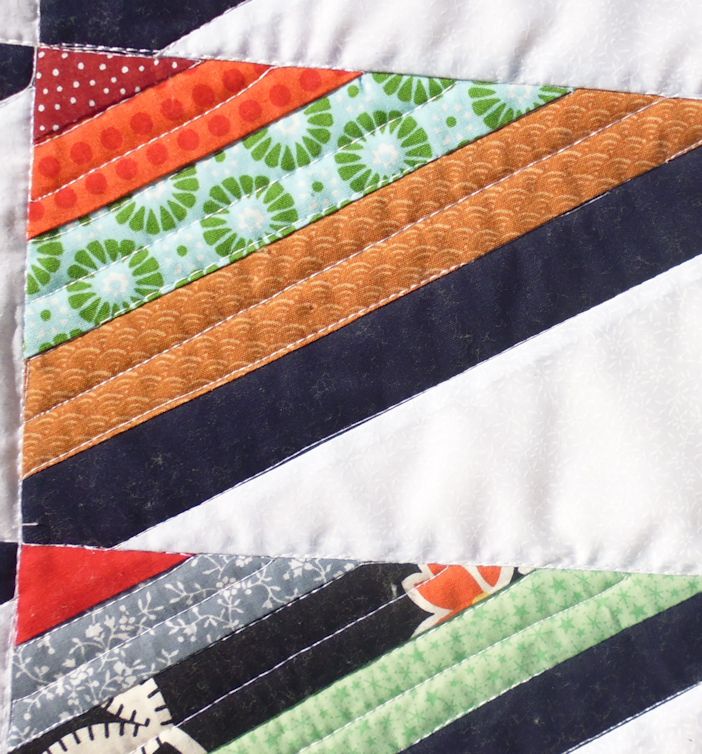
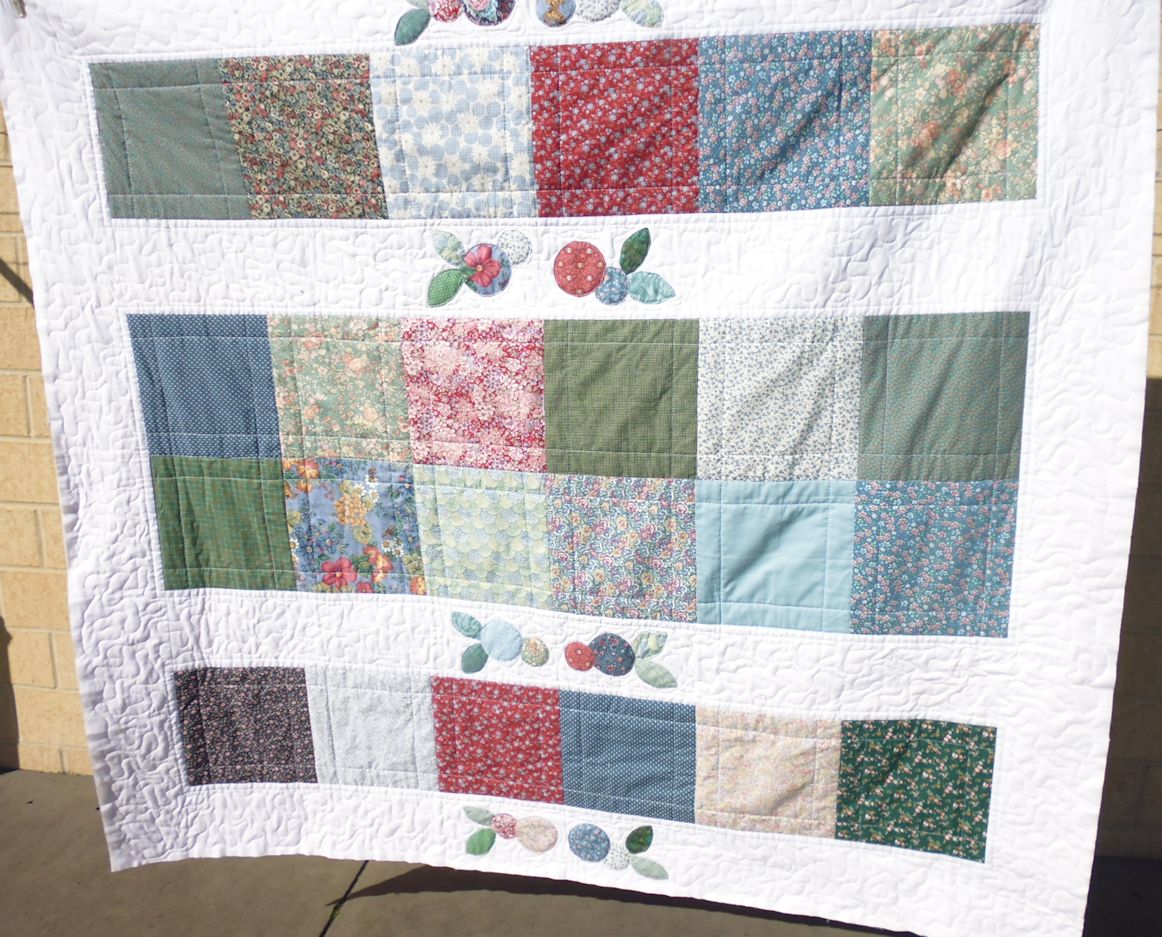
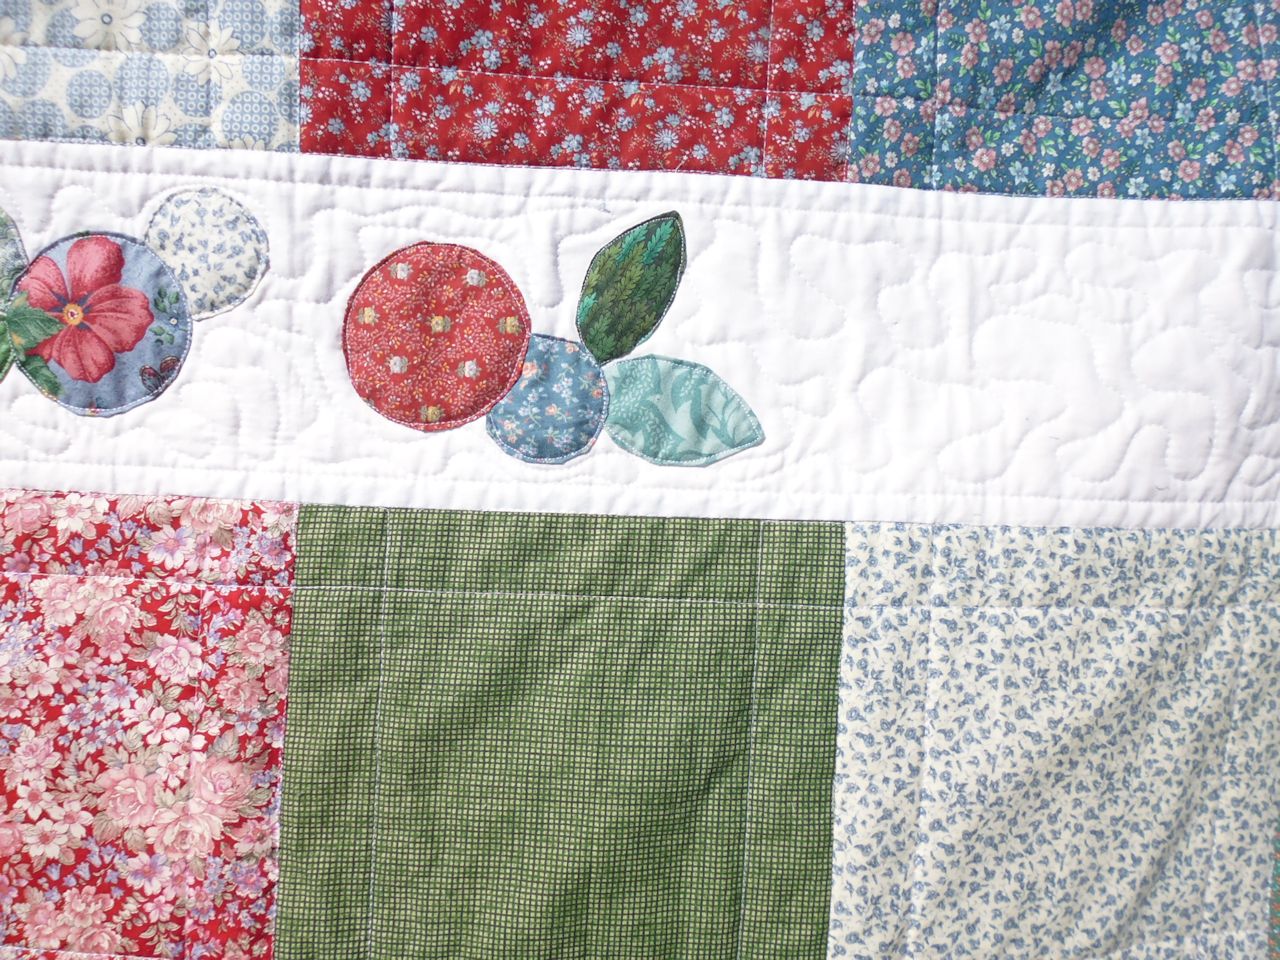
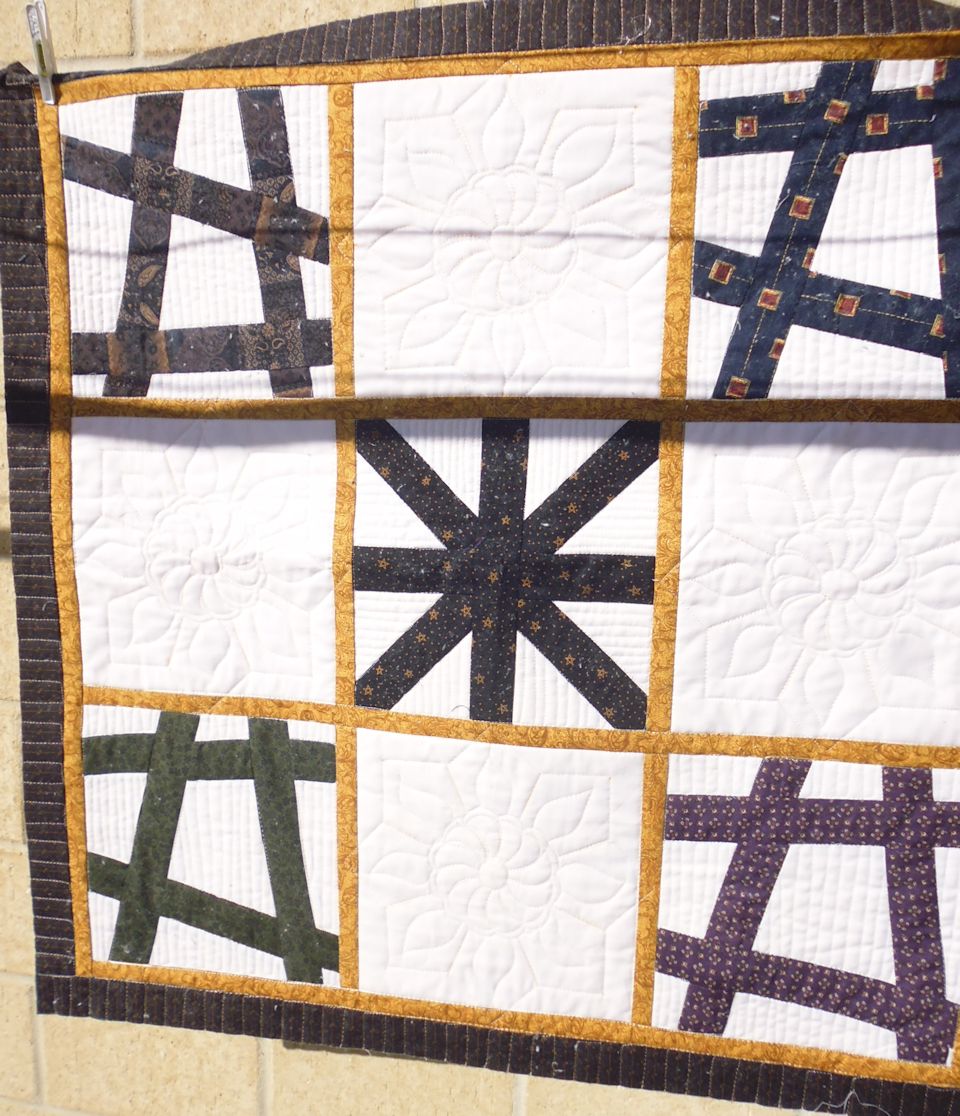
I used a Cindy Needham stencil to create the design for the empty blocks — a flower stencil, and then one of her universal stencils to create the stylised petals/leaves on the outside. The orange marks are quilters chalk, which will brush off over time, or wash out.


I’ve never had much trouble getting a decent crackling on roast pork, but sometimes the edges where the skin turned under were a bit rubbery. For decades, my method has been a well-scored skin, with the scores about 1 to 2 cm apart (about half an inch) and about 1 cm deep, lightly rubbed over with olive oil, then rubbed with cooking salt. That hasn’t changed.
What has changed is how it’s cooked. Some weeks ago, in our state’s newspaper, a top chef published a recipe for a pulled pork done in the oven, promising the best crackling ever. I wasn’t interested too much in most of the recipe, but his method of cooking to get the best pork crackling intrigued me. So I tried it. OMG! Perfect pork crackling, every time, and deliciously soft and tender roast pork meat. But you have to start cooking long before you normally would for a roast.
His method:
I also put the veges (typically potatoes, carrots, sweet potato, pumpkin, and half onions) in at the same time, and found that they weren’t overcooked, despite being in the oven for much longer than usual.
Try it!
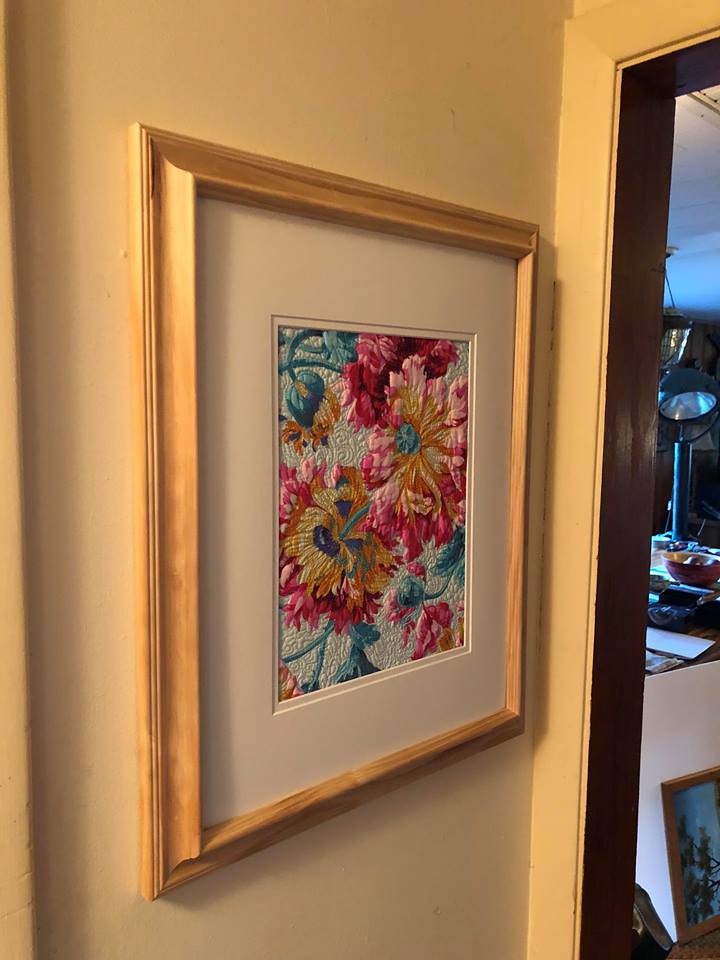
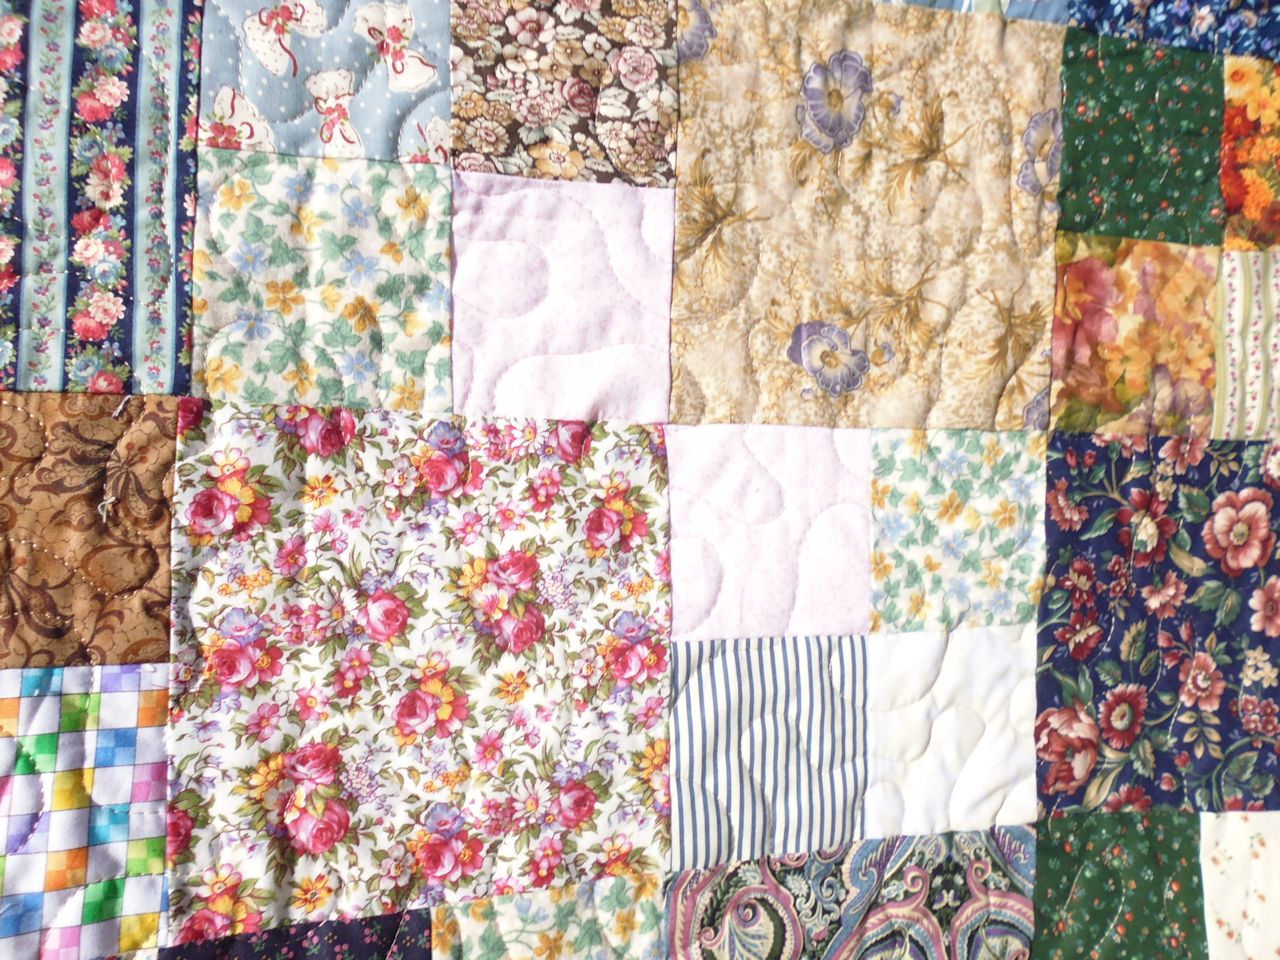
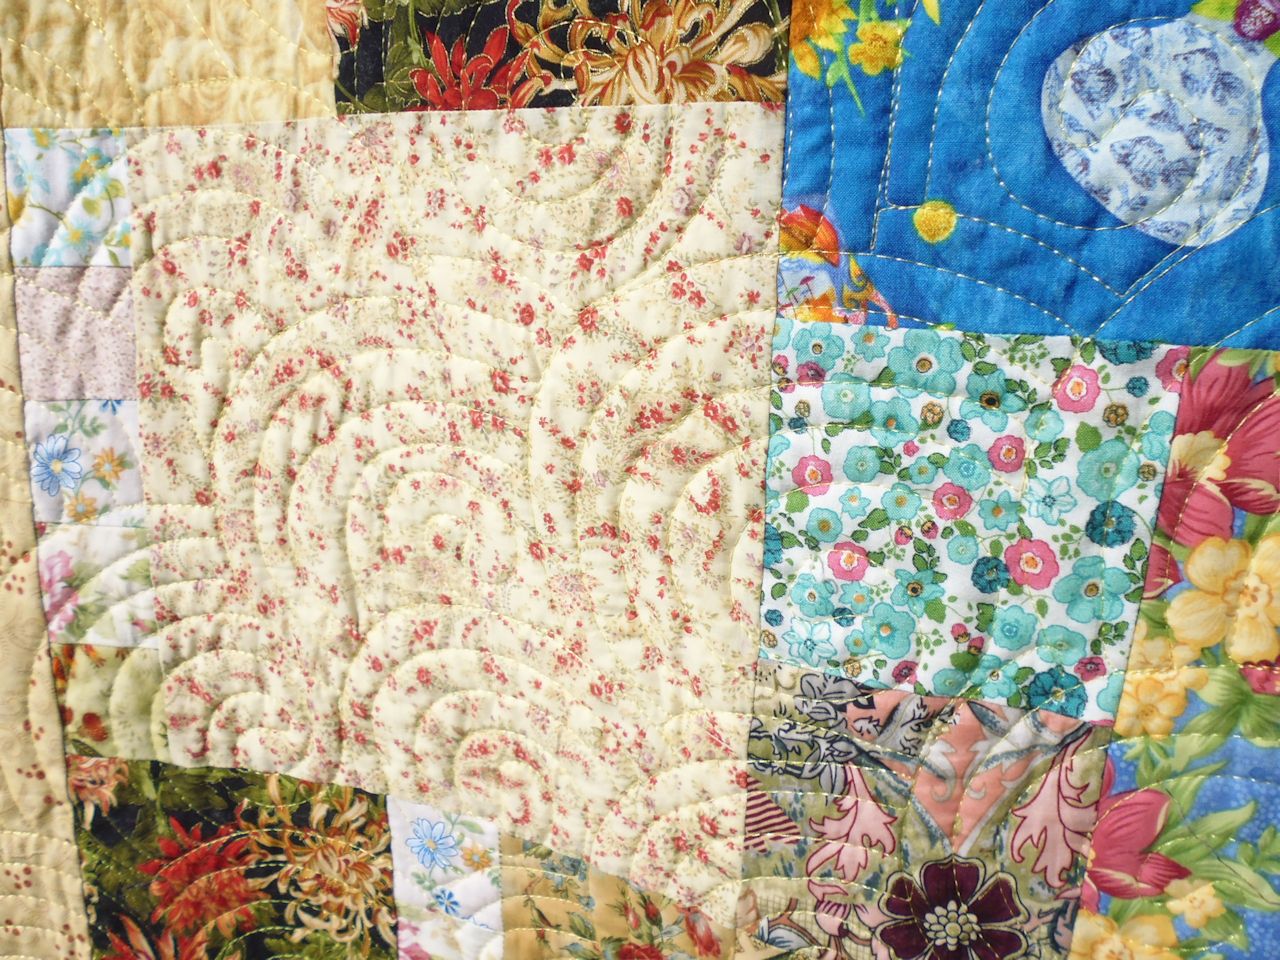
Back in April, I attended a 5-day ‘Empty Spools’ workshop with Cindy Needham, at Asilomar, Pacific Grove, California. She’d asked us to bring along a large-print fabric, and she also provided us with plenty to choose from. I chose an odd-shaped scrap piece from my stash and took it with me. Using Cindy’s techniques, I free motion quilted it quite heavily, leaving some of the flower petals unquilted so that they ‘popped’. Here’s a picture of part of the piece — be aware that it was an odd shape, I didn’t quilt it all, and I’ve cropped the photo so it looks complete, but you can see on the far top left of the photo that it’s not all stitched:

A friend of mine saw the picture I posted on Facebook and told me how much she loved it! It was just a practice piece for me, no big deal. But I figured I’d gift it to her if she really wanted it. When I returned to Australia, I trimmed it so that it was rectangular and only the quilted parts were visible, and then I gave it to her. She told me she’d get it framed and hang it in her summer house in Vermont. And she did! And she sent me some pictures of it framed and hanging in a main hallway. The frame and mounting certainly adds to it.