
This past weekend I travelled to Perth to do a 2-day Yarn Couching workshop with Helen Godden, Australian Handi Quilter Ambassador and co-inventor (with her father) of the couching feet for Handi Quilter machines. And a darned nice person, too! (If you think you’ve heard Helen’s name before on this blog, you have — she was one of the co-hosts of the QuiltVenture trip to the US I did in Oct/Nov 2014.)
I purchased the couching feet when they first came out and had done a bit of experimenting with them. But I didn’t feel very confident using them and had a few issues with starting and ending, and with the thread skipping the yarn. So I invested in learning the proper way to use these feet from the designer of them — and had a ball of fun doing so! I was in the second-ever class in the world that Helen has run on this technique (the first class was the two days prior), and so it was a learning experience for us all — Helen got lots of examples of how we all interpreted the same pattern she provided, and we got the benefit of her knowledge and artistic flair.
There were 16 ladies in the class (14 on their Sweet Sixteens, the same machine I have) held at Handcrafters House, and all were very generous in sharing their yarns. My yarn stash was pretty small as I don’t knit or crochet, but I was able to supplement my meager supplies with yarns from others.
The technique is basically thread painting, but with yarn instead of thread. As I’ve done a lot of thread painting, I was comfortable with that side of it. It was the hints and tips and ‘best practice’ stuff I was there for. And we got plenty of that! Helen will be releasing an online class soon on this technique (including patterns), and I highly recommend it if you have the Handi Quilter couching feet but aren’t sure what to do with them or how to use them.
On Day 1 Helen showed us the basics and we did just enough practice to feel comfortable before yarn couching the blue wren pattern Helen gave us.
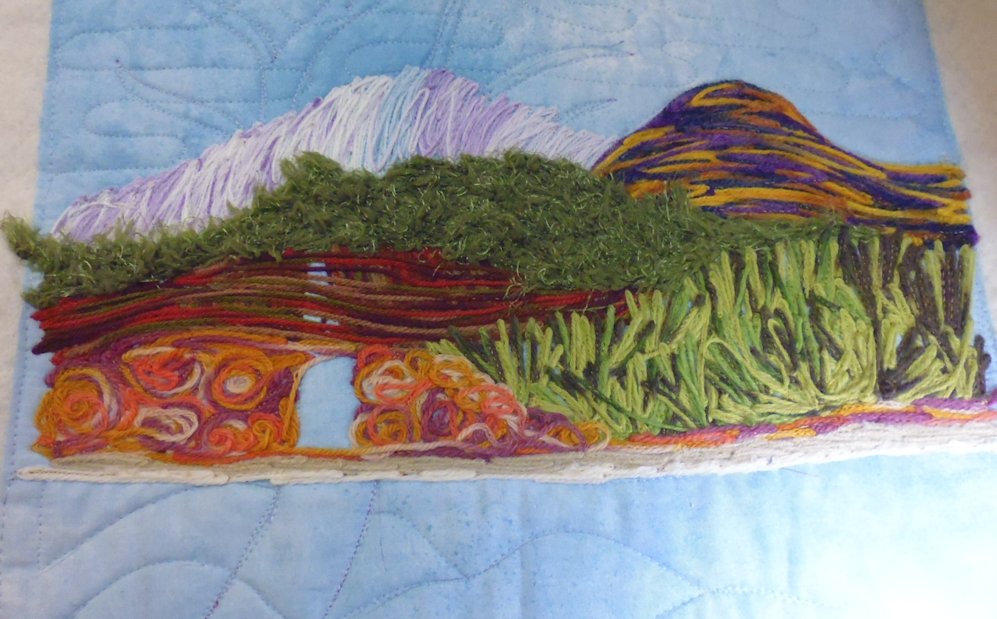
Day 2 saw us all interpreting Helen’s landscape pattern. I added a snowy mountain and water to mine! (This art quilt is now available for sale from my Etsy store: https://www.etsy.com/au/listing/618938579/australian-desert-art-quilt)
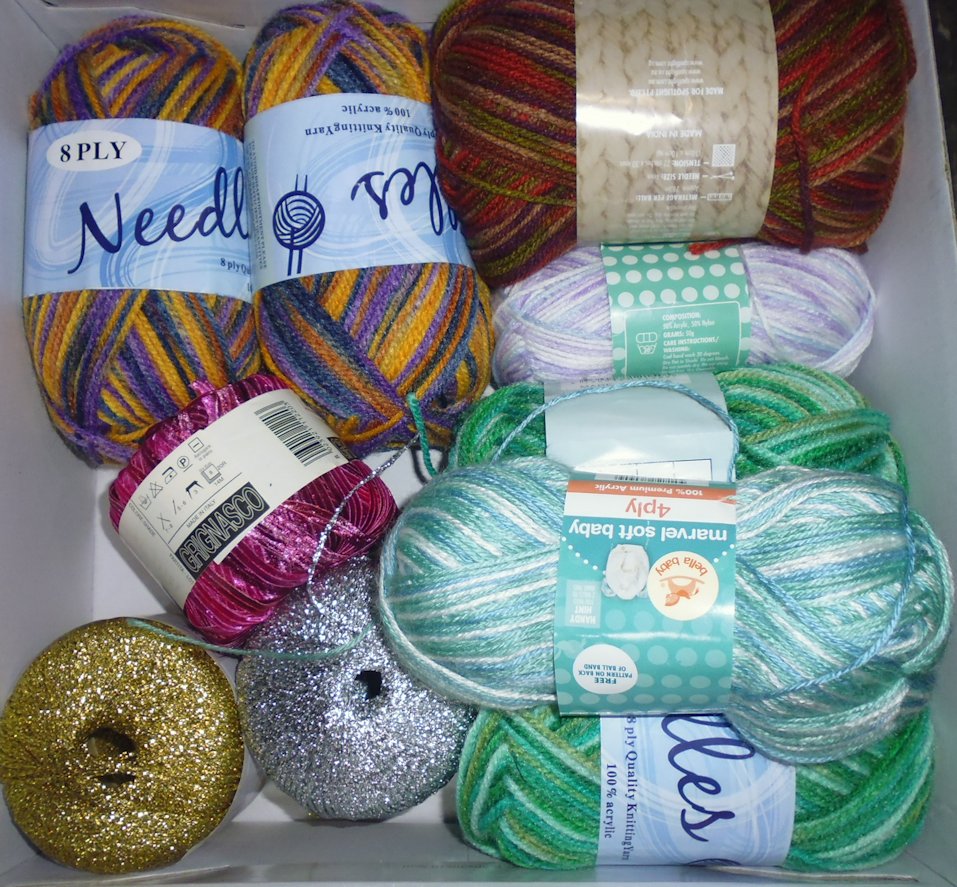
The day after the course finished, I went to my local Spotlight and stocked up on yarn — fortunately they had a 40% off all yarns sale on at the time, so I was able to make good use of the dollars I spent. Maybe I’ll get to use them now that I have lots of ideas and inspiration from Helen! I’m hooked!
(Click on a photo to view it full size)
The wren
The pattern markings were done with a Frixion pen, which magically irons out; the beak, eye, and legs were done with a Sharpie; everything else about the bird and the leaves was couched yarn; the background was quilted prior to couching the bird and leaves.

For the long flat leaf, I used a knobbly variegated earthy green yarn — I really liked the effect, but I think it was a bit heavy for the pattern. I could see myself using this sort of yarn in a forest or jungle background scene, or for reeds or rushes in a foreground. If you look closely, you can see the thread I used to secure the yarn to the quilt top.

I LOVE the yarn I used for the fern — it was soft and fluffy and had a cream core, which stitched out as veins in the fern leaves. I found some of this yarn at Spotlight, so have now purchased my own ball of it!

A hive of industry


The landscape piece
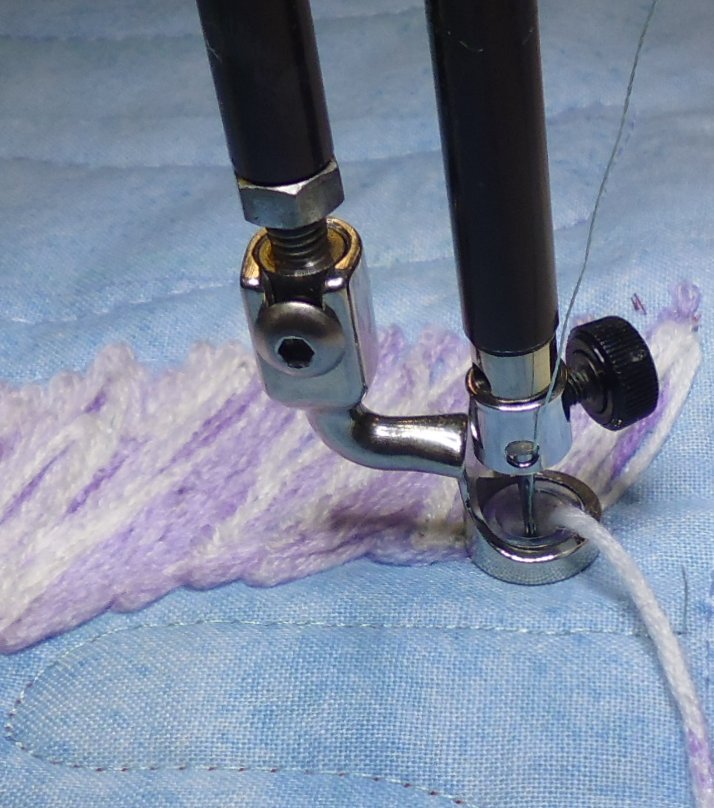
After tracing the pattern onto our sky fabric, creating our quilt sandwich, and stitching down the main elements of the apttern to stabilise it, we started couching the elements furthest away — the hills in the background. I used a variegated 4-ply baby-soft yarn in creams, soft blues, and mauves for the snowy mountain range. The close-up of the needle shows the special plastic surround of the couching foot and the hole that the needle, thread, and yarn go through.

I stitched the front hills with a variegated 8-ply purple, blue, orange, brown, and yellow yarn. Helen thought they looked like The Bungle Bungles (Purnululu)!
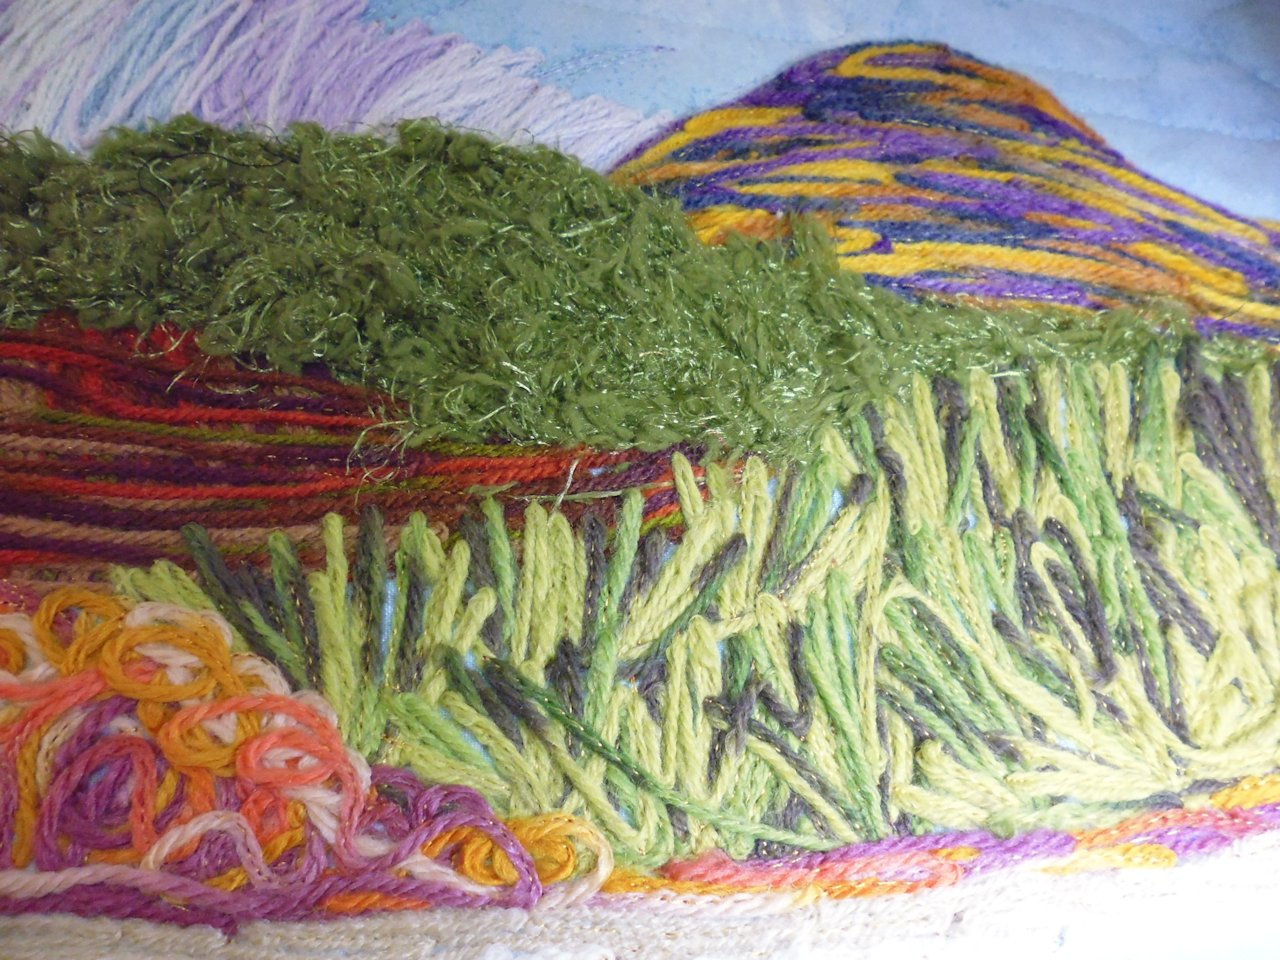
After adding the water, the reeds behind the tree, and the tree, I stitched the foreground elements. I was REALLY pleased with the effect for the plants right in the foreground — I used the same soft furry green yarn I’d used for the fern on the wren piece. Again, the cream core of the yarn showed through as veins on the leaves. LOVE that yarn!
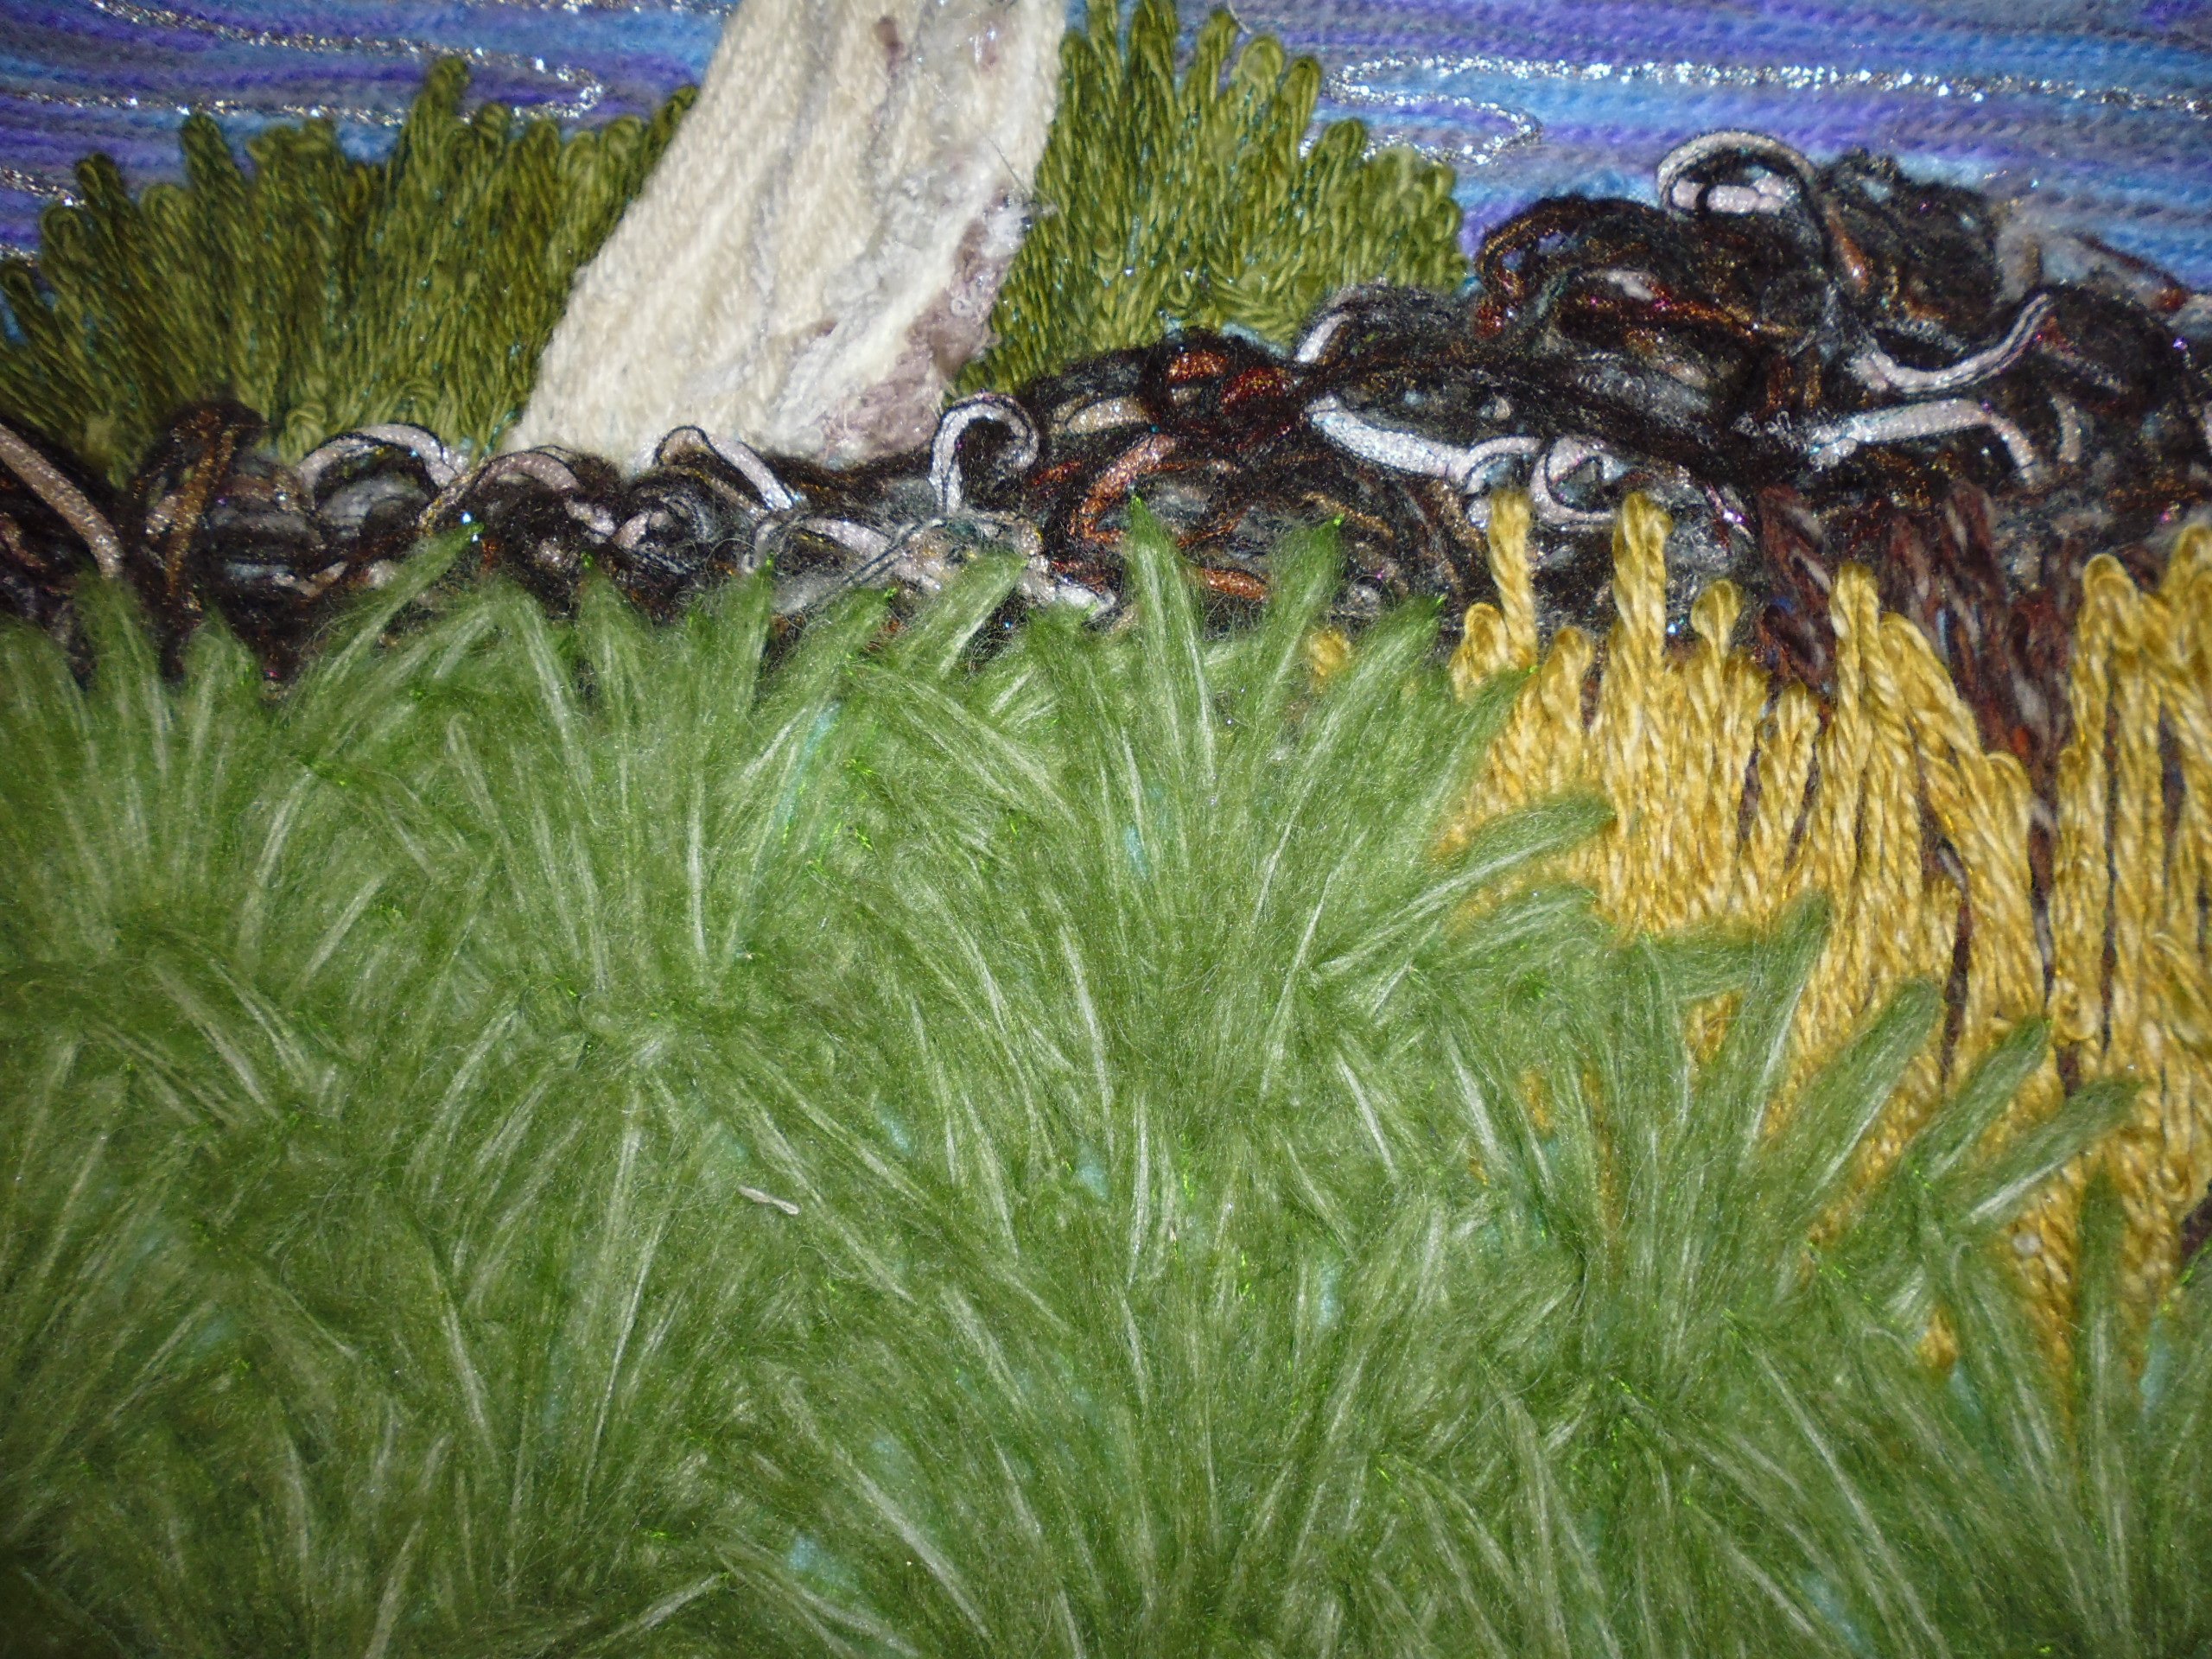
The tree was a bit of a disaster that I rescued from awfulness 😉 I started by stitching it in cream, then added a furry brown, black, and grey yarn as shadows. It looked just awful, so I unpicked most of it and gave the bits left on the front a haircut, leaving just a few to add some character to the tree. I then overstitched the tree with some variegated cream and grey yarn and was quite happy with how it turned out. 30 minutes earlier was a different story…
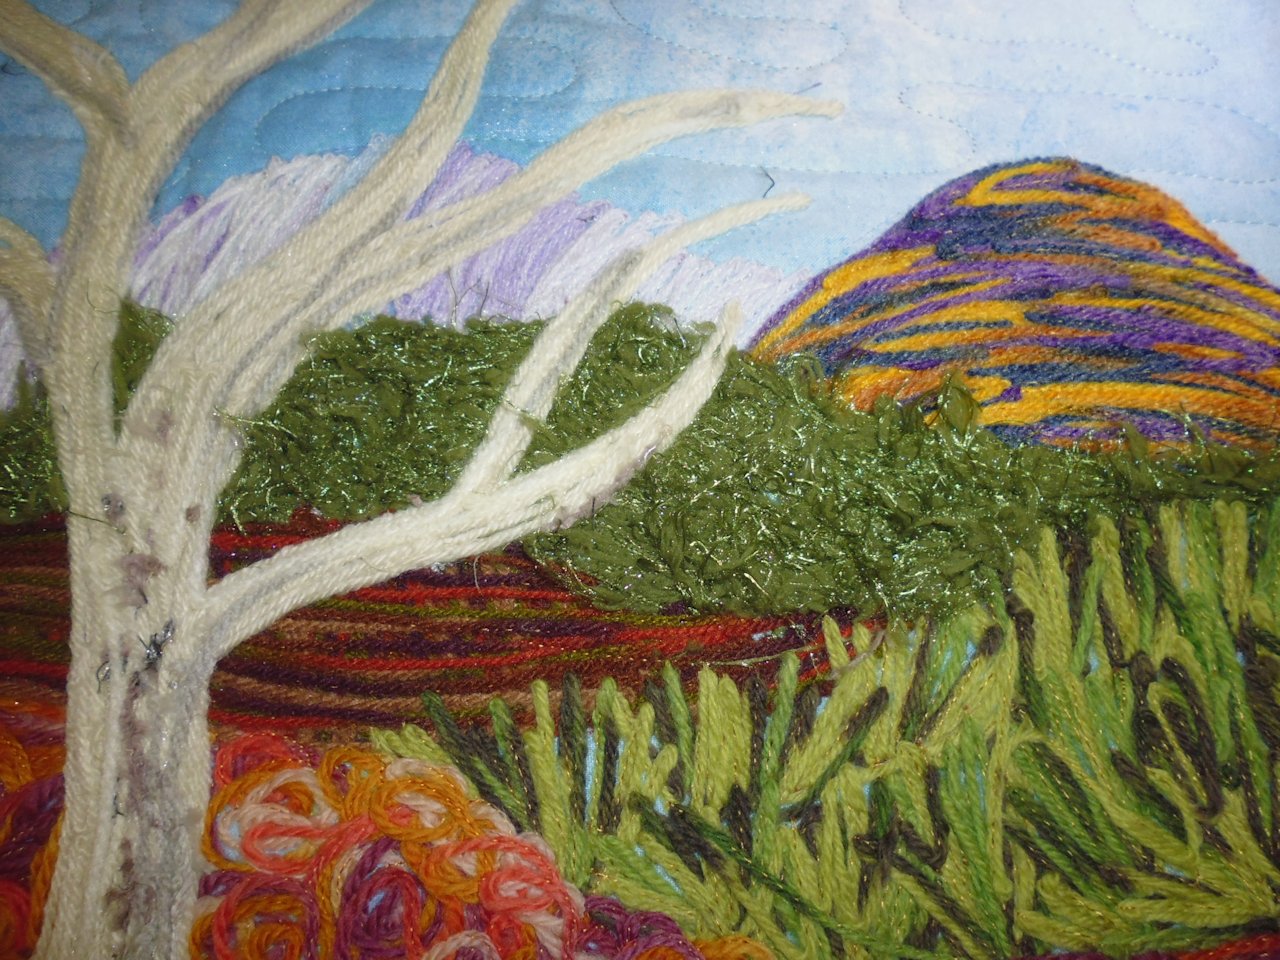
The finished piece (prior to ironing it flat and trimming it to size and adding a binding):

Yarn stash
My new stash — yarn!
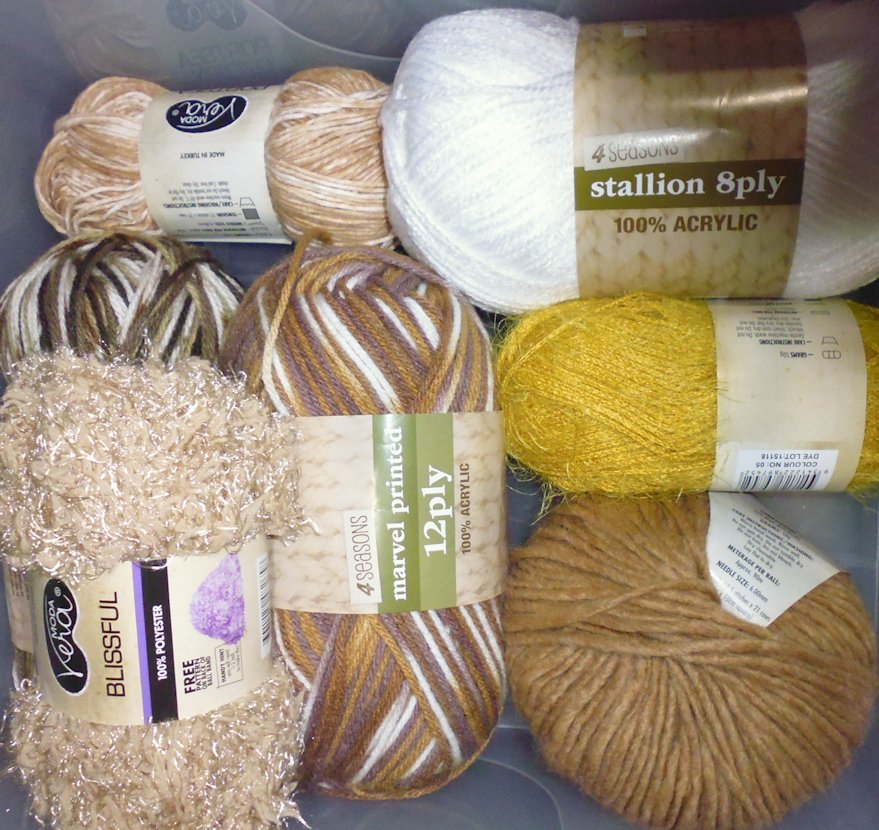


This was my previous yarn ‘stash’ – 8 balls of yarn, 2 of metallic, and one ribbon yarn….
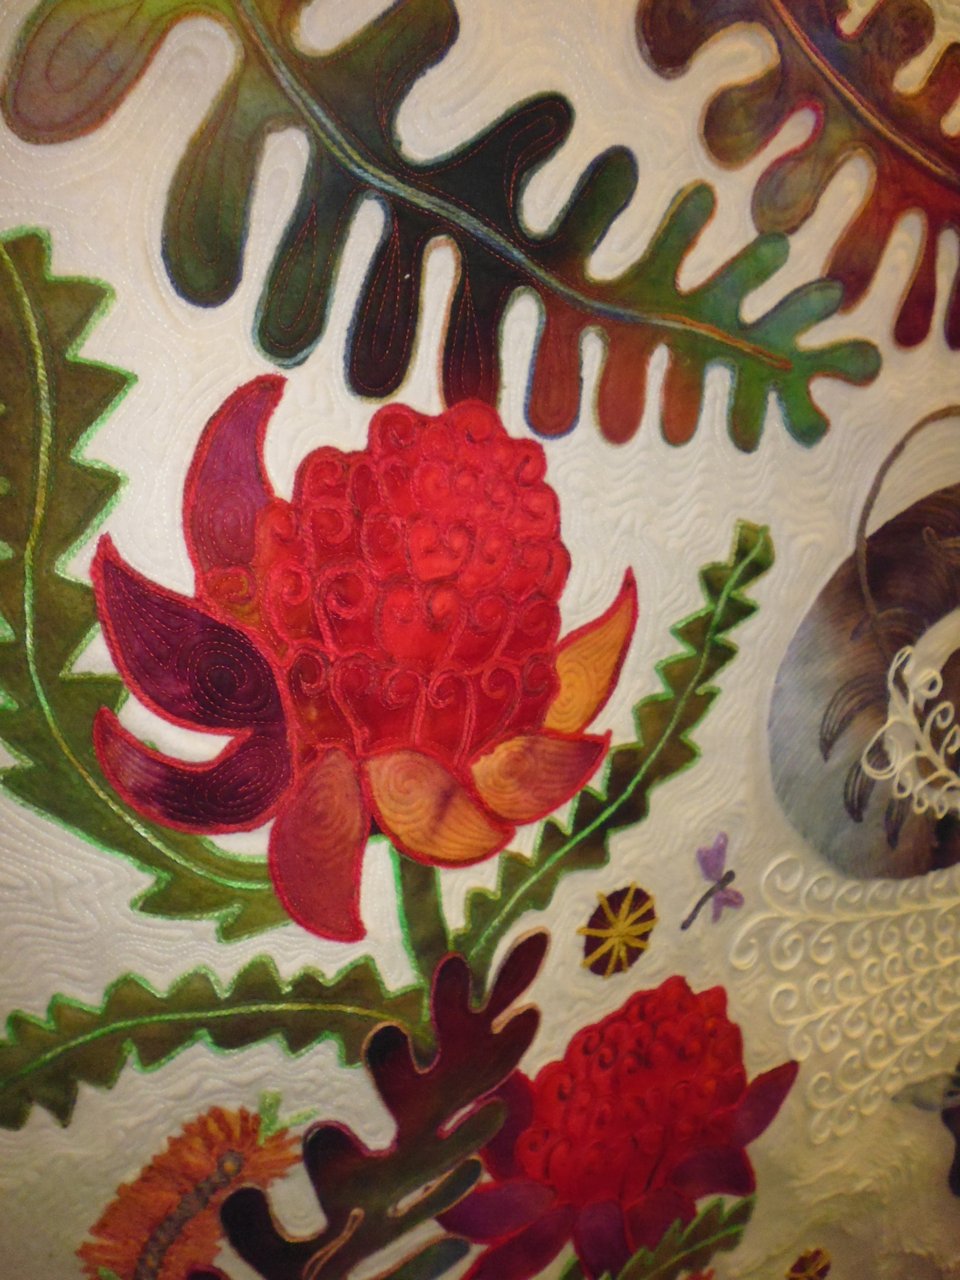
Helen’s lyrebird and waratah quilt
One of Helen’s amazing quilts, with couching emphasising all the main elements and making the lyrebird’s white tail:


