I liked the apparent simplicity of this quilt, yet when you deconstruct it to see how it was put together, it was quite complex. I also liked the colours.
How to quilt it?
- I started by stitching in the ditch around the centre design, and around the borders.
- Then I echo stitched a 1/2 inch from these lines, and about 3 inches out from the purple border’s seams.
- I decided to let the centre design ‘pop’, so stitched quite heavily in the negative space, using my variation of McTavishing.
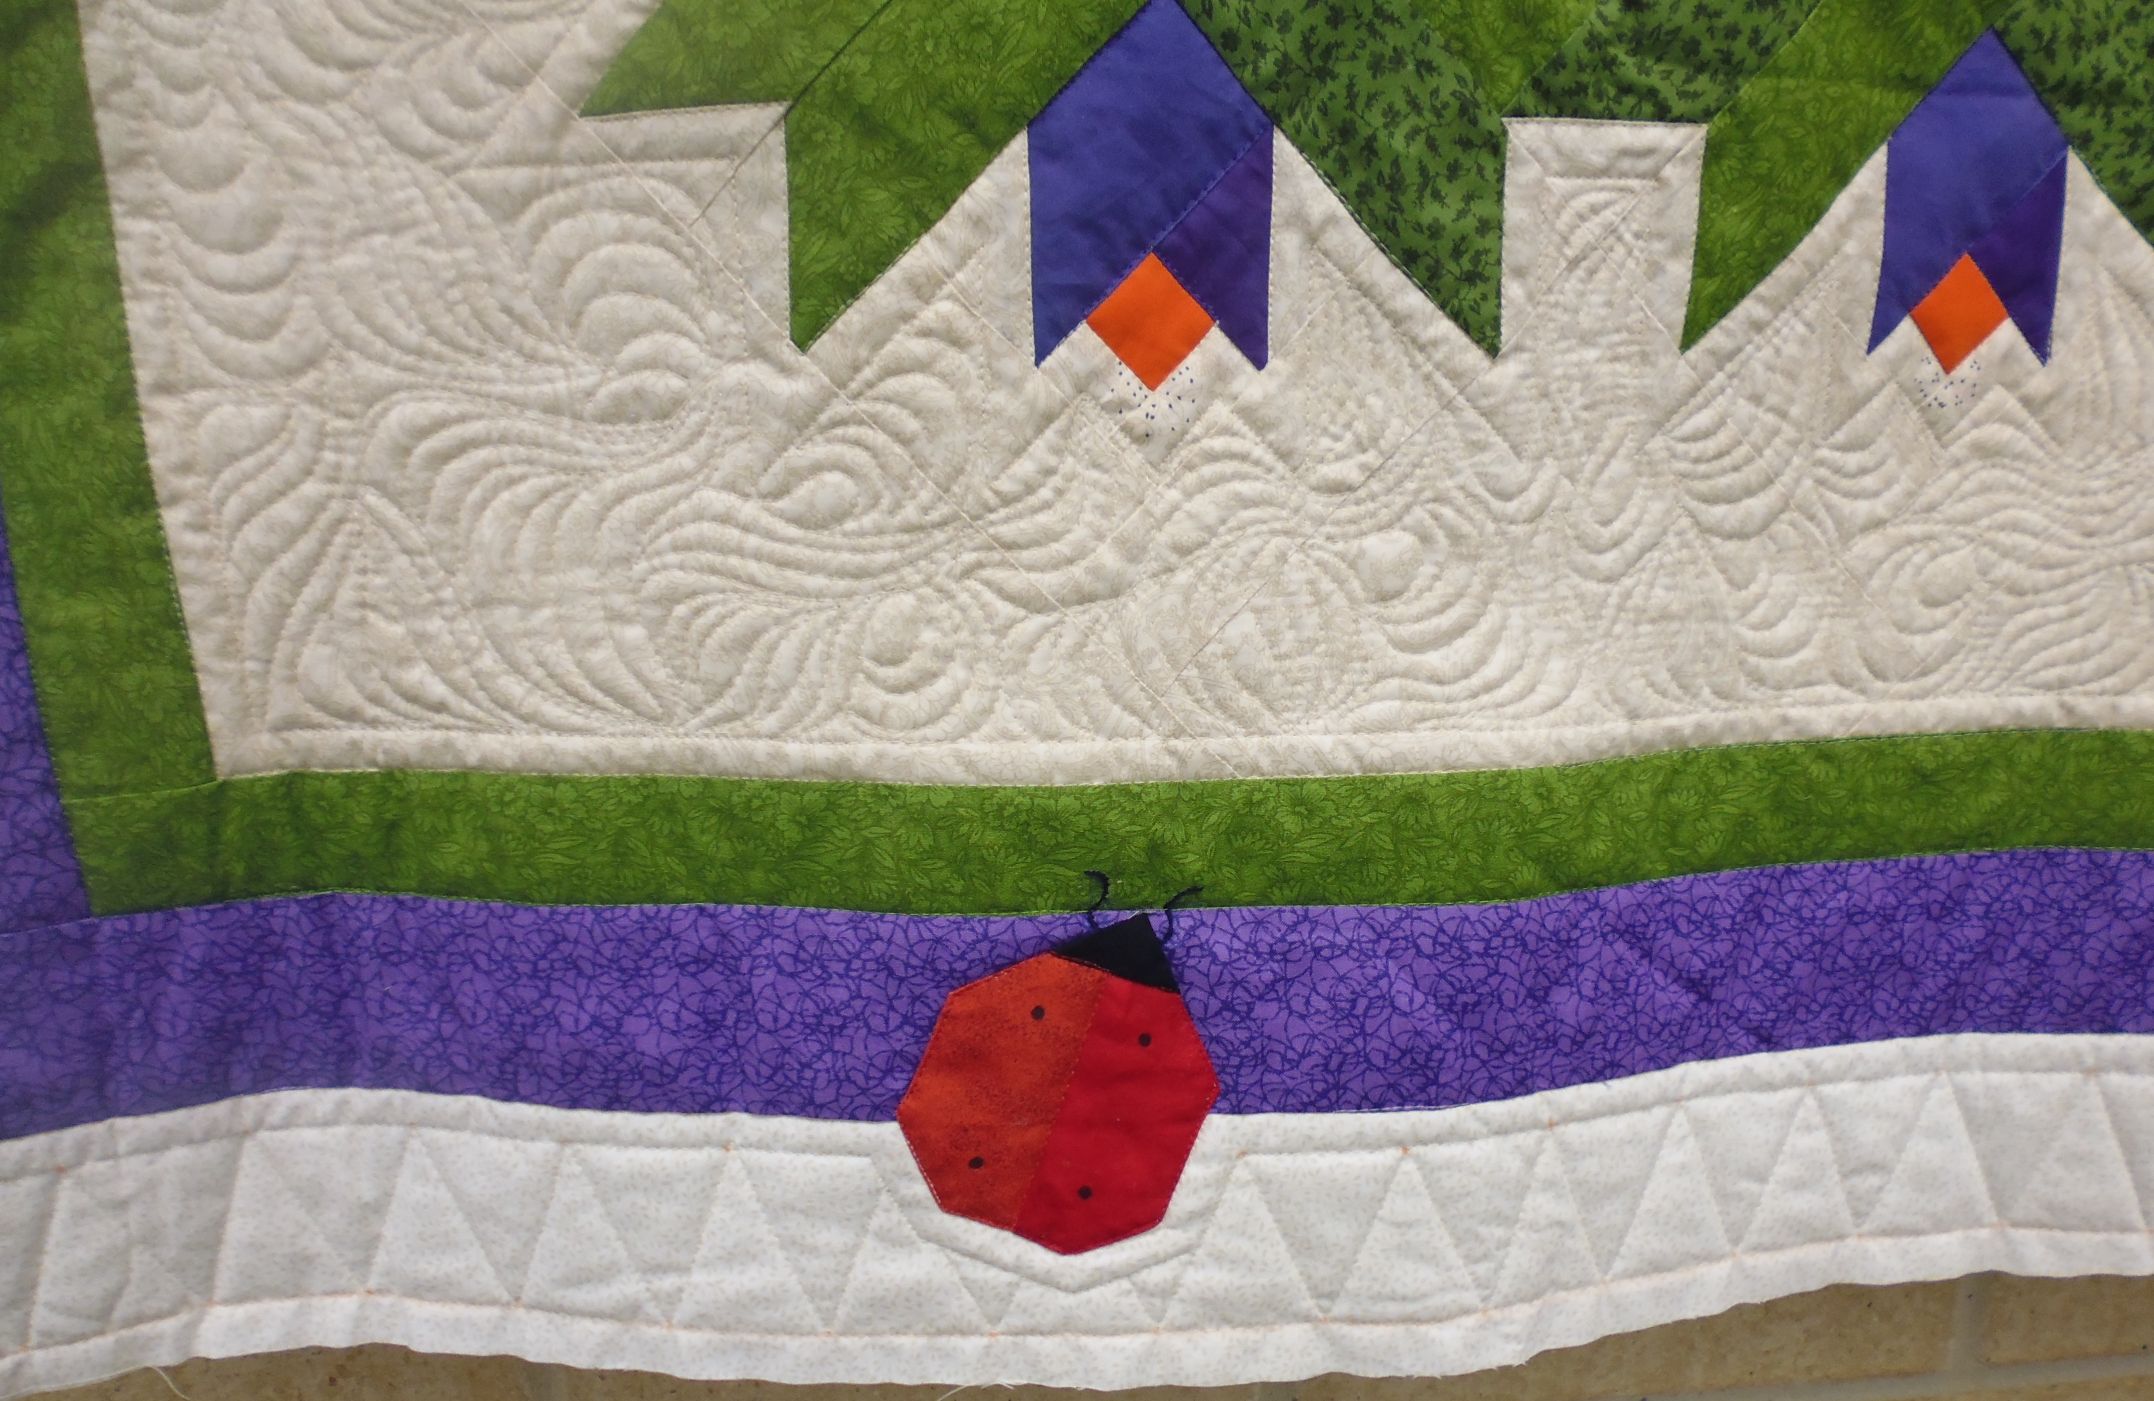
- For the outer border, I decided to emulate the spikiness of the central design and marked points (orange chalk marks) to create the triangles.
- At each outer border corner, I stitched a stylised leaf, though perhaps I should have attempted a ladybug (as you would’ve done, Joan C!).
I really liked the finished quilt and am very pleased with how I quilted it. I hope WAQA consider using this one as a raffle quilt.
(Click on a photo to view it larger)


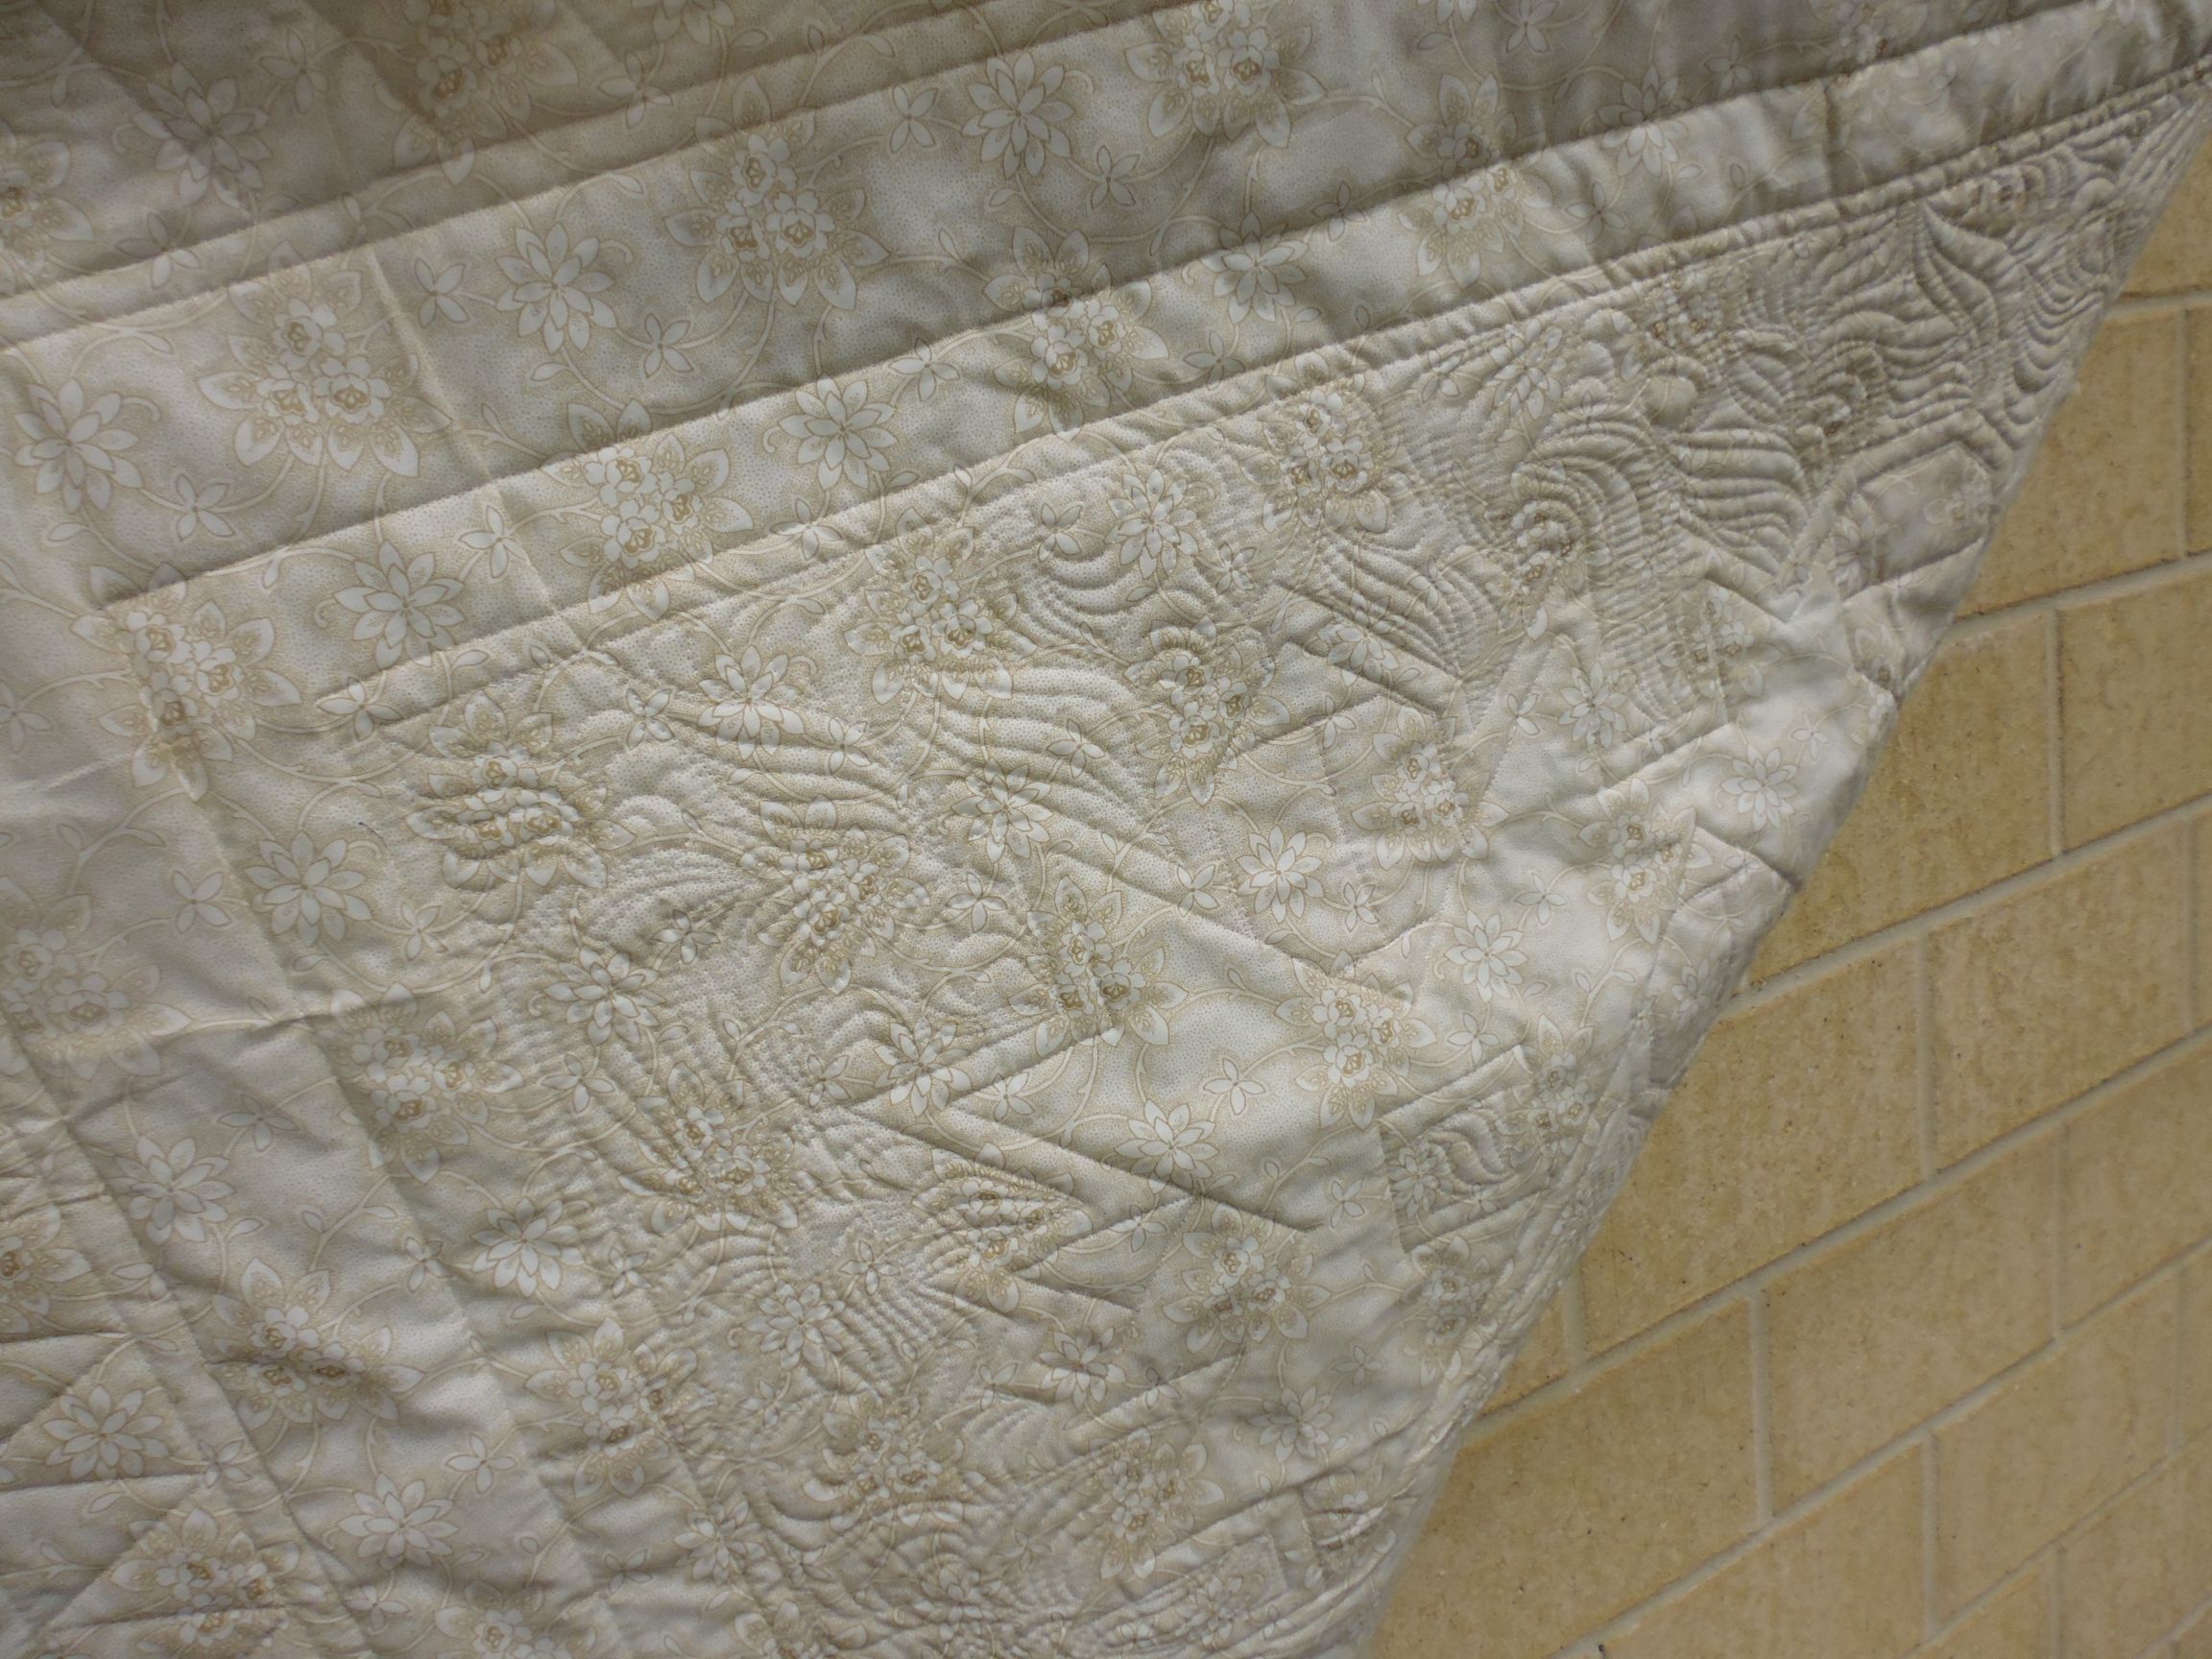
Back:
Threads used:
- Top: Mettler Metrosene (polyester, 40 wt?, colour 781 [off-white used for most of the stitching on this quilt]; Gutermann (polyester, 40 wt?, colour 156 [red around the ladybugs]; Madeira (rayon, 40 wt, colour 1169 [green for the stitch-in-the-ditch in the border]; Gutermann (polyester, 40 wt?, colour 810 [purple around the flowers]
- Bottom: Fil-Tec Magna Glide Classic pre-wound bobbin (white)


So-oo Beautiful!
Really nicely done, Rhonda. I like the 1/2″ (I’m guessing?) “echo”/space around the colored fabrics that are creating your boundaries for your filler stitching.