I wanted to try another turtle quilt using the Herd of Turtles pattern (available from here: https://www.pacificrimquilt.com/2faq/), but this time using the raw edge applique technique. This method was much quicker for me, and I saved even more time (and a lot of anguish!) by NOT cutting out the areas around the sections on the carapace. Instead, I got out the Copic markers I’d purchased when I was in the US, and shaded the carapace sections to give the illusion of dimension. I was quite pleased with how the shading turned out. I had the green jelly roll fabric I’d made up a few weeks ago and that I didn’t particularly like, so I used that as the background, and for the turtles I used one of the metre-long batik lengths I’d bought in Bali last September. Because this is raw edge applique and because this is a quilt likely to be hung in a child’s room or used for a child, I wanted to stitch down those raw edges a bit more securely, so I used the same thread I’d used for the raw edge and stitched those edges down using a blanket stitch. Finally, I added some wavy kelp using a fluoro lime green thread, then followed the waviness of the kelp into the border. 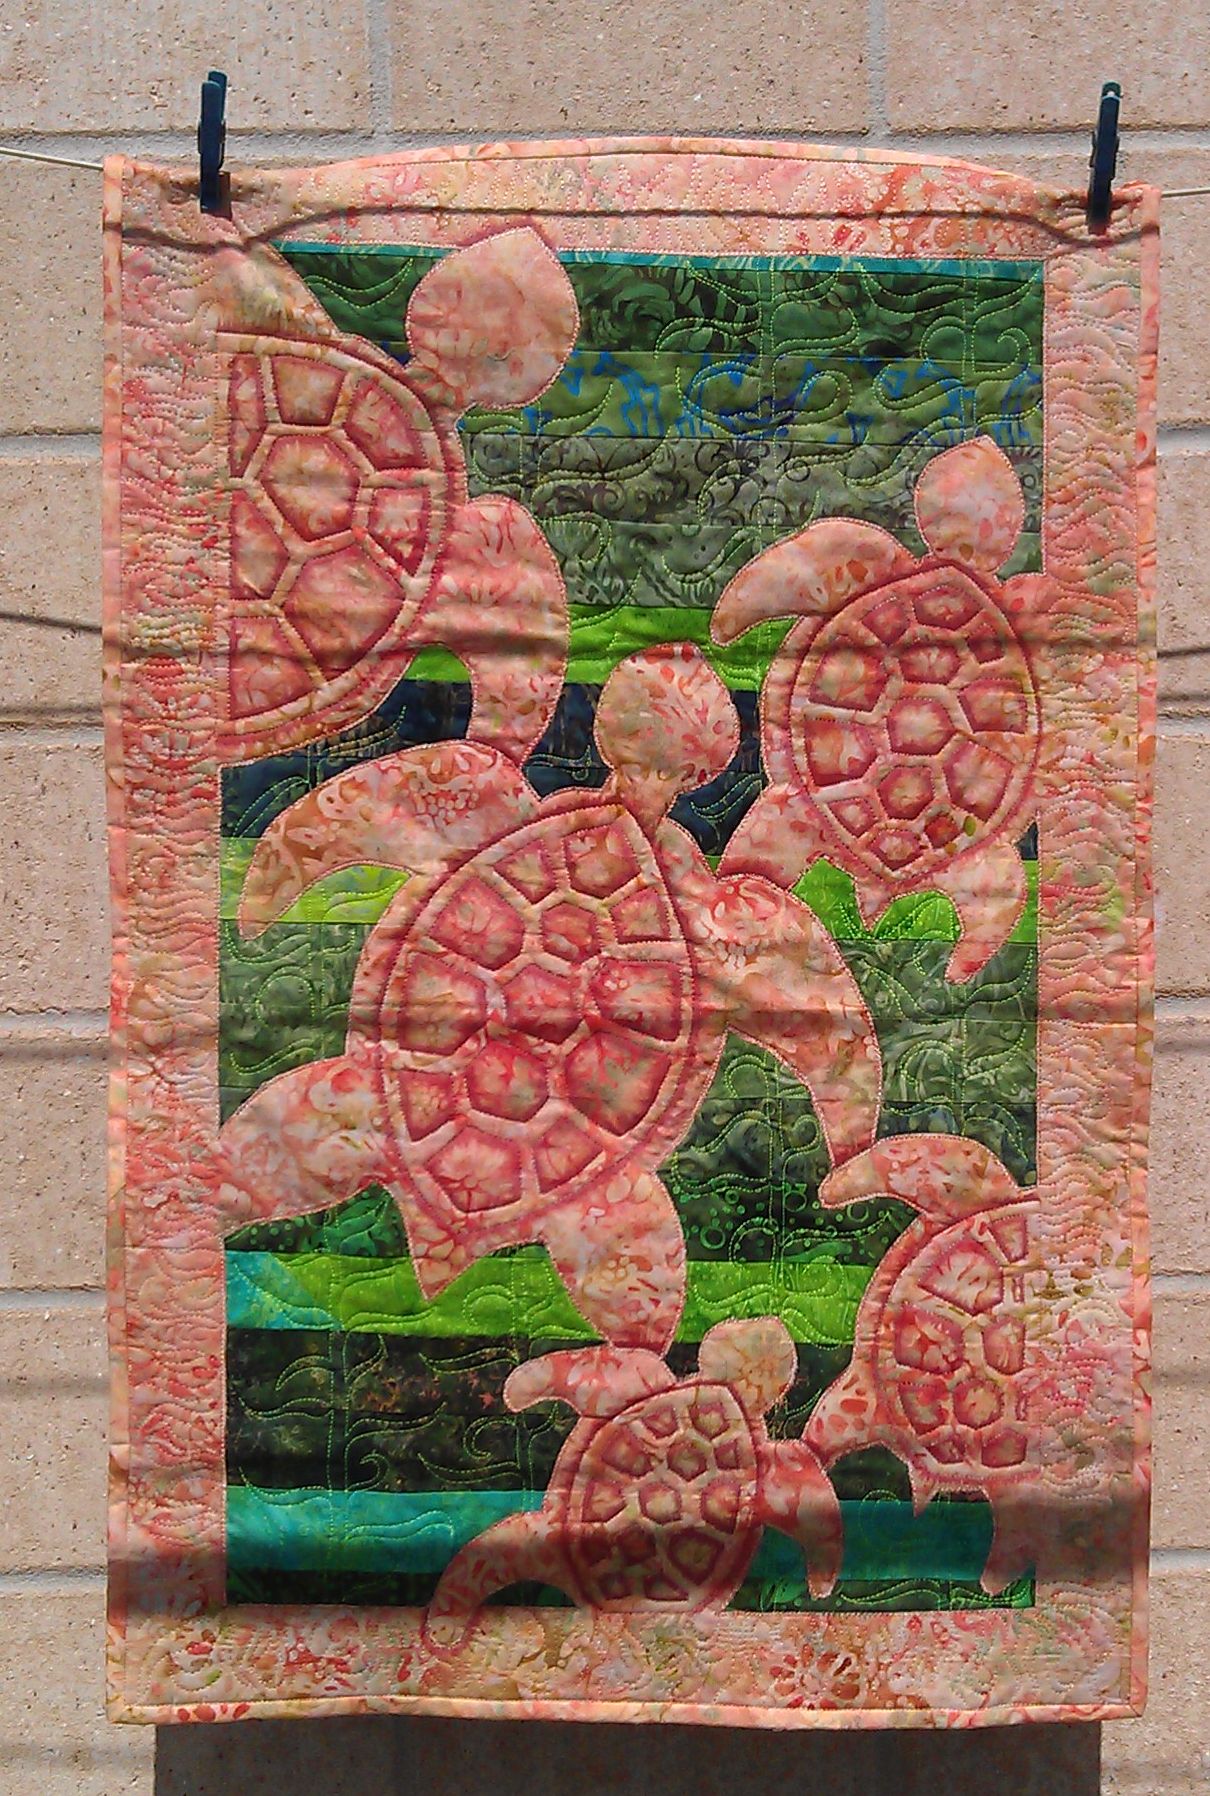

Turtle with Copic marker shading done, including shading on the overlap with other turtles.Kelp stitched too.
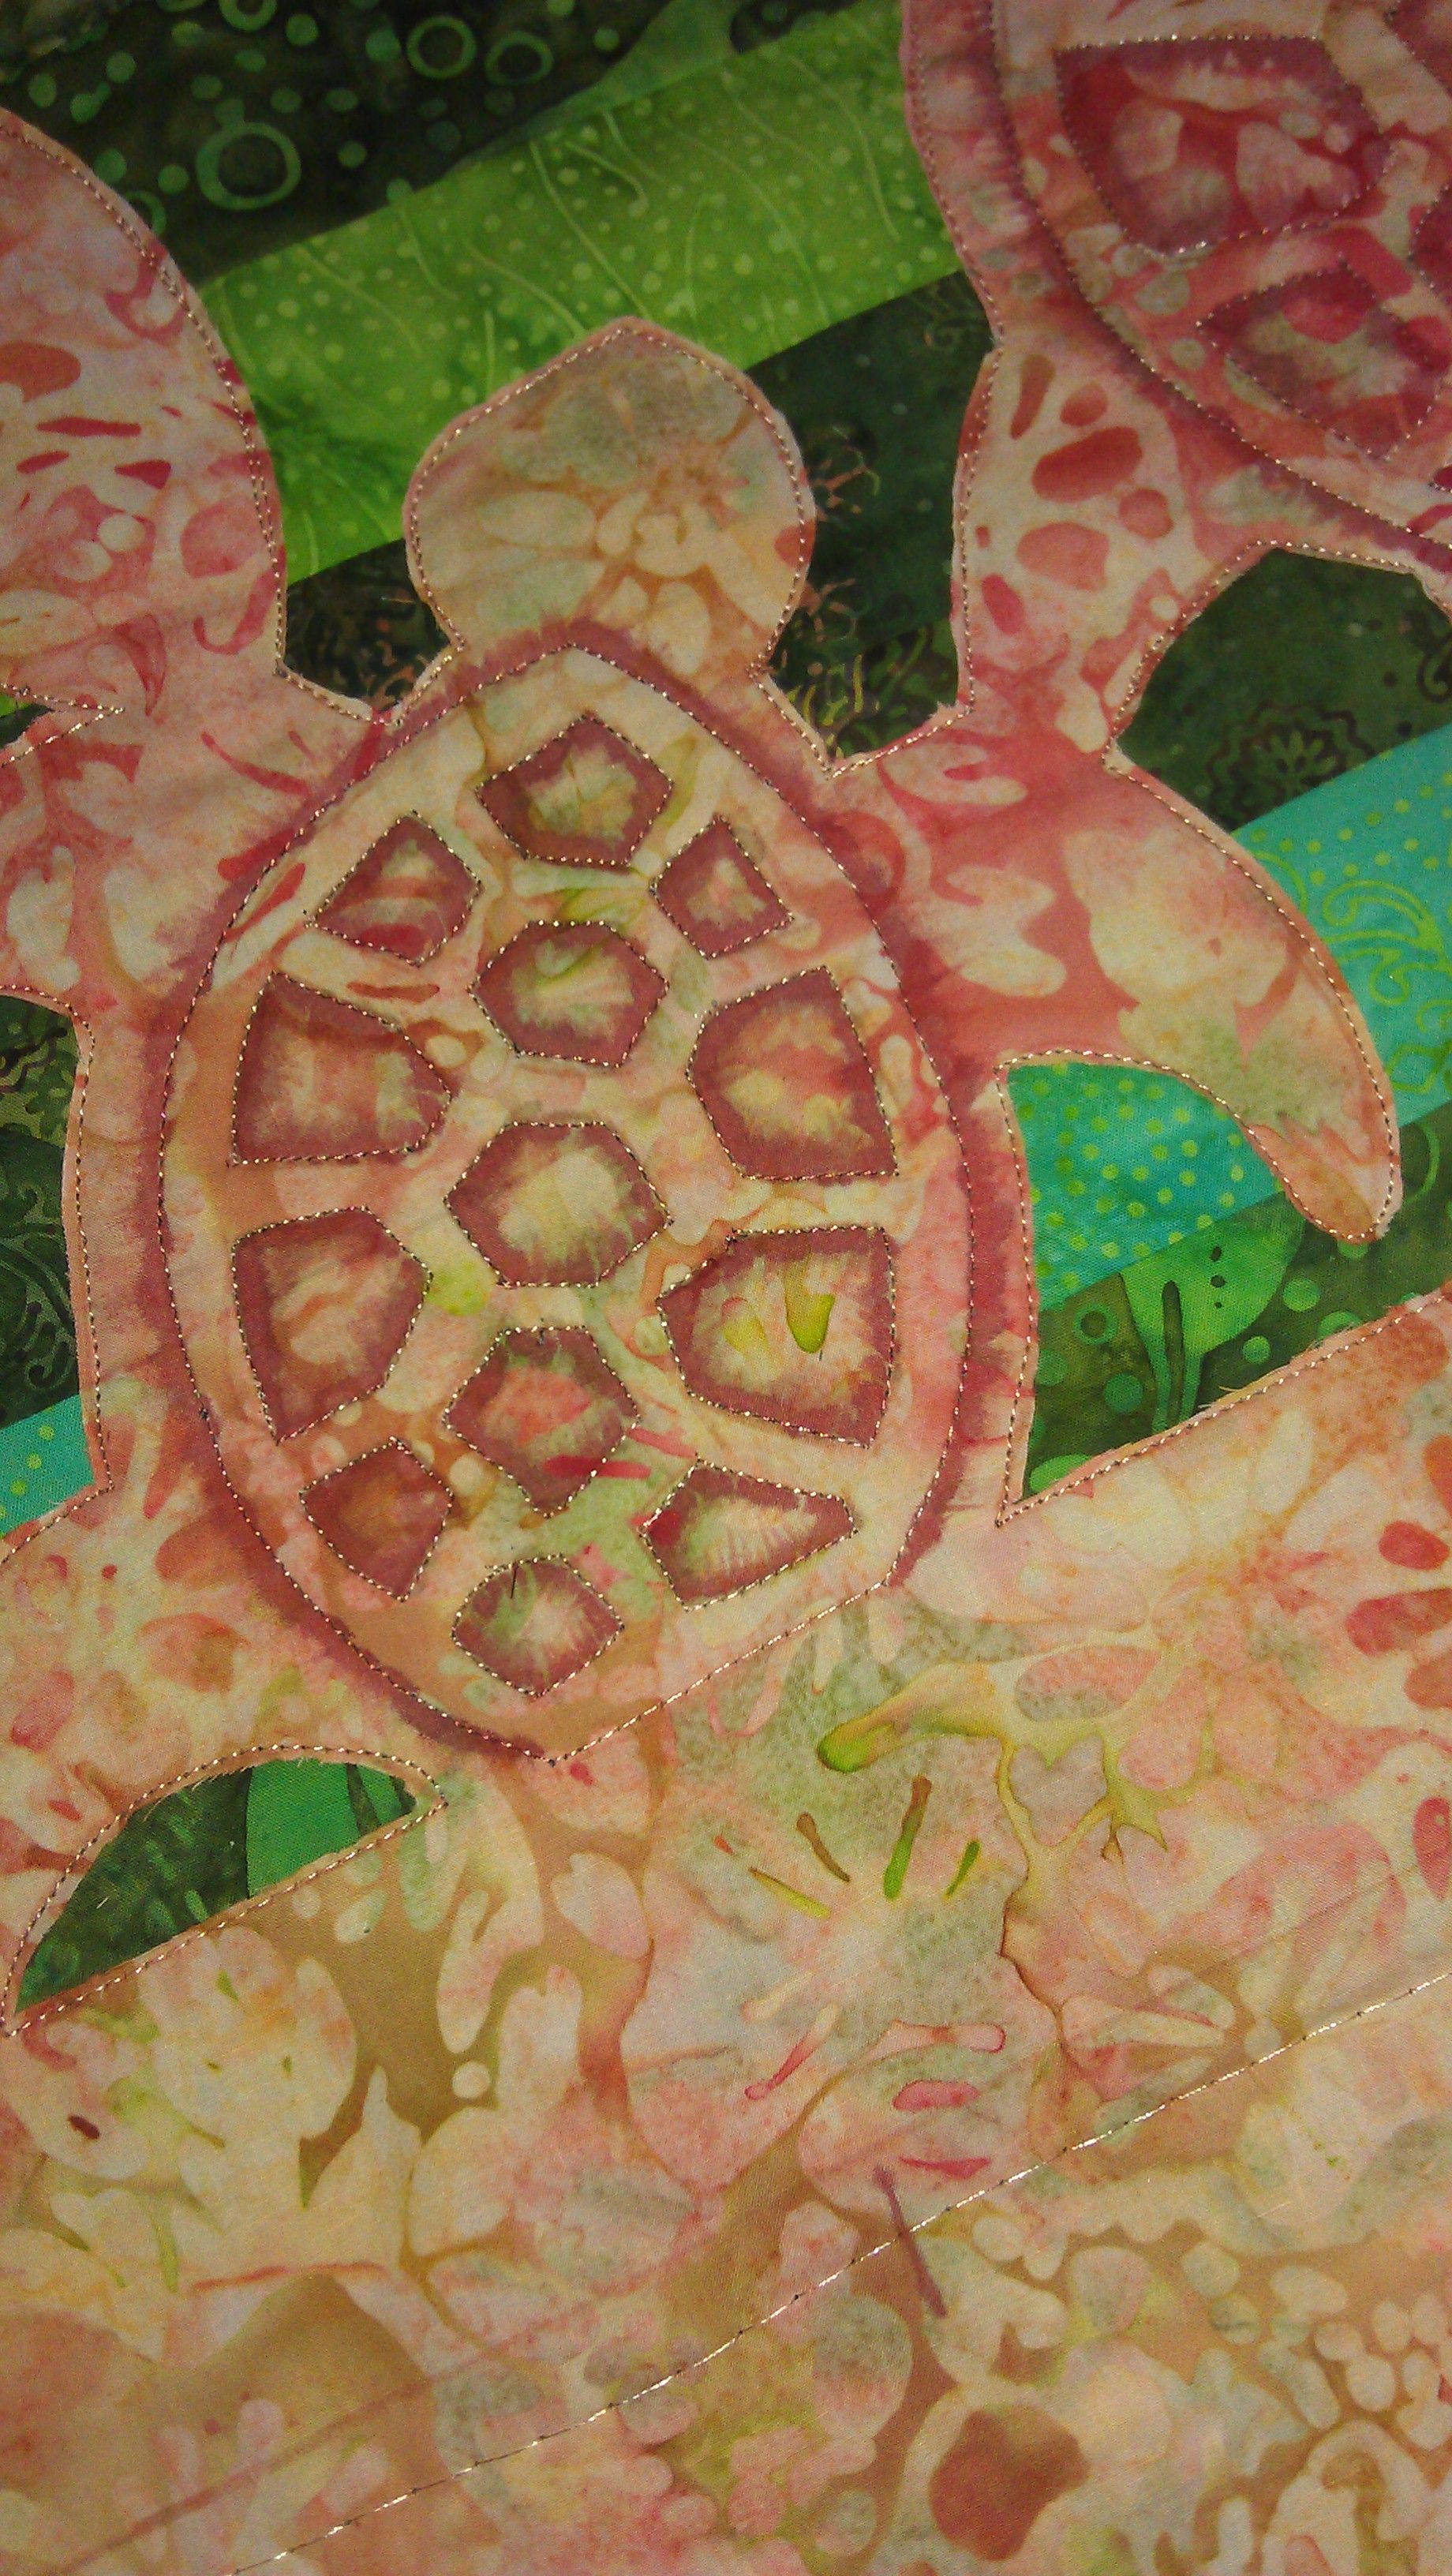
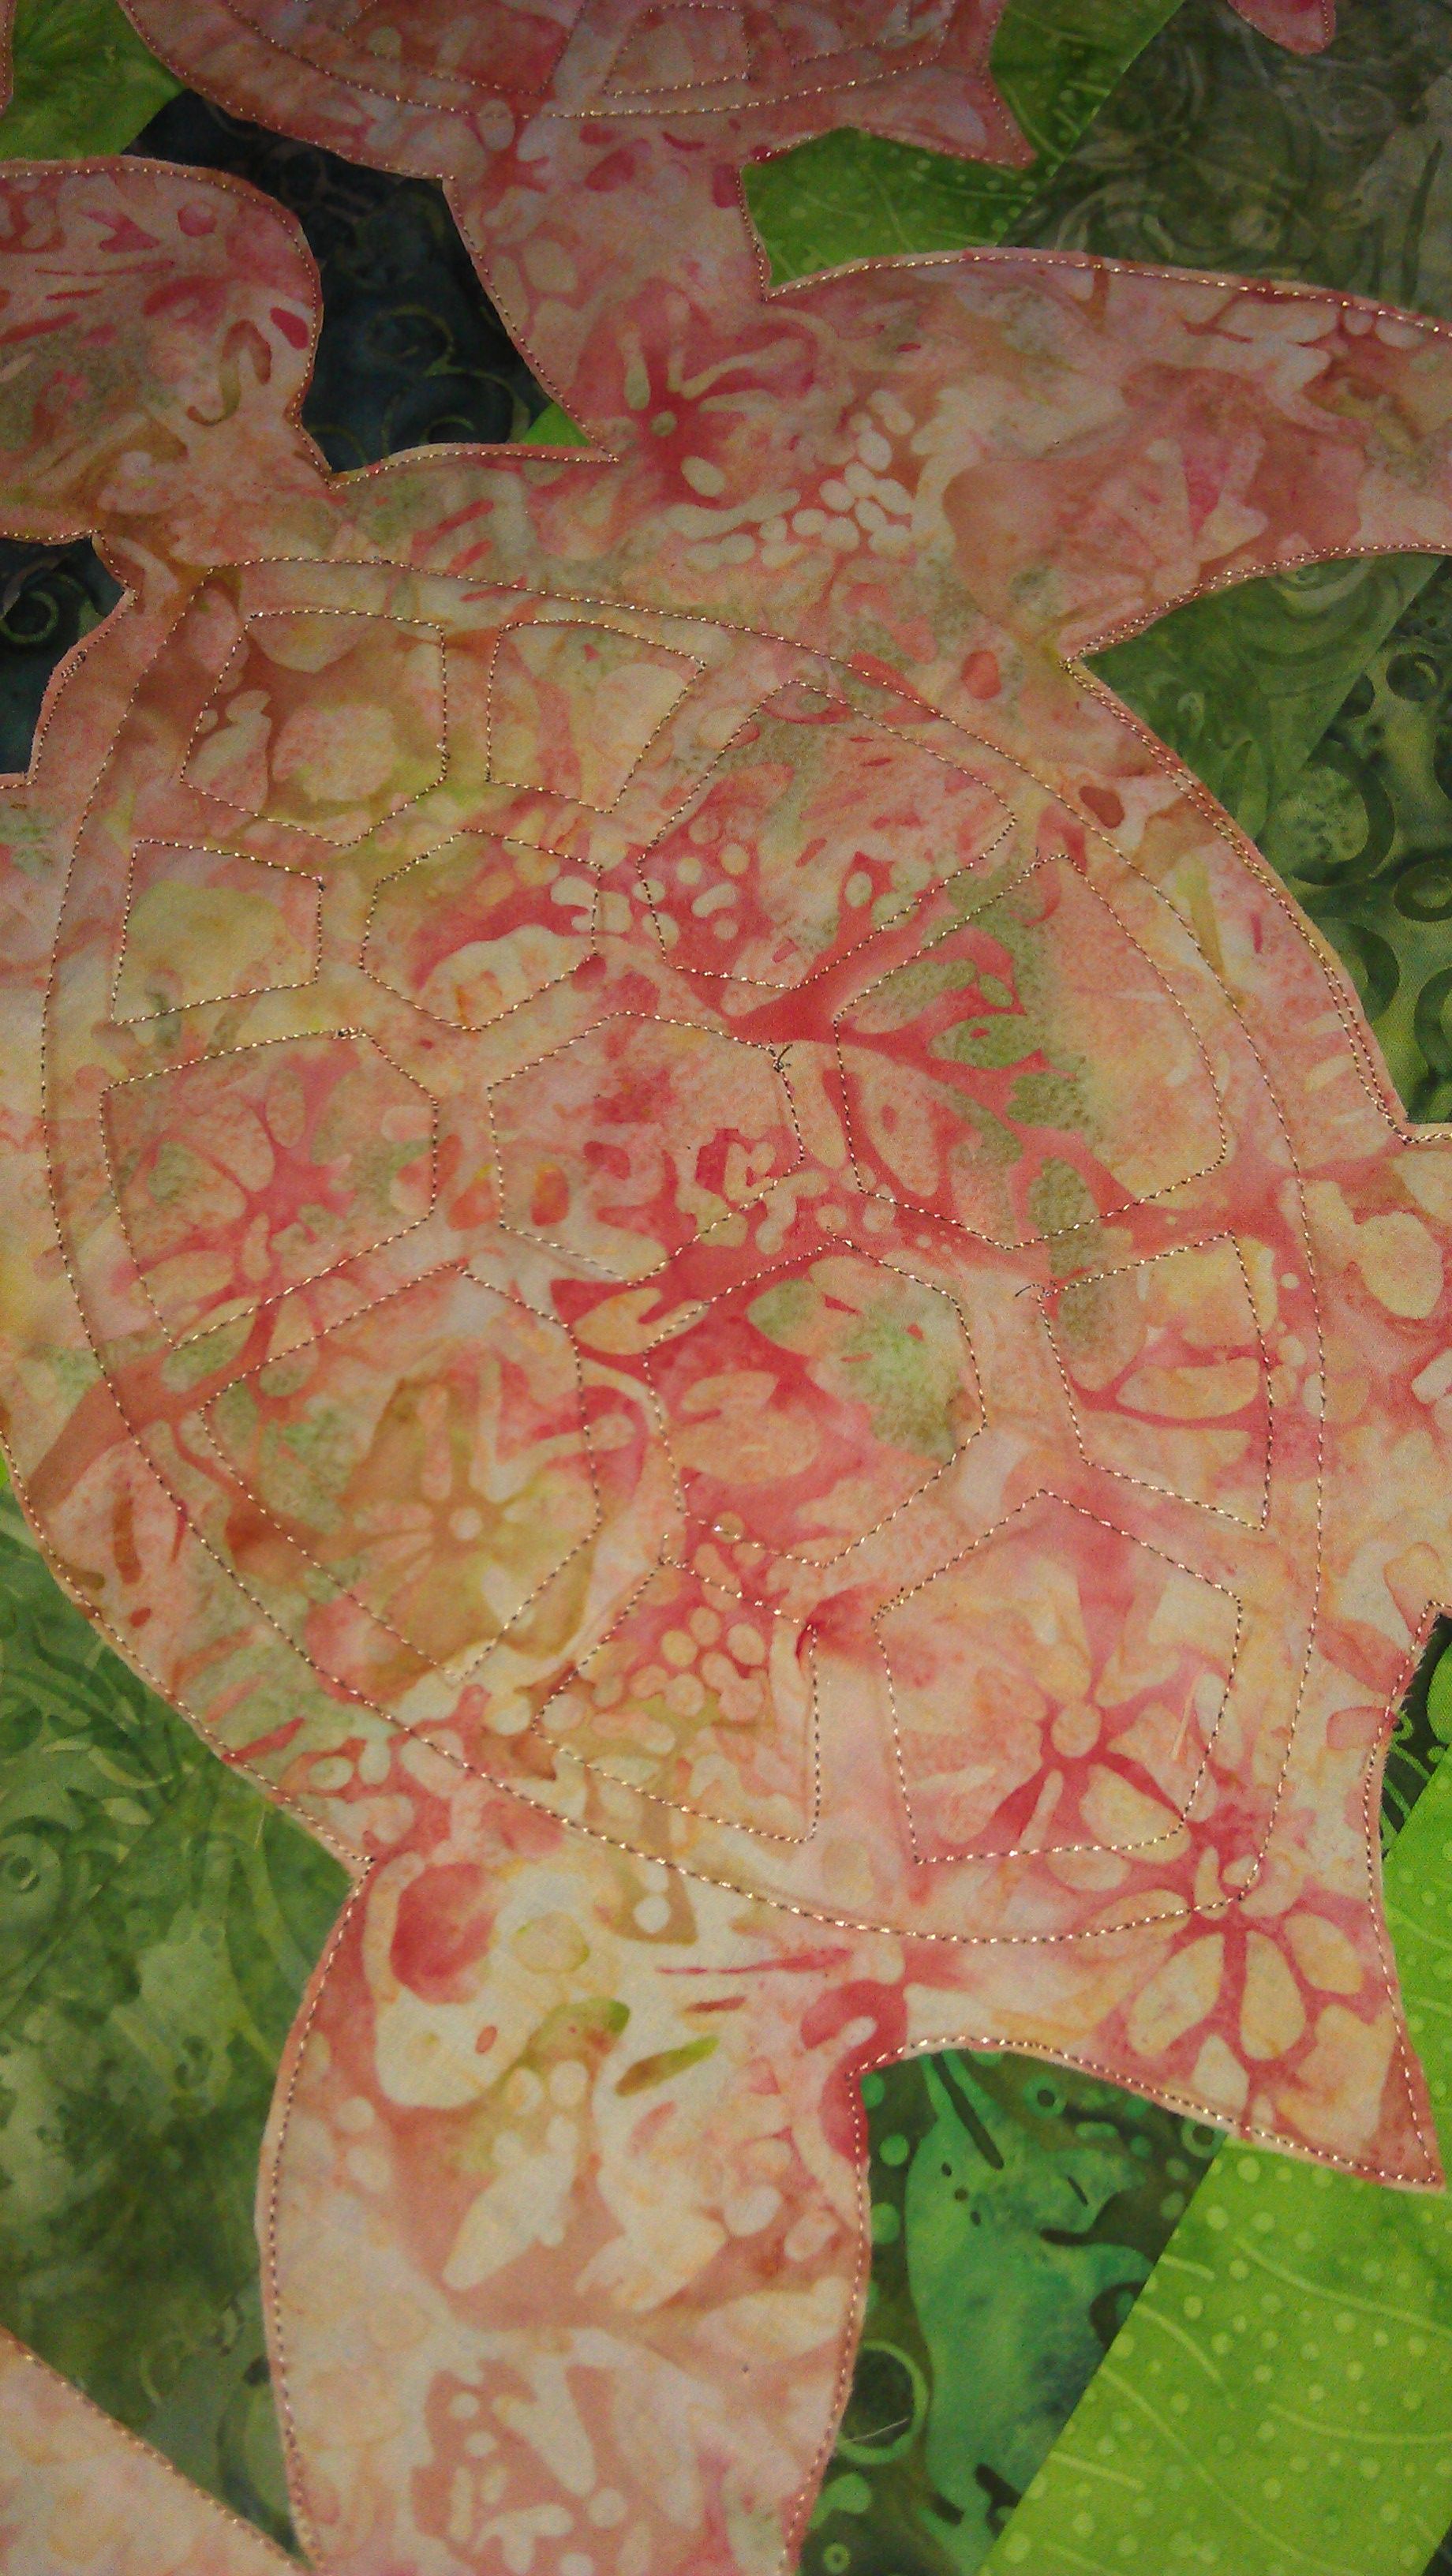
Shading done with Copic markers
Without the shading, the turtle’s carapace was ‘flat’, but I wasn’t going to cut out those tiny sections between each hexagonal shape!

Border detail – flames to emulate wavy kelp
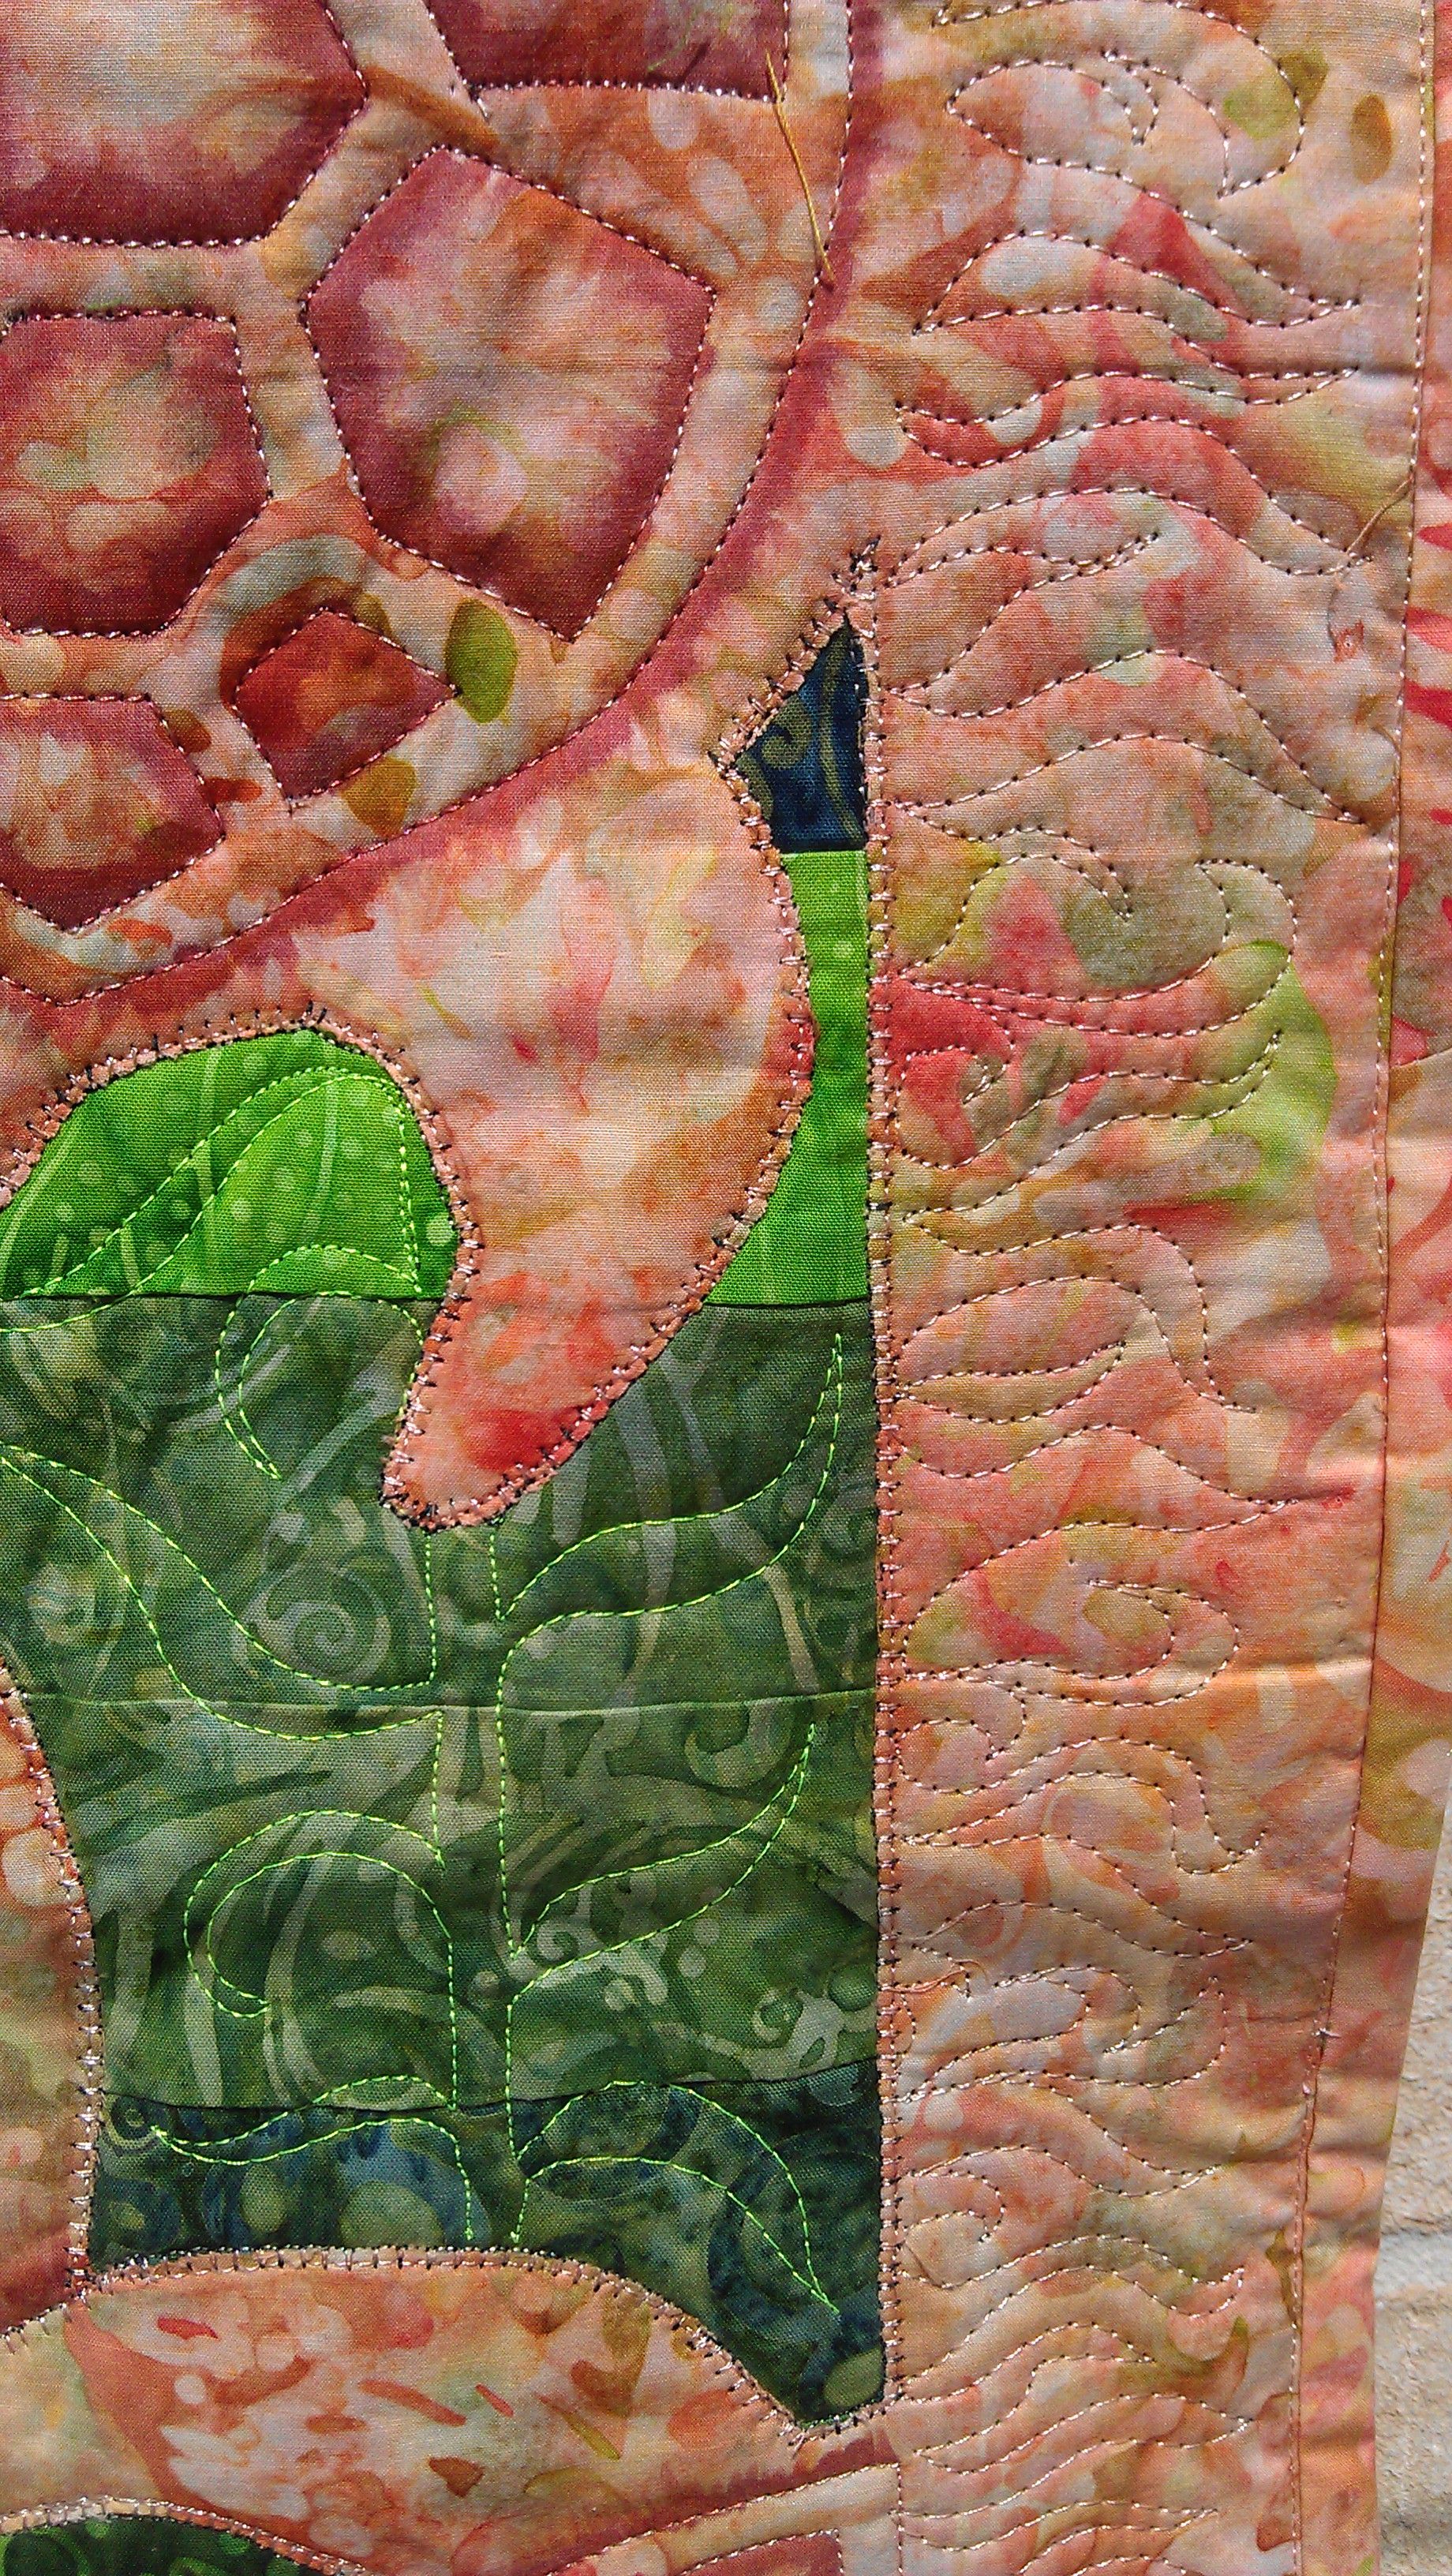
Detail of the shading, kelp, blanket stitch edge over the raw applique edge, and the binding

Doing the shading with the brush end of the Copic marker
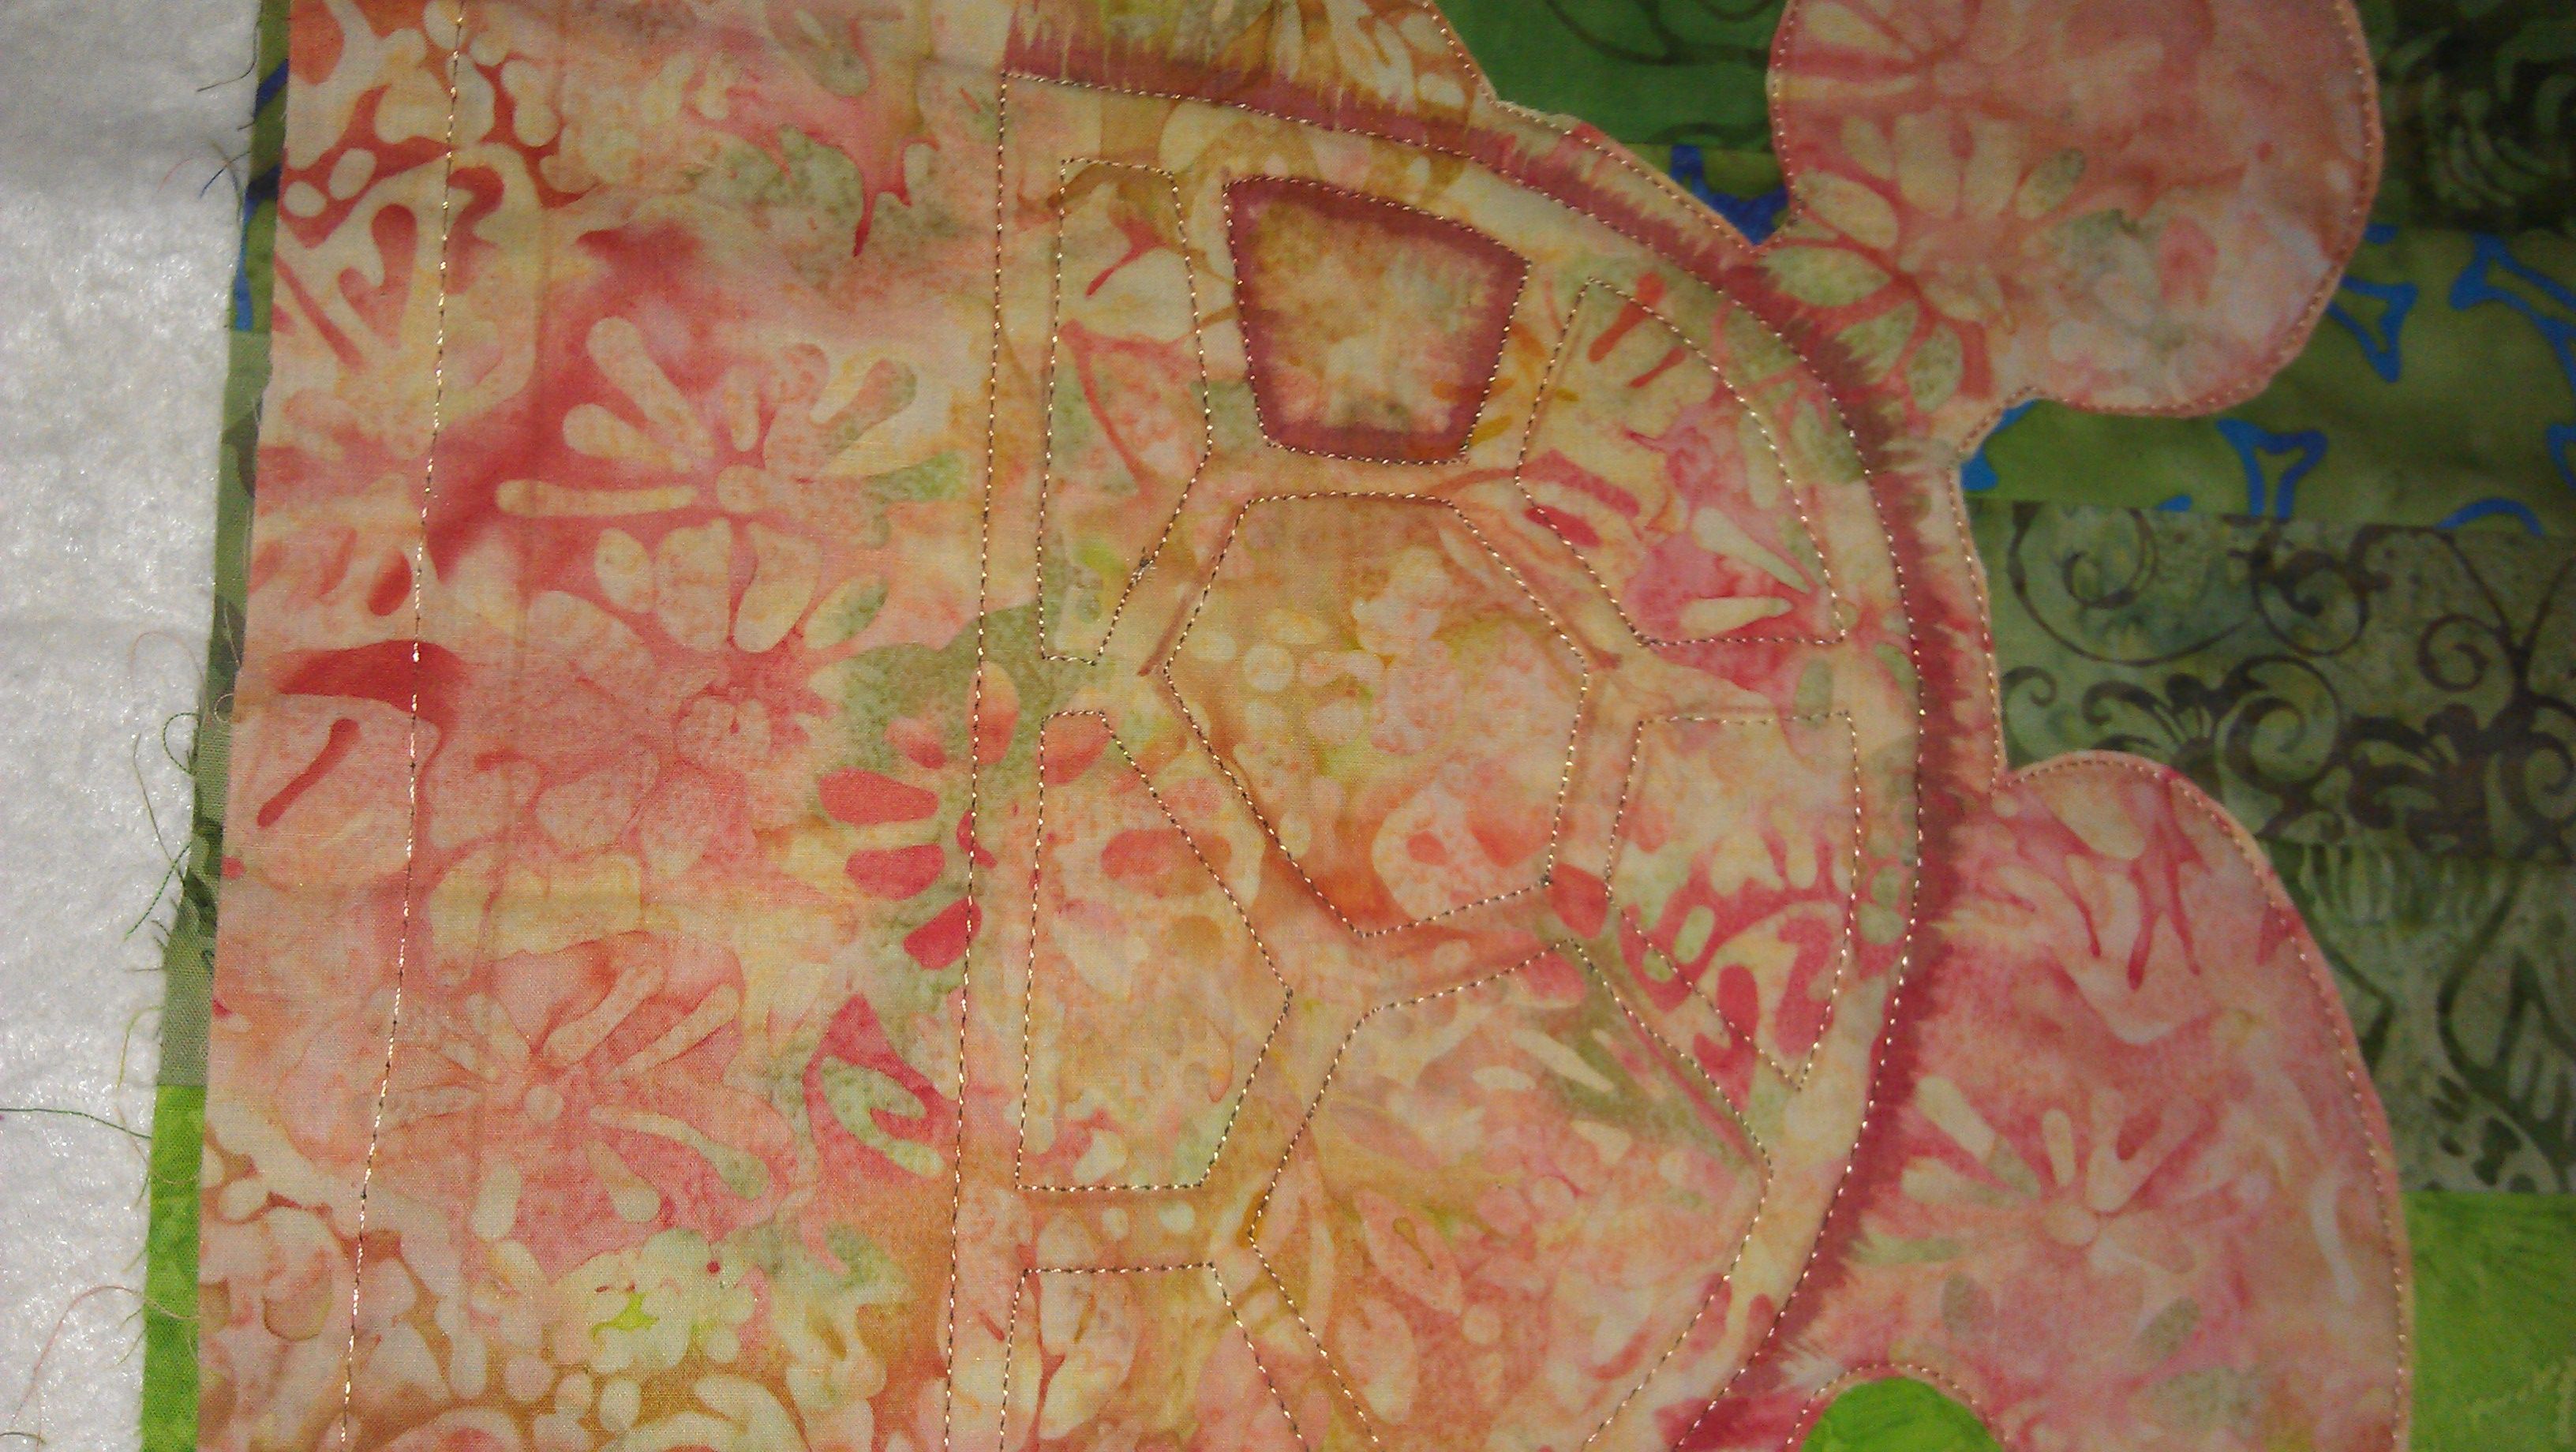
Turtle without any shading
Threads used:
- Fil-Tec Glide ‘Peach’ (40 wt, trilobal polyester, colour #50473)
- Mettler Poly Sheen (40 wt, polyester, colour #5940 [fluoro lime green])


[…] after finishing the second turtle quilt, I made another one! This time, I used the same raw edge applique and shading techniques I’d […]
Looks good – very effective
The fabrics and the stitching are gorgeous…..still in love with #3!!!!!
What fun this turtle quilt is! Is there any other way to do appliqué than raw edge?? LOL. The shading does the trick! Thanks for posting the pix you took in my classroom.