My head is spinning! In a good way…
We learnt SOOO much today from our tutor, Velda Newman, that it’s hard to process it all. That said, we weren’t rushed… it was just a lot to take in. So, where to start?
I think I’ll start by showcasing some of Velda’s amazing art quilts, just so you can see the sort of work she does and that we aspire to do as a result of what we learn this week. Where I know something about each of her quilts, I’ll add it in the commentary. Click on a photo to view it larger.
Velda’s amazing art quilts

Velda explaining how she did her African baskets quilt

African baskets quilt. Each basket was created, stitched, painted etc. separately, then they were composed with each other. No background in this quilt — just the baskets spilling into each other.

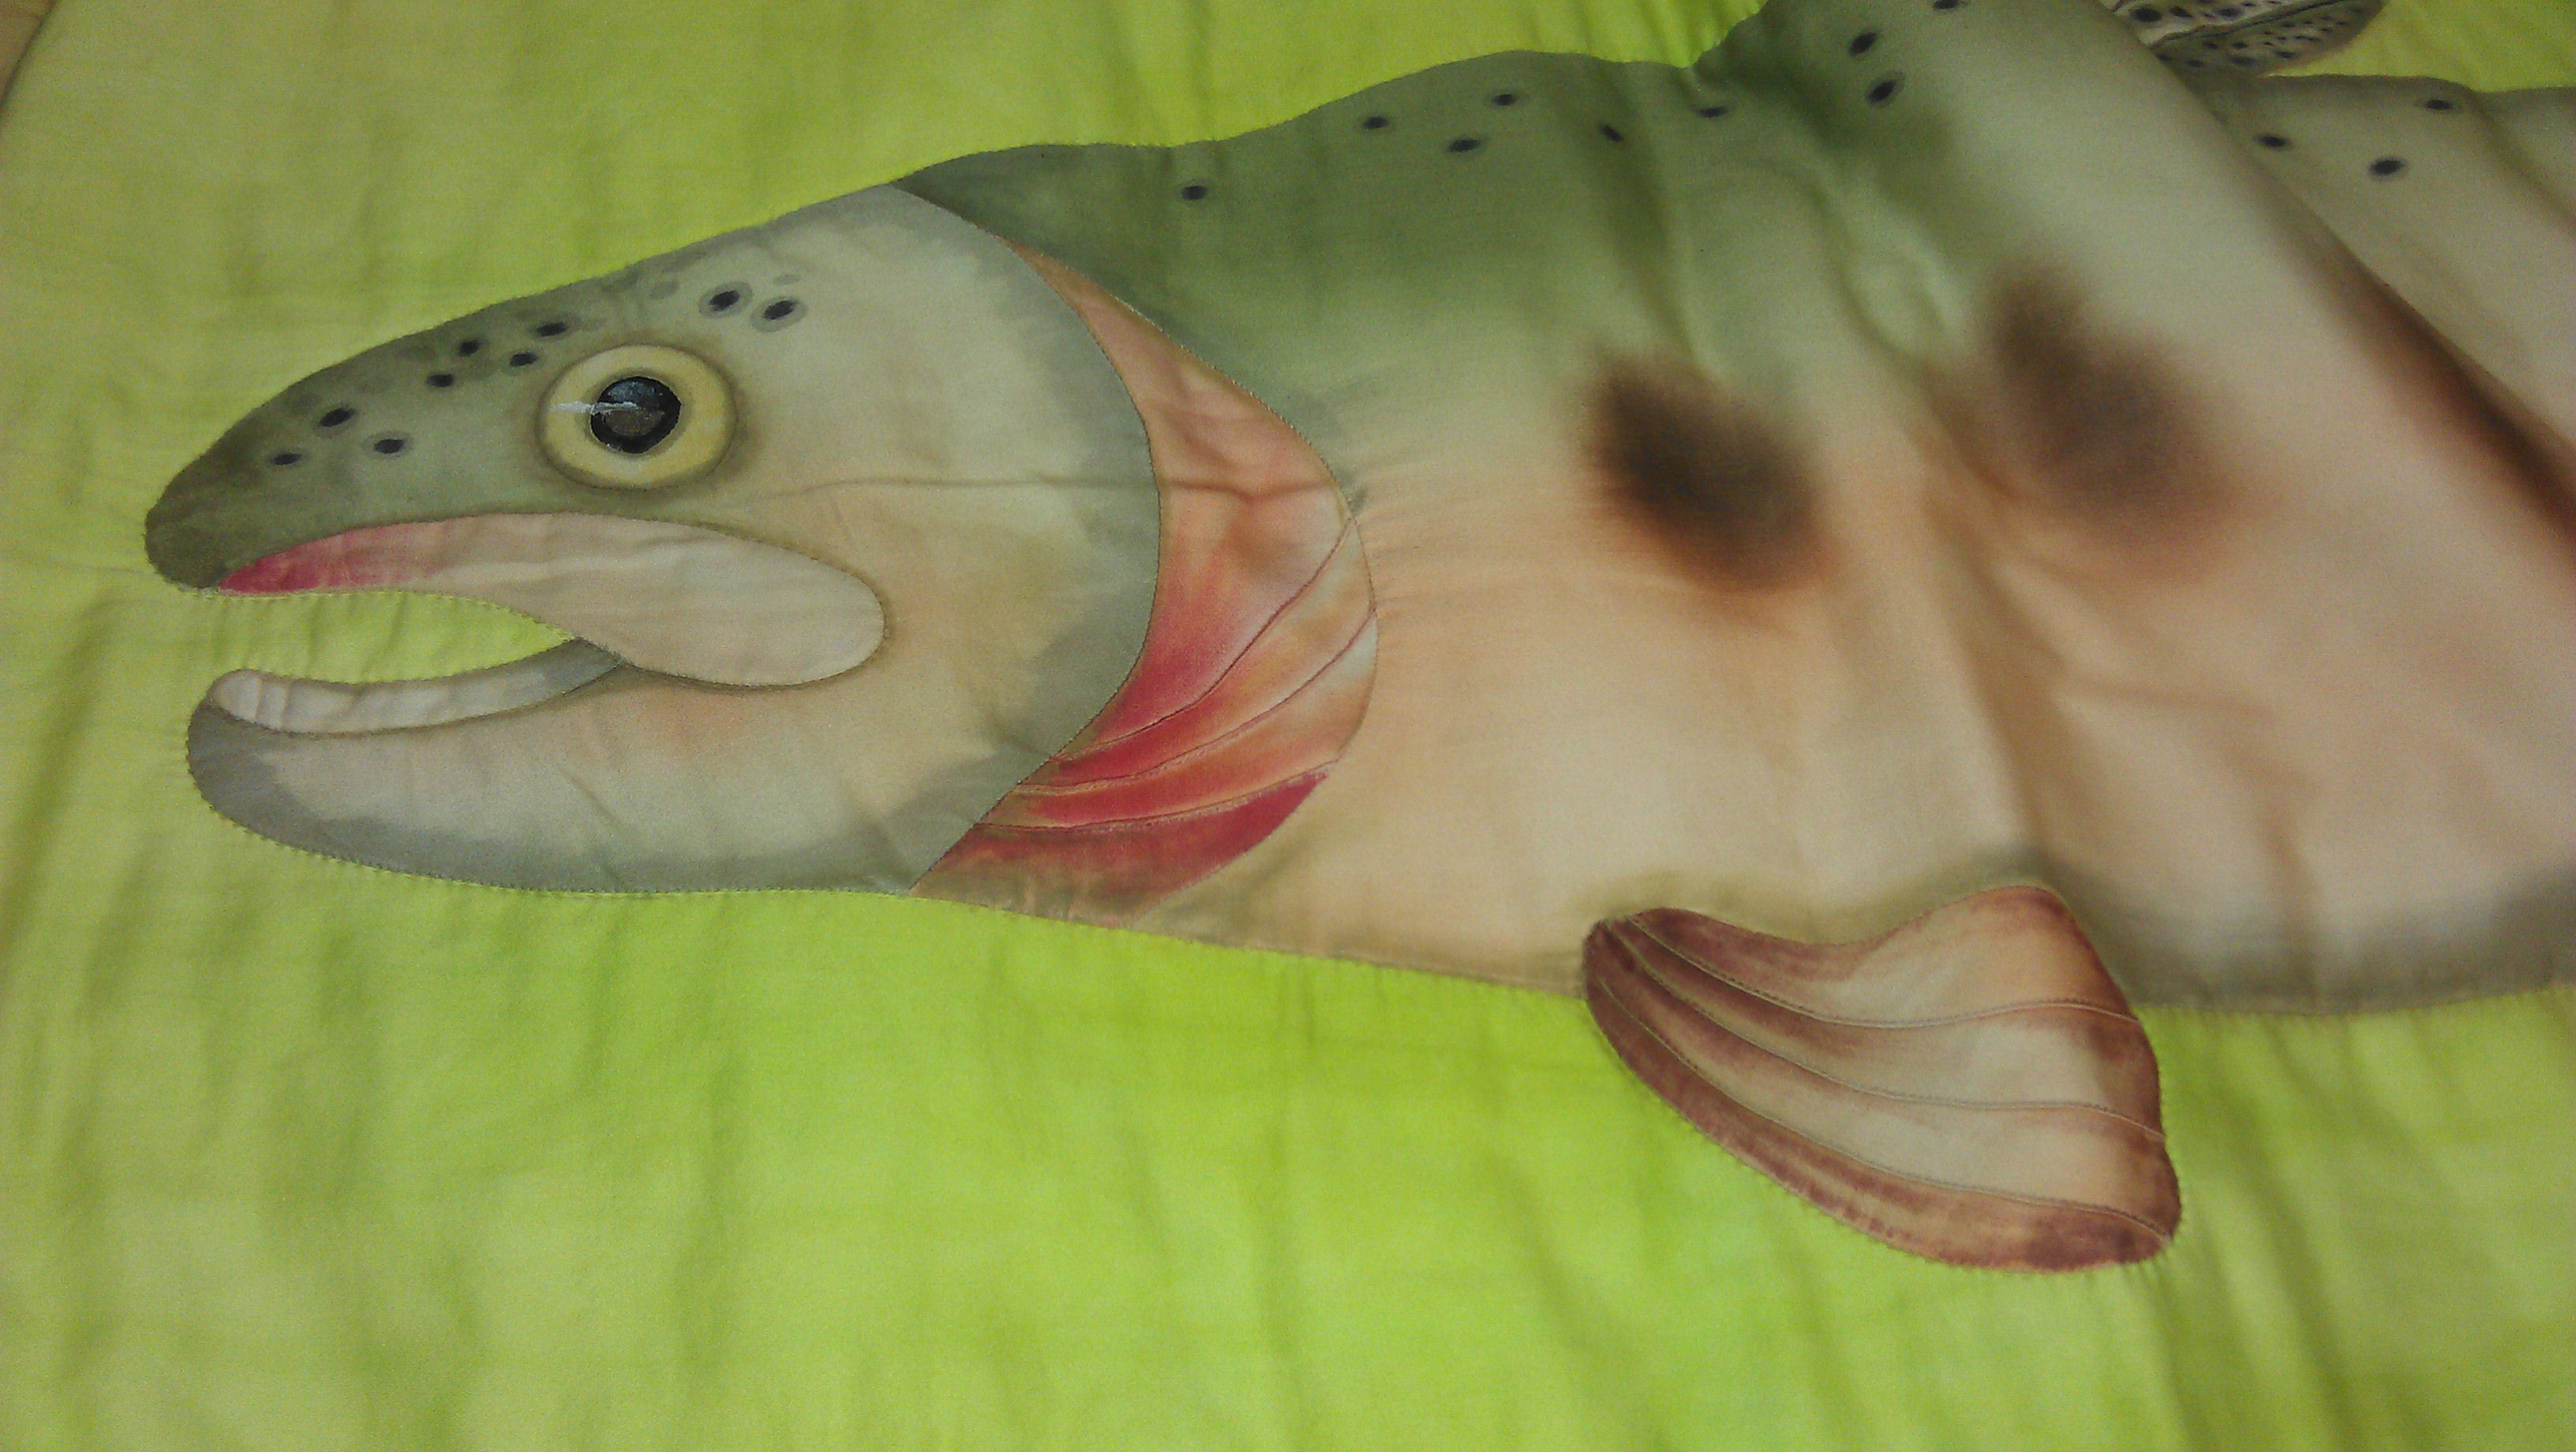
Trout quilt. This piece is about 6 ft long. The fins of the trout were folded and stitched (like pin tucking); the white spots of the top trout were created using a Jacquard (sp?) resist; the fish were painted after most of the stitching was done and before being appliqued on to the quilt; the trout species’ names are hand quilted onto the background fabric.


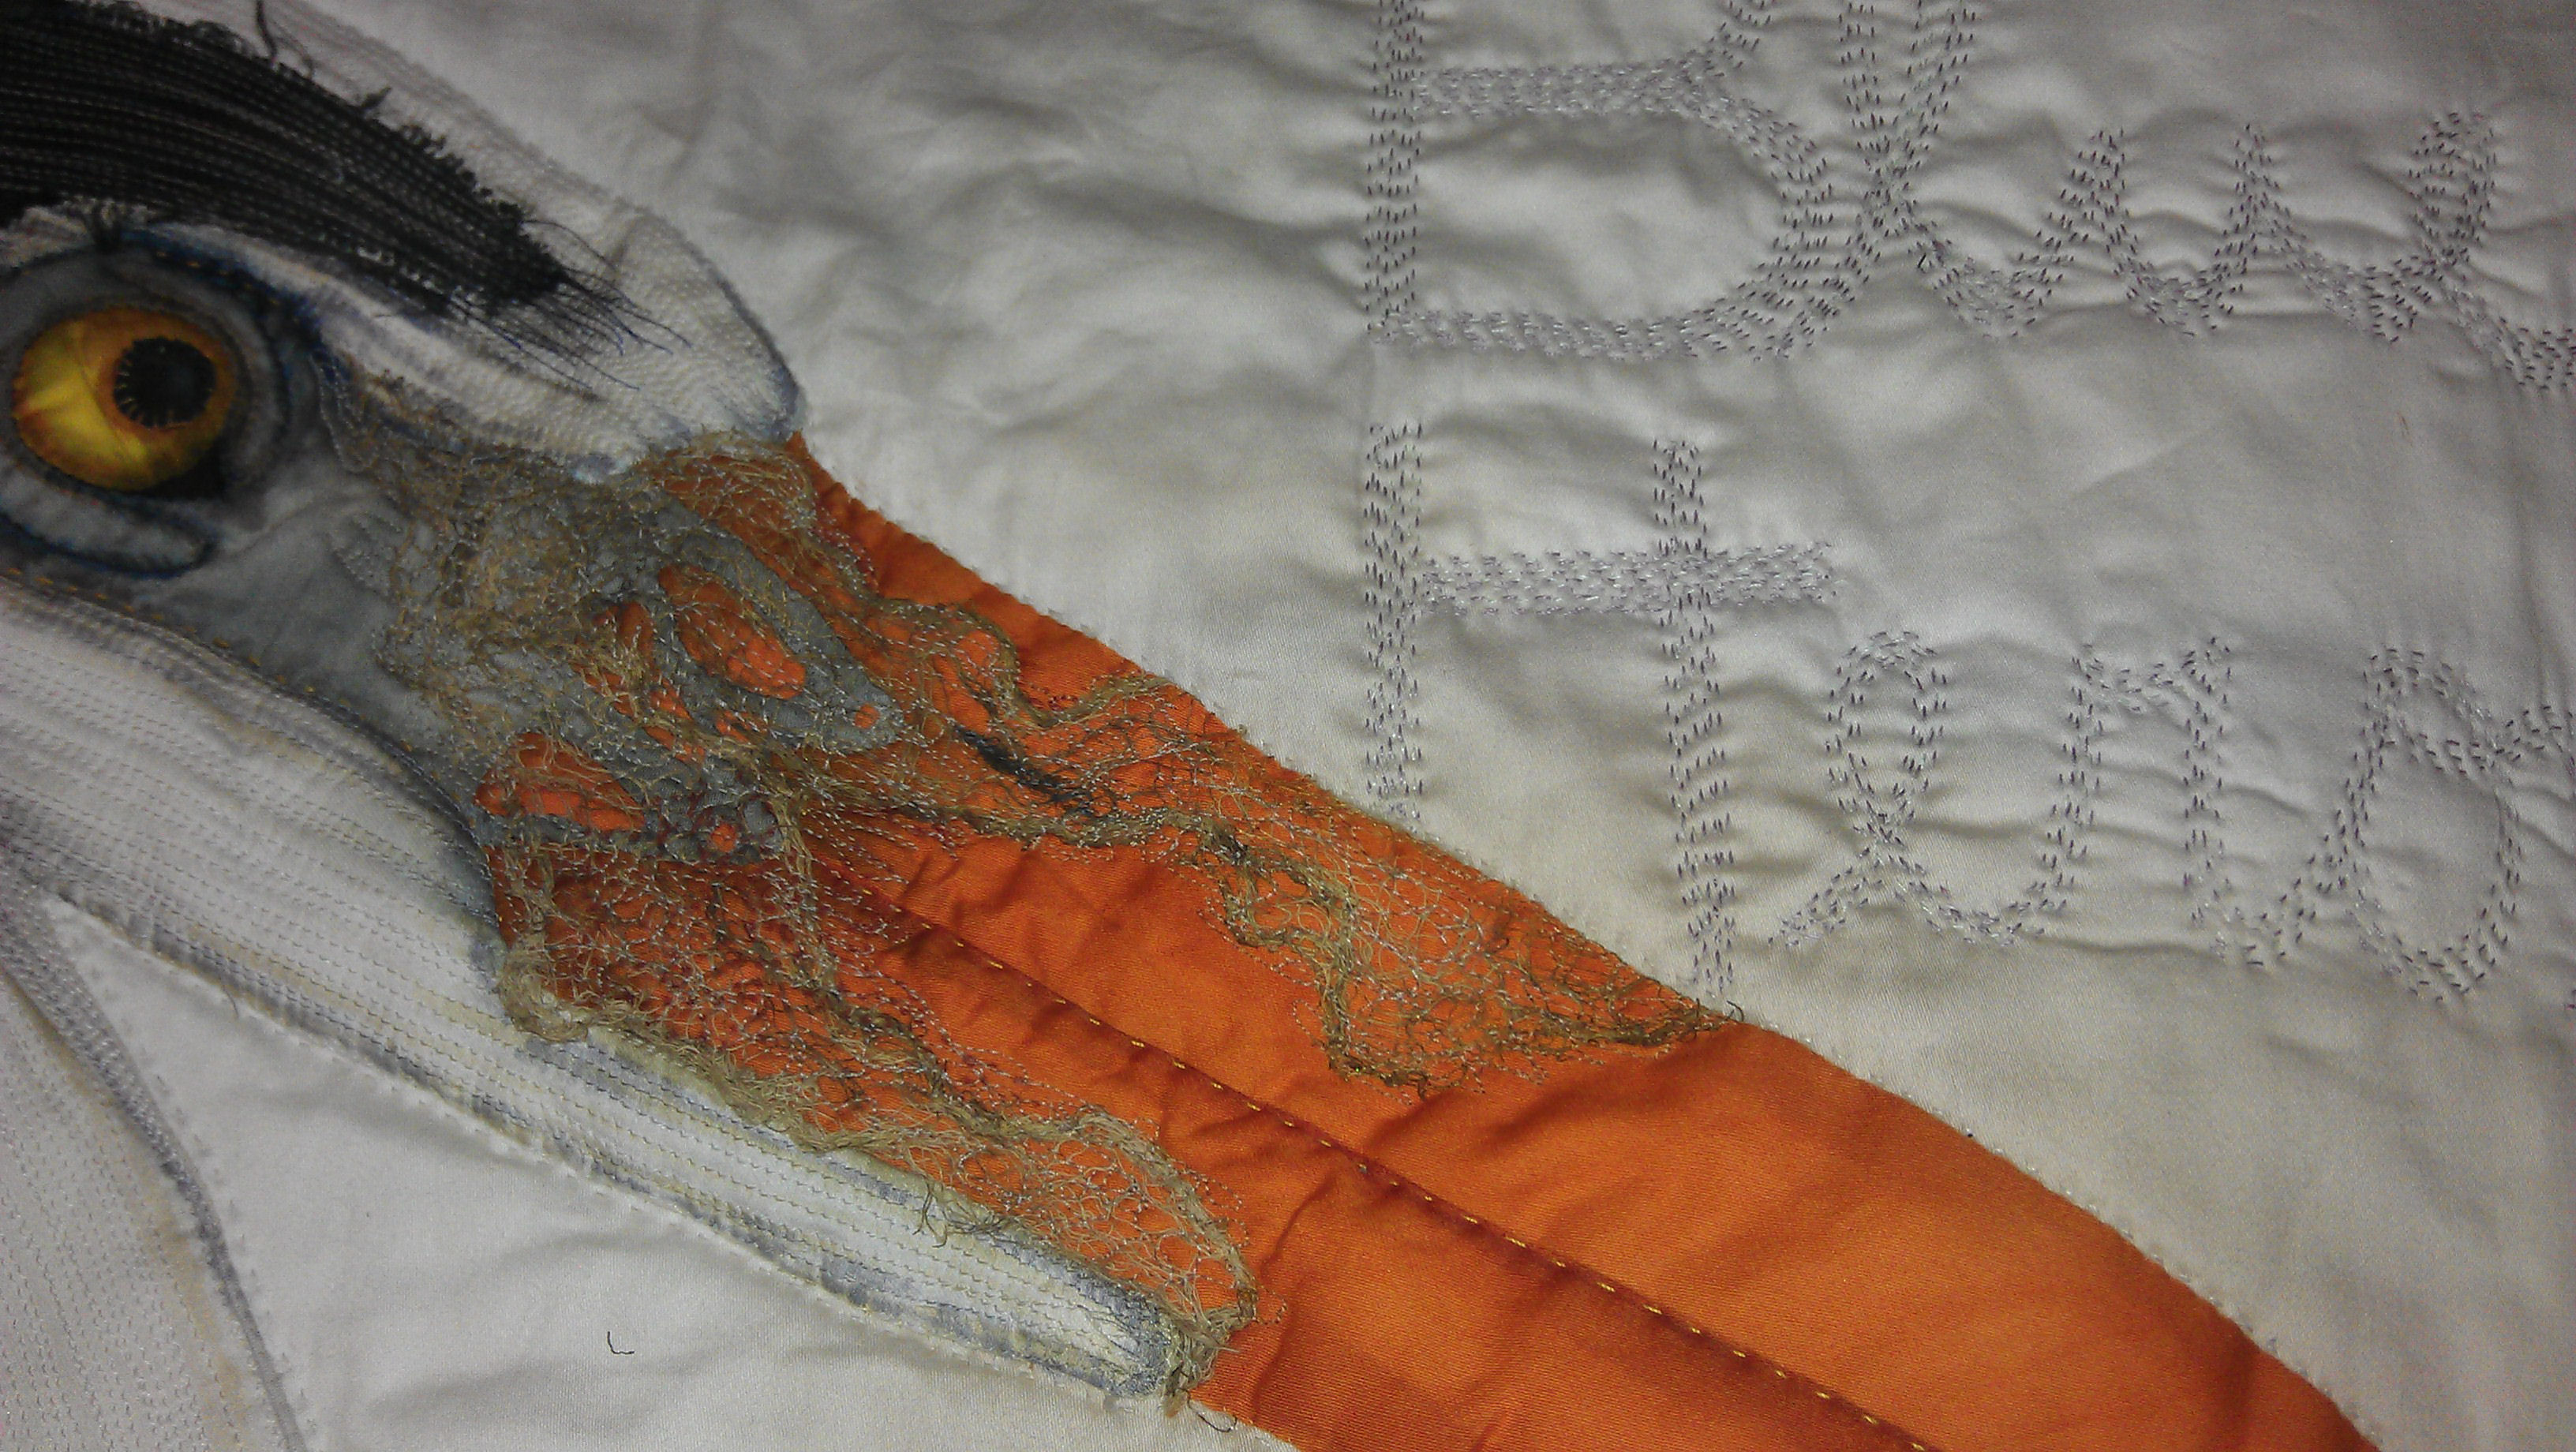
Blue heron quilt. This is only part of the quilt — it’s about 4 ft long. Lots of stitching on the bird, then the colours were painted on the white fabric of the bird. The effect at the top of the beak was created using cheesecloth. The species’ name was hand quilted.


Prickly pear quilt. Each ‘pad’ was a separate piece in duck cloth (lightweight canvas), initially painted then appliqued to cover the entire section (no background fabric). Once each piece was added, further painting was done to add colour, shadow etc. The ‘prickles’ on this cactus were tied pieces of wax linen thread, and shadows painted on. The ties stick out from the canvas, adding a very three-dimensional effect.


Tulip quilt. Each petal section was pleated and stitched (pin tucked) down the middle, then appliqued and painted, Dark shadows were added last.

Leaf quilt. Dyed/painted cheesecloth was used to create the leaf. It was then stitched down and extra paint embellishments were added.

Blue bird quilt. The lighter colours on the black fabric were bleached, including the area around the eye. The eye was done in three applique pieces. All the wings were appliqued on separately.

Artichoke quilt. Each leaf piece was pintucked to create the central vein, then appliqued on to the background. The stem was also pintucked. Paint and marker colours were added later to create shadows and depth.

Seagull quilt. Lots of stitching on the white part of the bird. Paint added to enhance the eye and the beak. Hand quilted stitches on the blue background.
Techniques we learned today
Velda started today by showing us how to create roundness with just stitching. Using her African Baskets quilt as an example, she showed us the stages she went through to create a single basket, from drawing the lines and concentric curves, to stitching them, to painting them. Then how she added the black opening as a separately stitched piece and cut away the excess to prevent bulk.


Then it was our turn. We used a 12×12″ white fabric square with some thin batting (NO backing) and had to draw some curving lines, then stitch them. That was easy enough! My effort is below.
The next technique built on from this one and was to create texture on a lemon shape just through stitching. Normally, we’d do this on yellow fabric with yellow thread, but Velda wanted us to stitch on white with a dark thread so we could see what were were doing.
Here’s her piece, followed by mine.
I didn’t do mine correctly — we were meant to stitch off the edge of the lemon shape, whereas I stitched ‘within the lines’. I called this technique ‘divide and conquer’ as all we were doing was halving the lines as we went to end up about 1/8″ squares. 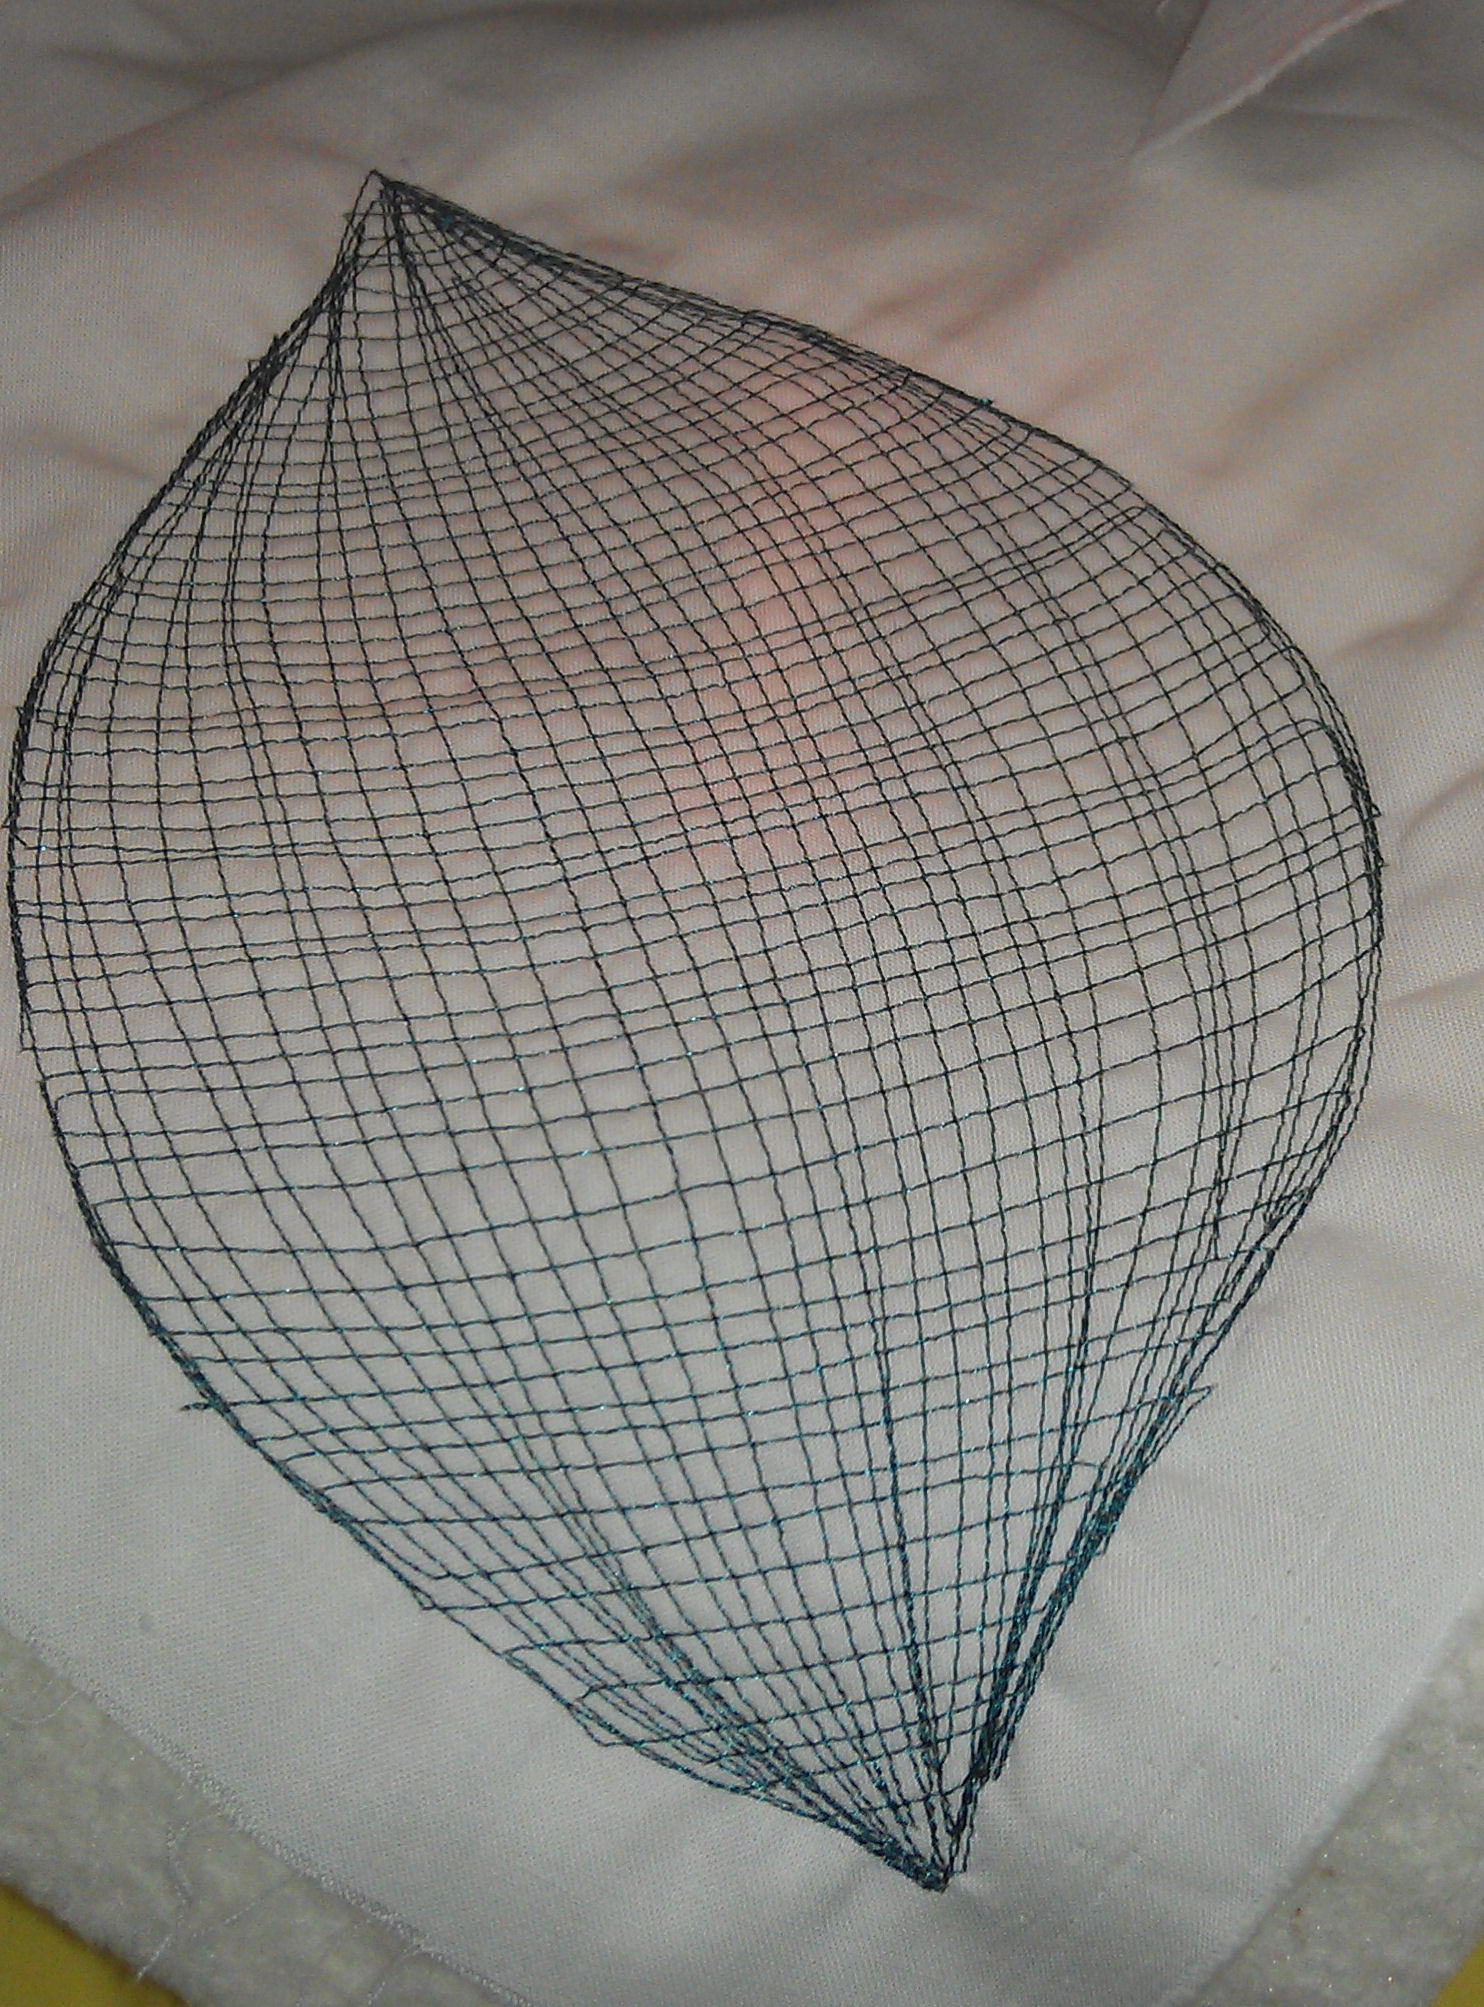
The next technique we learnt was using 1/16″ stitching (like pintucking) to give the appearance of a pieced leaf. The first leaf we did just had a single vein, then she showed us how to do leaves with several side veins and a centre vein — ironing the veins in the same direction is critical for getting the shadow right, as is stitching the centre vein AFTER the side veins and catching all the side veins in the central vein.

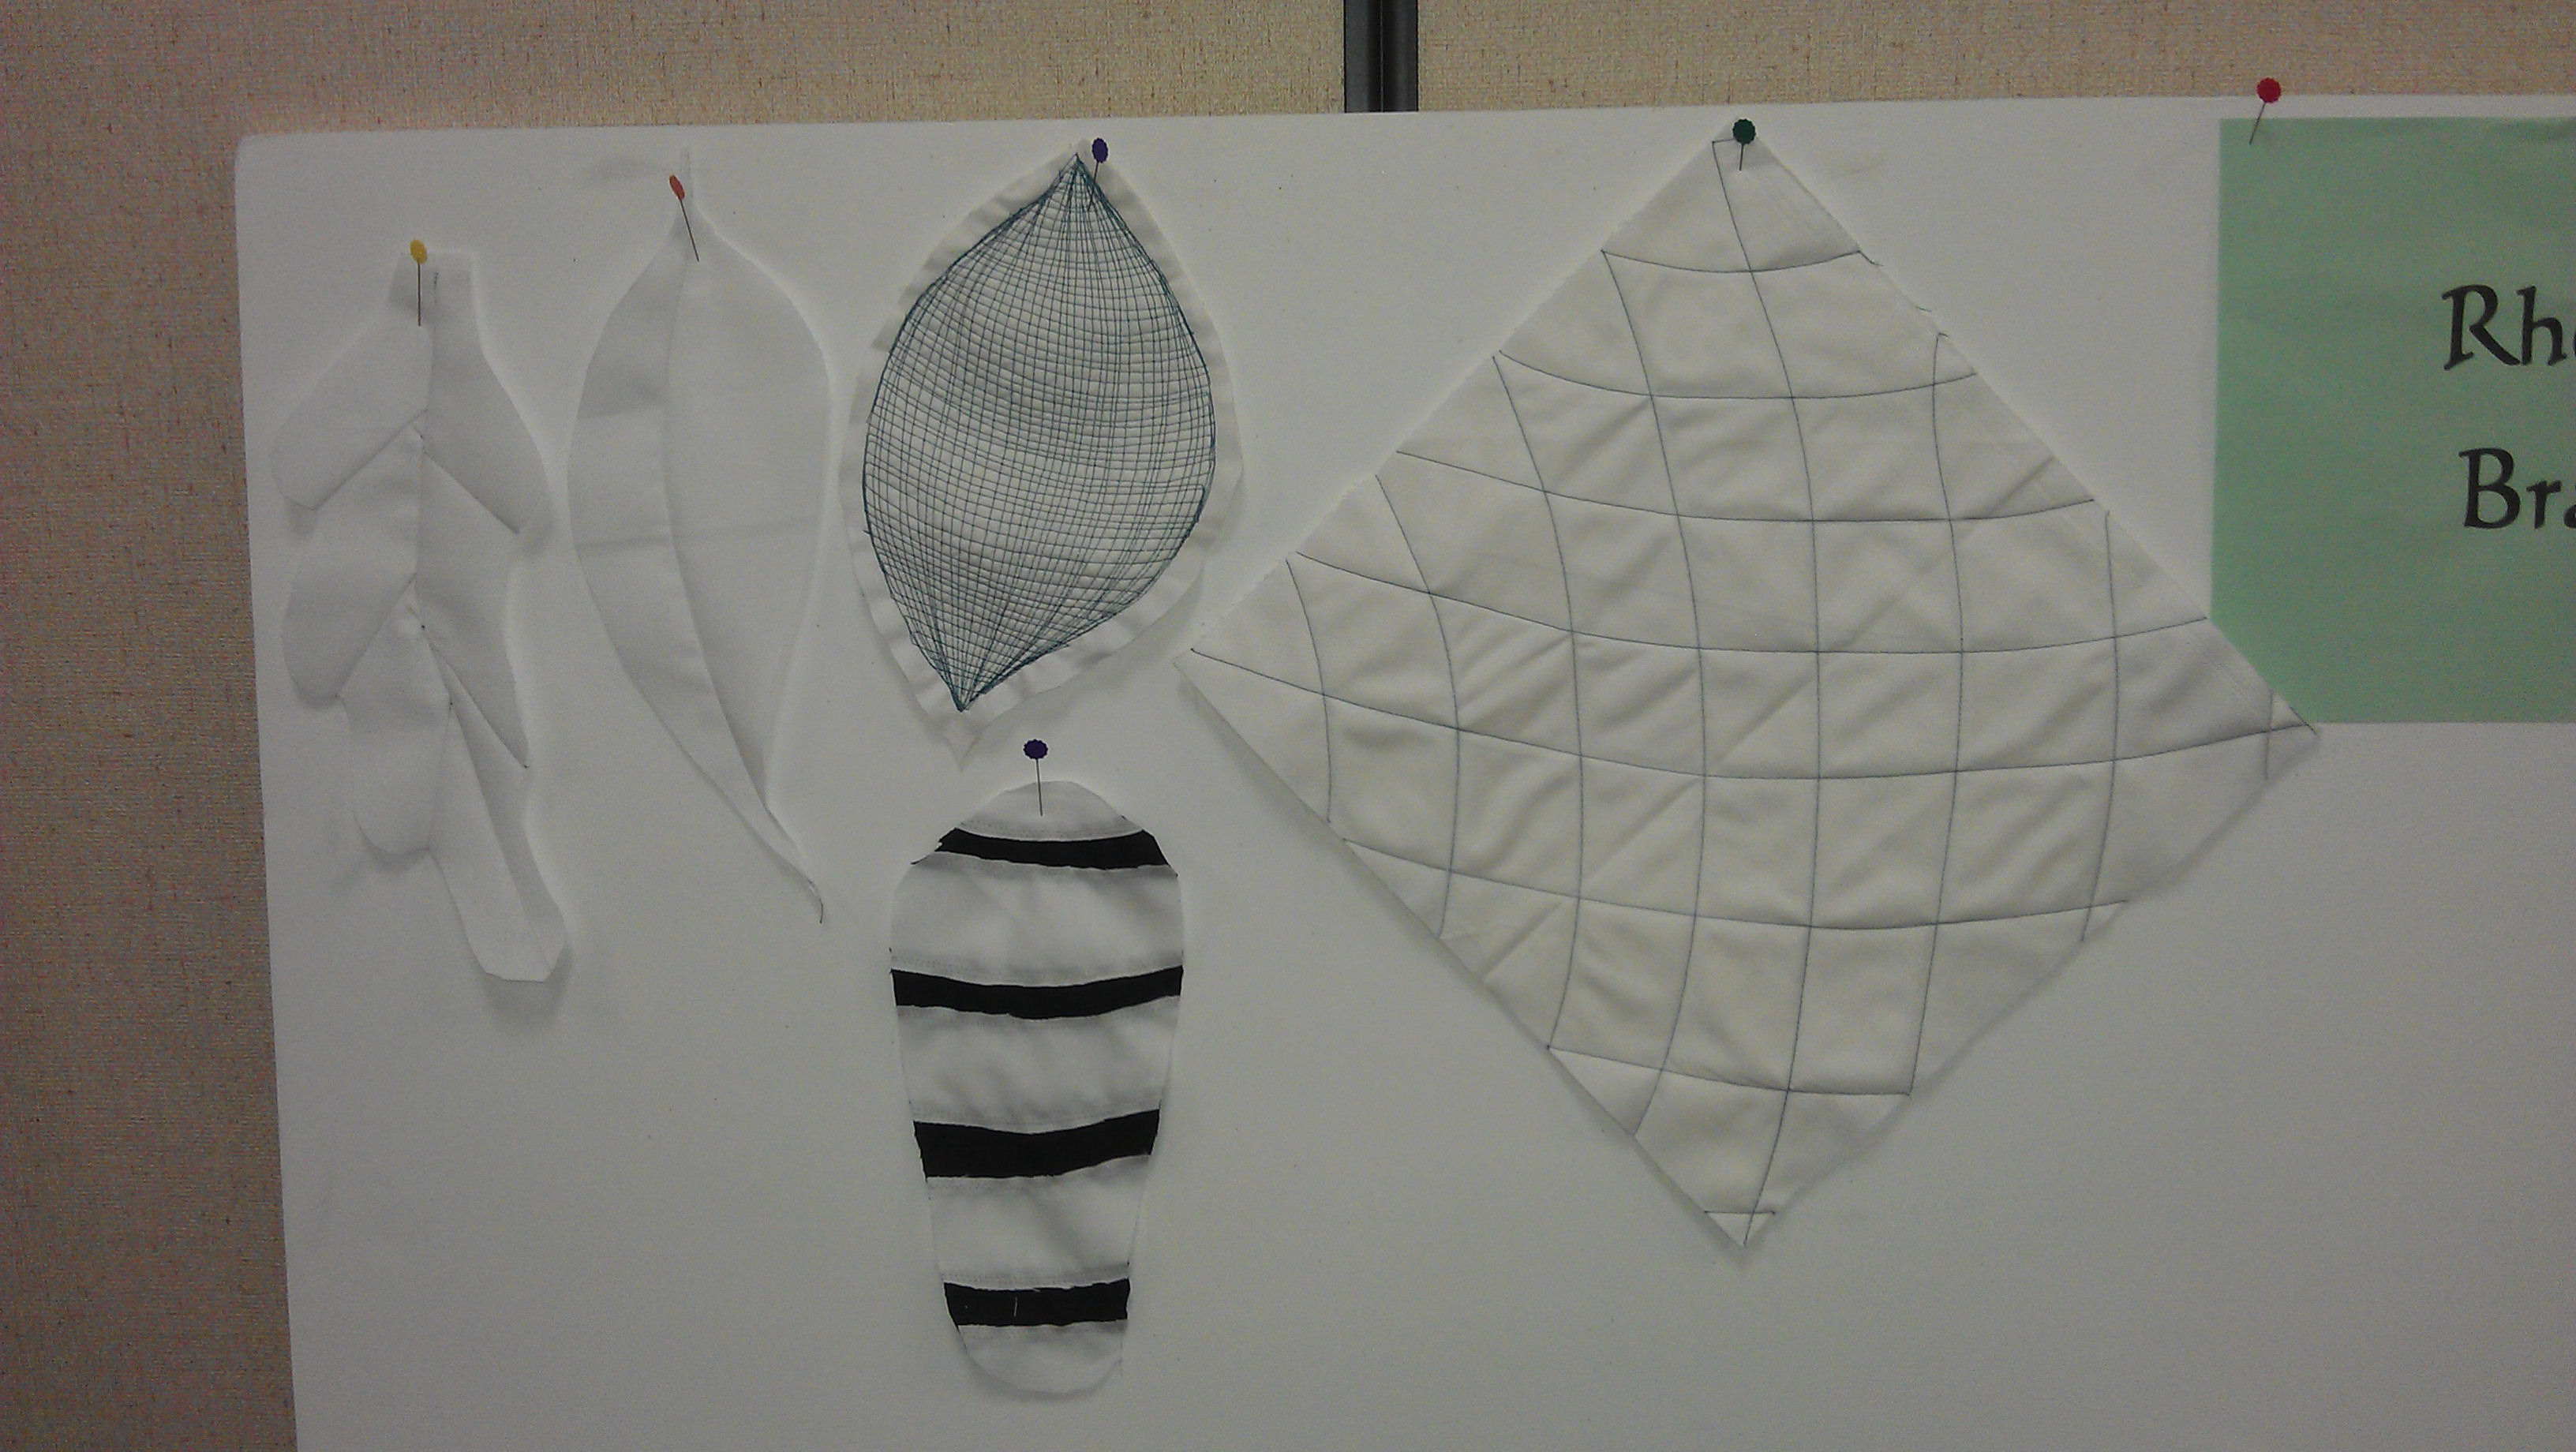
Leaves and lemons. The four stages of the lemon, and demonstrating the leaf veins created with stitching.

Leaves. The leaf on the far left with the orange vein has a piece of orange fabric attached on the bias to create the vein!
We followed that with creating a shell shape using two pieces of fabric, one on top of the other (like reverse applique). The light fabric went on top and the dark underneath. We drew curved lines on the top, then double-stitched right on/near those lines, then marked the sections to cut away to reveal the dark fabric, then cut them away. The last stage was to cut away the dark fabric on the back so that it didn’t show through the light fabric on the front, or add bulk.
Here are my leaves (you can probably tell which side Velda cut for me!) and cutaway ‘shell’ (which looks more like a butterfly’s body than a shell to me!), plus the other projects from earlier in the day.
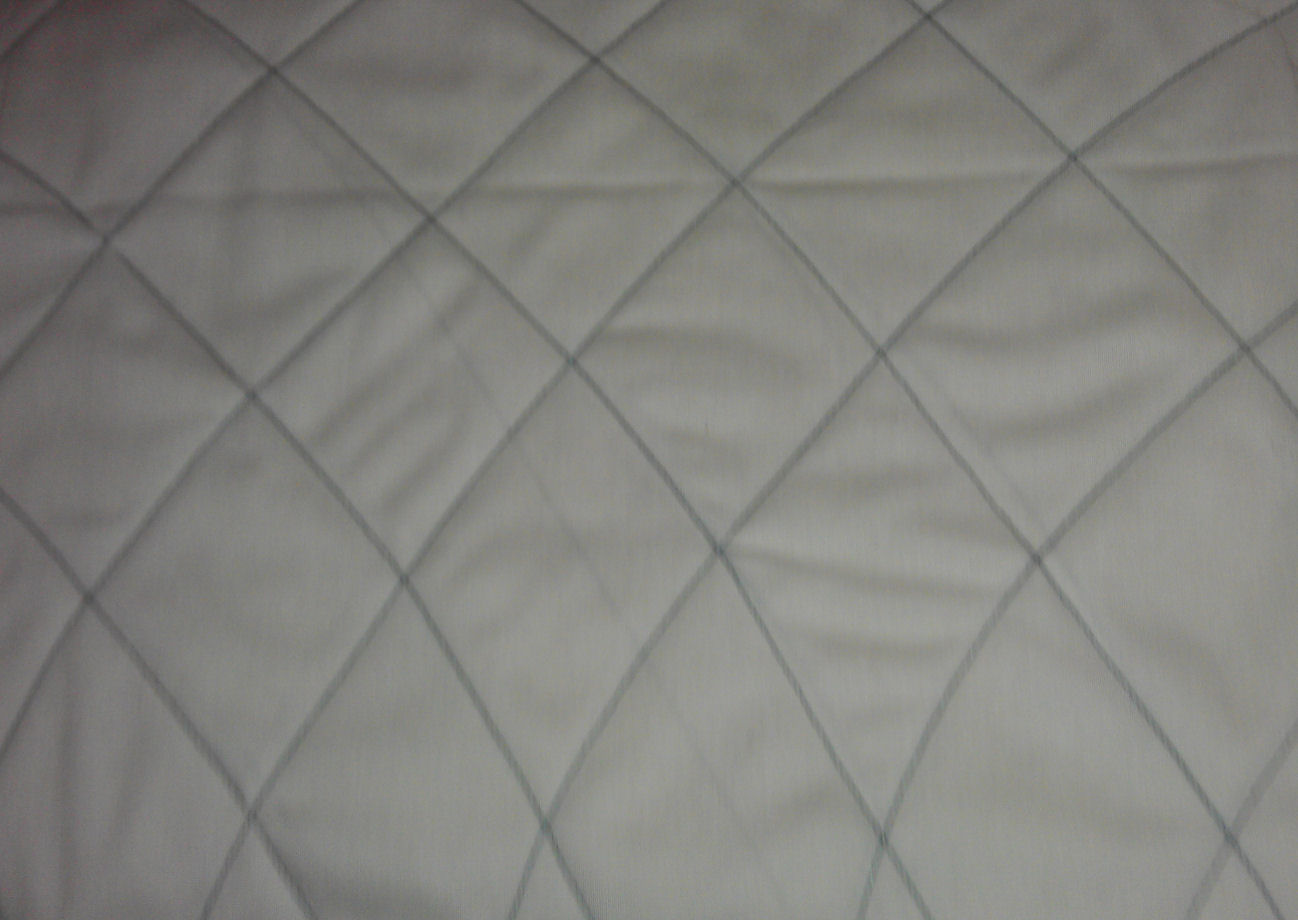
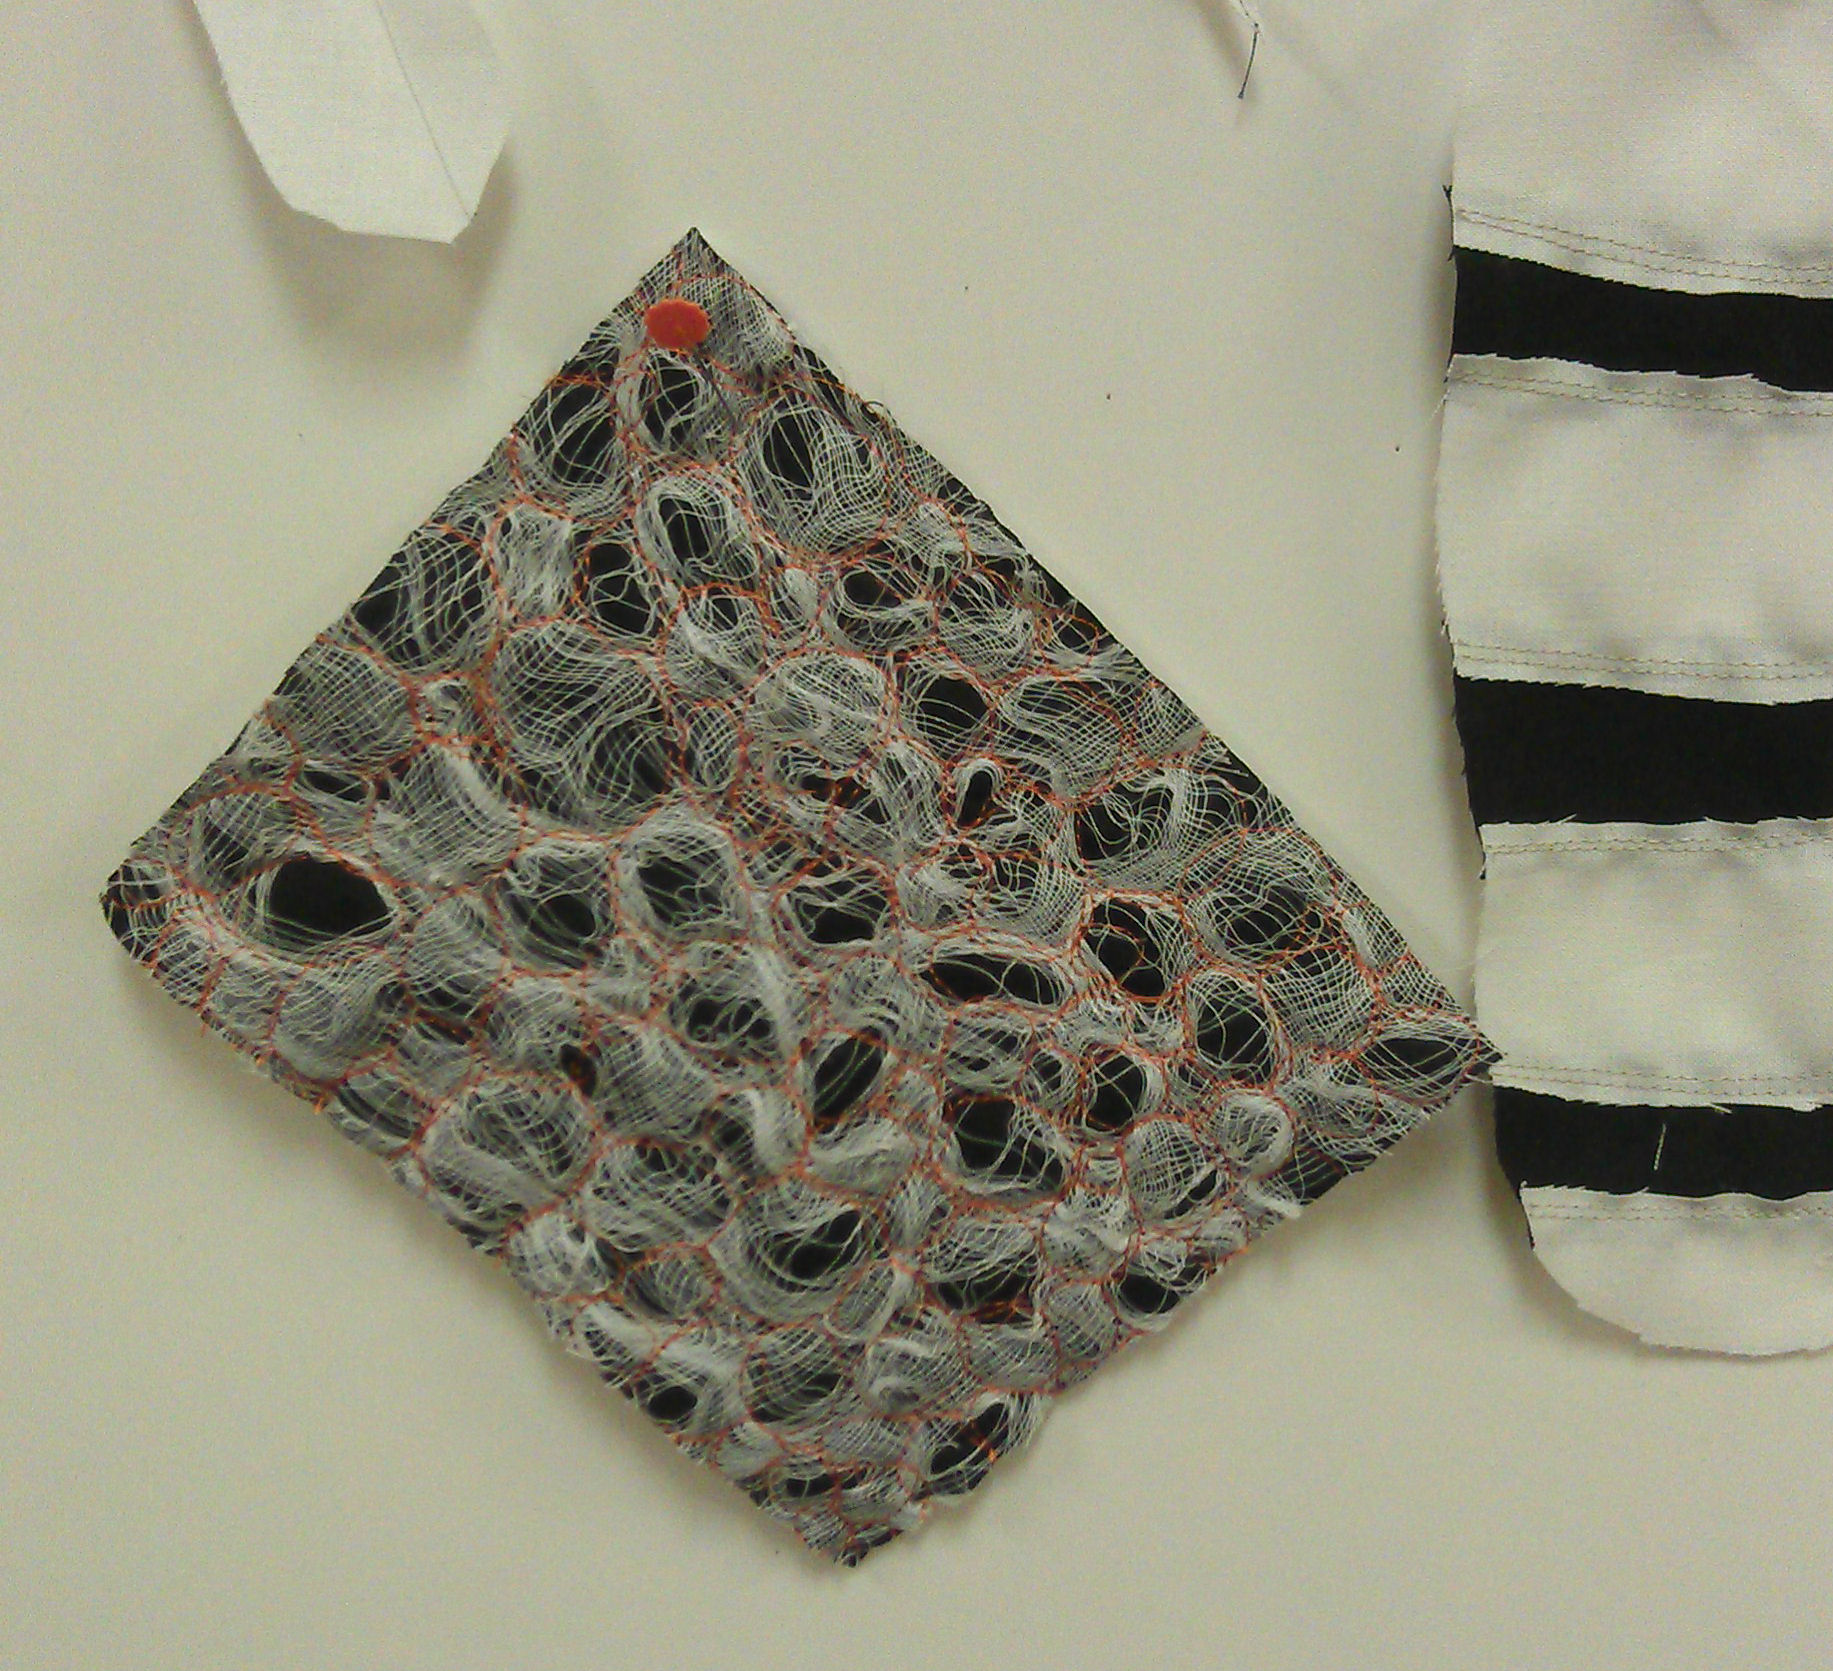
Our last stitching technique before we attempted painting was working with cheesecloth. Cheesecloth is like a fine gauze. Here’s what it looks like when it’s purchased:

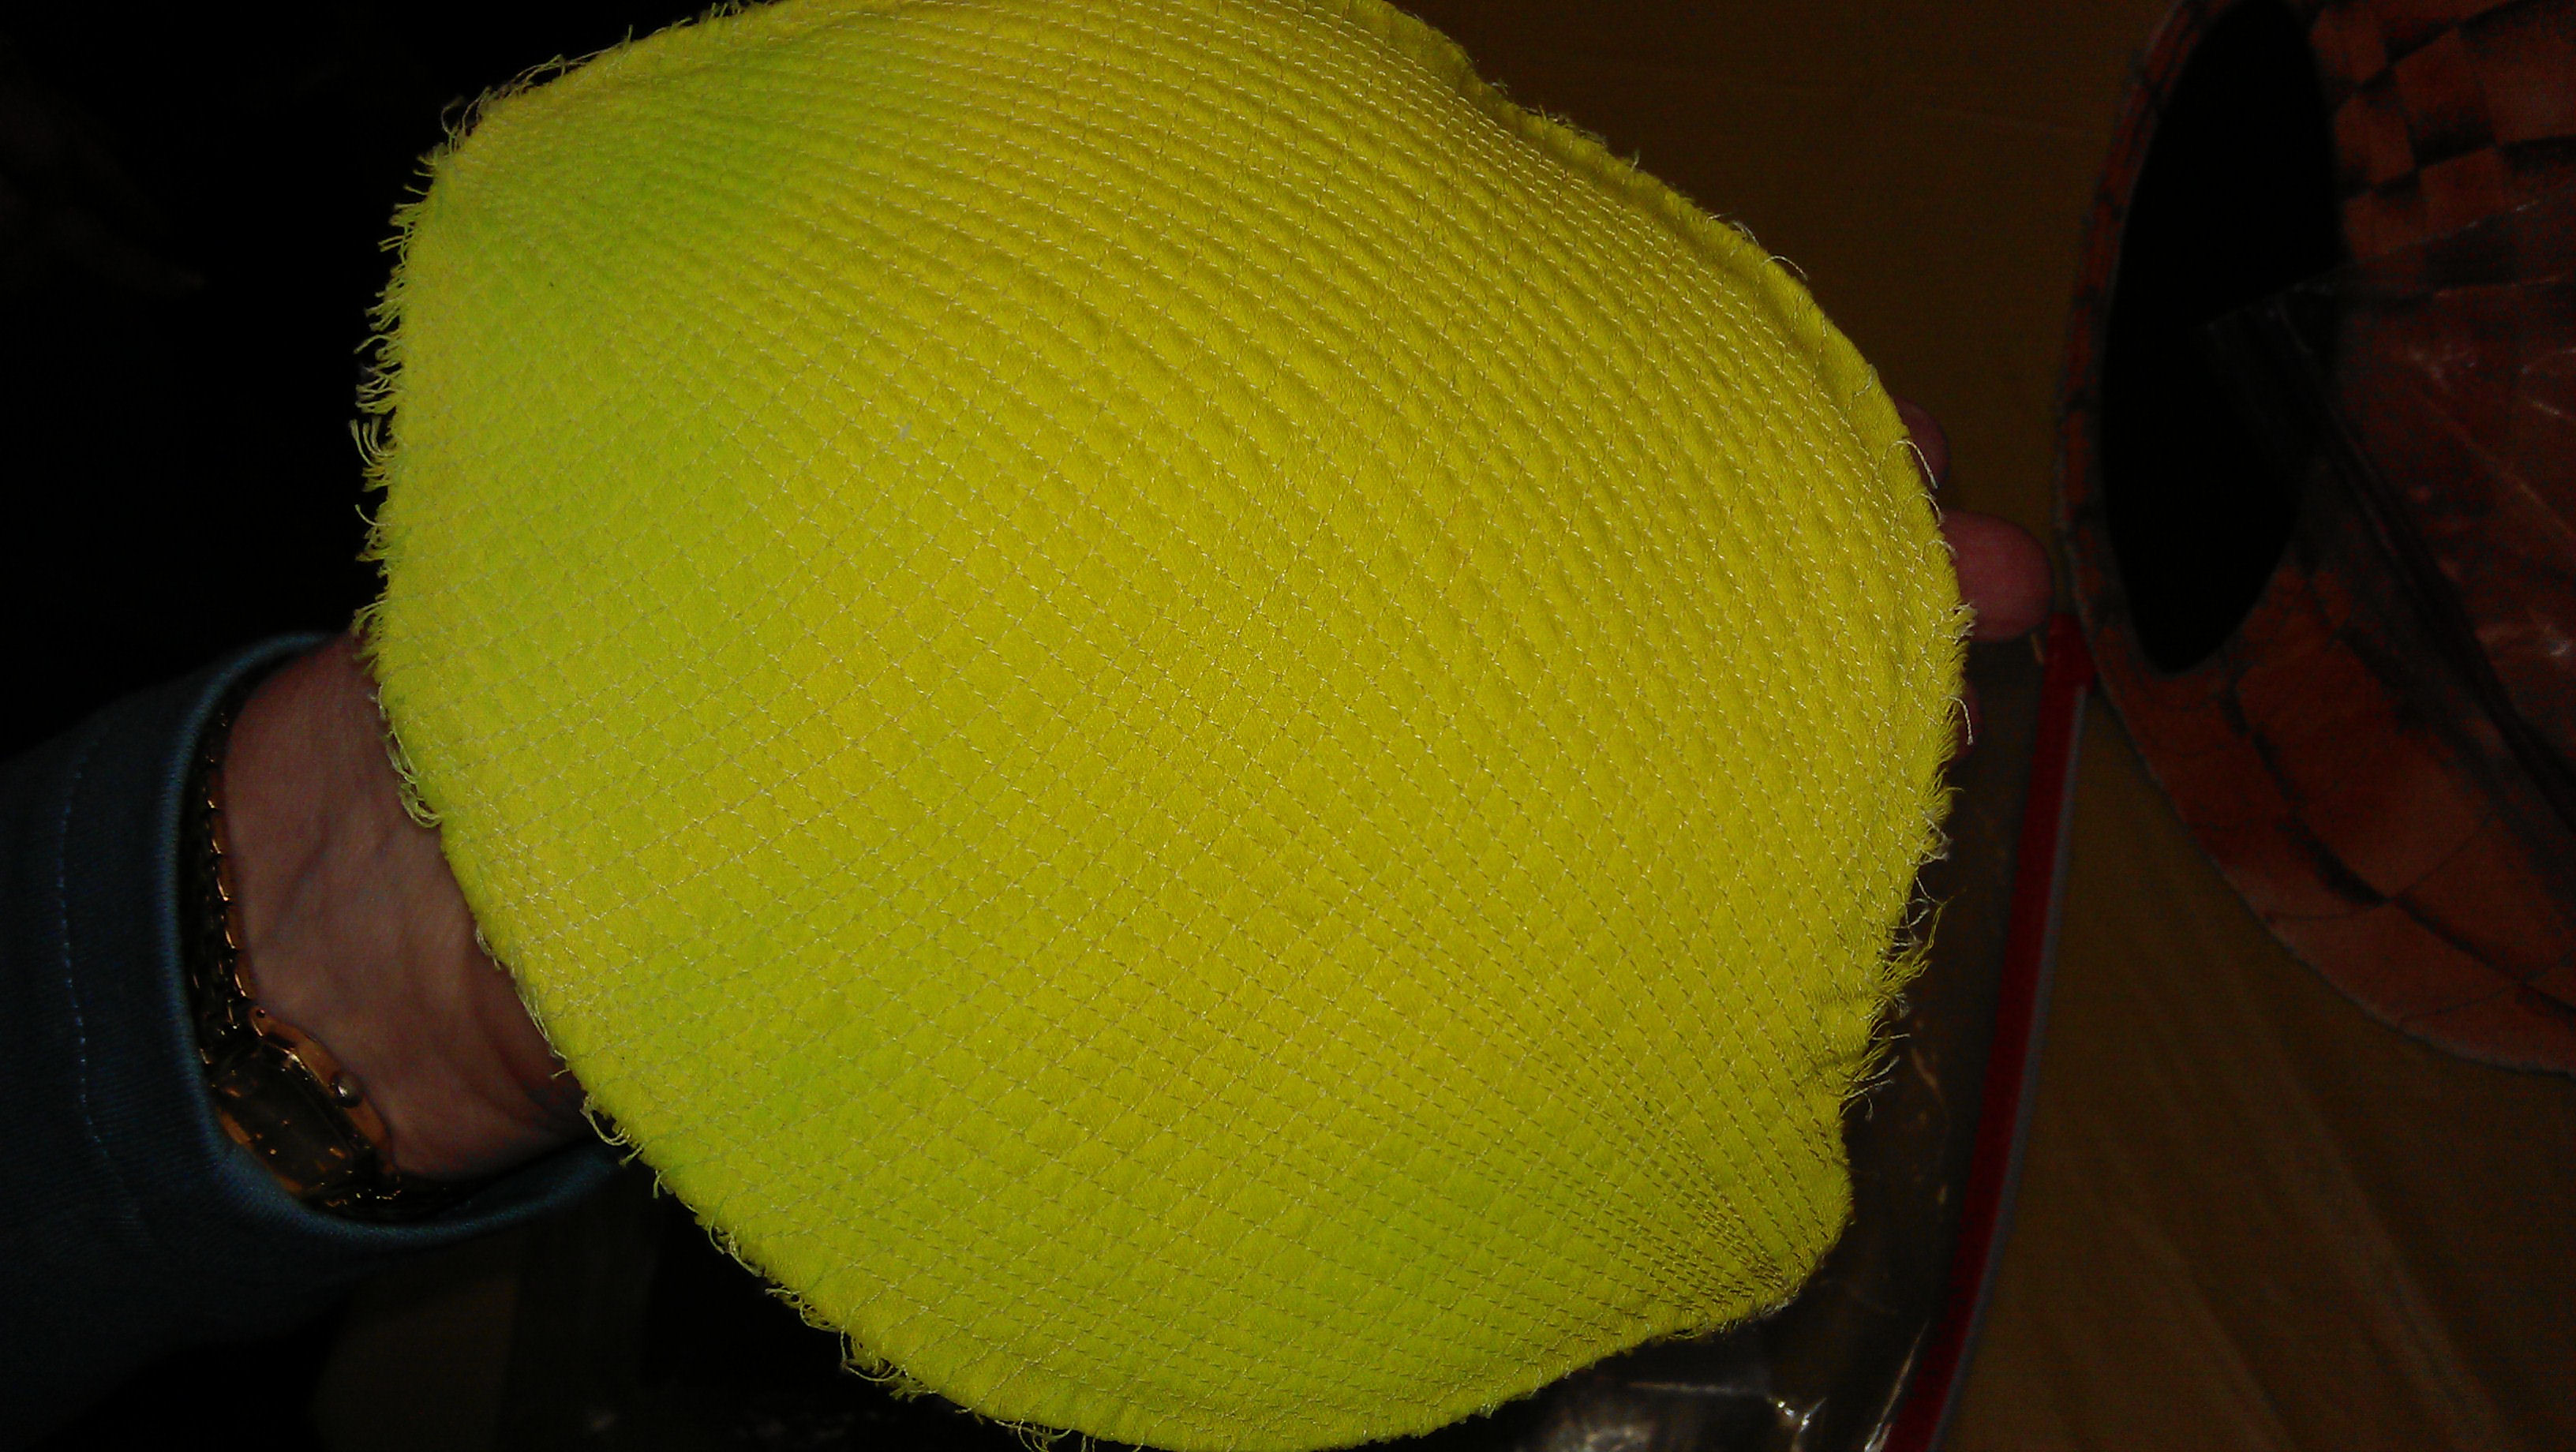
Velda showed us how to pull it apart to ‘get rid of the grid’, how it added texture (see the cantaloupe/rock melon piece below), and one way of stitching — using pebbling — to enhance the texture even more. She said this texture worked really well for reptiles, as well as fruits — and bird beaks!

Again, she wanted us to put it on fabric in a contrasting colour, such as black, and stitch it using yet another a contrasting colour — I used orange.
My friend Cherrie stitched hers onto a mottled green fabric — I reckoned it looked like water cascading over rocks in a stream; she thought of a frog:

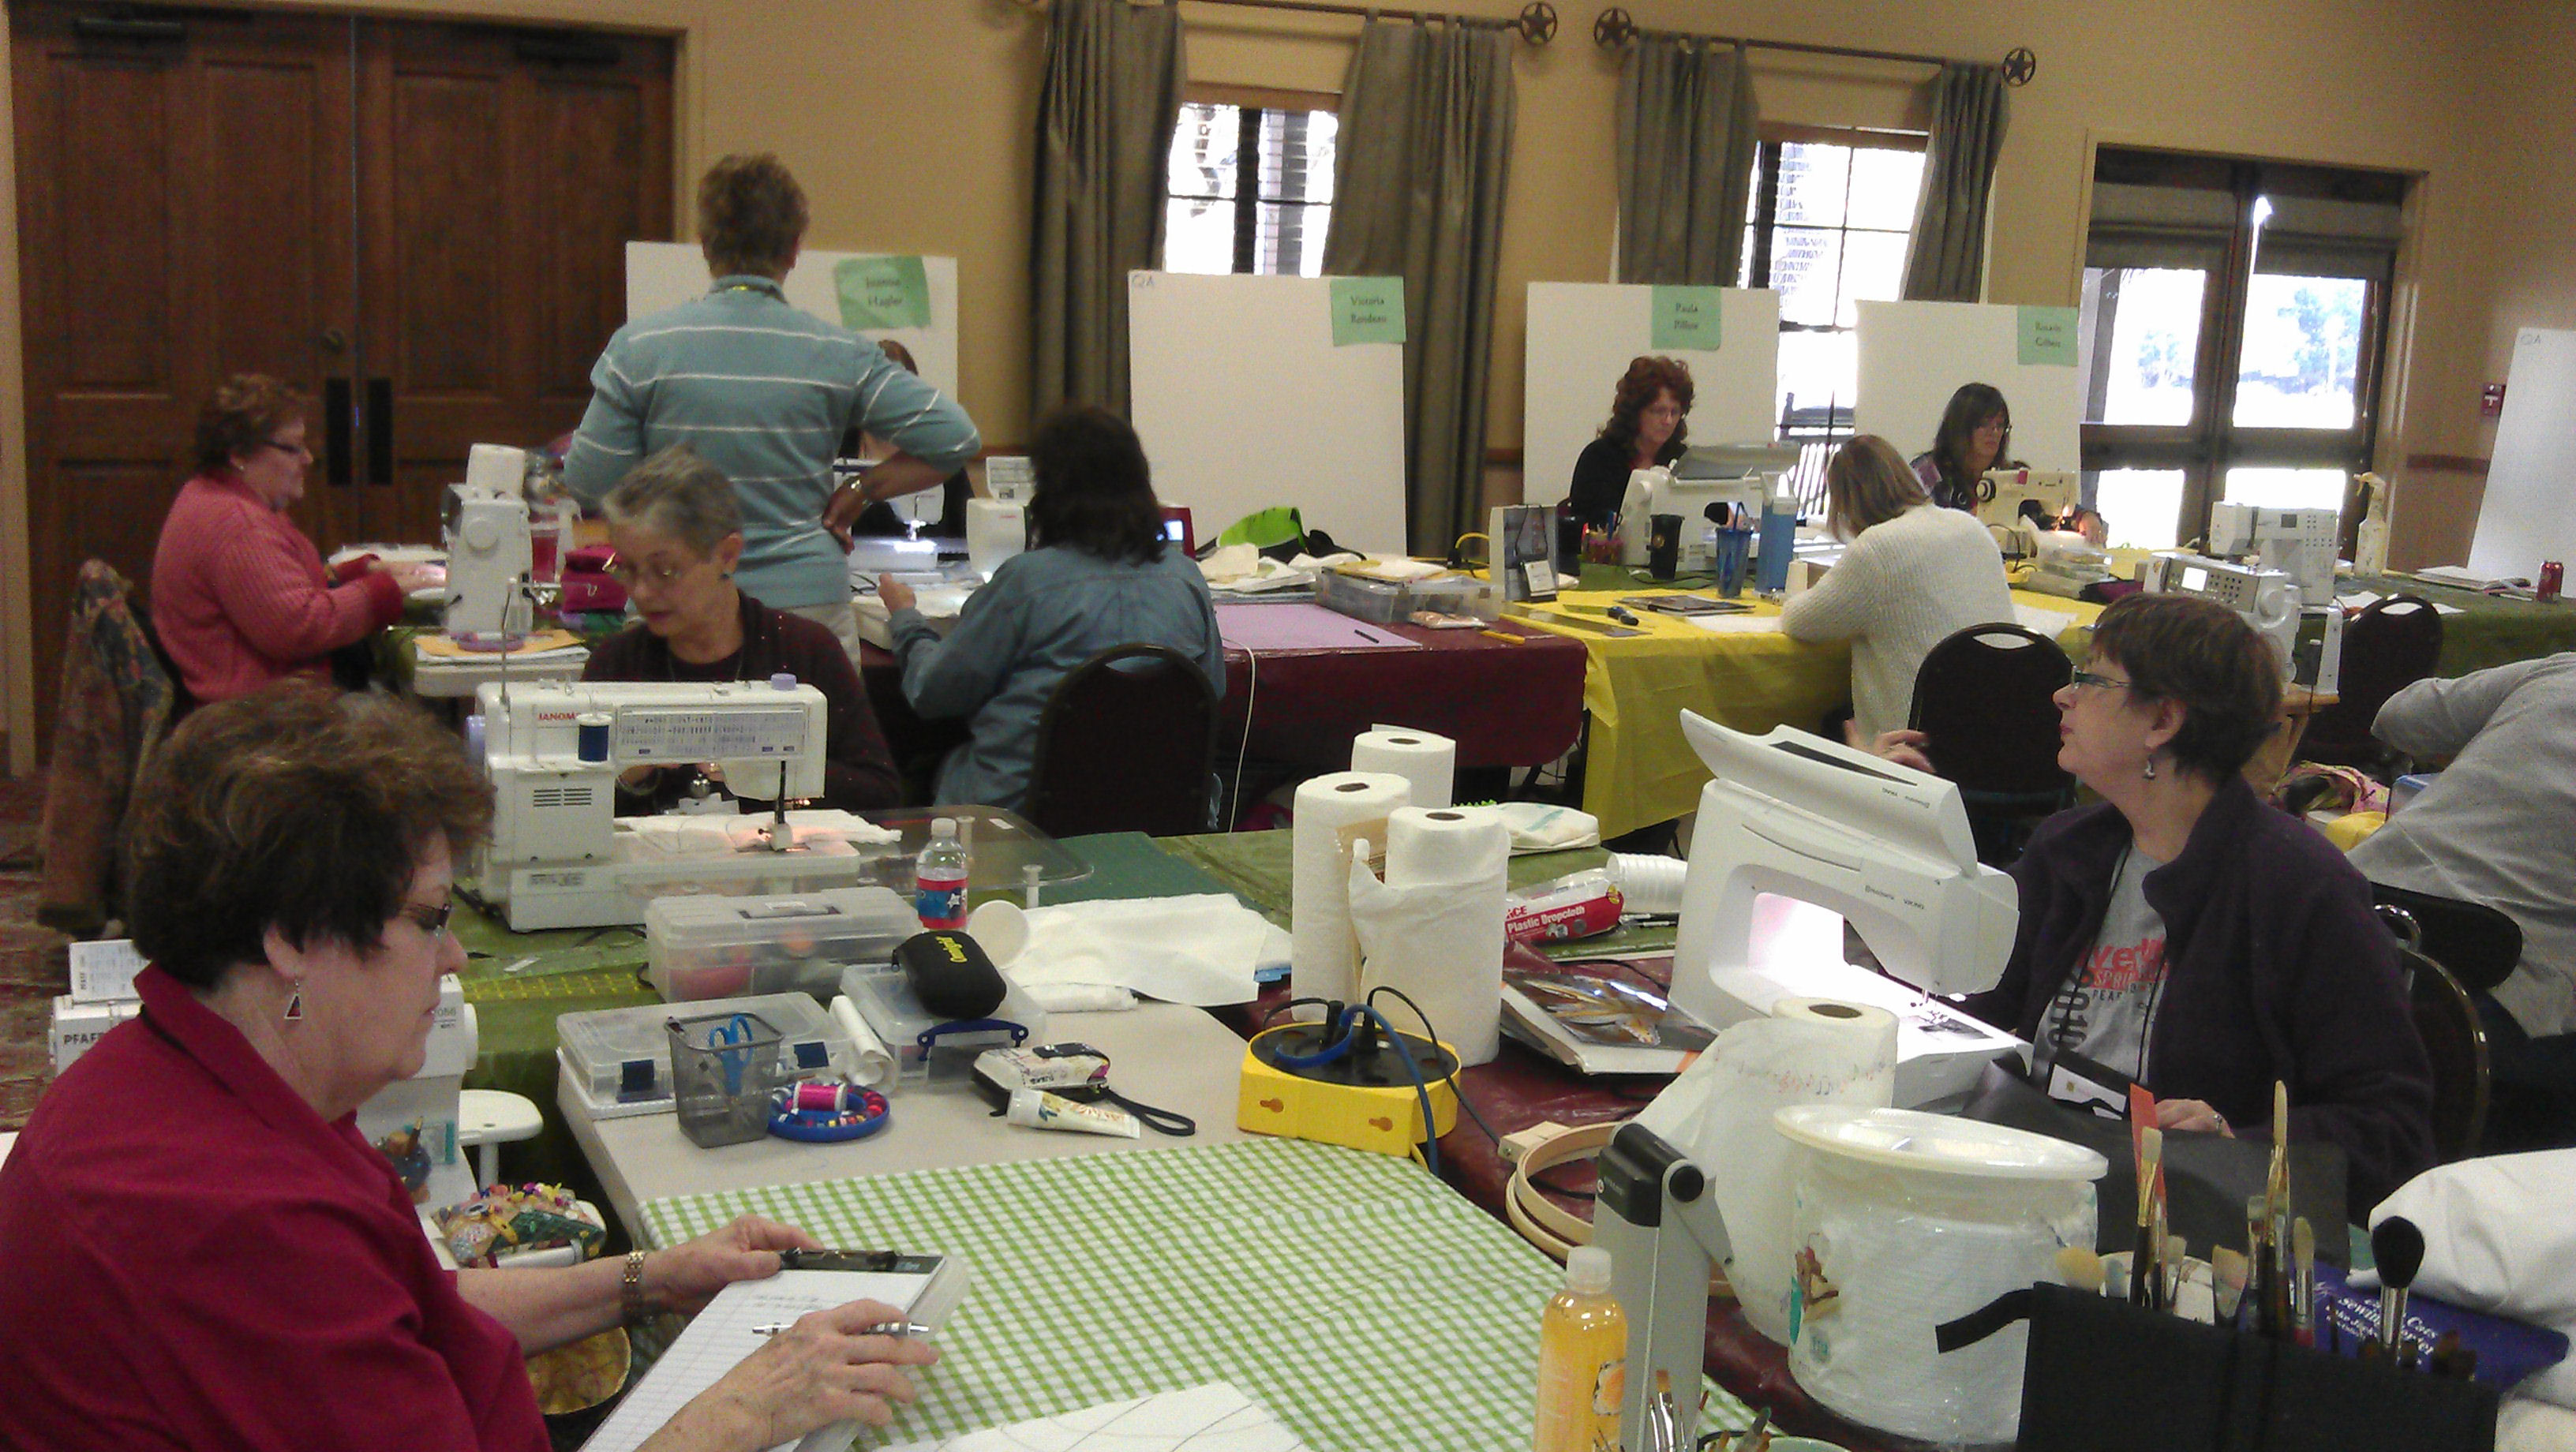
Here we are, hard at work on some of our stitching pieces:
Before Velda got us painting, she showed us how she used some of the techniques she had shown us to create a variety of vegetables.

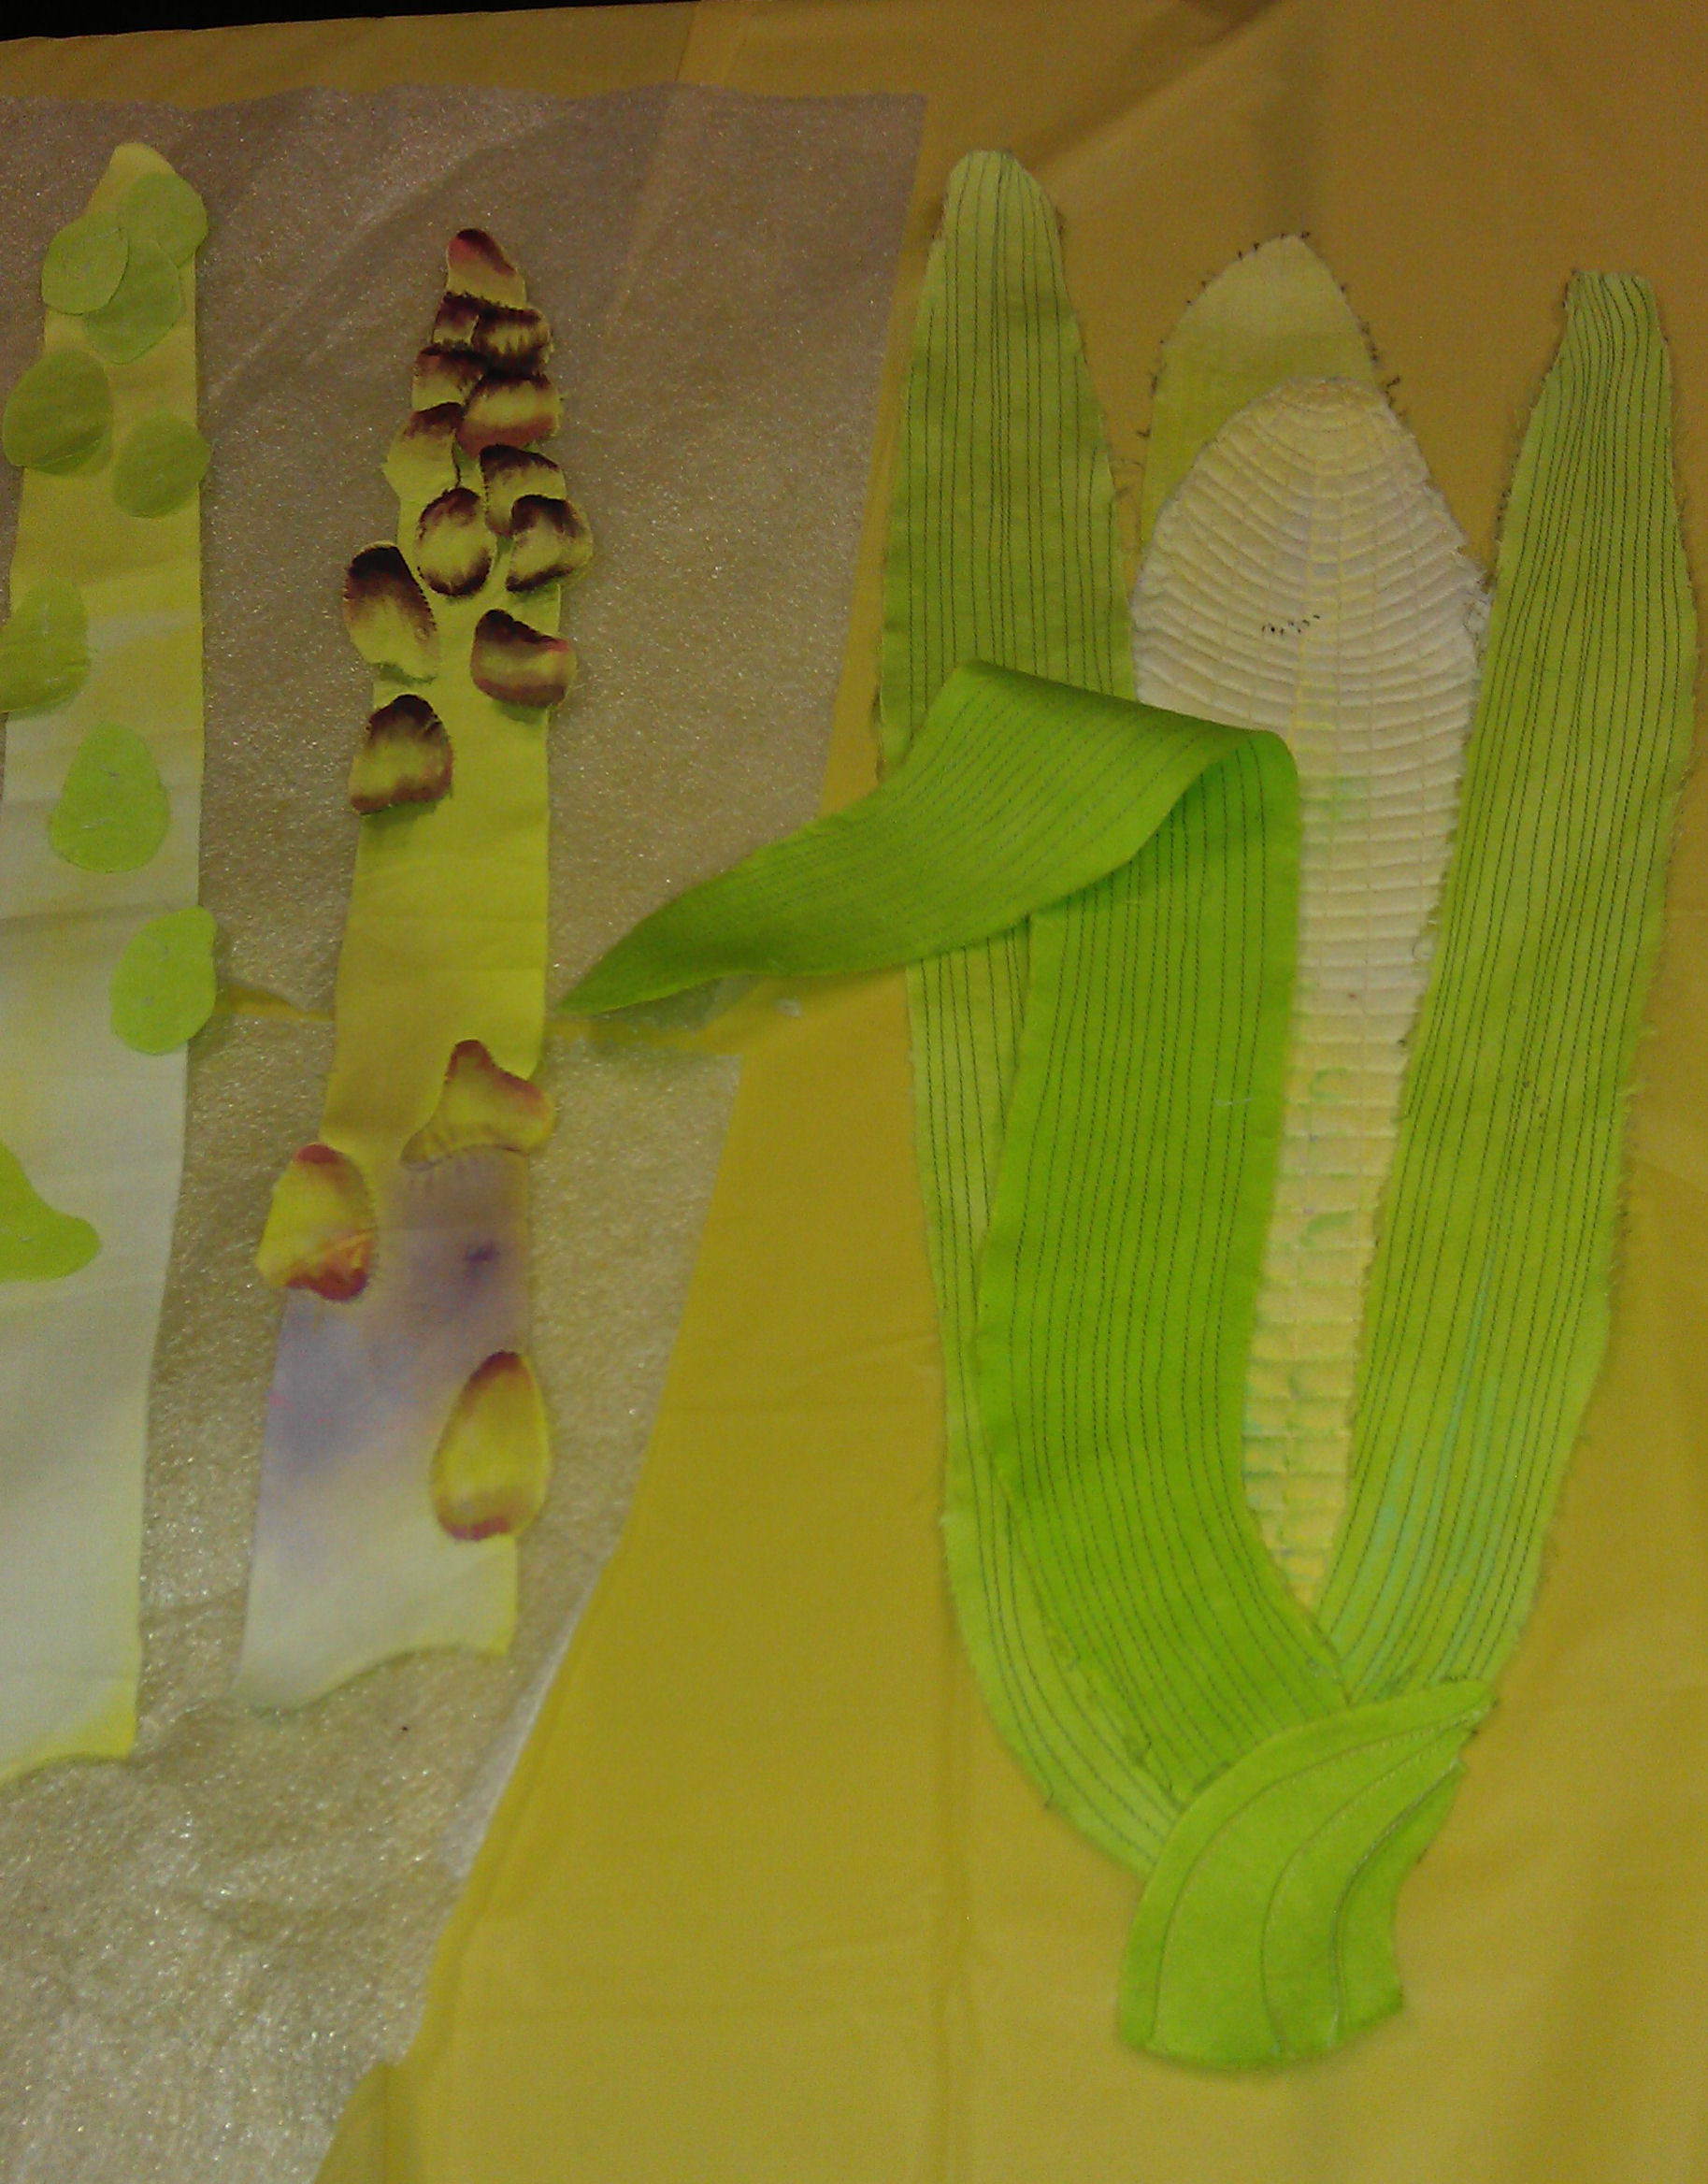
Asparagus. The asparagus spears started out as a green fabric that she bleached the bottoms of to get the lighter gradation. The individual leaf buds (is that what they are called?) were appliqued on, then painted with a purple marker.

How the piece of the corn go together. Strips of green fabric with close parallel stitching for the leaves, concentric curves with scallops for the cob. Pintucked base for where the corn joins on to the main stem.
The last few hours of Day 1 (yes, we’re still on Day 1!!) were spent learning about some of the paint mediums Velda uses, how she uses those paints to add depth and colour to her quilts, and how to paint an apple!
I haven’t got my notes with me at the moment (they’re in the classroom), but I’ll try to remember what each of the mediums are.

Derwent Inktense sticks. I reckon this image would make a great ‘modern quilt’!

Various paint mediums.Windsor and Newton, Dick Blick, and Matisse artist acrylics in the tubes; Derwent Inktense sticks; NeoArt water-soluble oil pastels; Derwent Inktense watercolor pencils. Velda also showed Copic markers (permanent).

Blending the colour with a damp cloth
We got to play with her paint mediums (not the acrylics or the markers yet), blending various types of paints onto our damp fabric in our quilting hoops. I particularly liked the effect of the Derwent Inktense sticks and the NeoArt oil pastels. My effort:

She then showed us how to paint an apple. It looked super simple as there were only two colours — yellow and red. Velda demonstrated first (upside-down for her!).

We went to our workstations and got started on outlining the apple, damping the fabric, then applying the yellow paint. Then Velda demonstrated each of the red strokes again, one at a time, while we made the same marks on our fabric with our red paint and big brushes. After we’d done one apple together, we had to create another one on our own. Here’s the progression on my first apple:

Outline and yellow background done

First red stroke – note after top curve it goes straight down, and you start just under the mark of the hole in case there’s any bleeding

Second red stroke – note after top curve it goes straight down

Third red stroke – straight down (looks a bit like a reverse MacDonalds’ sign!)
")
Filling in the back — start outside the lines and pull and release the brush to give the wispy strokes; the front is filled in with straight downward strokes

Filling in to the hole — use a smaller brush to fill in the gap between the marked line and the hole after the fabric has dried a bit.

Adding the final strokes. Once finished, use a hair dryer (or the sun… or just time) to dry the piece before cutting it out on the lines (for raw edge applique) or cutting it just outside the lines (for needle-turn applique).

Finished apples. Here are all the pieces I finished today, including the two apples, which weren’t fully dry and will need a press once they are.
So endeth Day 1! We started at 9 am, broke for lunch for 45 minutes, and finished at 4:30 pm. We got a lot done and learnt a LOT. At 4:30 it was time to kick back and share a drink or two with new and old friends.

Drinks after a full day – Rayna Gillman (one of the other tutors) and Deb (organiser)
, Robbi Joy Eklow (one of the other tutors), Yolande (student), and Velda Newman")
Kaye (student), Robbi Joy Eklow (another tutor), Yolande (student), and Velda Newman
The Quilt Haus
After dinner, many of us drove into town to go to The Quilt Haus, one of two local quilt stores and one of the sponsors of the week. They have a mini store at the retreat, but their store in town has a huge range of fabric (more than 5000 bolts!). They had some door prizes, and I won a 40 piece 5×5″ charm pack of Tonga Treats batik fabric! Thanks gals!
Food
I can’t finish without talking about the food here. It is great — in both quality and quantity. They sure know how to put on a spread… and a spread is what I’ll have if I ate everything they had on offer! We’re talking three FULL meals a day…
- Last night’s dinner: Texas BBQ brisket, 1/4 BBQ chicken, green beans, hot sauce, salad makings and dressings, peach cobbler and cream, and other stuff I can’t recall.
- Breakfast: cereal, yogurt, fresh fruit, toast, variety of fruit juices, pancakes, maple syrup, scrambled eggs, crispy bacon, link sausages, and some other stuff I can’t remember!
- Lunch: Stir-fry beef, stir-fry chicken, peas, vege medley, salad makings and dressings, variety of freshly baked warm/hot cookies, plus more…
- Dinner: Chicken cordon bleu, mountains of asparagus, quartered roast potatoes, hollandaise sauce (or similar), salad stuff, dinner roll, carrot cake, and more….
And now to bed. Day 2 starts with breakfast at 7:30 am tomorrow, with our class officially starting at 9, though I suspect many will be starting earlier to finish off their second or third apples.
See also:
- Day 1: this post
- Day 2: https://sandgroper14.wordpress.com/2013/03/13/quilting-adventures-spring-seminar-day-2-12-march-2013/
- Day 3: https://sandgroper14.wordpress.com/2013/03/14/quilting-adventures-spring-seminar-day-3-13-march-2013/
- Day 4: https://sandgroper14.wordpress.com/2013/03/15/quilting-adventures-spring-seminar-day-4-14-march-2013/
- Day 5: https://sandgroper14.wordpress.com/2013/03/16/quilting-adventures-spring-seminar-day-5-15-march-2013/


An action-packed day indeed!
[…] was busy, but nowhere near as full of new stuff as yesterday. We got to see another of Velda’s amazing art quilts (the pelican quilt below), chose the […]
[…] Day 1: https://sandgroper14.wordpress.com/2013/03/12/quilting-adventures-spring-seminar-day-1-11-march-2013/ […]
[…] Day 1: https://sandgroper14.wordpress.com/2013/03/12/quilting-adventures-spring-seminar-day-1-11-march-2013/ […]
[…] Day 1: https://sandgroper14.wordpress.com/2013/03/12/quilting-adventures-spring-seminar-day-1-11-march-2013/ […]
Didn’t you all do well. Amazing.
[…] notes are for me — I wrote them while attending Velda Newman’s workshop at Quilting Adventures in Texas in 2013. The originals are on paper in a notebook, so I wanted to record them digitally in case I ever lose […]
[…] year, one of the fabric painting techniques Velda Newman showed us to do was how easy it was to paint an apple. My apples had just been lurking in the sewing room, and I wondered if I’d ever use them in a […]