Lemons to lemonade

25 08 2013

I bought a Sony Xperia tablet a few weeks ago, but as it’s so new, there aren’t many (any!) covers for it in Australian stores yet (and the Sony brand cover is really expensive). So I found something on Amazon, but Amazon wouldn’t send it to me as I live in Australia and they class these types of accessories as ‘electronic’ goods. What the…? Off to eBay where I found the same stuff from the same supplier as on Amazon and ordered it just fine. But based on my recent experiences with getting stuff from the US, I doubt the cover will be here by the time I go to Bali next month. What to do?

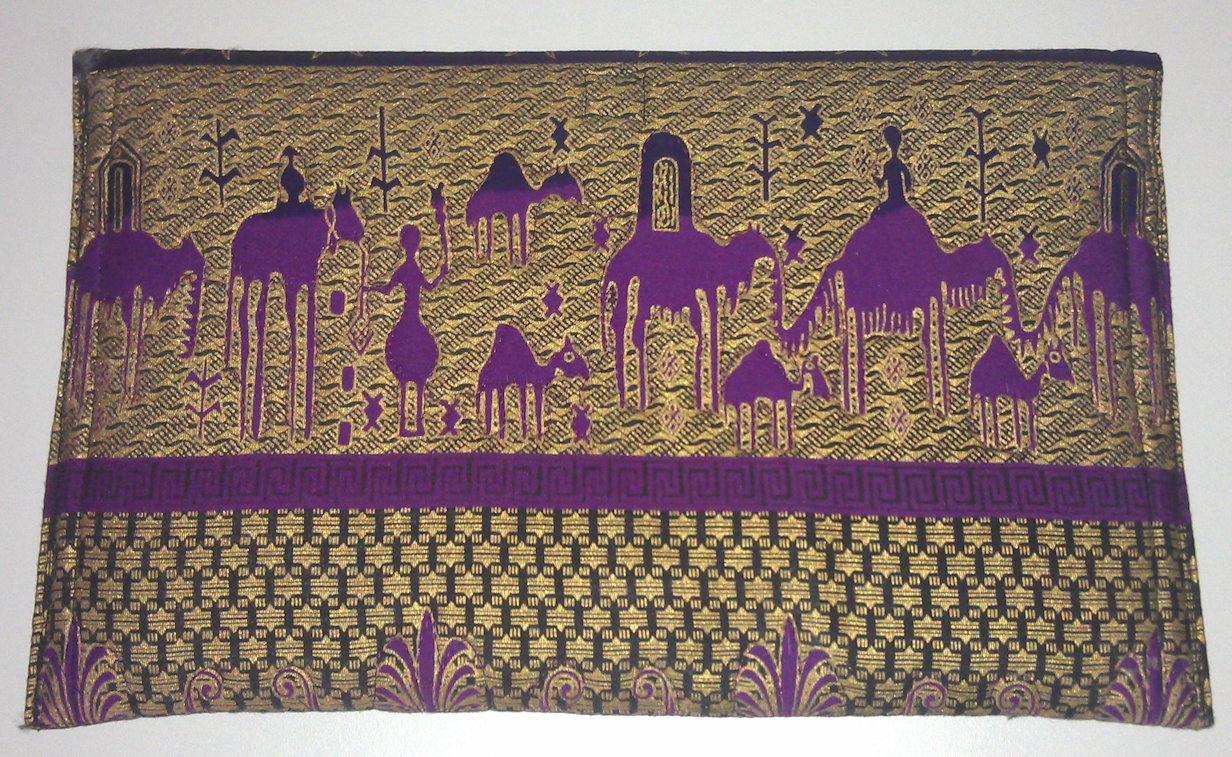
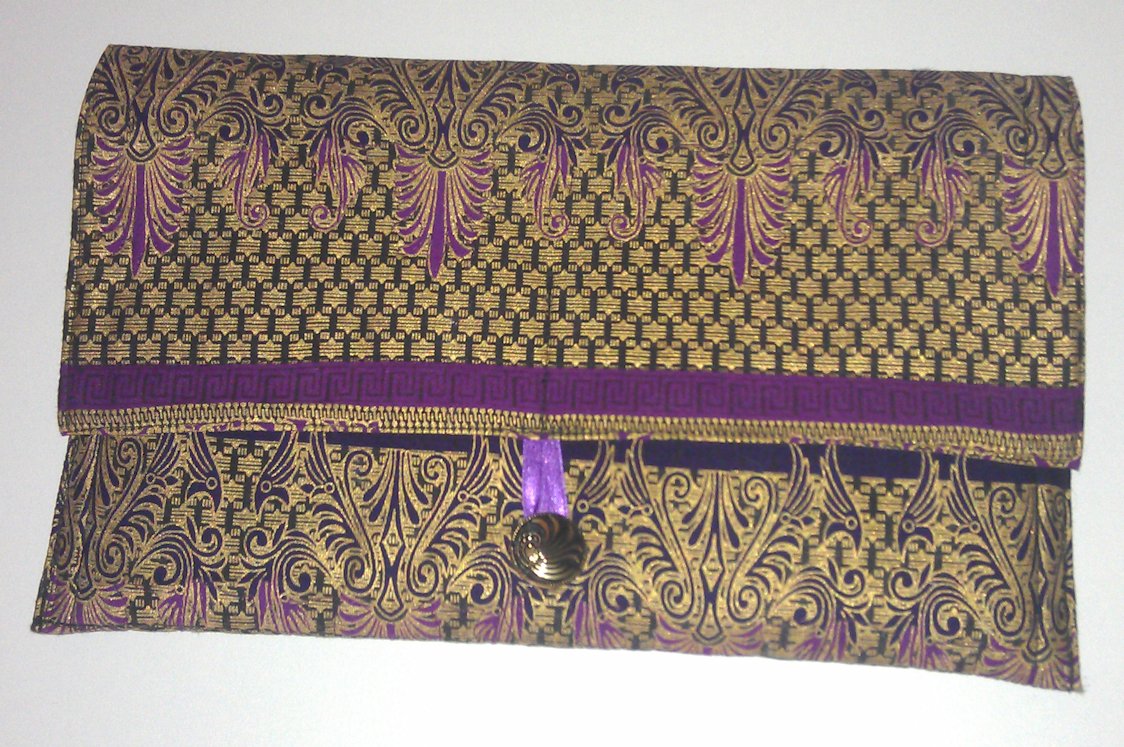
Make my own, of course! And even if I get the cover for the tablet in time for my Bali trip, I needed something that would hold the charger and cords too, so I really needed a protective padded clutch or sleeve of some sort. And what better way to use some gorgeous fabric I bought in Bali last September.

I didn’t use a pattern as I’ve made clutches before.

I measured twice and cut once, but my first effort was way too short! D’oh! What a waste of perfectly good fabric, though I thought I’d be able to make a standard clutch for my Etsy store out of it later. Fortunately, I had a couple of metres of this fabric so I started again, this time making it longer and slightly wider. I had a bit of left over fabric from the first attempt, so figured I’d make some pockets to go inside the clutch for the charger accessories. And then I had a brainwave! Why not use the first failed attempt as an inner pocket (giving me two BIG pockets and providing even more padding)? When life hands you lemons, make lemonade!

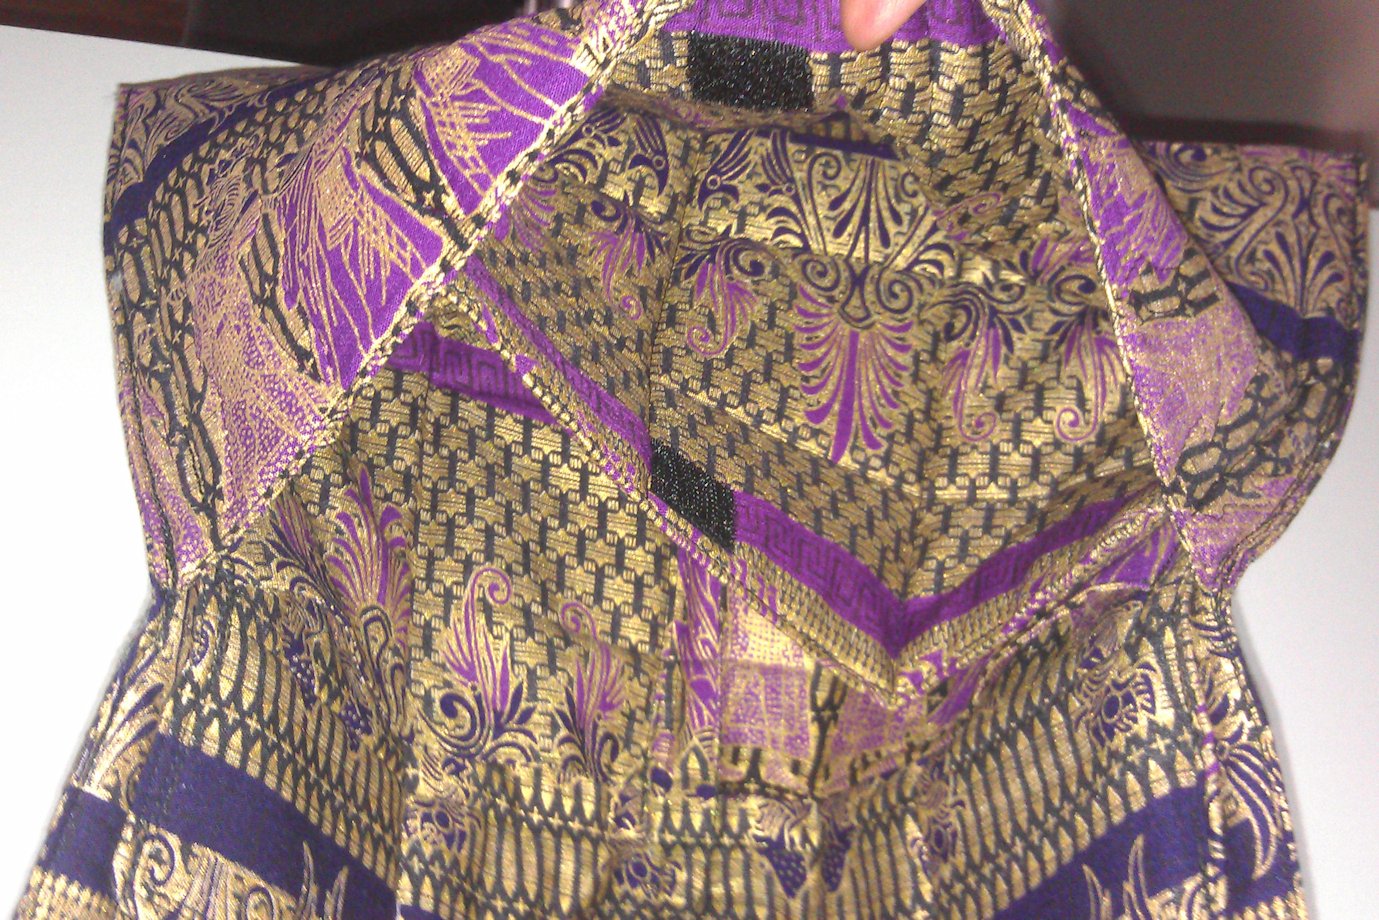
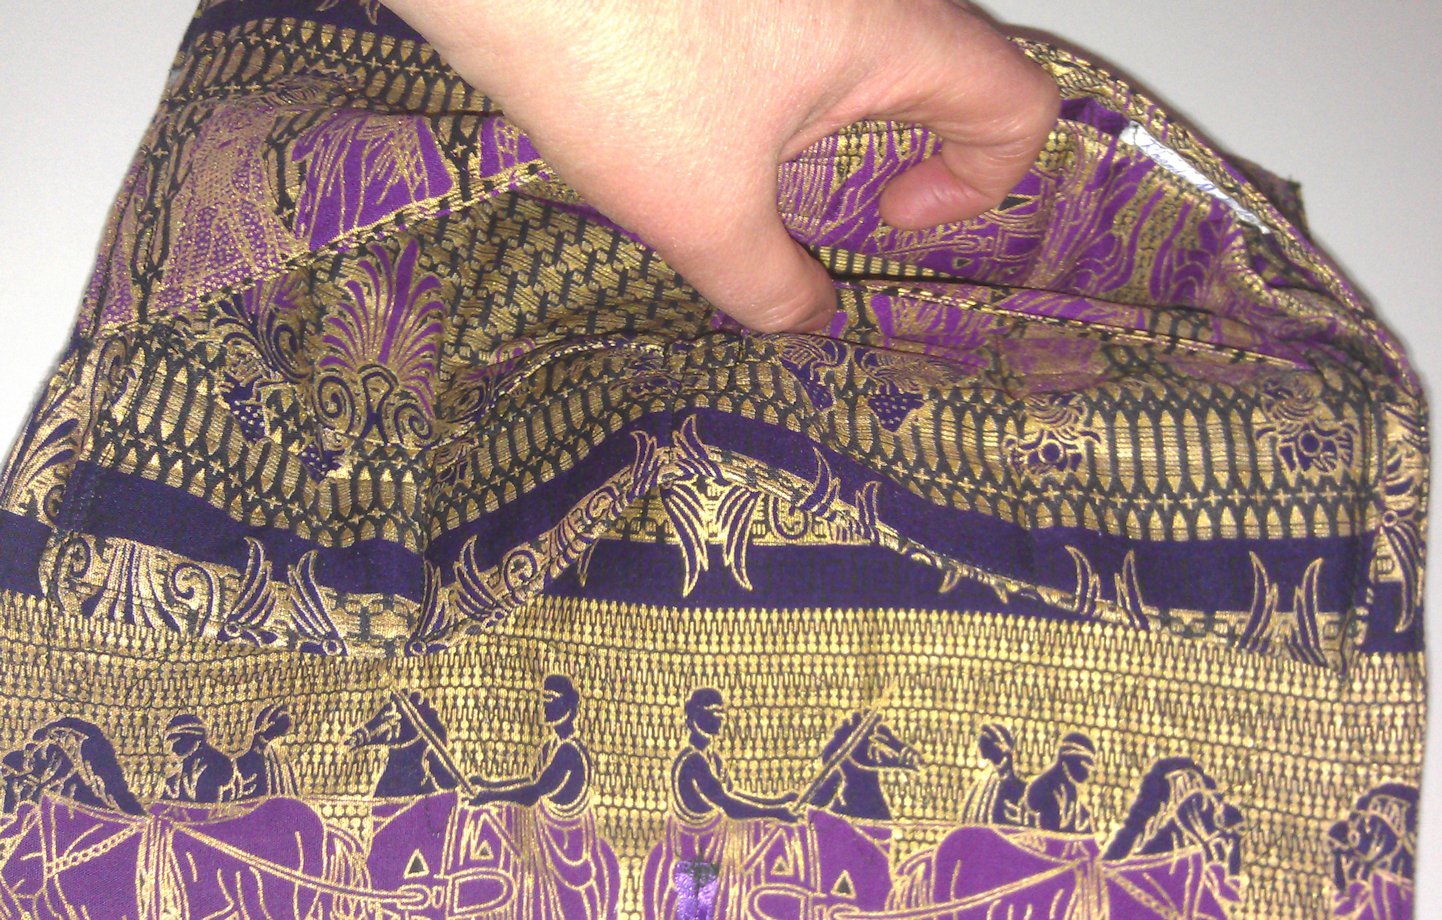
I sewed the little pockets onto the failed attempt, then sewed the whole piece inside the new main piece, then added some Velcro closures to those large pockets to prevent anything falling out when the clutch is open, and sewed the whole thing together. Finally I added a cute matching button and piece of ribbon for the main closure (I didn’t want Velcro here because if I’m on a long flight to the US, I don’t want to disturb others ripping open a Velcro closure — I’m considerate like that ;-))

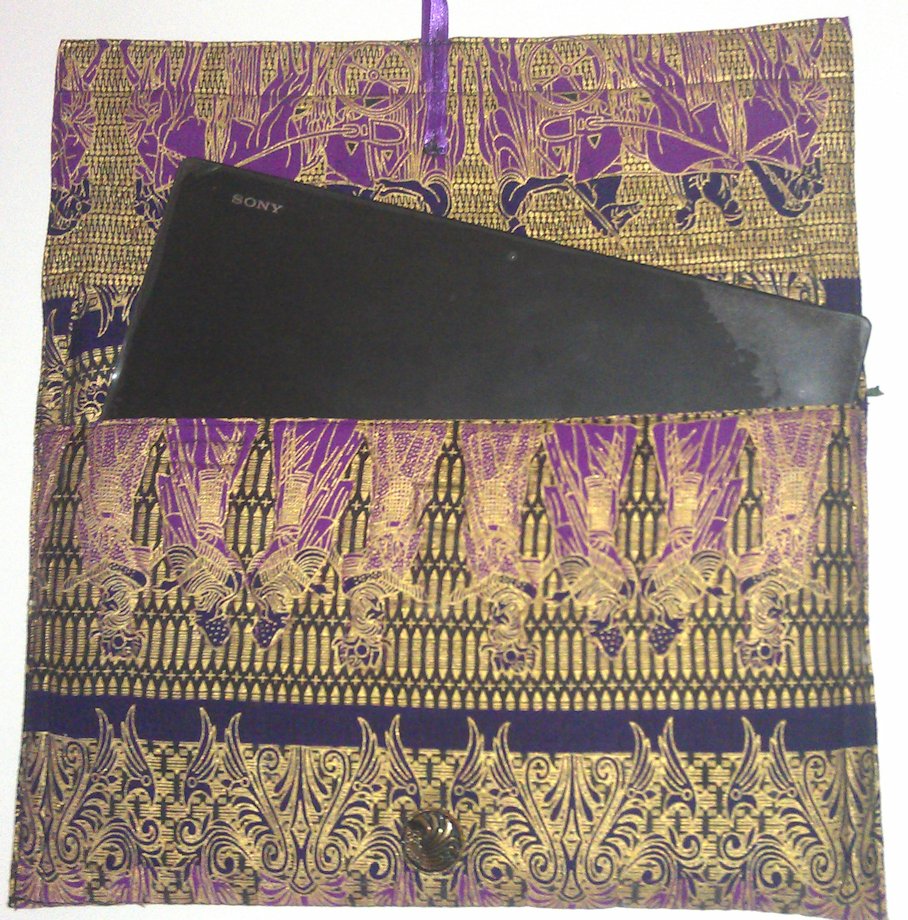
Every seam in this clutch is completely enclosed (even the little pockets are fully enclosed!) and I used a fusible Pellon batting, so the clutch shouldn’t generate any dust that might get into the tablet. And I made sure the tablet would be well-covered by the double layer of padding — it only just pokes its head out. I now have a clutch that can fit my tablet, two small (about 4×4 inch) pockets, and two large pockets for the accessories, boarding pass, pen, passport, credit card, banknotes, etc.

I was quite pleased with the outcome! (The photos aren’t as good as I hoped — it’s hard holding a pocket open while trying to take a photo one-handed with your phone!)

Update: I never did use this clutch, so it’s now available for sale from my Etsy store: https://www.etsy.com/au/listing/605098302/purple-gold-and-black-clutch-purse

Front:
IMAG0995

Back:

IMAG0996

Tablet snuggled in:

IMAG0997

IMAG0998

Pockets galore!:

IMAG1002

IMAG1003

IMAG0999

IMAG1000

IMAG1001


Community Quilt 103

18 08 2013

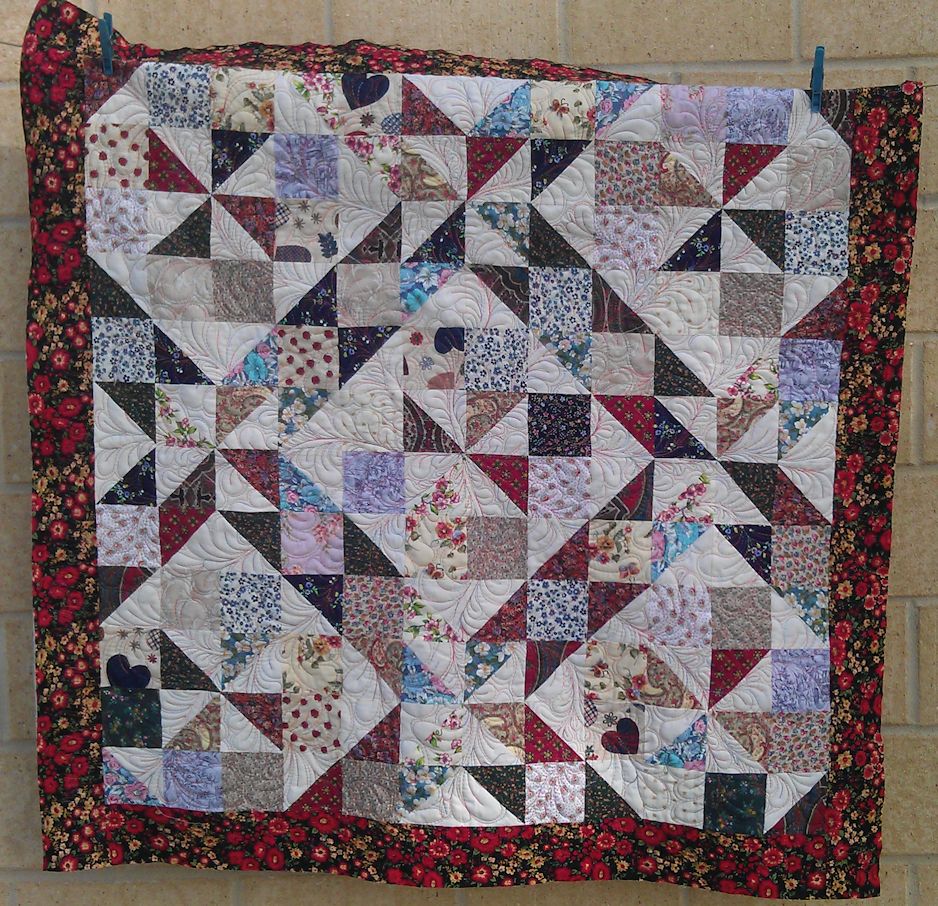
This was a fairly ‘busy’ scrappy quilt, with an equally ‘busy’ border fabric.

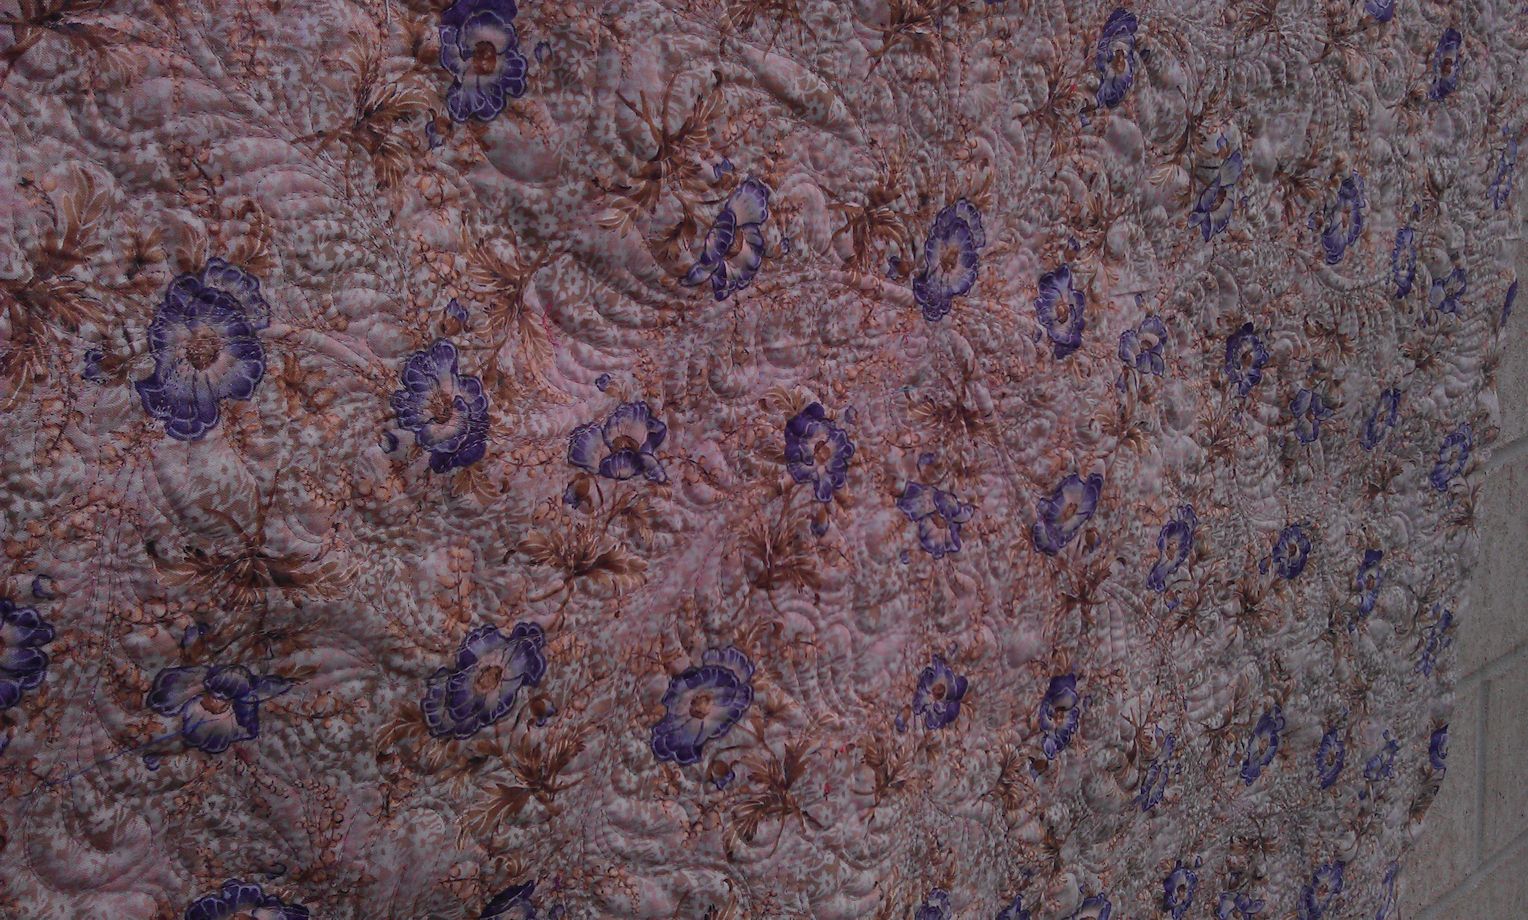
I decided to quilt it in feathers, starting from the centre and working out along the diagonals and from the centre to the mid-point of the sides, with a few extra stems added so that no feather was super large. In each feather, I also stitched a centre spine to reduce the puffiness.

I used a variegated thread in red, blue, purple, green and orange for the feathers and the same thread for the flames in the border fabric.

(Click on a photo to view it larger)

quilt103_01

quilt103_03 quilt103_02


Back:quilt103_05

quilt103_04

Threads used:

  • Top:  Superior Rainbows ‘Carnival’ (40 wt, trilobal polyester; colour #821)
  • Bobbin: Wonderfil Deco-Bob (80wt, colour DB 414)


Community Quilt 102

18 08 2013

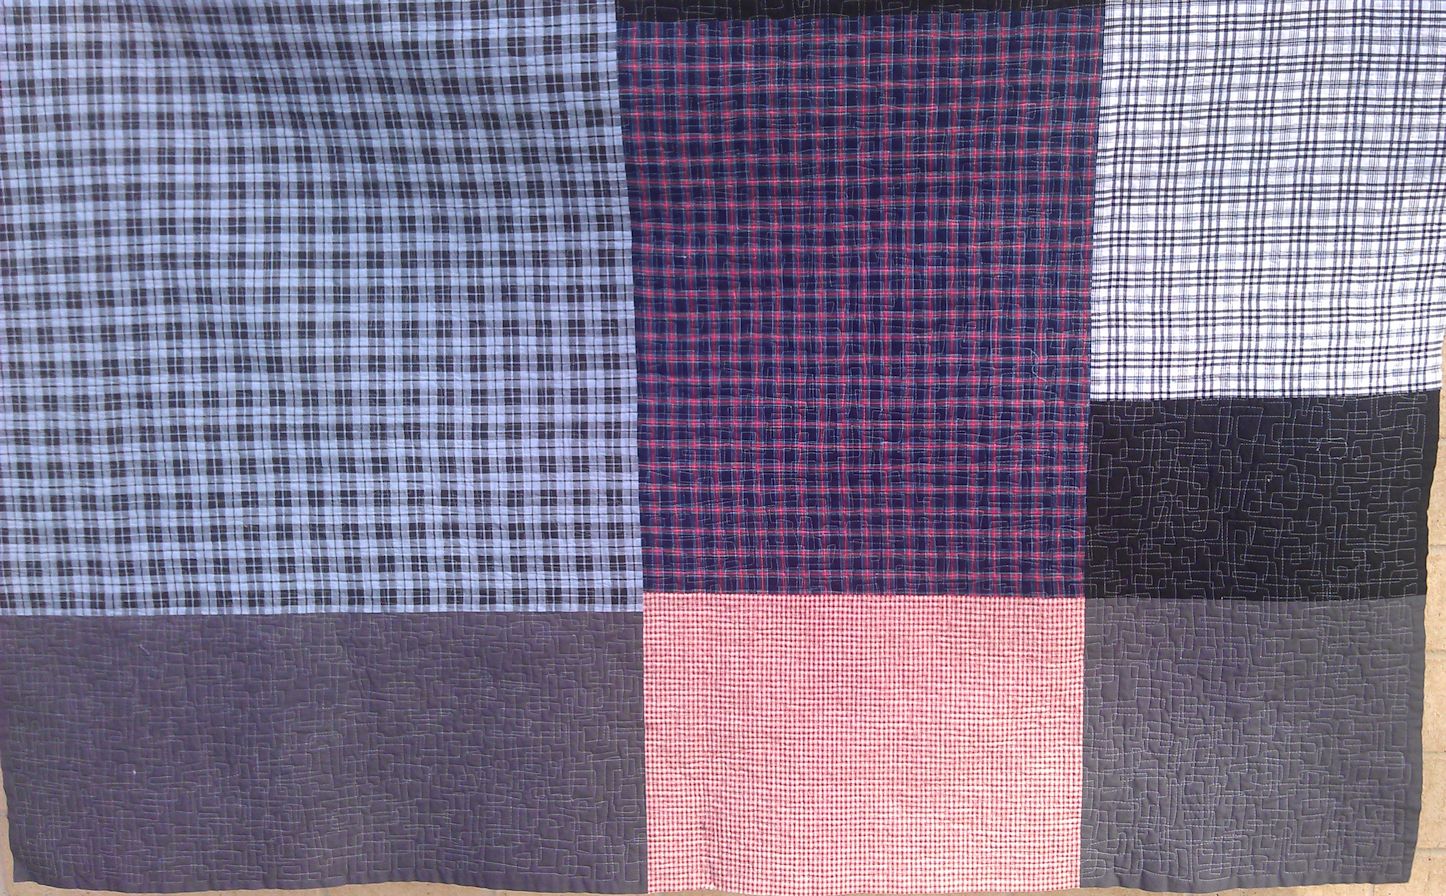
This was a BIG quilt — at a guess, it was about 50 x 80 inches. It took me about 6 hours to quilt.

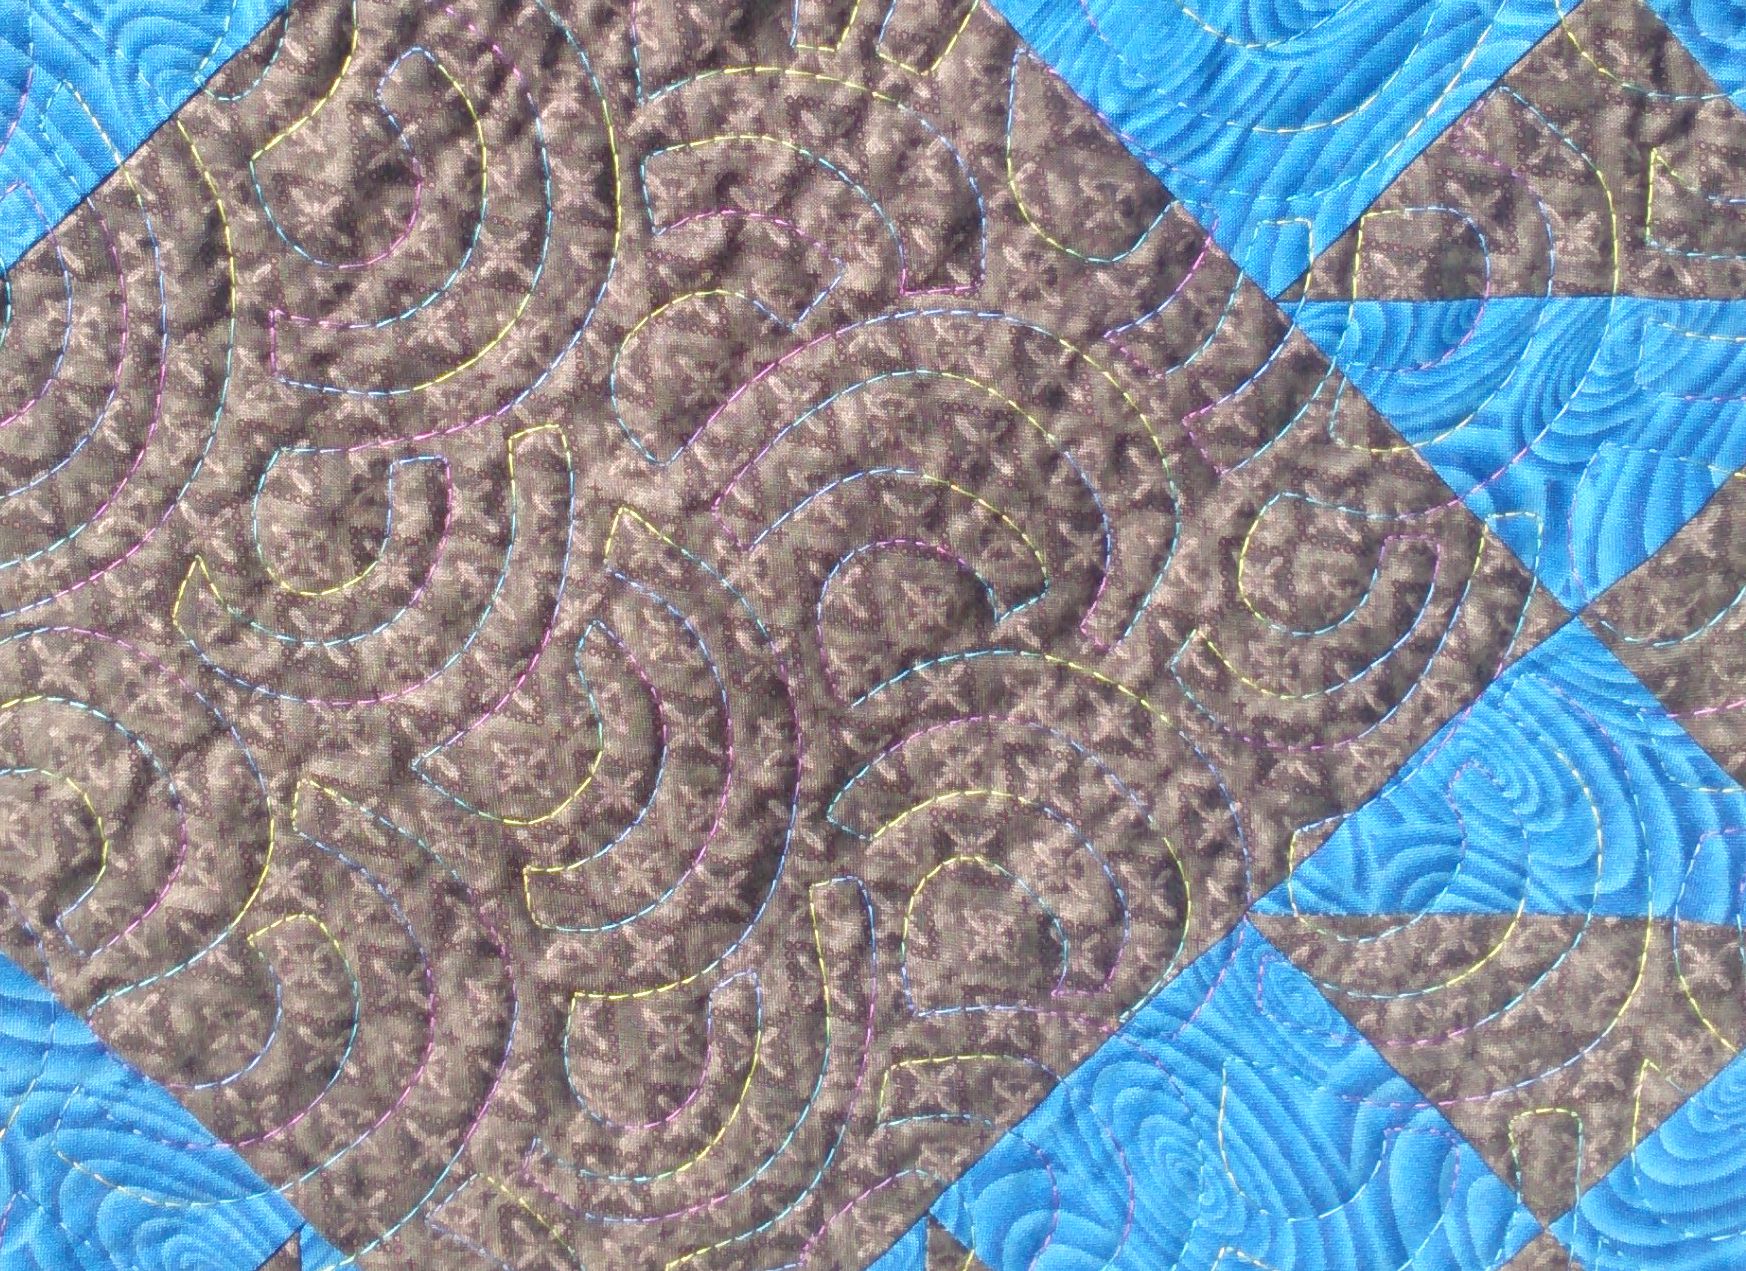
Initially, I thought I’d outline the coloured shapes and echo that in the white, then do some other stuff with rulers. But after doing the first one of MANY coloured ‘diamonds’, I decided that would take way too long, so instead I decided to do an all-over, continuous line design in a cubed meander. It still took 6 hours; had I done what my first thought was, it would have taken well over 12 hours to quilt this quilt.

I ran out of the 1000 m spool of pale blue variegated cotton thread I was using so had to finish the edge blocks in a pale blue rayon thread. I had a hard time figuring out where one thread started and the other finished, so hopefully the recipient will never know 😉

I was pleased with my choice of all-over motif — I think it fits well with the ‘masculine’ nature of the pieced fabrics and the back. I suspect this is one of the quilts the ladies have made that will go to St Barts, a facility for the homeless.

(Click on a photo to view it larger)

quilt102_02


quilt102_05

quilt102_04

Back:

quilt102_03

quilt102_01

Threads used:

  • Top: Wonderfil Tutti variegated pale blue (cotton, 50 wt, colour TU210; Robison-Anton ‘Paris blue’ (rayon, 40 wt, colour 2283)
  • Bobbin: Bobbinfil (white, 70 wt, cotton)


Community Quilt 101

16 08 2013

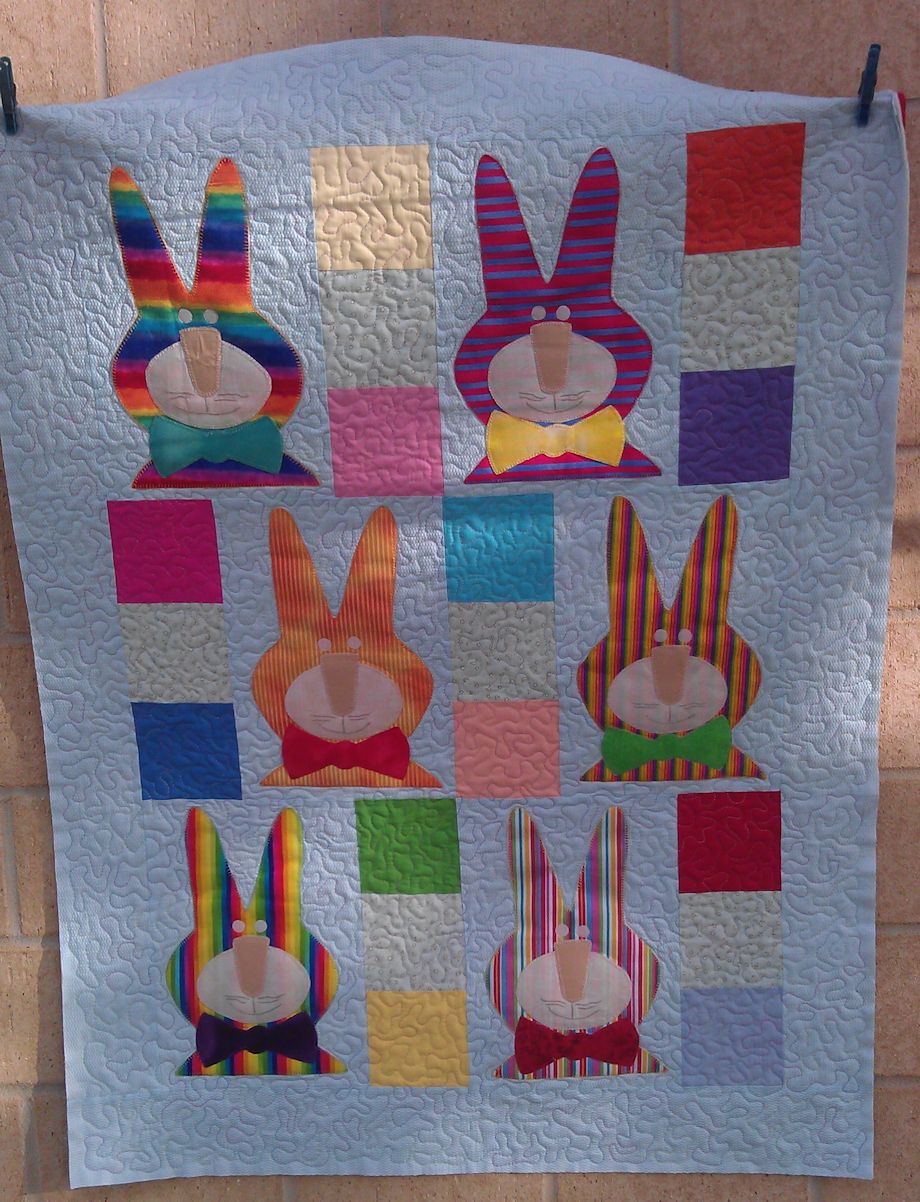
I wasn’t sure about this quilt — there was something about those bunnies that was scary! 😉 Maybe it was the clown colours or the upright ears, but these rabbits just didn’t seem very friendly.

Anyhoo… My job wasn’t to wonder about scary or friendly bunnies — it was to quilt the quilt that someone had spent hours making.

My first step was to outline and stabilise all the appliqued rabbit features in invisible thread. Once that was done, I just did a simple meandering stipple in a variegated pastel thread over all the other parts of the quilt, letting the bunnies take centre stage. I hadn’t seen or touched pique (?) fabric in YEARS, so it was quite nice handling the pale blue fabric.

(Click on a photo to view it larger)

quilt101_01

quilt101_03

quilt101_02

Threads used:

  • Top: Fil-Tec Harmony ‘Spring’ (variegated cotton [pink, yellow, blue, green pastels], 40 wt, colour 14062)
  • Bobbin: Bobbinfil (white, 70 wt, cotton)


Dam little water

15 08 2013

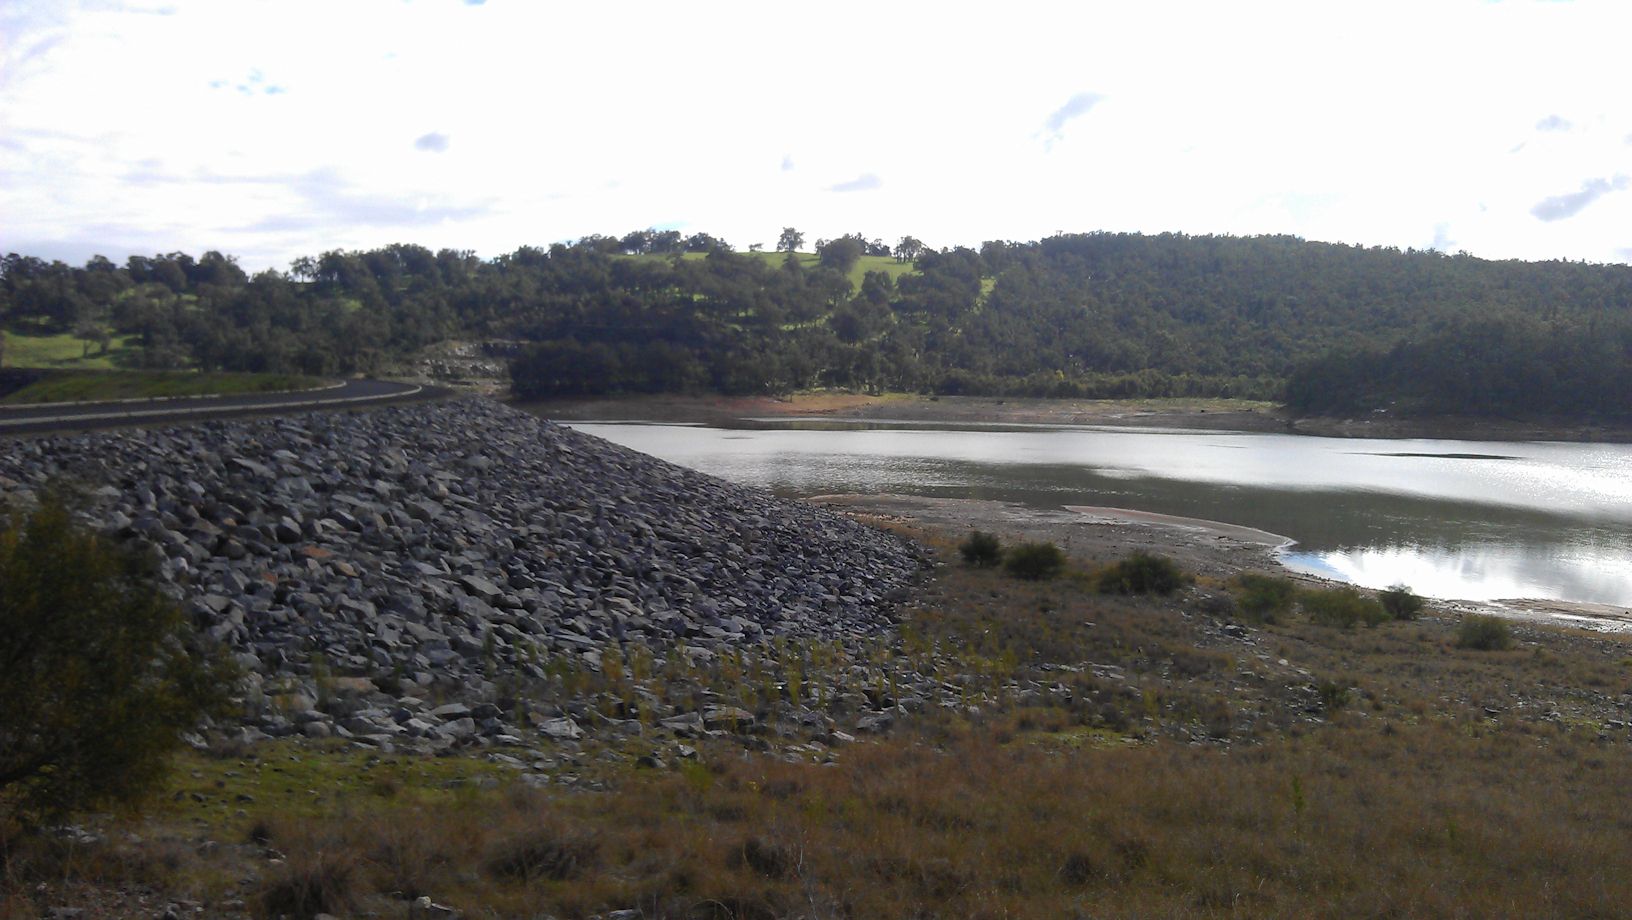
A couple of weeks ago, we took a drive inland and into the hills and visited a few dams that supply drinking and irrigation water to this fair state. I knew the dams were pretty low last summer, but as we’ve had quite a bit of winter rain, I had expected that their levels by the end of July would be well on the way up. Not so. Most were in an awful state.

We’ve since had quite a bit more rain, but I don’t know if it’s been getting into the dams. If we didn’t have two desal plants operating, I suspect the Perth metro area would have run dry long before now. Not a pleasant thought.

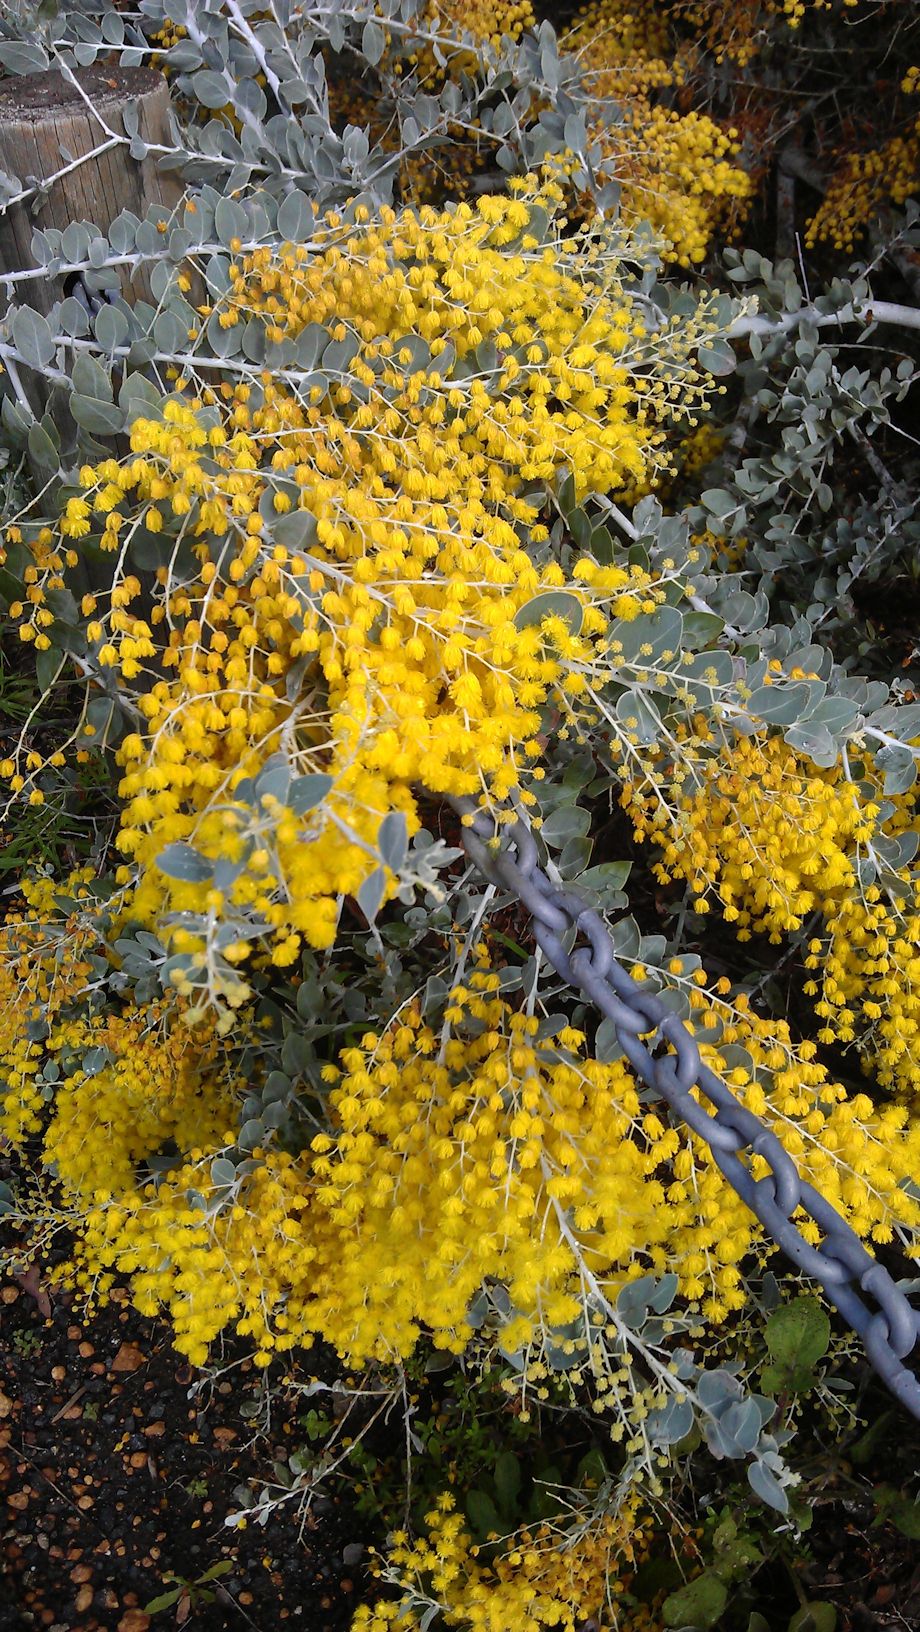
Other than the parlous state of the water supply, it was a gorgeous day for a drive — cool and sunny for the most part, green pasture everywhere, a lot of the early wattles were blooming, and very few people were out and about being tourists like we were. But then, it was a Monday outside school holidays and in the middle of winter 😉 And of course, on such a winter’s day, what else to do but stop and have a nice hot pie for lunch!

Harvey Dam:
harvey_dam01

harvey_dam02

wattle01

wattle02

Logue Brook Dam (Cookernup):

logue_brook02

logue_brook01

logue_brook03

Waroona Dam:

waroona02

waroona01


Community Quilt 100

5 08 2013

Whoopee! I’ve now quilted 100 quilts for the Community Quilts program. Others make the tops, yet others sandwich the tops, batting, and backing together and pin baste them ready for me to quilt, then when I’m finished the quilting (i.e. stitching the three layers together with some fancy threadwork ;-)), still more people sew on the binding before these quilts are donated to charitable organisations. I donate my time, my expertise, and my thread.

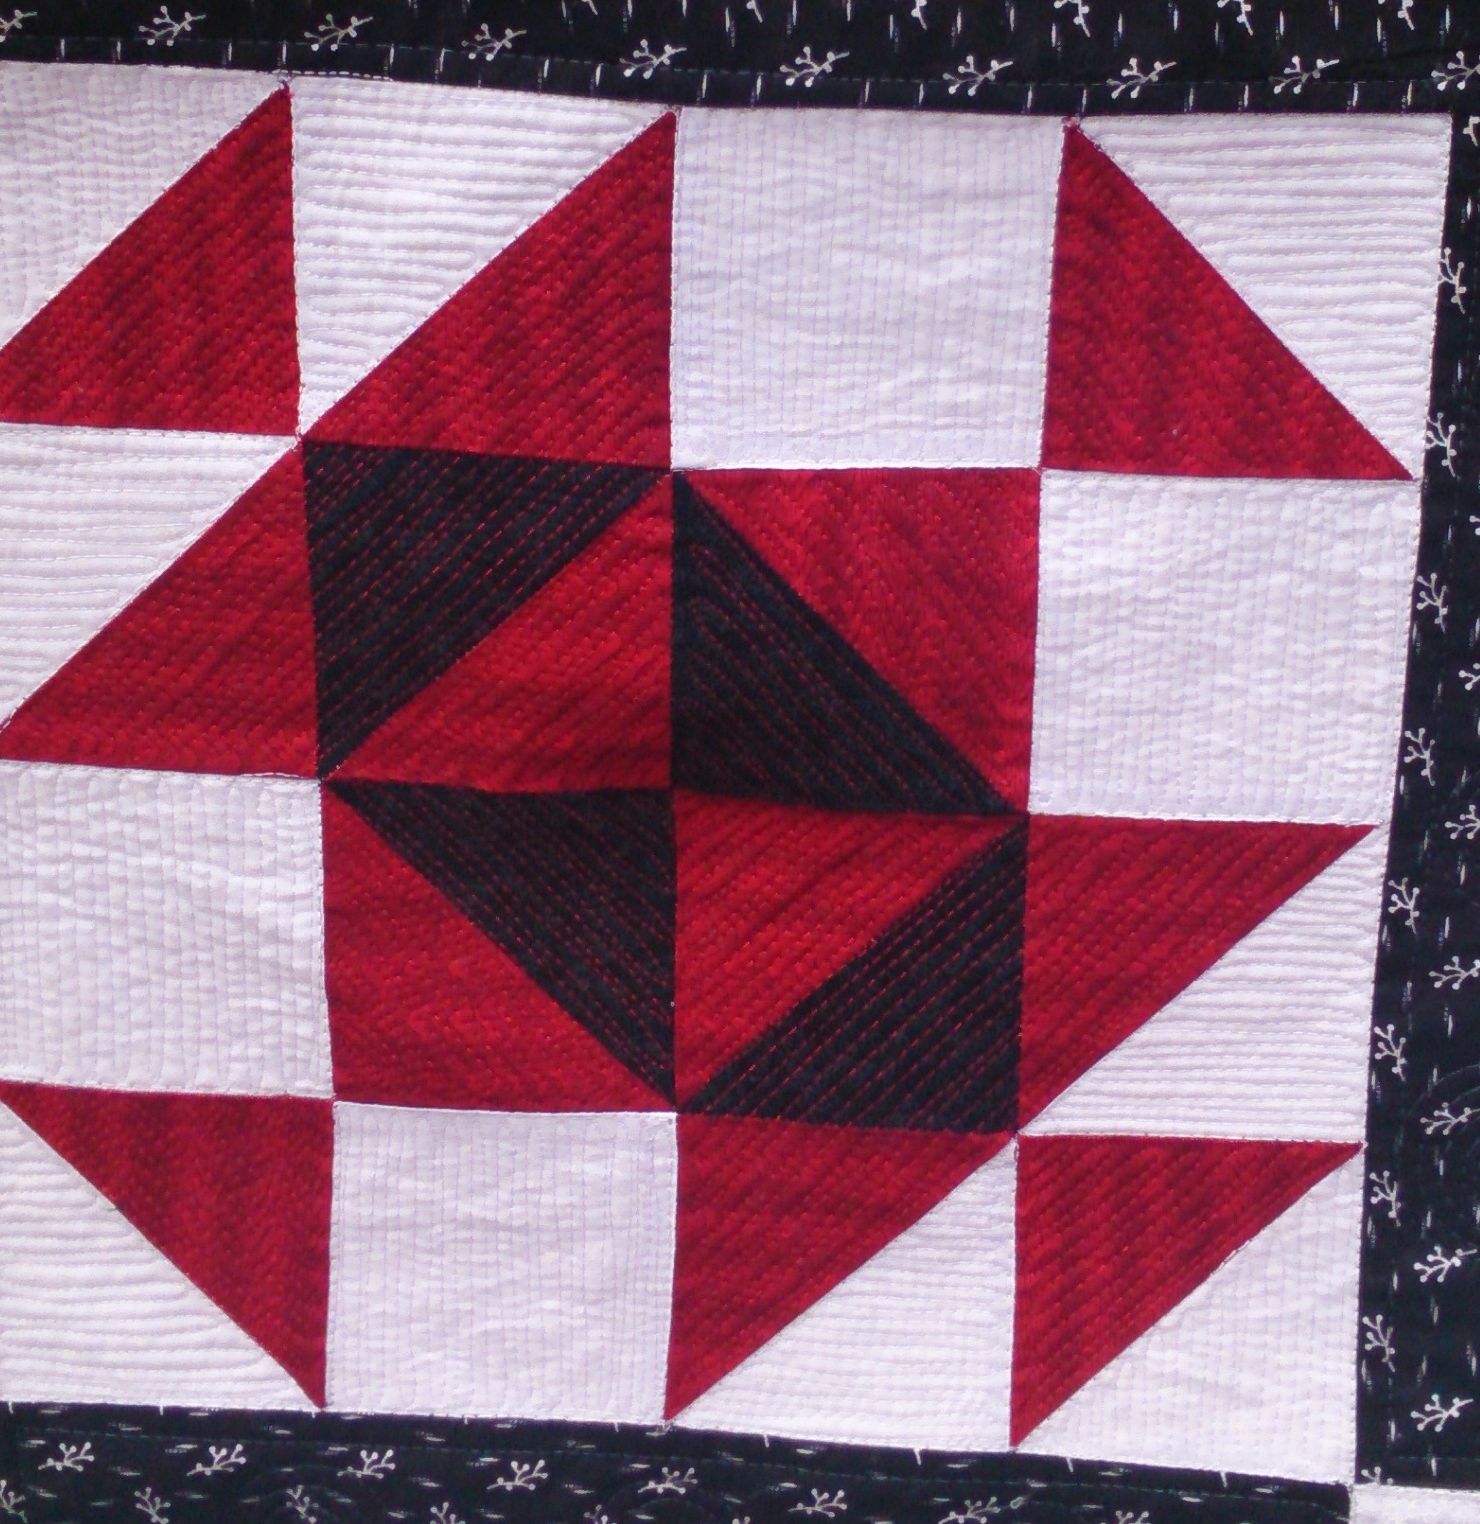
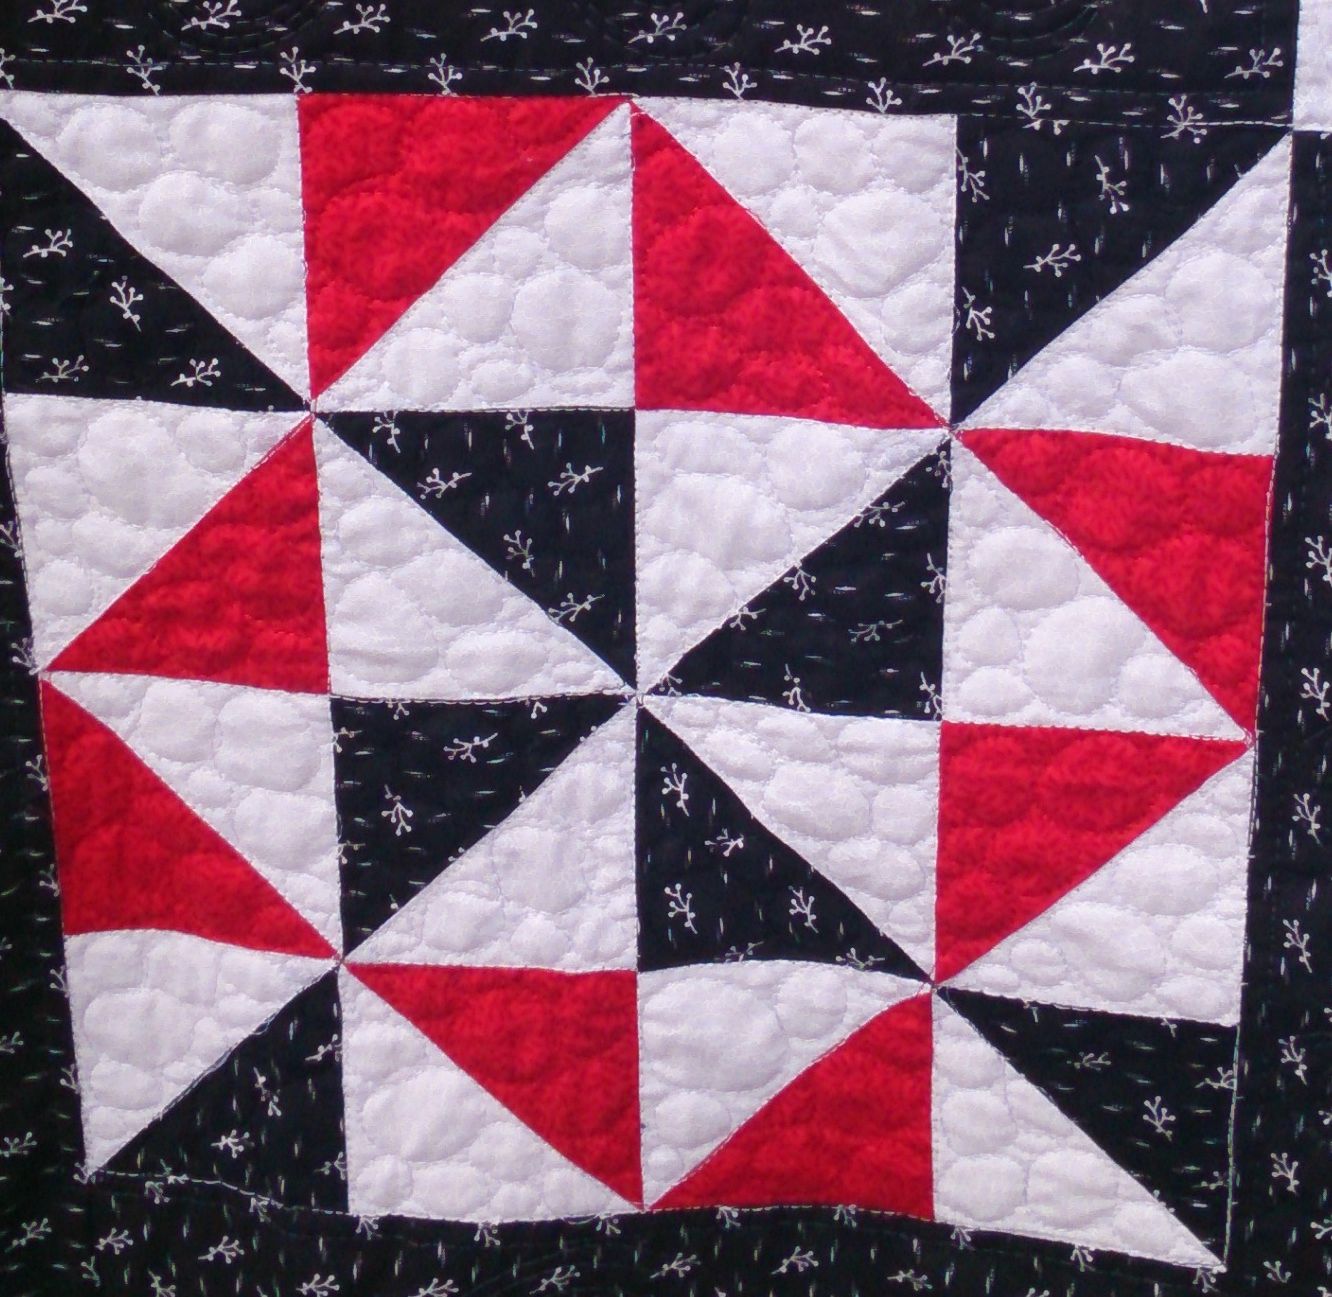
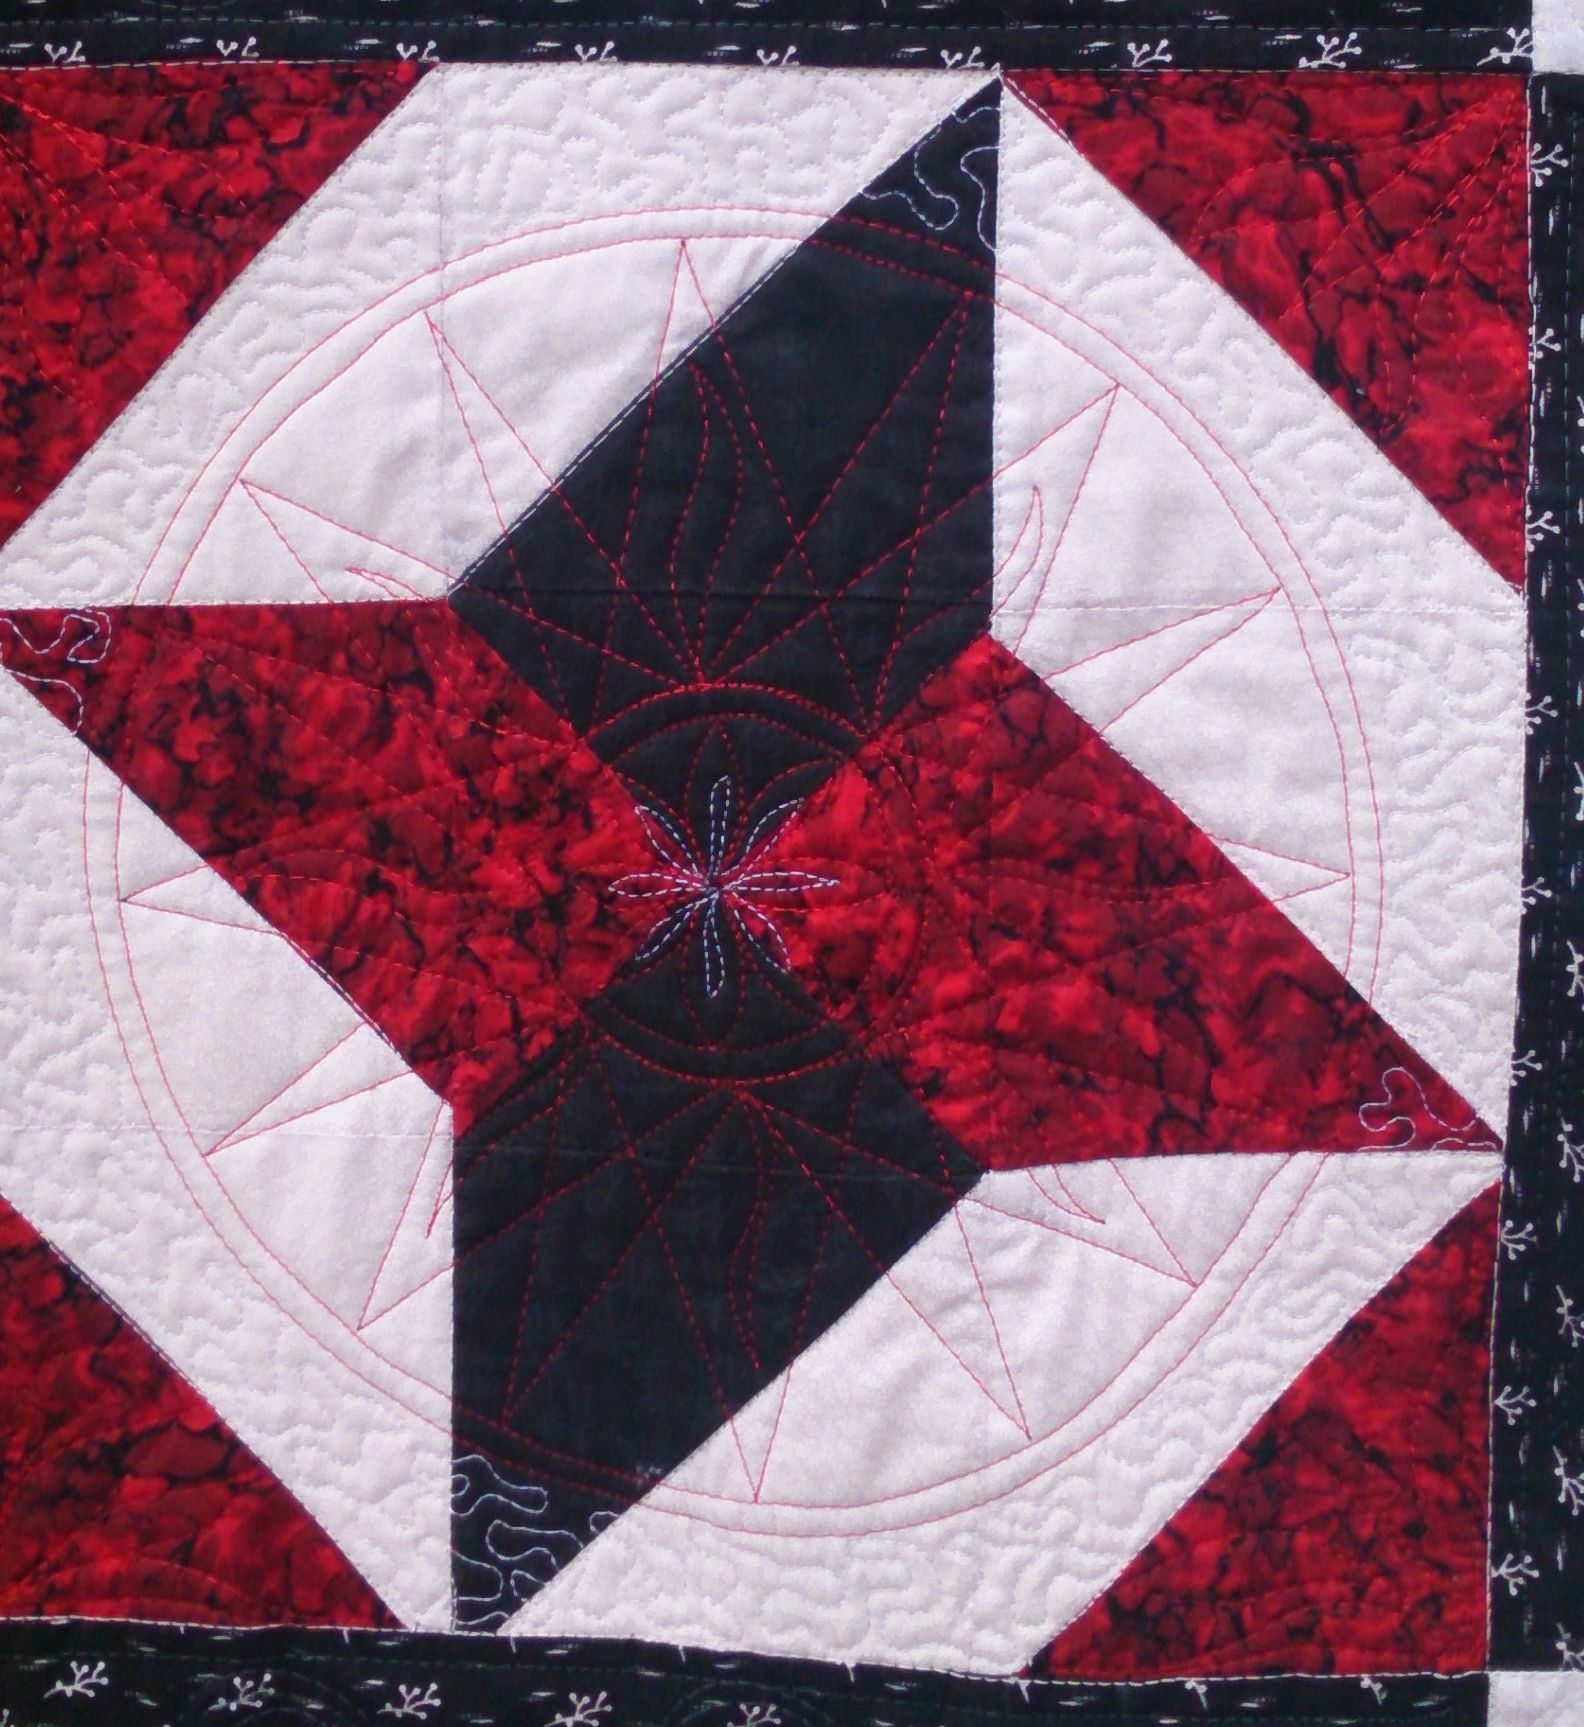
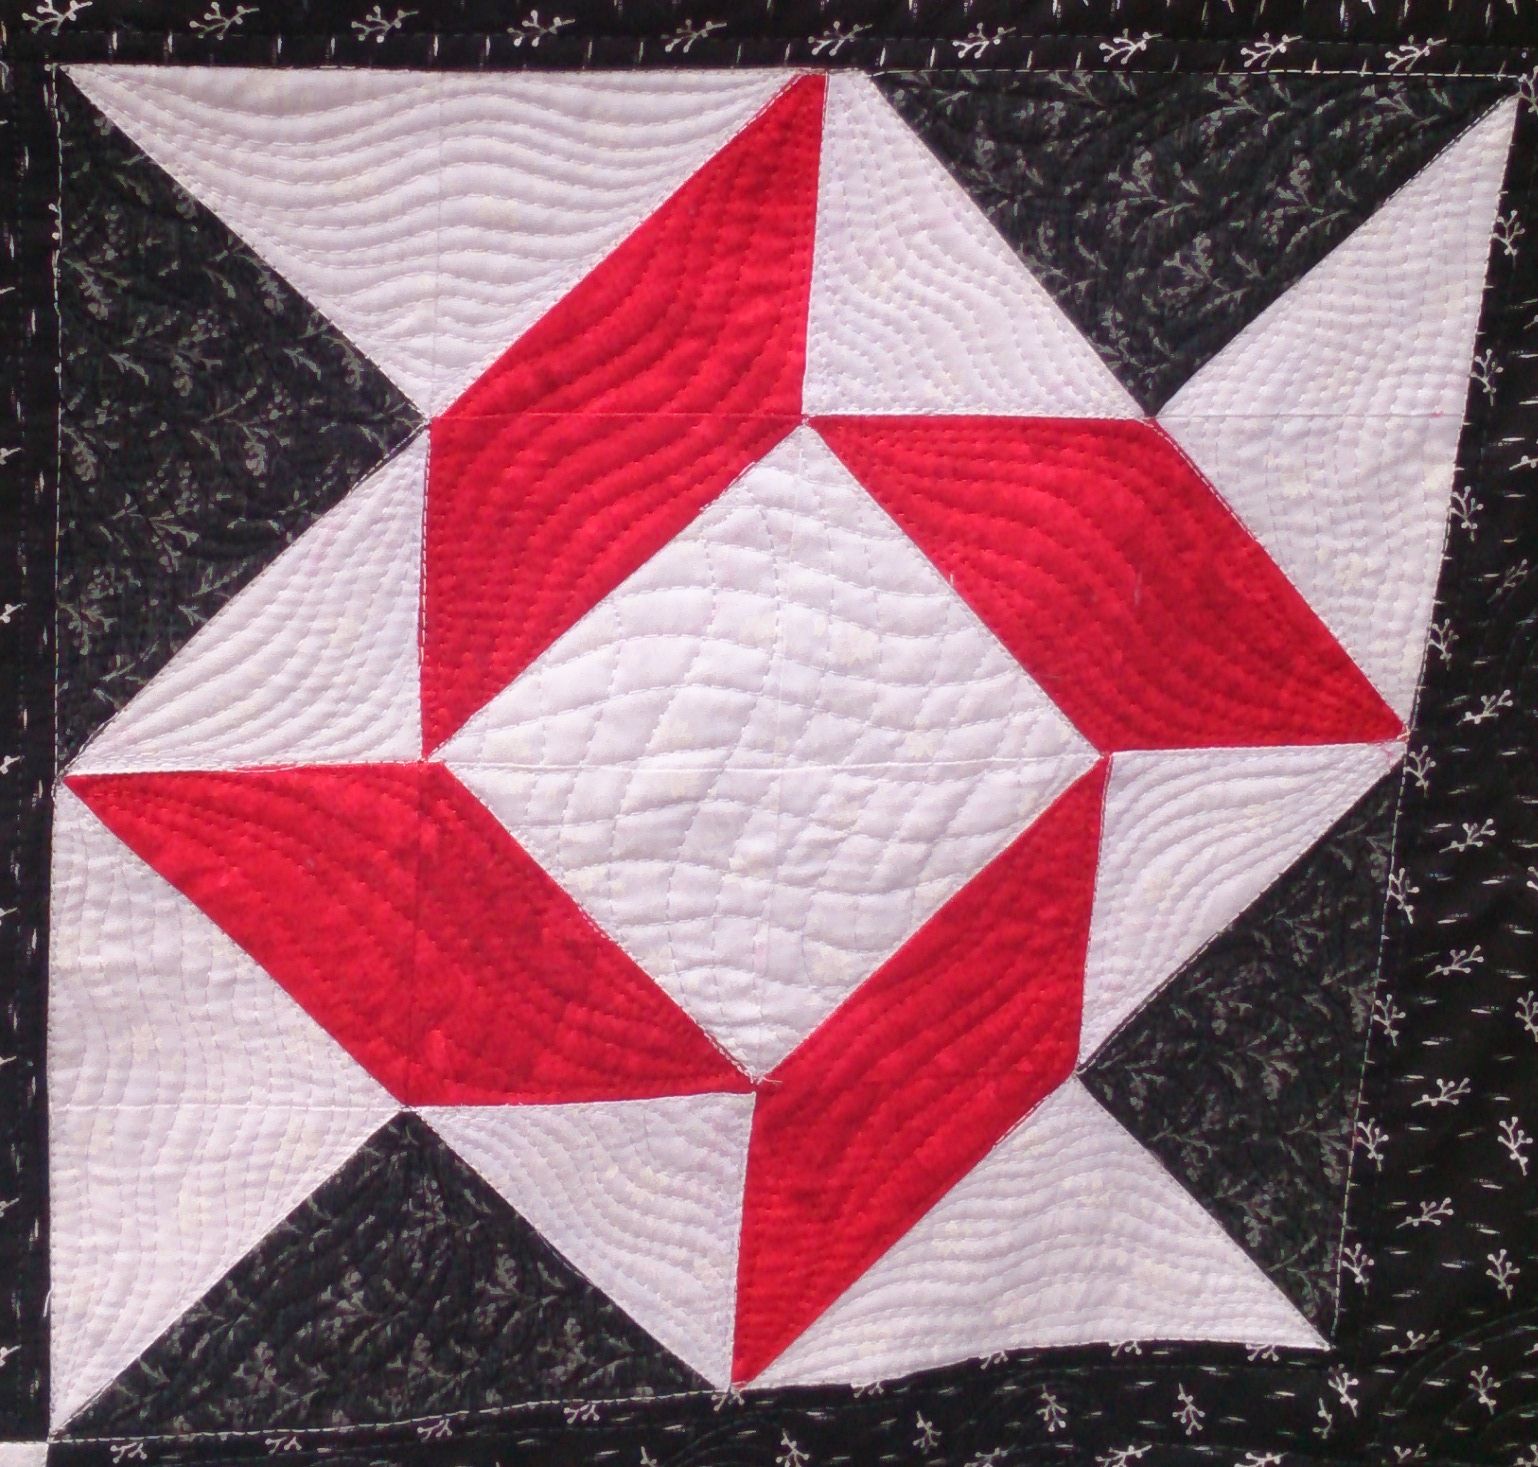
I wanted the 100th quilt to be a bit special, so I chose this stunning red, black, and white one from the most recent bundle. I decided to ‘custom’ quilt it, with different motifs in each block, different colours, various ruler work, etc. It took me about 12 hours to quilt this quilt from beginning to end.

I started by stitching in the ditch around all the blocks (what fun — NOT! — but it had to be done), then around all the centre pieces of each block to hold everything down and stabilise the quilt for quilting. Then I did all the stitching in red, followed by all the stitching in black, then finally all the white stitching, before finishing with a charcoal grey thread in the sashing strips and the large borders.

Deciding how to quilt each block was the hardest bit. Some designs immediately sprang  out, but others I agonised over for a while — I even read and reviewed two books while waiting for the inspiration to come for these blocks 😉 I was pleased with all the blocks, but some more than others. And if I did something similar again, I’d stabilise the borders with a light basting stitch fairly early on as the heavy stitching in the blocks meant that the borders got a bit puffy and unmanageable.

(Click on a photo to view it larger; note: it was a windy day when I took these photos AND I was using the camera on my new tablet, which means that some photos are not as crisp as I would’ve liked)

quilt100_01

quilt100_03

quilt100_08

quilt100_09

quilt100_07

quilt100_06

quilt100_05

quilt100_04

quilt100_02

quilt100_10

Borders and sashing — large and small spirals joined by a single centreline stitch:

quilt100_12

quilt100_11

Threads used:

  • Top: Red: Robison-Anton ‘Tuxedo Red’ (rayon, 40 wt, colour 2420); Black: Robison-Anton ‘Jet Black’ (rayon, 40 wt, colour 2632); White: Fil-Tec Glide ‘White’ (trilobal polyester, 40 wt, colour 10000); Charcoal: Floriani (rayon?, 40 wt, colour PF488)
  • Bobbin: Bobbinfil (white and black, 70 wt, cotton)


Community Quilt 99

5 08 2013

This quilt was very dark and sombre, so I sparked it up a little by stitching it with a variegated thread in blue, green, purple, and yellow. I used an all-over continuous line quilting design — the squared-off variation of the headband motif I use a lot.

There was only one problem with this quilt — I don’t think the navy backing fabric had been pre-washed, as I got all sorts of staining over my Sweet Sixteen table overlay. It is particularly bad where pins have lightly scratched the overlay as the staining is in those grooves. I’ve tried a couple of cleaning options with no effect as yet….

(Click on a photo to view it larger; note: photos not super clear — I’m still trying to get used to the camera on my new tablet)

quilt99_01

quilt99_03

quilt99_02

IMAG0962

Threads used:

  • Top: Superior King Tut ‘Cairo’ (40 wt, cotton, colour #932)
  • Bobbin: Bobbinfil (black, 70 wt, cotton)


Community Quilt 98

5 08 2013

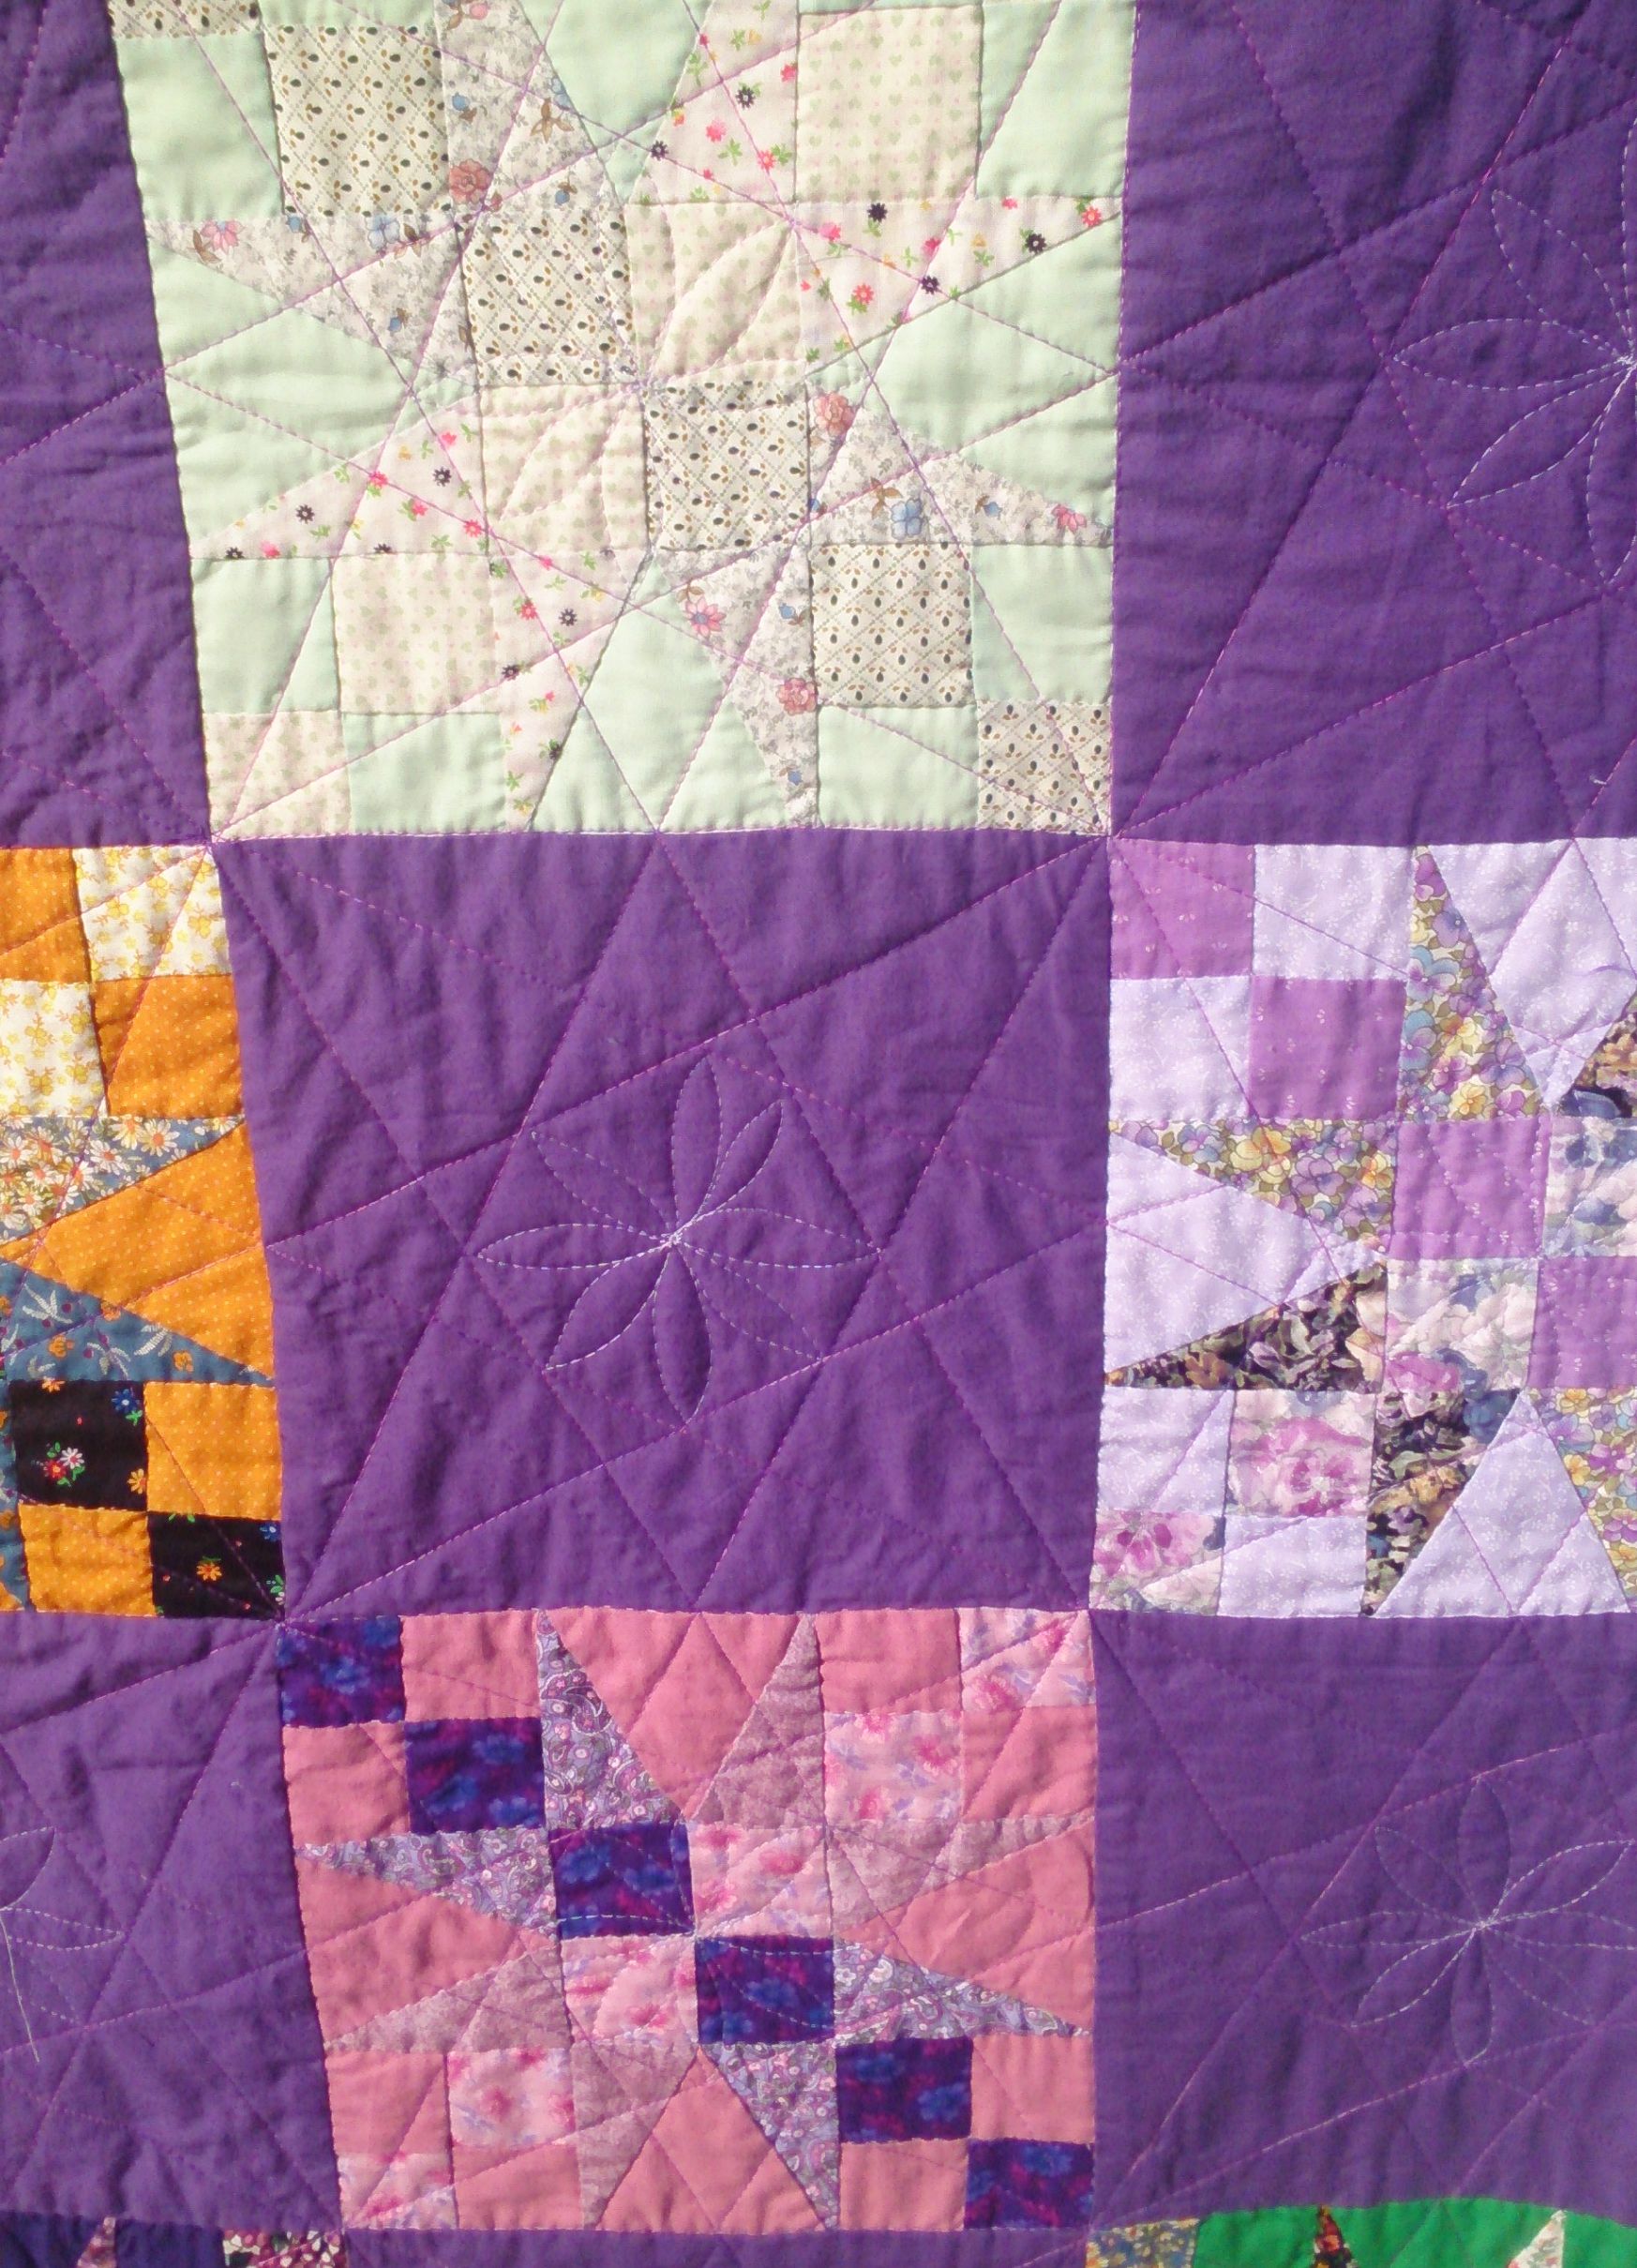
I had to put my new ruler skills into practice, so I quilted this colourful quilt with wonky stars in a variegated pink/purple thread. After doing the plain blocks, I then did the same with the multi-coloured blocks, then added a little centre flower to each of the blocks to beat the puffiness and lumps into submission.

I sewed free motion stars in a light mauve thread in the border, and did a little bit of scallop work in the sashing border, with a little flame coming out of the dip.

(Click on a photo to view it larger)

quilt98_01

quilt98_02

quilt98_03

Threads used:

  • Top: Superior King Tut ‘Egyptian Princess’ (40 wt, cotton, colour #947); Isacord (40 wt, trilobal polyester, colour Fb 3040)
  • Bobbin: Bobbinfil (white, 70 wt)


Yummy frypan vegetarian ‘lasagne’

4 08 2013

I would have linked to this recipe from Kirsty Carre had I been able to find it on www.thewest.com.au, but it wasn’t there. It was published in ‘Eating In’ section of The West on Thursday 1 August, and I made it on Friday night. There was WAY more than the two of us could eat (I noticed it ‘Serves 6’ later…), so I packaged some up into takeaway containers and froze it for future ready-to-heat meals. As per usual, I adapted the recipe a bit 😉

I’d like to thank Kirsty for this recipe — it’s a winner and SO easy to make. And it tastes darned good too! And no fiddling about with lasagne sheets and layers 😉

Serves 6

  • 1 x 250 g frozen spinach, thawed
  • 2 cups ricotta, drained (you could get away with 1 cup)
  • 1/4 cup grated parmesan
  • 500 g spinach and ricotta ravioli (I substituted spinach and ricotta agnolotti and it was fine)
  • 2 tbsp olive oil (I just used a tiny squirt)
  • 2 garlic cloves, chopped (we don’t eat garlic, so I added 3 chopped dried chillis instead)
  • 700 g bottle tomato passata
  • 1/2 cup grated mozzarella
  1. Squeeze out as much moisture as possible from the thawed spinach and set aside in a small bowl. In another bowl, mix the ricotta and parmesan together; if it’s too thick, add a splash of milk to thin it a little. It should be like a paste, NOT runny.
  2. Bring a saucepan of water to the boil and add the pasta and cook for the required time.
  3. Gently heat the oil in a deep-sided frypan (one with a heatproof handle if you decide to put this under the grill). Add the garlic (and/or chilli), then the tomato passata. Stir.
  4. Drain the pasta, scatter it over the sauce and lightly stir it through the sauce.
  5. Top with the spinach, then the ricotta/parmesan mix, then the mozzarella.
  6. EITHER: put the lid on the frypan, turn the heat down to low and cook until the cheese melts on top; OR place the frypan under the grill for a few minutes to melt and lightly brown the mozzarella.


Scrappy placemats

3 08 2013

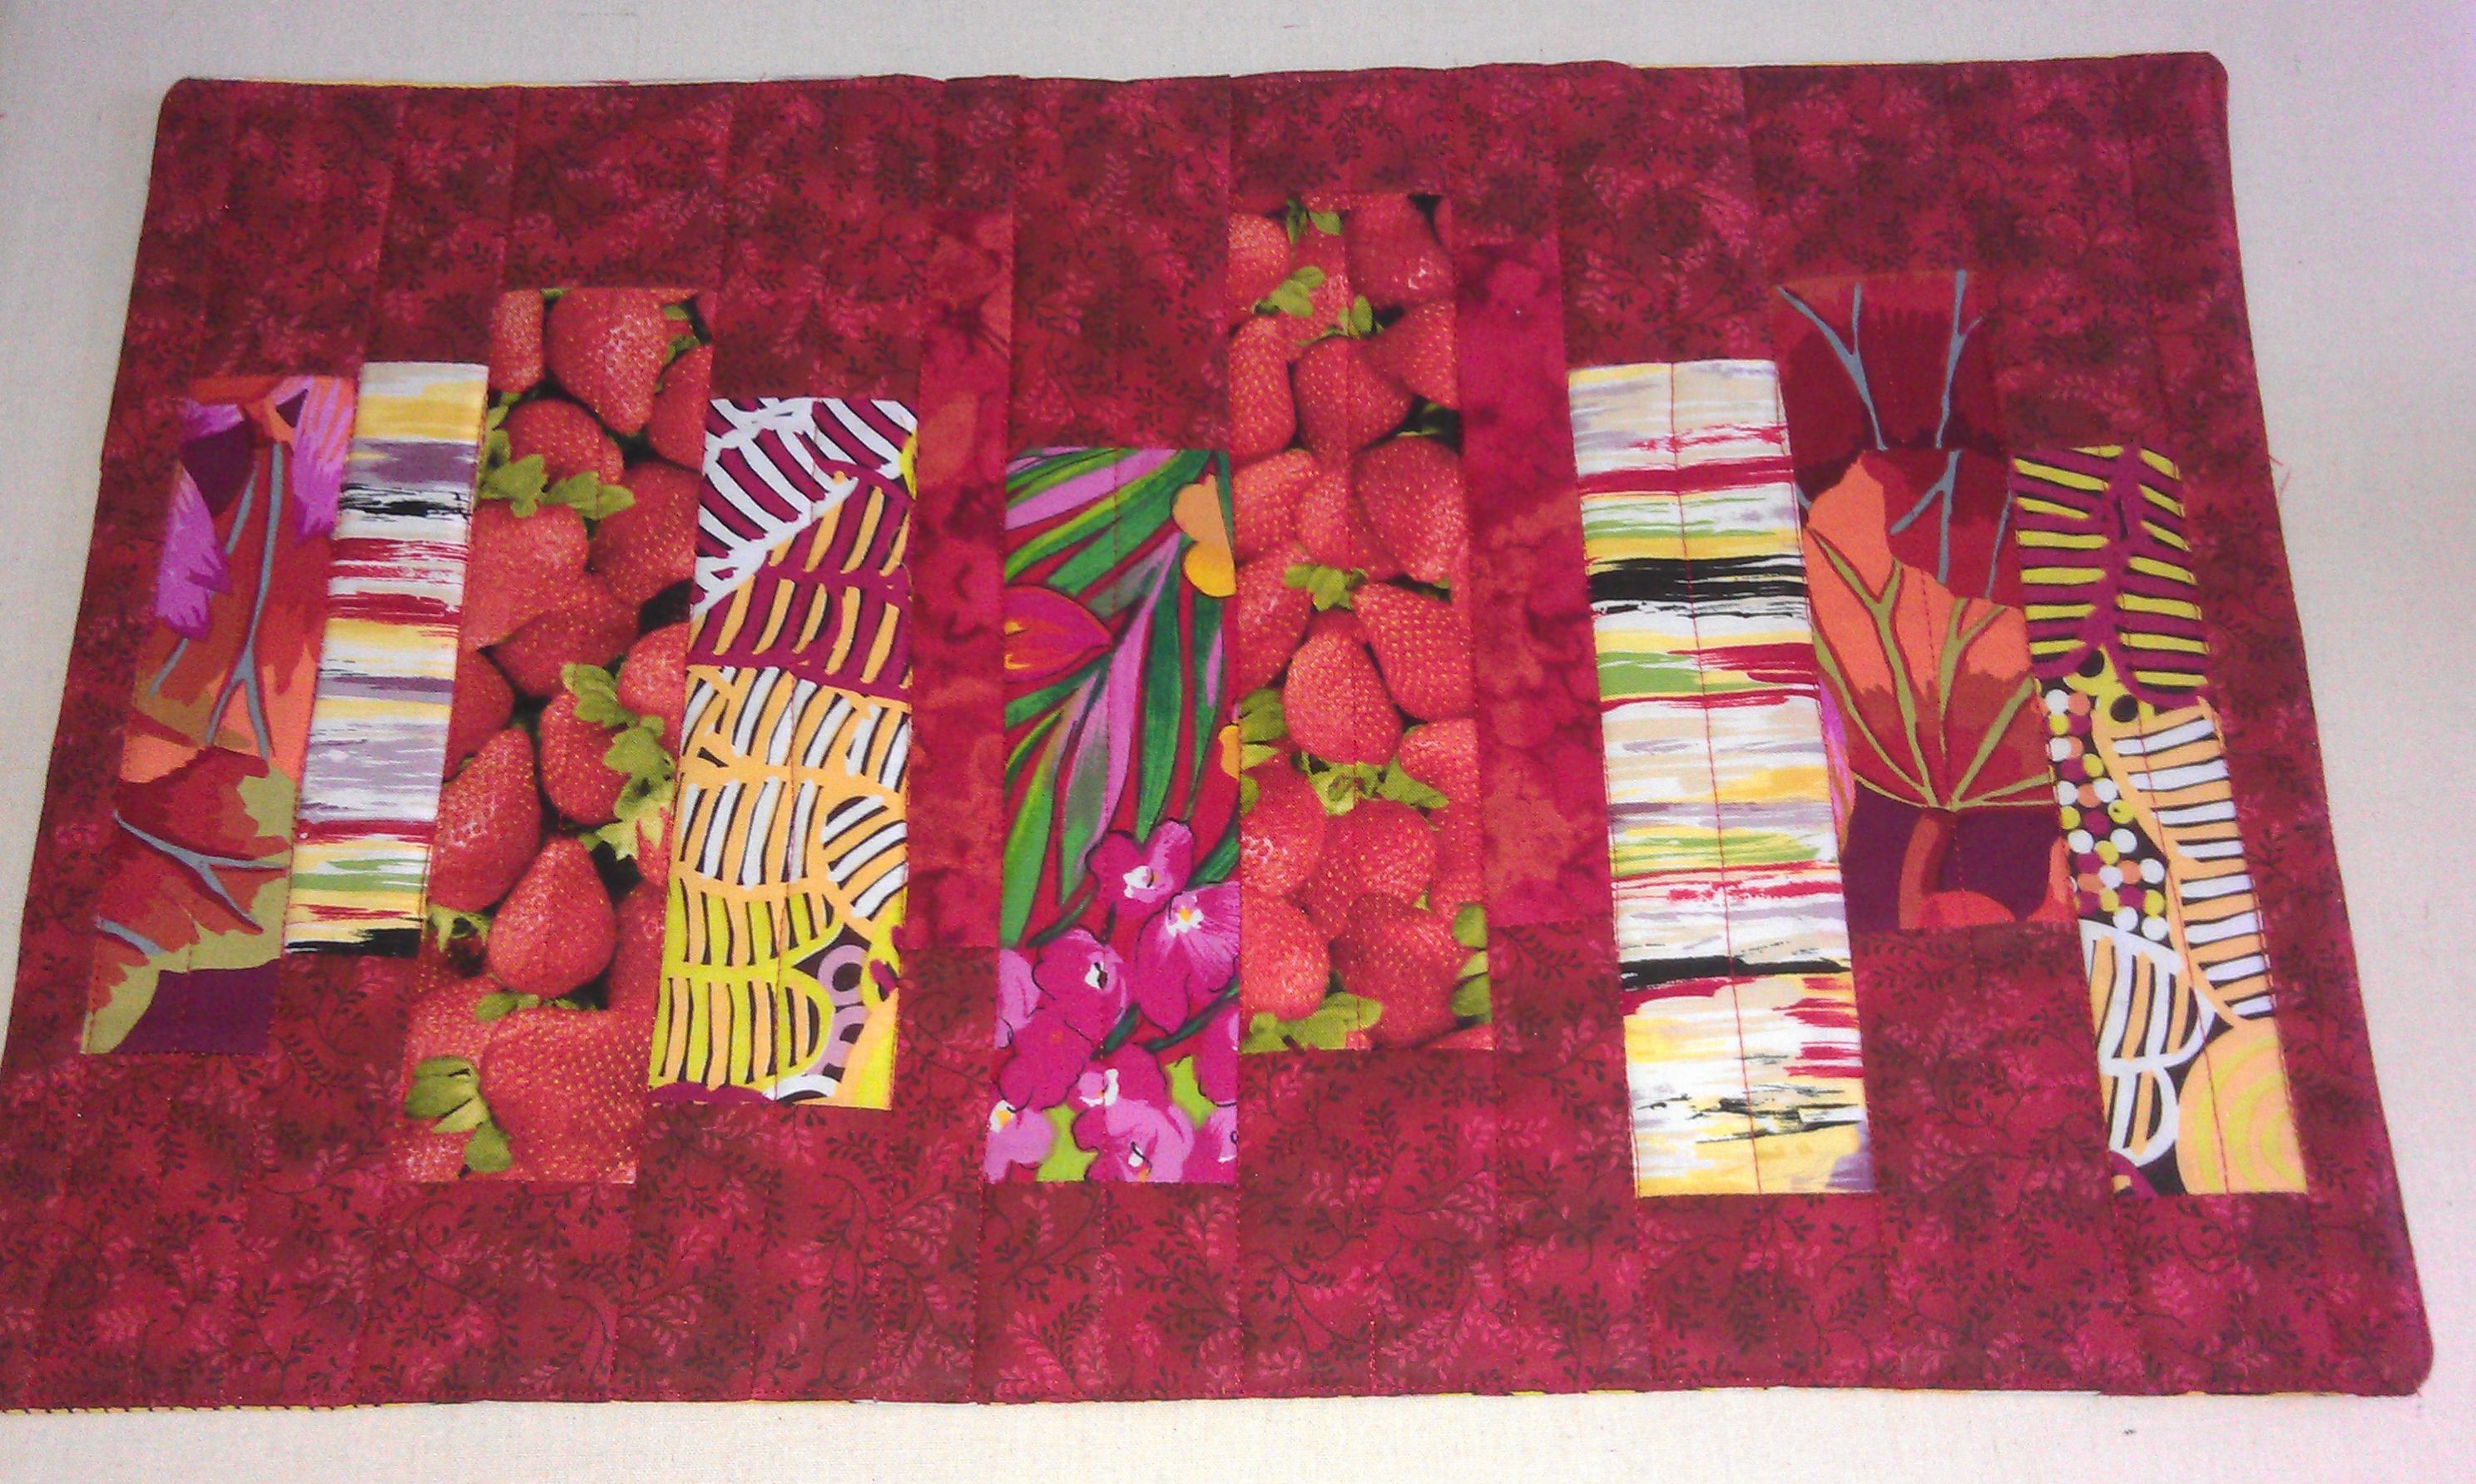
A friend in Connecticut asked if I had any of a particular red fabric left as she’d like me to make a placemat or two from it. I did have some of that fabric left, but definitely not enough for two placemats, but I figured that I could get two out of the fabric if I used it judiciously.

I decided to do a ‘modern quilt’ themed design that I made up, using her favourite red fabric as the main ‘background’ and scraps of coordinating red fabrics as the staggered strips. And as I had quite a bit of red fabric scraps still left over, I decided to make the backing out of those and thus make these placemats reversible. It took a lot longer to make these two placemats than I had initially thought, probably because I didn’t follow a pattern and because my scraps were all odd widths that I had to fiddle with ;-).

I sandwiched the placemats with insulated batting to protect the table from hot plates, and just stitched vertical lines to hold the quilt sandwich together. I was quite pleased with how they turned out, though the photos don’t show the depth of colour in some of those reds.

The vertical sides are the fronts and the horizontal sides are the backs.

Click on a photo to view it larger.

placemats_02

placemats_01

placemats_03

placemats_04

She received them today, some 6 weeks after I sent them, and absolutely loves them 😉