Community Quilt 189

21 02 2015

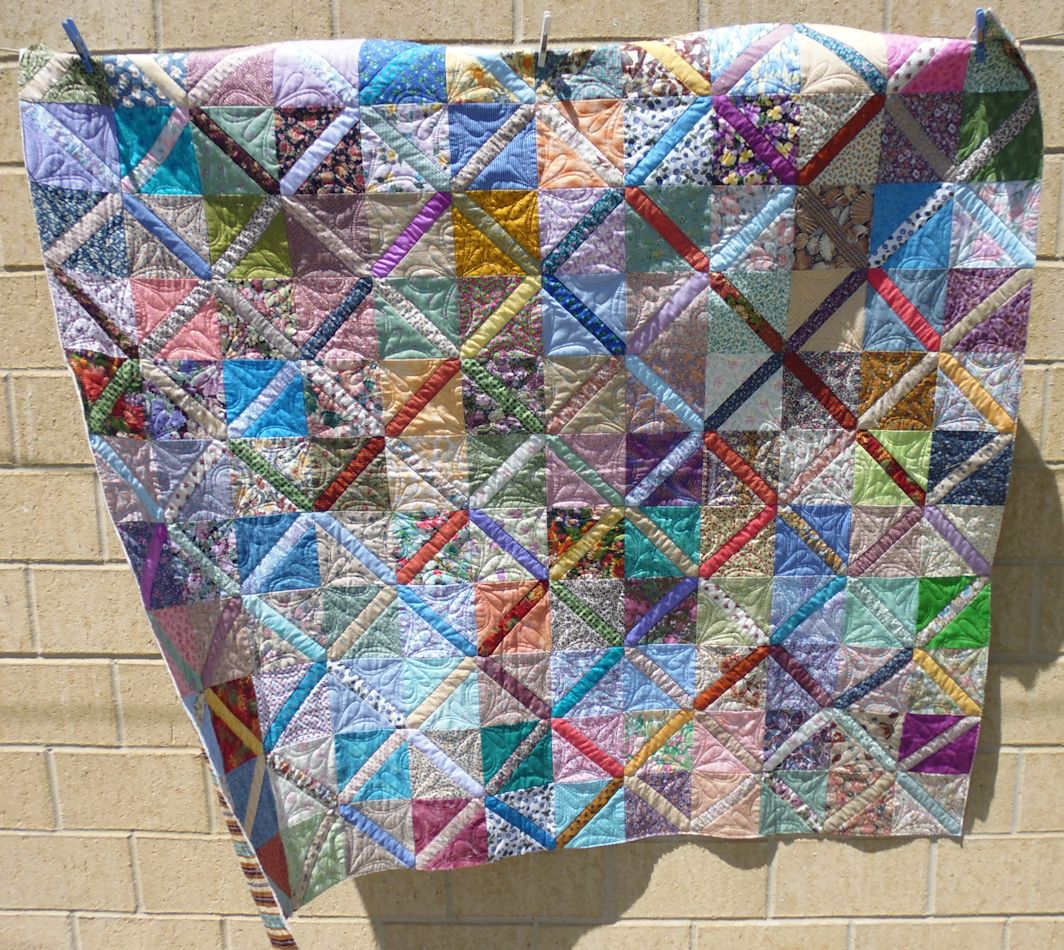
This was a big quilt, with big pinwheel-type blocks. It was nice and square and well-constructed using some lovely fabrics (colour as well as ‘hand’).

How to quilt it?

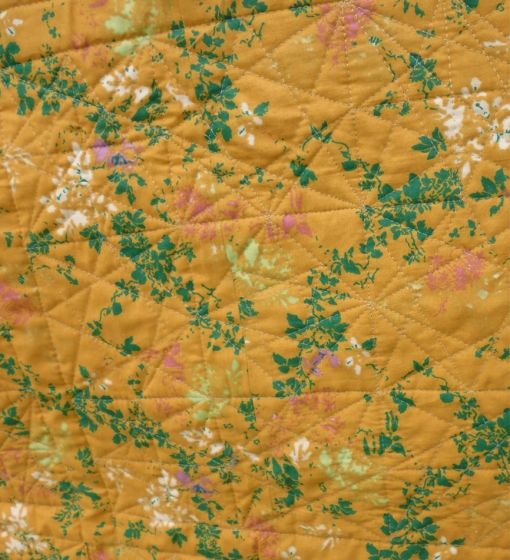
First, I stitched in the ditch around all the blocks using a matching Invisifil thread to stabilise the quilt. Then I free-motion stitched big brown leaf motifs in the brownish pinwheels, followed by big green leaf motifs in the green pinwheels. I used the same green thread for the large circles in the border.

(Click on a photo to view it larger)

quilt189_04


quilt189_02

quilt189_01

quilt189_03

Threads used:

  • Top: Robison-Anton ‘Date’ (40 wt, rayon, colour 2290); Madeira (40 wt, rayon, colour 1106 [yellow-green]); Wonderfil Invisifil (100 wt, colour IF 168)
  • Bottom: Fil-Tec Magna Glide Classic pre-wound bobbin (dark gray)


Community Quilt 188

15 02 2015

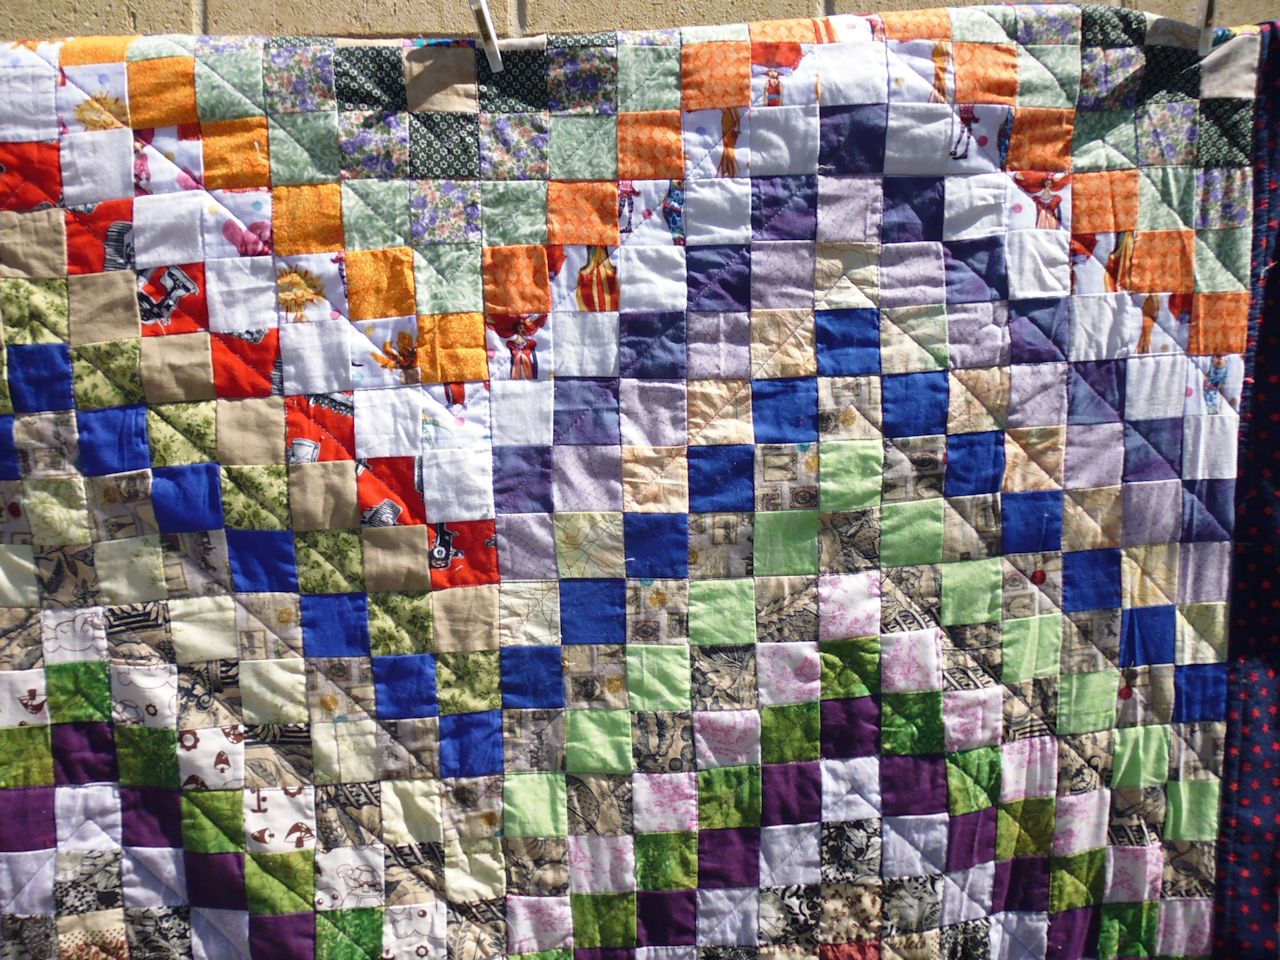
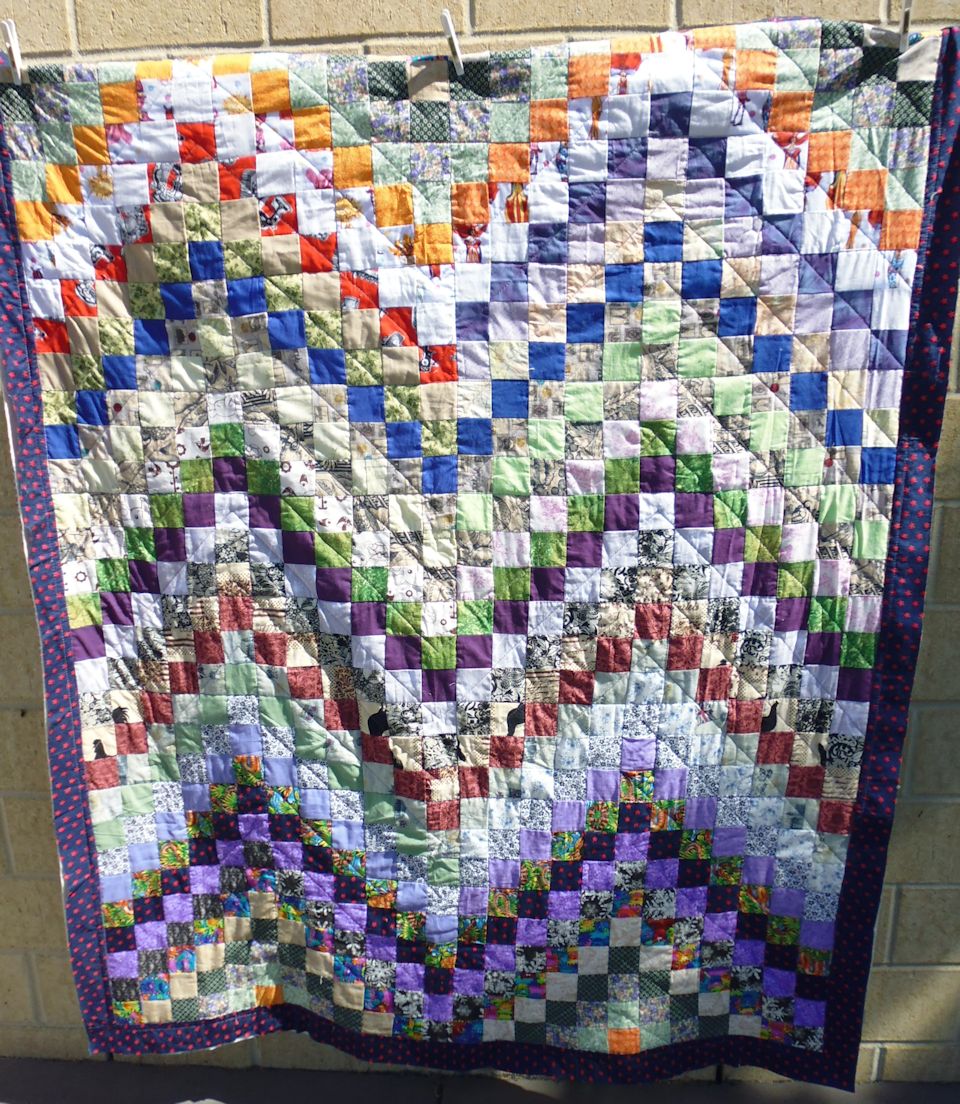
This was a BIG scrappy quilt, made up of lots of 2″ squares in a sort of chevron pattern.

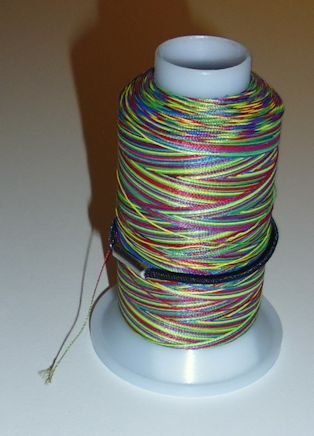
My first task was to stitch  in the ditch to stabilise it (there were quite a few wonky seams, especially by the time you got to the border). I stitched in the ditch every 3×3 ‘block’, which helped hold it together. Then I stitched diagonally across every second chevron, following the pattern of the fabrics, and pivoting at the apex and returning down the other side of the chevron. I used a variegated purple thread.

The overall effect is of very large chevrons, which is what I set out to achieve. My Line Tamer ruler got a good workout 😉

(Click on a photo to view it larger)

quilt188_02

quilt188_03
quilt188_01

Threads used:

  • Top: Fil-Tec Harmony ‘Violets’ (40 wt, cotton, colour 14072)
  • Bottom: Fil-Tec Magna Glide Classic pre-wound bobbin (gray)


Community Quilt 187

15 02 2015

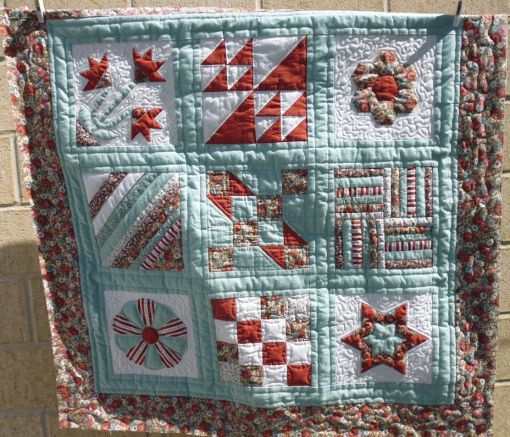
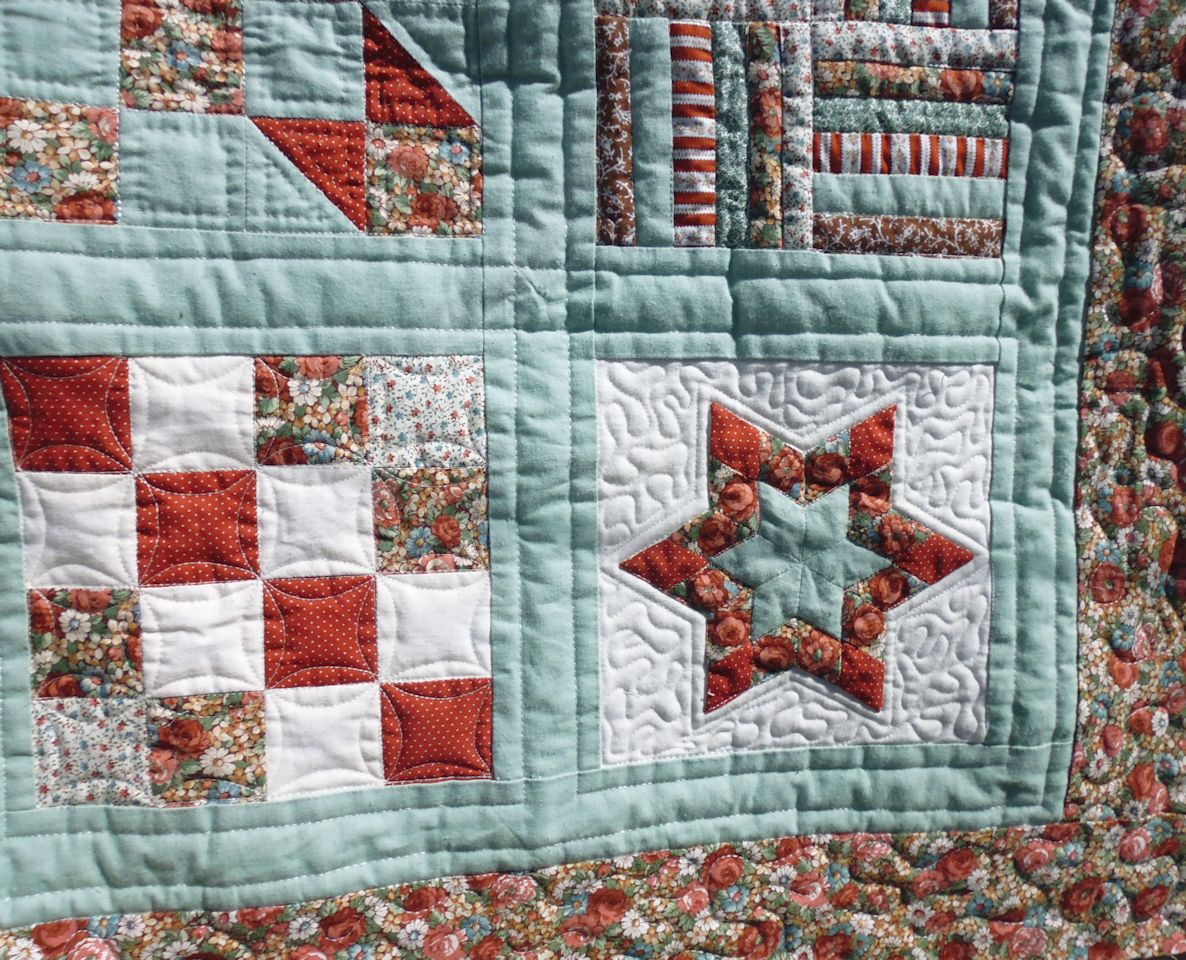
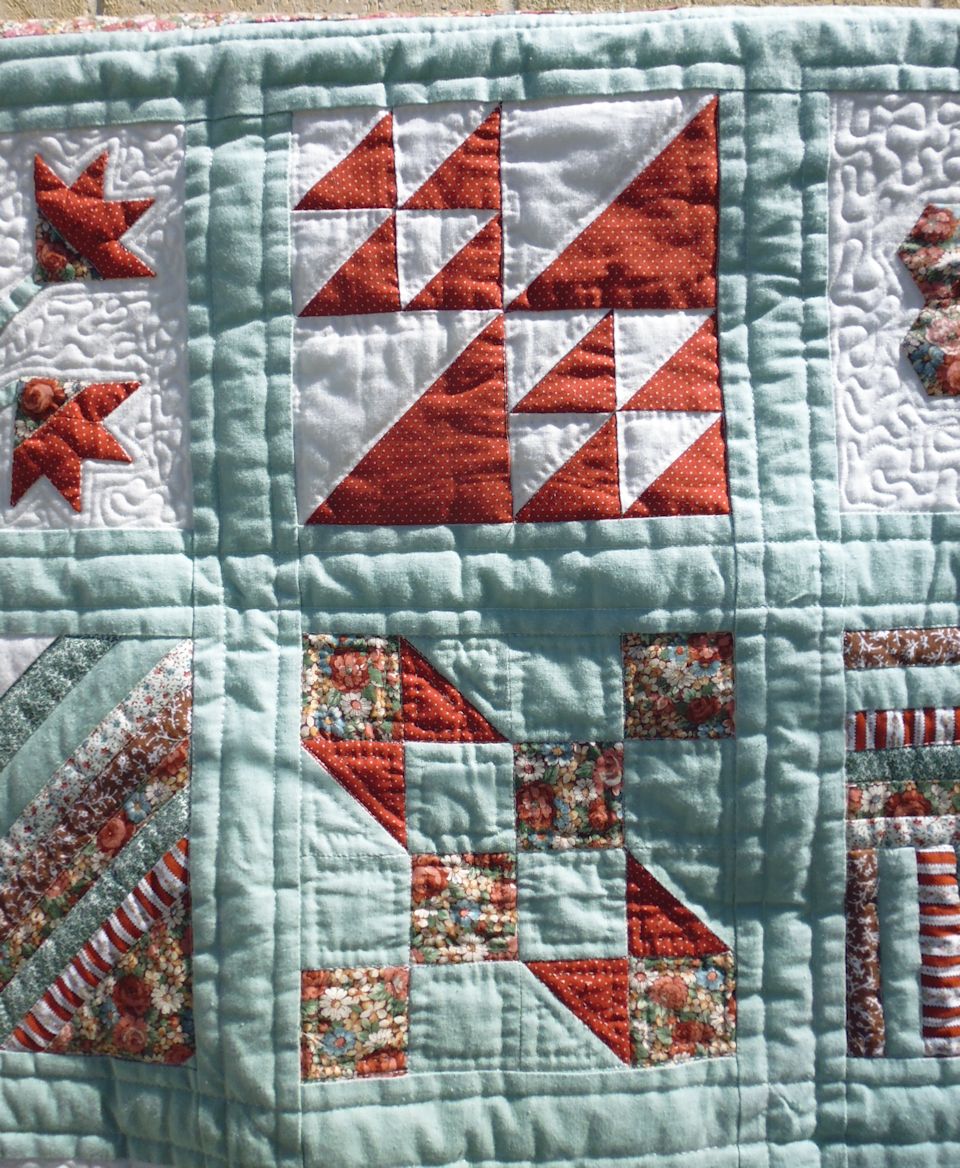
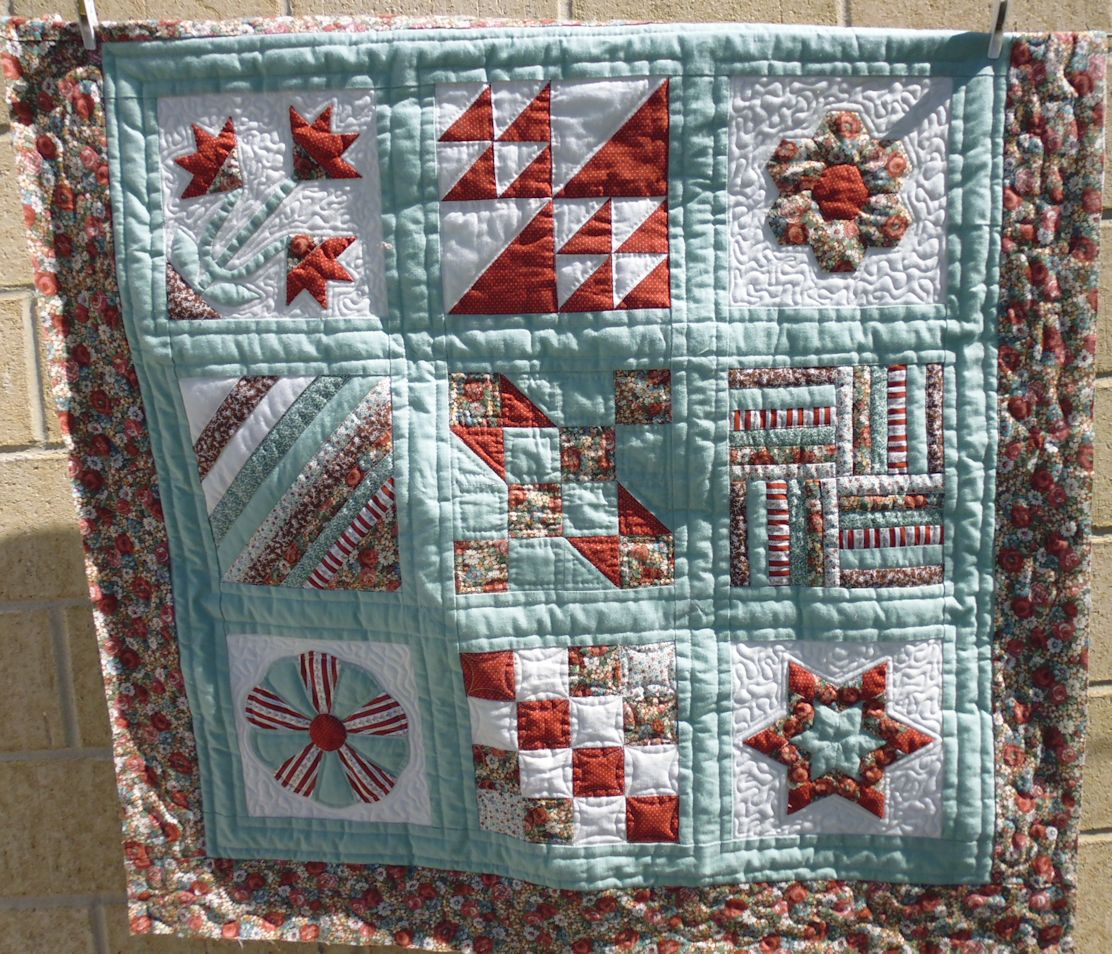
This was a special little quilt. According to the note that came with it, it was from a deceased estate and the Community Quilts coordinator intended to get it completed and handed back to the family. The original quiltmaker had started hand quilting it, but hadn’t finished. My job was to finish the quilting.

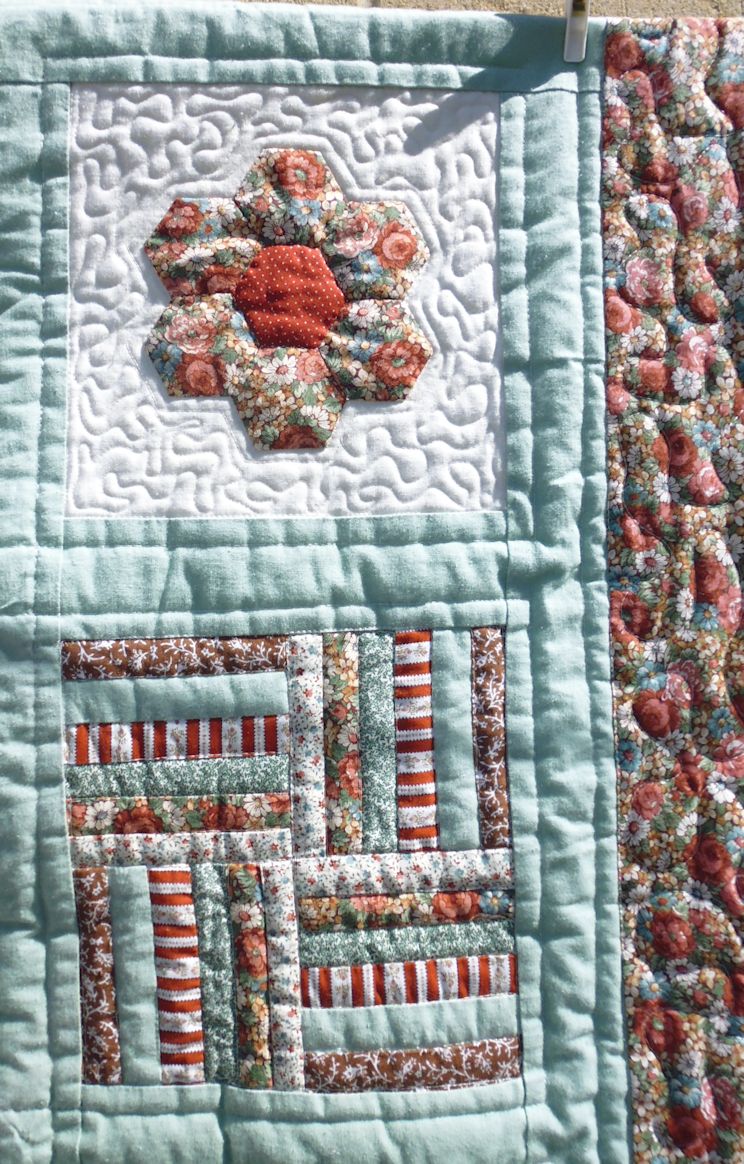
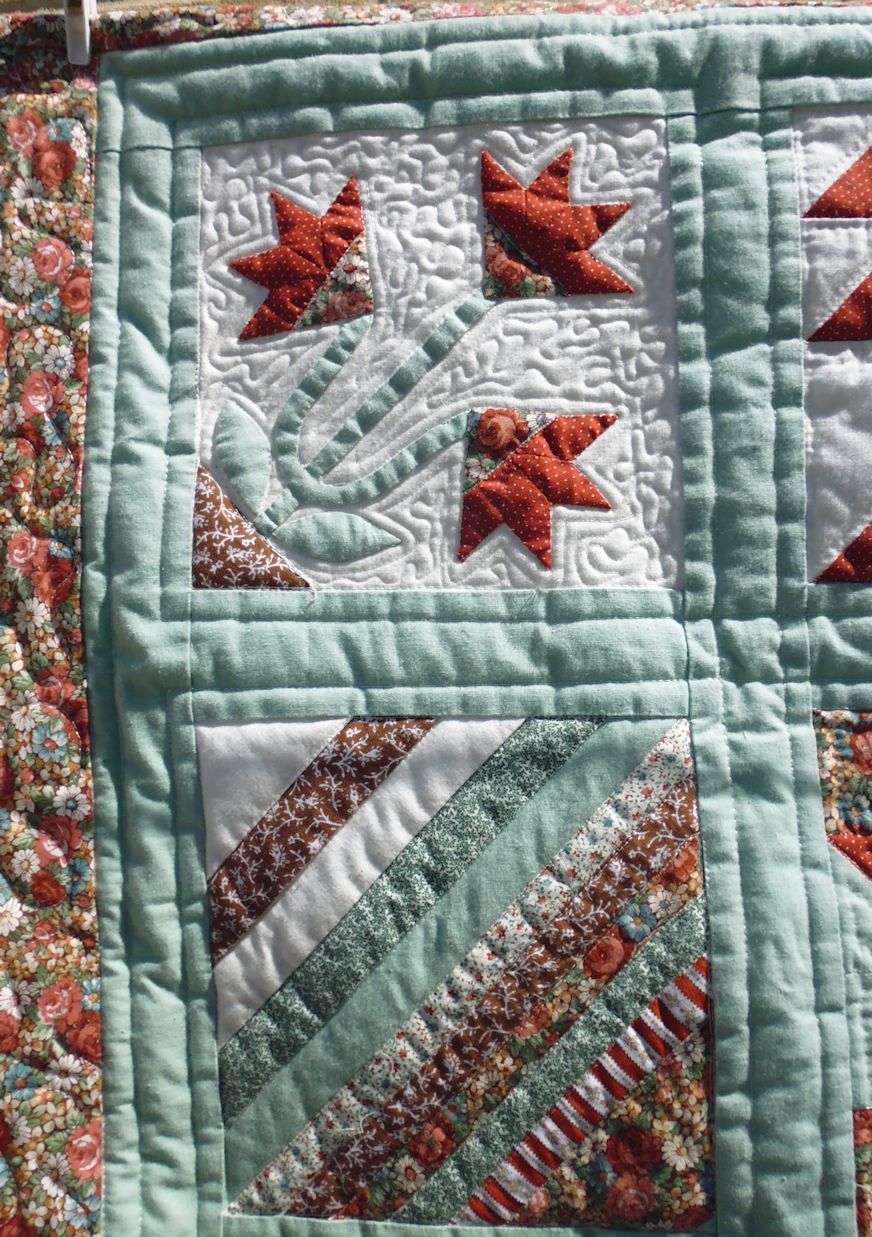
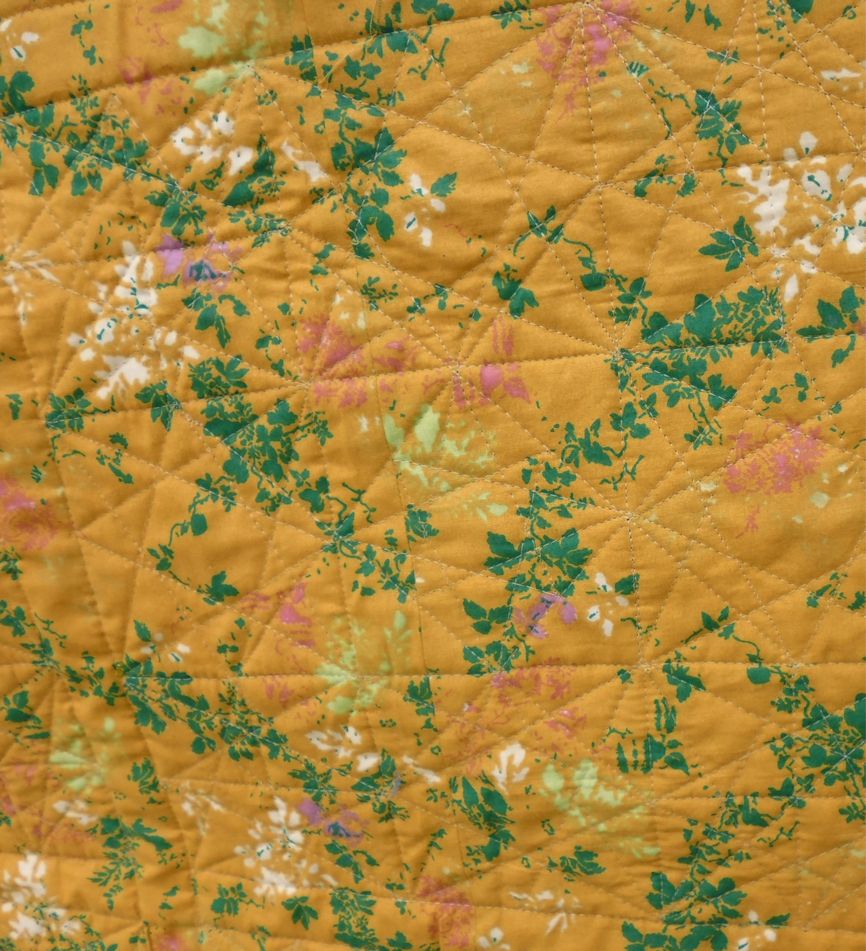
The quilt comprised a traditional set of blocks, was hand basted, and was sandwiched with a high-loft polyester batting. So my first task was to stitch in the ditch around all the blocks and the borders. Then I echo stitched around the motifs in some of the blocks and stippled the remainder of the white space in these blocks.

In the green sashing and border, I stitched a straight line a half inch from the seam line, following around the blocks and crossing over the stitching lines in the sashing joins. I did a large meandering stipple in the floral border.

I hope I did it justice and that the family appreciates getting back their loved one’s quilt.

(Click on a photo to view it larger)

quilt187_02

quilt187_04

quilt187_03


quilt187_01

quilt187_06

quilt187_05

Threads used:

  • Top: Fil-Tec Glide ‘Linen’ (40 wt, trilobal polyester, colour 10WG1)
  • Bottom: Fil-Tec Magna Glide Classic pre-wound bobbin (white)


Searching a Yahoo! Group

14 02 2015

These instructions are mostly for members of a specific Yahoo! Group I belong to, but the general principles should apply to searching all Yahoo! Groups.

Often, newbies will ask questions that others have covered some days, weeks, months, or even years ago. We were all newbies once and we all needed help at various stages, but when you’ve been on any sort of group for a while, you see the same questions seemingly a million times, so you tune out and tend not to answer — or you leave the group.

So here are some instructions for searching a Yahoo! Group BEFORE you ask a question, just to see if it’s been covered before and if there are some pearls of wisdom that have already been shared by other members.

  1. Open your Group’s page in a web browser. If you get your Group’s messages via email, the quickest way to do that is to click the link to View Your Group at the bottom of each email from the Group. (Note: Email programs may differ in how they display this link — the screen shot below is from Outlook 2010)
    yahoo_search06
  2. If asked to do so, log in to your Yahoo! Group.
  3. On your Groups’ home page, there’s a search box (it has ‘Search Conversations’ in it) near the top of the screen. Type your search word or phrase into that search box.
  4. Click Search Groups.
    yahoo_search01
  5. Your results will display, telling you how many results in total, and showing the latest message first.
    yahoo_search02
  6. If you want to narrow the search results (advisable if there are too many to deal with), click Advanced Search.
  7. Complete some of the details on the Advanced Search form, then click Search.
    yahoo_search03
  8. Your result set will be much smaller.
    yahoo_search04

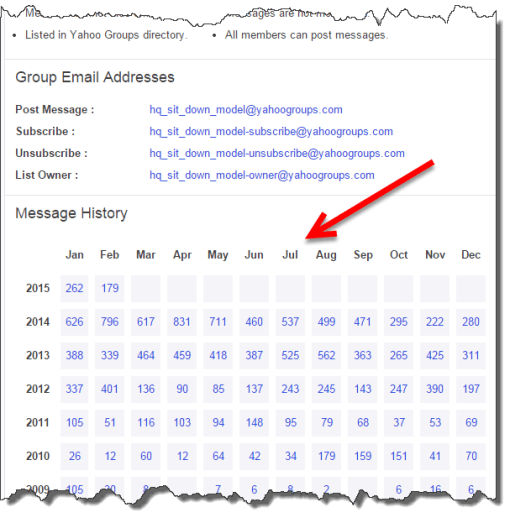
In the screen shots above, I first searched for tension and got some 2500 results, then I clicked Advanced Search, added my own name as the Author and tension as a word I wanted to find in any Message I’d sent to the Group. This time the search revealed 119 results — a much more manageable number.

Another option is to browse messages by month, which is very handy if you go ‘no mail’ for a period of time (such as when you go on vacation). The links for messages by month are at the bottom of the home page for your Yahoo! Group.

yahoo_search05


Community Quilt 186

8 02 2015

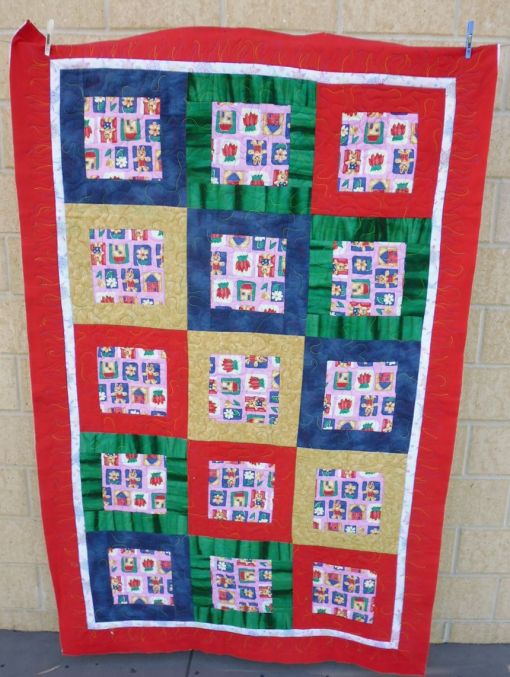
I didn’t particularly like this quilt, but that’s me. I’m sure the person who put it together liked it and I’m sure the recipient will like it.

Anyhow, my job was to quilt it and pass it back to the Community Quilts organiser.

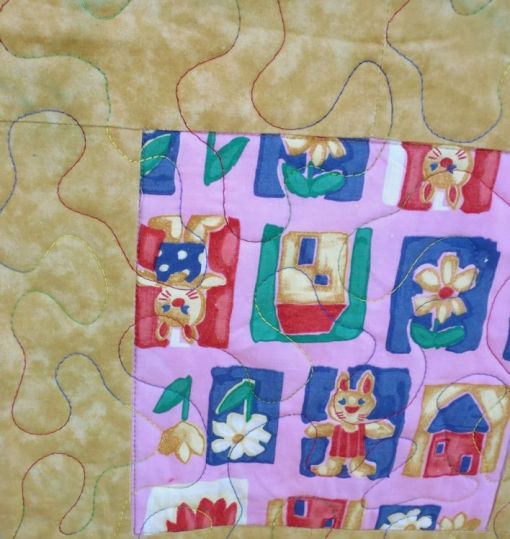
How to quilt it? With the wonkiness of the seams, and the puffiness of some of the centre blocks, I started by stitching in the ditch around every centre square and block and the first border. Then I decided to just do a simple large meandering stipple to hold it all together. I left the first border (a dotted turtle fabric?) unstitched, and stitched flames in the red border in the same variegated thread I’d used for the stipple.

(Click on a photo to view it larger)

quilt186_01


quilt186_03

quilt186_04
quilt186_02

Threads used:

  • Top: Wonderfil Silco (40 wt, colour SCM02)
  • Bottom: Fil-Tec Magna Glide Classic pre-wound bobbin (light tan)


Community Quilt 185

1 02 2015

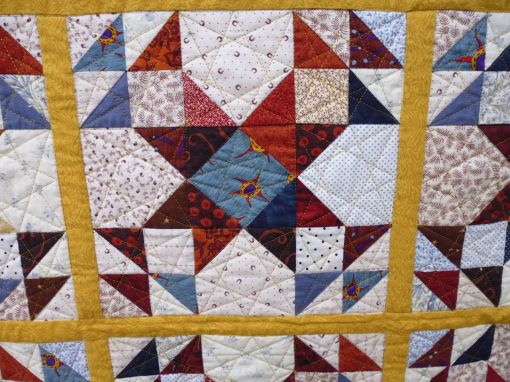
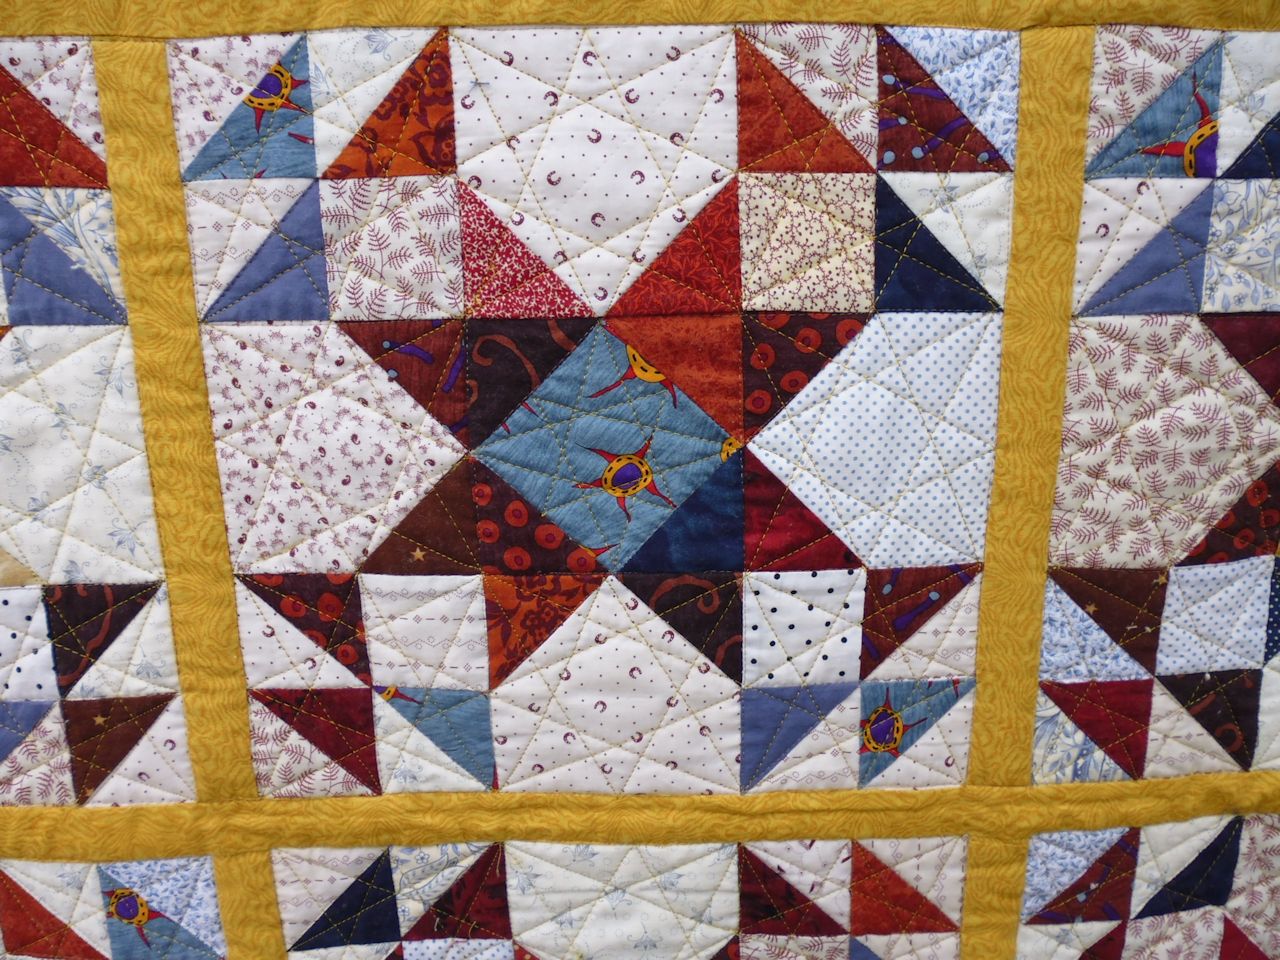
This Ohio Star variation was nicely put together. I liked the colours too!

My first step in quilting it was to stitch in the ditch ESS (every stinkin’ seam). Painfully tedious but necessary to stabilise everything. I did this with an 8o wt Deco Bob thread.

Next, I stitched wonky 8-point stars in the centre square of each big star and each block surrounding the big star. Yes, that was a LOT of stars — nine in each of the 16 blocks, so that’s 144 stars! Each star has eight lines, so that’s 1152 straight lines! Thank goodness for my Line Tamer ruler, which made the process of stitching all those straight lines MUCH quicker.

For the border, I just stitched straight lines down the centre of the squares. I left the yellow sashings and the maroon borders unstitched.

(Click on a photo to view it larger)

quilt185_01


quilt185_02


quilt185_03

Back:

quilt185_04

Threads used:

  • Top: Robison-Anton ‘Shimmering gold’ (40 wt, rayon, colour 2471); Wonderfil Deco-Bob (80 wt, colour DB 414)
  • Bottom: Fil-Tec Magna Glide Classic pre-wound bobbin (light tan)


Dolphins hunting!

30 01 2015

So, I’m driving into town late yesterday afternoon to get my hair cut. As I’m turning at a bend in the road to get to a T-junction, I see something splashing furiously in the estuary close to shore. It’s not a windsurfer, a kite surfer, a rambunctious dog, or a human that I can tell. It looks like a HUGE fish — perhaps a shark or dolphin? A couple of walkers see it too and stop to watch. I turn onto the main road, park, grab my phone (my camera was at home), watch for traffic, then run across the road and down an embankment to get closer.

It’s a dolphin! Actually two dolphins, but only one was herding/hunting in among the black swans. The other stayed out a bit, though I saw it’s dorsal fin few times. It was high tide, but the estuary is fairly shallow so the water where it was hunting was probably not much more than a metre (yard) deep. It swam through the flight of swans, causing them to scatter and get out of the way.

I took as many photos as I could (almost into the sun, and with the pressure of a looming appointment time), and downloaded them this morning to see what I was able to capture. I only got one clear photo of the dolphin splashing, but it’s proof I really did see them 😉


dolphins03 - small

What’s so remarkable about this for me is that I didn’t know that dolphins came that far up the estuary. In the map below, (1) represents where I *know* they hang out, (2) is where I saw them (some 4 km into the estuary from where they hang out in the Indian Ocean), and (3) is where I saw them again on the drive home from the shopping centre about two hours later — they were still there, again with one hanging around and the other making a BIG splash (I didn’t get any photos of this second sighting). A couple of years ago I saw a couple of dolphins in the estuary near where the ‘C’ is for ‘Old Coast Road’ on the map, near the ‘Bunbury Golf Club’ label, but I’ve never seen them this far up.

dolphins


Upside-down blinds – such a practical solution!

29 01 2015

When I visited a friend in Seattle a few years ago, he was housesitting a fabulous house. He showed me the upside roller blinds in the kitchen/dining area, which I thought were just brilliant for letting in light while maintaining privacy. With normal top-down blinds, you have to pull them all the way down to get privacy, and that can block out light, especially if they are block-out blinds. But with these bottom-up blinds, you pull the blind up to the height you want to give you privacy, but there’s enough space above to let in light and air.

As I needed to change the impractical slimline metal venetian blinds we had in some rooms, I looked at window treatment options that would maintain privacy, let in light, and allow the window to be open to let in fresh air, without the window treatment impeding any of those things. For the spare bedrooms, I choose vertical blinds as they fitted all the criteria.

But for the second bathroom and toilet, I had to think outside the box. Verticals, curtains, and side-opening honeycomb blinds weren’t practical for either situation, and top-down roller or Roman blinds would have impeded air flow and only given privacy if pulled all the way down.

I remembered those bottom-up blinds in Seattle! So I went searching on the internet and in local blinds stores and found that all the local retailers were unfamiliar with bottom-up roller blinds, but most had a honeycomb (aka duette, cellular) blind option that could be opened from the top or bottom — or both. In all cases, they didn’t sell many — possibly because they are fairly new to Australia, but also because they are MUCH more expensive than the usual top-down honeycomb blinds.

But that’s what I wanted.

They were installed yesterday and I’m very pleased with them. They are VERY practical. In the second toilet, they allow ventilation through the top opening of the window (the old venetians either blocked this, or rattled a lot whenever there was any wind), and can be pulled open from the top to allow privacy, while also allowing light. In the second bathroom, there’s a large fixed window with a small left-opening window at the top. This type of window is ideal for this sort of blind as the blind can cover the main window (thus offering full privacy), without covering the top section — thus allowing light and air into the room.

Thanks Craig for showing these to me in Seattle!

P1030233

P1030234


Community Quilt 184

29 01 2015

This was quit a large quilt, but fortunately it didn’t have any bias edges and most of the seam joins were nice and flat. First, I stitched in the ditch along every diagonal strip (painfully tedious, but had to be done).

Then, because there were a lot of floral scrappy fabrics in this quilt, I stitched an 8-petal flower motif in the centres of each each on-point block. Instructions for doing these flowers are here: https://rhondabracey.com/2015/01/27/quilting-an-8-petaled-flower/

(Click on a photo to view it larger)

quilt184_03

quilt184_02

Back:

quilt184_01

Threads used:

  • Top: Wonderfil Deco Bob (80 wt, DB 414)
  • Bottom: Fil-Tec Magna Glide Classic pre-wound bobbin (light tan)


Quilting an 8-petaled flower

27 01 2015

In a recent Community Quilt (blog post to come), I stitched heaps of 8-petaled flowers in the centre of each on-point block. I took some photos and with some (very) rudimentary computer drawing skills, I’ve tried to describe how I stitched it (I still don’t have the hang of videoing anything!! and my computer-drawn lines leave a lot to be desired…)

Basically, you start in the centre, loop out to a corner, then back down through the centre to the opposite corner in a fat-topped figure eight fashion (let’s assume you do the first one vertically), then scoot back through the centre and make another figure eight going on the other plane (e.g. horizontally). You don’t stop and start for the entire flower, just cross over in the centre point.

After making your two big figure eights, you swing back to the centre and make two smaller and narrower figure eights to fill in the gaps between the large one.

Then you swing back to the centre again and echo stitch inside the fat figure eights so that there’s a double line for them. And that’s it.

It’s certainly much easier to do than to describe! Hopefully the pictures and the diagram below will help.

This is what the finished flower looks like:
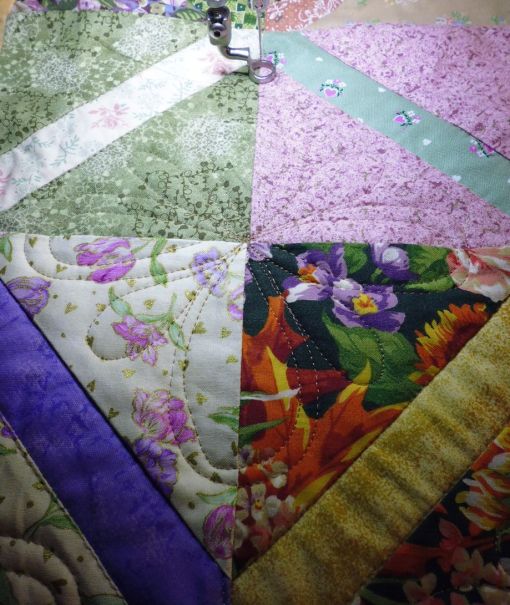
FMQ_flower_design11

And this is how I got there. First, start in the centre and loop out to a corner, swinging back to the centre.

FMQ_flower_design01

Next, finish the bottom of that figure eight.

FMQ_flower_design02

When you get back to the centre, keep stitching and loop out to the horizontal plane, doing another figure eight to the left….

FMQ_flower_design03

…and then to the right (or whatever feels most comfortable for you).
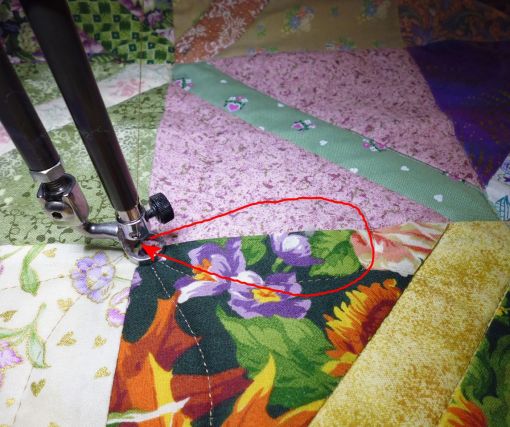
FMQ_flower_design04

Swing back through the centre again, and this time stitch a smaller, narrower petal in between two of the large loops.

FMQ_flower_design05

Swing through the centre again and repeat on the opposite side.

FMQ_flower_design06

Next time you come back through the centre, swoop to the left to make another skinny loop, and repeat on its opposite side. (no photos for this figure eight — however, you can see the stitching in the photo below)

After completing all eight petals of your flower, add some extra oomph to the large petals by echo stitching about 1/8 to 1/4  inch inside each one — you don’t have to be precise!

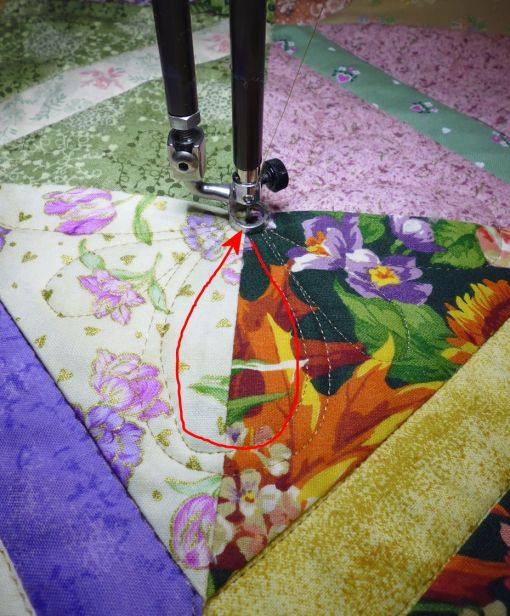
Swoop back down inside one of the large petals and echo stitch it from the centre, around the loop, and back to the centre.
FMQ_flower_design07

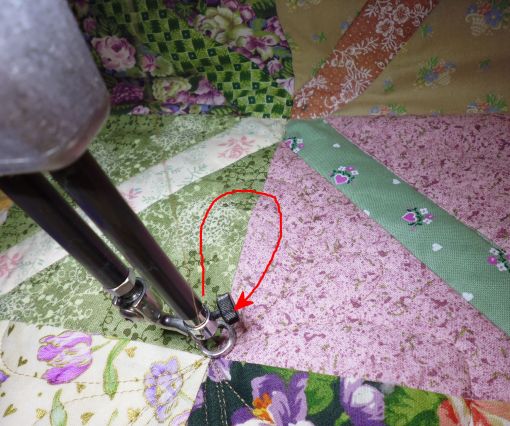
Keep on stitching through and echo stitch the opposite fat petal.
FMQ_flower_design08

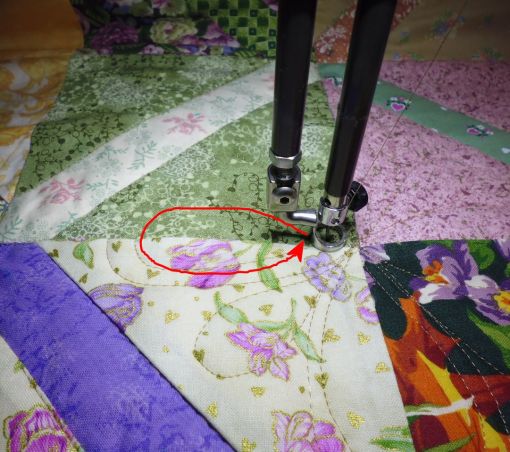
Swoop back through the centre and echo stitch inside the last two petals, forming yet another figure eight through the centre of the design. Again, unless you are using plain fabric, you don’t have to be perfectly precise with where your centres cross — the crossing point will get lost in the fabric design.
FMQ_flower_design09

FMQ_flower_design10

And you’re done! Here it is all stitched out:

FMQ_flower_design11

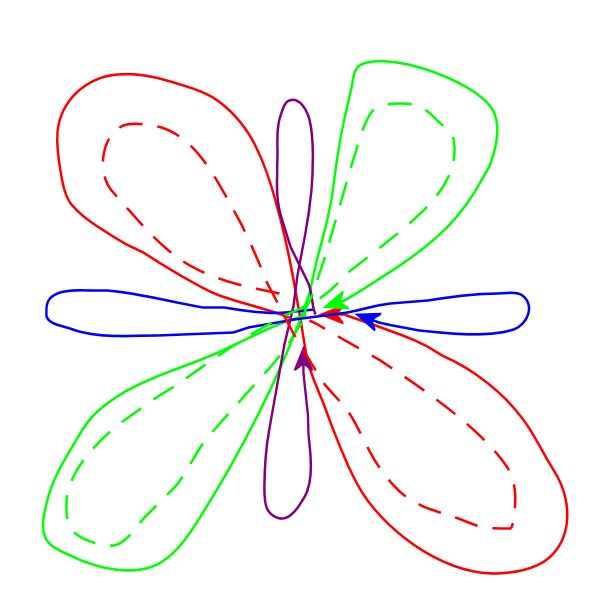
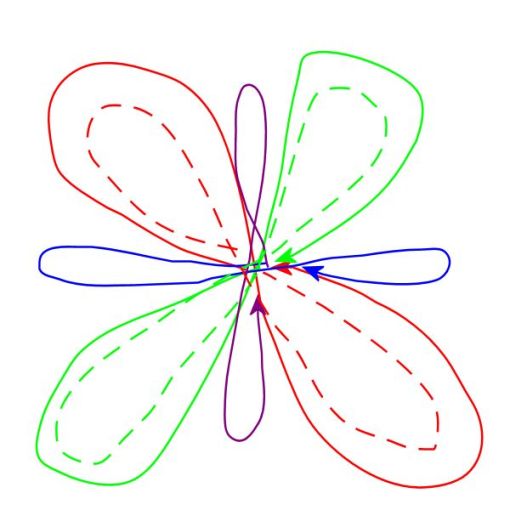
And below is a really basic drawing of the stitching lines — each colour is another figure eight loop/infinity symbol, with all crossovers occurring in the centre of the block.
FMQ_flower_design12