MacGyvering a solution

3 10 2016

Handi Quilter have brought out an LED light strip for their machines. It plugs into a USB connection on your machine, or into a USB charger thingy at the wall. Unfortunately, I have an earlier Sweet 16 model so there’s no USB connection on my machine. And the LED strip has a SHORT cord to the USB end — way too short to reach to a power outlet near the floor (yeah, that was really bad design — for around $70, I expected a cord at least 1 m long, not one that’s only about 50 cm).

My first solution was to use a USB extension cable plus a USB charger thingy to plug into the wall. However, I have other things plugged into that same wall socket, so that was no good. The next solution (as suggested by my dealer) was a power board (aka power strip in other parts of the world) that takes a USB plug and then push it out of the way into the back of one of the side openings under the table.

Well, that sounded fine in theory, but in practice was actually quite difficult. Why? Because any power board is already quite thick and when you plug a power cord into it, the combined height is MUCH more than the height of the table opening! (yes, there’s a reason I know this….) Turning the board on its side didn’t work either. So I looked at the back of the board and saw there were some notches for hanging the board from nails. Perhaps I could screw some nails into the back of my table? But the power board I purchased was quite long and wouldn’t fit at the back of the machine. One reason the board is long is that it has an on/off switch (this is IMPORTANT because you don’t want to have to reach behind the machine to the wall outlet to turn it on and off! You can leave your machine plugged into an ‘always on’ wall outlet because you have a separate on/off switch on the machine, but not these USB LED strips — if the power board has no on/off switch, that means you can only turn the light strip off at the wall. Very inconvenient, and another design flaw, in my opinion — having a rocker switch near the end of the lights before it becomes the USB cable to turn them on/off would help.) Having a board with an on/off switch meant that I needed to position that switch within easy reach and not at the back of the machine where it would be hard to access. What to do????

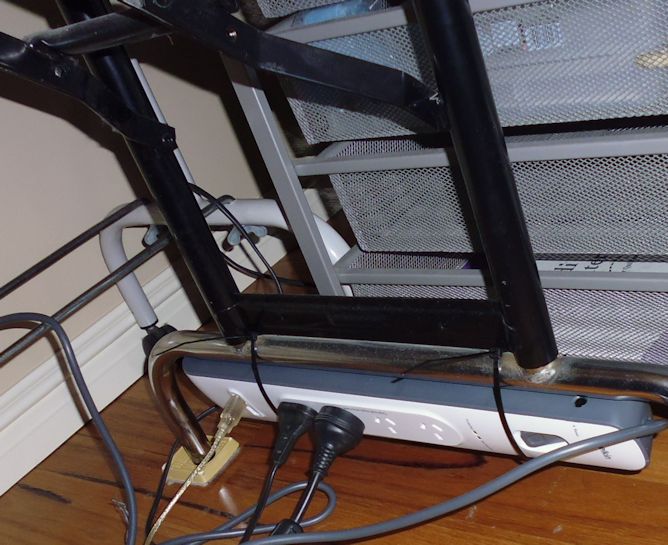
I tried all sorts of configurations in practice and in my head, finally deciding that suspending the power board from the table legs would solve all the problems — I could turn it so that the on/off switch was near the front, and having is suspended meant that it wouldn’t get in the way, or collect as many dust bunnies! I initially tried suspending it with ribbon, but the ribbon wanted to slip and fall off the end of the board. So then I joined two cable ties together to make a larger cable tie and tied up each end of the power board, slipping the cable ties between the metal parts of the table legs to keep the board in place. If I need to fold up the table for transport, it’s easy enough to cut off a cable tie with scissors. NOTE: I still had to use a USB extension cable — there was no way I could get a power board close to the LED strip.

Here’s a photo of my solution (the other stuff you can see near the table legs is the hanging rack I use for my bungee cord system, and a rollaway set of drawers for rulers, notions, etc. — ignore those [and the dust bunnies!]):
usb_lights01

One other thing — if you purchase one of these strips, resist the temptation to position the strip in the centre join of the machine! Why? Because when you get your machine serviced, the technician opens it in half along that centre join. You can see from the photo below that I’ve placed my LED strip on one side of that centre join so it doesn’t have to be removed for servicing. I also kept the cable fairly tight as it goes around to the back of the machine to avoid it getting caught in a quilt AND used the sticky patches to adhere it to the base of the machine (that was a design aspect I thought was very useful).

usb_lights02


Update April 2019: My light strip started behaving badly. Every time the quilt touched it, it would go off (or on). I suspected a contact inside had been damaged. The position of the end of the light strip is such that any decent sized quilt WILL touch the cable where it joins with the strip. I sent the unit up to my dealer, and sure enough, the contact was damaged. They soldered it back, and taped up the connection between the cable and the strip so that it won’t do it again. No guarantees, though. So here’s hoping.


Trying painting again after many years

30 09 2016

My painting journey has been a very mixed one, full of disappointments, frustration, and self-loathing. Even though I did Art as a subject to Year 12, my forte was pattern and design and lettering — stuff that had form and framework, and where you could paint in solid colours inside the lines. Landscapes, still life, portraits, etc. were all a dismal failure for me, and I was glad to see the back of them.
I didn’t touch a paintbrush again until the early 1990s when I did a summer school course in drawing and painting from nature. I loved that! We focused on botanical drawing, and were taught by a woman who had drawn and painted all the known species of fungi in Western Australia. I got a lot of pleasure out of painting a shell, or a stick with interesting bark, or a sprig of lavender. But probably within a year, I’d put away the paints and watercolour paper as the pressure of horrendous hours at work and life in general took over.

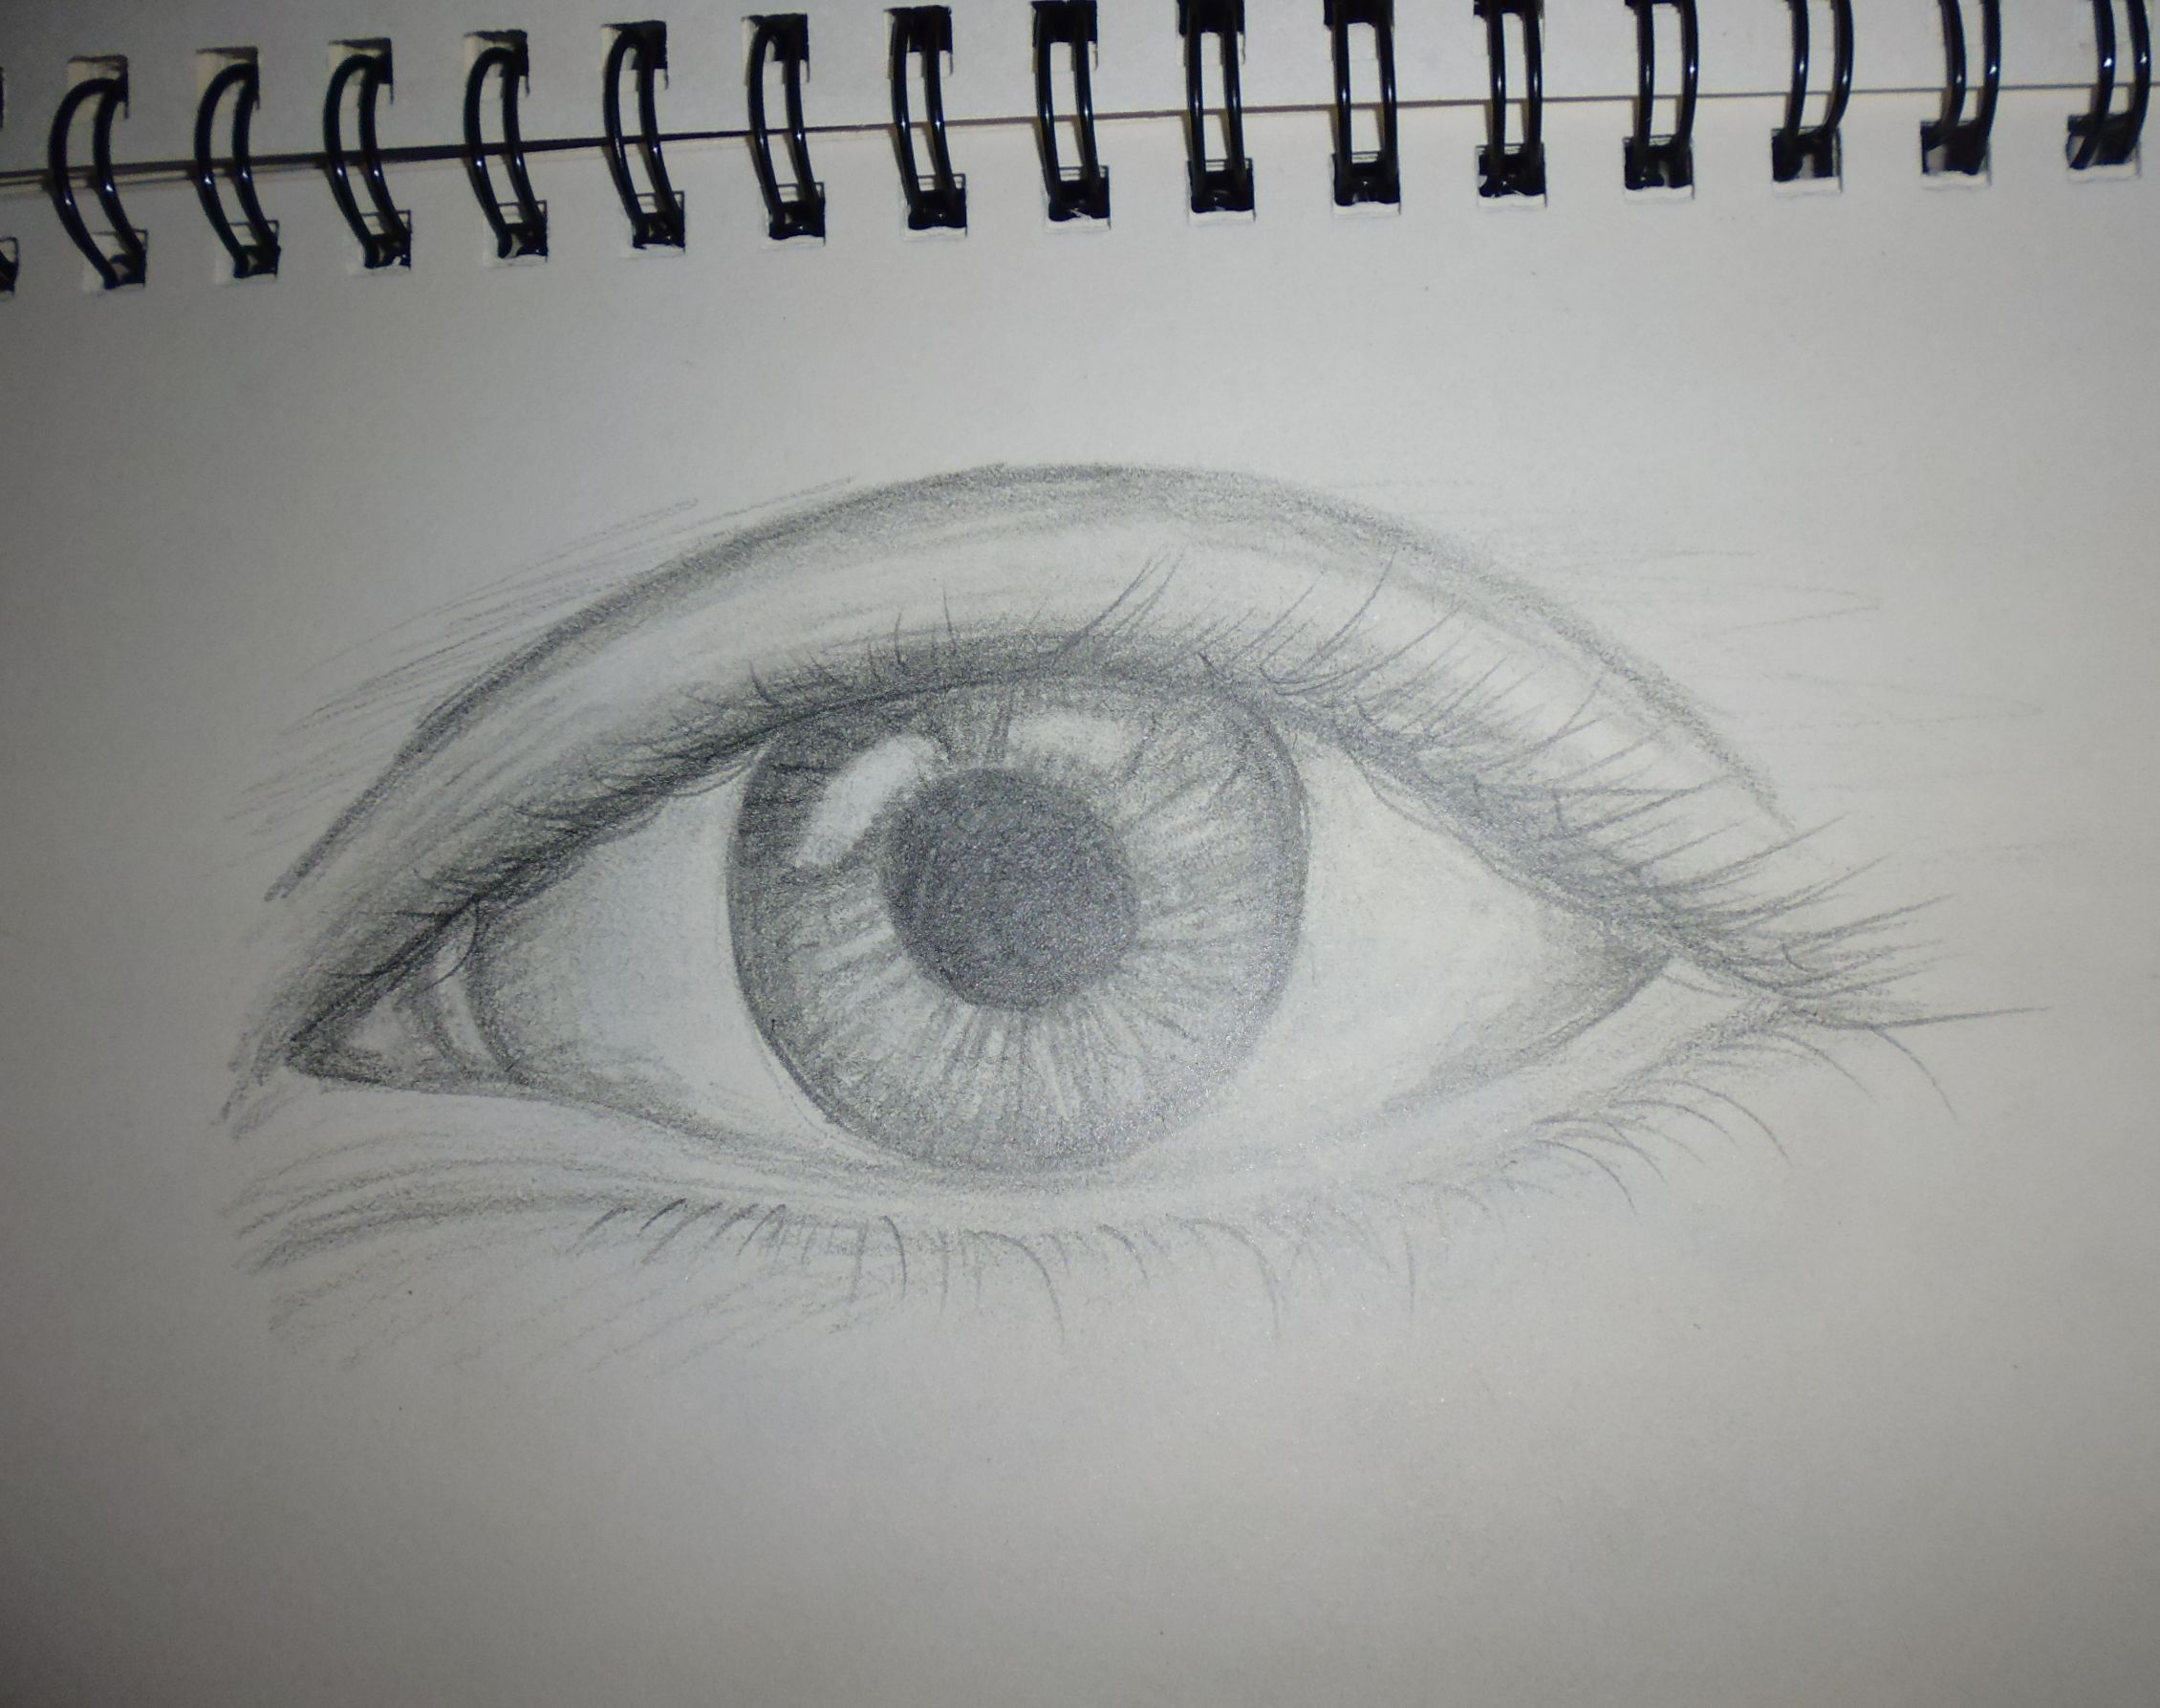
25+ years on and I was in a gap between making and quilting quilts. I’d done several Craftsy.com quilting classes and when Craftsy had a ‘50% off all classes’ sale on, I decided to try a couple of their ‘basic’ drawing classes, just to see if it interested me. I’ve since done a shading class (using pencil and ink/markers), a couple of mixed media classes (ink/markers and watercolour), and have more lined up to try. I also did some watercolour classes on YouTube. Some have been better than others, but I’ve followed along and learnt different techniques from each teacher. And I’ve surprised myself. I’ve painted water (probably for the first time — I can’t recall painting water when I was at school), and have learnt techniques for making waves with paint and with masking medium. I still have a long way to go before I’m proficient, but I’m no longer scared of painting, and I look forward to learning lots more.

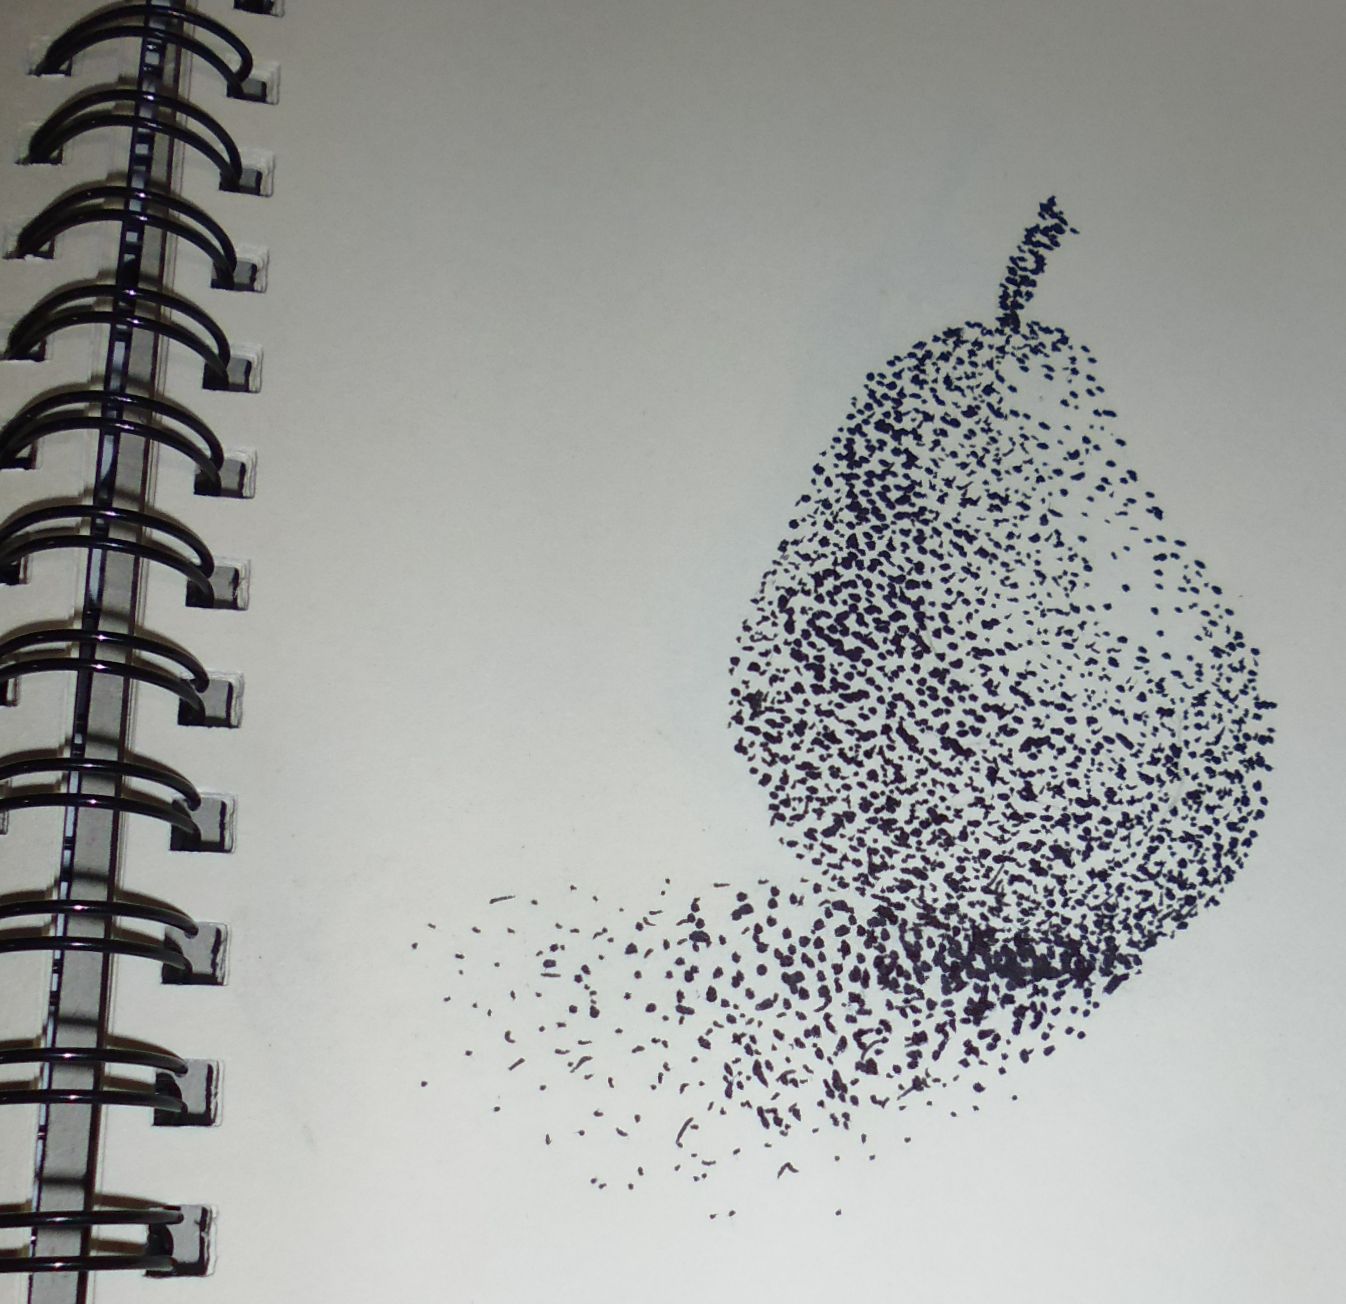
Below are some of my first efforts, with the photo inspiration (where appropriate), and the Craftsy class I did or the videos I saw on YouTube.

Shading Techniques (Holmes)

eye

pear_cross-hatch

pear_stipple

My pear shape went a little pear-shaped! Need to work on the drawing aspect…

Watercolour techniques with Gay Kraeger

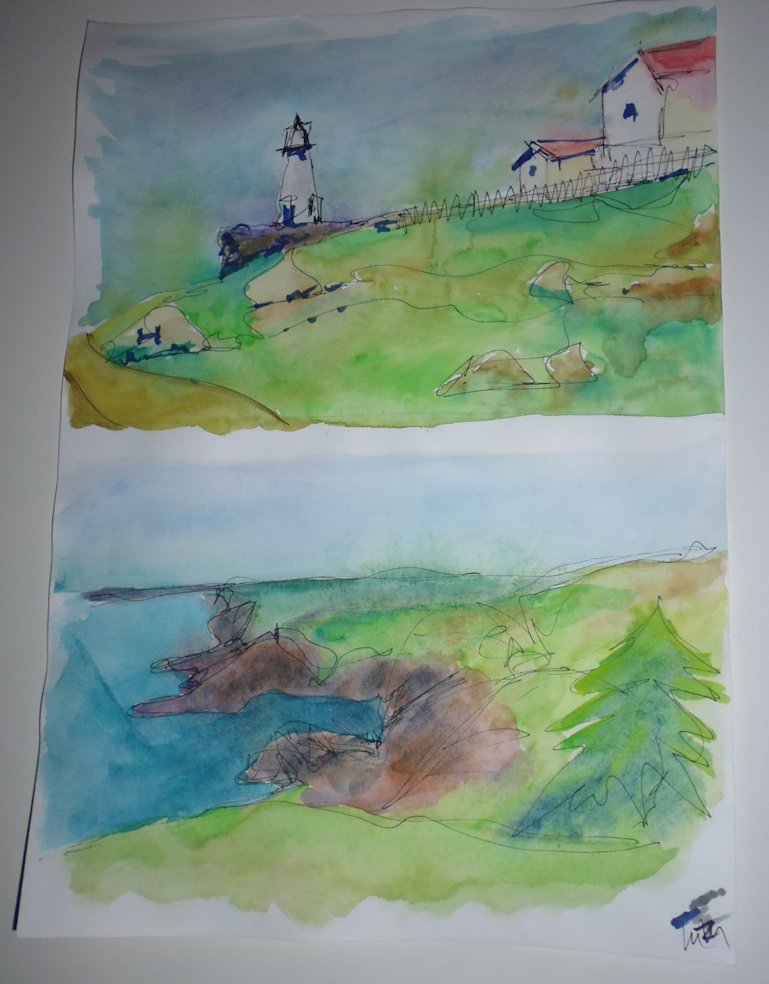
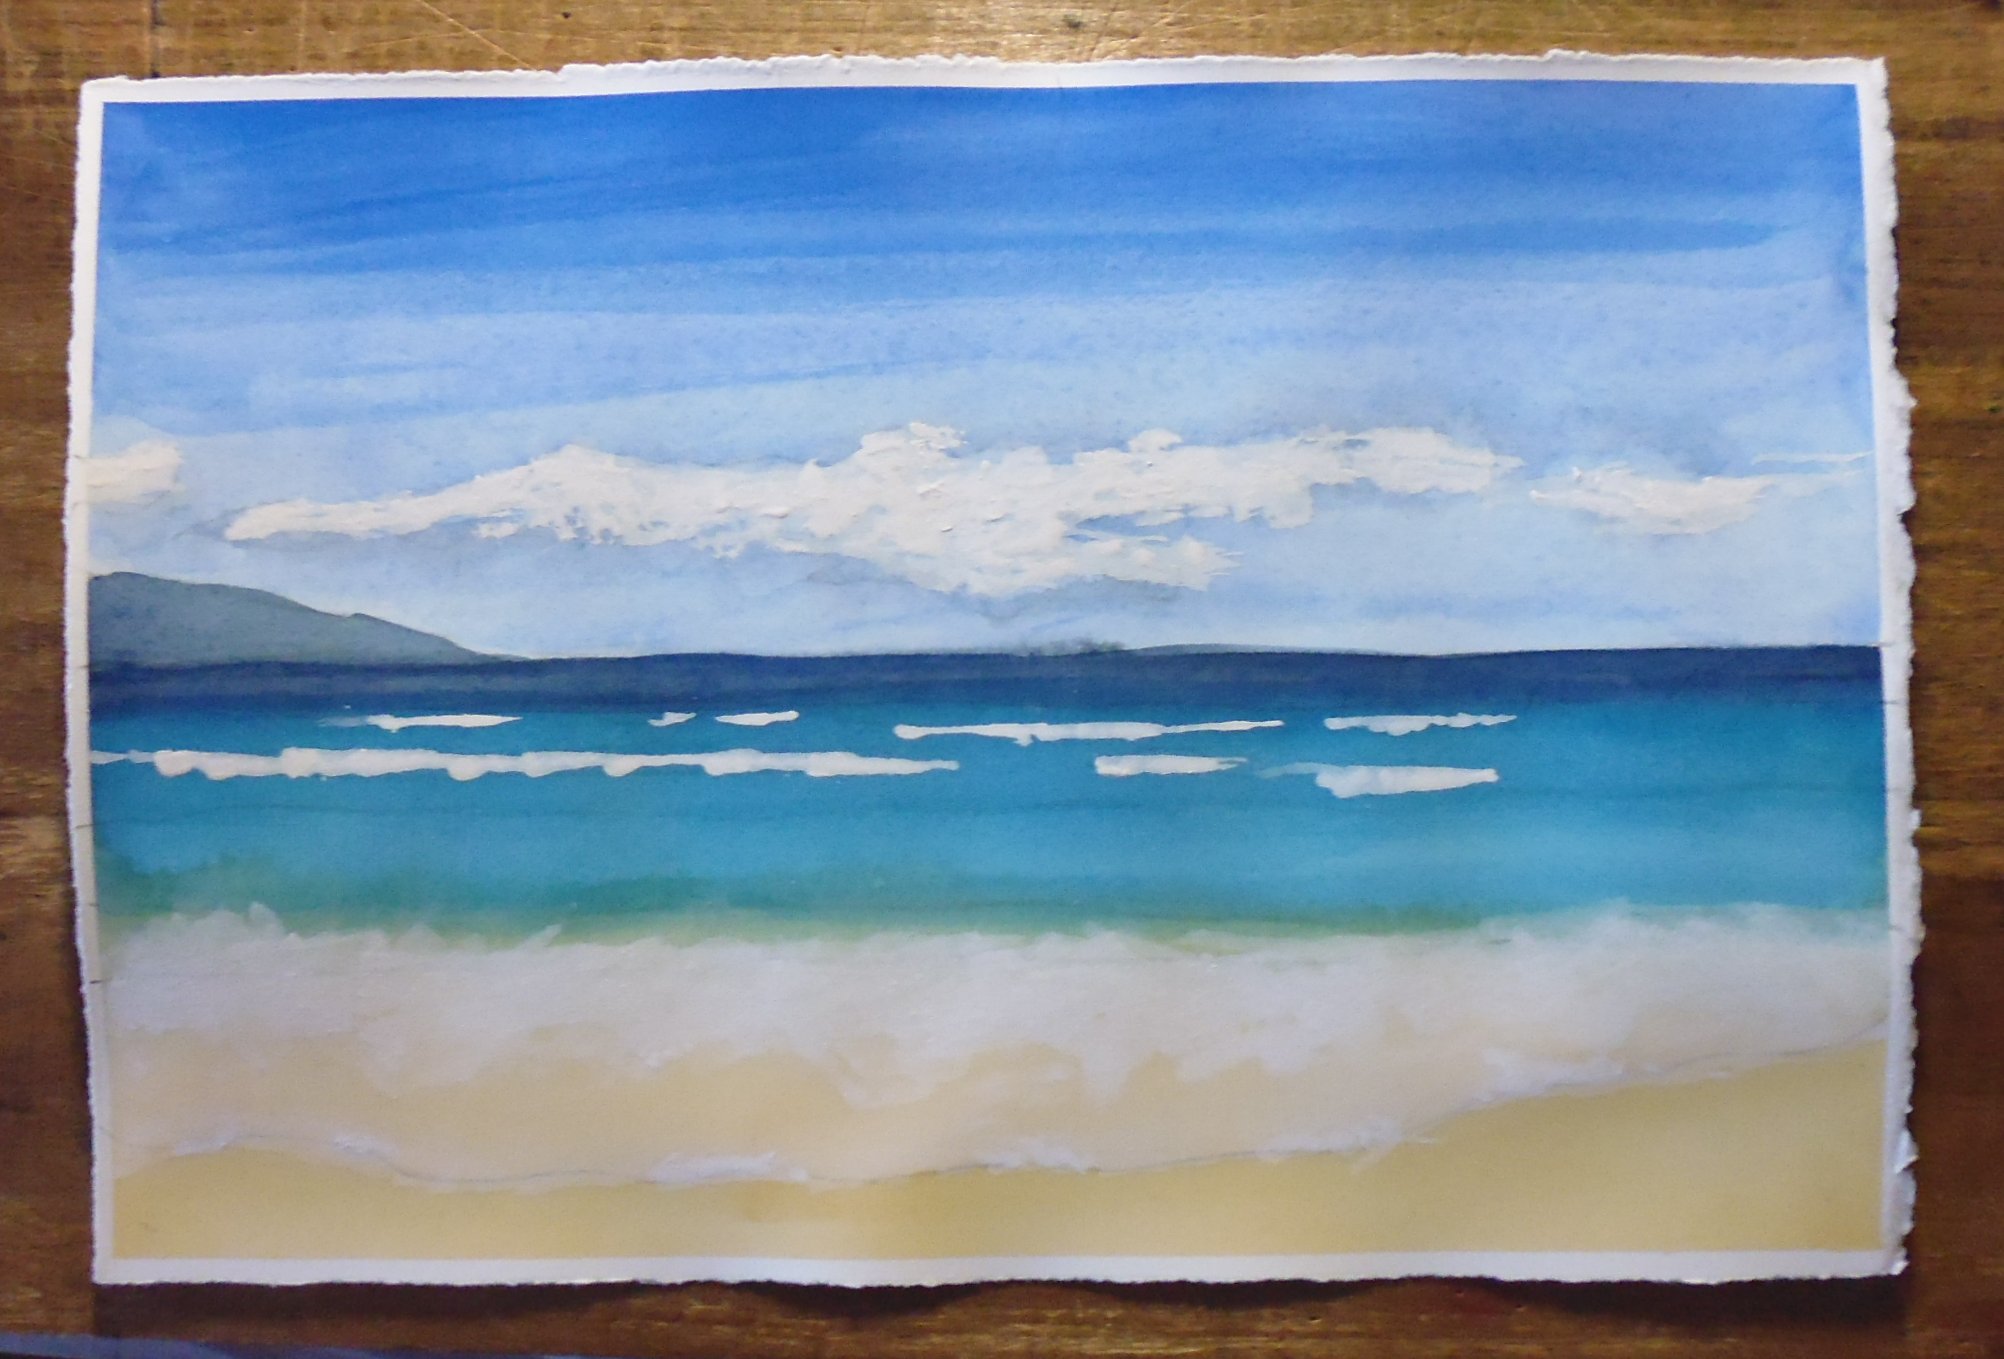
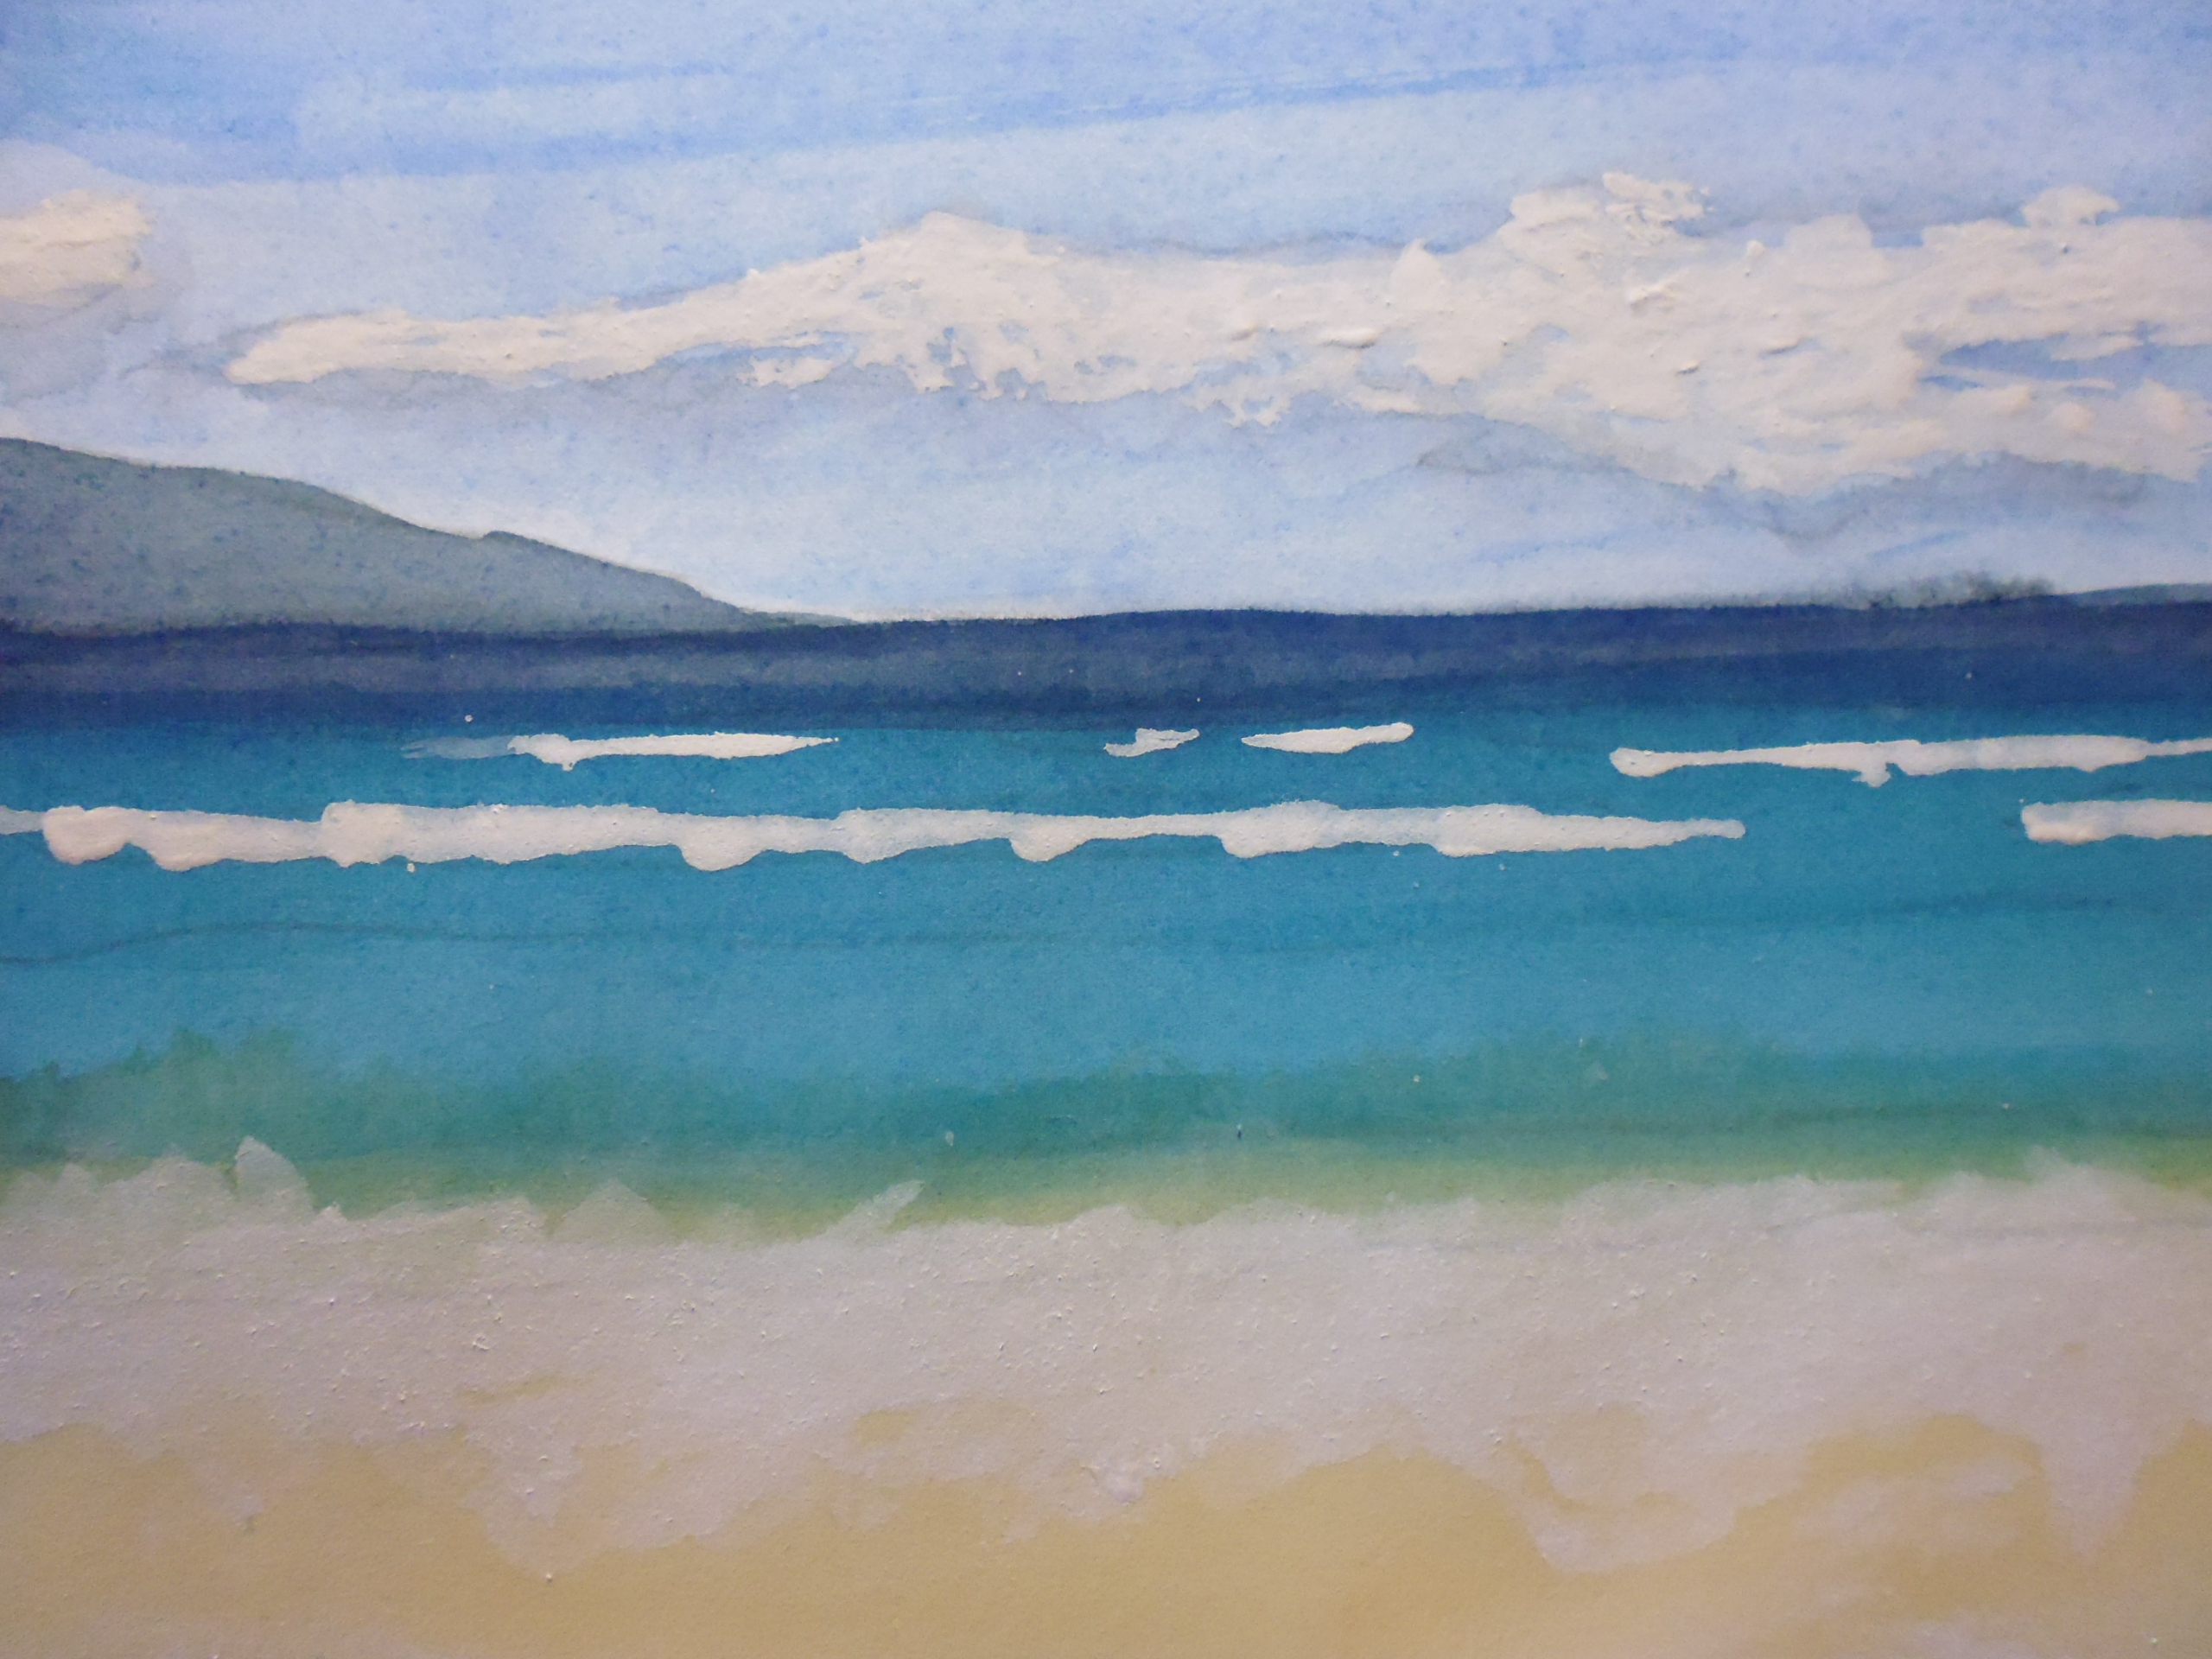
This was a series of YouTube classes for Strathmore paper, and I learnt enough to tackle an ocean scene based on a photo — my first effort with watercolour in decades, and my first-ever ocean.

body

The photo above was my inspiration. My interpretation is below.

p1050878

p1050879

Travel sketching in mixed media (Holmes)

I did a few exercises based on his photos, with mixed results.

p1050889

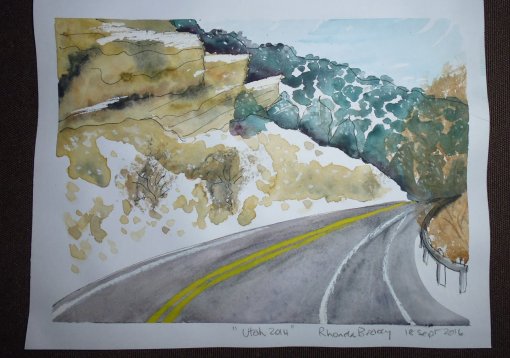
Then I did my own based on a photo I took in 2014 in the mountains near Logan, Utah:

p1020083

p1050883

I learnt that you have to add the dark last, otherwise you end up with the horrible blobby brown for the tree on the right side, with the much darker background trees showing through!

Illustrated Nature Journaling (Kraeger)

Similar to her free YouTube videos, Kraeger teaches lots of really practical techniques for creating sand, clouds, water, etc. One of the techniques for waves is using a masking medium that you rub off once everything is dry. Below is my first effort with that medium. And my first-ever breaking waves!

p1050888


Community Quilt 292

3 09 2016

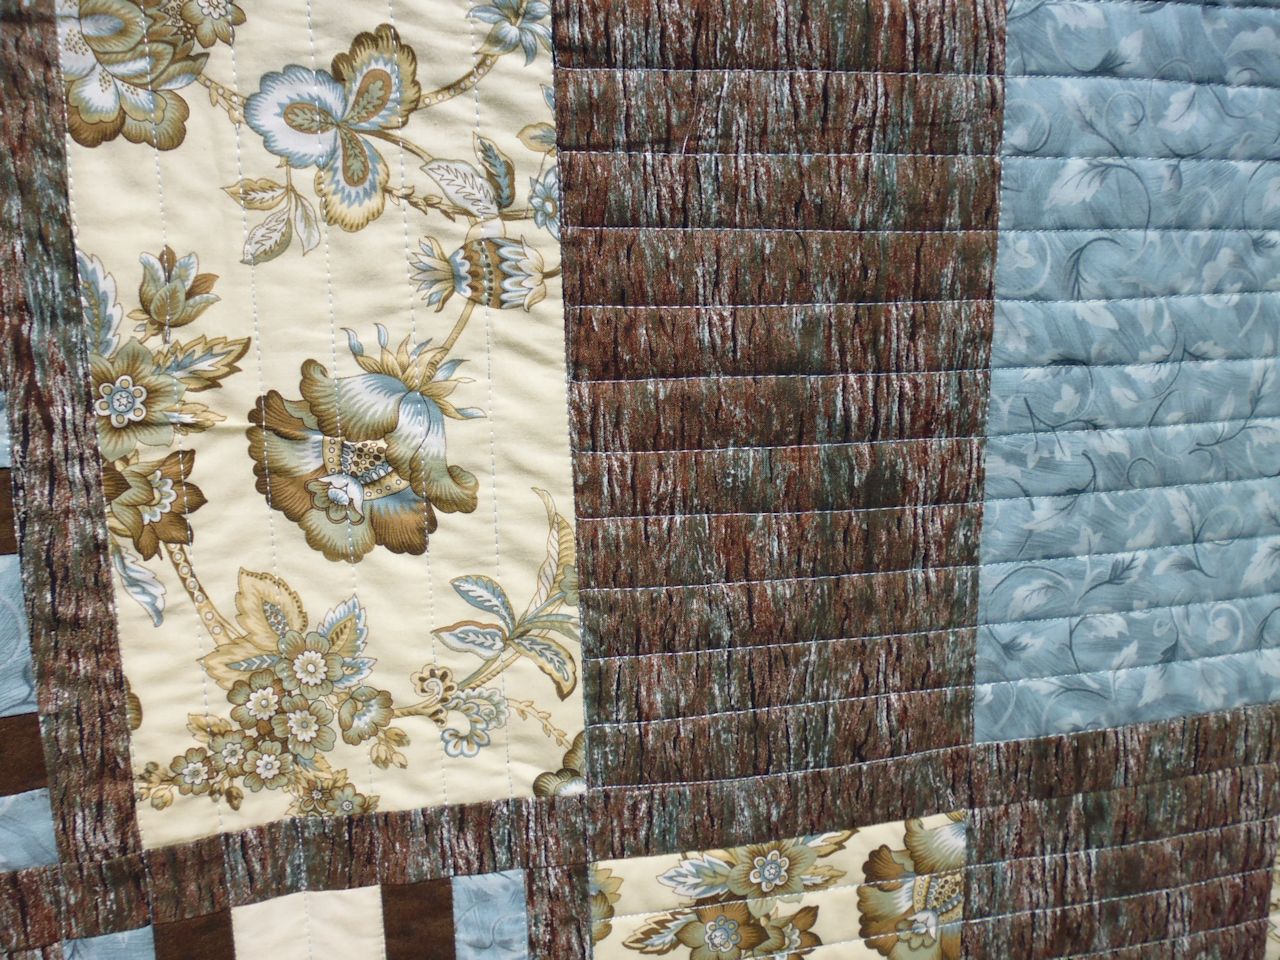
I’m not really a fan of these colours, but together I thought they worked really well. To keep with the simple shapes, I decided to quit vertically in the three strips on the sides, and horizontally for the three middle strips. Each line is about 1 inch apart. Yes, I used my Line Tamer ruler for this!

(Click on a photo to view it larger)

quilt292_01

quilt292_03

quilt292_02

Threads used:

  • Top: Fil-Tec Affinity ‘Carolina’ (40 wt, trilobal polyester, colour 60292)
  • Bottom: Fil-Tec Magna Glide Classic pre-wound bobbin (white)


Community Quilt 291

3 09 2016

To counterbalance the rectangular shapes in this quilt, I decided to quilt large circles with a smaller inner circle coming off at a tangent.

(Click on a photo to view it larger)

quilt291_01

quilt291_02


Threads used:

  • Top: Fil-Tec Affinity ‘Carolina’ (40 wt, trilobal polyester, colour 60292)
  • Bottom: Fil-Tec Magna Glide Classic pre-wound bobbin (white)


Community Quilt 290

3 09 2016

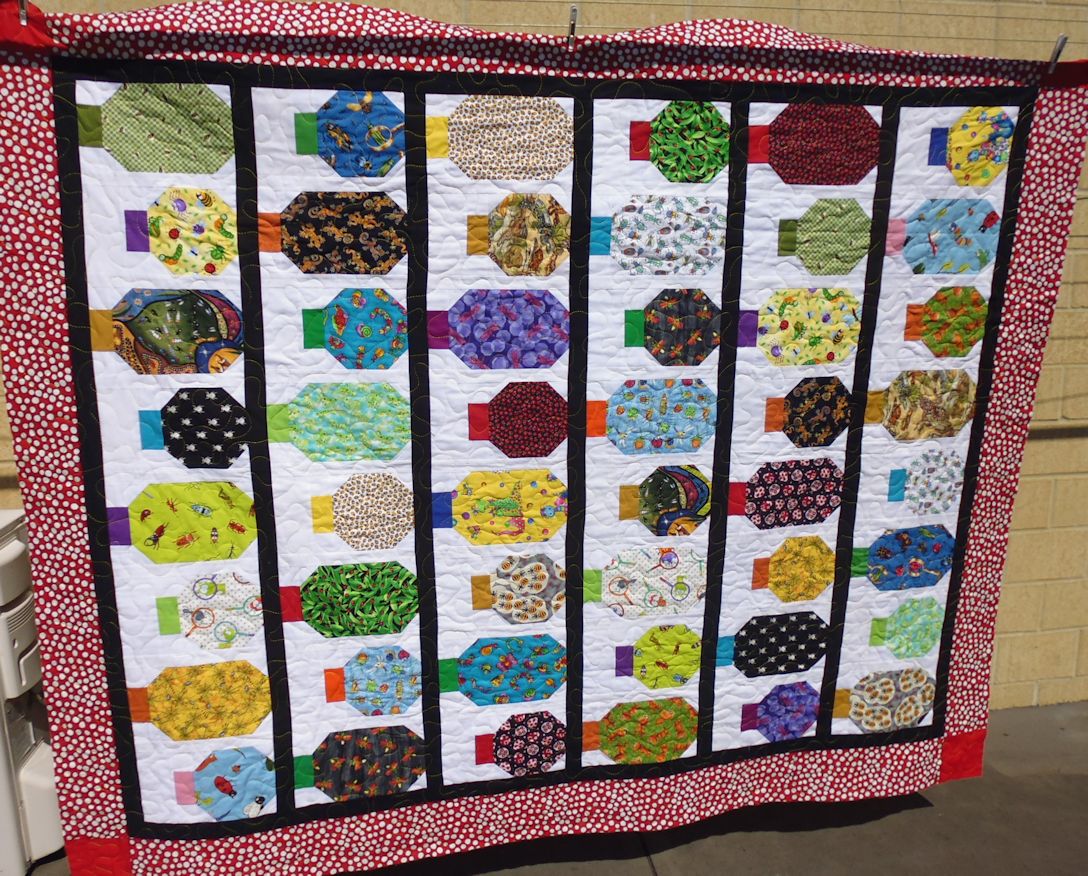
This was a BIG eye spy quilt for a kid, with each ‘jar’ containing some sort of bug or other animal (I had to photograph it on its side as it would’v e dragged on the ground otherwise). I decided to just do a simple large meandering stipple as there was so much ‘busy-ness’ in this quilt that anything else would’ve been overkill.

(Click on a photo to view it larger)

quilt290_01

quilt290_02

Threads used:

  • Top: Floriani (40 wt, rayon, colour PF546)
  • Bottom: Fil-Tec Magna Glide Classic pre-wound bobbin (light tan)


Community Quilt 289

3 09 2016

For this quilt, I just used a simple variation on the ‘open headband‘ motif, adding a slightly curved hook to the point of the inner arc.

(Click on a photo to view it larger)

quilt289_01

quilt289_02

Threads used:

  • Top: Fil-Tec Glide ‘Linen’ (40 wt, trilobal polyester, colour 10WG1)
  • Bottom: Fil-Tec Magna Glide Classic pre-wound bobbin (white)


Community Quilt 288

3 09 2016

I took my quilting inspiration from the curves in the border fabric, following those curves in that border, and then using a similar curve sort of on the diagonal in the main part of the quilt.

(Click on a photo to view it larger)

quilt288_01

quilt288_02

quilt288_03


Threads used:

  • Top: Fil-Tec Affinity ‘Carolina’ (40 wt, trilobal polyester, colour 60292)
  • Bottom: Fil-Tec Magna Glide Classic pre-wound bobbin (white)


Community Quilt 287

3 09 2016

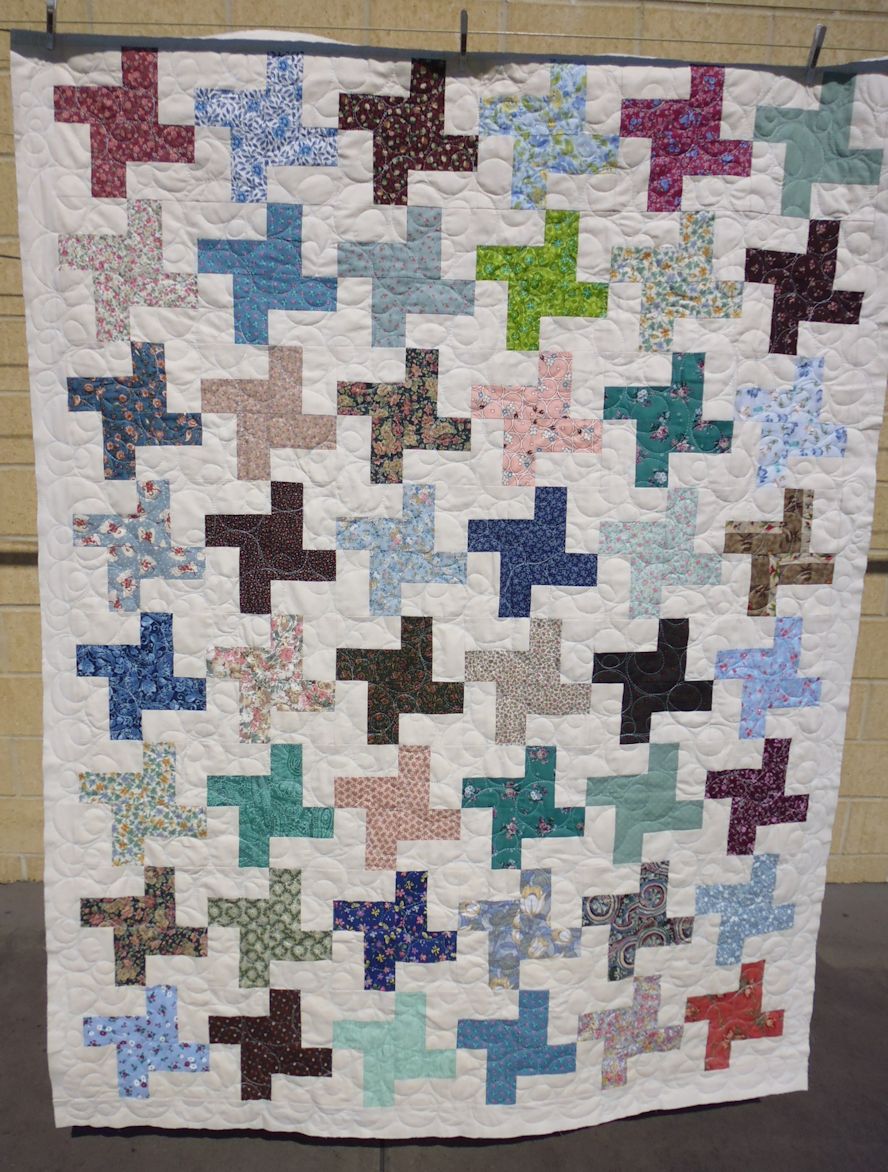
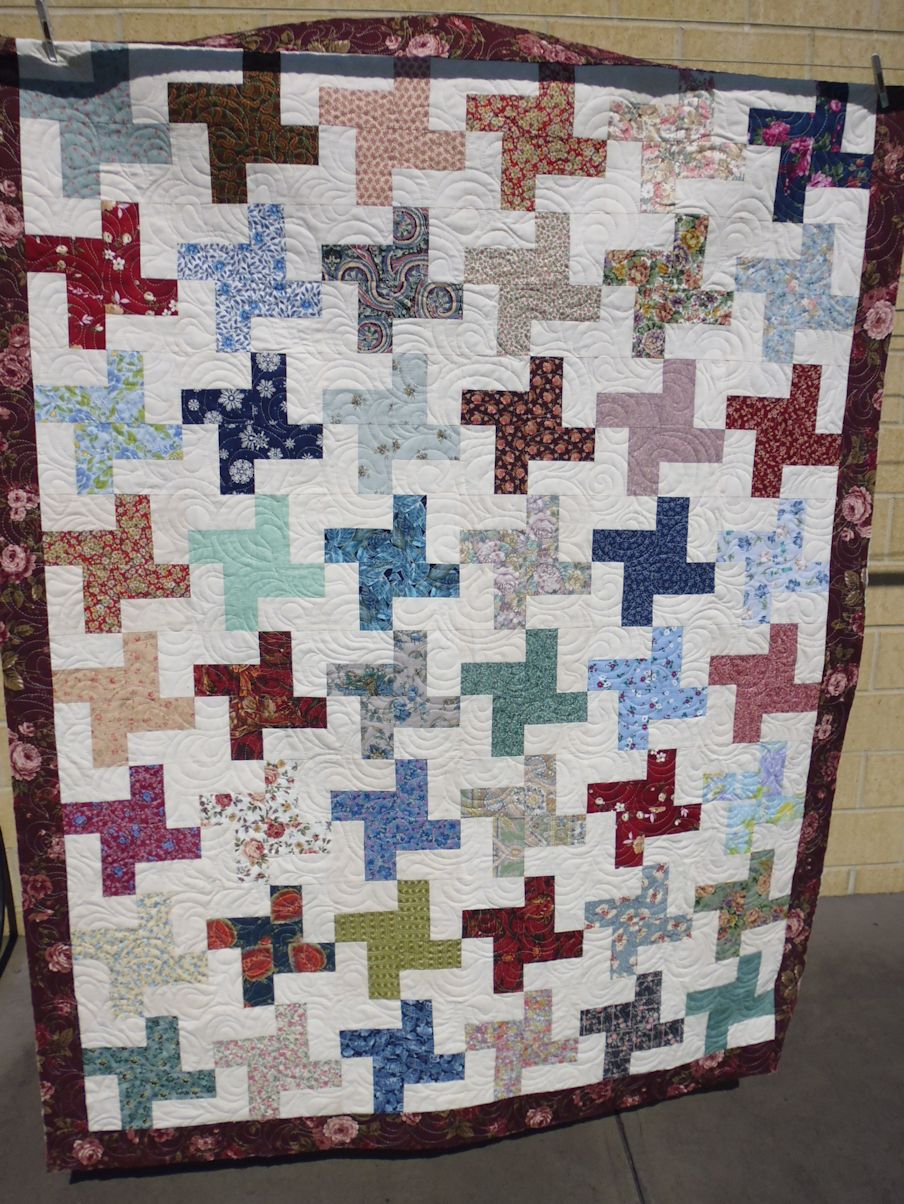
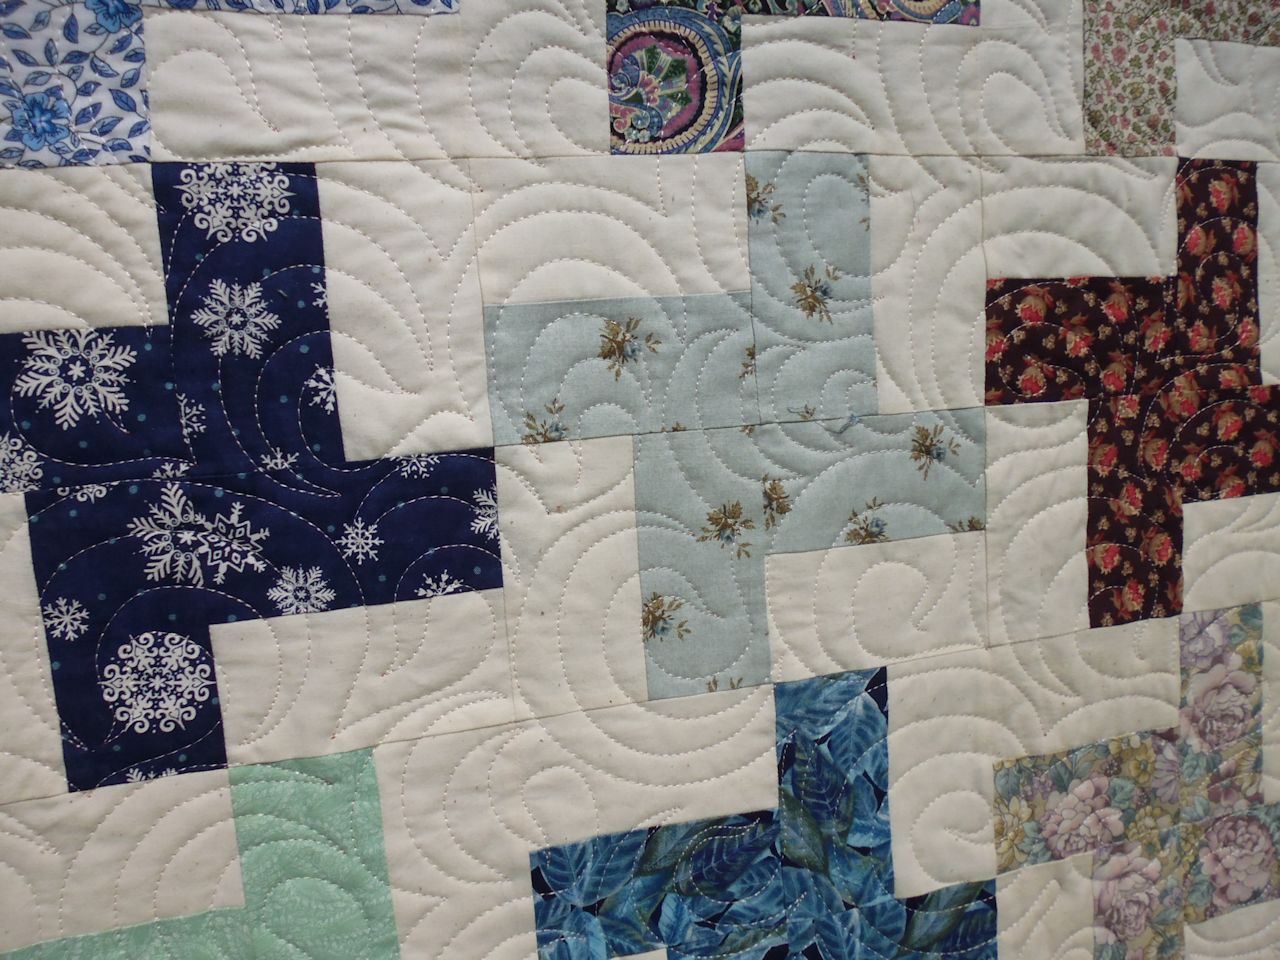
Such a simple quilt, but really effective with the scrappy blue fabrics tat toned so nicely. I quilted straight line ‘X’s cut in half with straight lines that followed the square shapes as I didn’t think it needed a lot of heavy quilting.
(Click on a photo to view it larger)

quilt287_01

quilt287_02

Threads used:

  • Top: Fil-Tec Affinity ‘Carolina’ (40 wt, trilobal polyester, colour 60292)
  • Bottom: Fil-Tec Magna Glide Classic pre-wound bobbin (white)


Community Quilt 286

1 08 2016

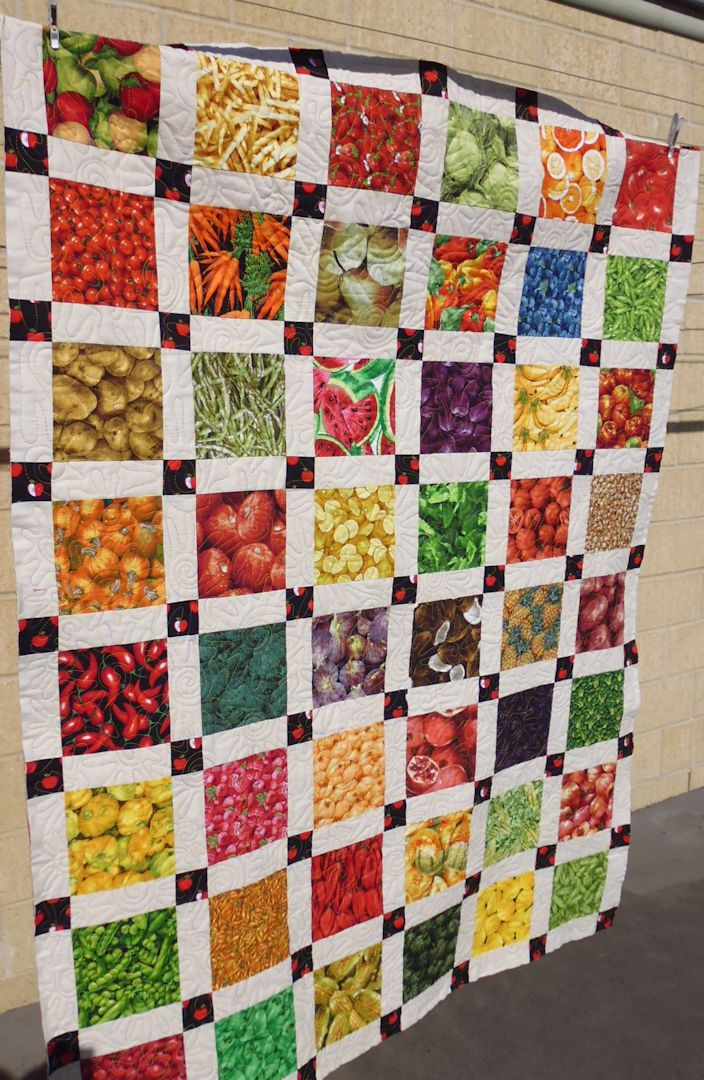
The last quilt of the latest batch of community quilts — a lovely bright ‘I spy’ quilt made up of fruit and vegetable fabrics.

I quilted it with a continuous line motif based on an inner spiral and outer ‘fingers’, using a variegated thread in yellow, green and purple.

(Click on a photo to view it larger)

quilt286_01

quilt286_02

Threads used:

  • Top: Superior King Tut ‘Passion’ (40 wt, cotton, colour 931)
  • Bottom: Fil-Tec Magna Glide Classic pre-wound bobbin (red)


Productive weekend follow-up

30 07 2016

I made 13 quilt tops on my annual quilting retreat with my friends. I’ve now quilted them all, and have donated some to the Community Quilts program (Community Quilts 280, 281, 282, 283, 284, and 285).

The others I’ll either give as gifts or list for sale on my Etsy store in the next few days. Below are the ones I’ve kept for these purposes.

gray_red_stripe_01

Gray with red diagonal stripe: 34.5 x 47.5 inches (88 x 121 cm)

gray_red_stripe_02

Back:

gray_red_stripe_03

Available on Etsy: https://www.etsy.com/au/listing/569284254/gray-and-white-crib-or-lap-quilt-with-a?ref=shop_home_active_10

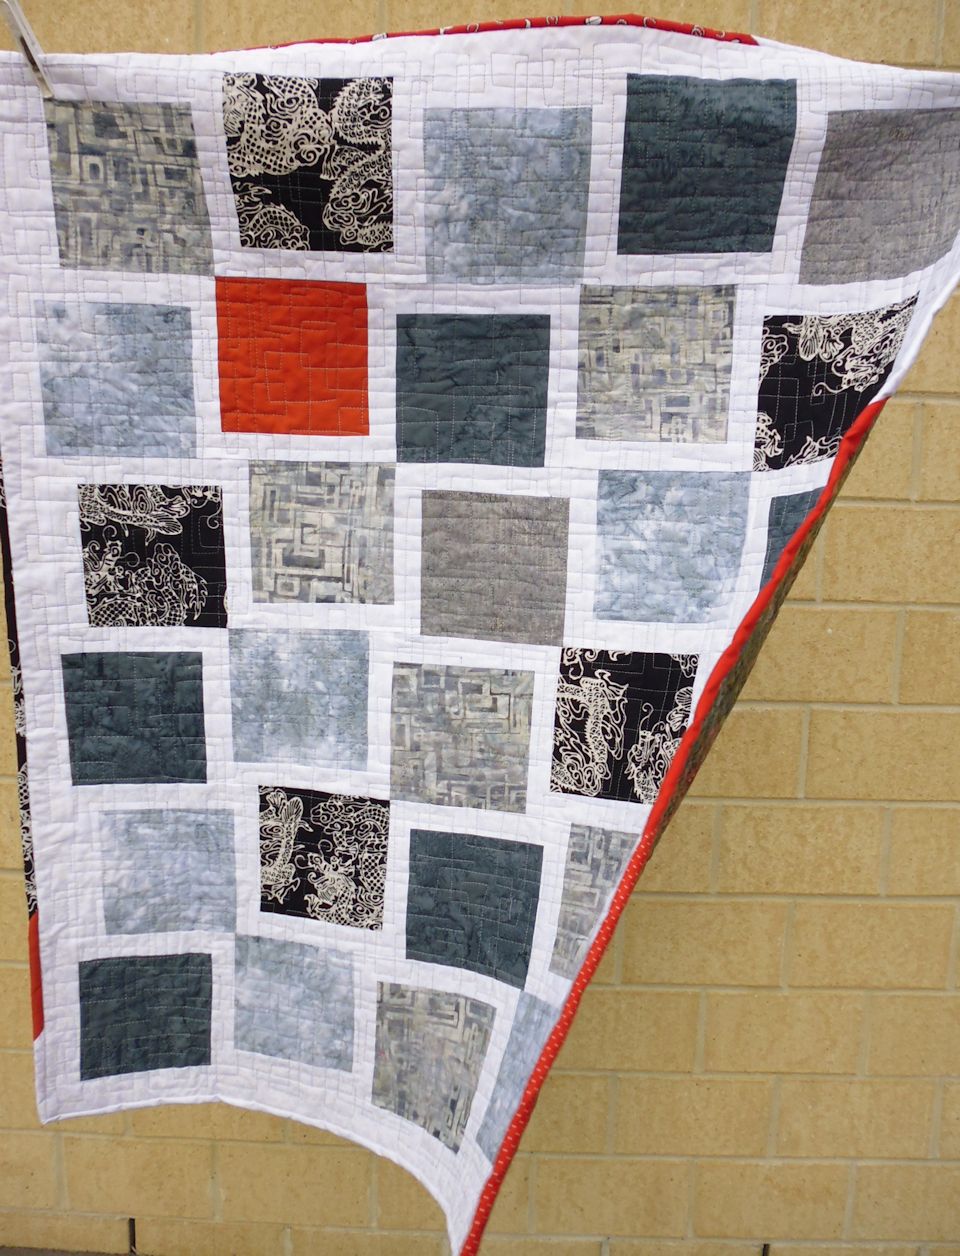
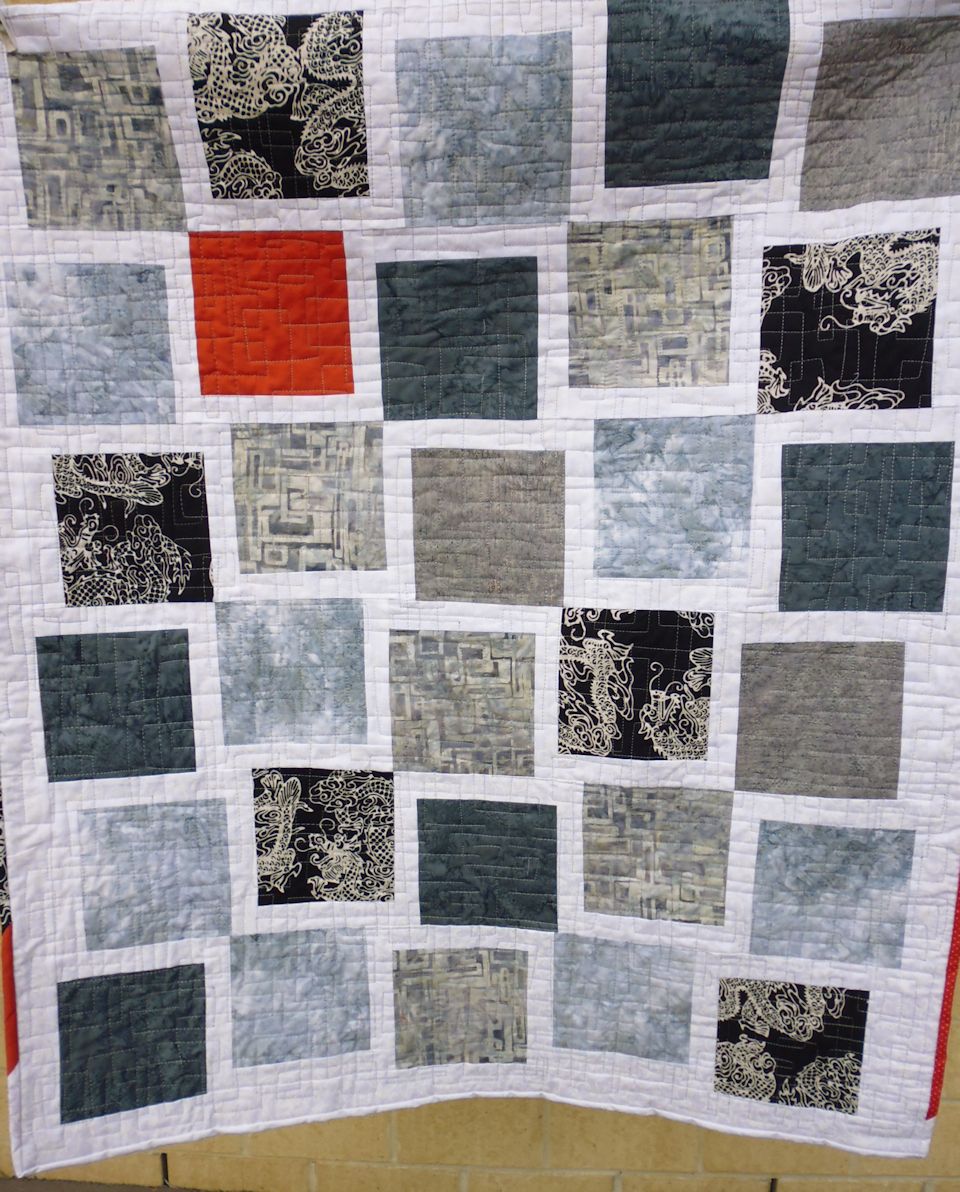
gray_orange_square_01

Gray with orange square: 36 x 42.5 inches (92 x 109 cm)


gray_orange_square_02

gray_orange_square_03

Available on Etsy: https://www.etsy.com/au/listing/583082603/gray-and-white-crib-or-lap-quilt-with-a?ref=shop_home_active_11

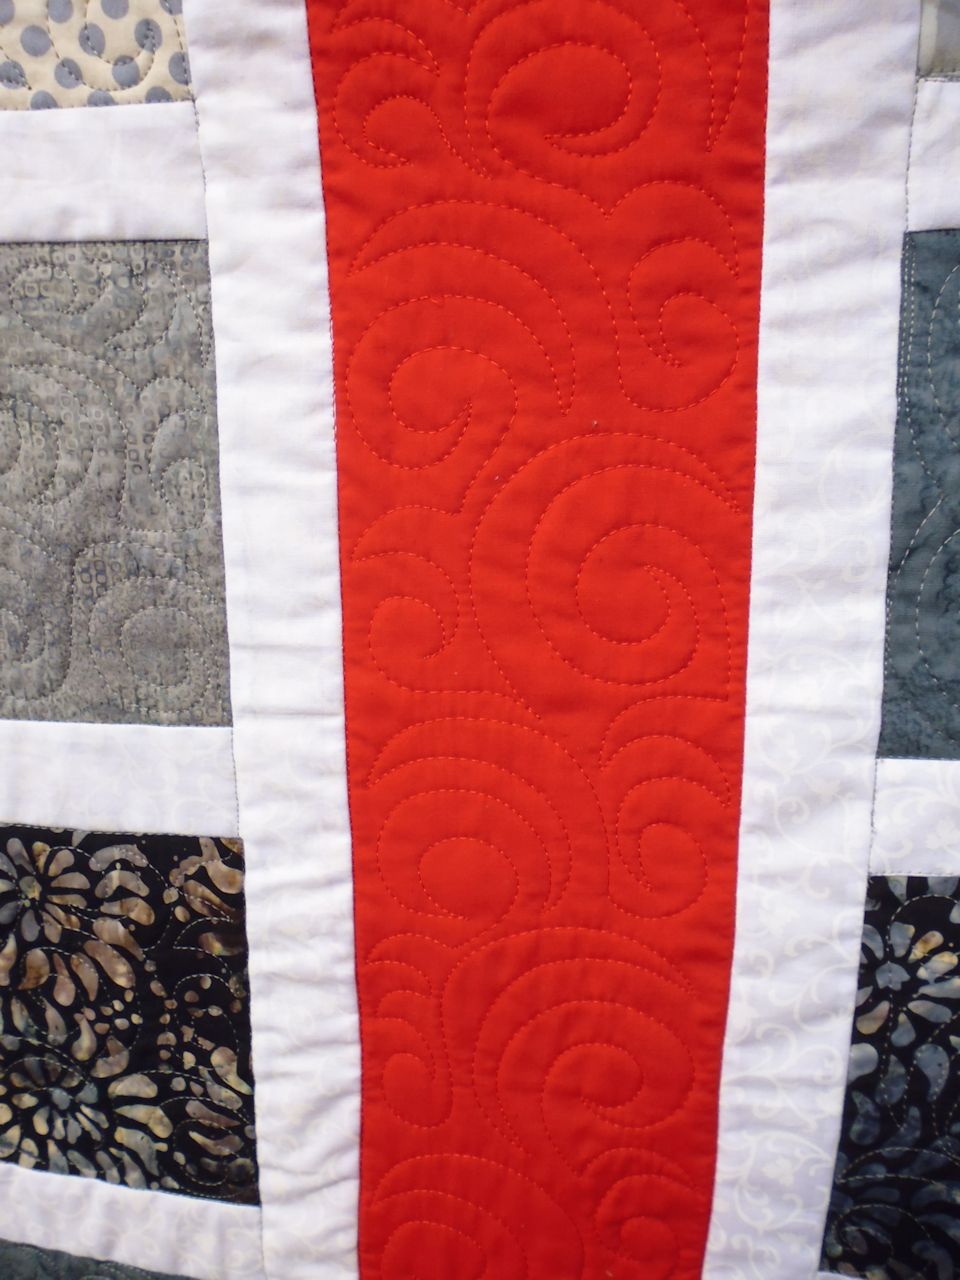
gray_red_vert_stripe_01

Gray with red vertical stripe: 32 x 43.5 inches (82 x 111 cm)

gray_red_vert_stripe_02

Available on Etsy: https://www.etsy.com/au/listing/569284628/gray-and-white-crib-or-lap-quilt-with-a?ref=shop_home_active_9

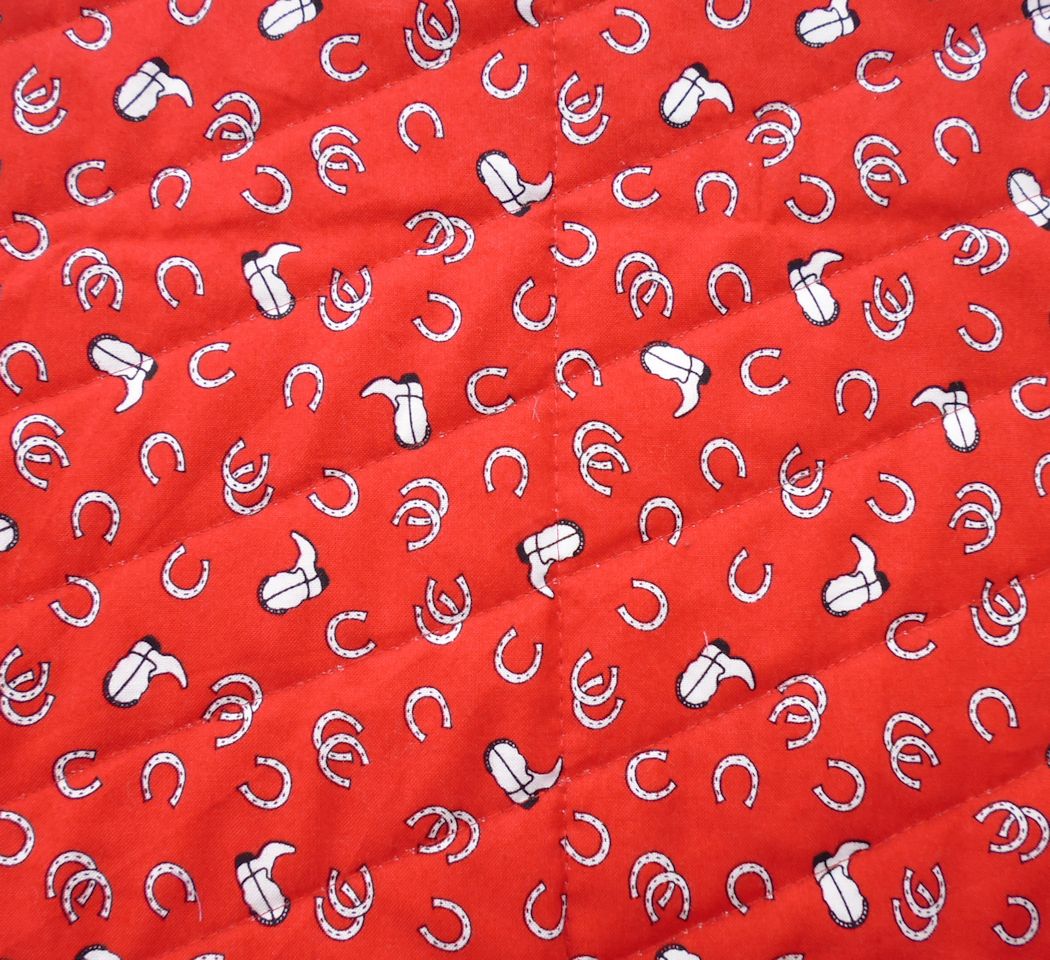
Backing fabric used on the two above and the one below:

gray_background


gray_orange_stripe_01

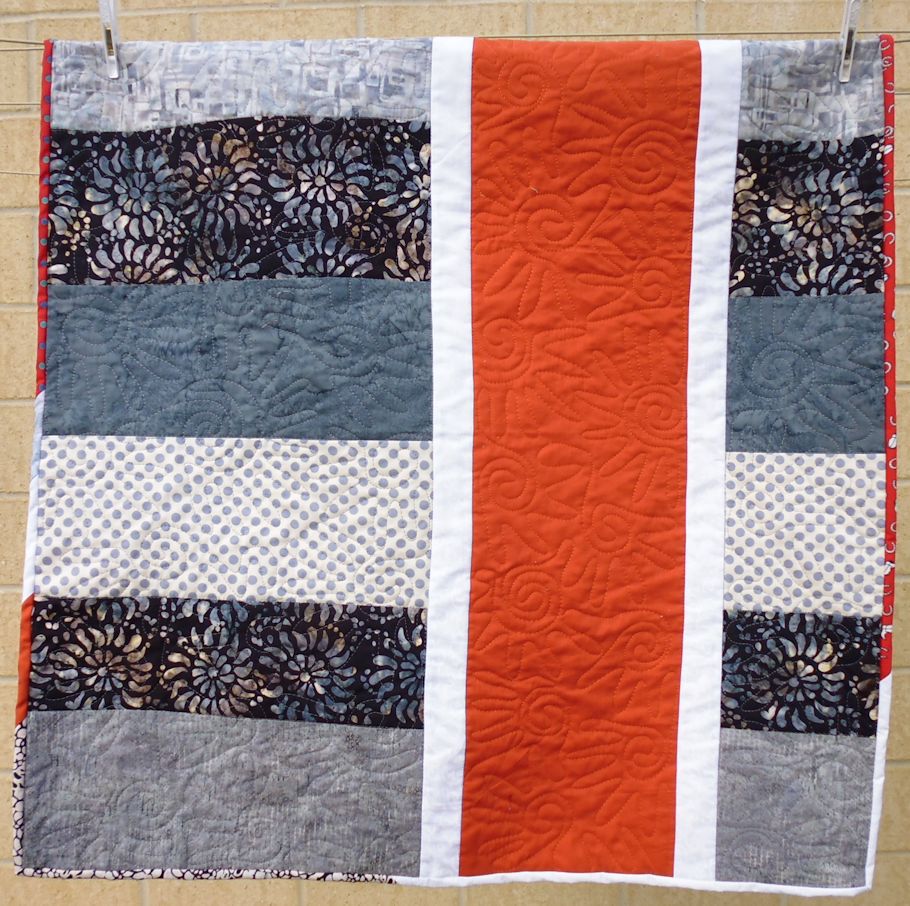
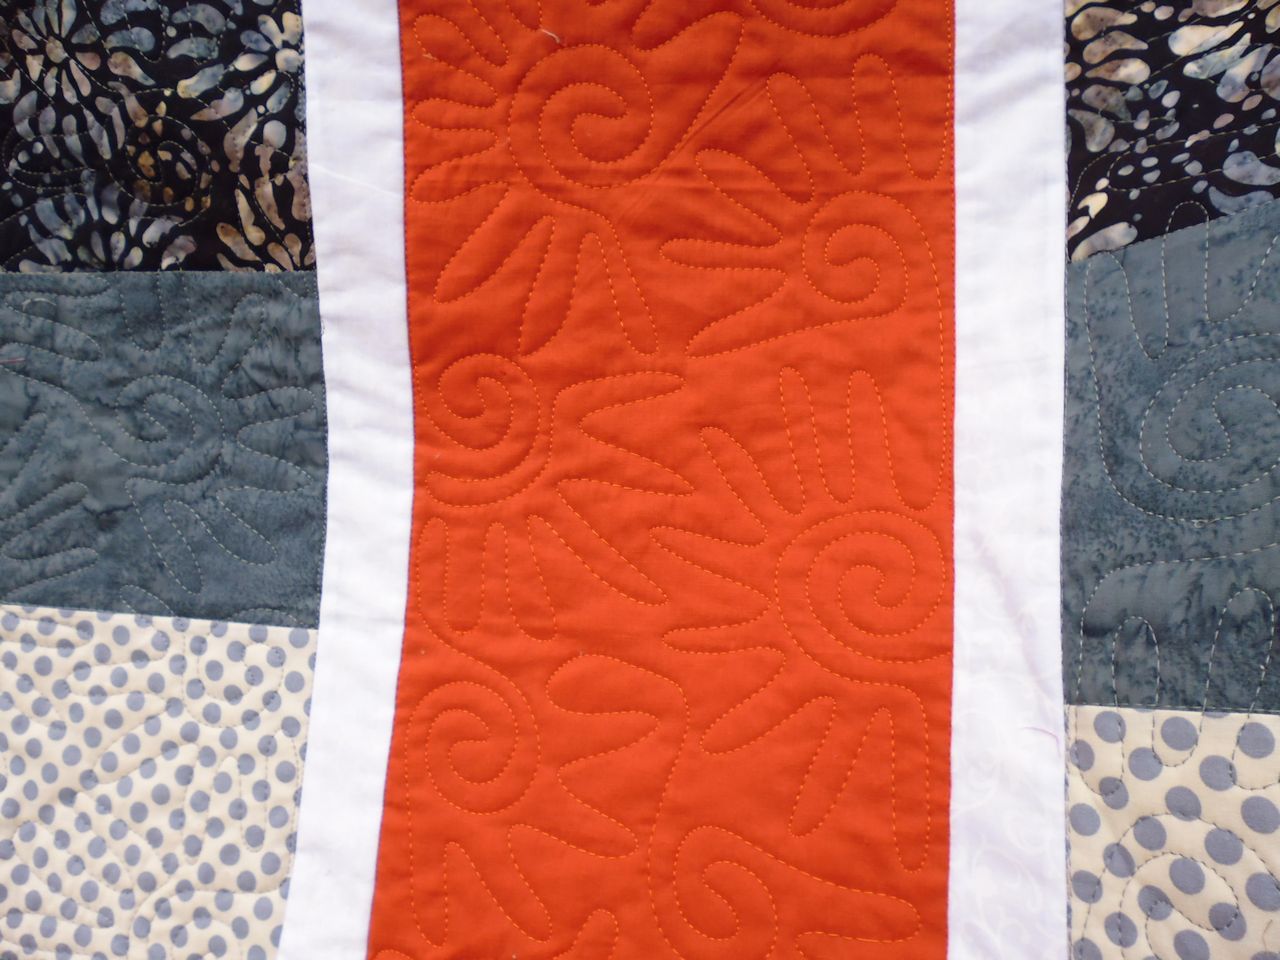
Gray with orange vertical stripe: 32 x 33 inches (82 x 84 cm)

gray_orange_stripe_02

Available on Etsy: https://www.etsy.com/au/listing/569284898/gray-and-white-crib-or-lap-quilt-with-an?ref=shop_home_active_8

yellow_stripe_01

Yellow stripe: 39 x 51.5 inches (100 x 131 cm)

yellow_stripe_02

yellow_stripe_03

Available on Etsy: https://www.etsy.com/au/listing/569285840/yellow-and-orange-crib-or-lap-quilt-with?ref=shop_home_active_5