Doing myself an injury

22 02 2017

Quilting is a dangerous hobby! The only time I’ve ever been to an ER was because I spiked myself in/near the femoral artery while quilting. Until Monday.

I had a wonderful 4-day quilting weekend away with some very special gals, and was on my final three strip cuts to finish my 6th quilt top for the weekend when the rotary cutter jumped the edge of the ruler and took out part of my thumb (end of the nail and several layers of skin) and a big slice out of my index finger (I think it would’ve been much worse had my thumb not partly stopped it on its journey). I’d made several scrap quilts on the weekend so had used the rotary cutter hundreds of times. But that didn’t make any difference.

My friend Bobbie (an ex-nurse) was able to strap the main injury to my index finger tightly and take me to hospital where we spent three hours in the ER (at least two of which was waiting, me with my hand raised). Once I was in, the medical staff checked it out, put on some stuff to stem the blood, put some ‘glue’ stitches (no anaesthetic required) in my index finger (nothing could be done for the thumb except dress it; it was mostly a cosmetic injury anyway), gave me a couple of painkillers, and instructions not to remove dressings for a week, and I was on my way.

rotary-cutter

I’m fine. No pain at all, surprisingly, though it hurt like crazy (plus throbbing) after I did it and while I was waiting to be seen. I’m now looking online for a rotary cutter ruler guard or protective gloves (the Klutz gloves from Fons and Porter look like a good option).

Update 24+ hours later: Still no pain unless I inadvertently knock the end of my left index finger or the thumb (idiot!). No painkillers required. Slept well last night, except for being woken by a storm coming through. Feel absolutely fine, and except for some awkward movements (typing is interesting, as are other daily activities like showering and washing my hair) everything’s good. While a disposable kitchen/food prep glove works well for showering, it’s too hot for sleeping, so I MacGyvered a solution using a mini packing cube to protect my dressings while sleeping 😉
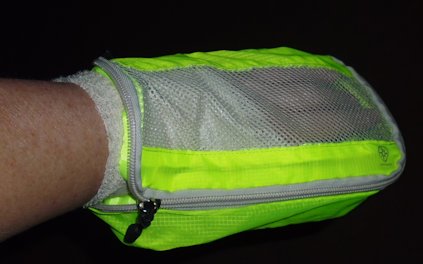
p1080216

The lack of pain is the most surprising — I sliced into a fair chunk of skin, though not to the bone as I’ve heard others do (shudder).

Update one week later

The thumb was a light injury in comparison to the index finger. Mostly, part of the nail was sliced off and several layers of skin behind that part of the nail. I think that hitting the thumb first caused the rotary cutter to slow down a tad and perhaps deviate a little, thus resulting in a less serious injury to my index finger.

Here’s my thumb immediately after I removed the dressings; there’s still some caked-on blood from a week ago, and some fluff from the dressings:
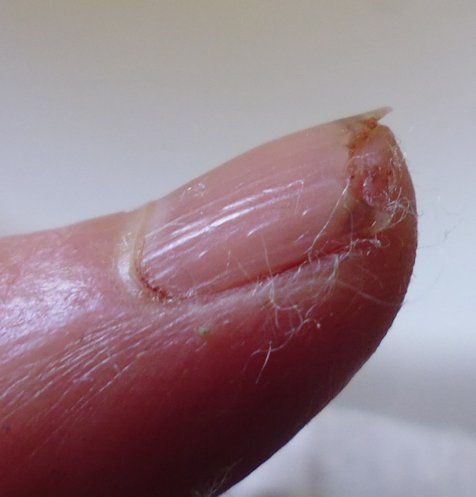
p1080221 p1080220

And my index finger, looking pretty ugly on removal of the initial dressings. I’ve since dressed it again, but obeyed the ER doctor’s instructions not to remove their initial dressings for a week. The very dark lumpy bits are a combination of dried blood and the glue used to hold the skin together, in lieu of stitches. It looks far worse than it feels!

p1080223

p1080222

p1080224

Although the site of the cut is tender to touch, I’ve had no pain since the first few hours after doing it. I’m keeping everything dry by wearing a disposable kitchen/food handling glove in the shower and when I prep food. And will keep changing the dressing on the wound every couple of days now until it’s completely healed.

Update two weeks later

Two weeks’ on and I’d taken to exposing it to the air. I was still showering with a glove, but the dressing — if worn — was minimal and just to stop me from ripping the wound. The wound looks far worse than it it — it’s just dried blood and glue. Still a bit tender near the wound site and some lack of feeling in the side of the finger pad, which I believe will come back over time.
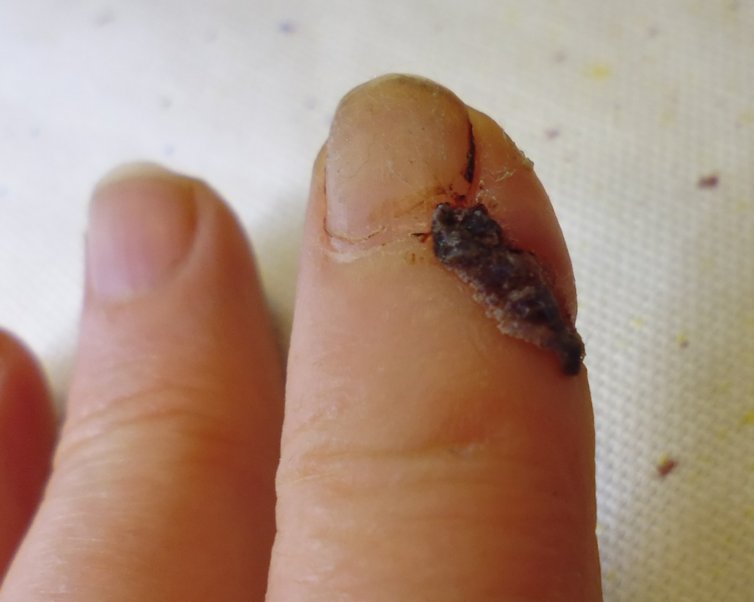
Update nearly three weeks later

I’d been exposing the wound to the air, water, etc. and finally the last of the glue fell off some 19 days after cutting myself — now I can see the (superficial) mark in the fingernail where the rotary cutter went! The wound site is still a little tender, and I have small areas on the side of the finger pad where I can’t feel anything, but the colour is good so it’s just a bit of nerve damage, which I believe will eventually heal and regenerate.

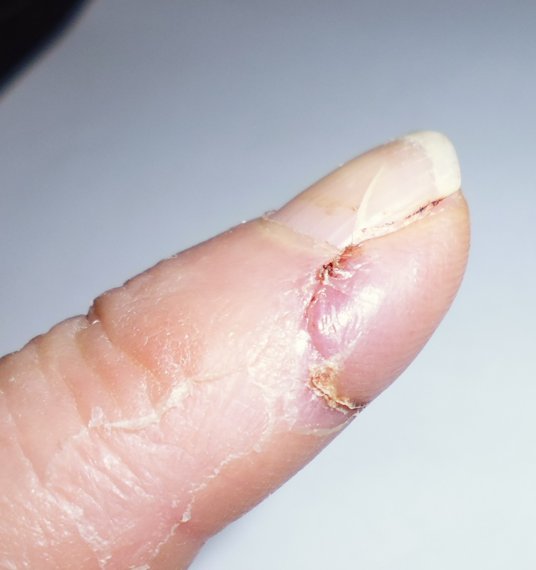
 

Update four weeks on

Still slightly tender but it’s coming along well!


Update 22 April 2017

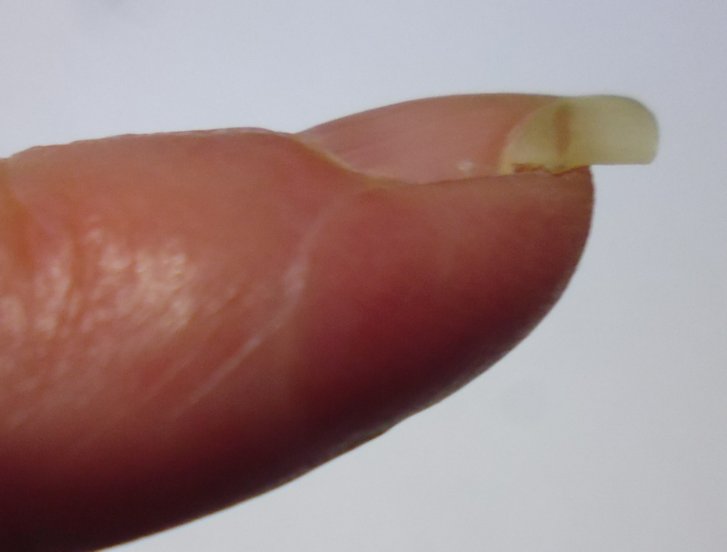
I’ve now purchased a Klutz glove and am using it religiously! And my finger has completely healed – you can hardly see the scar. I still have a little tenderness and lack of feeling along the side near the nail, but the area is gradually getting smaller. And since I took these photos, I’ve put Super Glue on the cut part of the nail to prevent it tearing too soon.
Update late August 2021

It’s been a while since I revisited this post. I have a tiny scar on my left index finger—you wouldn’t know it was there unless you were told it was and went looking for it. But I still have some residual numbness. Not full numbness, but a different sensation in the side of that fingertip, a sort of ‘not quite all there’ feeling. It’s nothing that stops me from using the finger, but I’m aware of it every time I touch it. It’s possible that I may have permanently damaged a nerve or two and may have this feeling for the rest of my life.

Australian distributor for Fil-Tec threads

21 02 2017

Fil-Tec threads (such as Glide and the pre-wound bobbins — some of my favourites) aren’t easy to find in Australia.

If you’re in Australia, try http://bluerosequilting.com.au/. The owner of the website is a quilter in Bridgetown, Western Australia, and will mail anywhere in Australia only.

Update Sept 2020: In Perth, try https://www.fromthefirststitchtothelast.com.au/ (online or shop in Wangara)


Community Quilt 309

16 02 2017

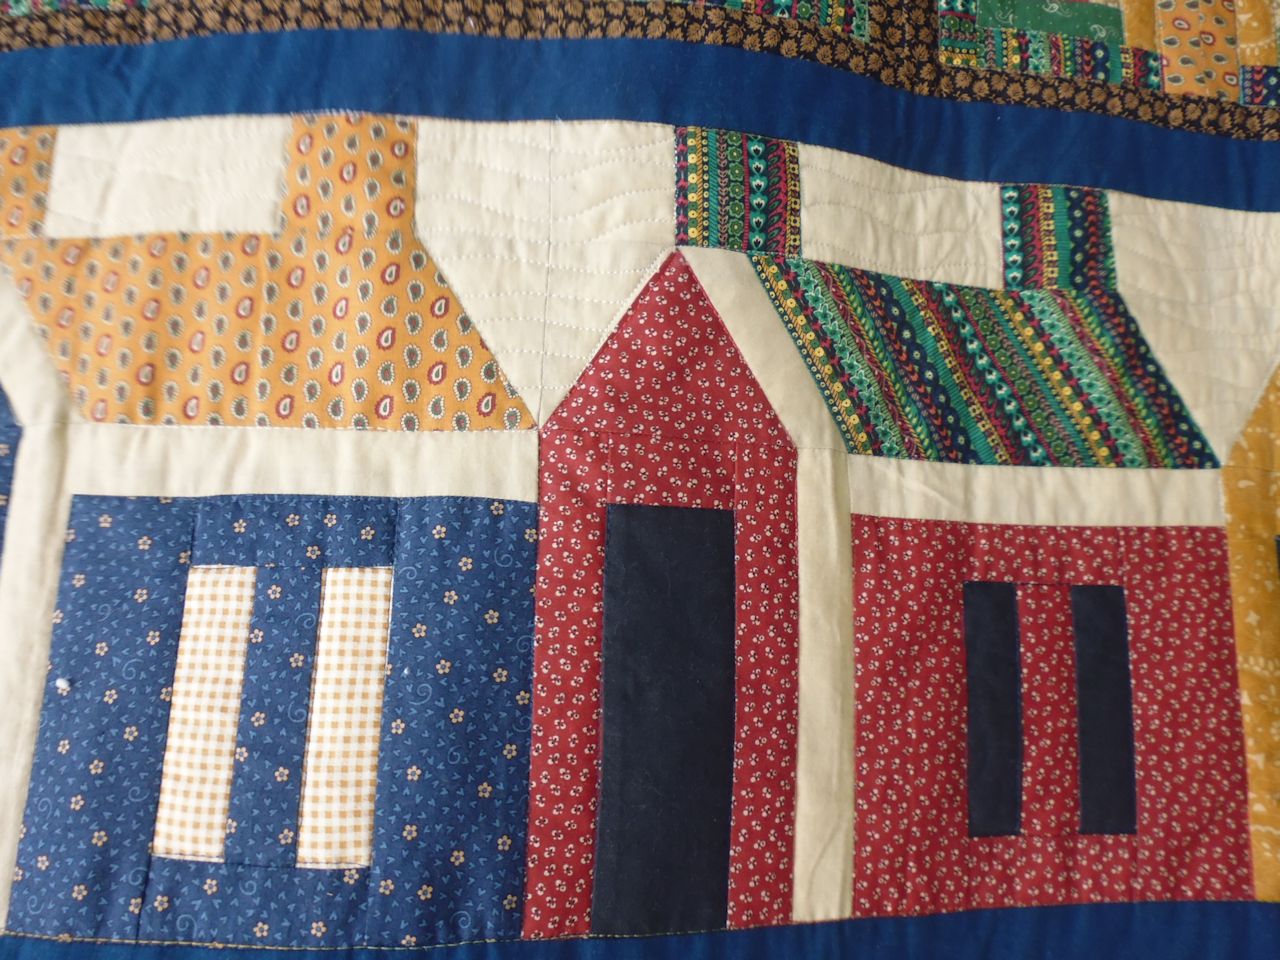
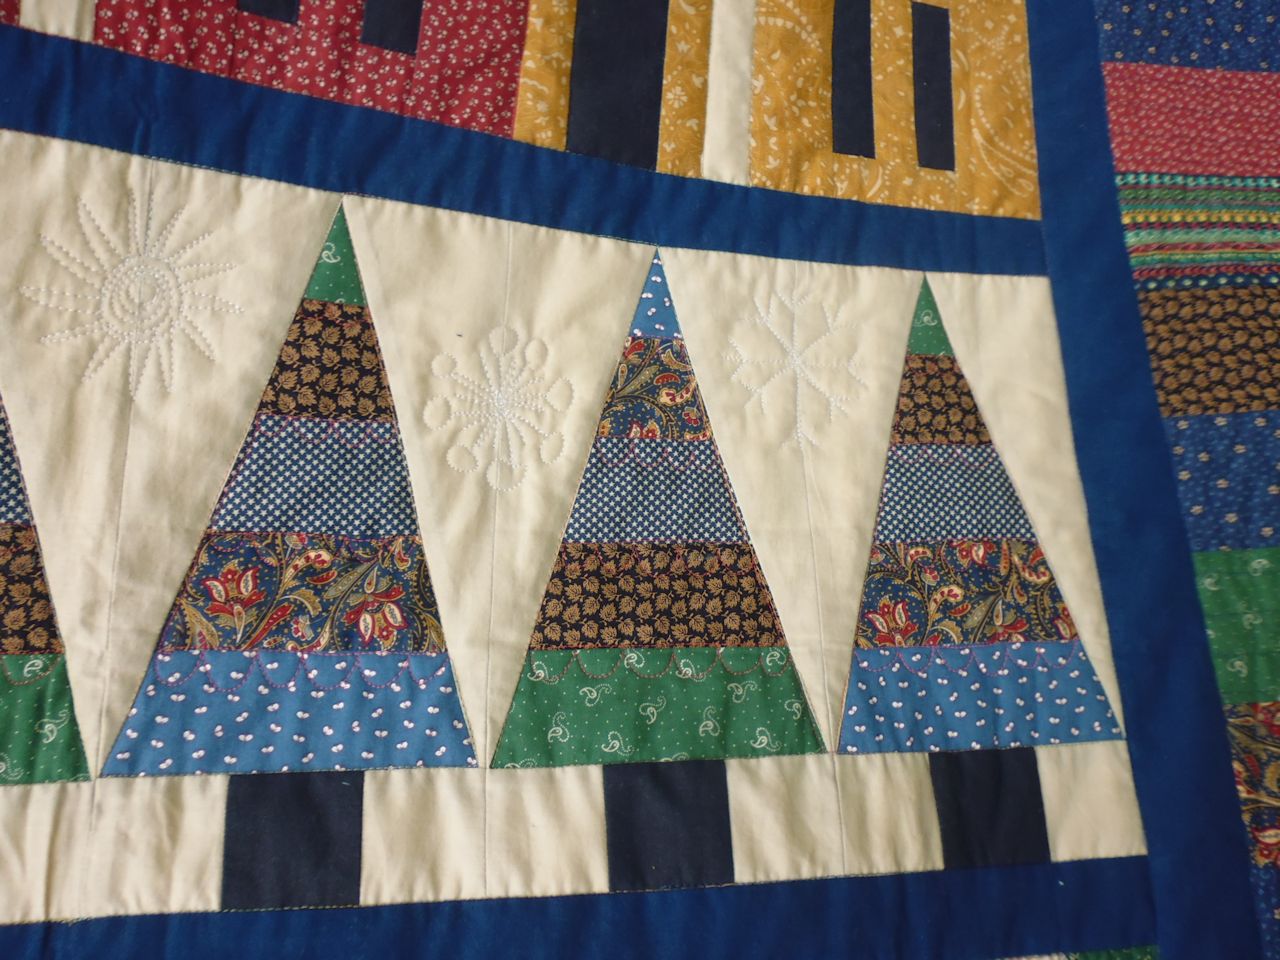
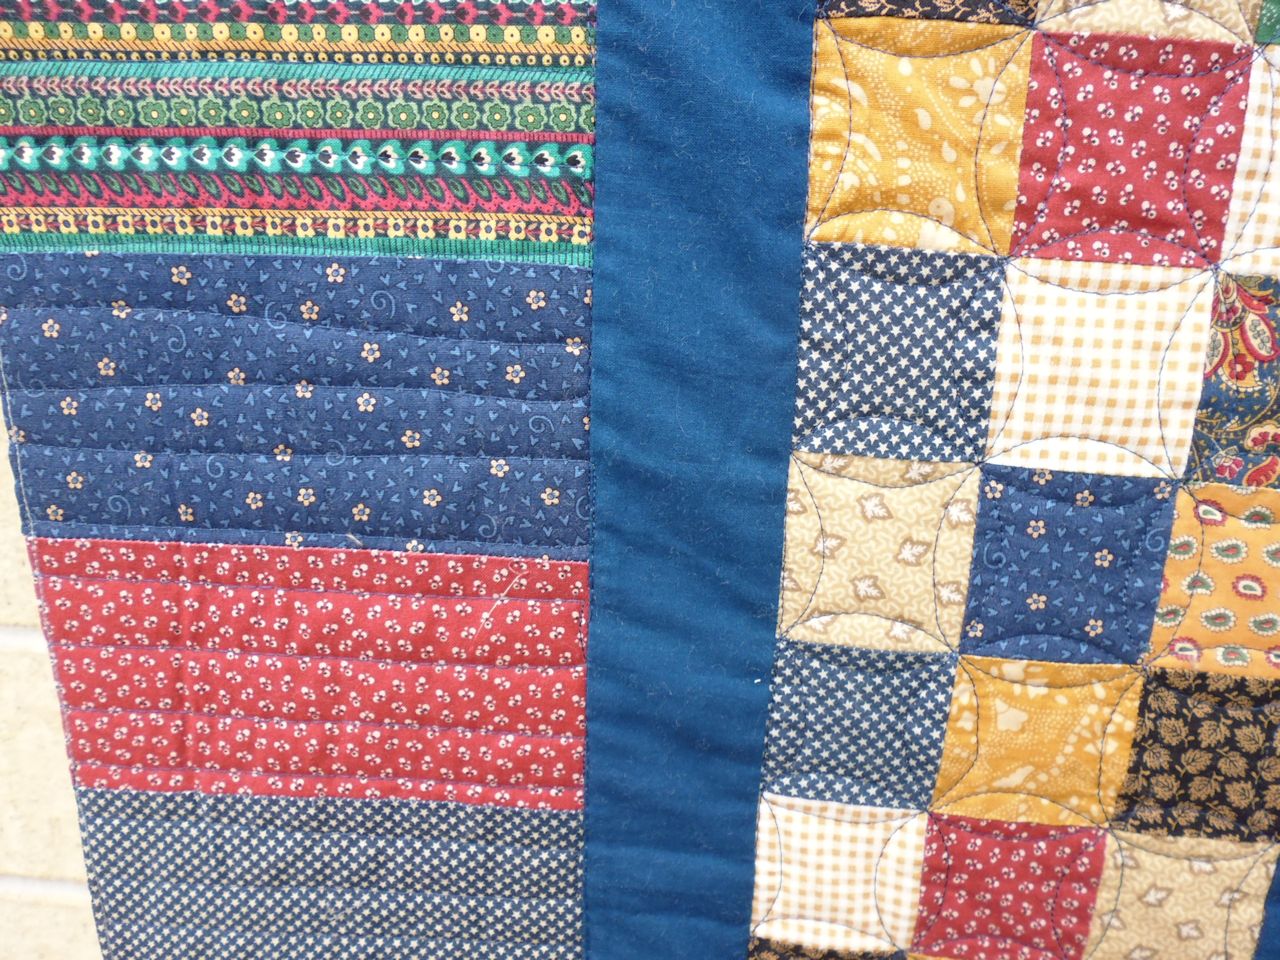
For this BIG quilt (yes, I had to hang it sideways on the clothesline to take the pictures!), I started by stitching in the ditch around all the elements. I didn’t want to overquilt it because the design needed to take centre stage, so I left many areas unquilted. However, I did a cathedral windows motif in the small squares, piano keys in the border, some pseudo snowflakes and a sun in the space behind the trees, and some wavy lines for clouds behind the house.

(Click on a photo to view it larger)

quilt309_01

quilt309_04

quilt309_03

quilt309_02

Threads used:

  • Top: Fil-Tec Glide ‘Navy’ (40 wt, trilobal polyester, colour 32965); Fil-Tec Glide ‘Cream’ (40 wt, trilobal polyester, colour 20001); Mettler Metrosene Plus (polyster, colour 821)
  • Bottom: Fil-Tec Magna Glide Classic pre-wound bobbin (lead gray)


Community Quilt 308

16 02 2017

This simple scrappy quilt had lots of ‘busy’ fabrics, so I just quilted it with a large meandering stipple.

(Click on a photo to view it larger)


quilt308_02

quilt308_01

Threads used:

  • Top: Fil-Tec Harmony ‘Autumn’ (40 wt, cotton, colour 14081)
  • Bottom: Fil-Tec Magna Glide Classic pre-wound bobbin (white)


Community Quilt 307

7 02 2017

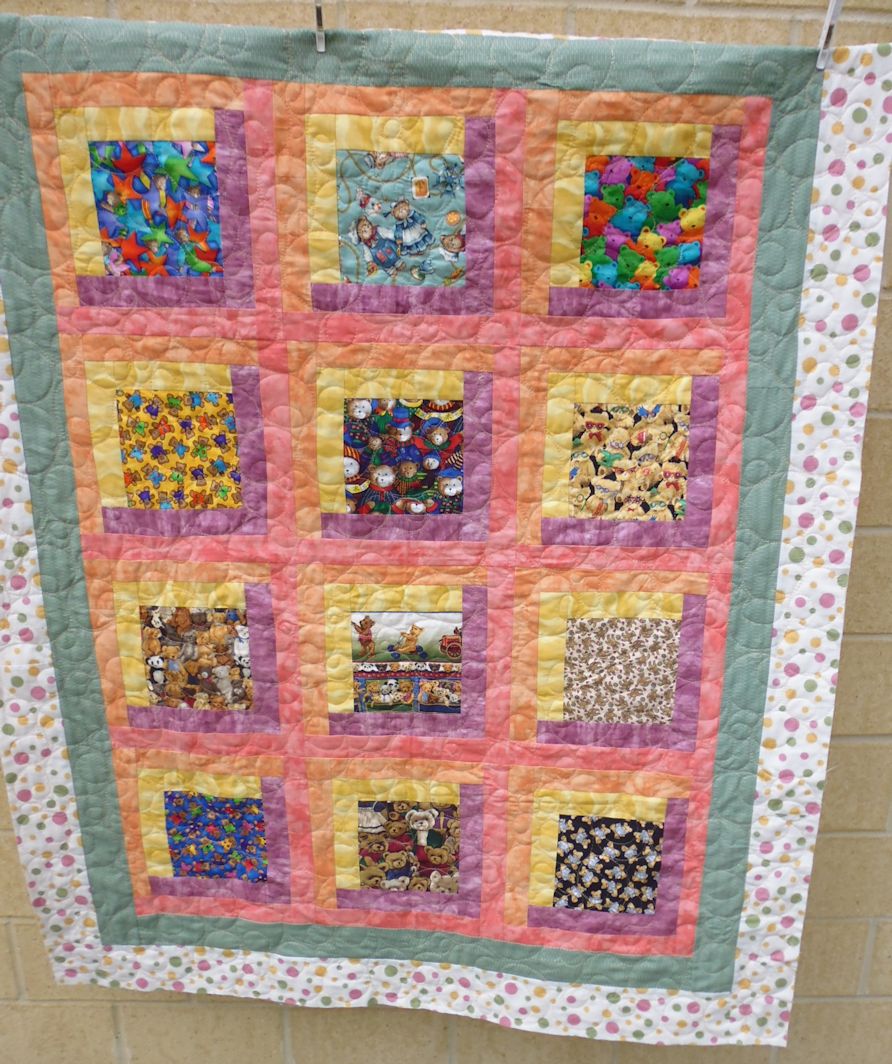
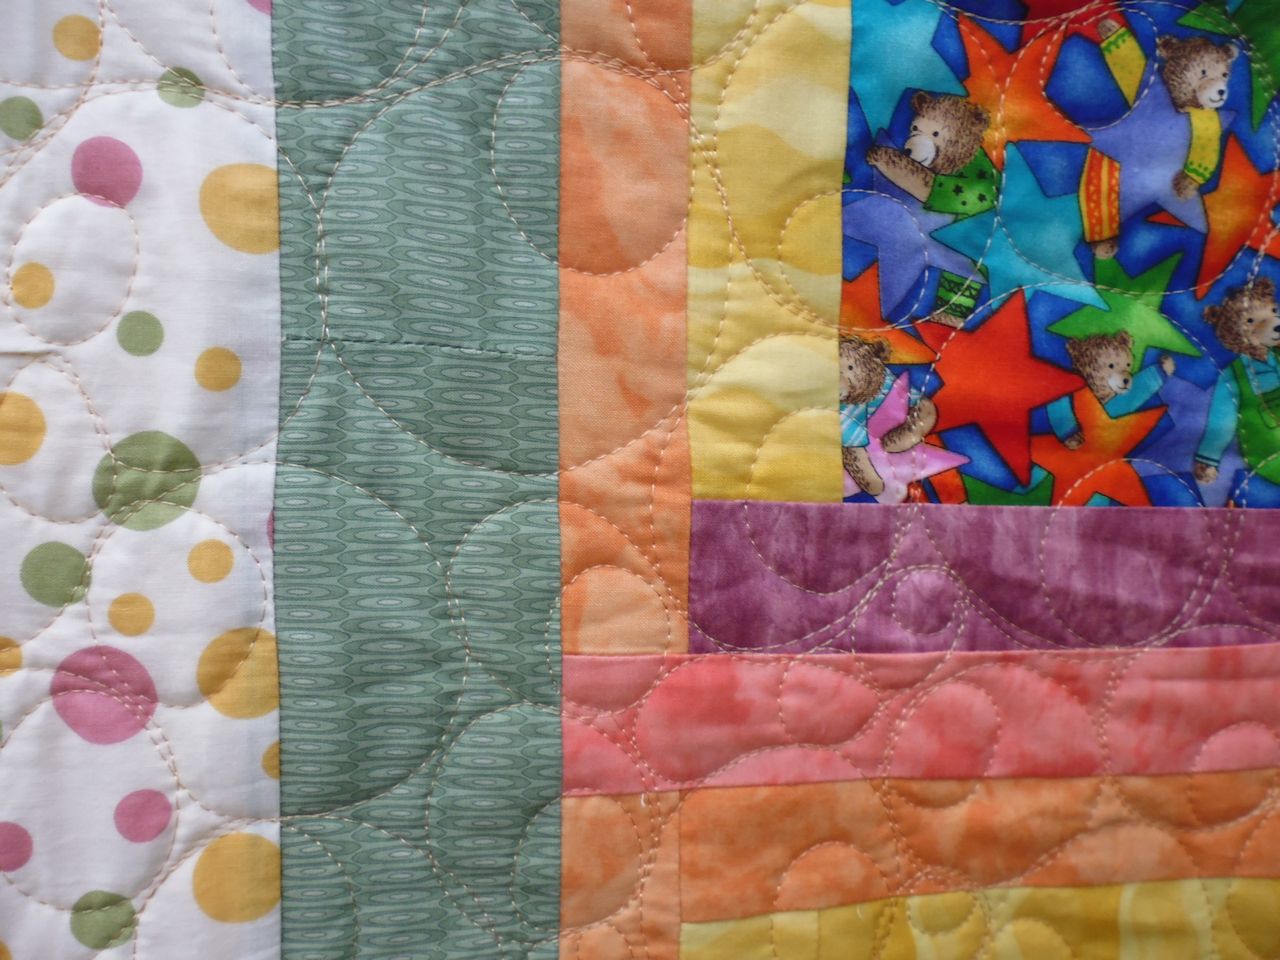
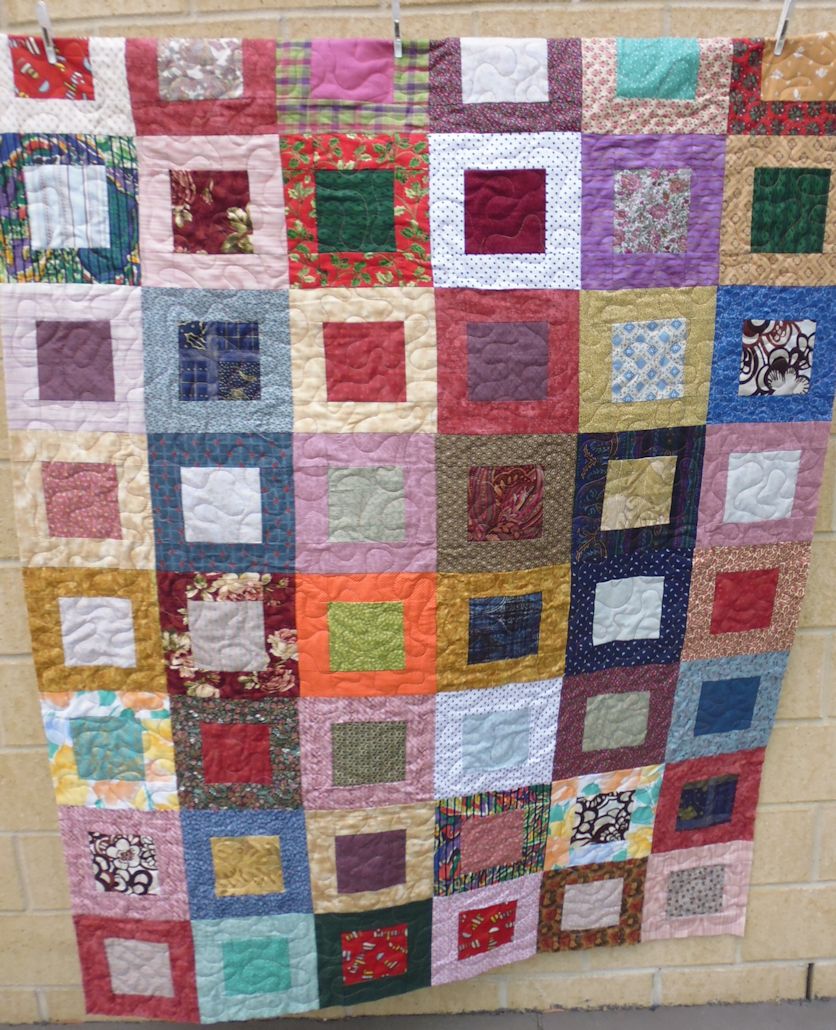
I liked the shadow-box effect of these quilt blocks, and the colours used. To counter the squares and rectangles, I took my inspiration from the circles in the outer border fabric and quilted double circles (smaller circle inside a large one) over the entire quilt, using a peach-coloured thread.

(Click on a photo to view it larger)

quilt307_01

quilt307_02

Threads used:

  • Top: Fil-Tec Glide ‘Peach’ (40 wt, trilobal polyester, colour 50473)
  • Bottom: Fil-Tec Magna Glide Classic pre-wound bobbin (white)


Community Quilt 306

7 02 2017

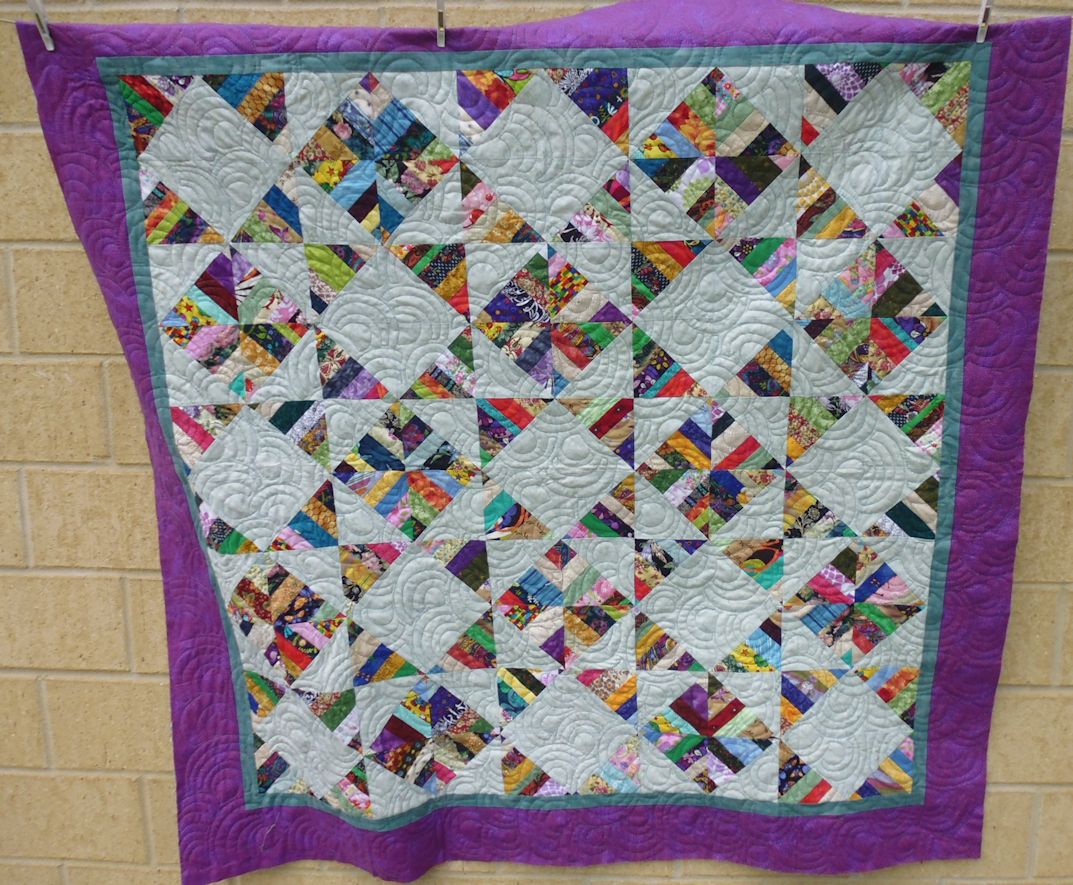
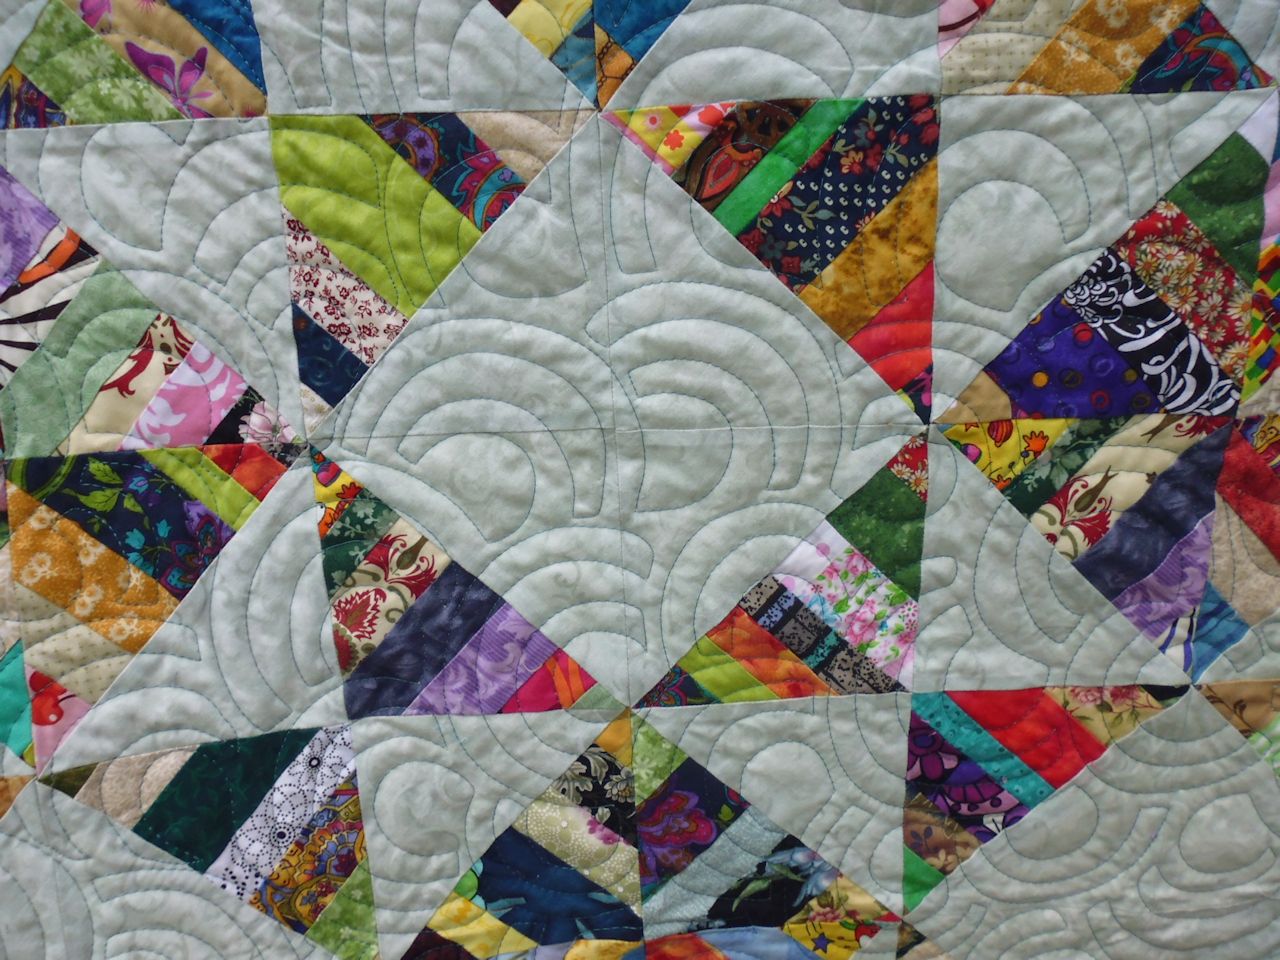
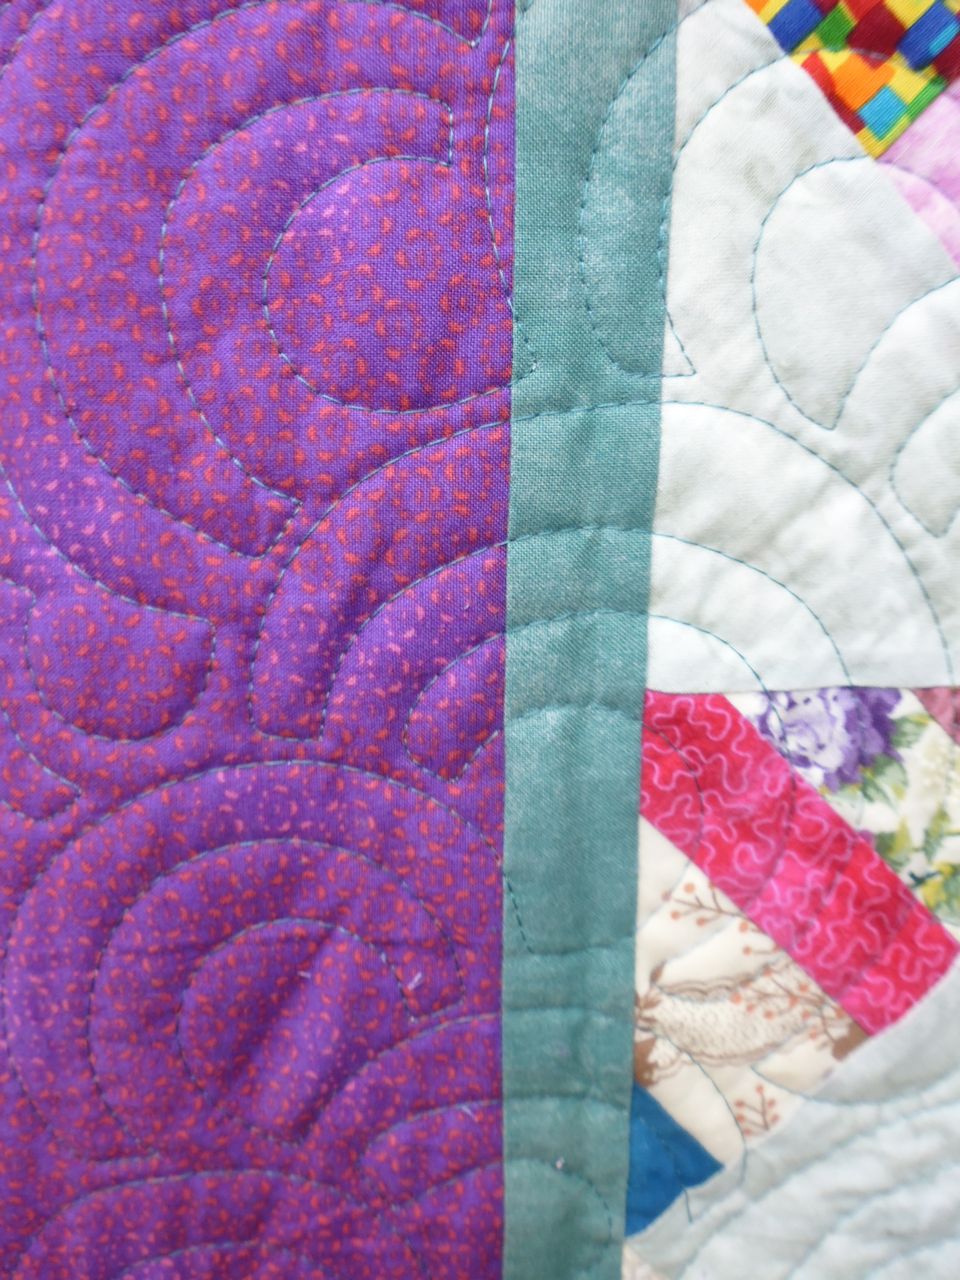
I decided to quilt this scrappy quilt with a blue/green thread that matched the colour of the inner border—I was pleased with how well it matched the rest of the quilt as well. To counterbalance the geometric shapes, I stitched a squared-off arc motif, which is a variation of the open headband motif I use quite often.

(Click on a photo to view it larger)

quilt306_03

quilt306_01


quilt306_02

Threads used:

  • Top: Robison-Anton ‘Wonder Blue’ (40 wt, rayon, colour 2577)
  • Bottom: Fil-Tec Magna Glide Classic pre-wound bobbin (white)


Experimenting with fabric paints and inks

30 01 2017

I’m doing a textile art workshop with Sophie Standing at the beginning of March. One of the preparatory things on my list is to transfer the supplied design of a shell on a beach onto some light canvas-like fabric (I’m using ‘duck’ fabric), and optionally add paint effects to the background. To that end, I decided to experiment with various paint effects on the cream and green swatches of the duck fabric I bought.

I thought I’d spatter the paint/ink and perhaps add some water spray to get the effect I wanted. I was looking for sand-like texture for the foreground, and a washed out blue sky for the background. Both of these only need to be hinted at — the shell will be the dominant feature.

Setting up

I started by cutting eight 5″ squares out of each coloured fabric — four for the paint tests and four for the ink tests.

For each medium, I decided to try four different treatments

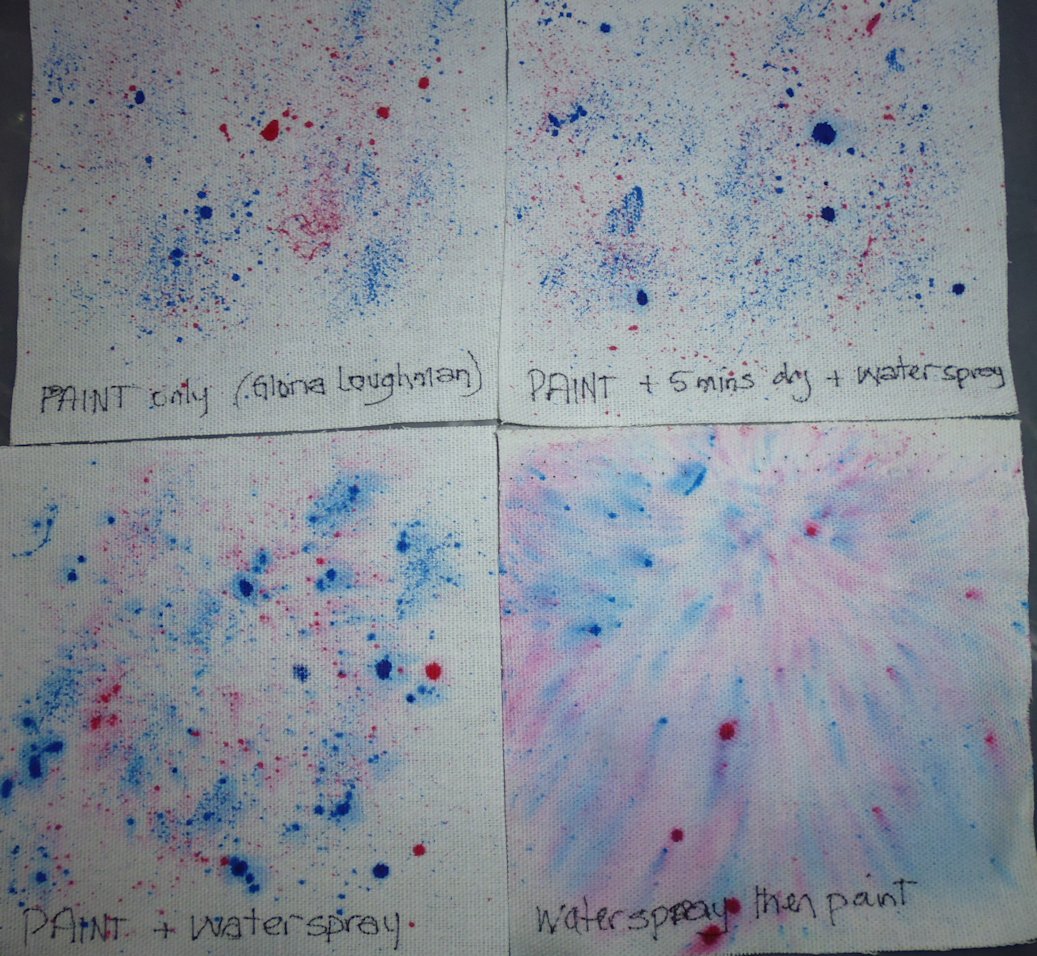
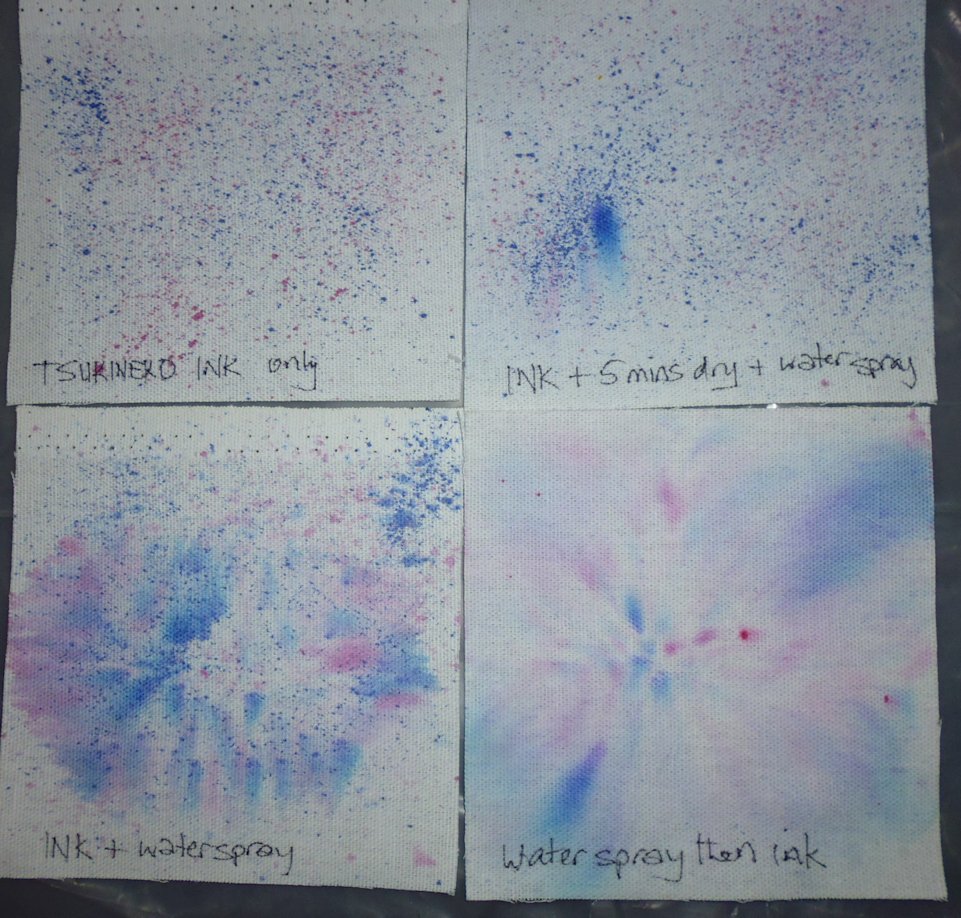
  • spatter the medium onto the fabric and let it dry
  • spatter the medium, let it dry for 5 minutes, then spray lightly with water
  • spatter the medium, the immediately spray with water
  • spray the fabric to dampen/lightly wet it (NOT soak it), then spatter the medium onto the wet fabric.

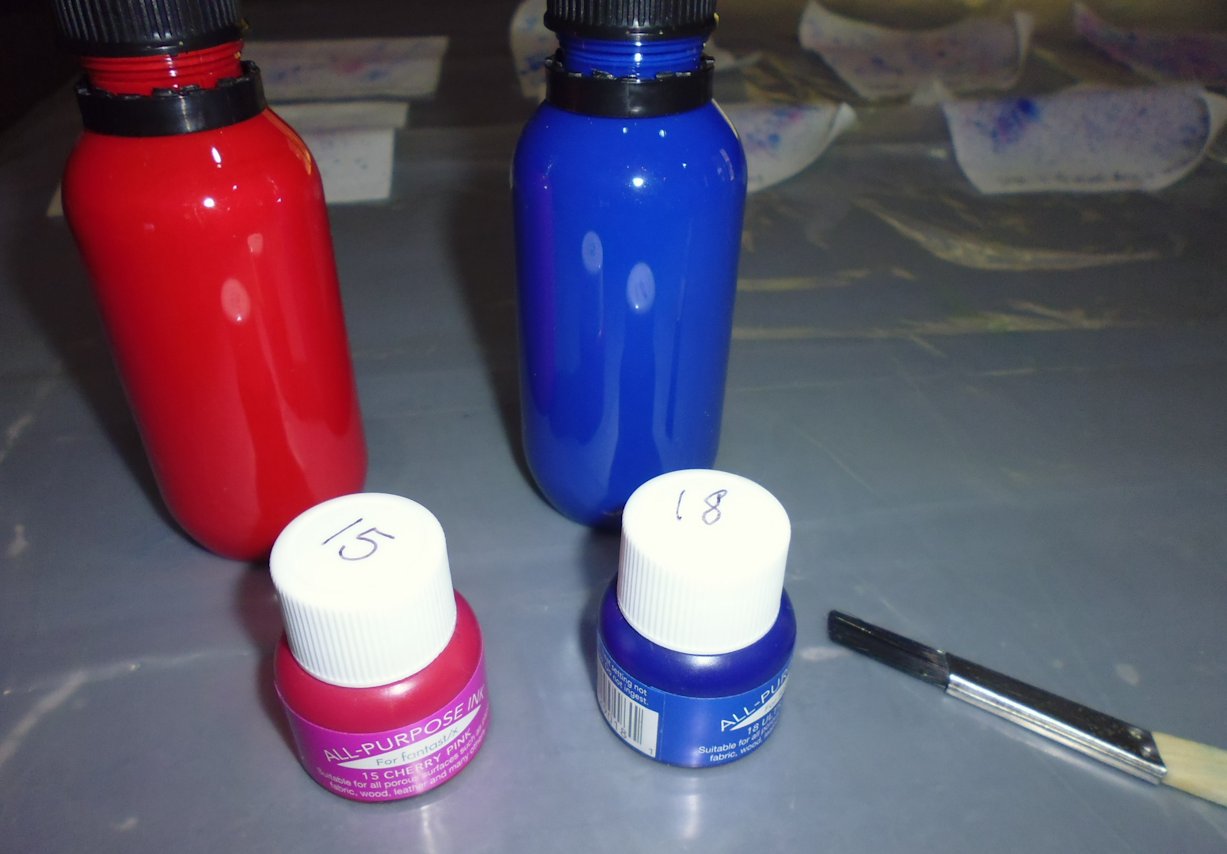
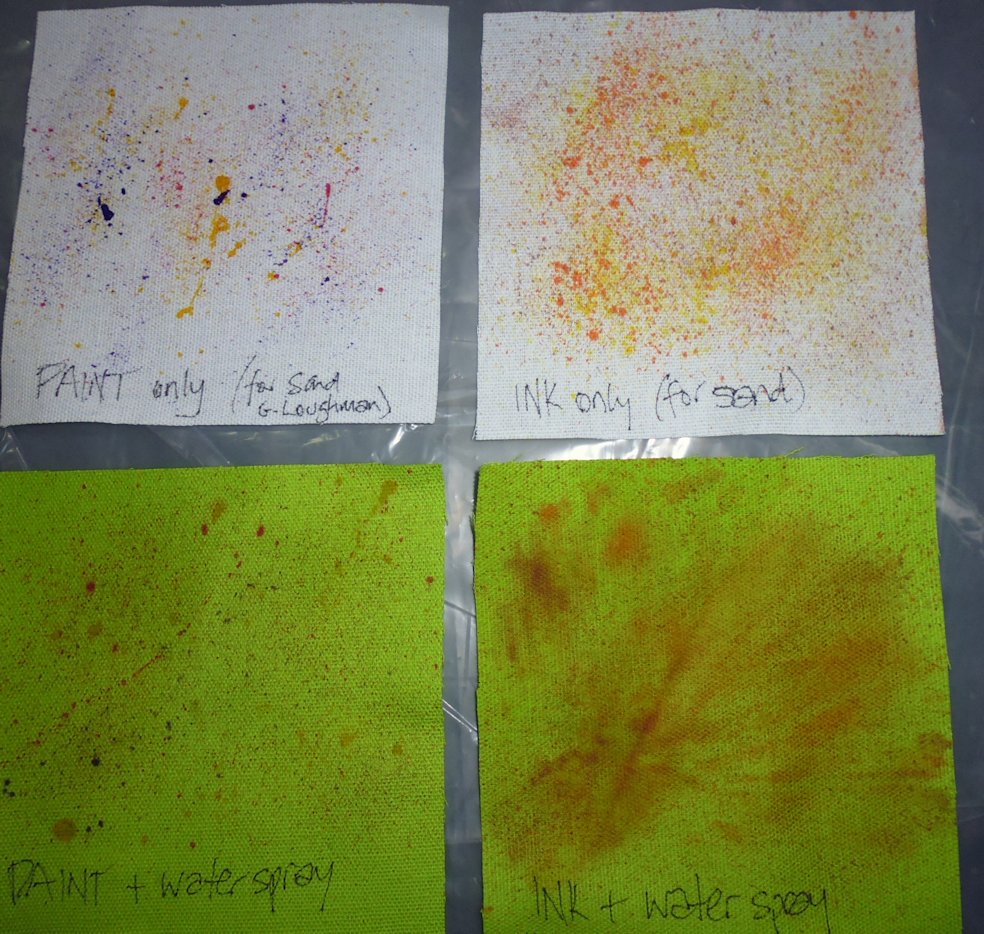
The paints I tested were some I had purchased from a Gloria Loughman workshop some years ago and I don’t know their brand — they have no labels. The inks were Tsukineko All-purpose Inks. I used a small hard-bristled brush (less than 1 cm/half an inch wide) that I’d purchased in the paint aisle at the hardware store (this was NOT an artists’ brush!); the reason I chose this brush was that it gave good resistance in the bristles and spattered the paint in fine droplets. Before starting, I filled a jar with water to rinse the brush, put down a big sheet of plastic, and put on food prep gloves to prevent staining my hands. I also had plenty of paper towels on hand in case of any mishaps.

Swatch results — sky

I decided to spatter blue and red/pink paints/inks for these tests. I was going to just do blue, but wanted to see how the colours would or wouldn’t bleed into each other so I chose a contrasting red/pink to see what would happen. As you can see from the results, adding water (or not) at various stages definitely changes what happens to the paints/inks. I much preferred how the colours rendered on the cream fabric than the green, where they became quite muddy and subdued. After these tests, I decided on the ‘water spray then ink’ technique (but just in blues!) for the main design to emulate a washed out sky.

(click on a photo to see it larger)

p1080154

p1080153

p1080152

p1080155

p1080138

Swatch results — sand

I decided to spatter yellow, red, and purple paints, and brown, orange, and yellow inks for these tests. Again, adding water (or not) definitely changes what happens to the paints/inks. And again, I preferred how the colours rendered on the cream fabric than the green, where they were quite muddy and subdued. After these tests, I decided to use the ‘ink only’ technique for the main design to emulate the sand (but just in brown and yellow as I thought the orange was a bit overpowering).

(click on a photo to see it larger)

p1080156

p1080139

Main piece

After deciding on the ‘ink only’ spatter technique for the sand part of the main design, I used baking (parchment) paper and painters’ tape to mask off the upper part of the big piece of fabric I had transferred the main design onto. All well and good, and the paint spattered beautifully (except for a big drop of yellow that fell off the brush! I decided not to try to get it out, instead choosing to wait until I’d finished before figuring out how I’d disguise it…).

p1080161

Once this lower half had dried (which was almost immediately), I put the baking paper over it and tightly taped down along the horizon edge with painters’ tape. Then I lightly sprayed the top section with water and spattered two different blues over it. I liked the effect, but again, two BIG dollops of blue dropped off the paintbrush onto the main design and spoilt it beyond repair (yes, I’ll have to start again). After ruining the piece with these drops, I waited for it to dry to see how well the masking off worked. Well, it didn’t!

Duck fabric has quite a coarse weave, so the water ignored the painters’ tape and wicked into the lower half of the design, and the blue ink happily followed it down!

p1080158

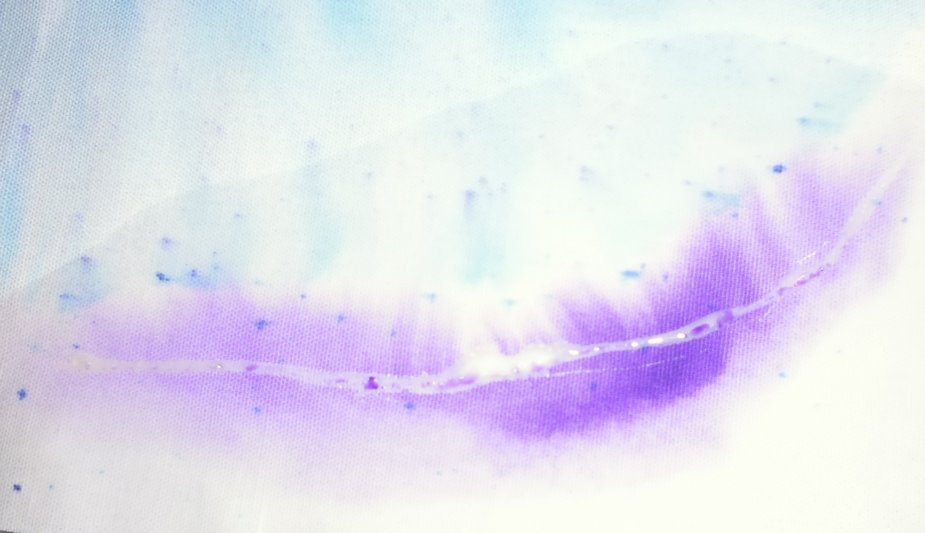
The piece was now completely ruined, but I figured I’d use it for some more experiments. The big issue was how to prevent water wicking/bleeding into areas where I didn’t it to go. Hmmm… what to do? I don’t do fabric dying, so I don’t have any resist mediums (not that I think they’d have worked with this coarse weave anyway). Instead, I decided I’d try two things I did have — a watercolour masking fluid (Frisket), and Elmer’s School Glue. I placed a bead of each on the fabric, waited for them to dry thoroughly, then wet one side of each bead with the water spray and added a bit of ink. And then I waited to see what would happen… Fail!

This first photo is of the watercolour masking fluid — the colour was added BELOW the white masking line in this photo but has totally ignored the ‘barrier’ and bled into the non-wet area. If you look closely, you can see the line of moisture near the top of the photo showing just how far the water wicked past the ‘barrier’, even though the colour didn’t go that far.

p1080157

This second photo is the result with the Elmer’s School Glue. Again,  only the area below the glue line was sprayed with water and colour added to it. And again, it has bled extensively into the non-wet area.

p1080160

Conclusions

Just using these techniques above (i.e. not buying and testing a fabric resist medium), I came to these conclusions:

  • If you’re going to use different techniques (e.g. one with water and one without), then make sure you test BOTH techniques on a SINGLE test swatch BEFORE applying them to the main design!
  • Unless you’re using some sort of resist medium that you KNOW works, don’t mix water and non-water techniques on fabrics that will suck up water where you don’t want it to go. There be dragons!

For my next attempt (after I purchase yet another metre of duck fabric and transfer the design), I think I’ll use the ink only technique for both the sand and sky sections, masking each off as I do them. And I’ll apply NO water at all. The backgrounds can all be little spattered dots of colour, and that will have to do.


Two aqua quilts finished

30 01 2017

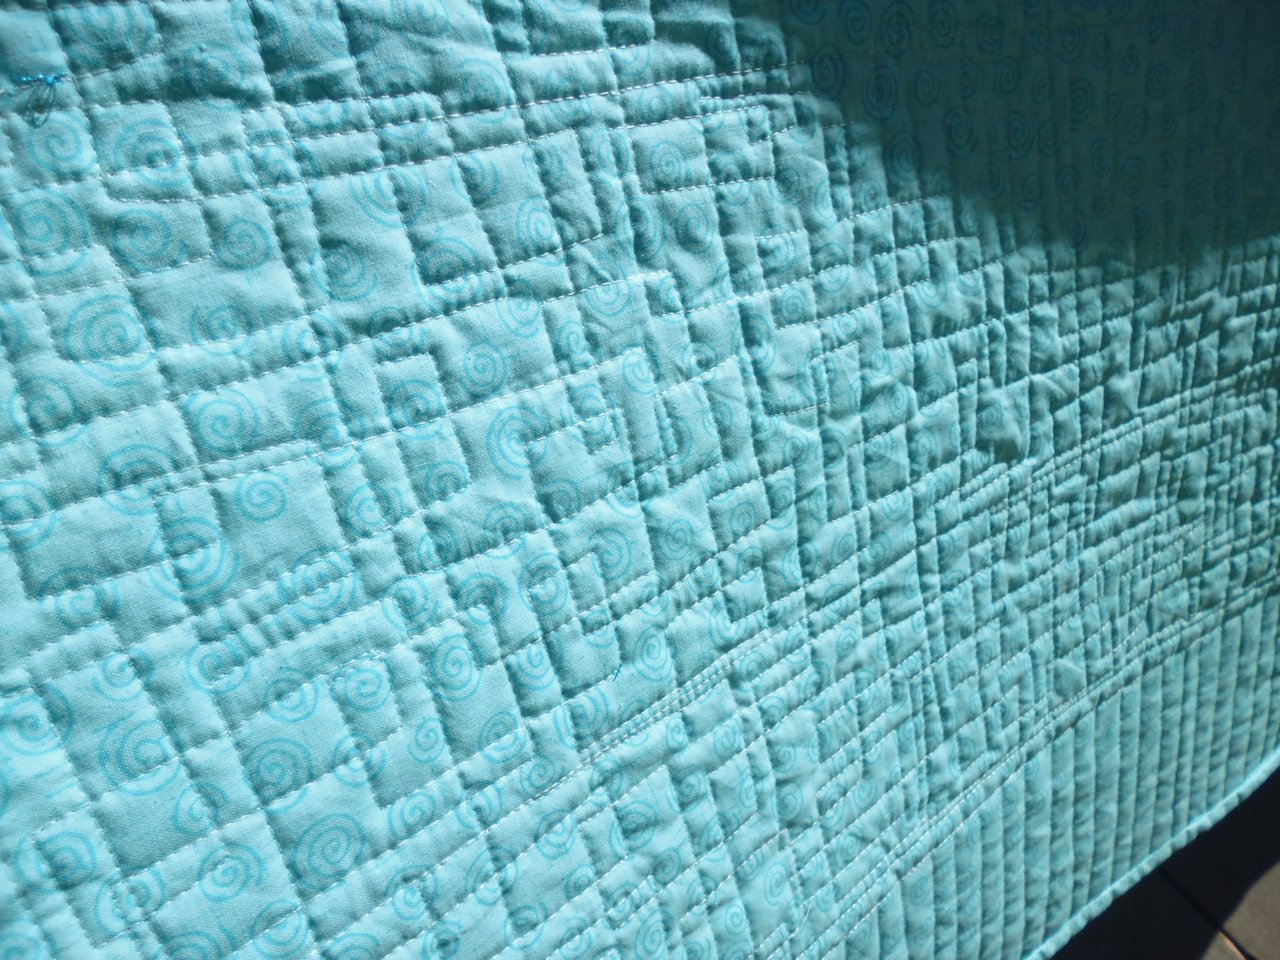
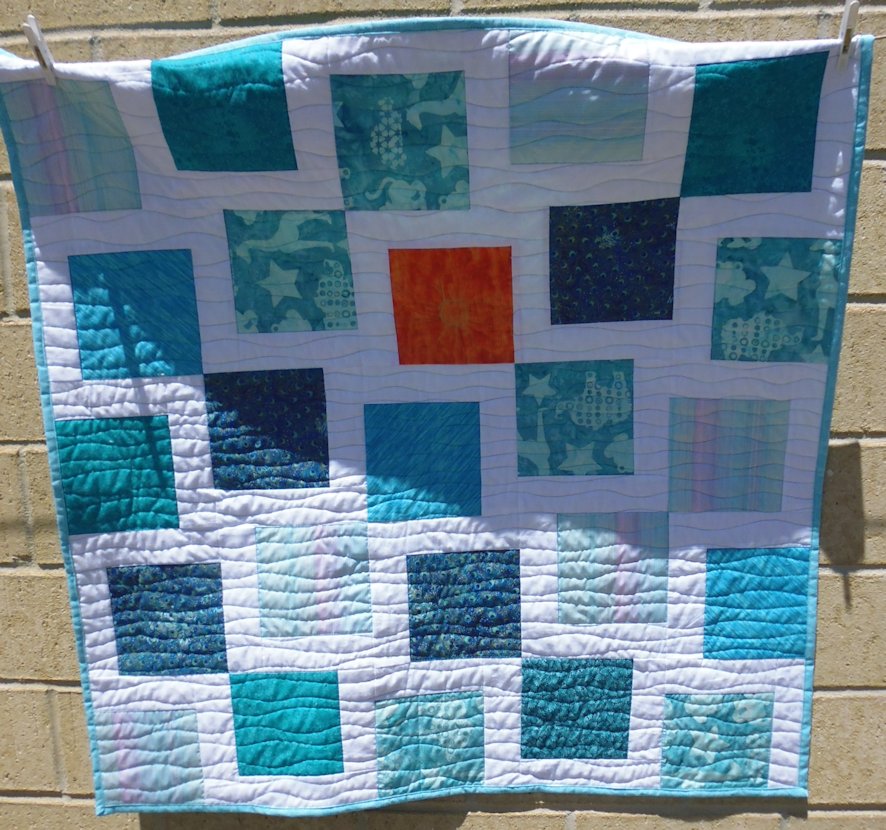
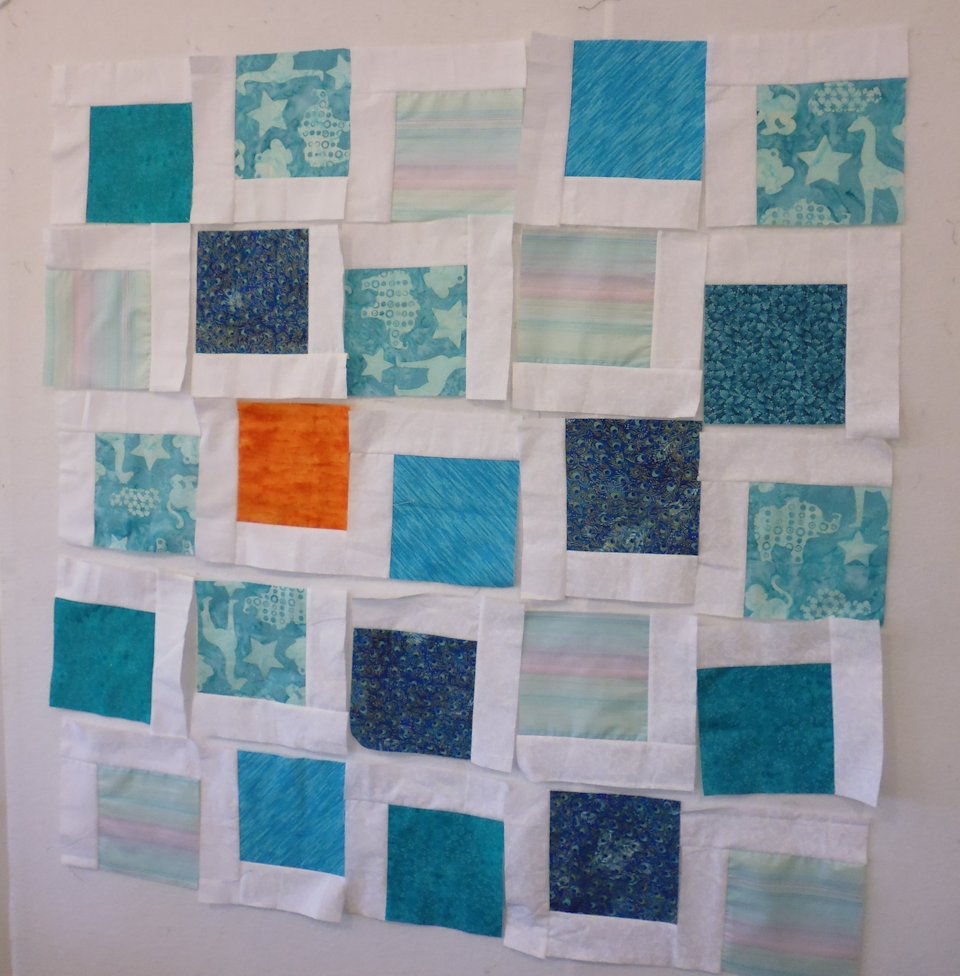
I’ve finished the two quilts I started at the retreat in early January. I had to buy some wide aqua backing fabric, which is what held me up.

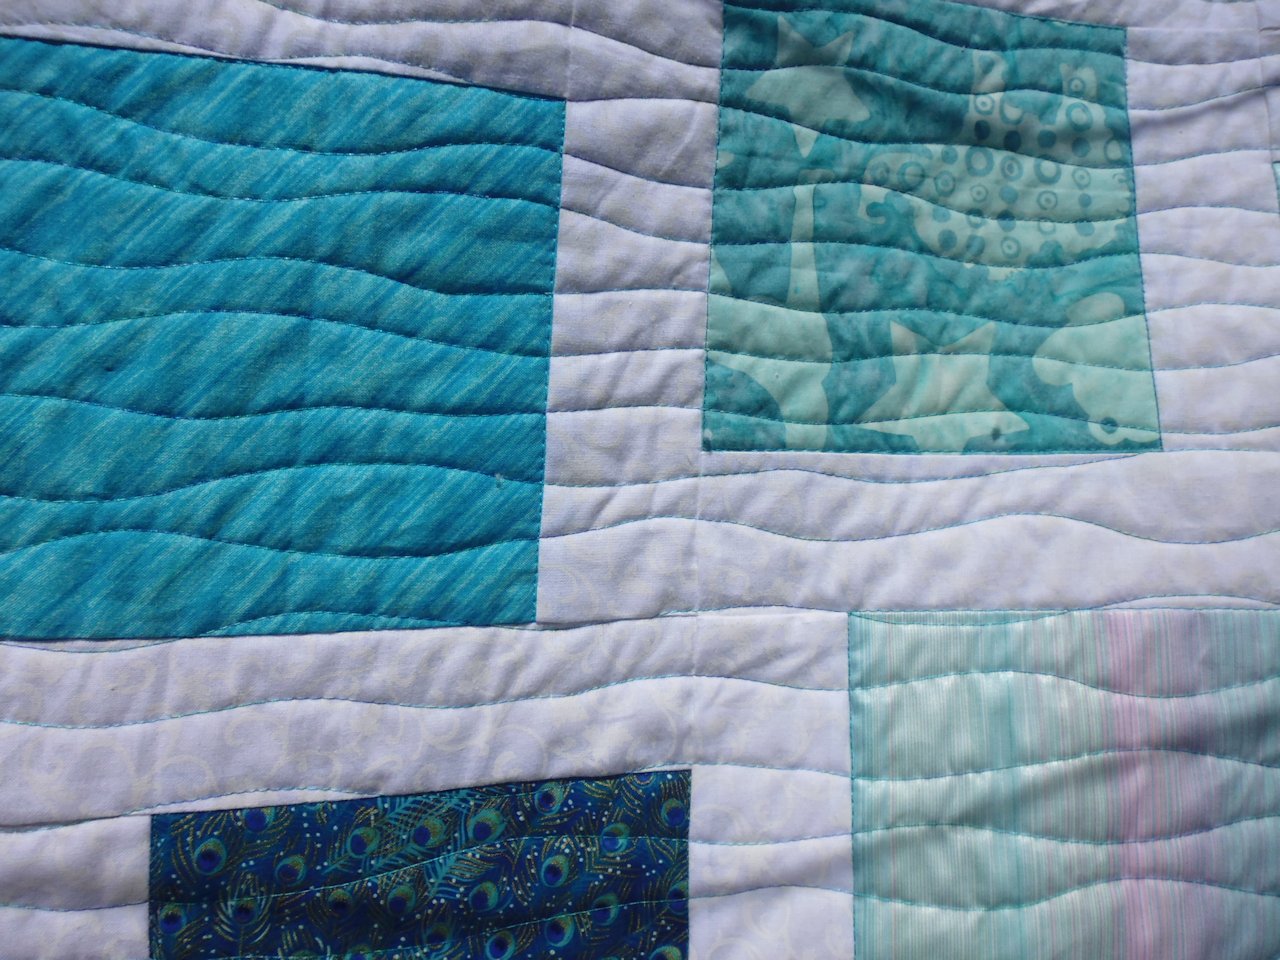
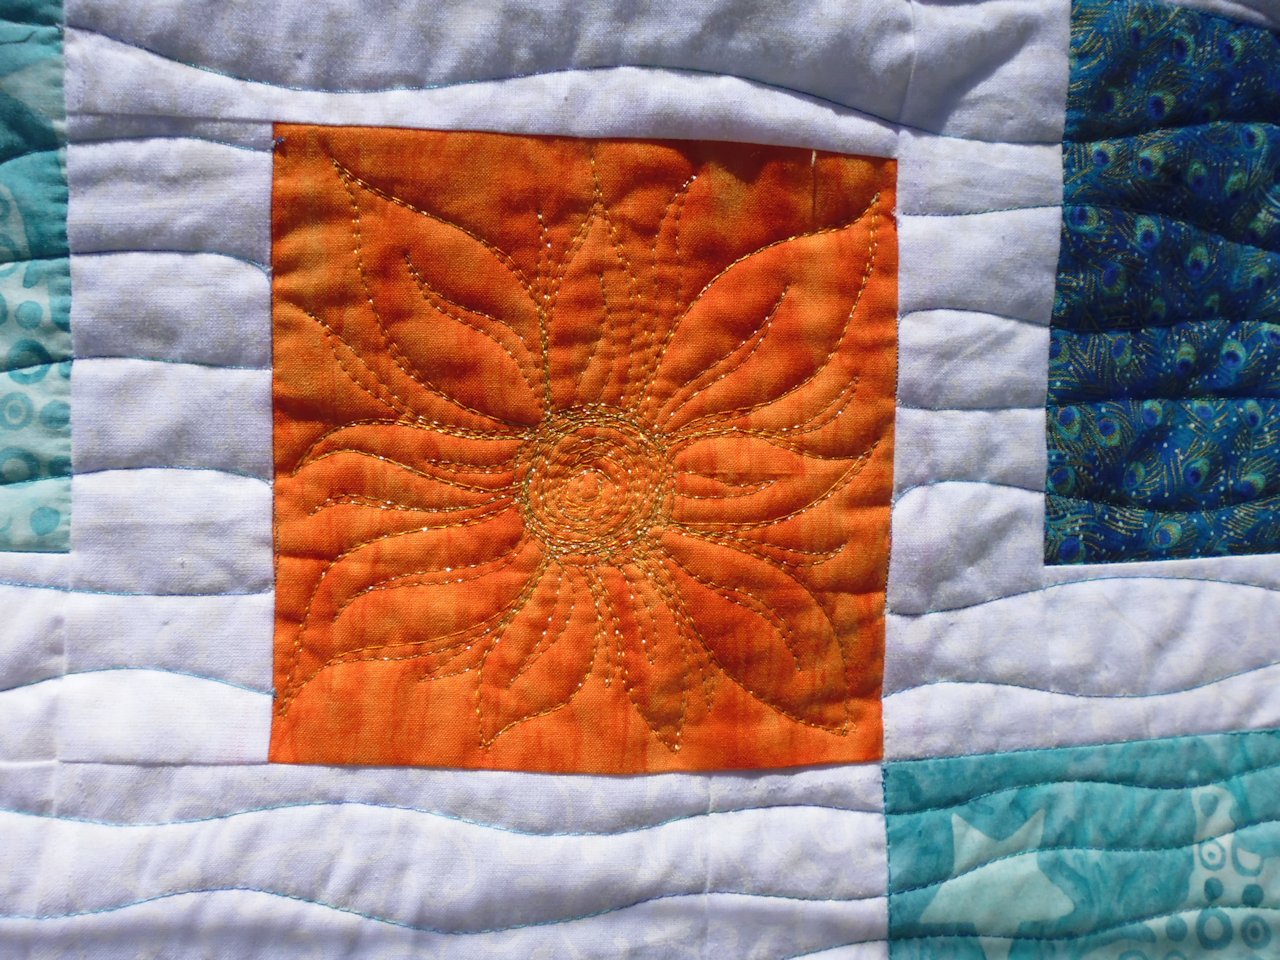
Here they are, finished. Both are for sale in my Etsy store (http://www.etsy.com/au/listing/495202354/sun-and-sea-lap-quilt and http://www.etsy.com/au/listing/508684609/aqua-single-bed-quilt).

Click on an image to view it larger.

Aqua single-bed quilt

p1080113


p1080115

p1080114

Back:

p1080117

Threads used:

  • Top: Isacord (40 wt, trilobal polyester, colour FB 4010)
  • Bottom: Fil-Tec Magna Glide Classic pre-wound bobbin (white)

Sun and Sea lap quilt

p1080122

p1080125

p1080124

Back:

p1080127

Threads used:

  • Top: Fil-Tec Glide ‘Marigold’ (40 wt, trilobal polyester, colour 80130); Fil-Tec Glisten ‘Gold’ (metallic, colour 60088); Superior Rainbows ‘Mediterranean’ (40 wt, trilobal polyester, colour 831)
  • Bottom: Fil-Tec Magna Glide Classic pre-wound bobbin (white)


Weekend away just quilting

9 01 2017

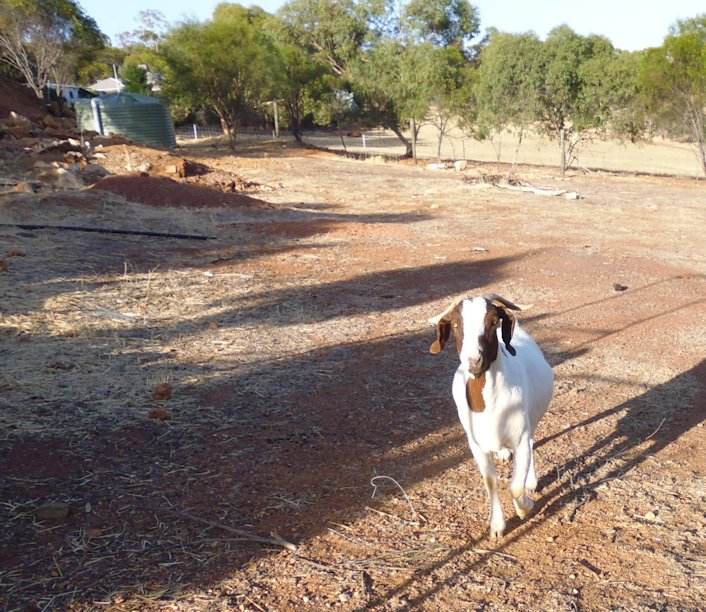
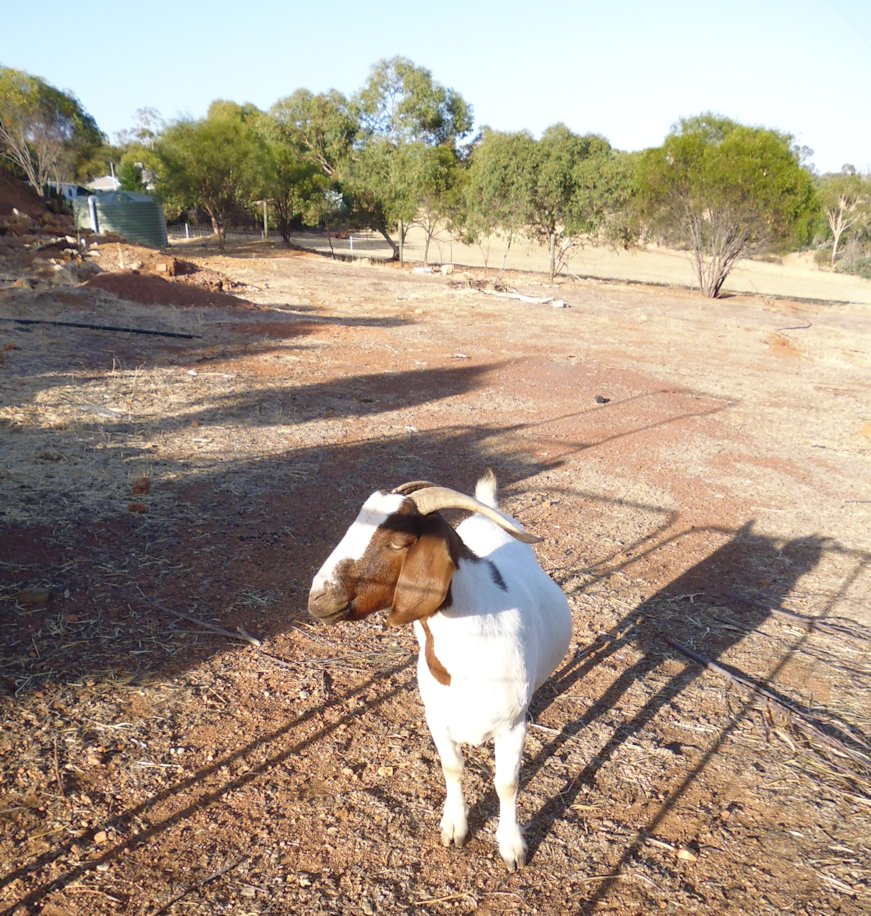
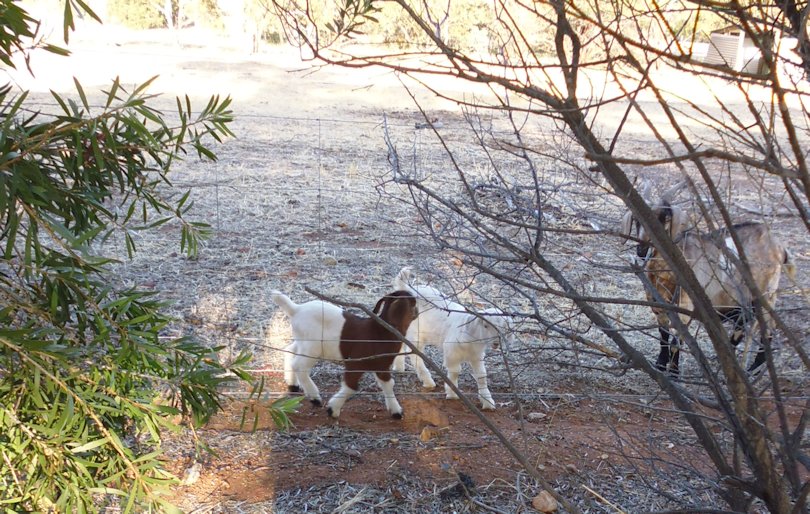
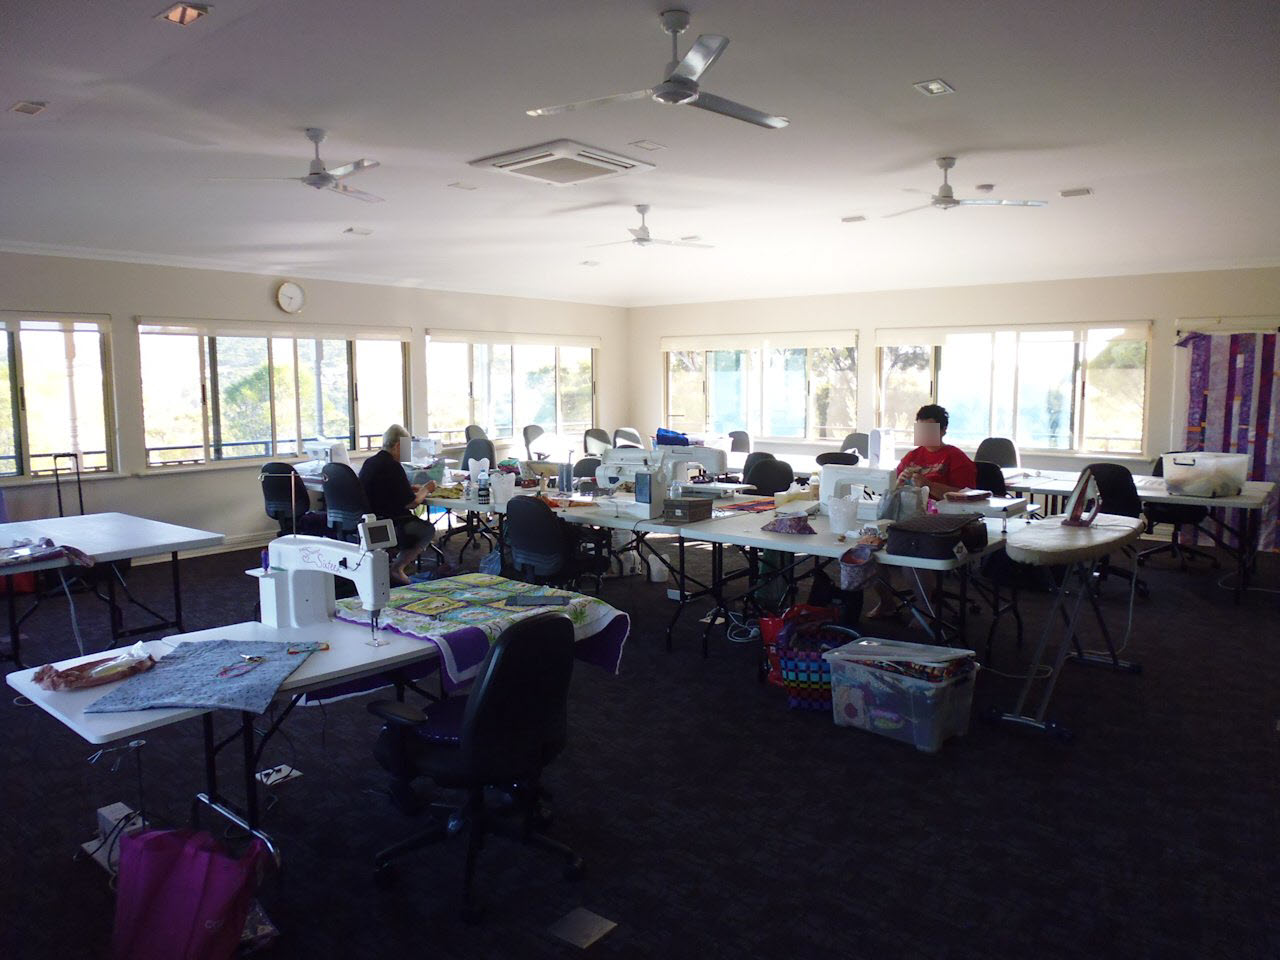
I spent this past weekend at the lovely Avalon Homestead in Toodyay. But not by myself — I spent it with six other quilting friends. It wasn’t a formal retreat — just a catch-up with friends over our sewing machines. It was so nice to just sit and sew all day, have our meals prepared for us, and then do it all again the next day. Most of us started around 6am and didn’t finish until around 10pm. Just bliss! And the room we were in was just perfect for any sort of crafts. Oh, and there were goats, including two babies!

I made three quilts for my niece (details and photos later after I give them to her), plus an improvisational single bed quilt top made from scraps, and a lap quilt top.

Some photos of the quilt tops in progress (they aren’t quilted yet!) and the location…

p1080080

p1080082

p1080062

p1080064

p1080066

p1080067

p1080068

p1080069

p1080070


Twelve months after the Yarloop fires

9 01 2017

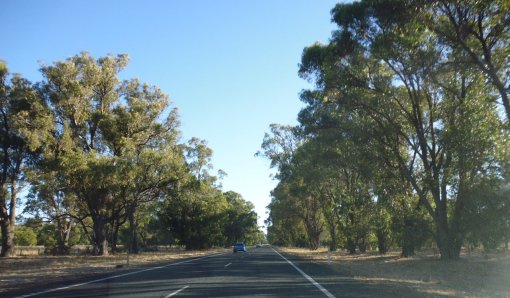
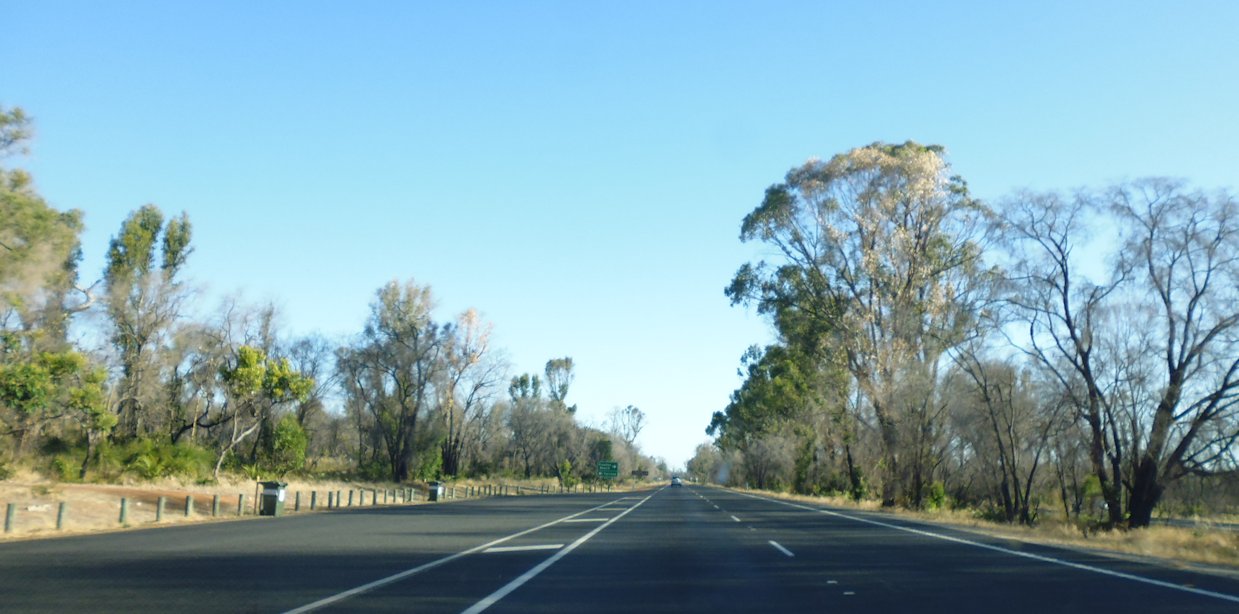
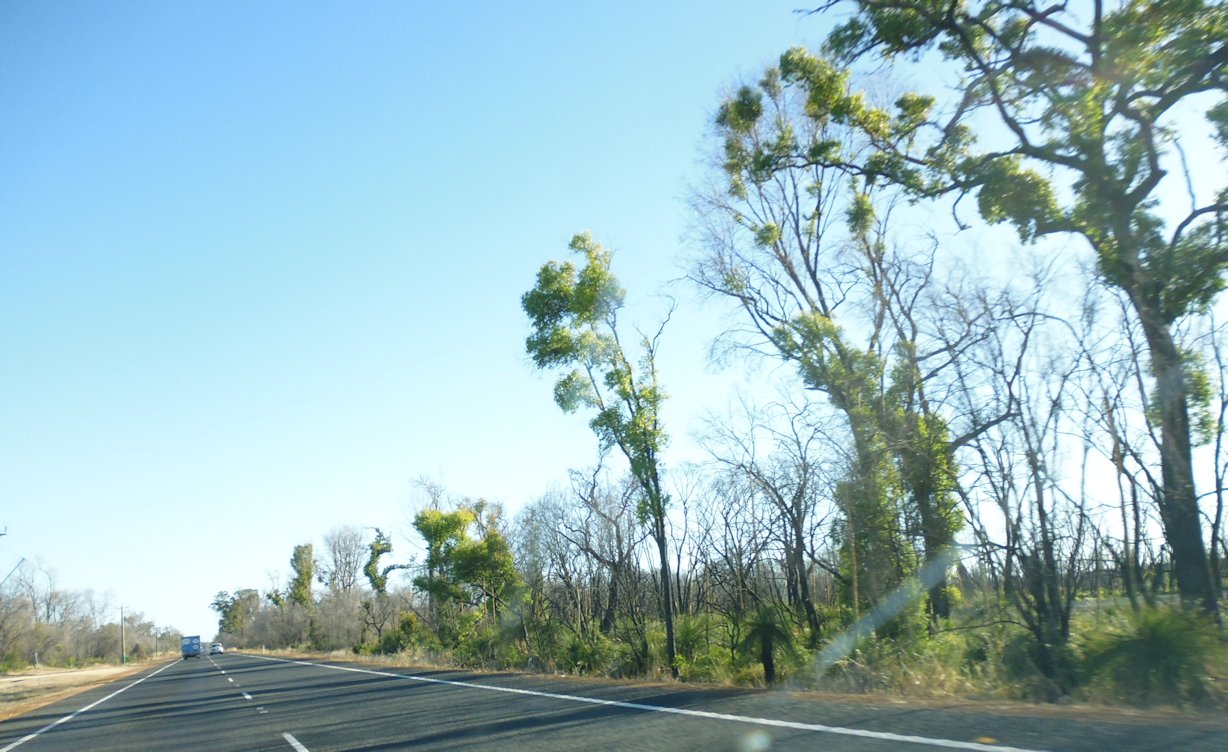
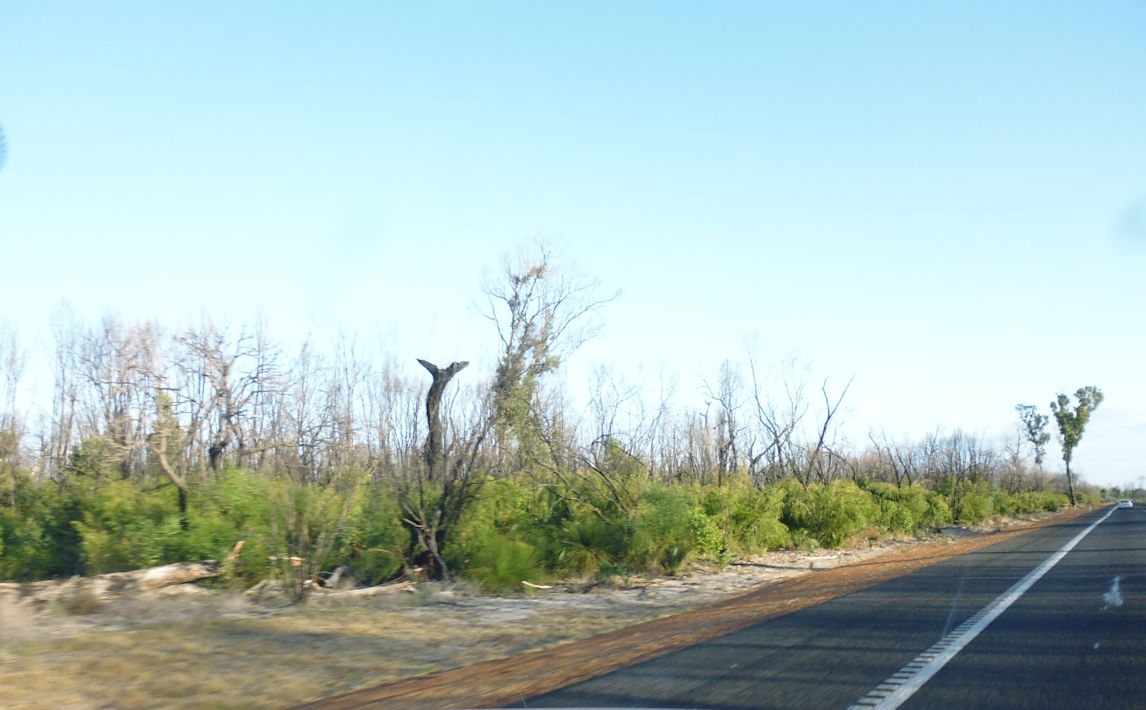
A year to the day that Yarloop was all but destroyed by one of the worst bushfires in Western Australian (European) history, I travelled to Perth along Forrest Highway, which the fire had jumped on its path of destruction to the coast. The bush is recovering slowly, with many weed species taking hold. The grass trees have sent up many spears (stimulated by the fire?), though not all are straight — many are very twisted. I don’t know if the twisting is natural or a result of the trauma to the plants by the fires. Many other trees/bushes are dead and will eventually fall over/drop branhces, or be taken over by other vegetation.

Some photos while driving to and from Perth this past weekend — the first photo is of the bush alongside the highway in an area not burnt (this is what it used to look like before the fires):

p1080090

p1080057

p1080083

p1080085

p1080086

p1080088

p1080089


p1080056

Update: Photos from 31 March 2018, some two years and nearly 3 months after the Yarloop fires. These were taken on Forrest Highway in one of the areas the fire burnt through. The recovery of many of the trees is quite remarkable. Some are just dead, but many have recovered. Sometime in the past few months, the Main Roads people have also trimmed away any dead branches on the verges that were likely to break off and potentially become a road hazard.

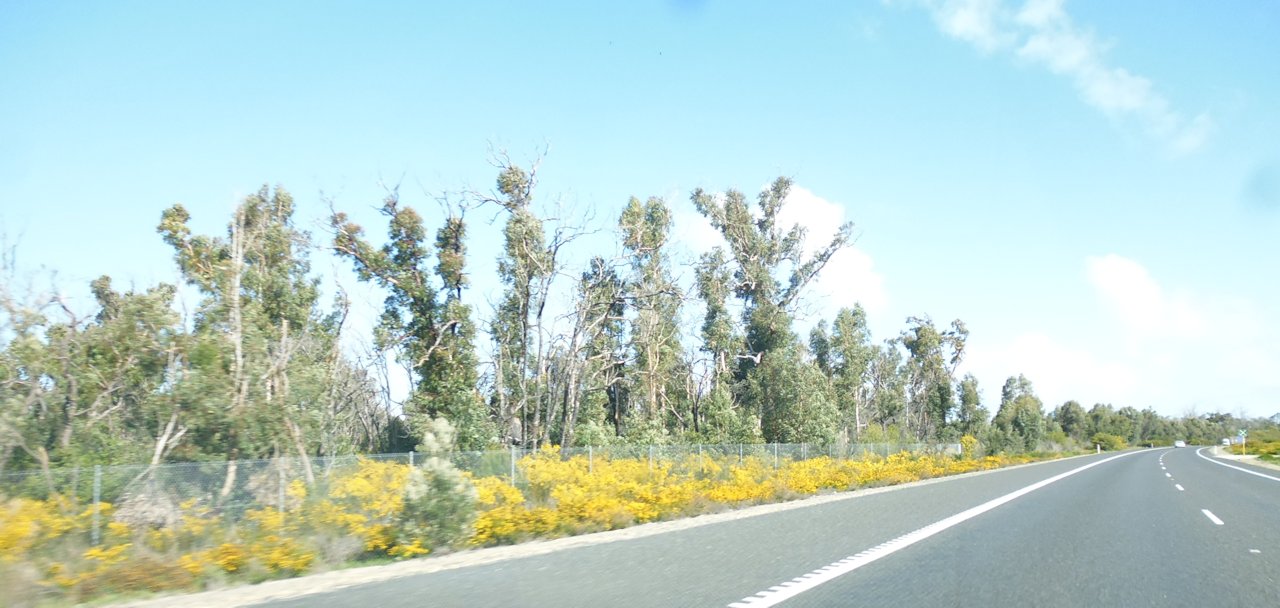
Update: 4 September 2018: Two years, 8 months since the Yarloop fires… Springtime and the amazing regenerative nature of the Australian bush after devastating and catastrophic fire just stuns me. Some photos from my drive back from Perth today. While there are still a lot of dead and burnt branches, the understorey seems to have fully recovered and is thick with new life. Many of the burnt trees seem to have recovered too, and are covered in leaf growth.
See also: