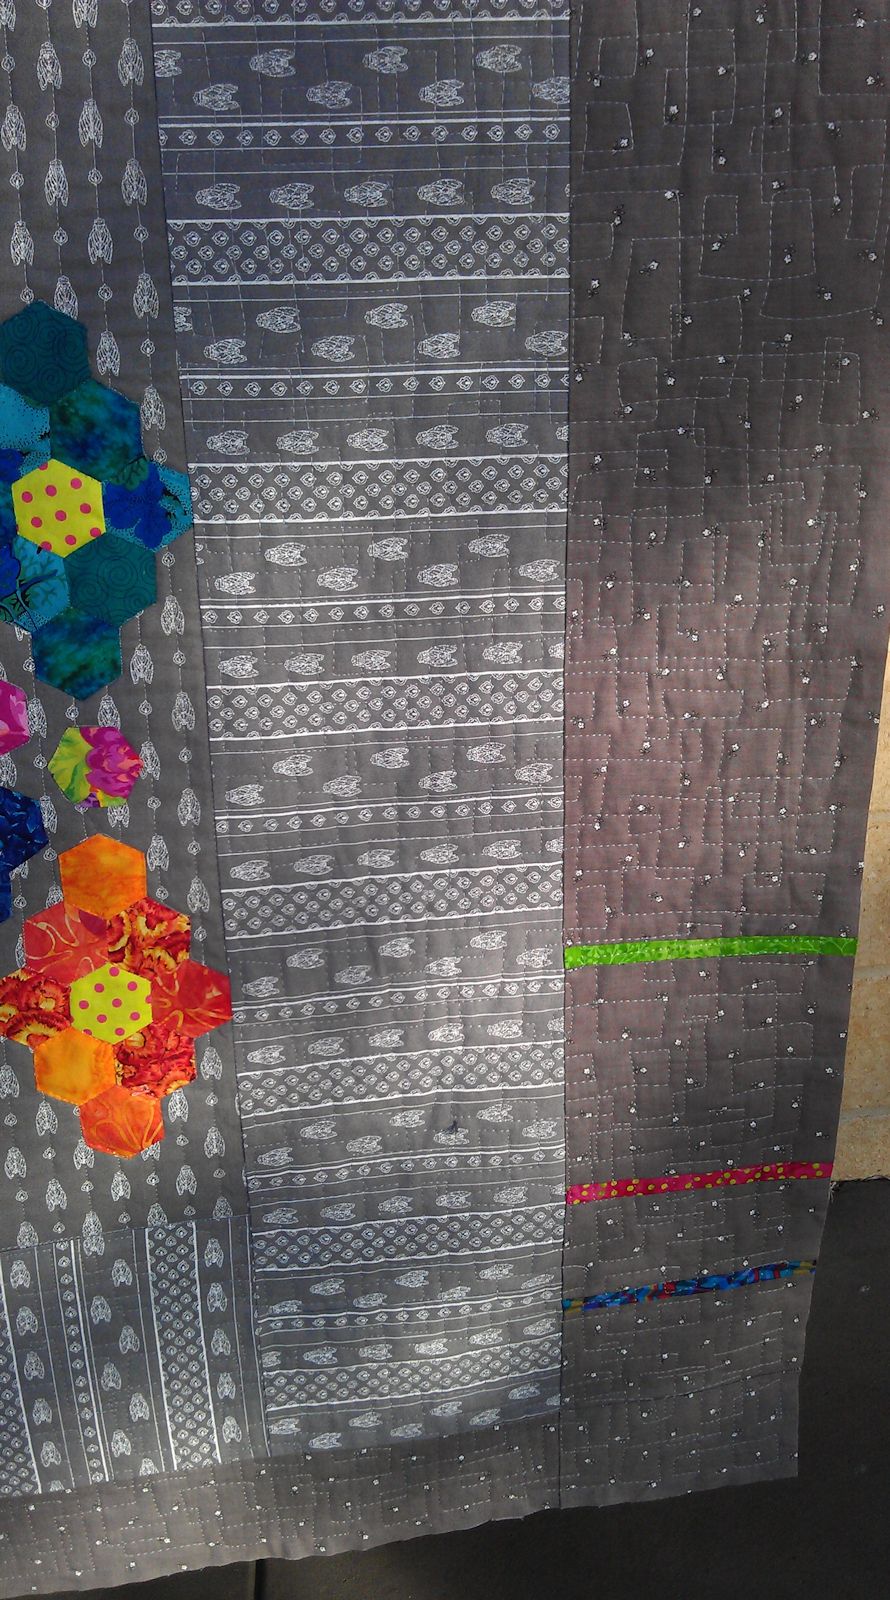
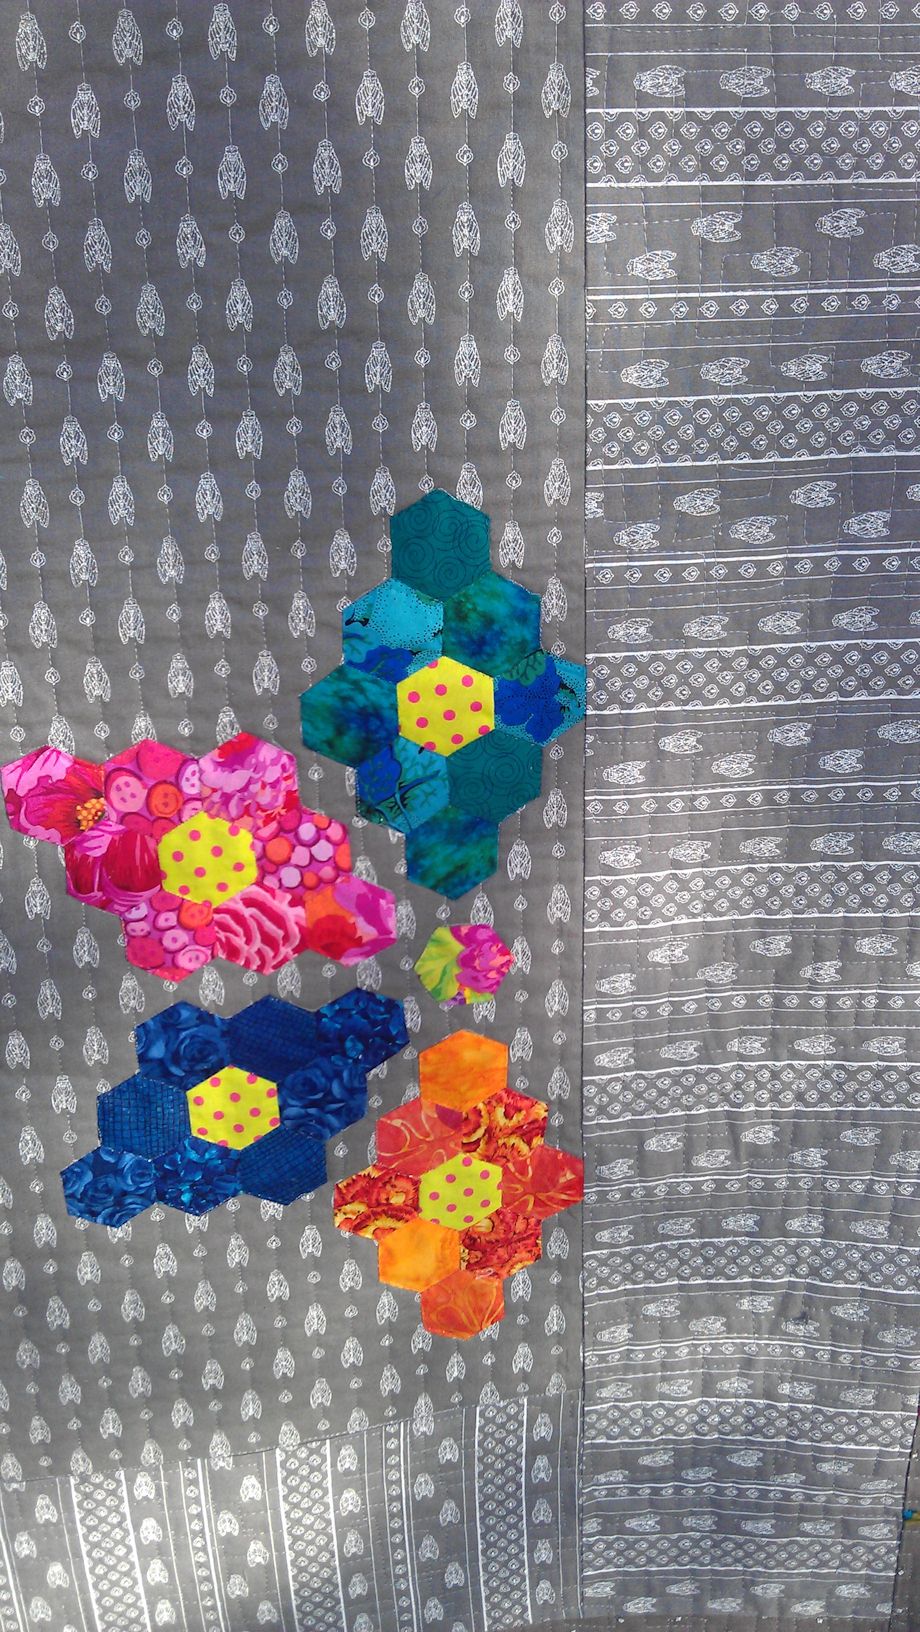
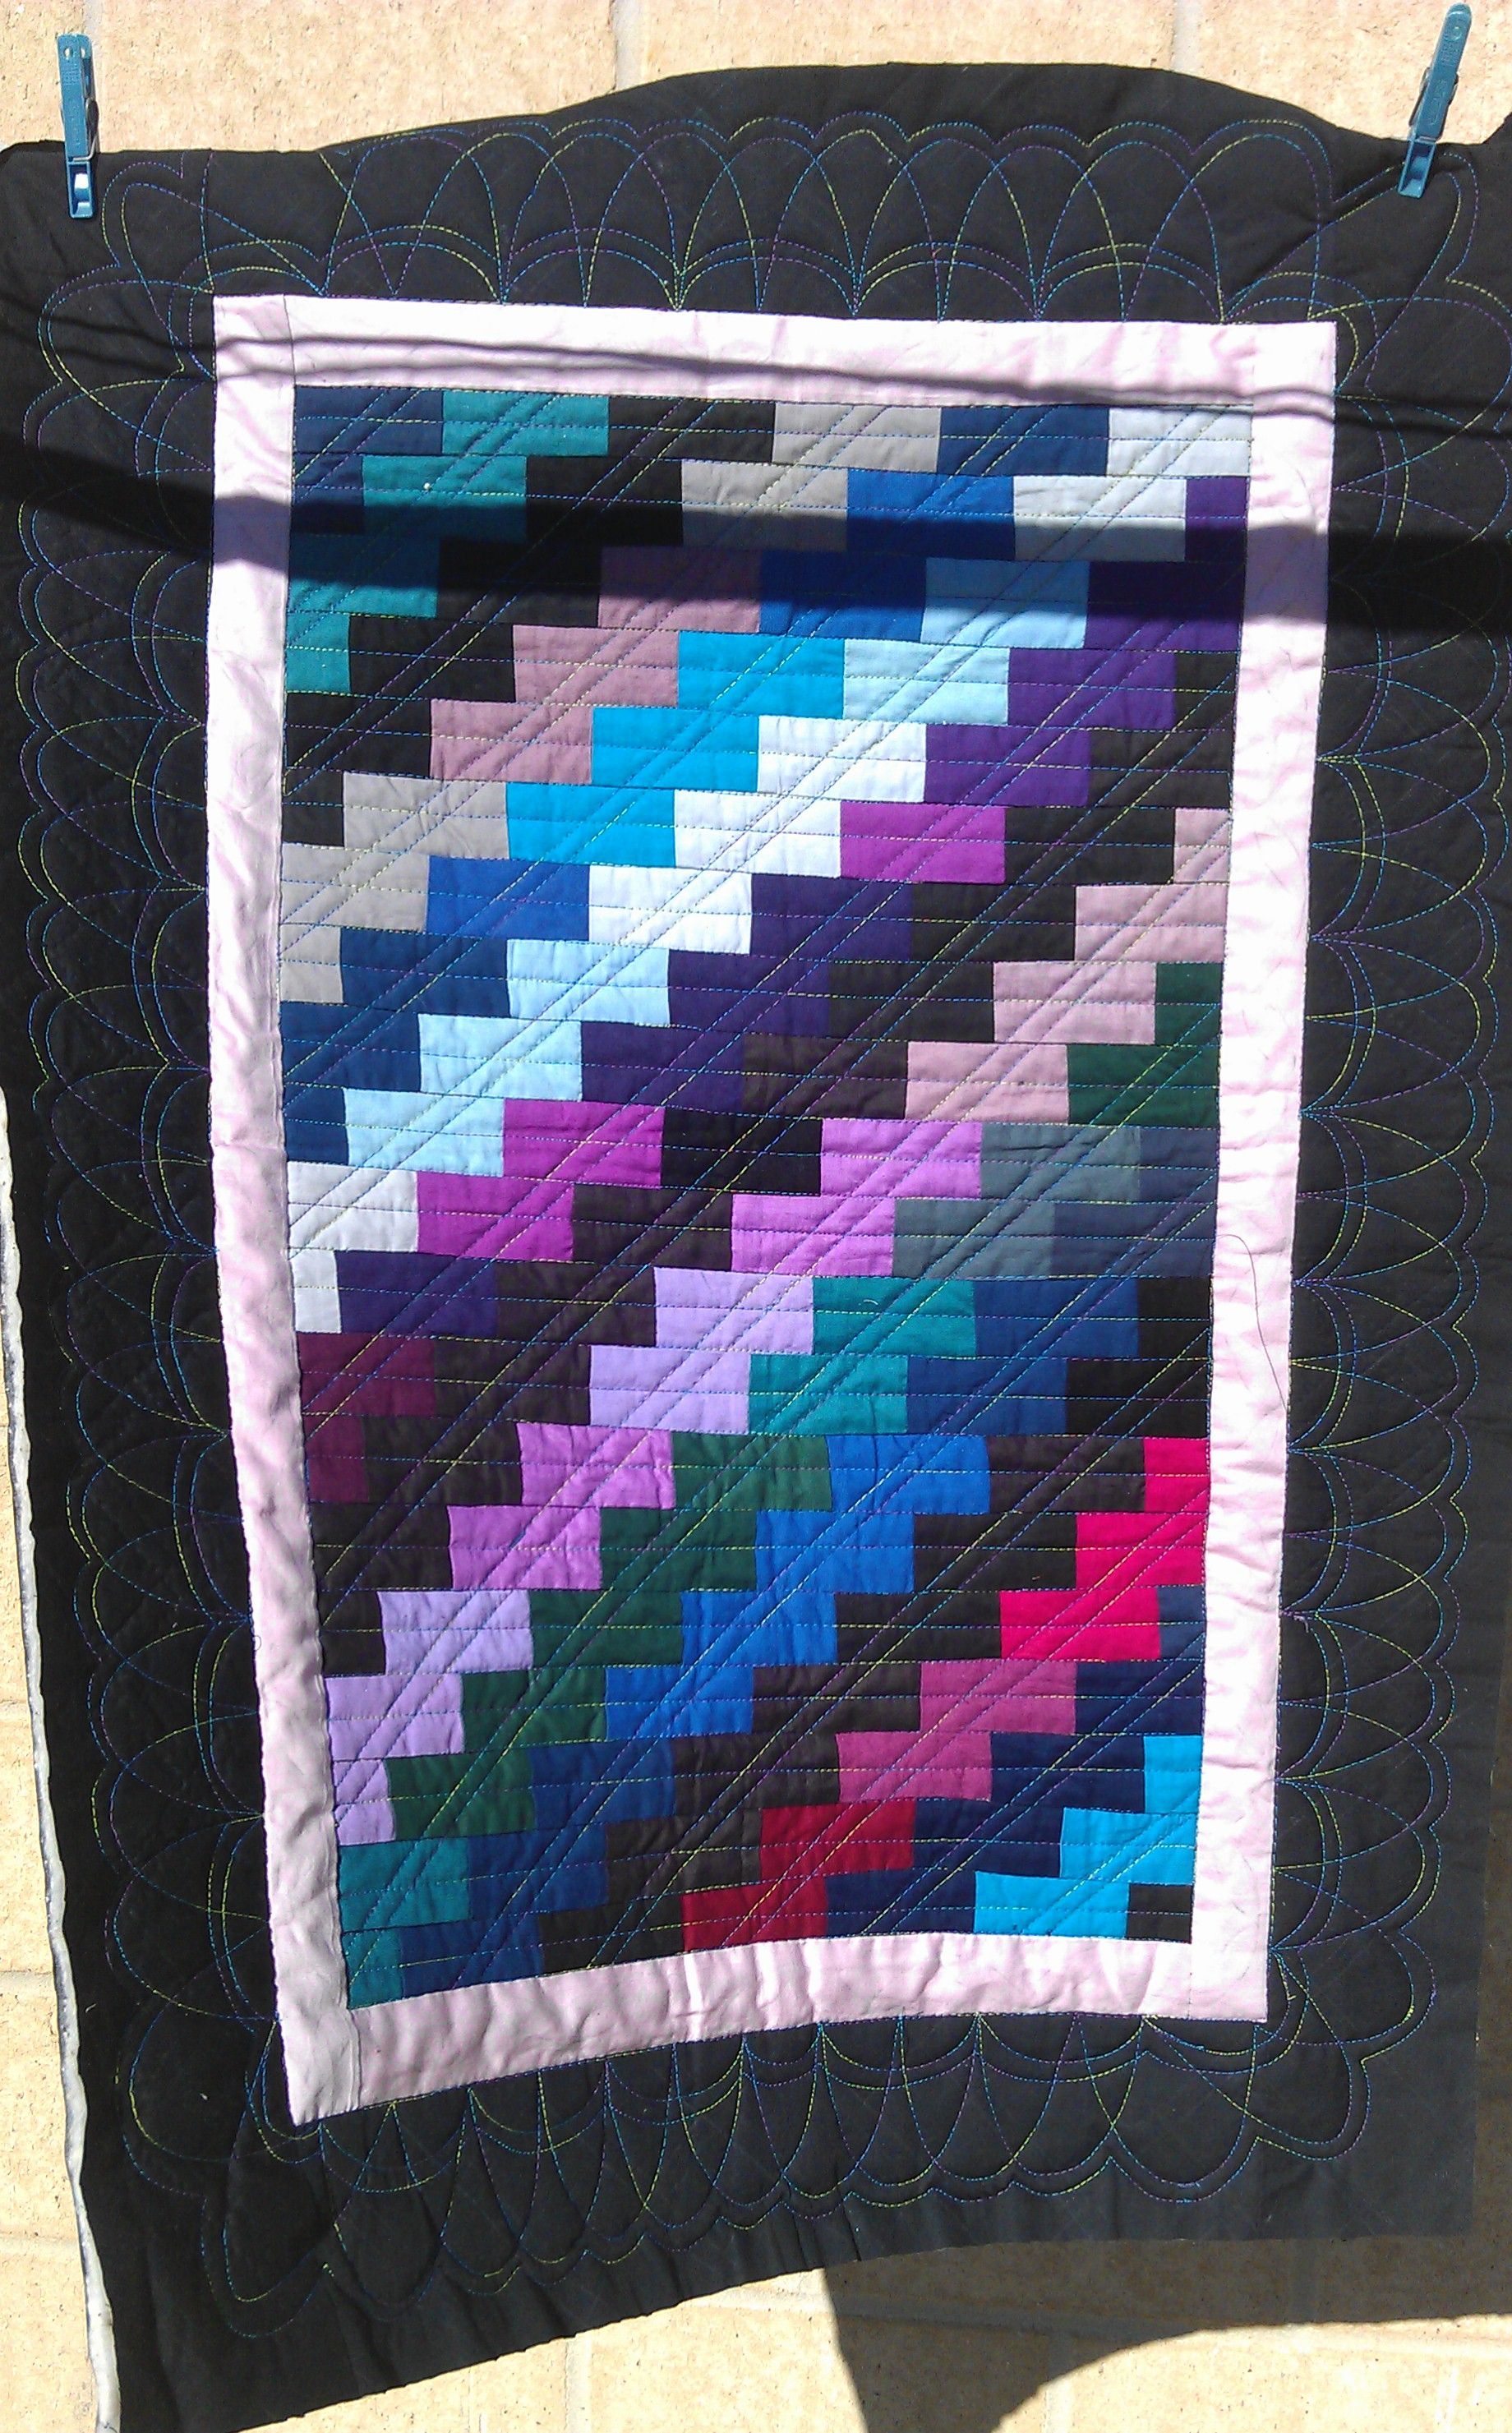
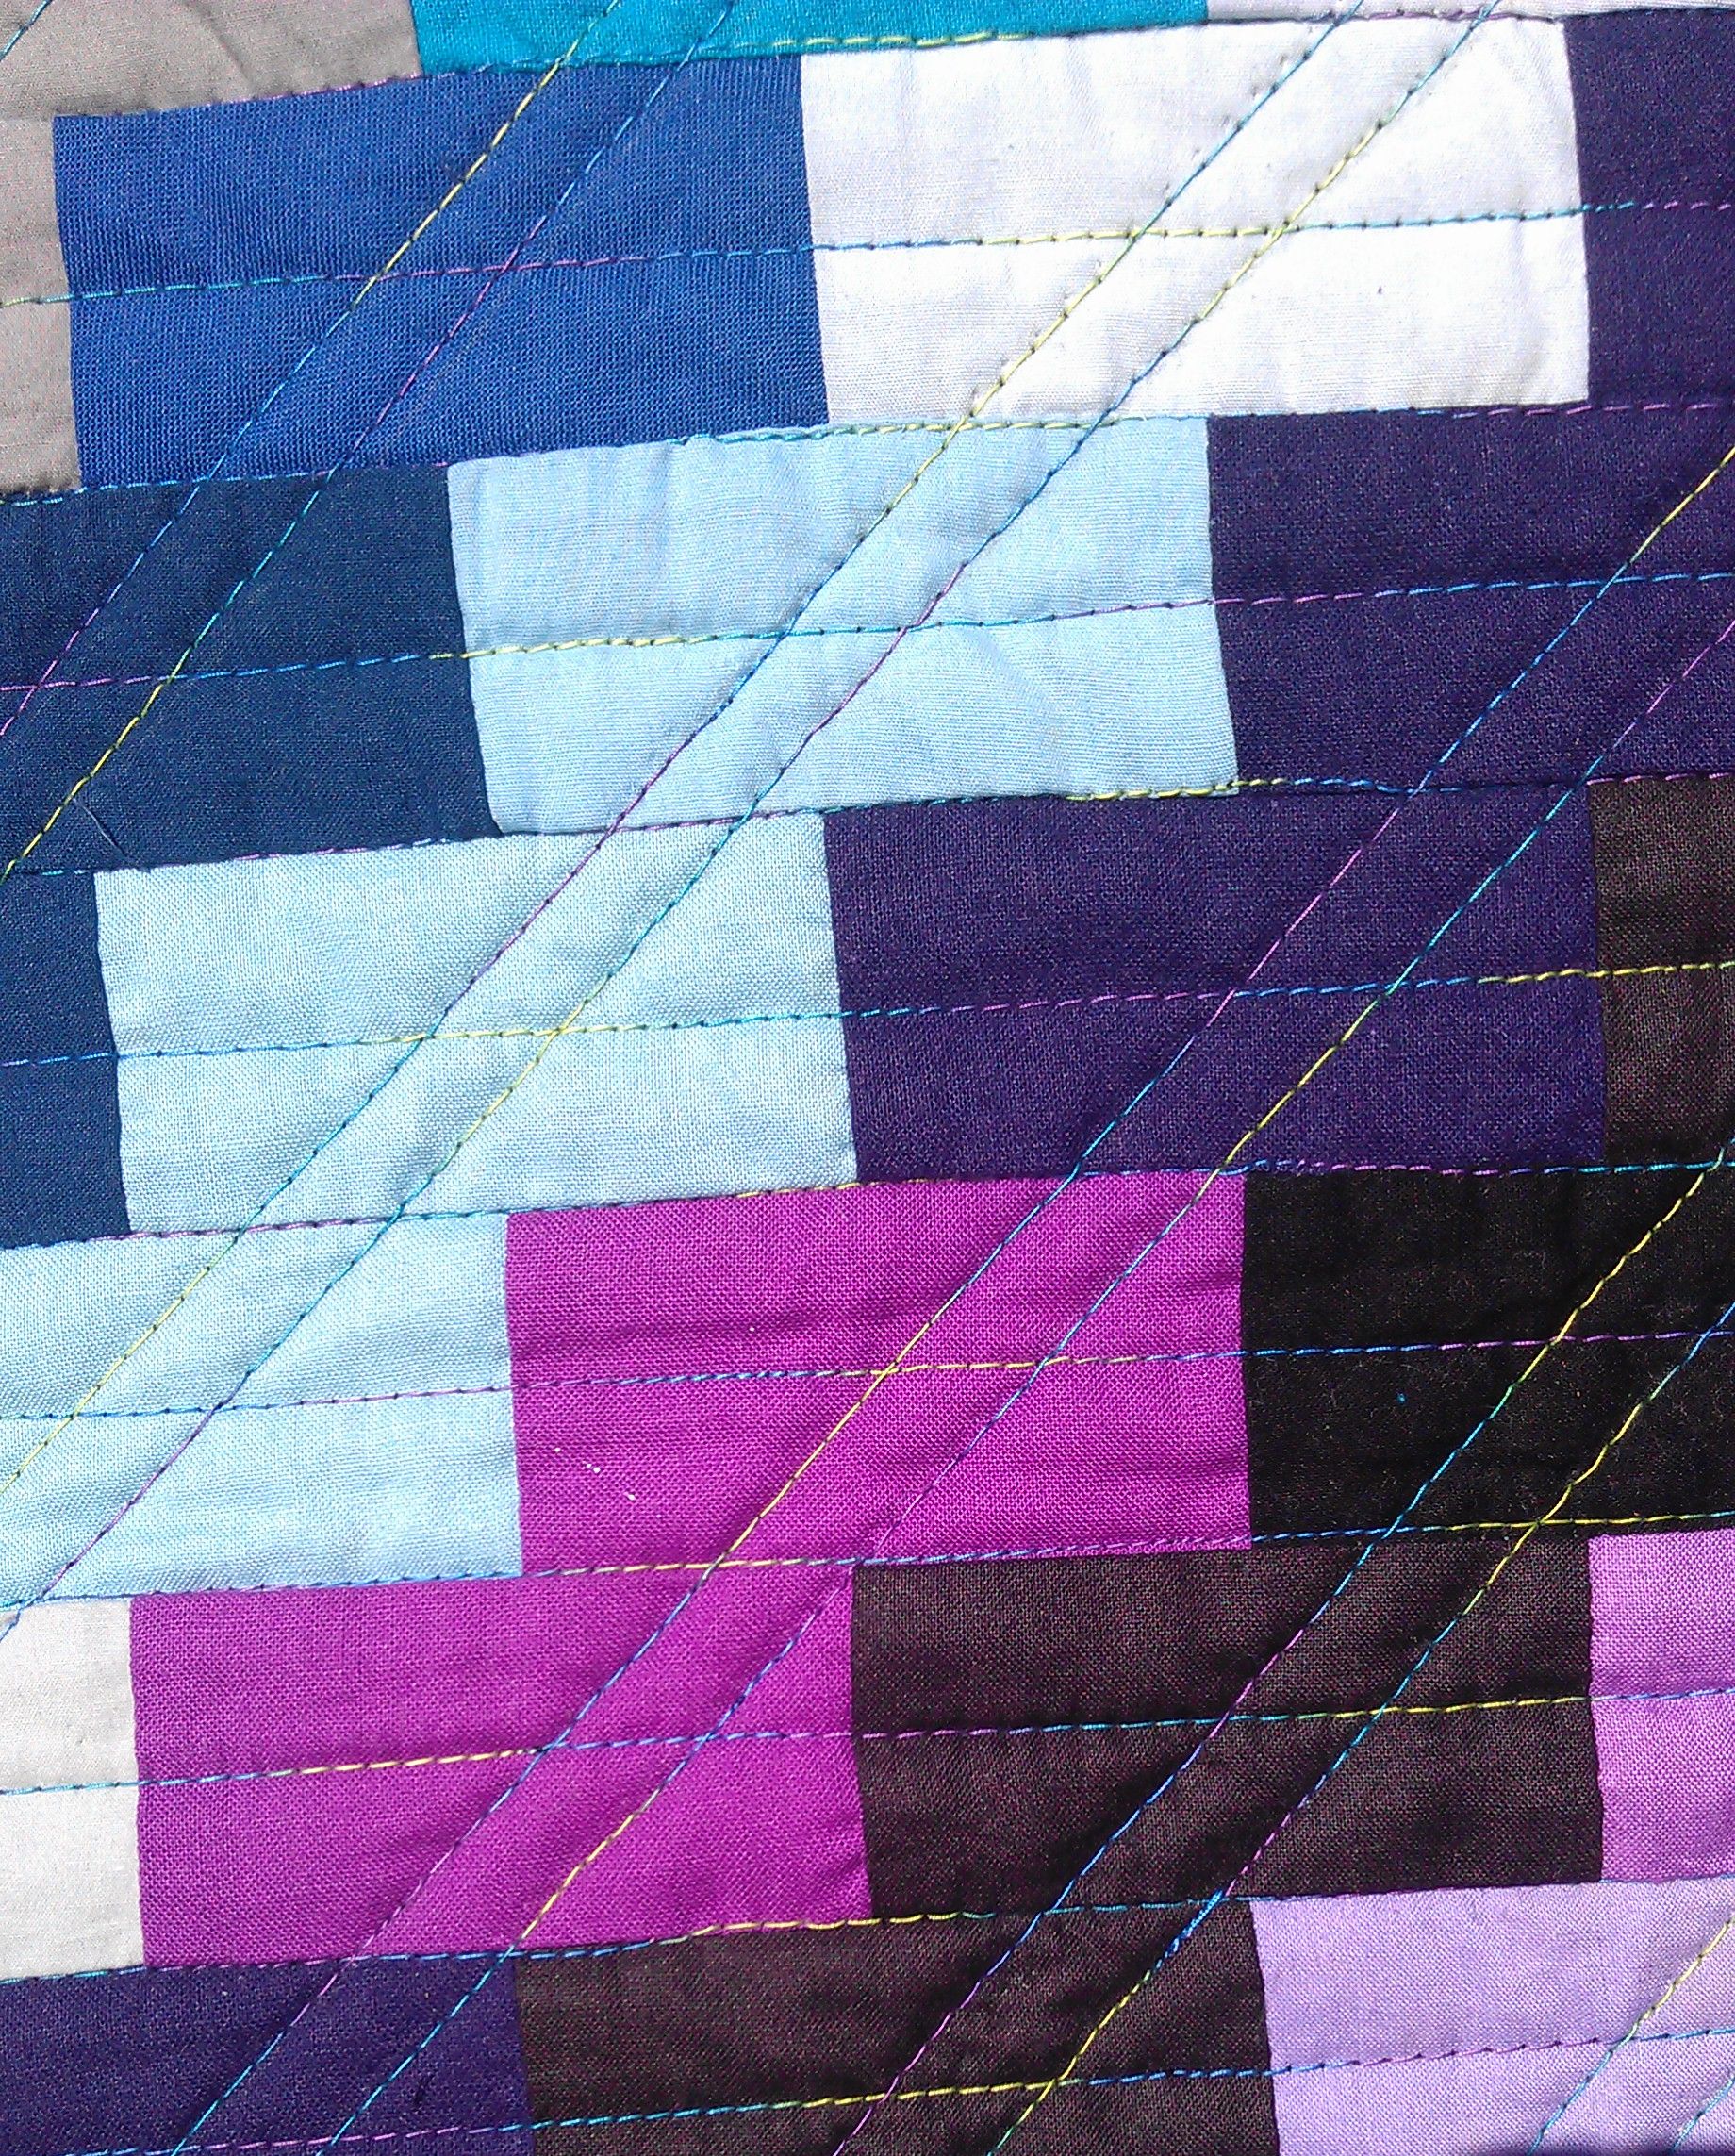
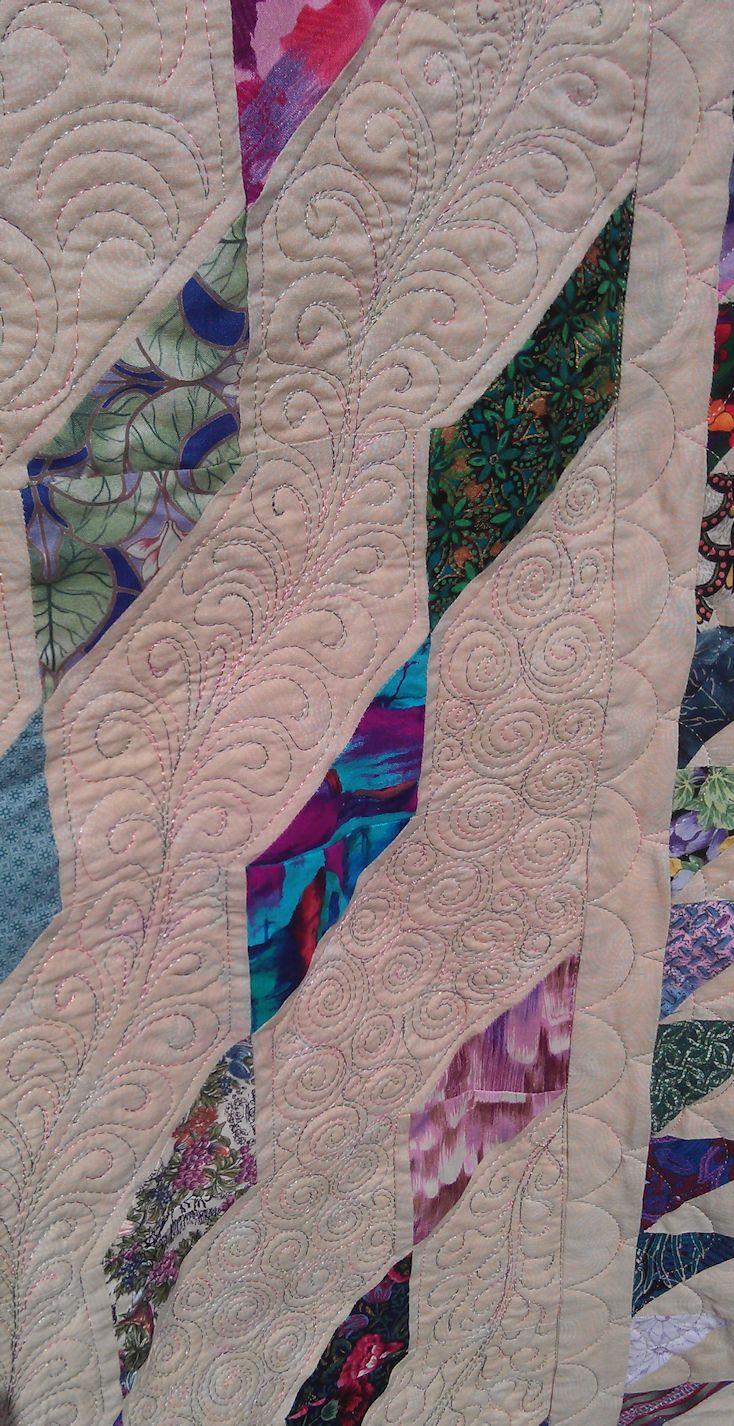
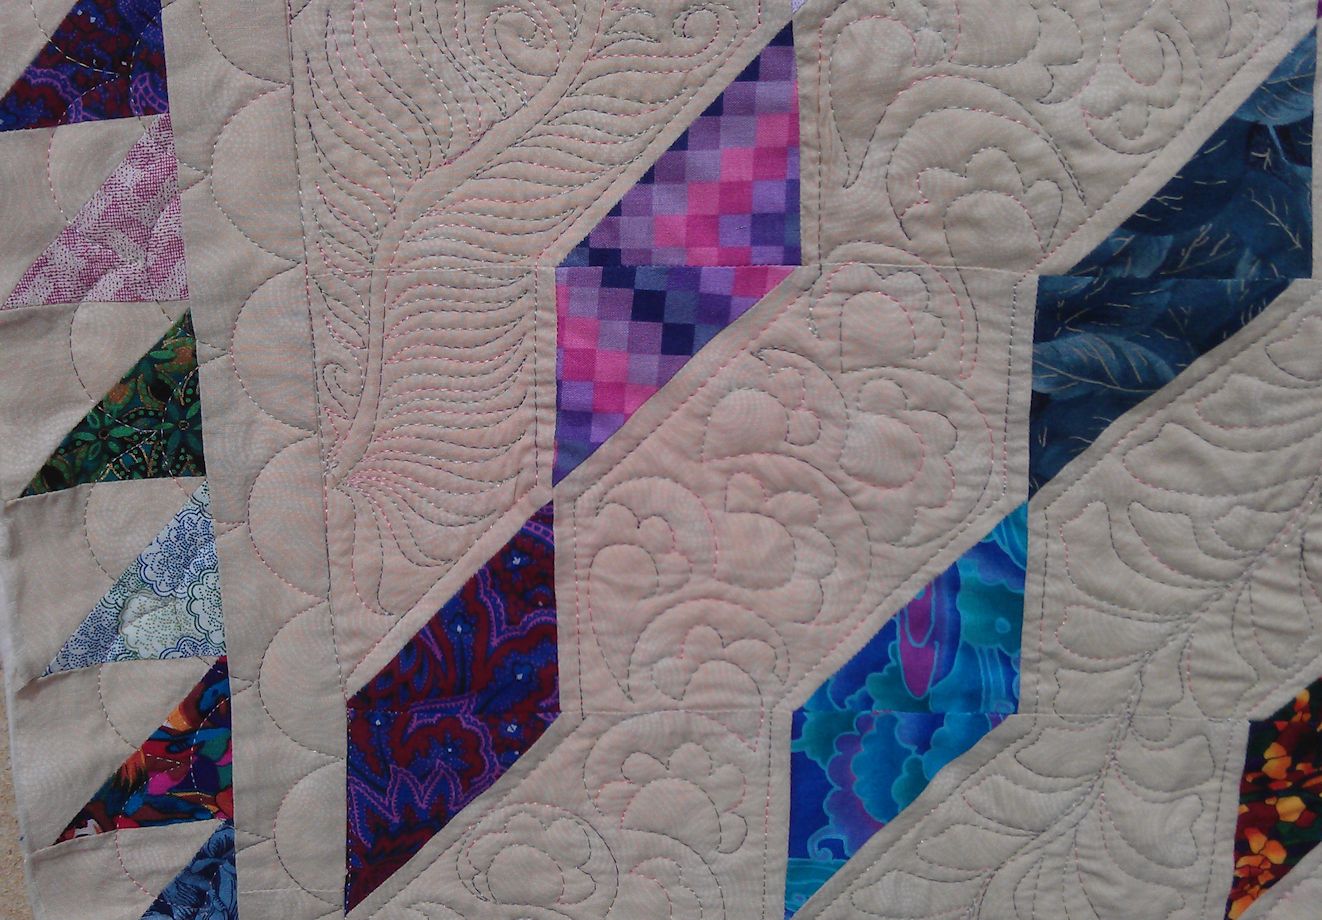
I was asked to see what I could ‘do’ with this quilt to hide the bits of pink that had run into the beige areas. One suggestion was to quilt it in pink thread. But as there wasn’t a lot of pink in the quilt top, I decided to take a different tack — distract the eye! Have so much else going on that no-one will notice the pink blotches.
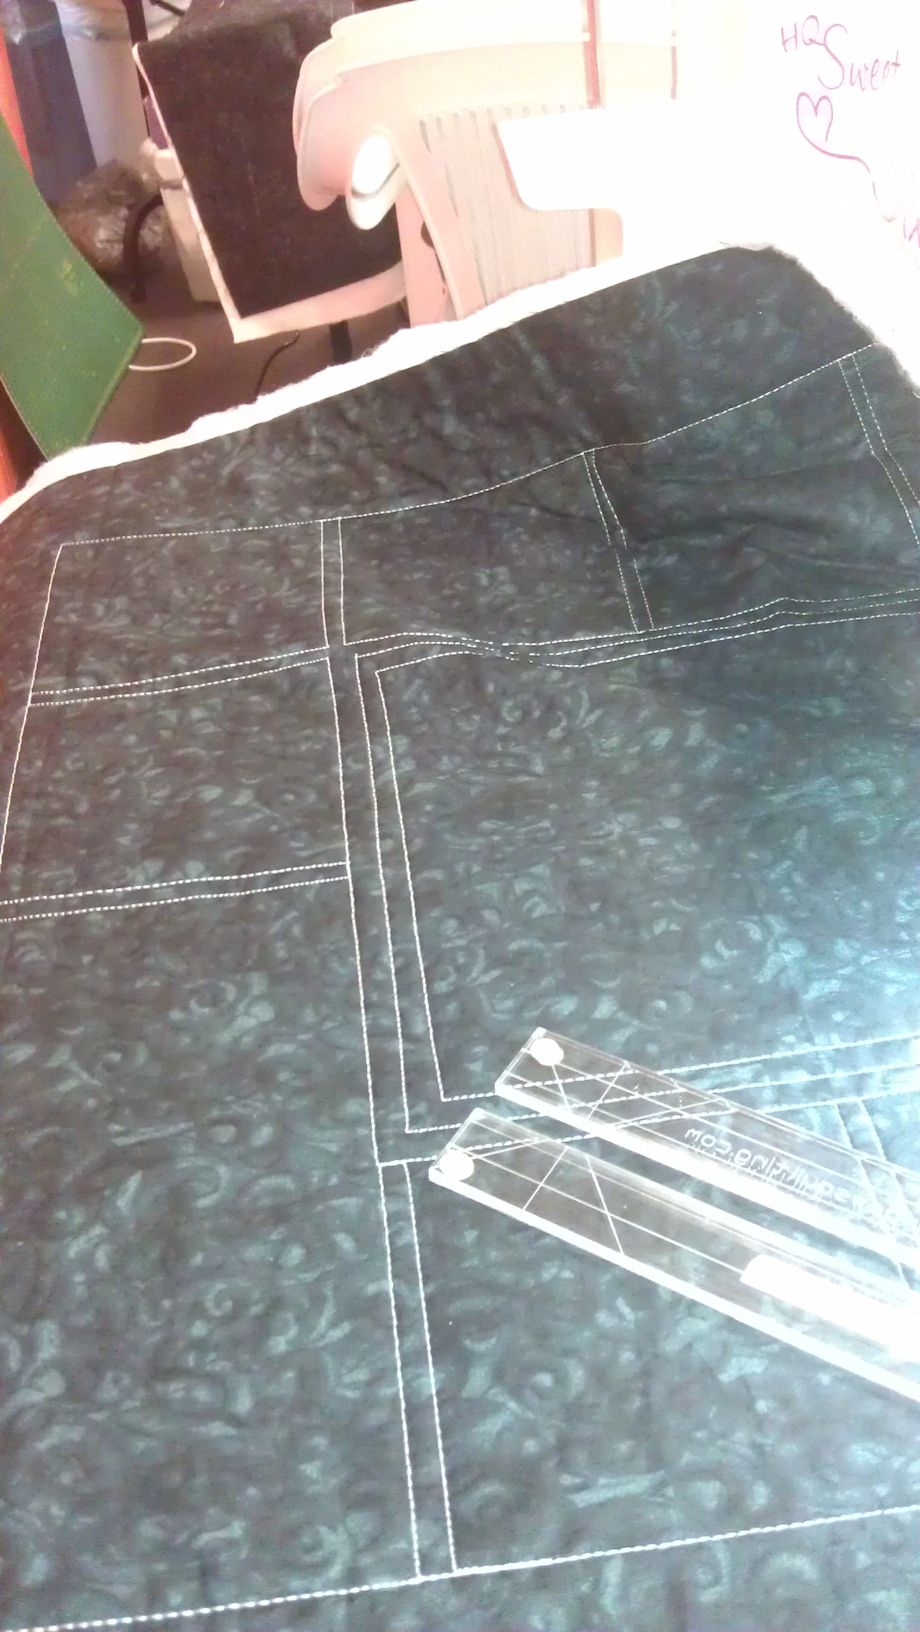
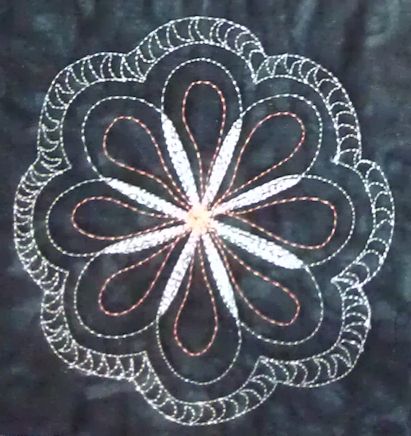
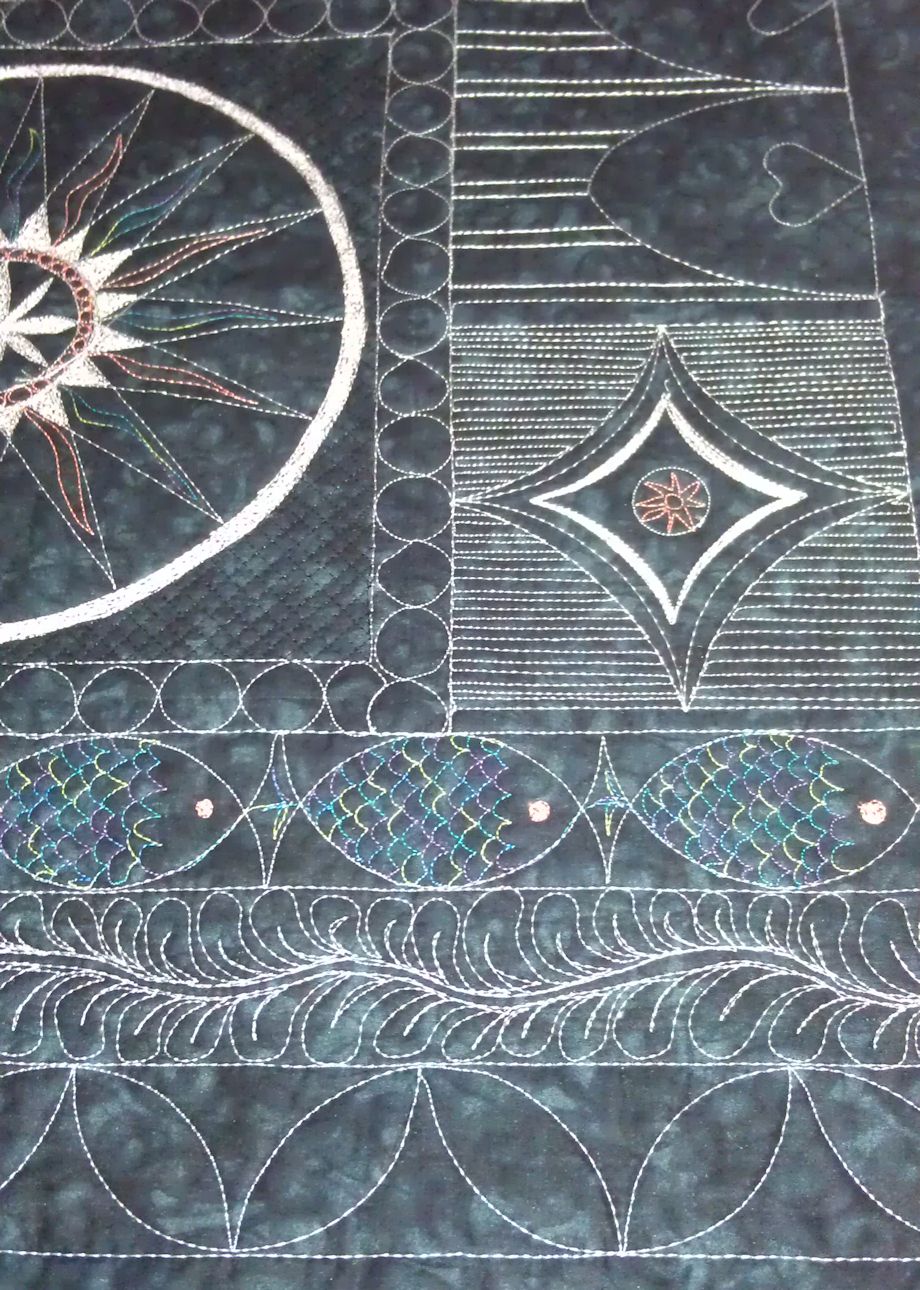
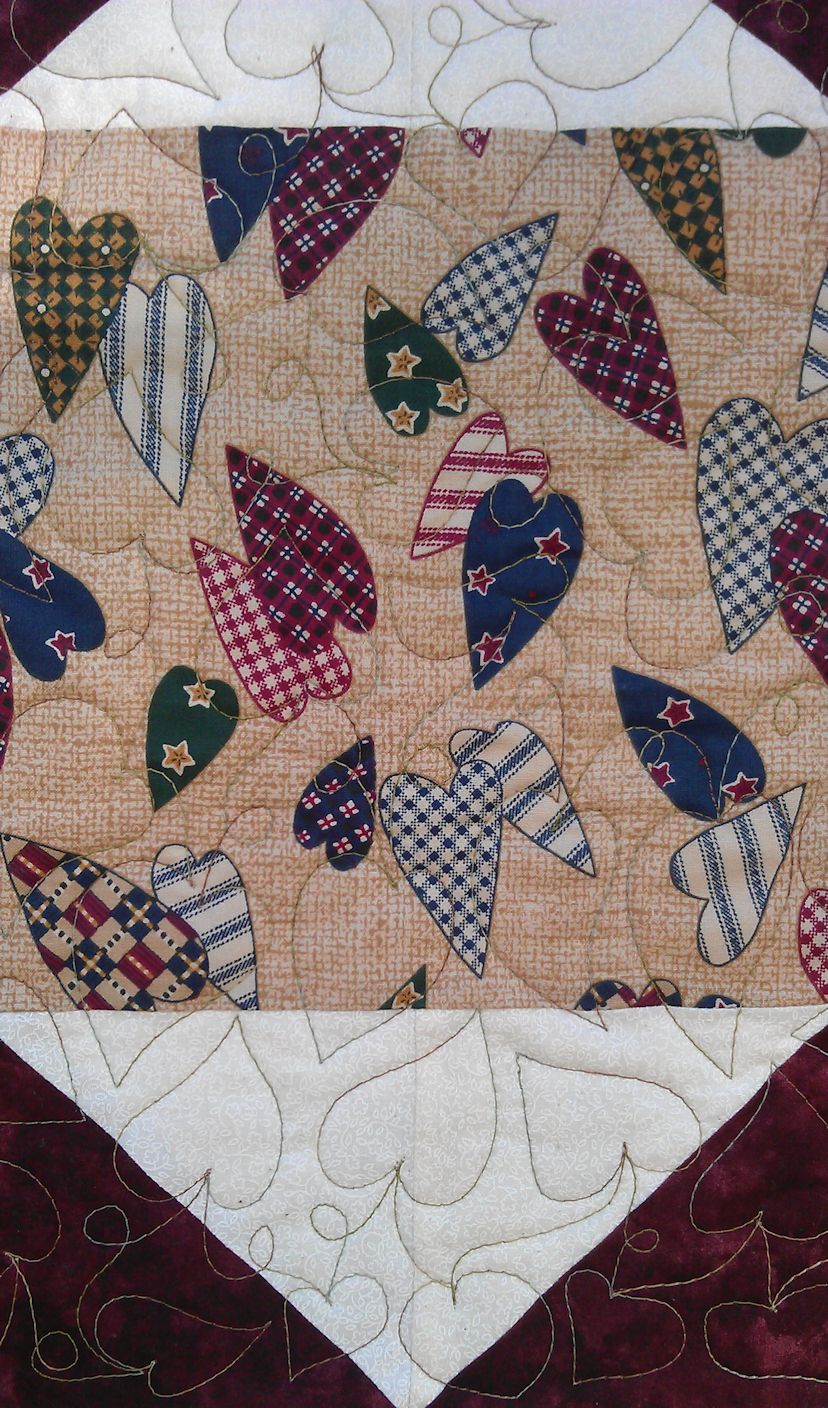
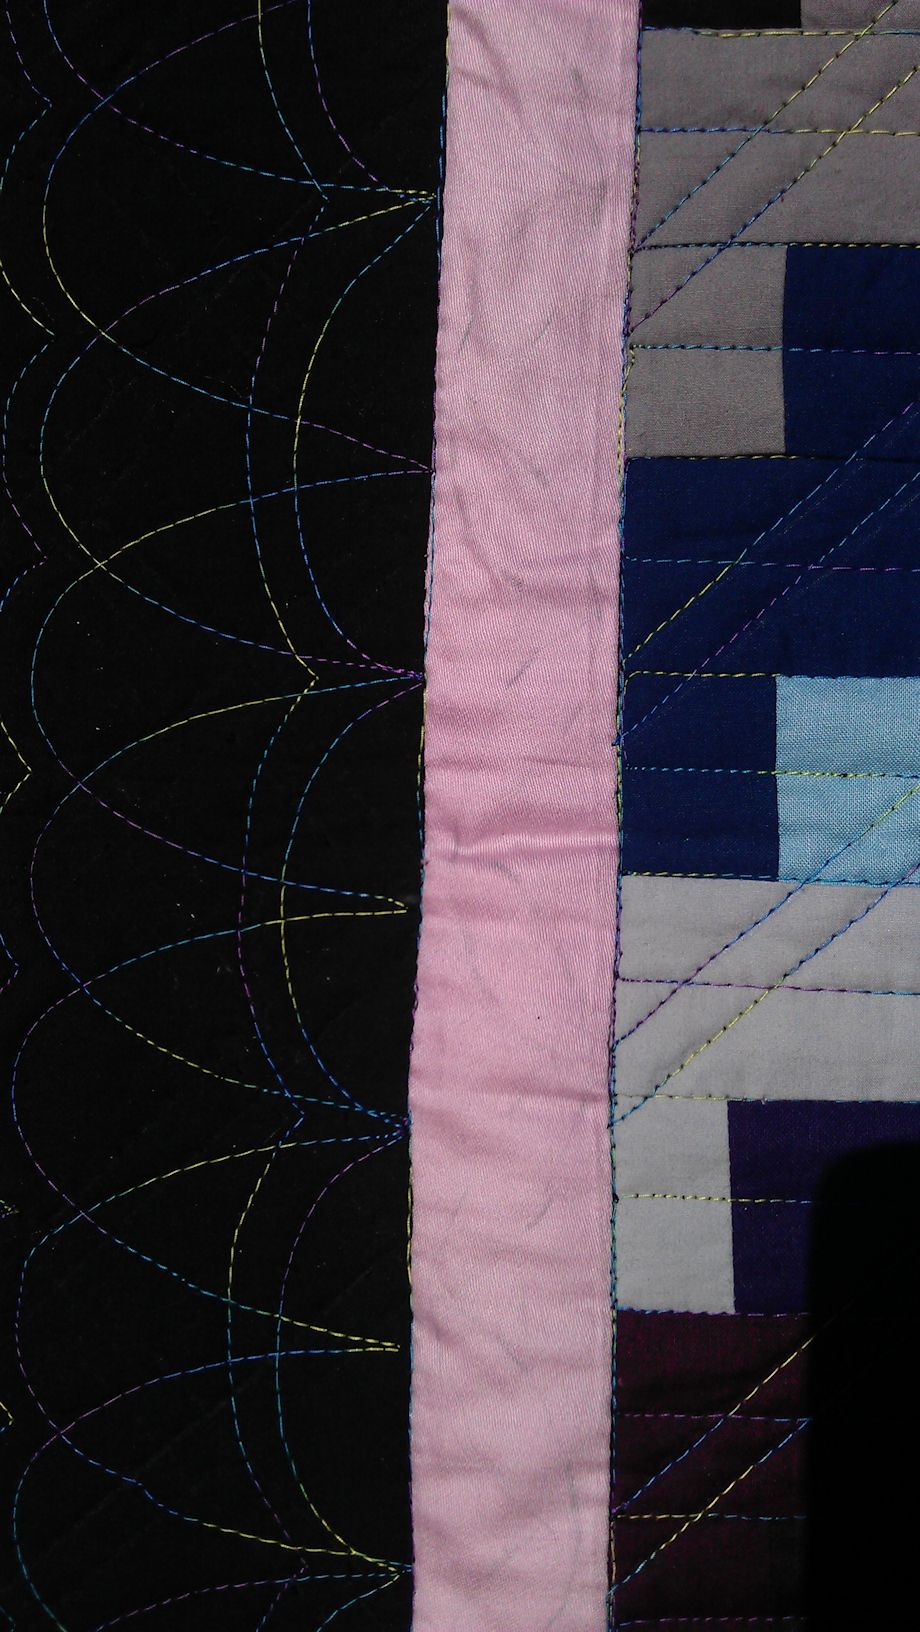
First, I stitched straight lines using my Line Tamer ruler, about 1/4″ outside the diamonds, then I filled one of the long beige areas with feathers. I initially thought about doing feathers for all the beige areas, but realised that would be overkill. Instead, I decided to do all sorts of other rounded filler designs, and any feather-like strands went in opposite directions to the one closest to it. The reason I chose rounded fillers was to counteract the harsh straight lines of the diamonds.
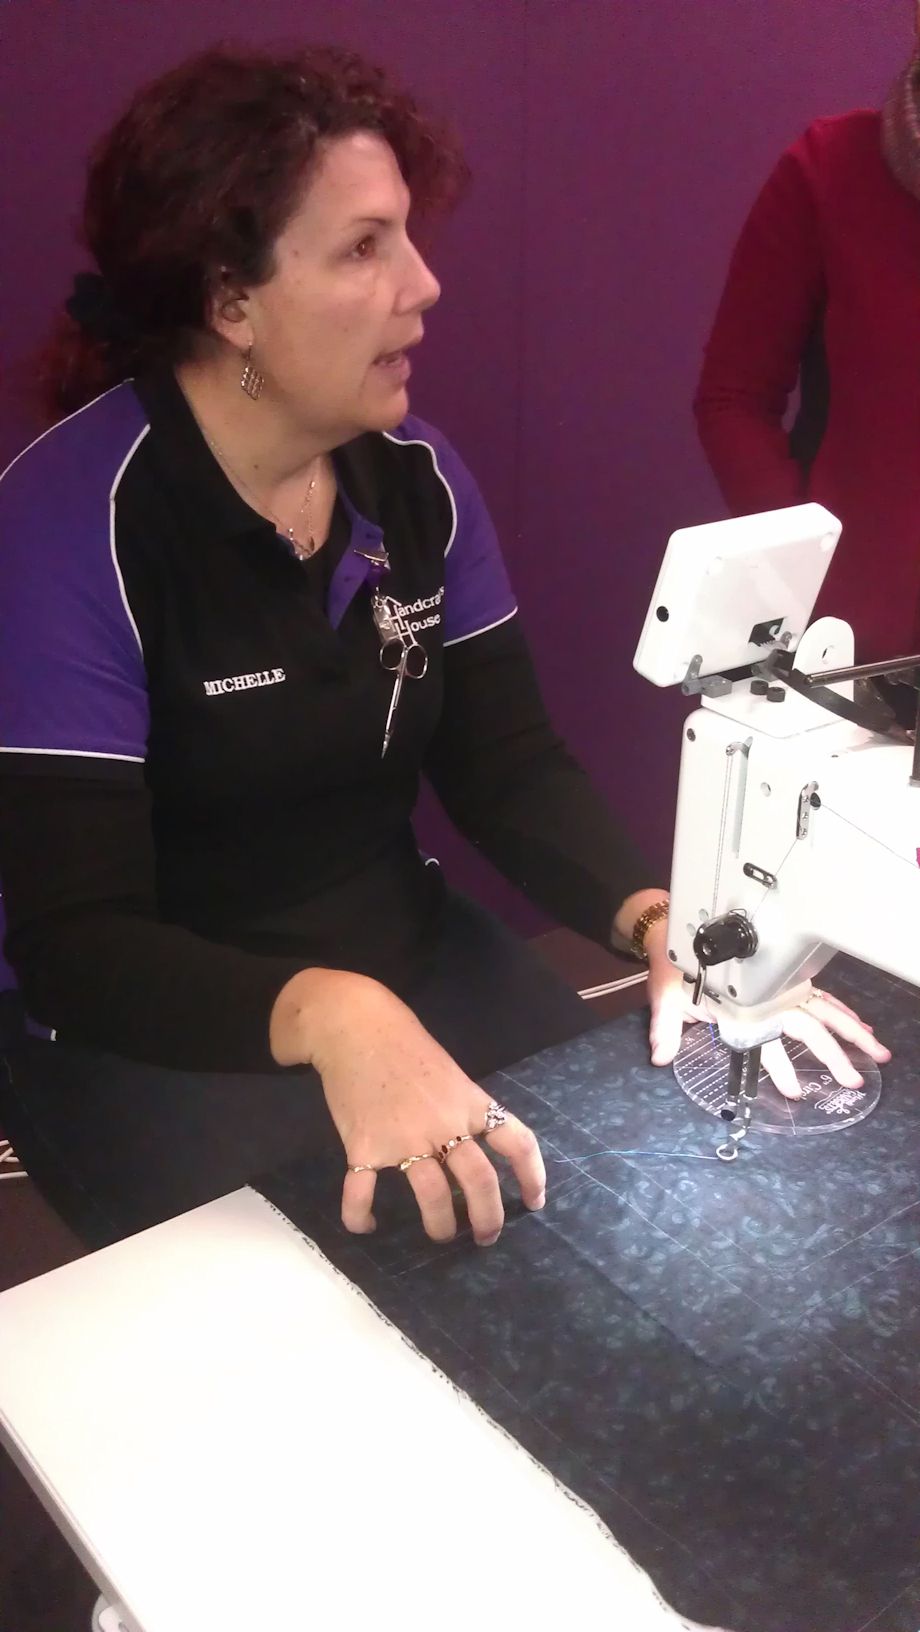
In between starting and finishing this quilt, I took a rulers class, and so when it came to the outer borders, I decided to put some of my newly acquired knowledge into practice and did three 2″ layers of clam shells. I still have to figure out how to go around corners or end a row when the measurements are uneven, so I fudged it! Don’t look too closely at the corners as they are inventive 😉
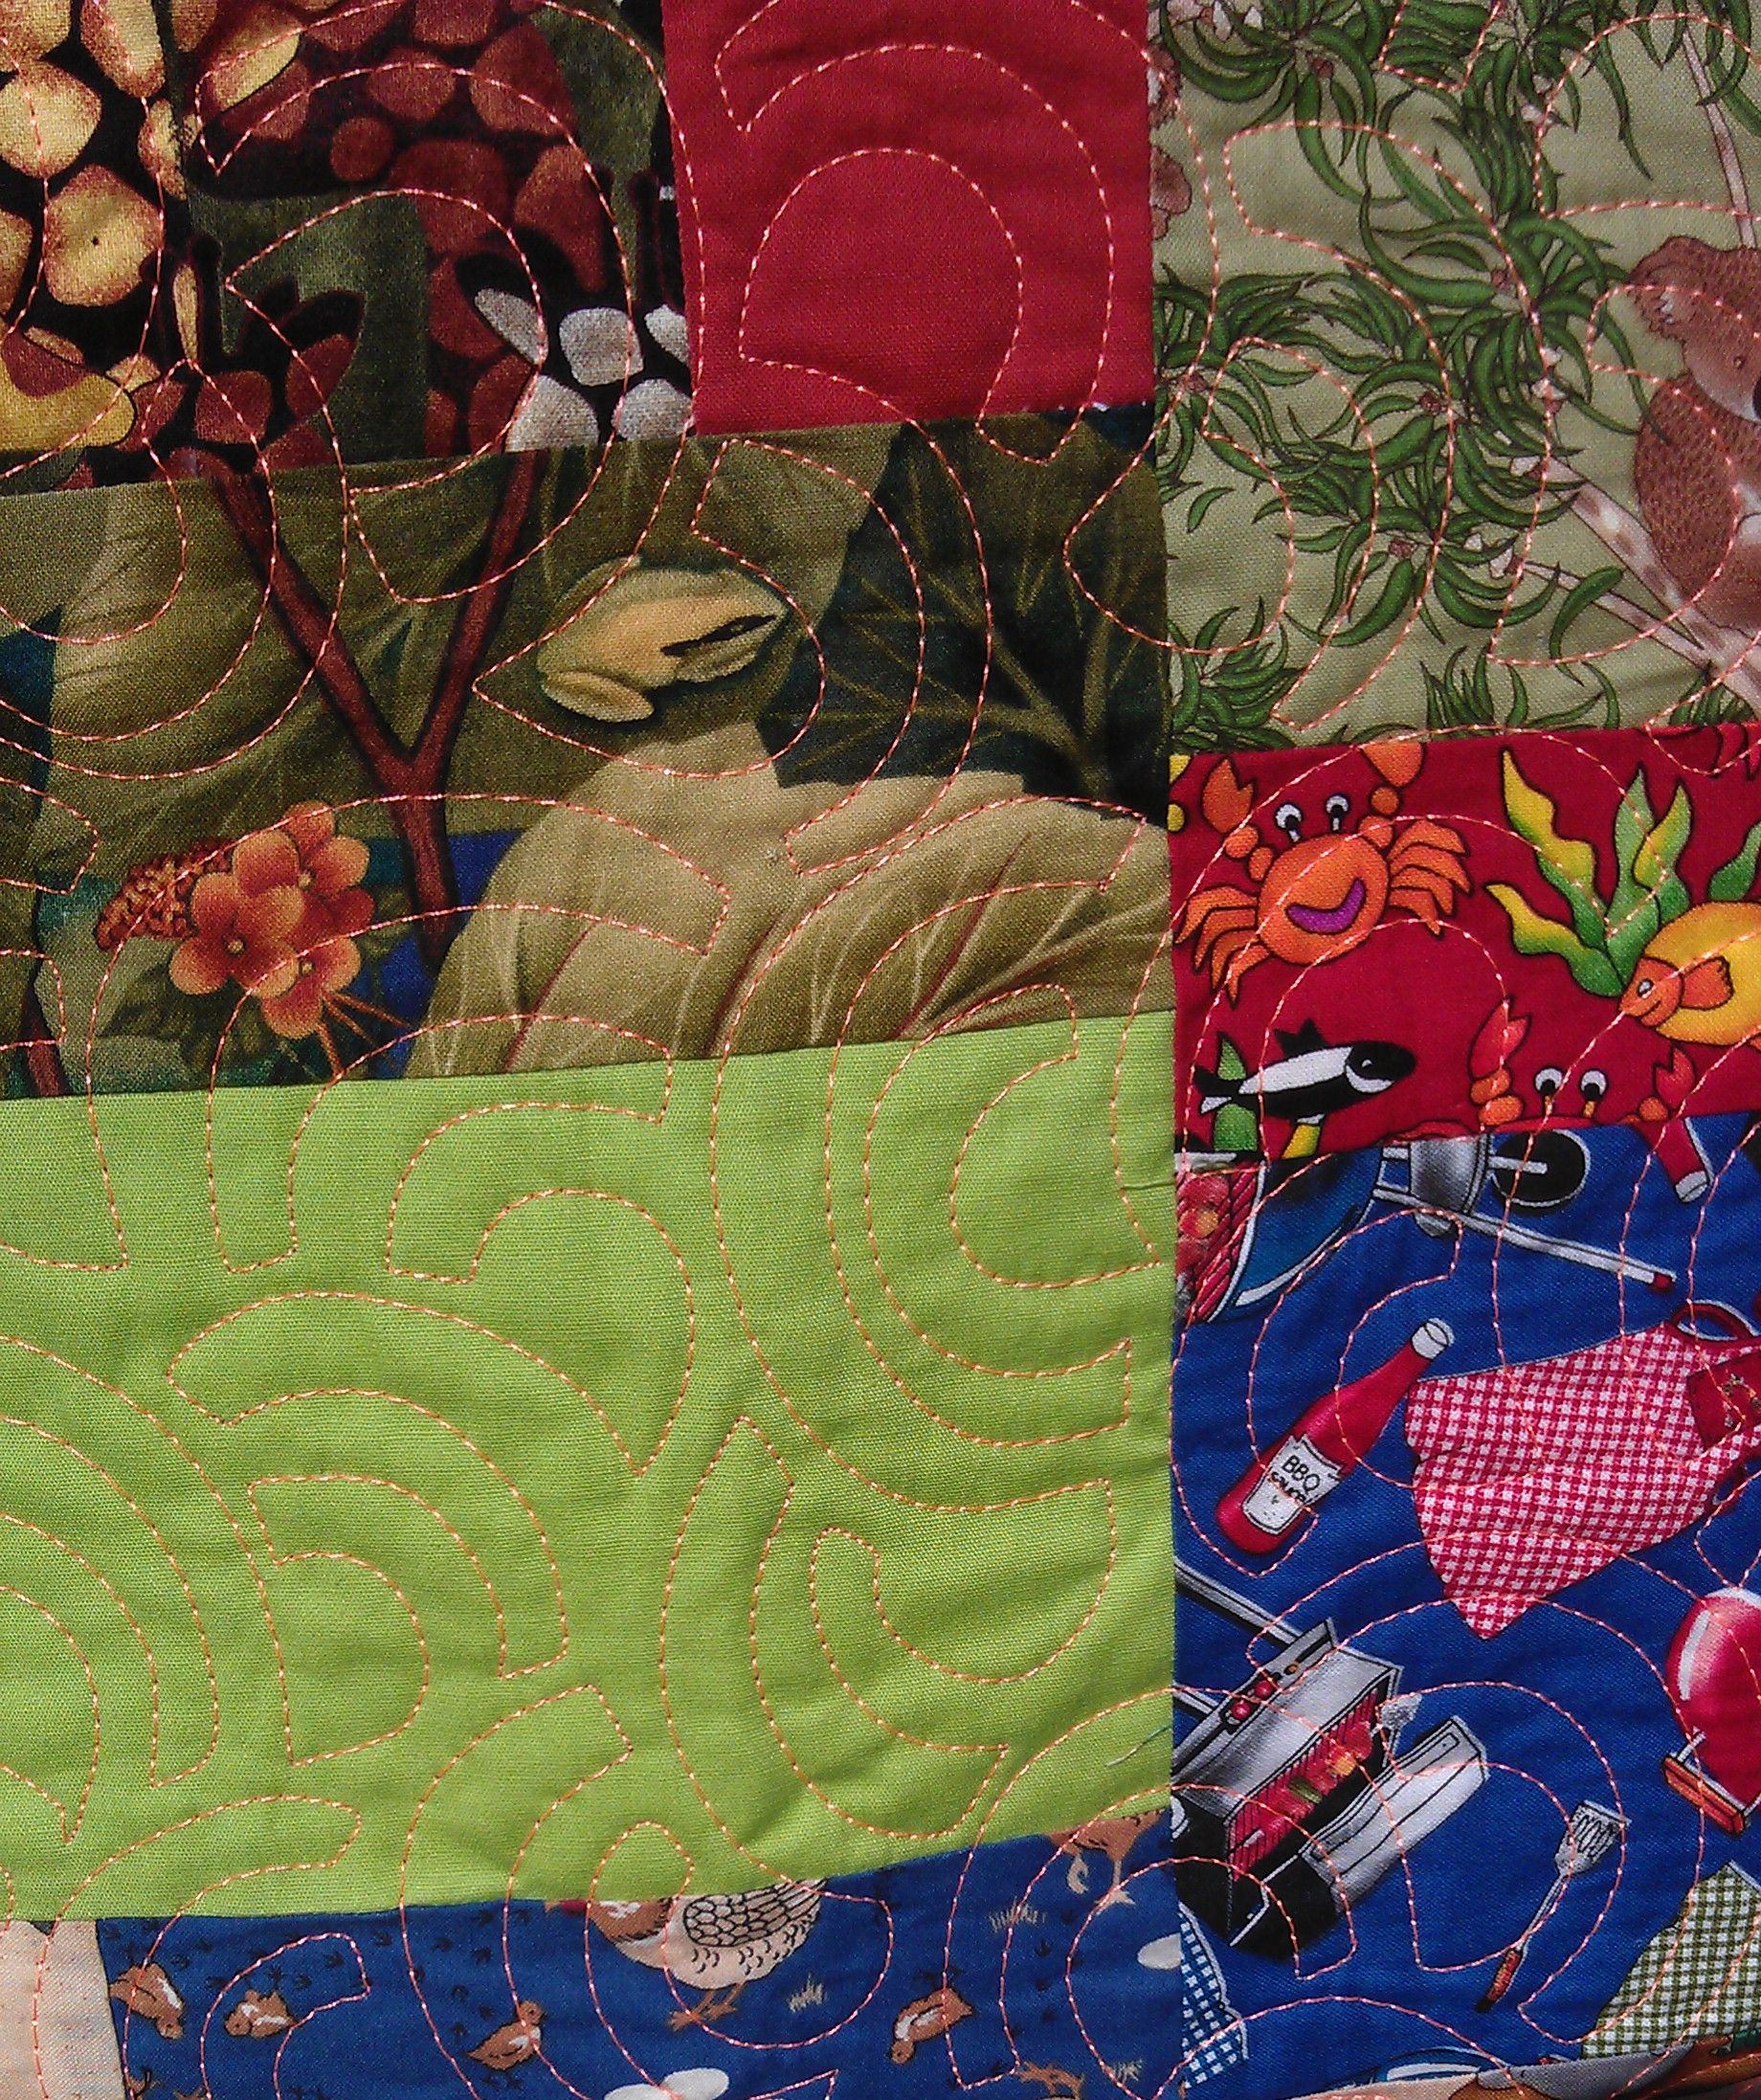
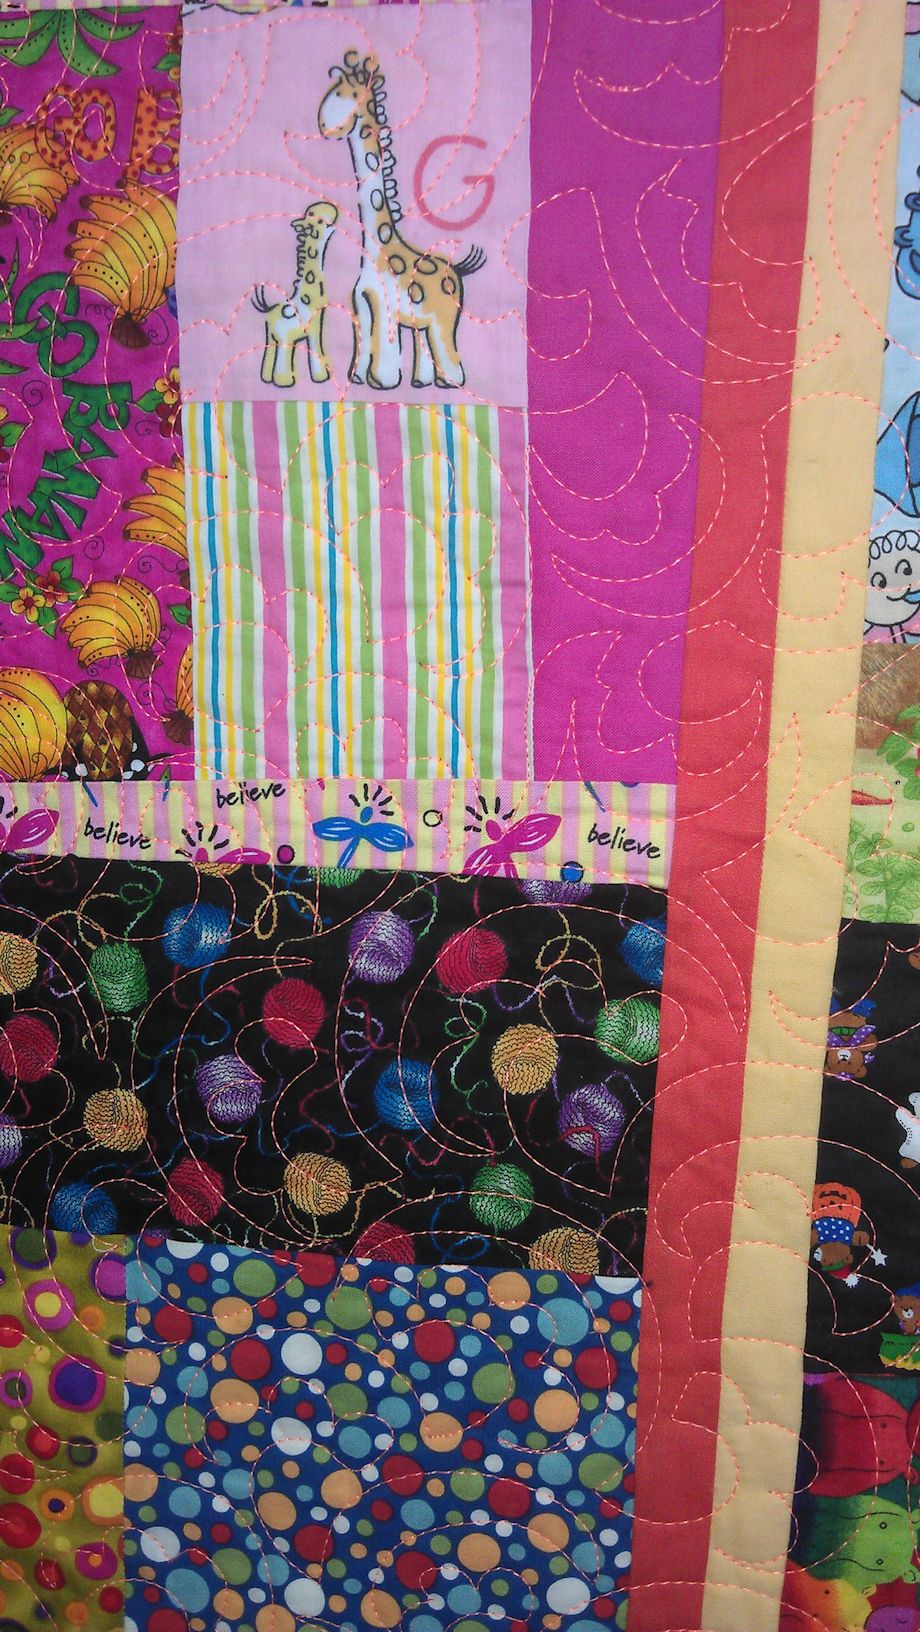
I used the same variegated thread (in pink, beige, tan, and olive) throughout to create a unified effect.
(Click on a photo to view it larger)


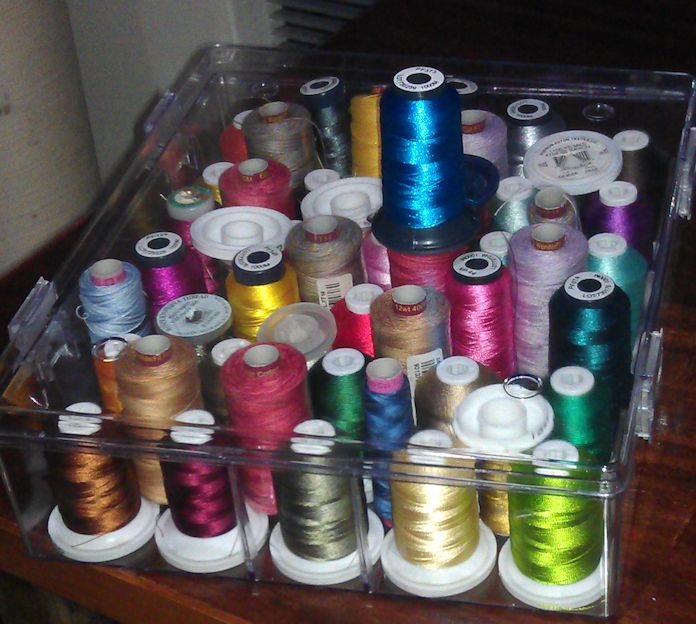
Threads used:
- Top: Superior Rainbows (40 wt, trilobal polyester, colour #806)
- Bobbin: Wonderfil Deco-Bob (cream, 80 wt, colour DB 112)