Finishing the Iggy Marley art quilt

27 01 2020

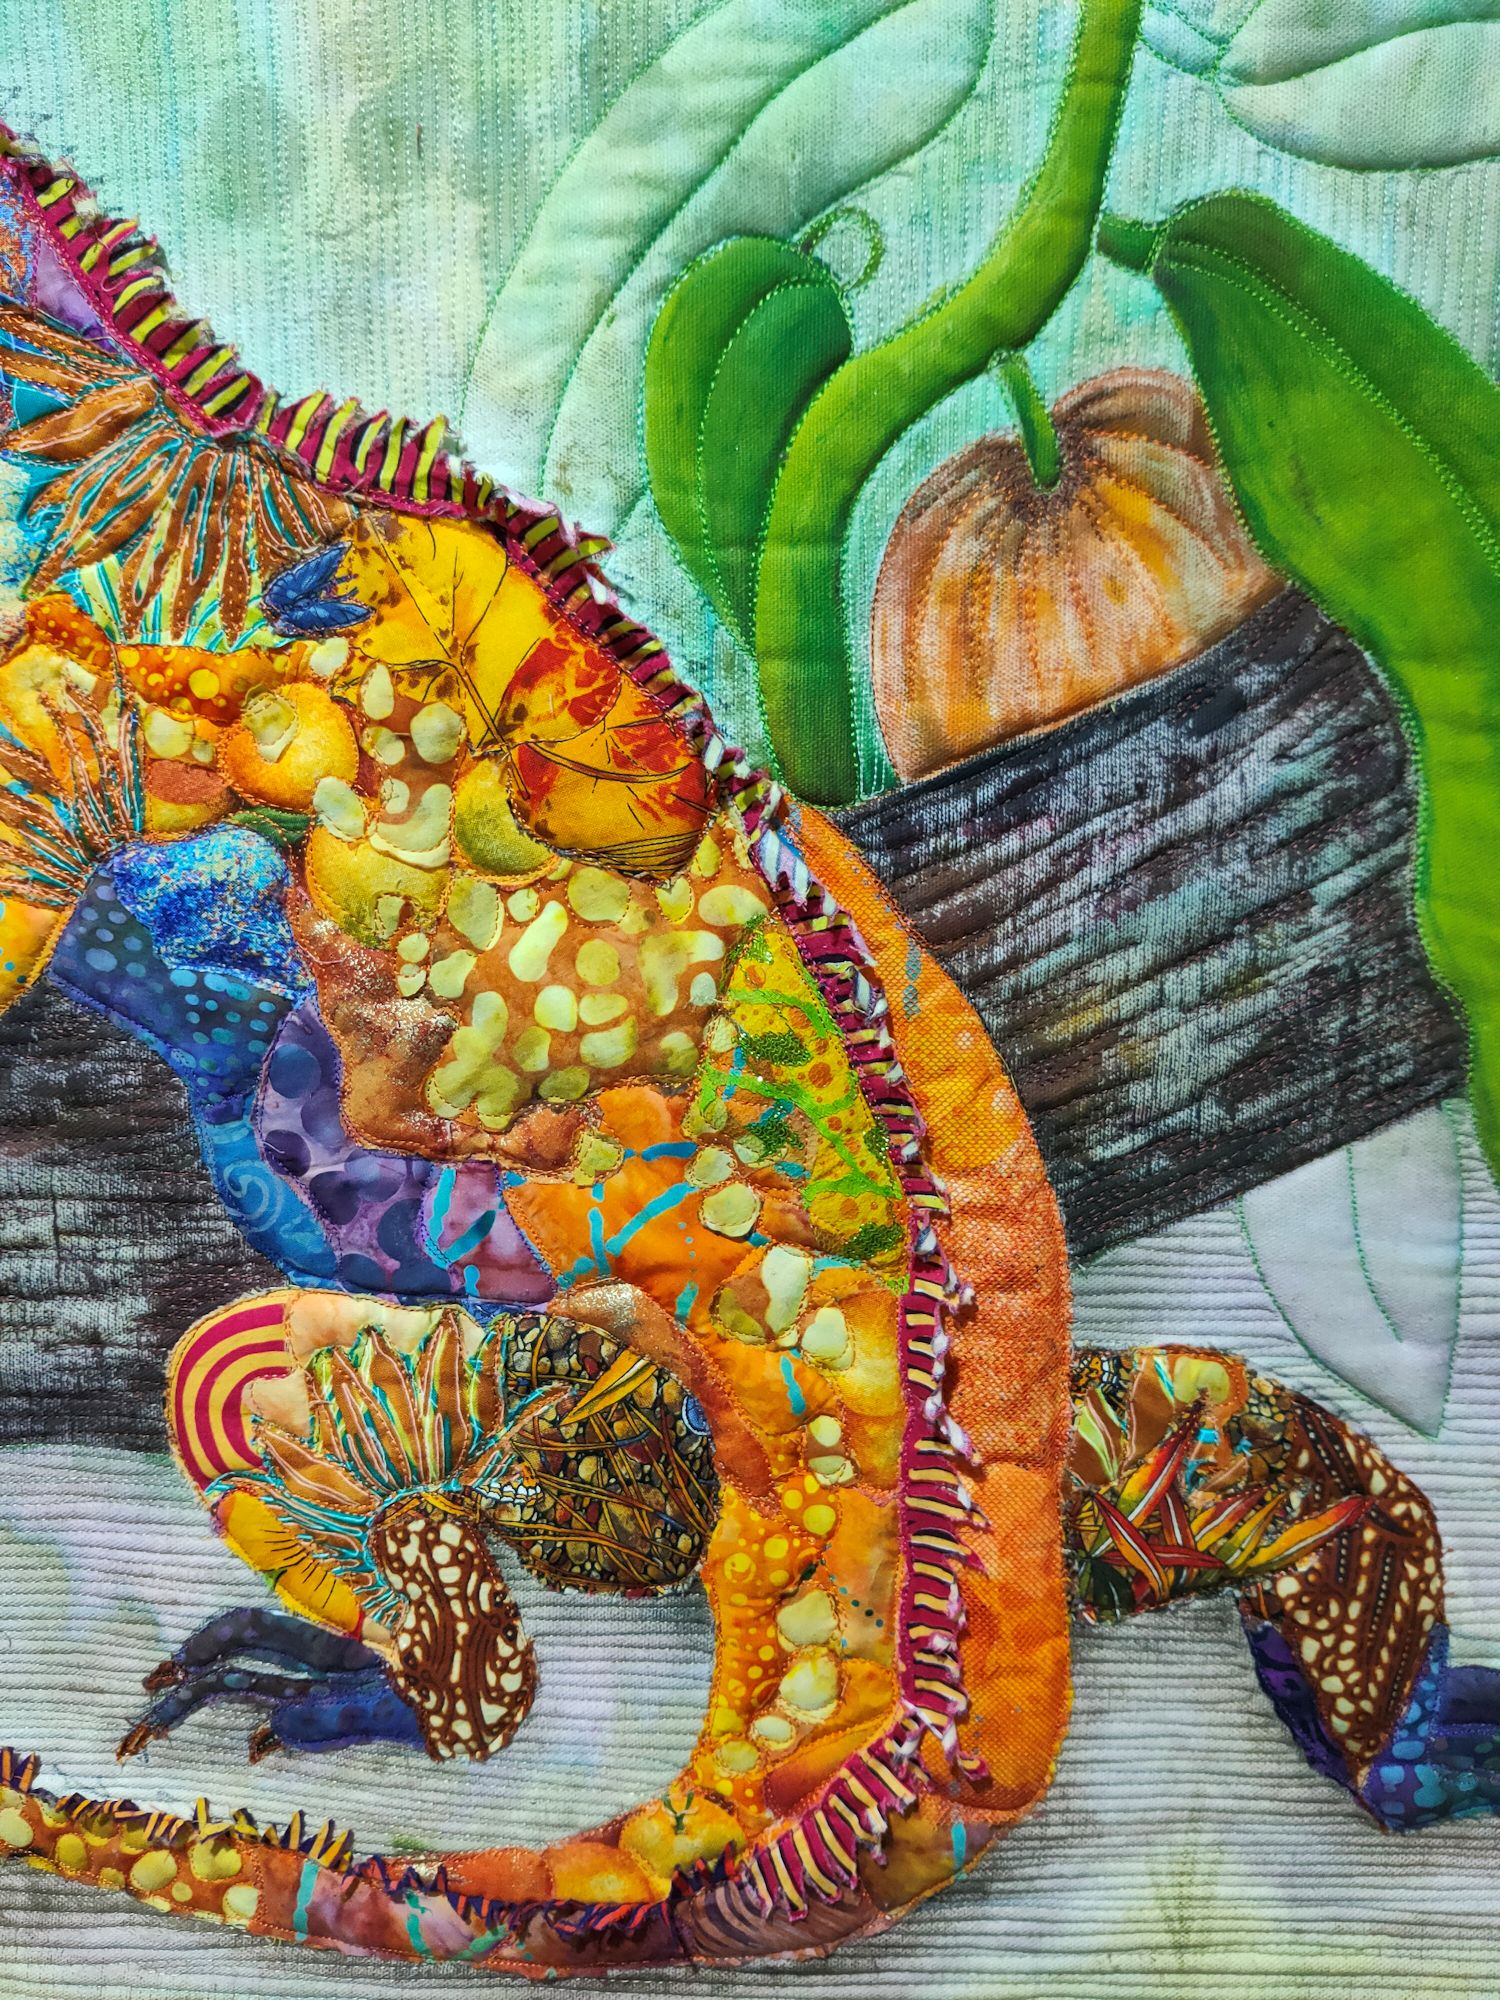
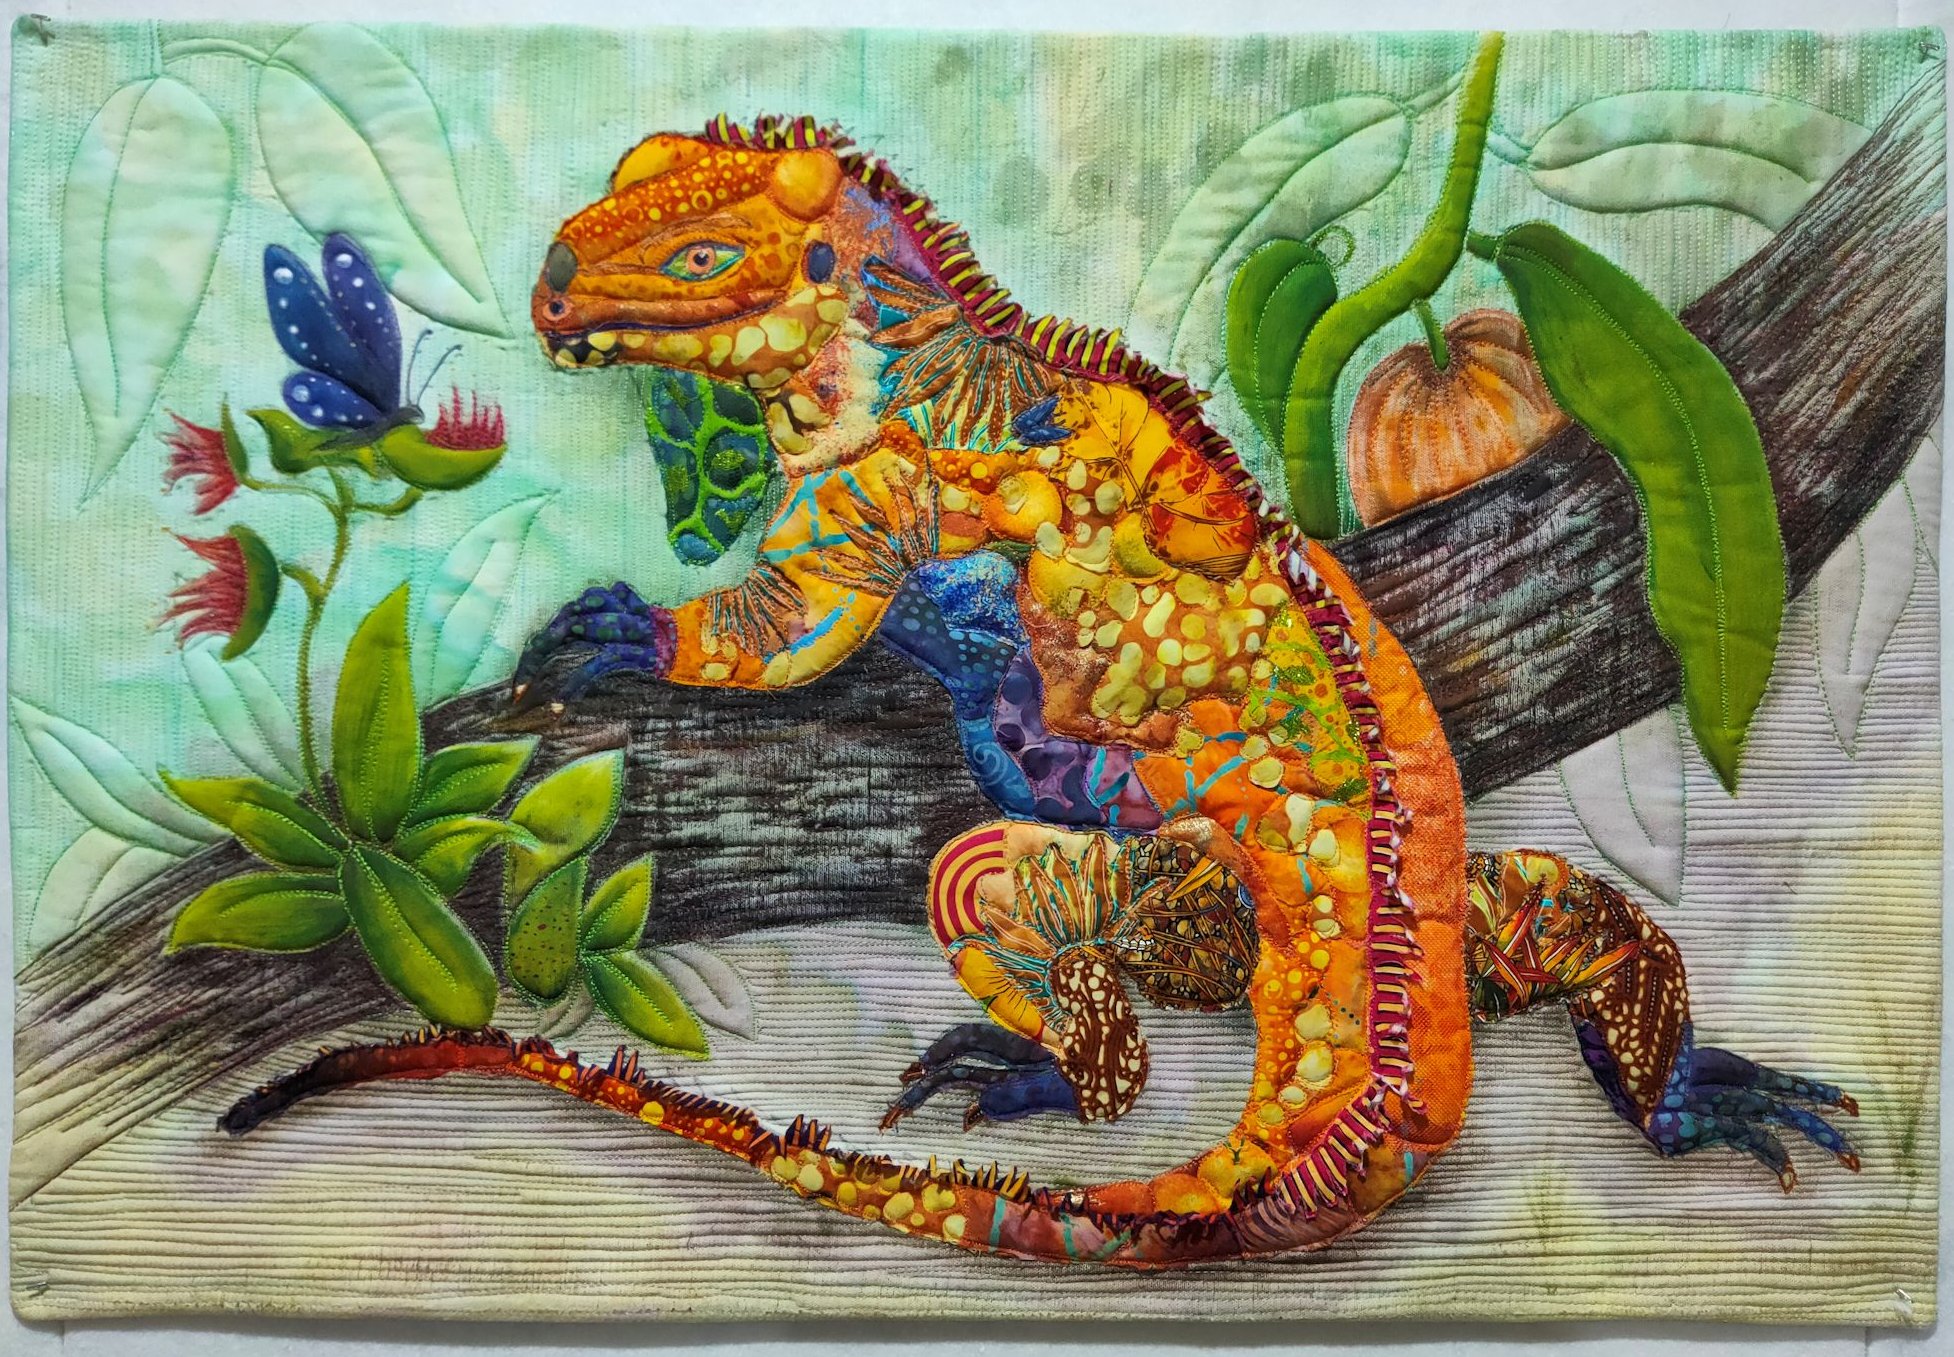
Another art quilt I started in 2018 is now finished! I did Susan Carlson’s workshop in May 2018 and created Iggy Marley, a Jamaican iguana, from fabric scraps. His body was pretty much finished by the time I finished the workshop, but it took a long time to get the inspiration for how to do the background. Iggy sat on my design wall for ages, waiting for the inspiration to come.

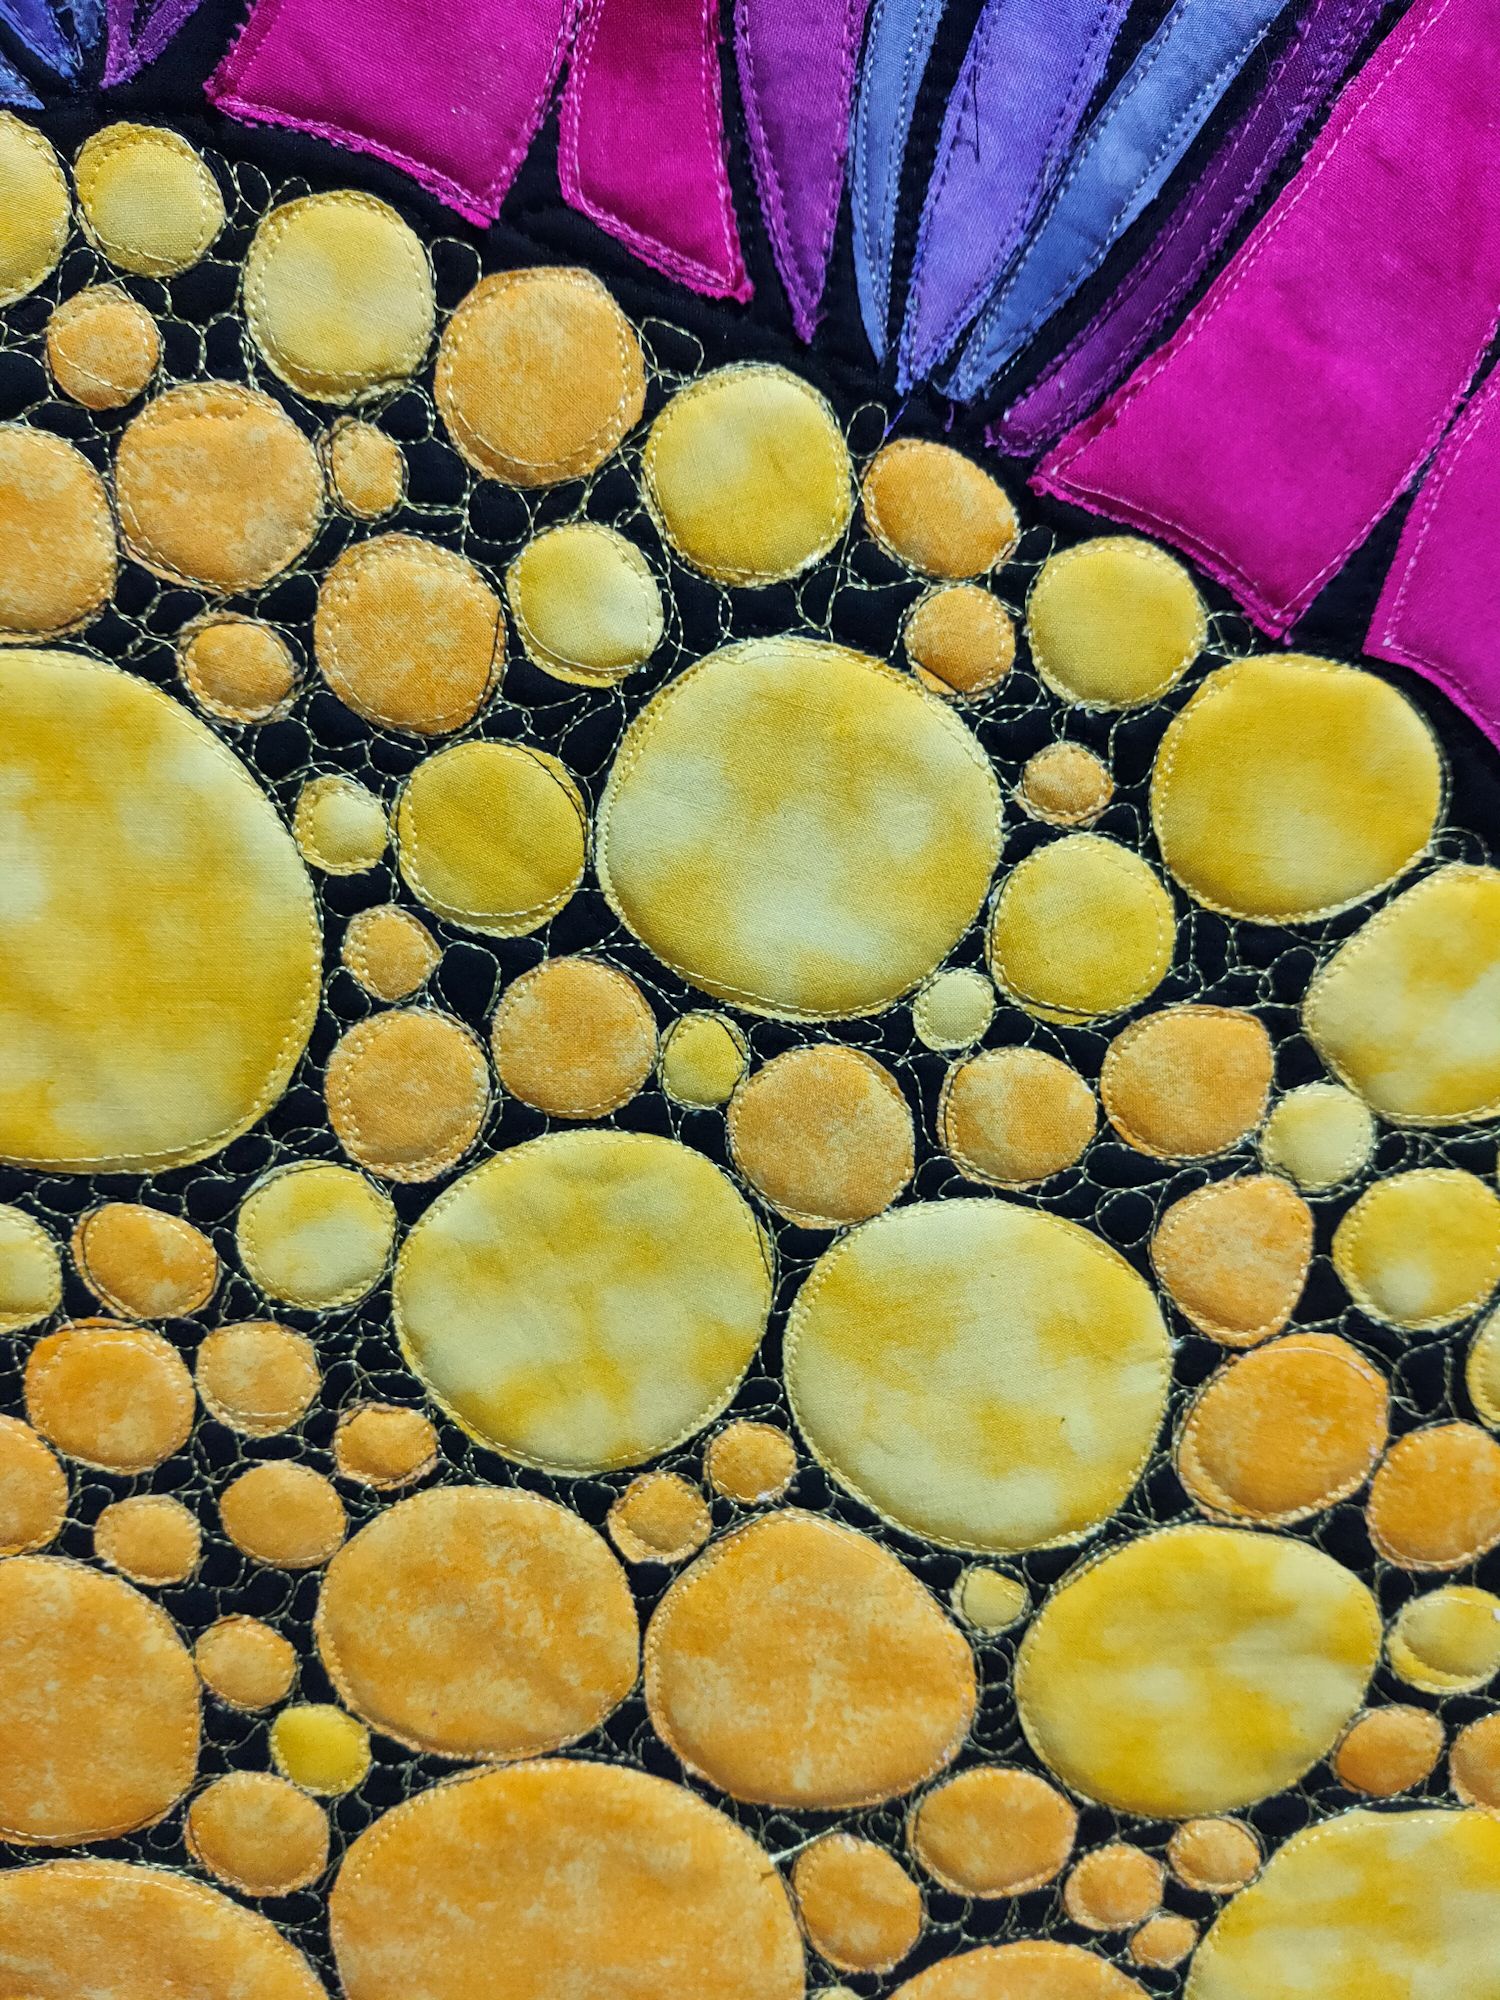
I actually did the background some time back—painting direct onto the duck/canvas fabric. But then I was faced with the dilemma of ‘how to quilt it?’, so he sat on the design wall for many more months. Eventually I decided to do stitch a jumble of leaves in the green background and perhaps pebbles in the brown dirt. To give a lot of body and texture to the quilt, I had already put batting behind him and quilted the major parts of the body, the tree trunk, and around the leaves. To add even more body—and to stabilise the quilt—I added a large piece of foam stabiliser (such as ‘Soft and Stable’) and backing fabric, then quilted over it all again, making sure everything that needed to be stitched down, was. I was still in a dilemma regarding the quilting for the background.

Some weeks later, I bit the bullet and stitched a heap of small leaves in the green background. And I hated them! They were SO busy, and detracted from Iggy, who needed to be the star of the show. So I unpicked those 10,000-plus stitches… watching two movies and a 4-part TV series in the process (the dark but compelling ‘Lambs of God’). Fortunately, fabric is pretty forgiving, so with some shaking, gentle patting, some water and some steam, all the needle holes from that stitching eventually covered over. And there he sat on my design wall, again. Waiting for inspiration. Again.

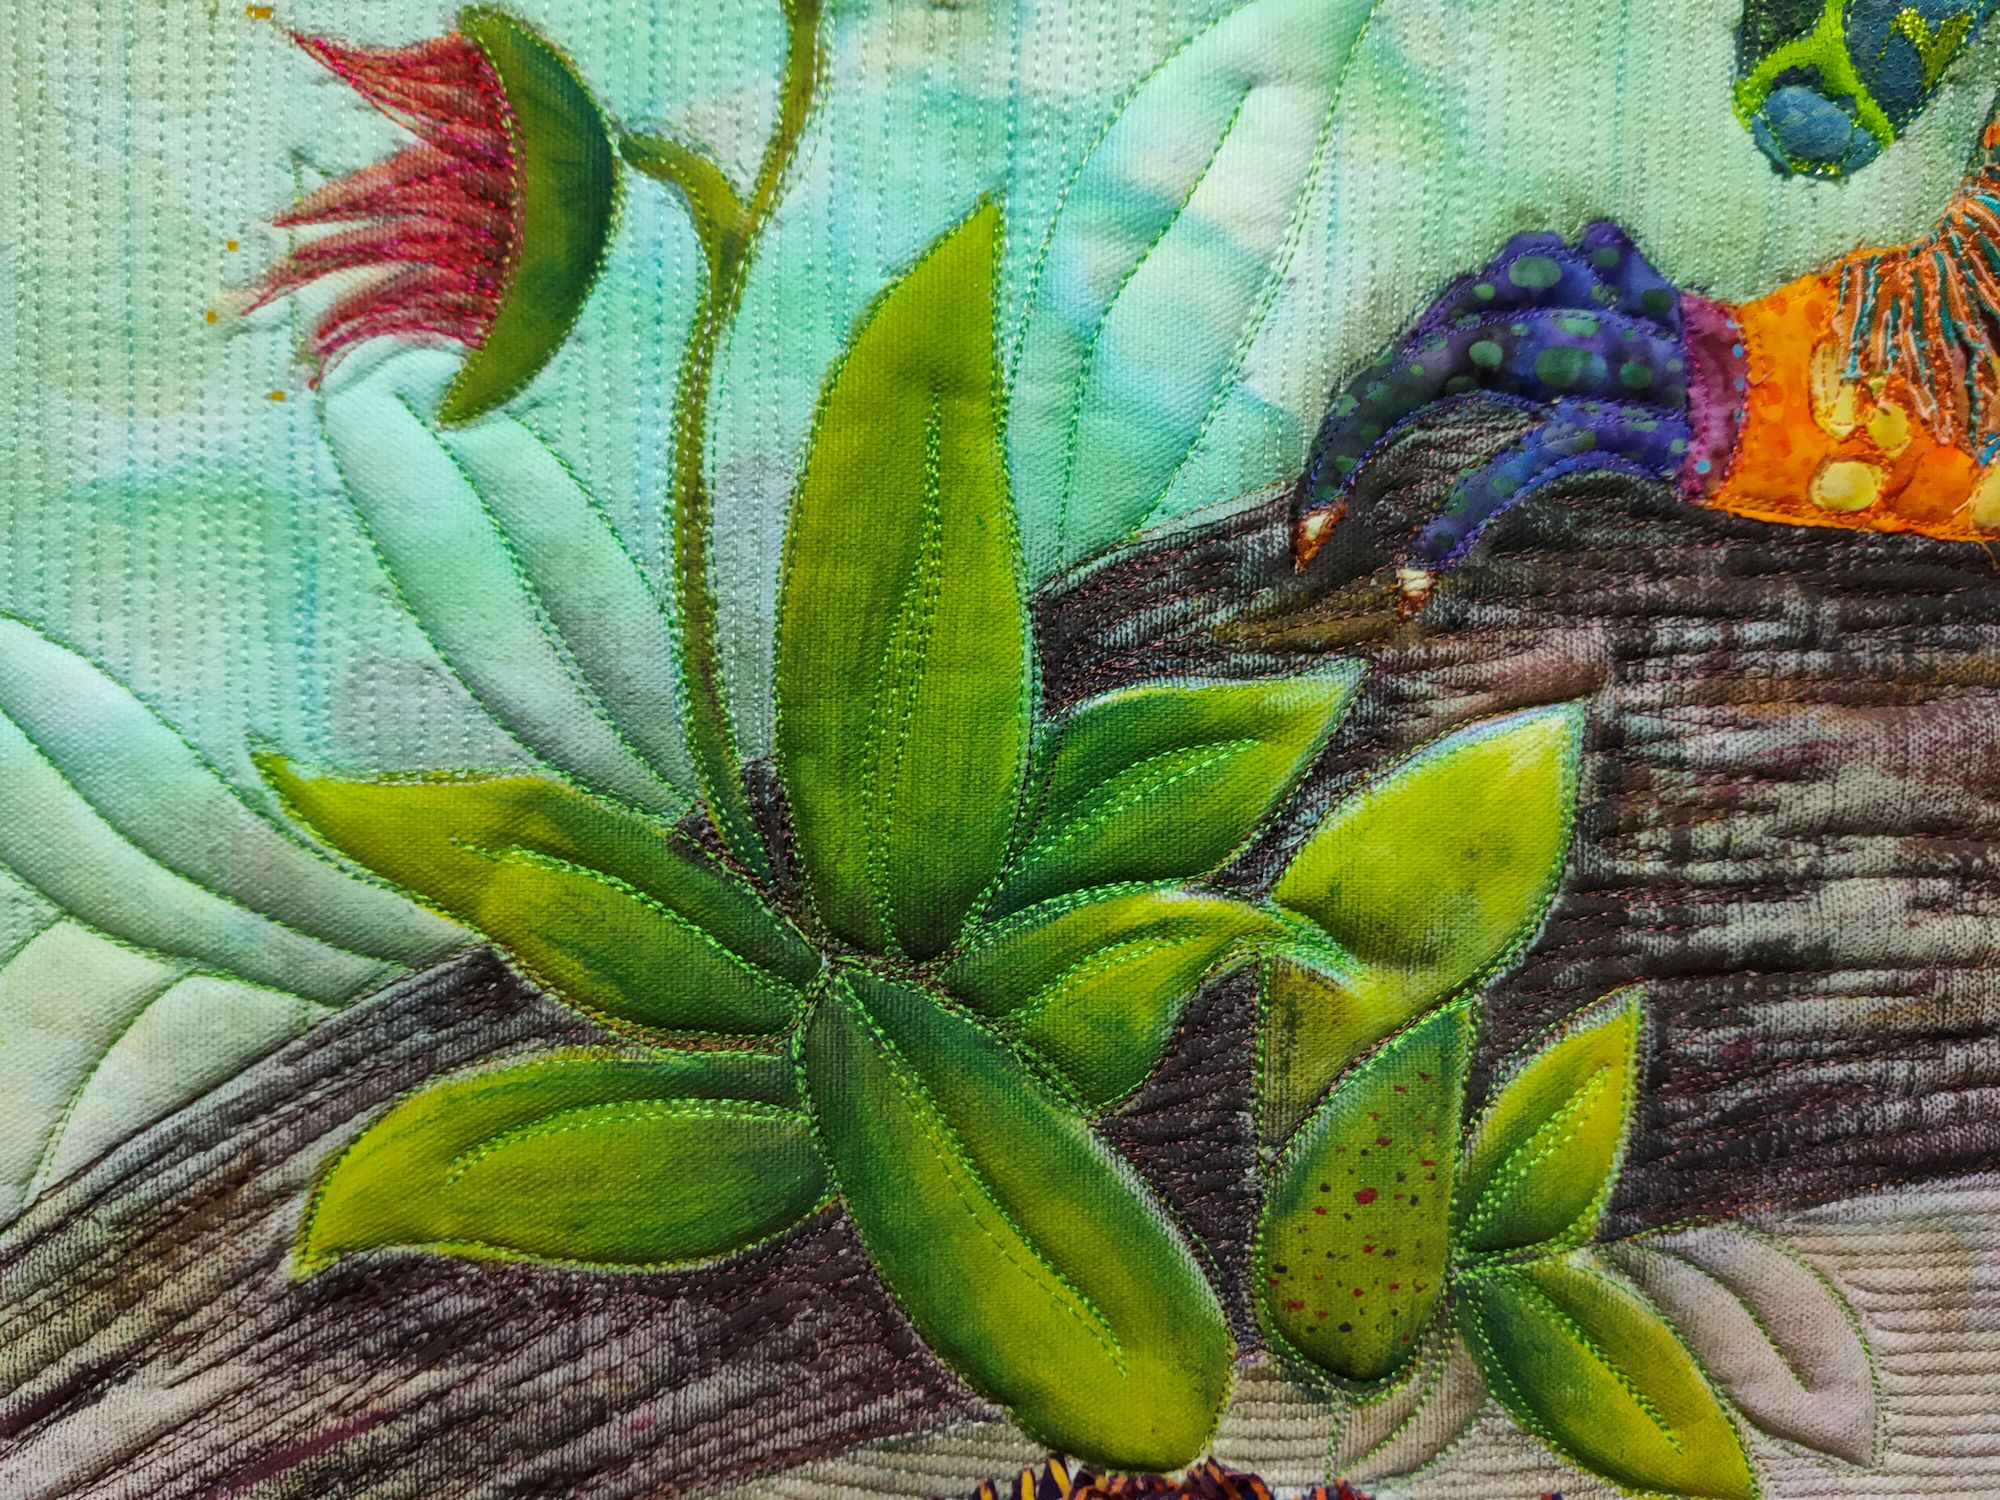
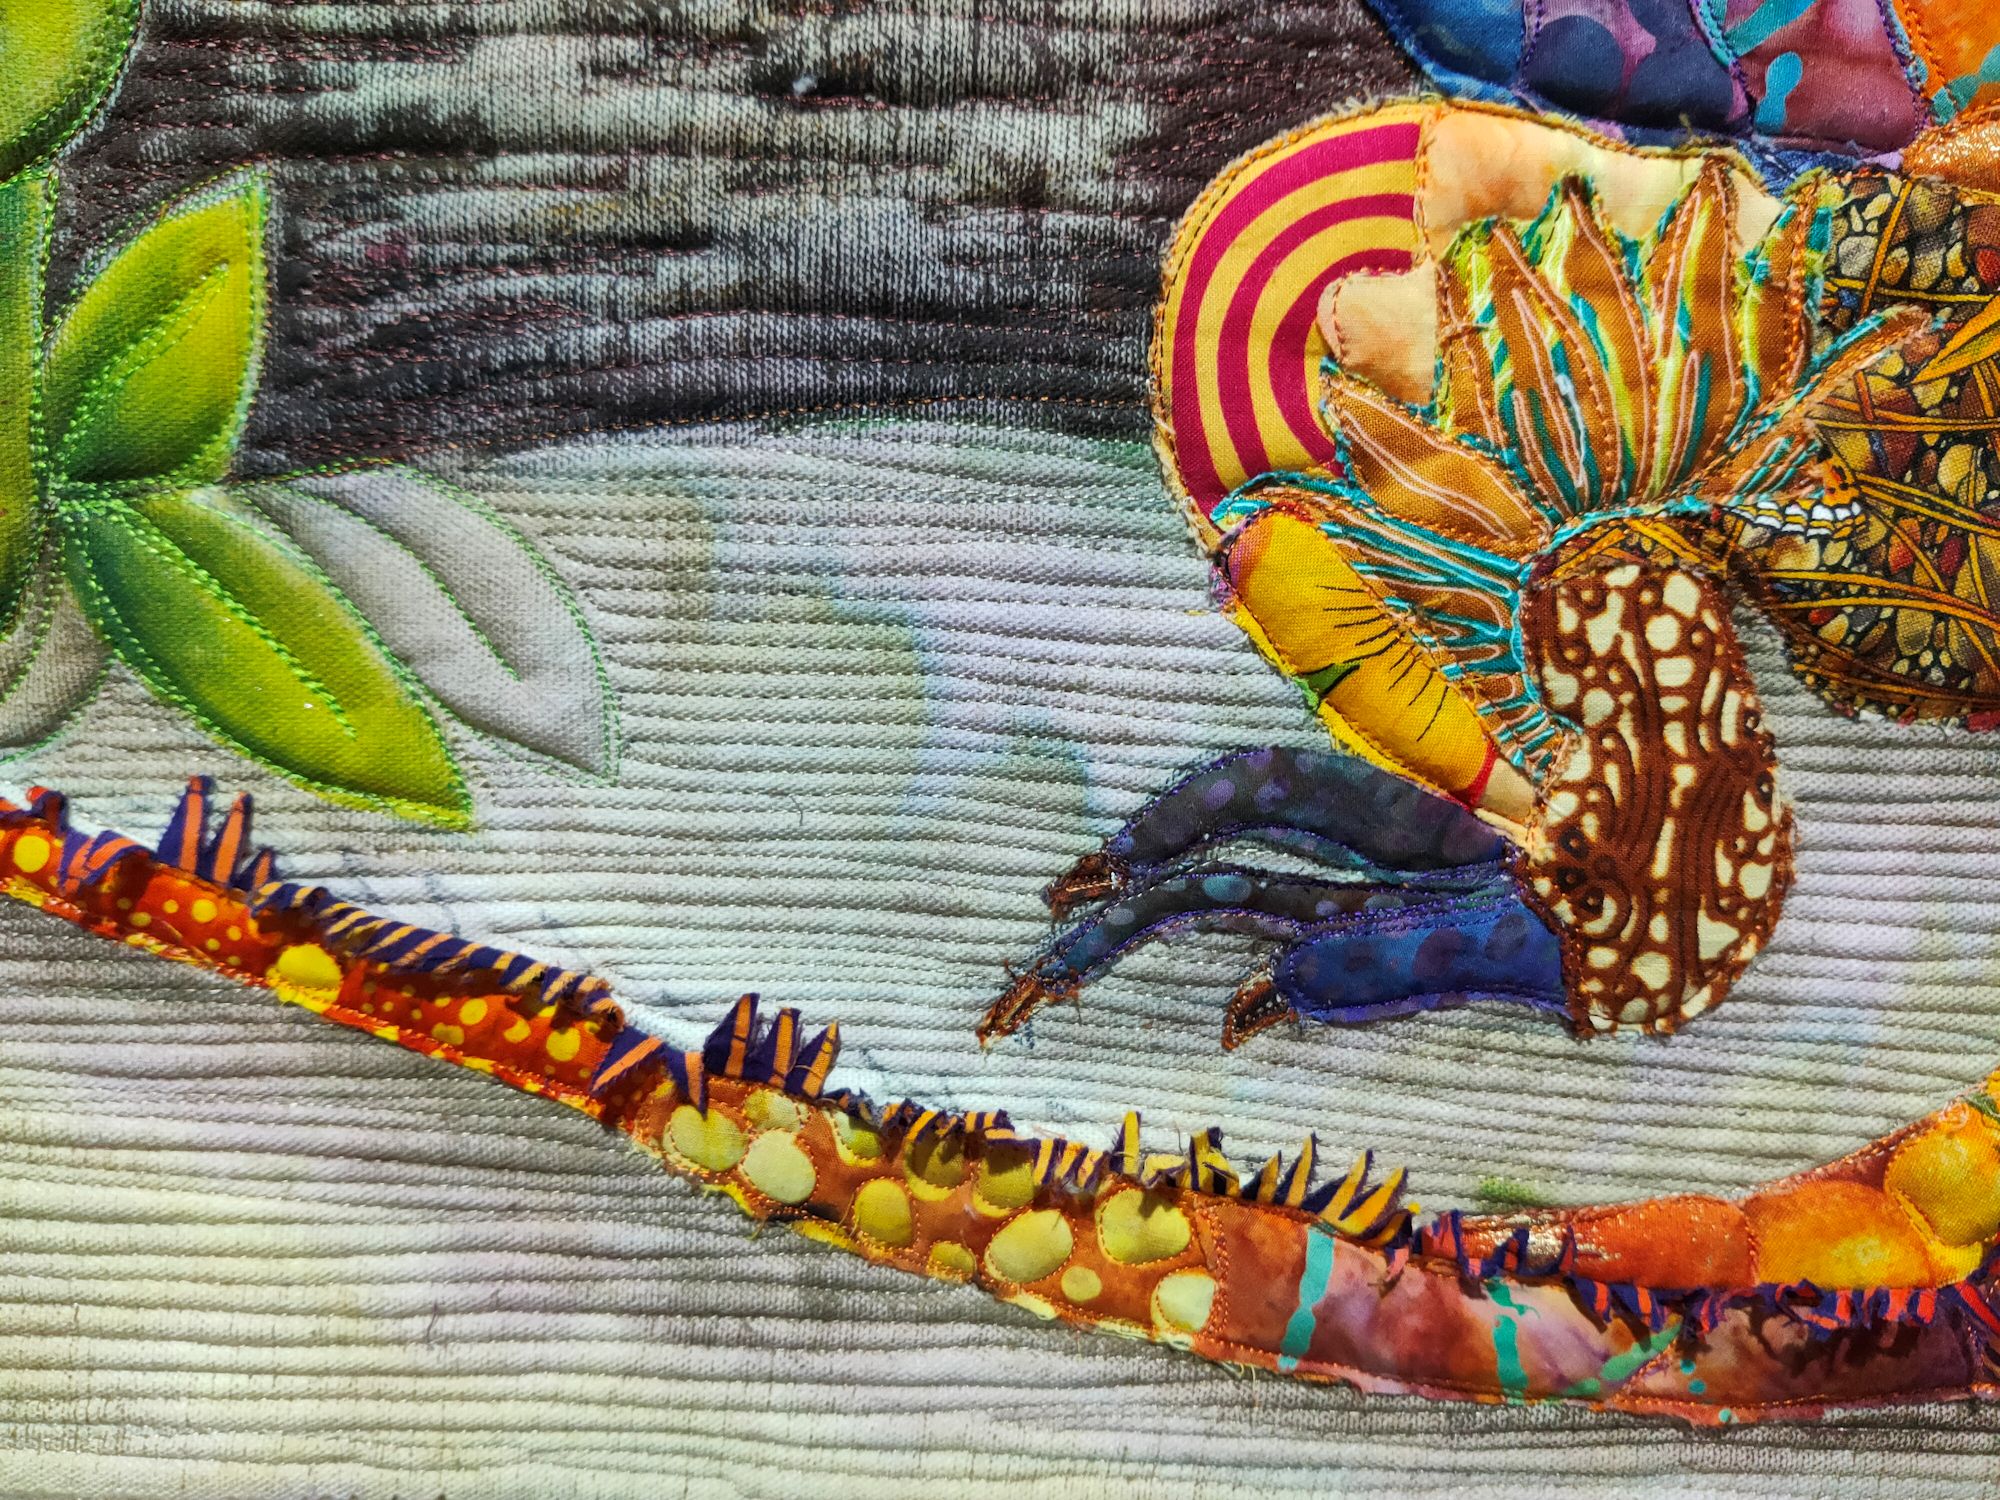
Finally the inspiration came when I saw one of Pam Holland‘s art quilts on Facebook—she had done very narrow vertical stitching, and that inspired me to do the same on Iggy. But I didn’t want to use vertical stitching for the entire green background so I decided to stitch some more large leaves, echoing the size and shapes of the painted leaves. Then I stitched all the vertical lines, nice and close together. I decided to do the same for the foreground, this time stitching horizontal lines in a soft brown. Now he was done!

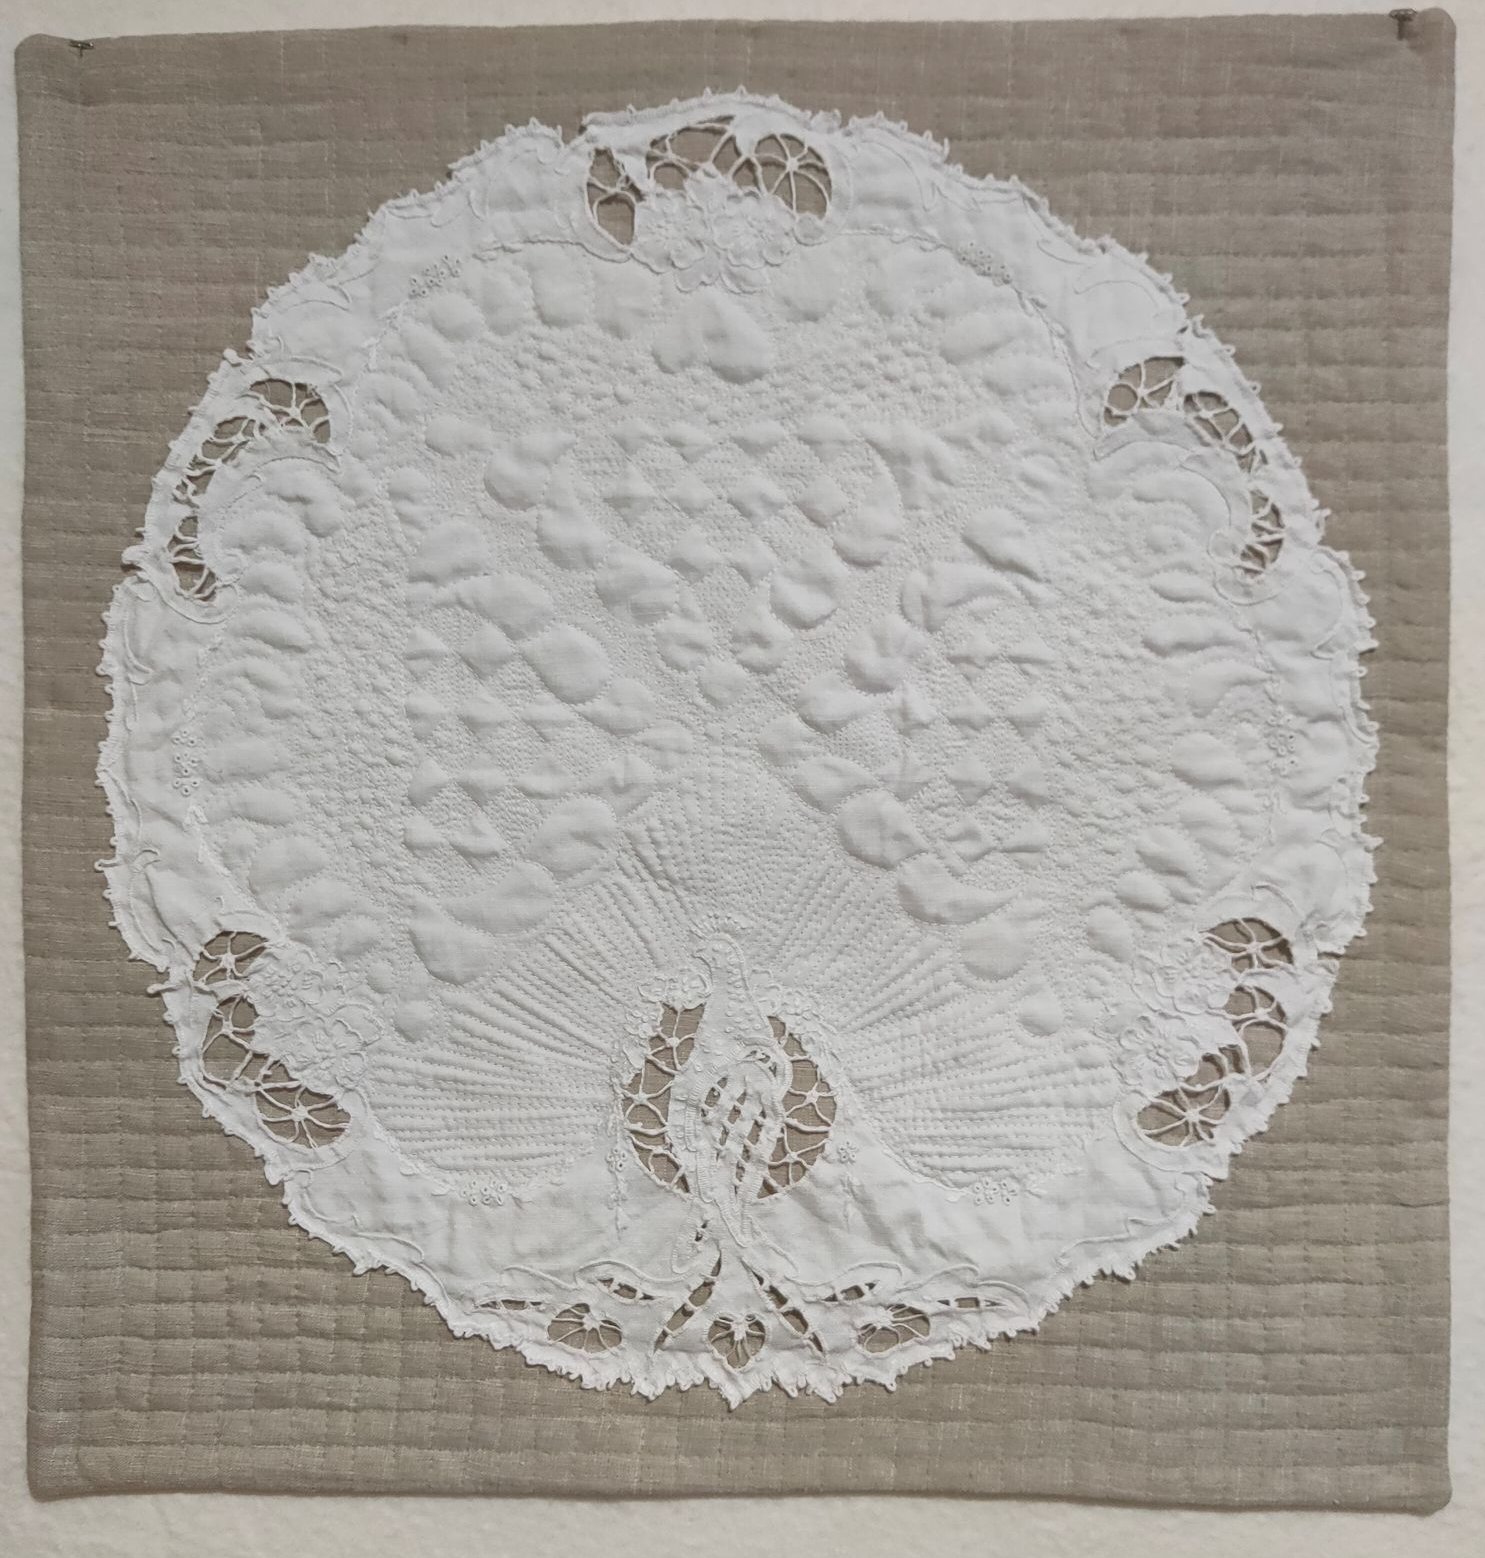
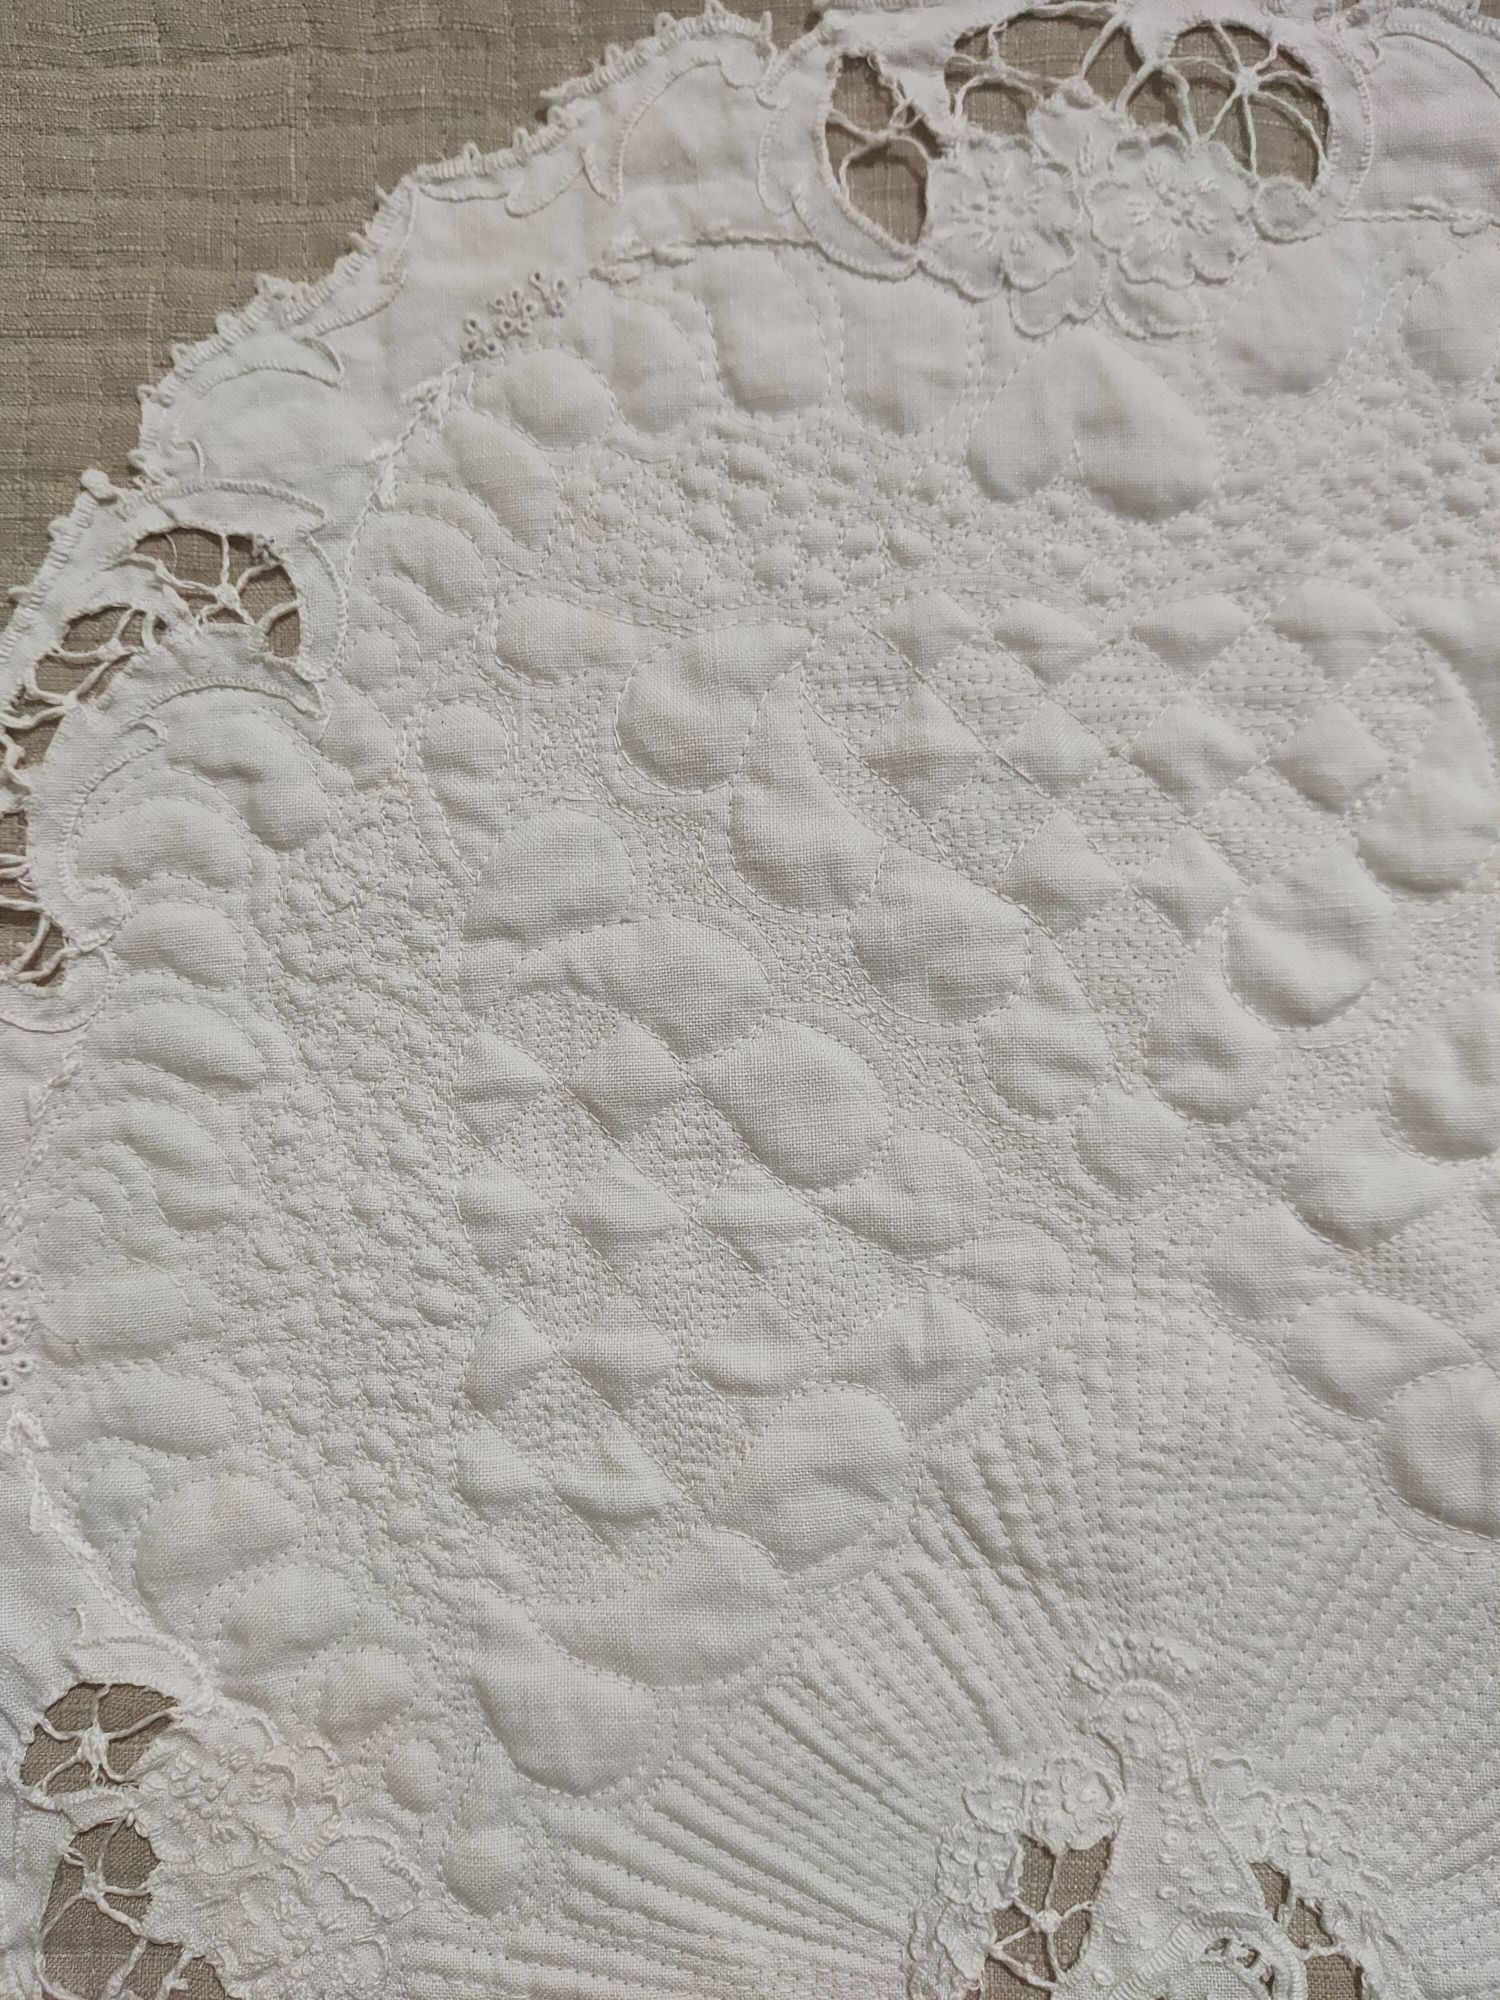
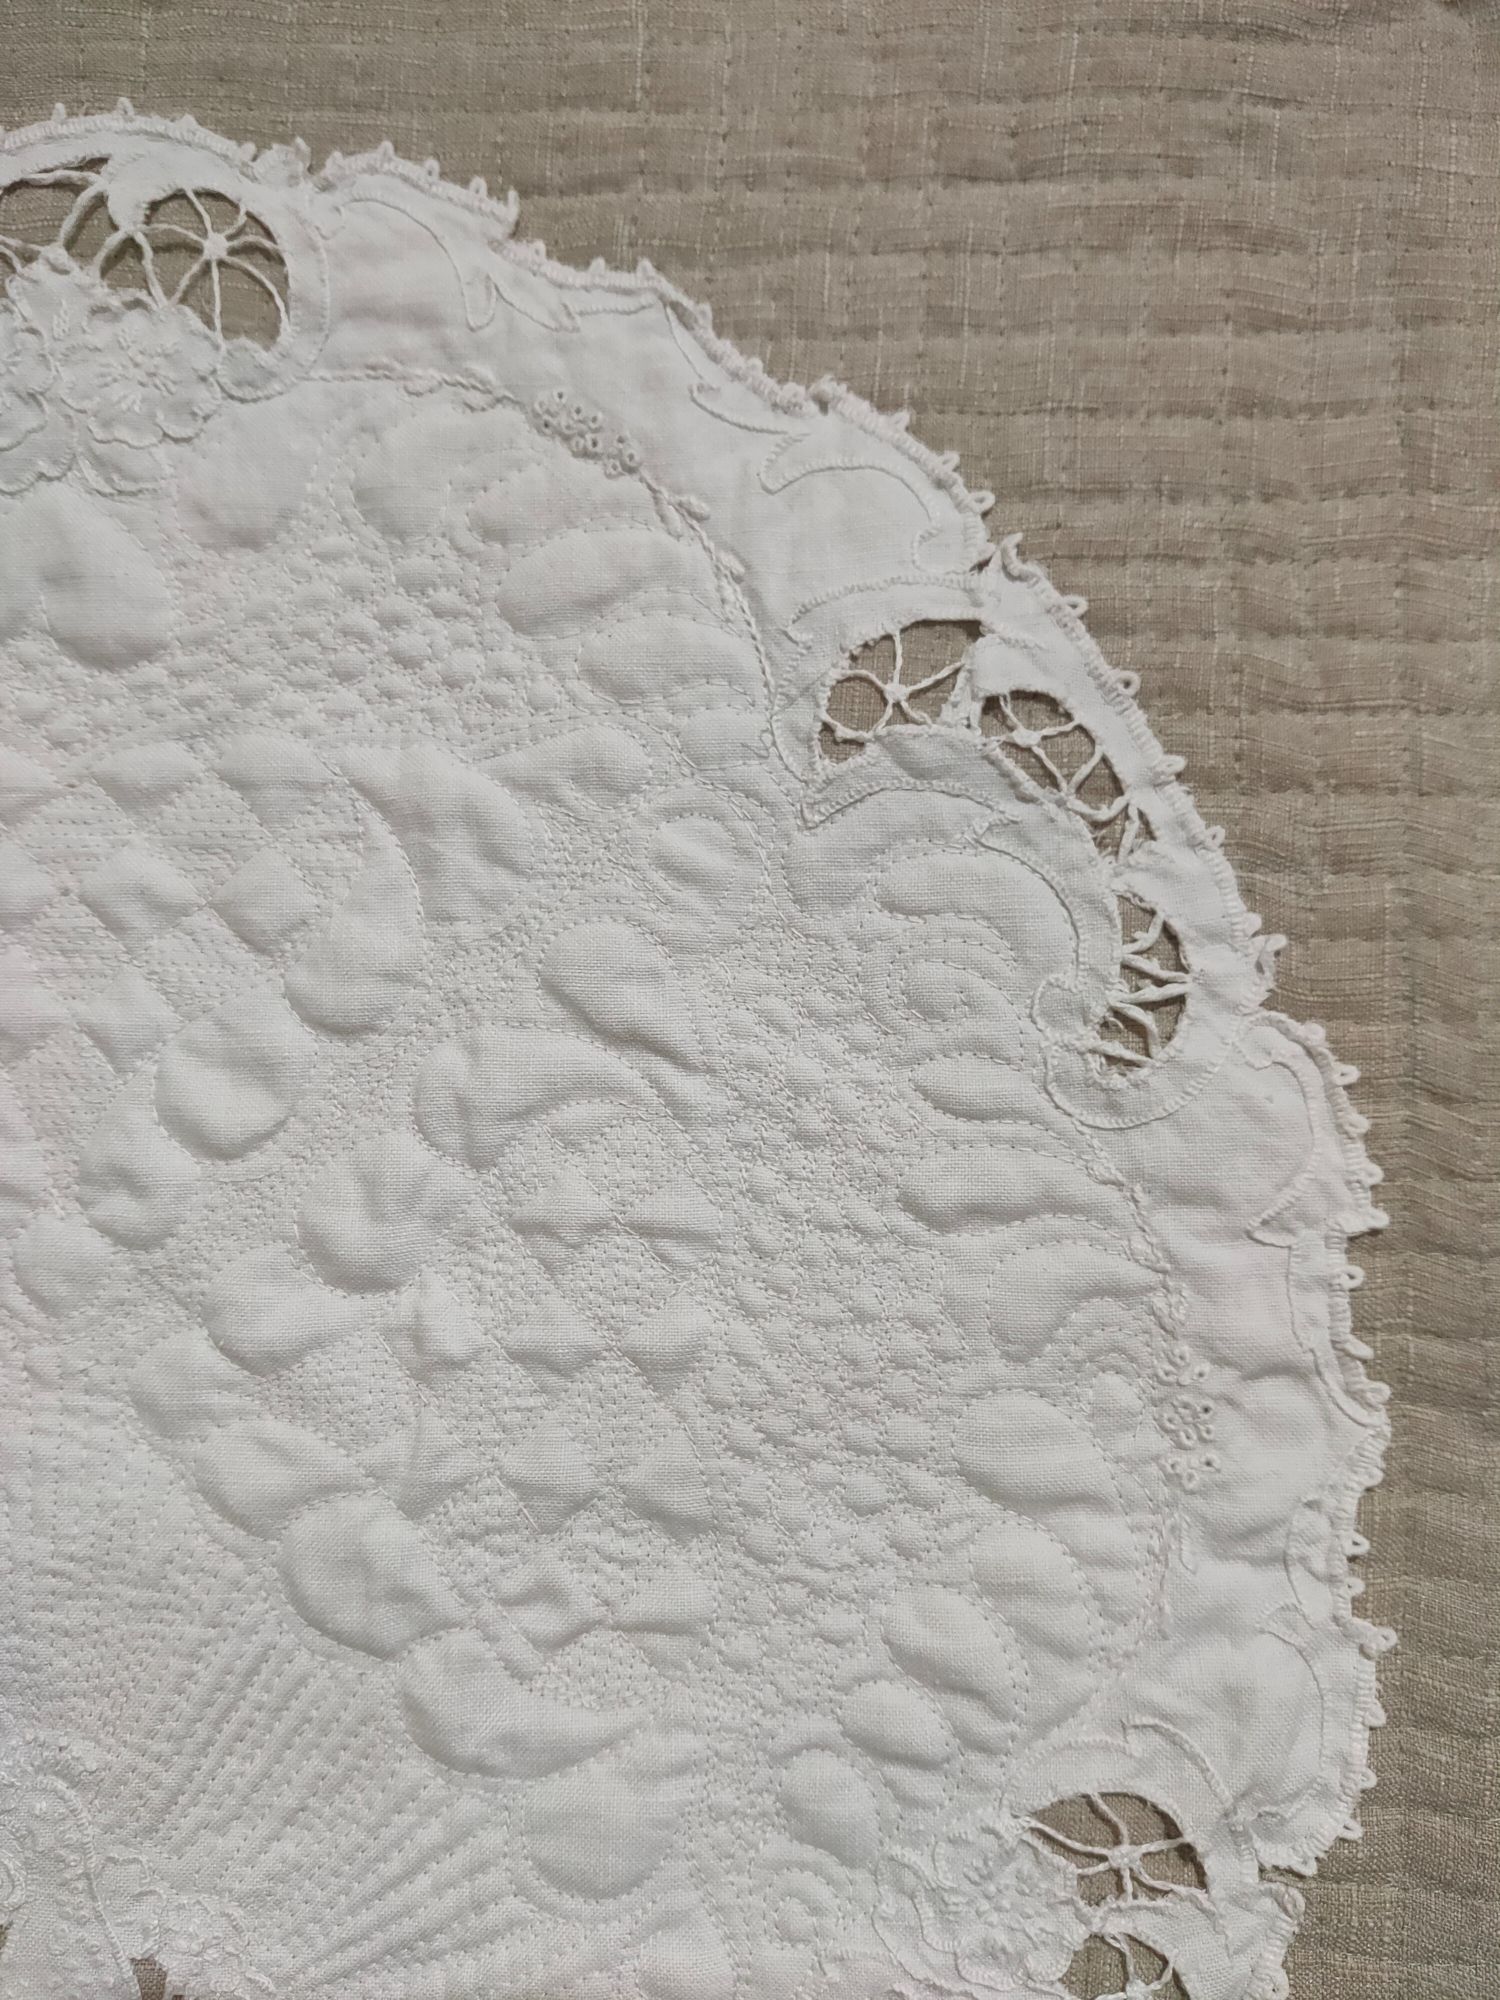
Except for how to finish him off—do I add a binding? (no, too traditional), or do I add a facing? I’d never done a faced quilt before, so I experimented first on the vintage doily quilt, then once I had the technique down, I experimented on a scrap piece of foam, with batting, backing and the same duck/canvas I used for the top, and stitched with similar quilting. I wanted to make sure that I could turn a facing over all that thickness and not mess it up. I certainly didn’t have a lot of extra space at the top and bottom of Iggy to work with, so messing it up wasn’t an option. It worked, so I got to and finished him off with facing.

He’s going into a local art exhibition next month (textile category), and then I might put him up for sale in my Etsy store. His finished dimensions are 85 x 57 cm (33.5 x 22.5 inches). My Mum REALLY likes him 🙂


Finishing a vintage doily art quilt

27 01 2020

Back in April 2018, I attended Empty Spools at Asilomar (Pacific Grove, California), and was part of the 5-day class run by Cindy Needham. One of the small pieces I worked on in that class was a vintage doily on a soft taupe background. I did most of the quilting on it in class, but it has sat in my sewing room, incomplete, since I returned. Well, I finally decided to finish it off. There was only a small amount of cross-hatch stitching to do on the background, plus trimming it square and facing it (I didn’t want a binding on it, so I used this excellent facing method from Robbi Joy Ecklow: https://weallsew.com/make-quilt-facing/). Then I hand stitched down the loose edges of the doily.

I’ve called it ‘Enter the peacock’. I might put it up for sale in my Etsy store after it’s been exhibited next month in a local art exhibition (textile category). Final dimensions are approximately 50 x 50 cm (about 19 inches square)

One issue I had—and it was a major one—was that I’d used a blue Clover chaco chalk wheelie thing to mark the layout of the quilt in preparation for squaring it up and facing it. Then I’d sprayed a lot of water and used a hot iron to press down those facings so they weren’t going to move. What I didn’t realise was that the blue chalk was now EMBEDDED in the taupe fabric and it just wouldn’t come out. Normally, quilting gets rid of it, but this piece was already quilted, and by me using water and then IRONING the piece before getting the chalk out, I’d ‘set’ the chalk.

I spent hours testing various methods to get it out. Some of the things I tried based on some Googling (from least intrusive to most intrusive, testing small parts of the chalk-marked fabric at a time):

  • magic eraser (no effect)
  • fabric eraser (no effect)
  • eraser end of a Frizion gel pen (yes, it has an eraser!) (no effect)
  • vinegar/water mix (no effect)
  • dishwashing detergent (no effect)
  • hand washing detergent (no effect)
  • carpet cleaner (some effect)
  • CLR remover (no effect)
  • pre-wash laundry stain remover (Sard Degreaser Pre-Wash in Australia) (some effect).

What eventually worked (well, for 90% of it) was soaking the chalk lines with a pre-wash stain remover, then while it was still wet with that, making a think slurry/paste of Napisan and water and rubbing that into the marks as well. The quilt was really quite wet by now, but I left it for a good 30 minutes, then rinsed it out numerous times in cold water, giving the chalk areas a good rub with my knuckles to add the element of friction. Then I blocked it on the design wall and left it for a day to dry. There are still some residual blue marks, but they’re much harder to see now.

Click a photo to show it larger.


Finishing off an art quilt started in NZ

27 01 2020

Last October (2019) I attended the Quilt Symposium in Auckland, and one of the classes I took was a 2-day whole cloth mosaic class with Chris Kenna, a NZ quilt artist. I got the top completed in the two days, but it’s taken until now to finish the quilt ready for exhibiting in a local art awards (textile category) and then perhaps putting it up for sale in my Etsy store. The final dimensions are approx 1 m x 1m, so it’s fairly big! I’ve called it ‘We need the bees’.

Some of the things I did to complete it:

  • Made the quilt sandwich. I used a large piece of handbag foam (I don’t know what else you call it; an example is ‘Soft and Stable’) as the wadding and plain black fabric for the backing. The foam added a lot of stability to the quilt, stopping it from curling with the density of the quilting, yet keeping the whole piece light and tactile.
  • Free-motion quilted (FMQ’d) over the existing design on the top in matching threads.
  • FMQ’d more petals in between the appliqued petals, using threads that matched the colours in the appliqued petals.
  • FMQ’d the bee, using silver thread for its wings.
  • FMQ’d the black background, leaving an area immediately around the bee unquilted.
  • Squared up the quilt, and added a black binding in the same fabric as the top and back.

Click on a photo to view it larger.