Warning! Don’t call your parents’ bluff!

Warning! Don’t call your parents’ bluff!
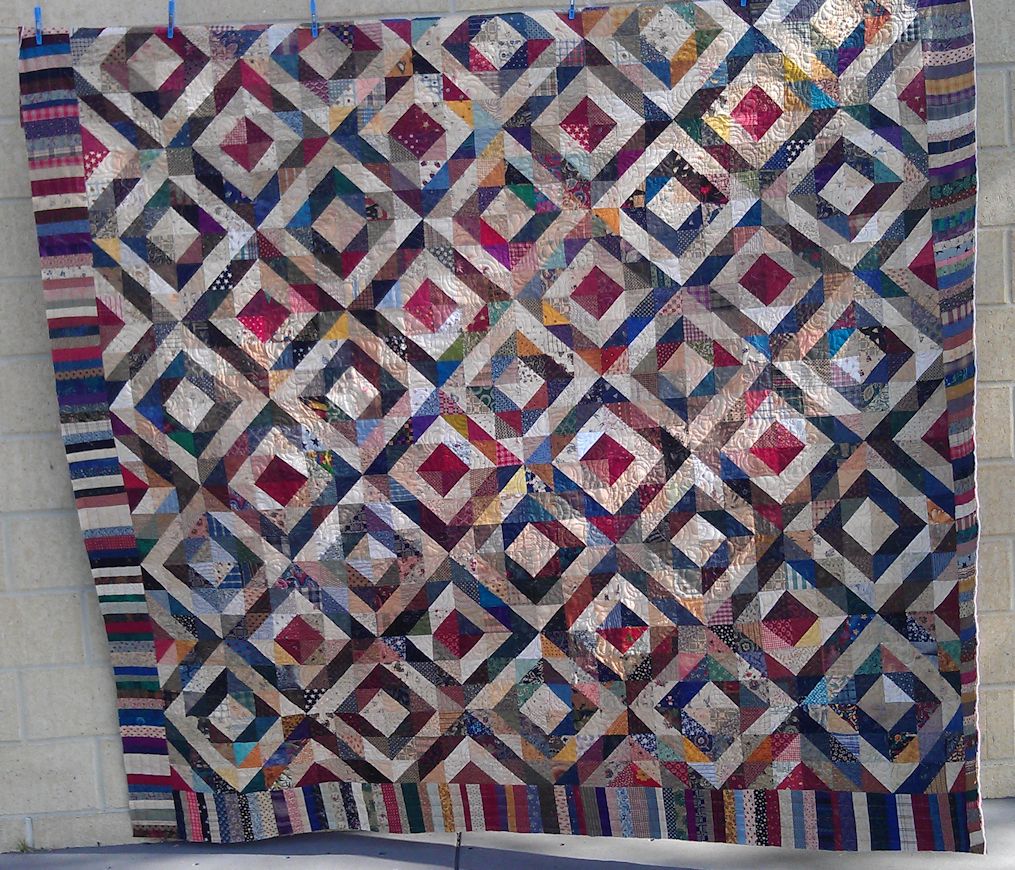
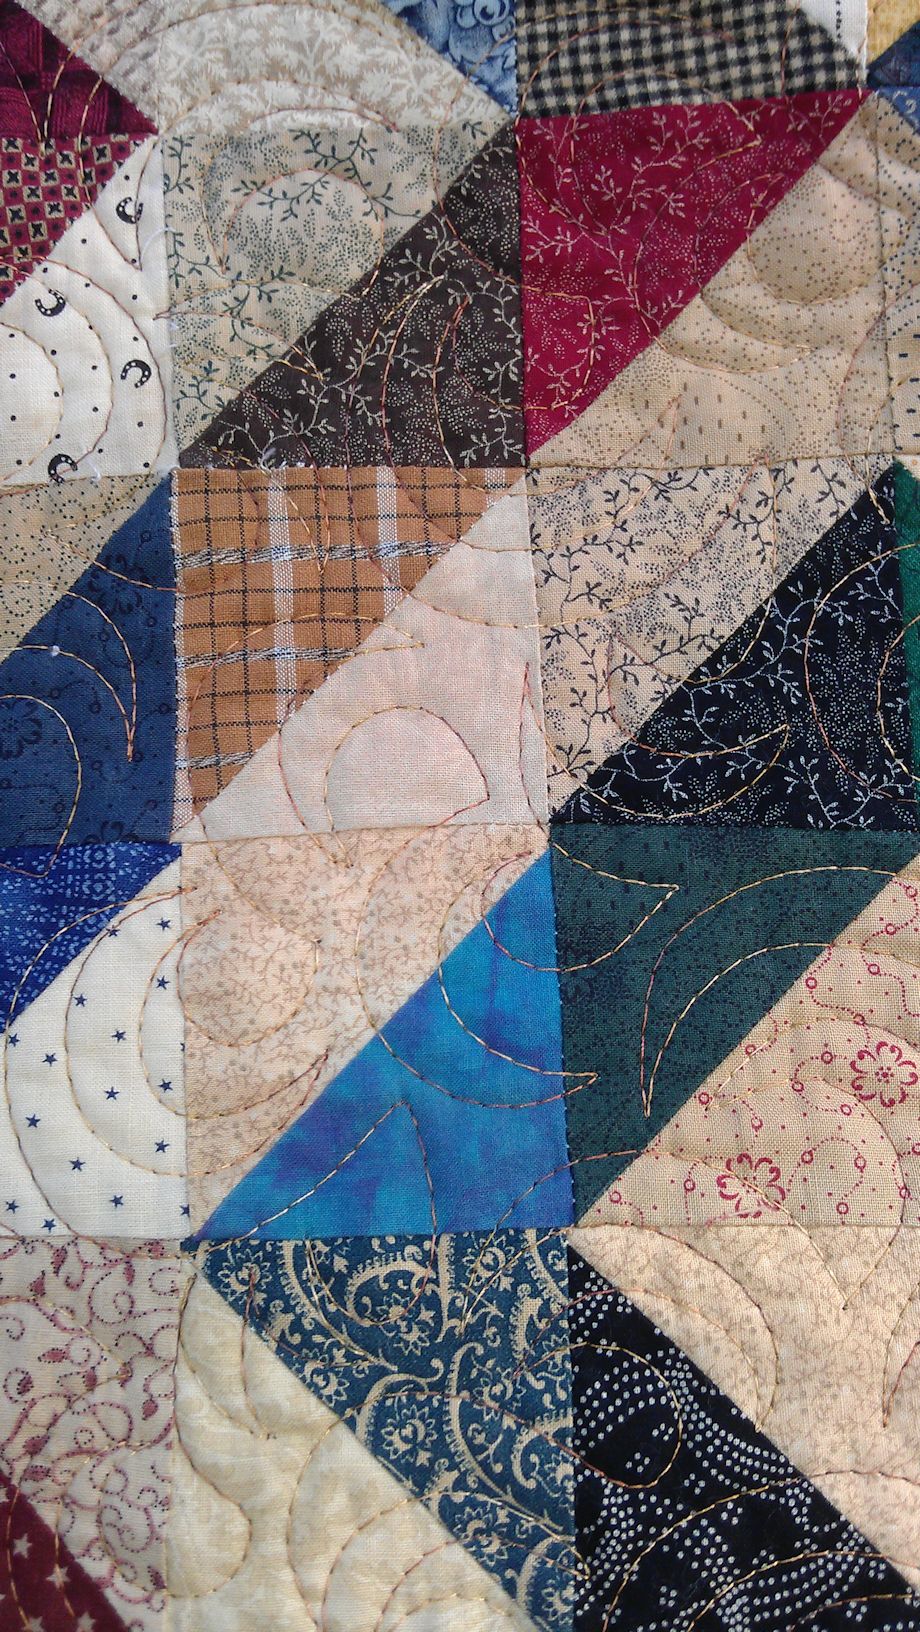
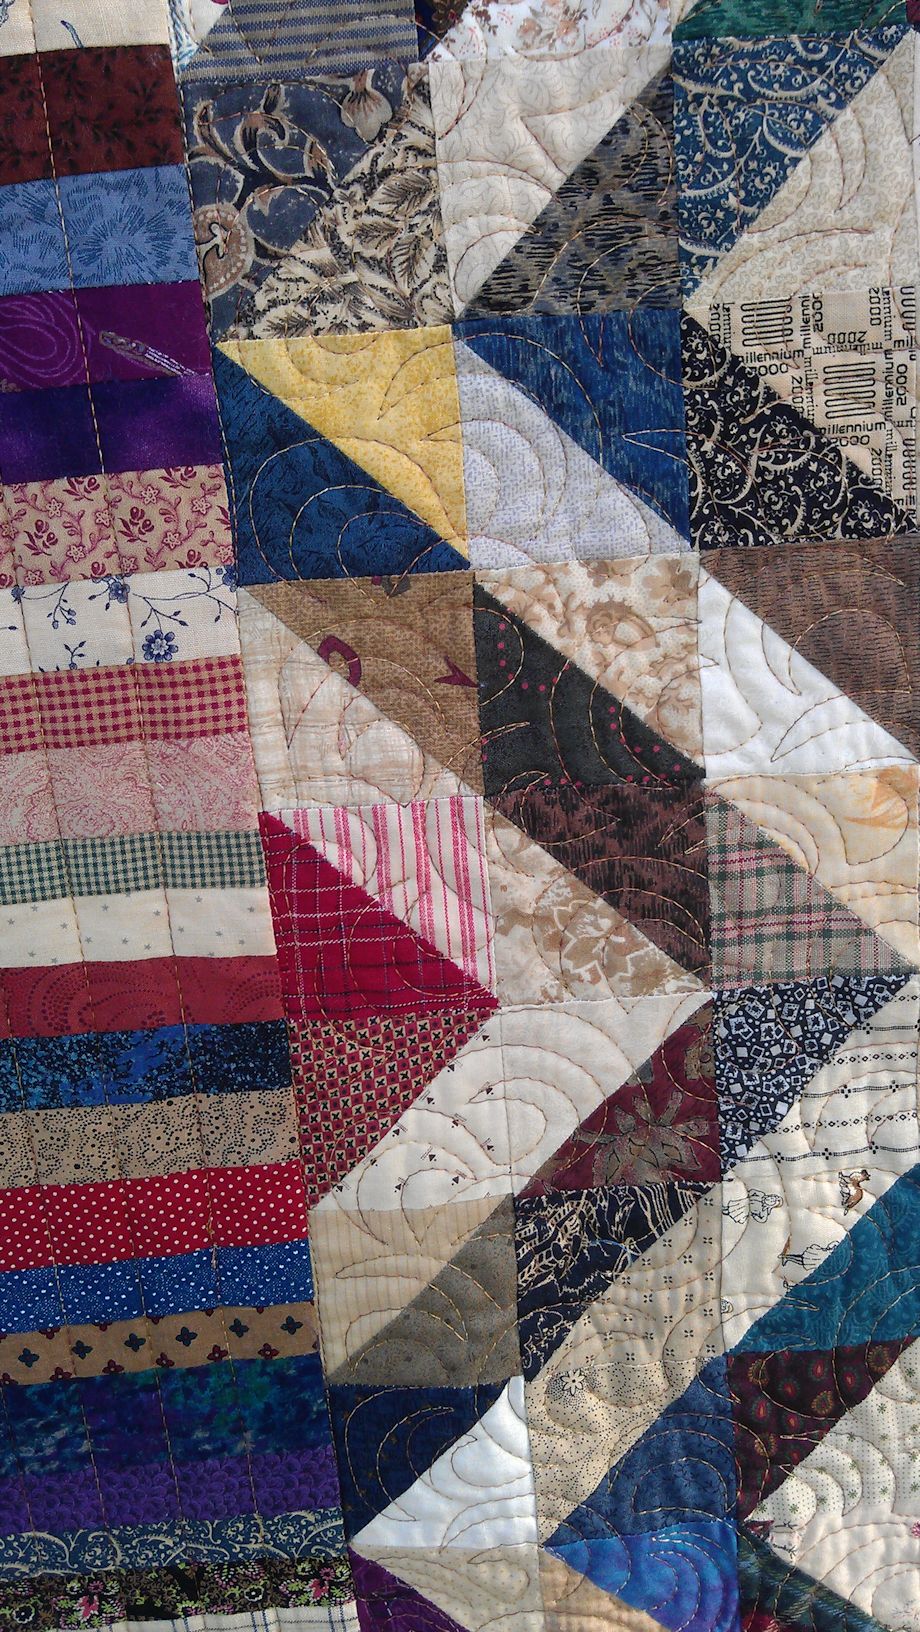
This was a HUGE scrappy quilt! I had to fold it quite a bit over the clothesline to keep it off the ground when I took the photos. The person who created this quilt top used a massive range of scrappy fabrics to make her half-square triangles and the overall effect is quite lovely (though not ‘my’ colours).
How to quilt it? Well, stitching in the ditch for ESS wasn’t an option I relished! So I decided to fall back on an old stalwart design I haven’t stitched for a while — open headbands. I used a lovely Affinity thread (from Fil-Tec) in variegated browns and it was perfect for this quilt. It also stitched like a dream and didn’t break or shred once in the entire quilt.
The edges of the border were starting to pull apart so I used Elmer’s washable school glue to hold them down. Originally I was going to do ‘piano key’ stitching in the border, but realised that as soon as the quilt was trimmed, the stitches would be cut and start pulling apart again. Instead, I decided to stitch perpendicular to the border fabrics, about 1″ away from the main part of the quilt, then echoed those stitches every 1″ to near the edge of the border. That seemed to work, and once trimmed, the stitches all stayed in place.
The only problem I had with this quilt was its sheer bulk — even with my extension tables and the large throat of my Sweet Sixteen, I struggled to pivot and turn this quilt. It WAS big.
(Click on a photo to view it larger.)
Threads used:
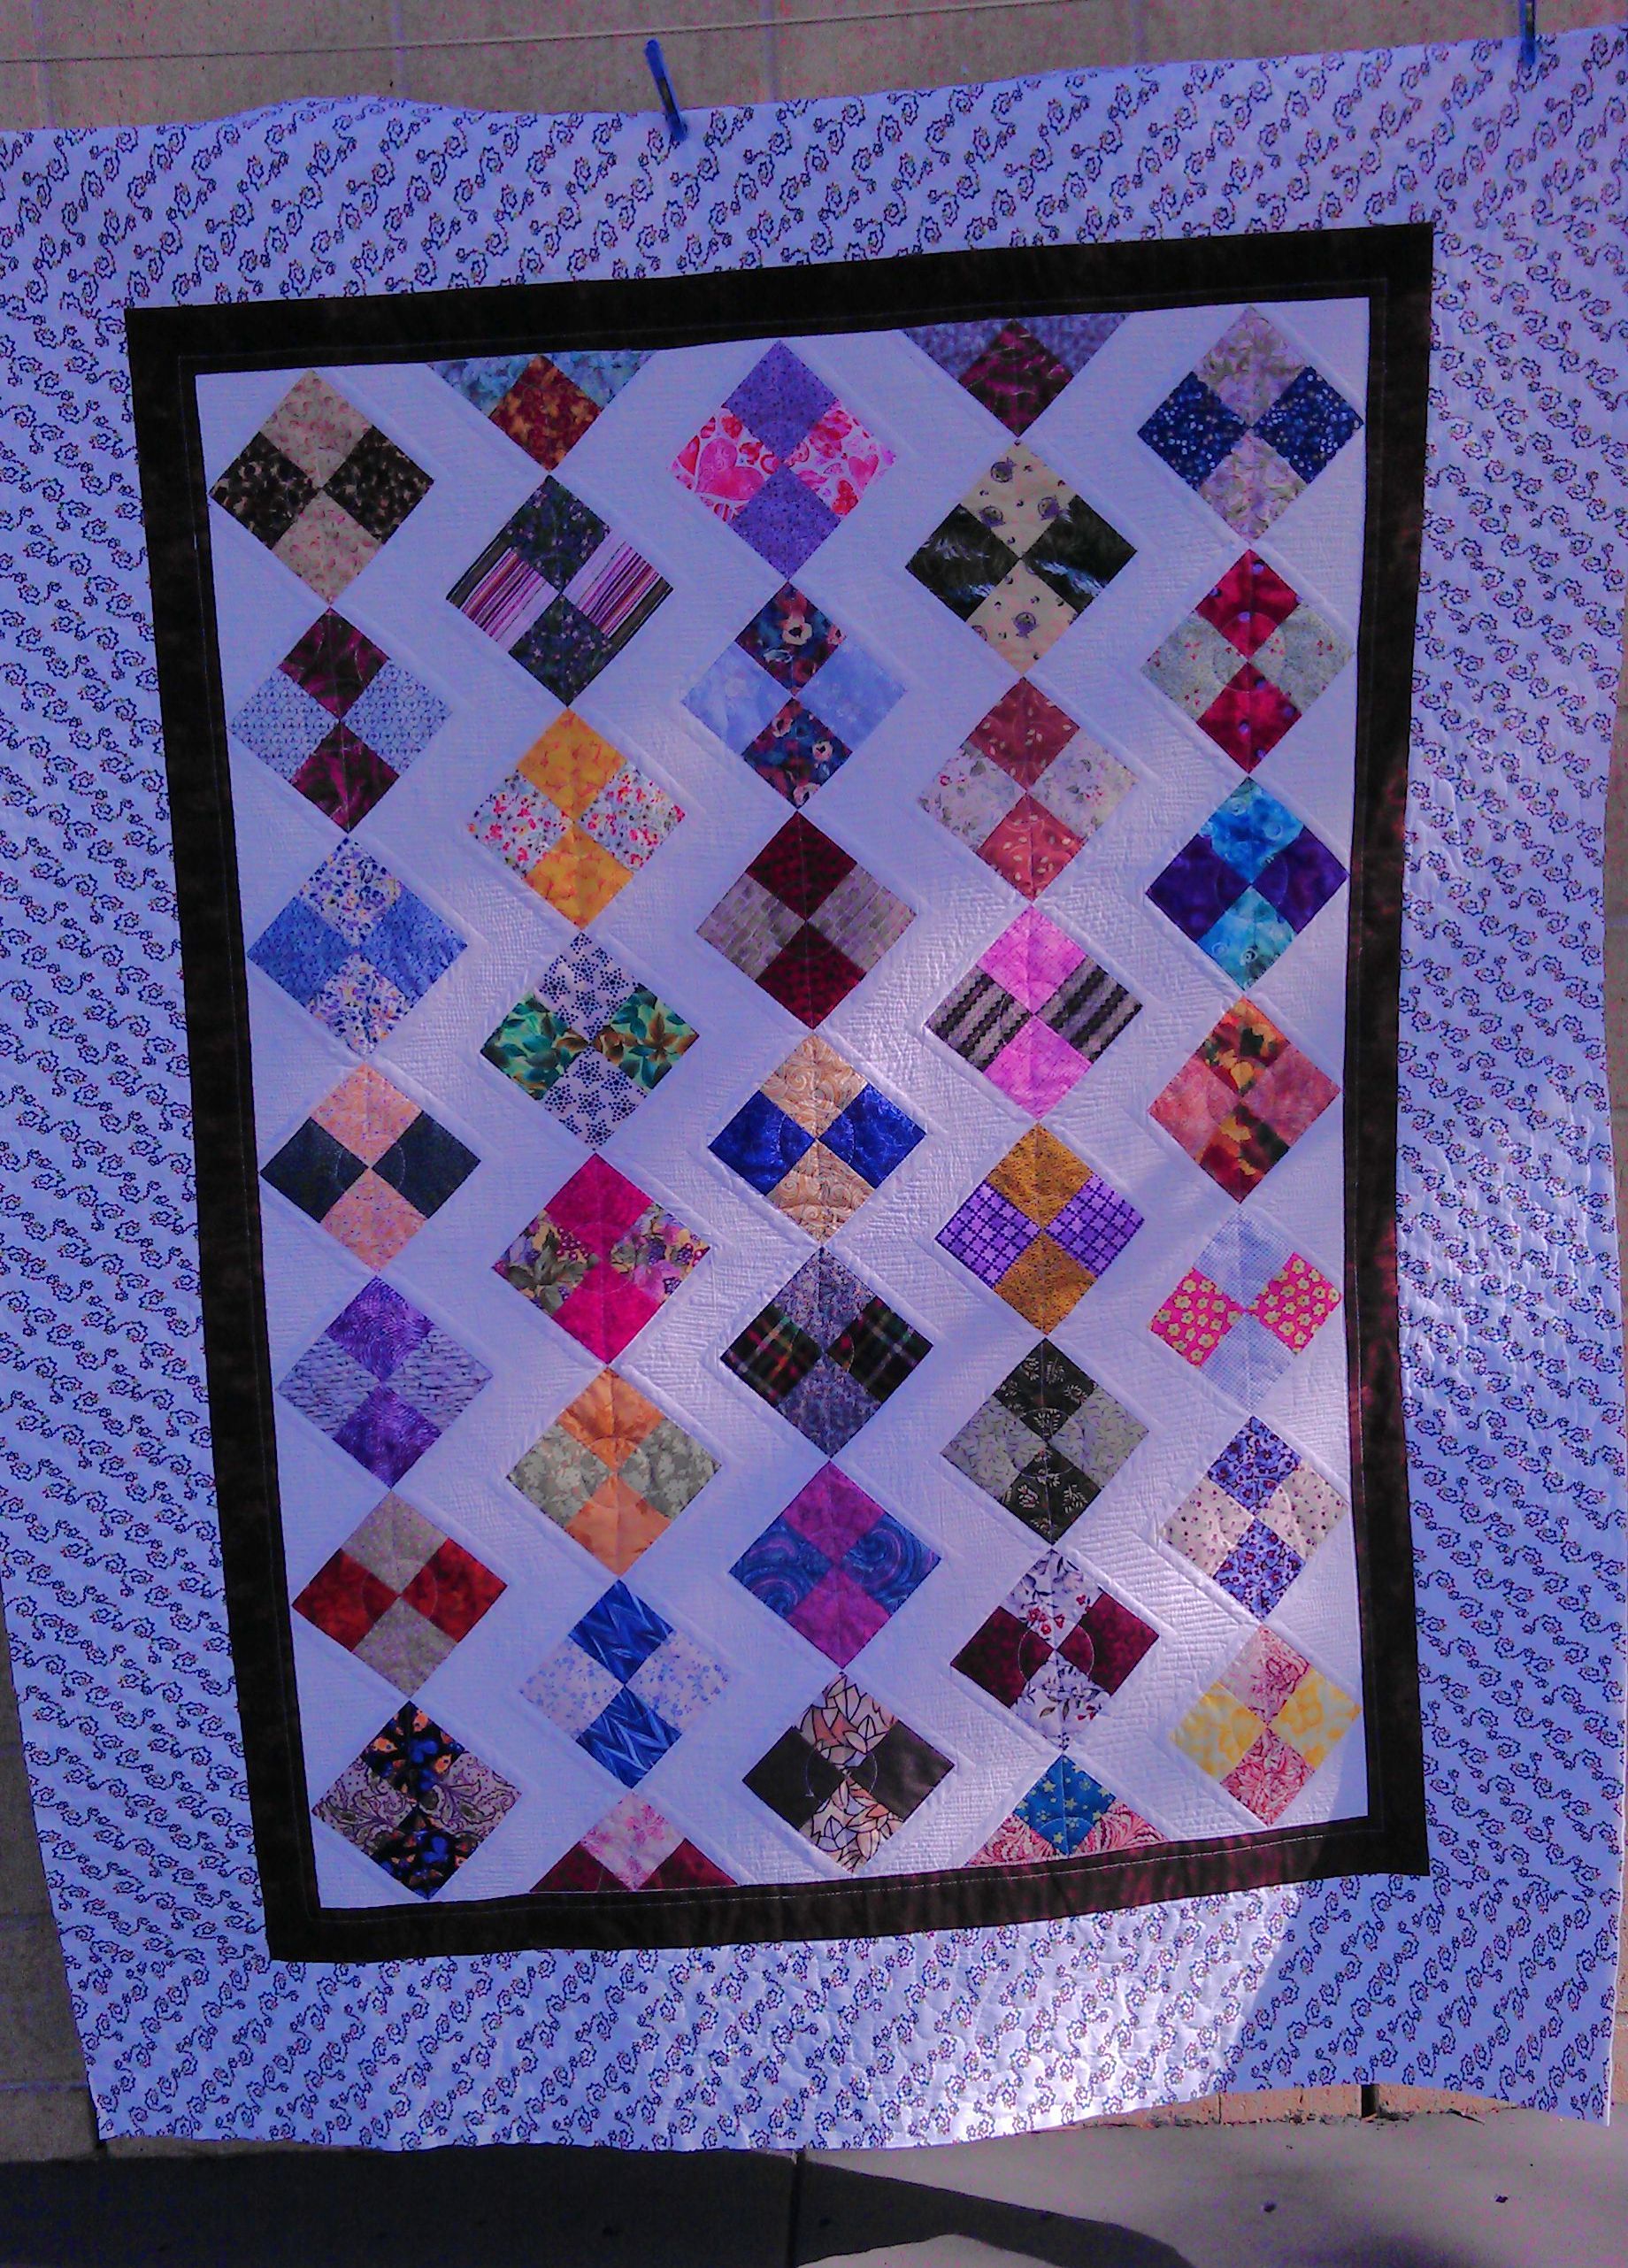
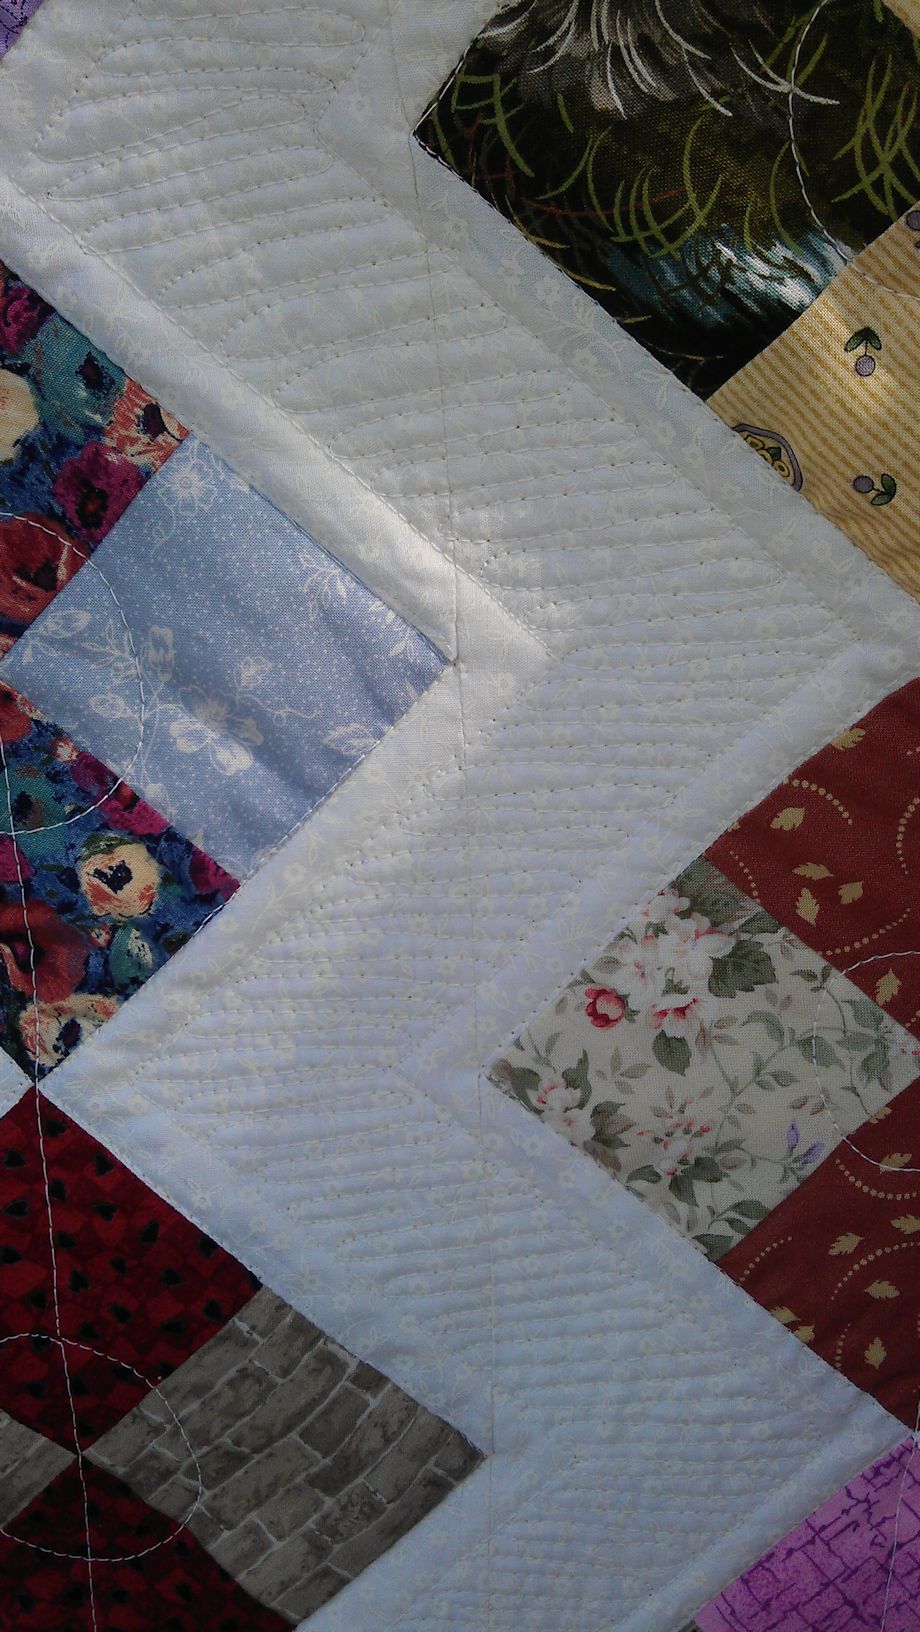
This was a fairly ordinary scrappy quilt (MY opinion only — others may love it), but that white space just screamed out for some chevron-style quilting I’ve seen a lot of recently.
I stitched echoing straight lines 1/2″ from the edges of the 4-patch blocks, then filled those white areas with a continuous line ‘zigzag’, with the lines between 1/8 and 1/4″ apart. No I didn’t measure them or mark them or use a ruler — I just free motion stitched those lines. Perfection wasn’t my aim — the effect was. And I think I achieved that.
After I’d finished the white areas, I had some quite puffy 4-patches, so I just free motion stitched a sort of circle with a line going through it through each of them. That idea came out of my head and I take full responsibility for it ;-).
For the brown border, I used the same white thread to add a single line of straight stitching (this time I used my Line Tamer ruler!) to give the effect of a picture frame. And then I did big meandering stippling in the outer border.
(Click on a photo to view it larger.)


Threads used:
I recall hearing about Elmer’s washable school glue some time back, so when I was in an art supply store in Texas earlier this year, I picked some up (forgetting what it was useful for, but knowing that it’s not easy to find in Australia).
Then last week I came across this forum article about using Elmer’s washable school glue on quilts: http://www.quiltingboard.com/tutorials-f10/how-use-elmers-washable-school-glue-because-yall-asked-t217470.html There were lots of hints and tips in it, and quilters seemed to be using it for all sorts of things, including basting full quilts!
When I was quilting one of my community quilts on the weekend, I noticed that the edges were starting to pull apart, as shown in the first two photos below:


I thought about trying to stitch them down with stay stitching, but then I thought of Elmer’s glue! Why not give it a try?
I tried various ways to use Elmer’s glue to fix the edges together — straight from the bottle was a bit blobby and way too much glue, but when diluted with water (about 1:3) it was too liquid and just disappeared into the fabric and wouldn’t hold when ironed. After a bit of trial and error, I just squirted a bit of the glue into a paint tray (any plastic lid etc. would do), wet an artists’ paintbrush a tad, then dipped it into the glue and painted it onto the seams I wanted to join. I found I was able to get the right consistency and had a lot more control over the paintbrush than I had over the squirt mechanism on the glue bottle.

I only put glue on the underside of the seam, then pressed down with a finger before ironing. You can only see it pressed down here as taking a photo on a phone with only one hand is tricky 😉
After doing about 10 of these seams, I ironed them down with a hot, dry iron. This sets and dries the glue for stitching, though it will eventually wash out (you’re using WASHABLE glue),

It worked a treat and none of that stitching came apart while I finished quilting this quilt. It’s a keeper!
After record rainfall in September, some of the dams in the southwest corner of our state are filling up. Wellington Dam (near Collie) has overflowed, and according to the local newspaper about a week ago, Harvey Dam is 80% full and about 80 cm from the lip of the spillway.
We went to Harvey yesterday for lunch with my parents and sister and nephew — it was about halfway between where they all live so was an ideal spot. And before we went to the restaurant, we drove up to Harvey Dam to see how it was looking.
Here’s what it looked like in early July 2013:
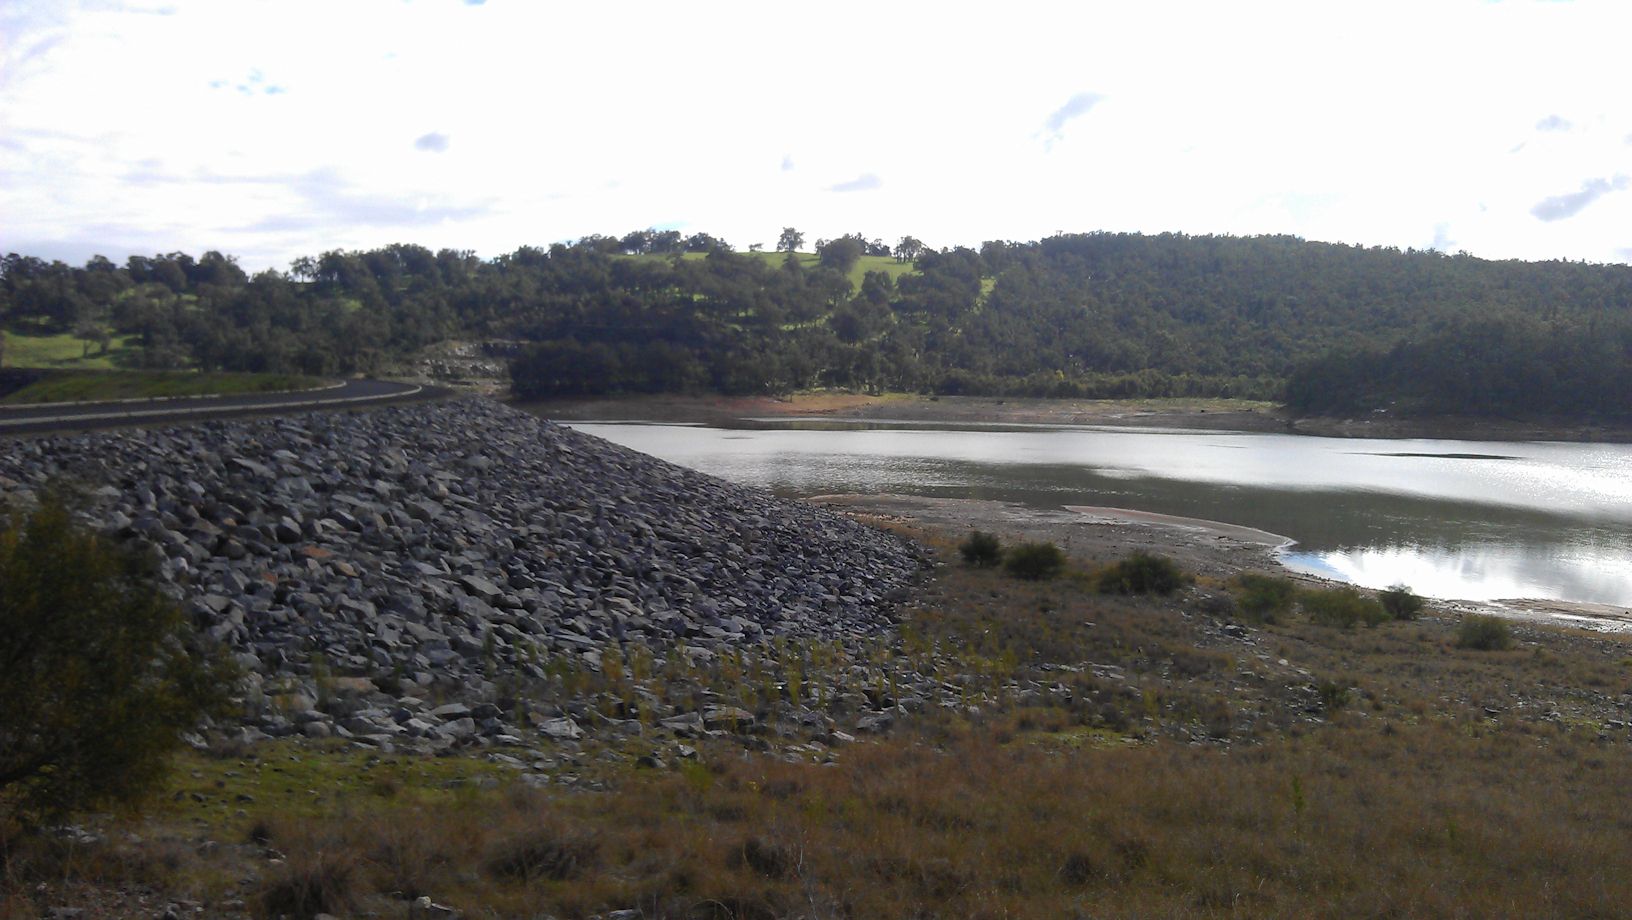
And here’s what it looked like on Sunday 6 October 2013:

As the photos were taken from a slightly different spot, the most telling difference between the two pictures is the bank on the far side — in July it was quite exposed, but now it is under water. And those small trees in the foreground are almost completely under water too.
So, while this is good news for farmers (this dam is used for irrigation purposes), the main drinking water storage dams surrounding Perth are still only about 38% full.


