Karma chameleon

29 09 2009

Back in May, my friend Bobbie decided some of us needed a challenge! (details here). The magazine I got from Michelle was on reptiles, and page 35 had some cute pictures of chameleons.

I agonised over what to make — a wall hanging? a tote bag? a stuffed toy? a cushion cover? something else? — and what techniques to use (part of the challenge was to use a technique we’d never tried before).

The first step was deciding what chameleon image to use — I found plenty on the internet, and of course, I had those in the magazine too. I didn’t *have* to use the images in the magazine — but whatever was on p35 was to be the inspiration for what I made. I thought I might do a chameleon’s eye or skin with lots of free motion quilting, but then wondered what I’d make with the eye or the skin as the focus. Nothing popped into my head.

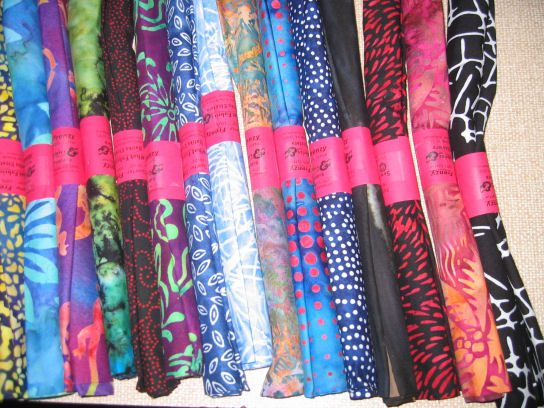
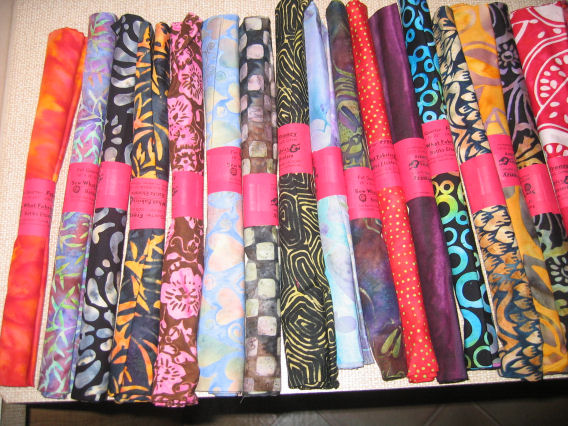
Next, I thought I’d look at what fabrics I had to see if I could get inspiration that way. Go for a rainbow assortment of colours to reflect a chameleon’s changing colours? or emulate the bright green of some of those shown in the magazine? Perhaps the fabric choice would inspire the object I was to make… I settled on some greens and decided I’d start by making the chameleon itself, and let the creative juices do their thing as I was making it.

I have no idea of the name of the techniques I used, but they were new to me! I’d never done something that was free motion machine embroidered onto interfacing [new technique 1], and especially where part of it was double-sided, giving three-dimensionality [new technique 2]. I traced the outline and the general dark and light shapes of my chameleon onto tracing paper and then on to freezer paper [new technique 3]. Then I applied the freezer paper shapes to various green fabric — and got them all round the wrong way as I’d never used freezer paper before, so I had to retrace the shapes again but in reverse… [new technique 4].

I used a base piece of green fabric for the chameleon (whole body), then different green fabrics for the legs, head etc. which I loosely appliqued in order on to the base shape (old technique) so that the topmost elements, such as the legs, were appliqued on last. After loosely stitching on each piece, I used various stitches on the machine, as well as a whole lot of thread painting [new technique 5] to give dimension to the fabric.

But even after a few hours of thread painting and stitching, I still wasn’t happy – the chameleon just didn’t look oomphy (technical term!) enough. The greens faded into each other and unless you looked carefully it was hard to see where the legs were, etc. (Which some might say is the whole point of a chameleon…)

I added fabric to the underside of the tail so that it could float freely [new technique 6] on whatever I decided to put this chameleon onto, then decided to emphasise the body parts by turning the chameleon into a stained glass one, using black bias tape for the ‘leading’ [almost new technique – I’d only used it once before]. NOW my chameleon popped!

But I still didn’t know where or how I was going to use my little work of art. So I let him sit for a while (by this stage, he had acquired a gender, but not a name).

A week or so later, I had my answer! I was leaning toward a cover for the cushion I kept dragging from the sofa and putting on the back on my office chair to help support my back when I sat at the computer all day editing scientific documents. My chair is great, but leaning forward all the time isn’t what the chair is made for, and my lower back had been hurting. Then it hit me! Why not a bolster cushion that would sit right down low in the lumbar region?

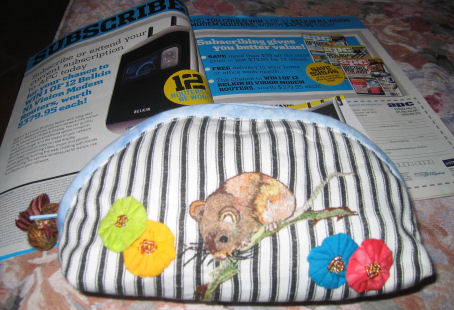
Back to the internet to get a bolster cushion pattern (well, not a pattern – just ideas, really). Now I had a place for my chameleon! The last steps were to create some branches for my chameleon to sit on in his leafy background, and to create the sausage shape of the bolster cushion [new technique 7] and stuff it with a roll of batting. I didn’t even take the batting out of the roll — leaving the plastic around it meant it went in easier, and keeps it shape better. Then lastly I added some bright lime green ribbon as drawstring ties [new technique 8] for my bolster cushion so I can adjust it for the chair, and voila! My challenge piece was done!

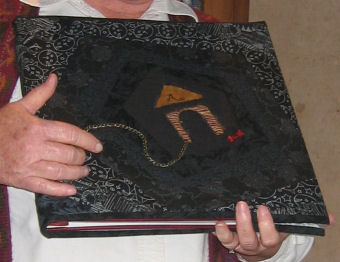
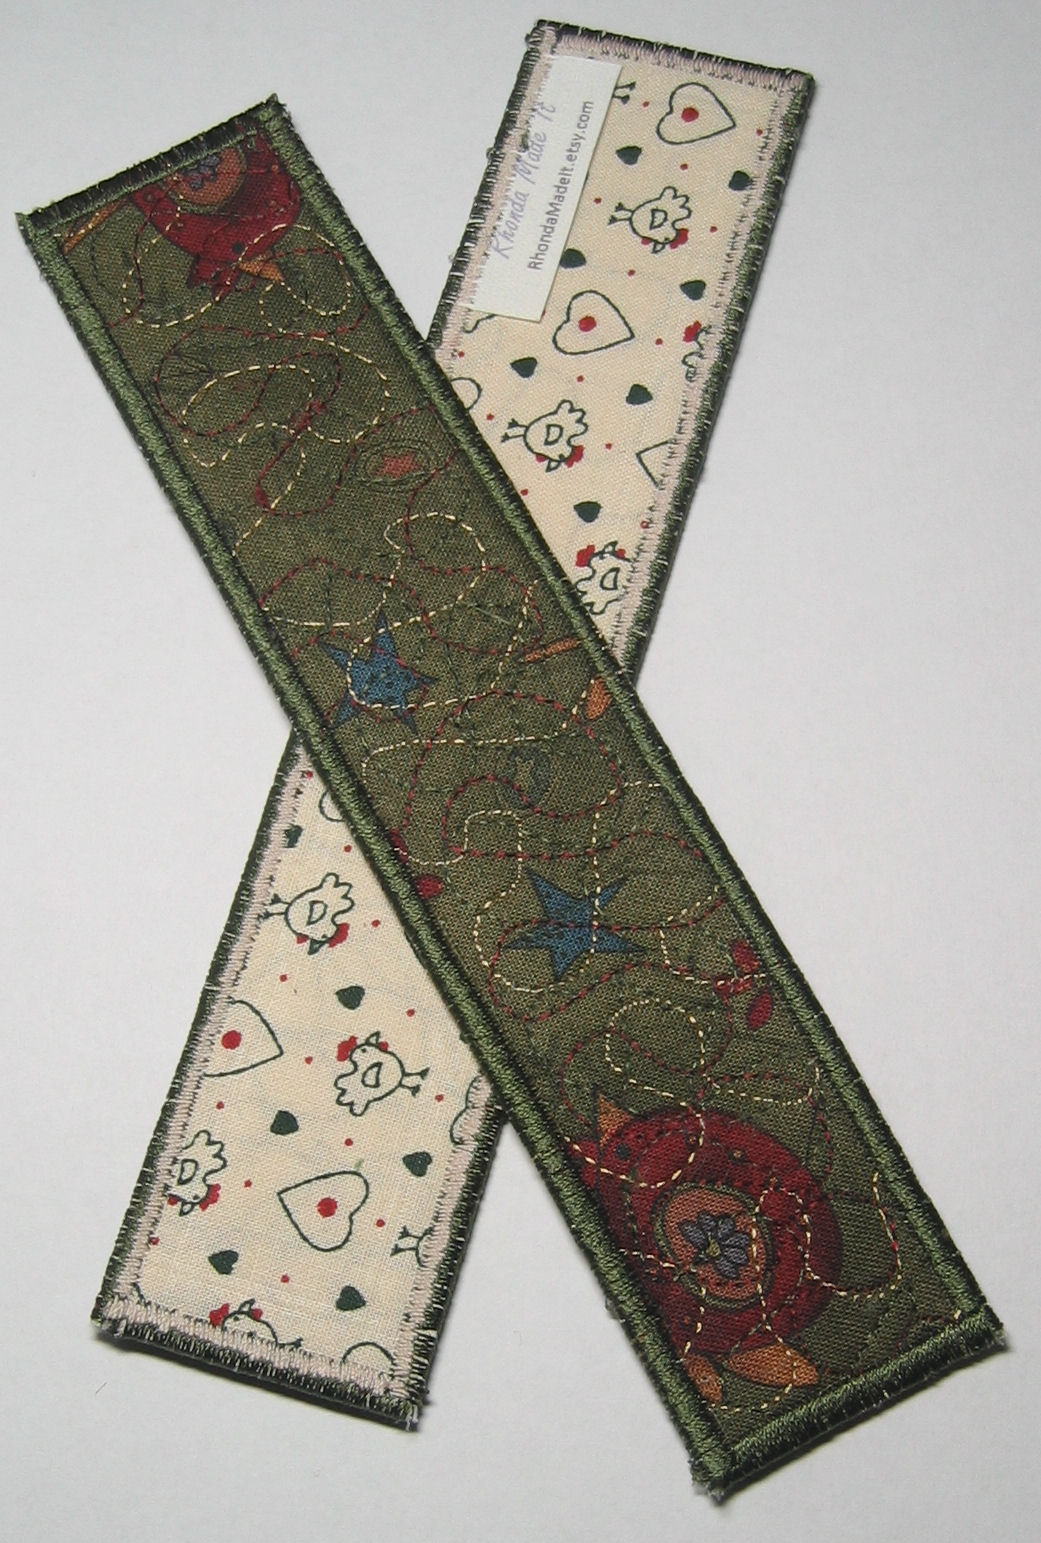
That’s a long story to get to these pictures, but here you can see my chameleon in his rightful home — click on an individual image to see it in full size.

(I wrote this post in July, but it’s not ‘going live’ until October, after our weekend retreat where all will be revealed by the five of us involved in this challenge — one of the rules of the challenge is that we can’t let each other know what we’re doing! However, I’ve been using my chameleon bolster cushion since late June, and he works a treat!)


Long weekend quilt retreat

28 09 2009

I’ve just spent three days with four fabulous women, laughing, eating (too well!), learning, sharing, and just enjoying each other’s company. Oh, and we did quite a bit of sewing too! 😉

We had our quilting challenge set by B and on Friday evening we shared our creations with a bit of “Show and Tell” and some local wine. What a creative bunch we are! B set the challenge back in May and while I was finished by the end of June, two of the ladies were in a race against the clock. M only finished hers a few days before our ‘retreat’. Full details on the challenge criteria are here: https://sandgroper14.wordpress.com/2009/05/19/the-challenge/

Here are pictures of our magazine page and our finished challenge pieces (mine are coming in a separate post tomorrow). However, the pictures don’t do the stories and the creation process justice. They are just the finished product and tell nothing of the trials and tribulations and convolutions of the mind that the creators went through to get there!

After we exhibited our challenge pieces, we had more “show and tell” of other quilts and fabric pieces we’d made over the past year or so. Then we had a great dinner made by B. (Meal duties were rostered, so we only made one meal each and were the kitchenhand for another meal.)

Saturday was full of sewing and talking and eating! And Saturday night we had a fabulous dinner at the local hotel, and sprung a big birthday cake surprise for B, who has a ‘zero’ birthday in about 2 weeks. After dinner, we heard G talk about her quilt trip to Paducah in Kentucky, and other places in the US and saw all her gorgeous photos. A big Lotto win that night would’ve seen us jetting off on a similar trip together next year, but alas, that wasn’t to be! We didn’t even win $10…

Sunday was more birthday surprises for B — we had bought her a bird bath for her lovely garden. And more sewing. And more eating. Sunday afternoon we went to Ford House, a local B&B and an Aladdin’s Cave of all sorts of really nice gifts and homewares. It went on and on… We had a delicious afternoon tea there too, then went up to see Judy’s new quilting studio. Judy is a professional long-arm quilter who does all my large quilts. She now has a proper studio for Millie, her 14 foot long arm quilting machine. Her new studio is the envy of us all!

Sunday night was more food, more laughter, more chat. As was this morning. Then it was all over. G, M, and F all left around noon to head back to Bunbury and Perth, and I left a short while later.

Despite all the great food, company, etc. we WERE there to sew. I made some 21 bookmarks (and gave 5 away and sold 2 to B), around 24 luggage tags (and sold 4 to B), and learnt how to do wave patterns using fabric (thanks M!). M helped me out with some neat things I could do on my machine too.

It was a great weekend! Thanks ladies! (We already have plans to do it all again next year, with G setting the challenge.)

Oh, and I sold some more of my Etsy pieces — M purchased 4 bookmarks, G purchased a luggage tag and an art piece, and B purchased some bookmarks and luggage tags that hadn’t even made it to the store! However, I’ll be adding about 14 new bookmarks and 20+ luggage tags over the next couple of weeks as a result of my productivity this weekend.


On front page of CraftGawker

28 09 2009

I submitted two photos of my Etsy pieces to CraftGawker (http://craftgawker.com) the other day, and one of them — “Two Little Chicks” (http://www.etsy.com/view_listing.php?listing_id=28410150) — is currently on the front page! (I sold the other this weekend, so it won’t get listed at all)

I took a screen shot, as I suspect front page items get replaced every few hours or so.

"Two little chicks" as featured on CraftGawker

"Two little chicks" as featured on CraftGawker


A very expensive date…

23 09 2009

I’ve discovered the delightful taste of combining a small piece of sharp cheese with a date (as in the dried fruit). So today I grabbed a date from my supply of pitted dates and a little bit of cheese and chomped down, fully expecting that delicious marriage of sweet and savoury. Well, I got that — but I also got a surprise. The date was not pitted and I chomped down on a very hard seed. I immediately realised that I’d done something to my tooth as it seemed the filling had dislodged a little. It wasn’t out, but it wasn’t flush either — it had definitely moved.

I’m not booked in to my usual dentist in Perth until early November, but as I’m going up there in early October, I called to see if I could get in then. But she’s on a course that week and isn’t taking appointments. The receptionist referred me to another dentist in the city, but I decided to take my chances locally. I suspected that the dislodged filling was more serious than it seemed…

We don’t have a dentist in our town, so I called a friend for a recommendation in the town 35 km away. I then called them to see if they could see me late this afternoon, and after I explained the situation, they said they would.

Well, 30 minutes in the chair and $180 later I had a temporary filling, instructions not to eat on that side of my mouth for the next 6 weeks, nor floss near the dodgy tooth, and a warning that this filling could well fail.

It seems I’ve fractured the tooth vertically (i.e. down into the jaw), and as this was a tooth that has previously had root canal work done on it, there isn’t a lot holding it together. In fact, the dentist said that there are two sides to the tooth with nothing in between. He’s filled the hole, but there are no guarantees.

When I asked about long-term options he said I had a couple, all of which will involve extraction of the remains of the tooth. I could have extraction with nothing to fill the gap (not advised as the other teeth will move to fill the gap in uncontrolled ways); I could have a plate with a false tooth (long-term cleaning annoyances); or I could have an implant to replace the tooth (titanium screw into the jaw, followed by a manufactured tooth permanently affixed to it).

I asked for a ballpark figure for an implant — ‘about $5000’! Aiiieee!

Still, I guess I should figure the cost out over my likely lifetime, based on my genetics. Let’s say I live another 40 years — that’s just about $125 a year for a permanent tooth that will never need a filling, a root canal, or anything else done to it. And with medical insurance, the cost to me should be less than $5000 anyway.

As I said, this was a VERY expensive date…

Update 24 September 2009: I spoke with my usual dentist today. Based on the information I gave her, she agreed with the local dentist’s assessment and talked through my options in a little more detail. She agreed that an implant was likely and the least invasive in the long term. But the cost she predicted was more like ‘around $6000 to $7000’!!! Even a bridge (which she explained was not a plate with a tooth, but a new tooth linked to the crowned tooth behind and another tooth in front) was ‘around $4000 to $5000’.

The implant process would be done in stages — first, the extraction of the remains of the tooth, and yes, they do it as surgery and knock you out for it! The next step is to put in the titanium screw (which *might* get done at the same time as the extraction, but probably not, so possibly more surgery and more trips to Perth). The final step is to get the post attached to the screw and a crown put over it (she would do that part). The entire process might take 6 months from beginning to end.

But first, I have to get in to see an oral surgeon. She gave me the names of two she recommends. The first issue is getting an appointment. The receptionist at the first one I called answered the phone after about 10 rings, then put me straight on hold. After waiting a good 5 minutes when she didn’t get back to me (on long distance call rates!), I hung up and called back. This time the phone rang out. I figure that if they can’t be bothering answering their phone, then I can’t be bothered giving them my business! Pretty simple, really.

The receptionist at the second oral surgeon’s business was most helpful. But gave me the bad news that the first appointment I could get with him was in November! And that it will only be a consultation, not any sort of procedure. I’d have to come back for that, and because I can’t get to see him before November, the first stage of surgery is likely to be after Christmas. I just hope the filling holds that long — and that I don’t get sick of eating on one side of my mouth. Looks like no steak for a while… 😦

She has put me down on a waiting list in case there’s a cancellation — she’s aware that I have to drive 3 hours to get to Perth (well, possibly 2.5 hours now that the new Perth to Bunbury highway is open!), but will give me as much notice as possible.

This date is getting more and more expensive…


Pretty batiks!

11 09 2009

I’ve recently discovered a great online store that sells batik fabrics (known as Bali fabrics in some parts of the US) at REALLY good prices. My first experience with them was to buy a yard each of six different fabrics that were on sale for less than US$10 a yard (that’s about $12 Australian, MUCH cheaper than the typical $25 per metre we pay here for batiks). Even their non-sale prices are much cheaper than here.  But as with any online purchase, shipping can make or break the deal.

The website — http://www.batiks.com — didn’t have any information on whether they shipped to Australia, nor what the shipping rates would be, so I emailed them. I got a reply within 24 hours, with enough detail to do my calculations and place an order. They notified me the day my parcel shipped, and I received it within two weeks. The fabrics were gorgeous!

I’d also signed up to their newsletter and a few weeks later found out they were having a ‘fat quarter frenzy’ of their batiks — US$25 for 25 fat quarters! That’s US$1 each!! Even cheap non-batik fat quarters in Australia start at $3.50 each and can often be around $7 each. It was too good a deal to pass up, so I ordered two mixed sets of fat quarters — 50 fat quarters for US$50. Even with shipping of US$26.90 (two parcels), the total of close to US$77 (AU$90), meant that each batik fat quarter cost me less than AU$2. As I said MUCH less than I’d pay here.

It was like Christmas opening my parcels and laying out all the fabrics on the kitchen counter top! Here they are, all wrapped up as they were when I pulled them out of the parcels (oh, and only two were the same!):

Will I order from them again? Absolutely! The communication is good, the service is prompt, and each transaction has been handled professionally. Now, if only they could add that they ship outside the US to their website, with approximate shipping prices…

Update 12 September 2009: I emailed batiks.com that I’d blogged about them. Within 12 hours I had a lovely reply from the owner of the store! Nice. There’s absolutely nothing wrong with good, old-fashioned personal service — it’ll get me coming back every time!


Recent additions to my Etsy store

11 09 2009

Over the past two or three months I’ve been really busy with work and haven’t had a lot of time to sew or to blog about it. I’ve only been making small things that I can knock out in hour-long blocks on spare weekend moments — things like luggage tags, bookmarks, and the occasional set of coasters. I’ve been trying to use up odds and ends of fabric that just can’t be used for anything else.

As a result, I’ve added quite a few more mostly ‘$10 and under’ gift ideas and ‘stocking stuffers’ to my Etsy store in the past few months. Here’s a preview — if you’d like to purchase any of these items or want to see more photos, visit my store.


Brolly featured in Etsy Treasury

2 09 2009

Mine is the one in the bottom left corner. You can see it full size here: http://www.etsy.com/view_listing.php?listing_id=23536451

Mine is in the bottom left corner

Mine is in the bottom left corner