Some of my favourite threads to use in my Handi Quilter Sweet Sixteen are the trilobal polyesters, specifically Isacord and Fil-tec’s Glide thread. Why? They run through my machine like a hot knife through butter, rarely shred or break, and leave very little lint to gum up the bobbin case, the bobbin area, the tension disks, or the thread path. And thus they are less likely to throw the timing on my machine out, or cause the top or bottom thread to gain or lose tension while I’m in the middle of quilting. However, in my experience, cotton thread leaves a LOT of lint, and it can gum up your machine pretty bad and very quickly, potentially causing all sorts of problems.
Some people swear by cotton thread and won’t use anything else to quilt with, but I’m not in that school. Some also believe that if you have a cotton quilt, then you HAVE to use cotton thread. I’m not in that school either. (And if you want evidence why that ‘belief’ is a fallacy, go to Superior Threads website and take a look at the thread videos by Bob Purcell [Dr Bob]: http://www.superiorthreads.com/videos/thread-therapy-with-dr-bob-educational-videos/.)
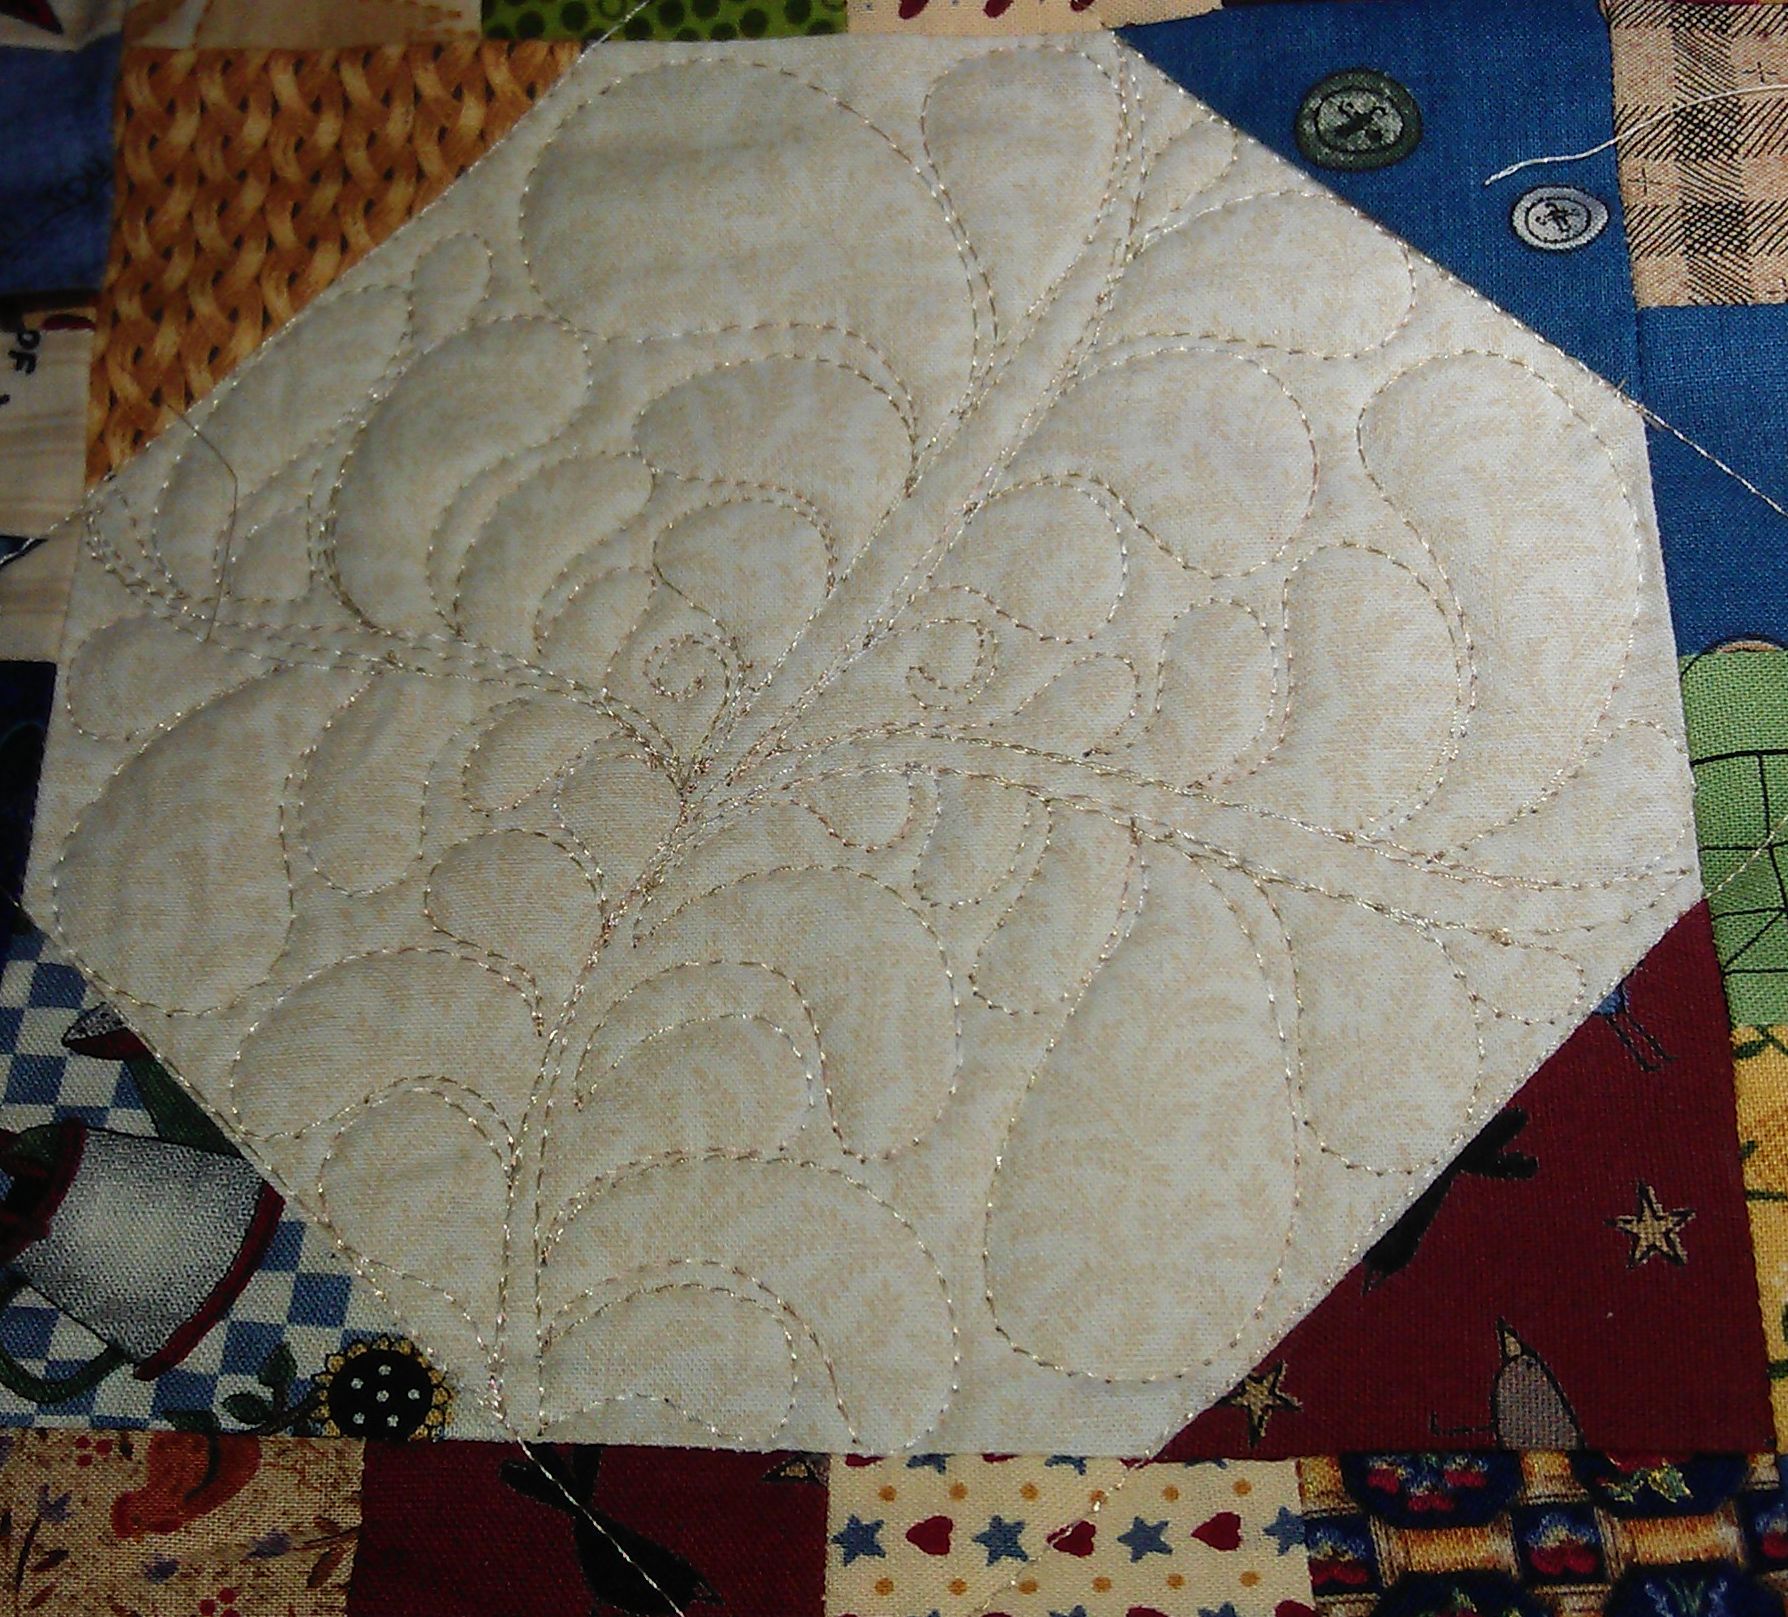
I quilted my most recent community quilt with cotton thread as it was the thread with the colour that best matched quilt top. And I had all sorts of tension issues at various times; ALL were related to the accumulated lint from the cotton thread. I had to clean the machine at least five times while I quilted this quilt.
Here are some photos I took of the lint prior to one of these cleaning sessions, with some advice on what bits I cleaned and how.

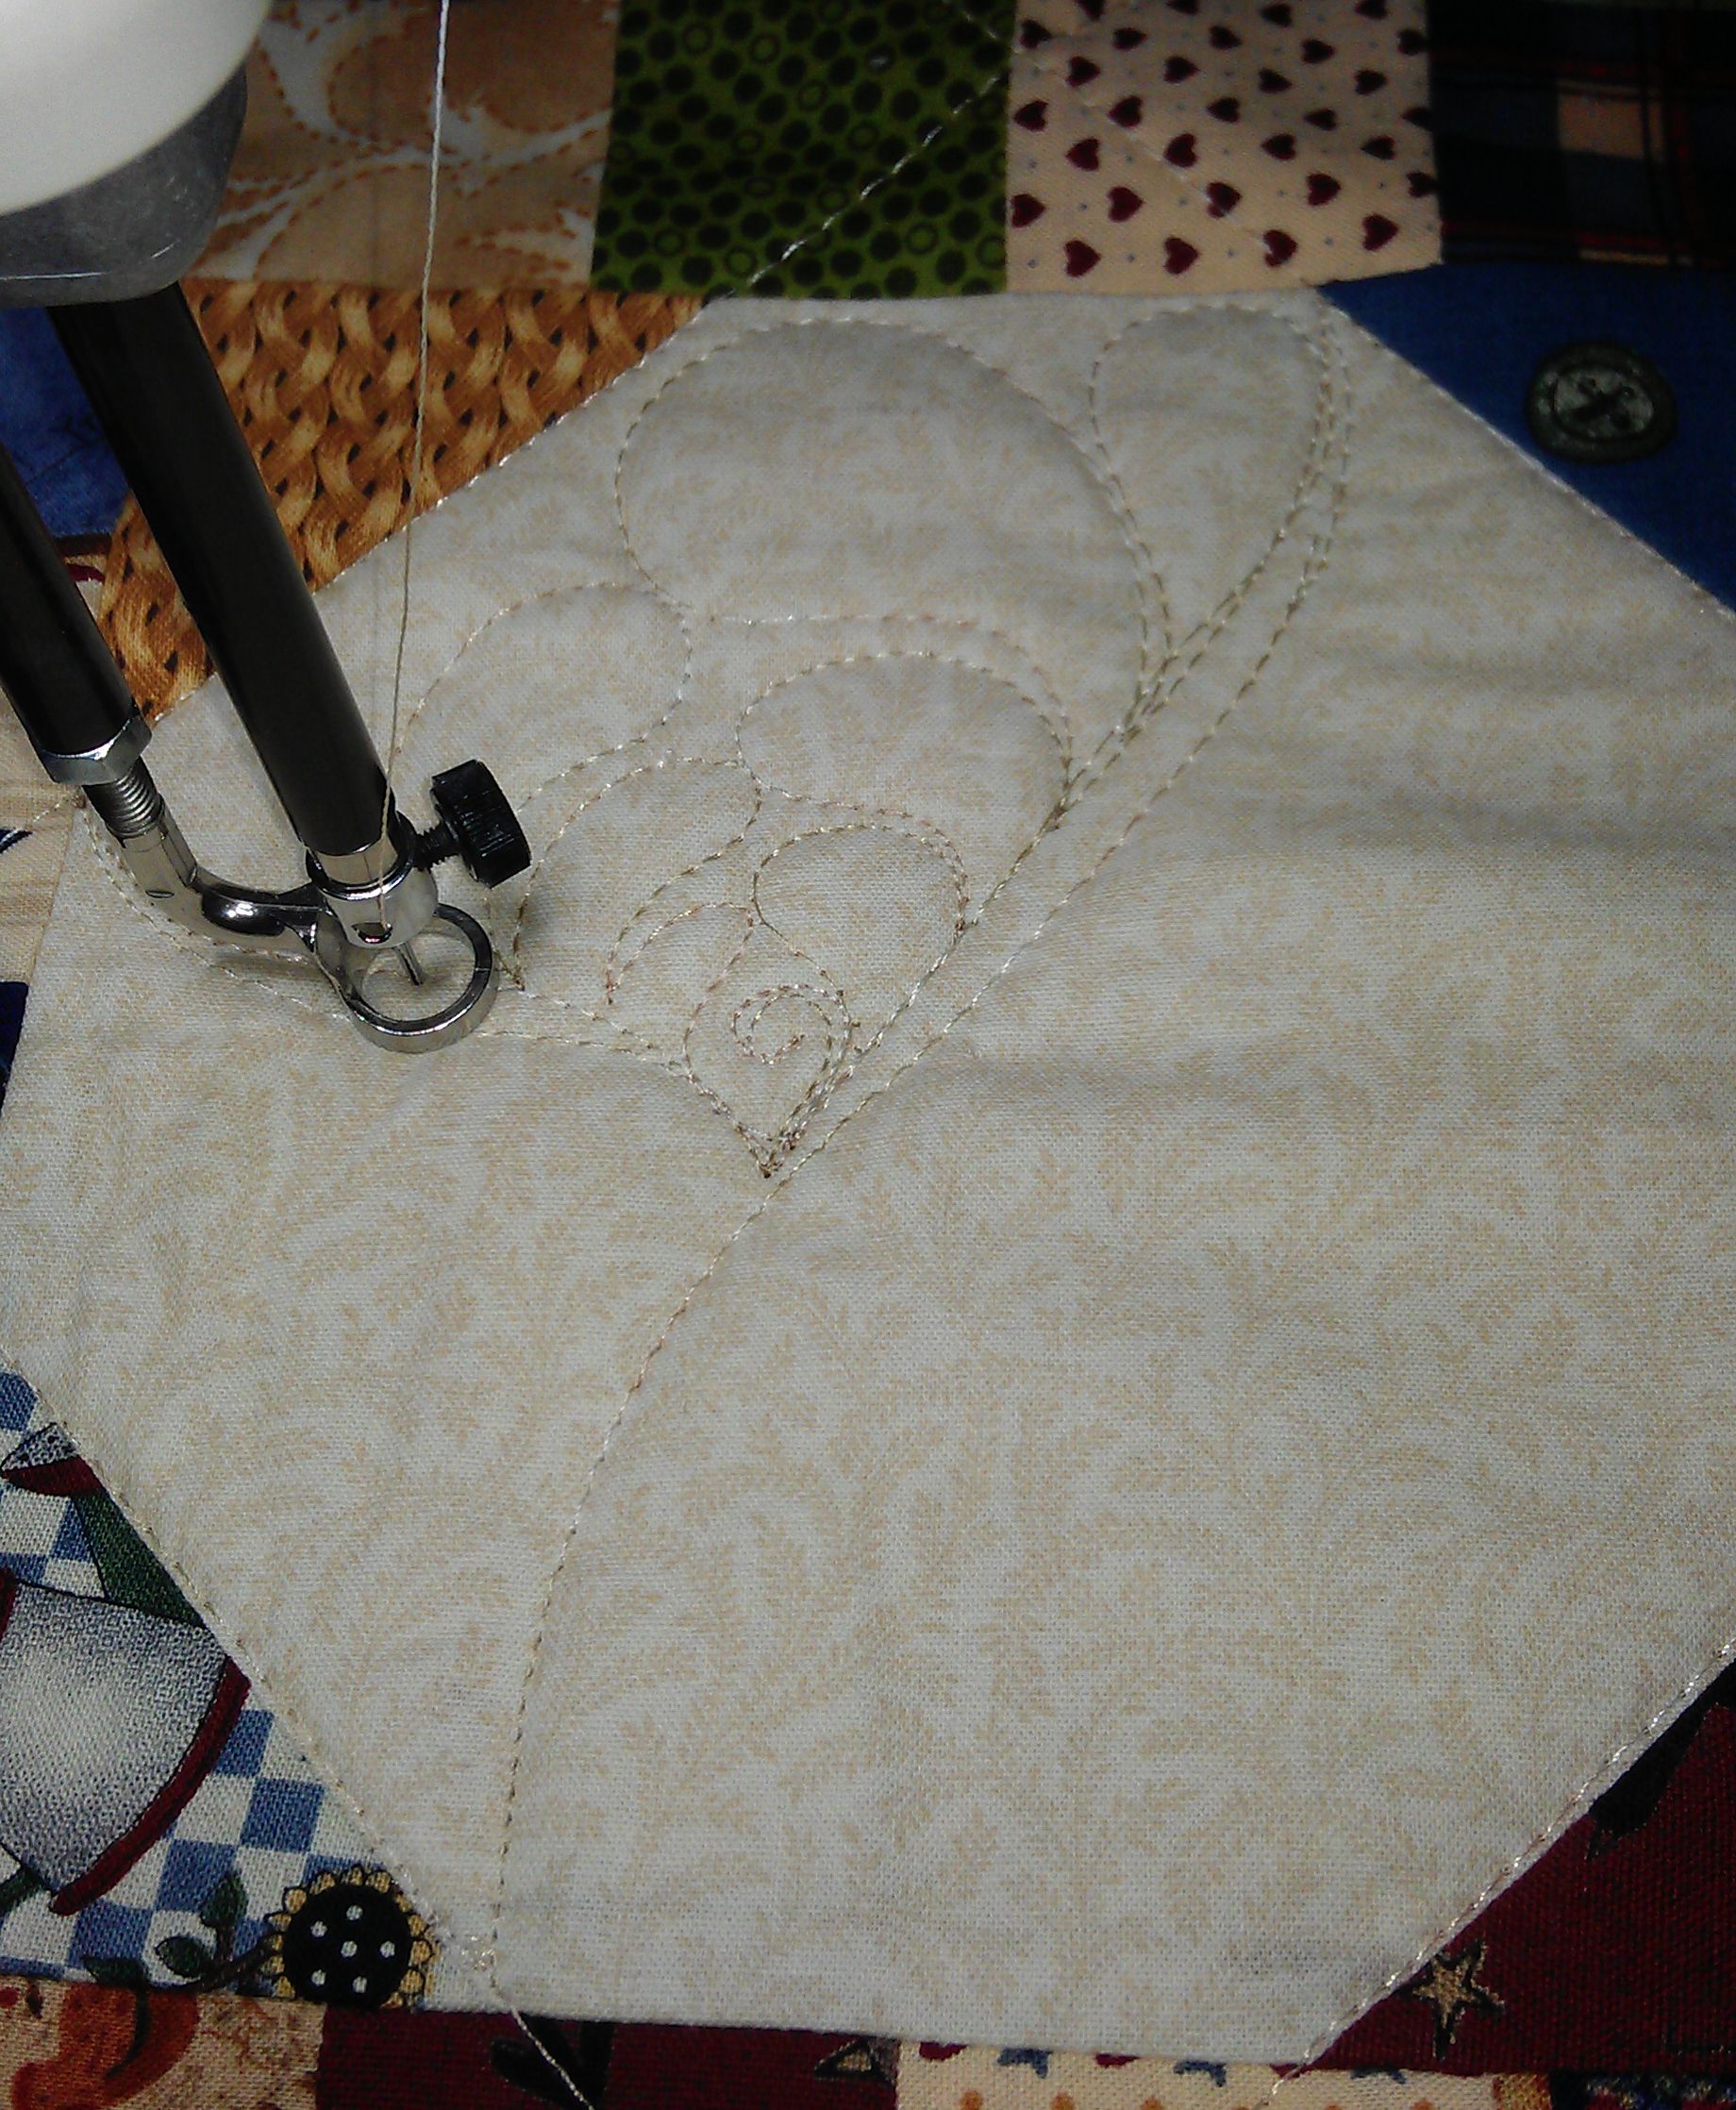
I try to clean and brush from the top down, so that any bits of lint and fluff that come off the top areas get swept up when I do the lower areas. I start with the tension disks. Although the thread is in in this photo, I usually remove the thread, loosen the tension disks as far as possible, then give the disks a good brush — and a short sharp blow with my breath (compressed air would work too). This picture doesn’t show a lot of fluff, but one of the cleaning sessions I did earlier had this area heavily coated in fluff.

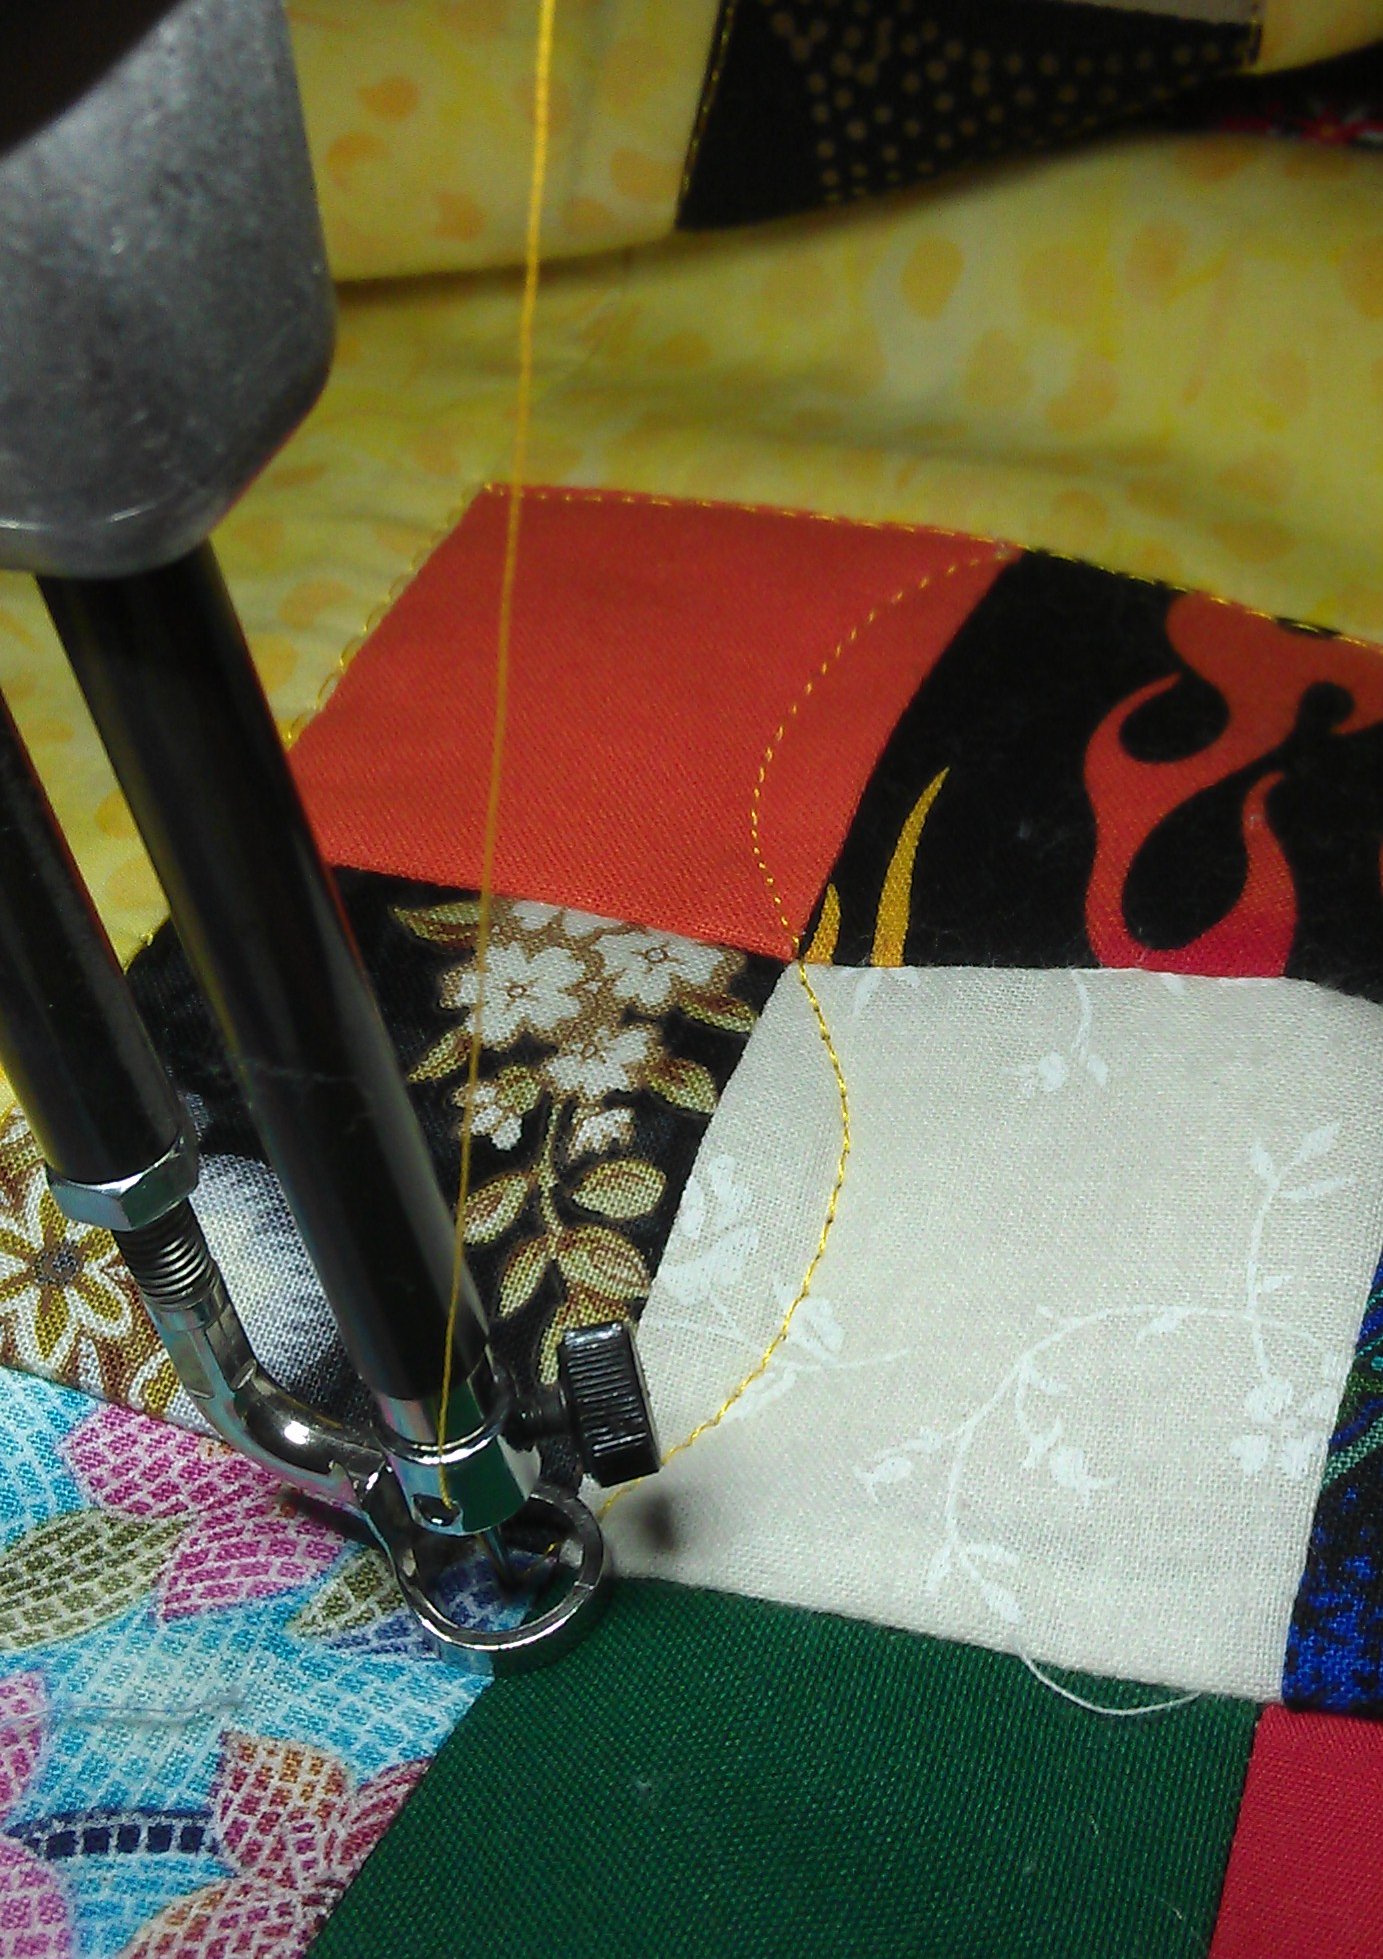
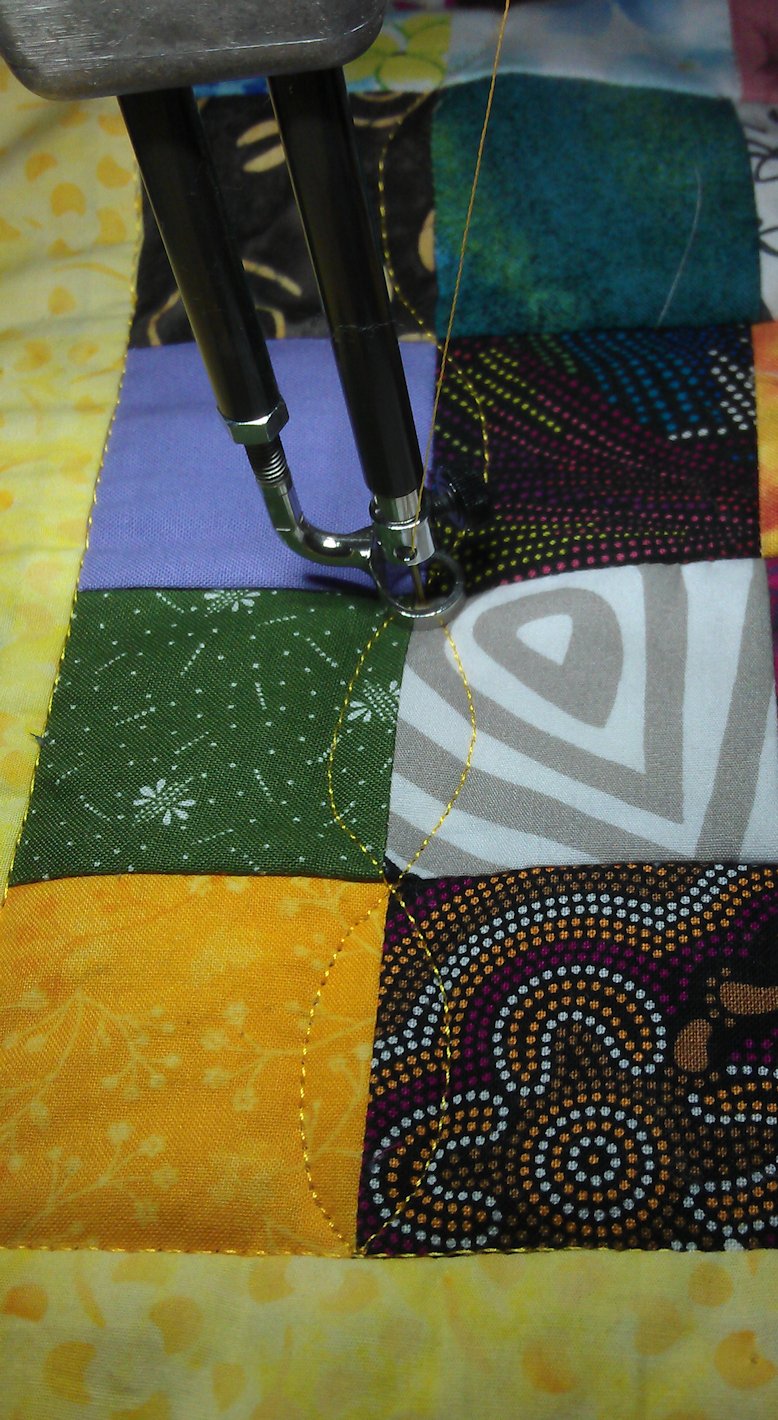
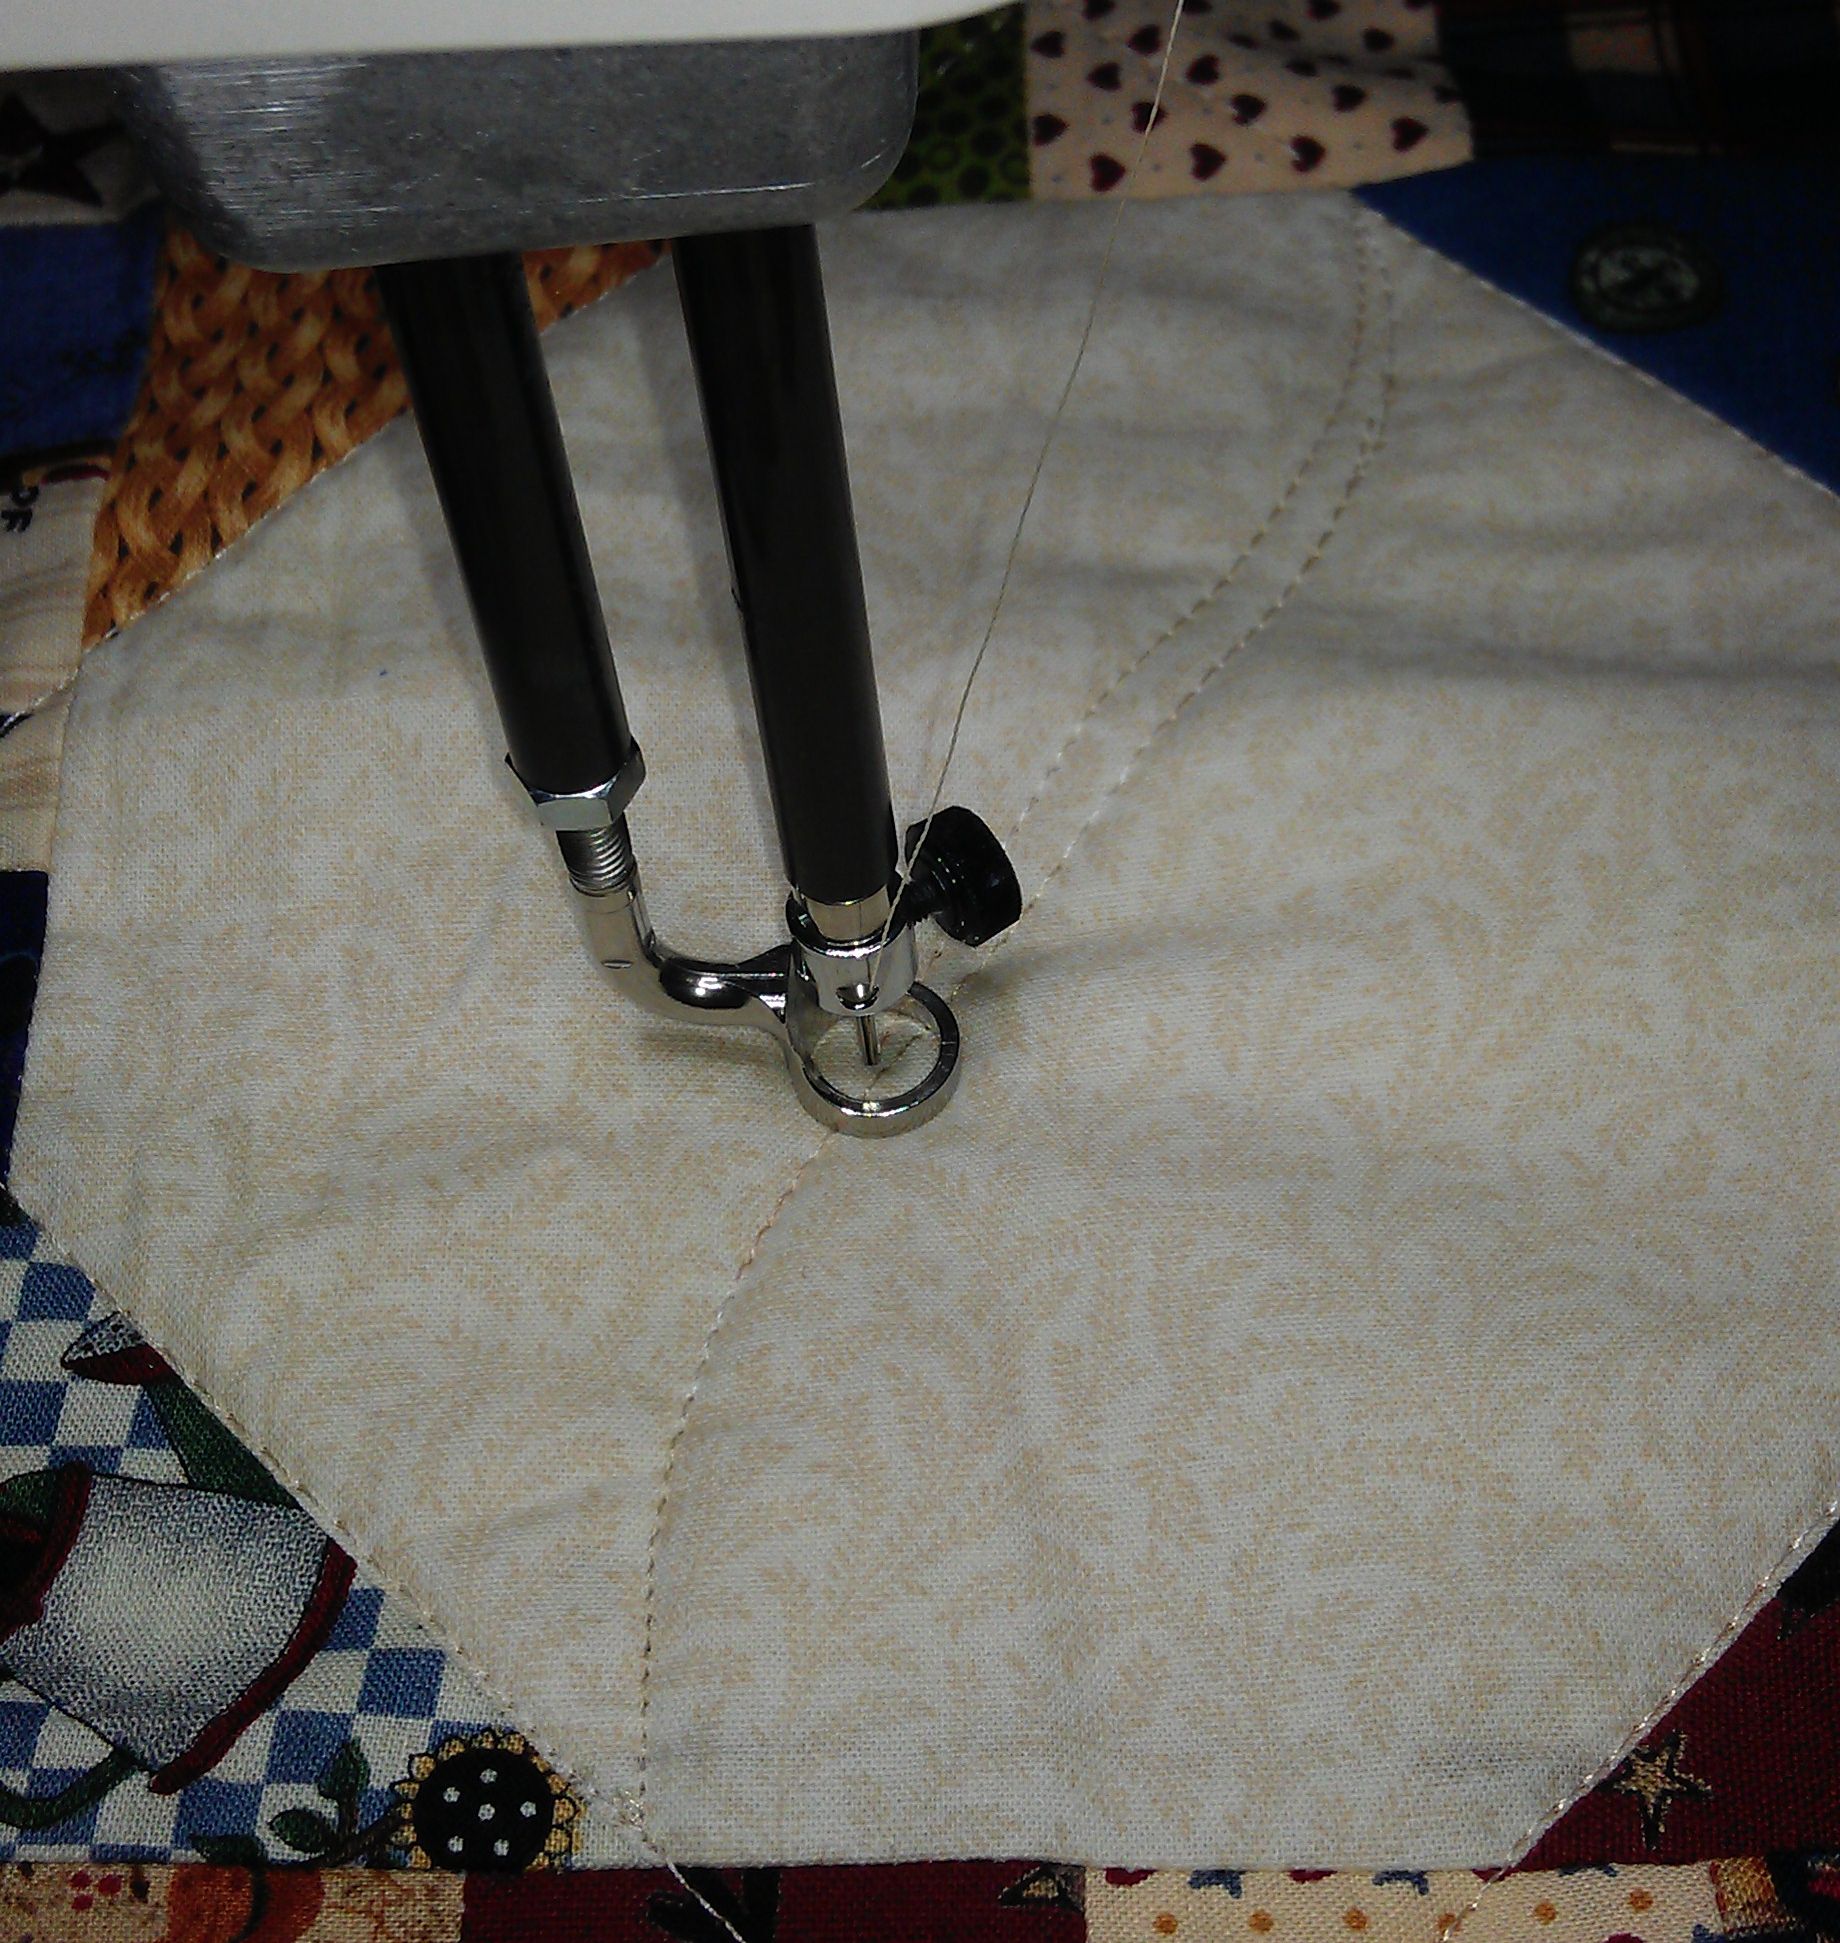
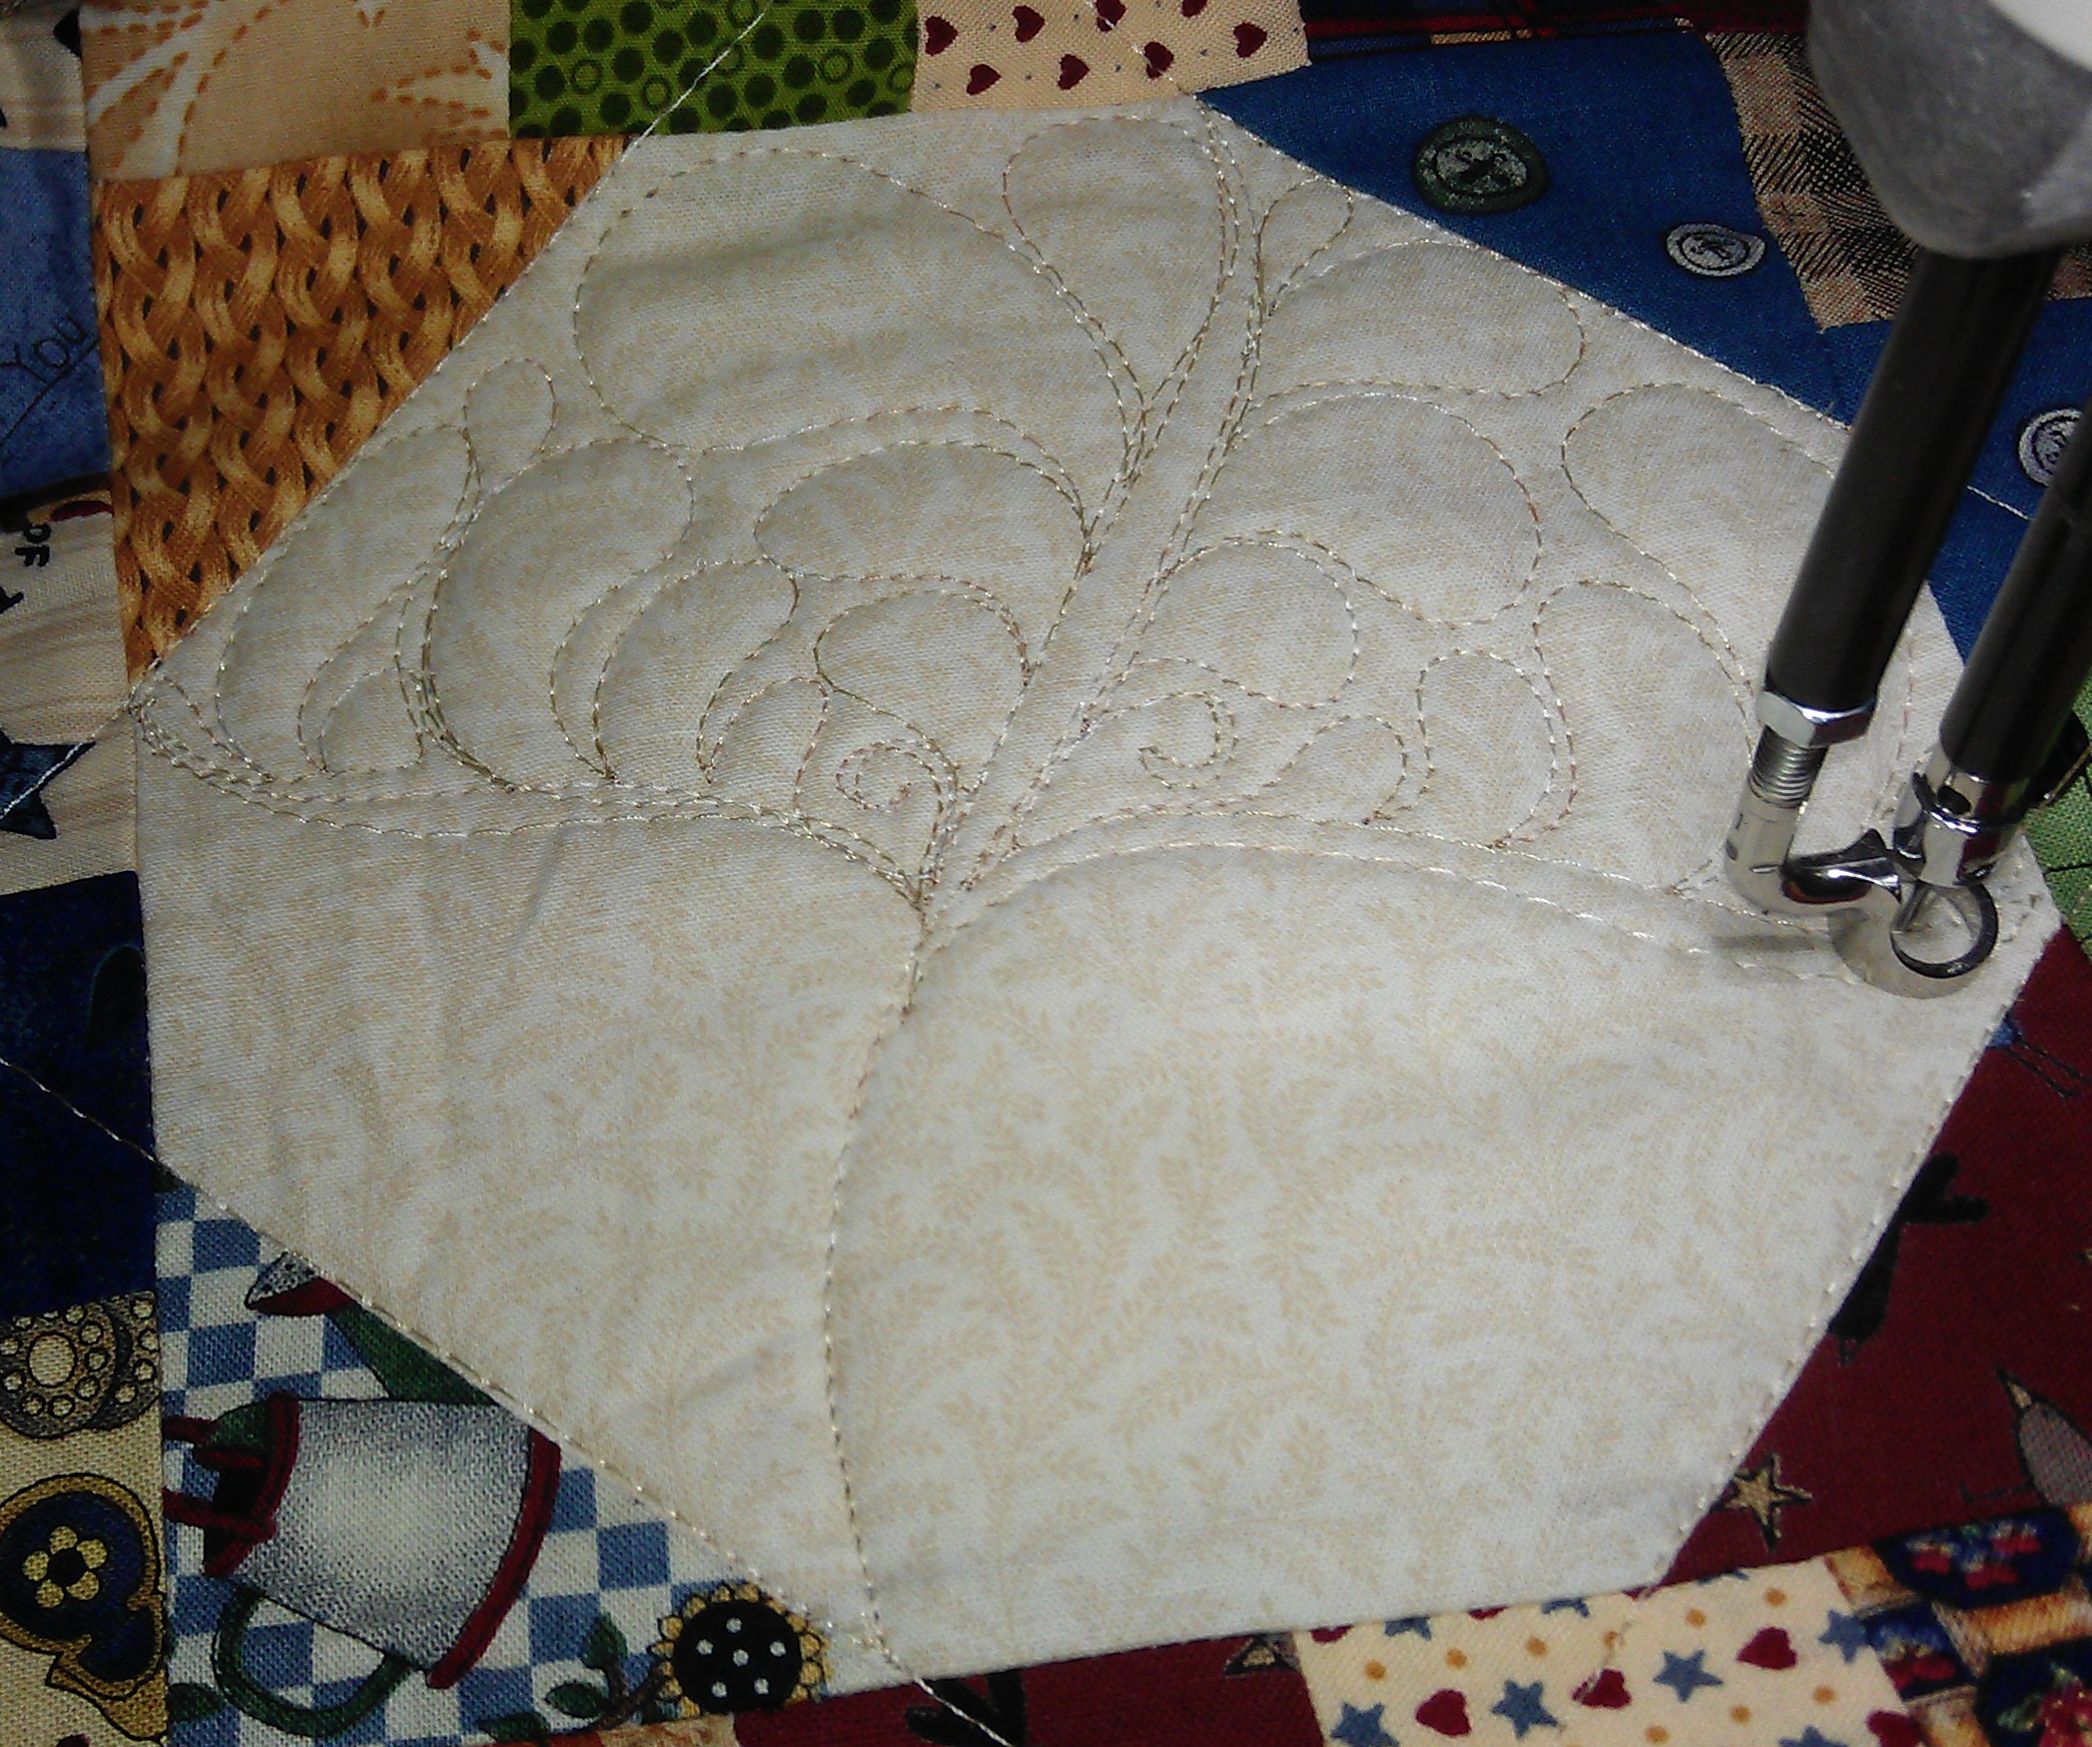
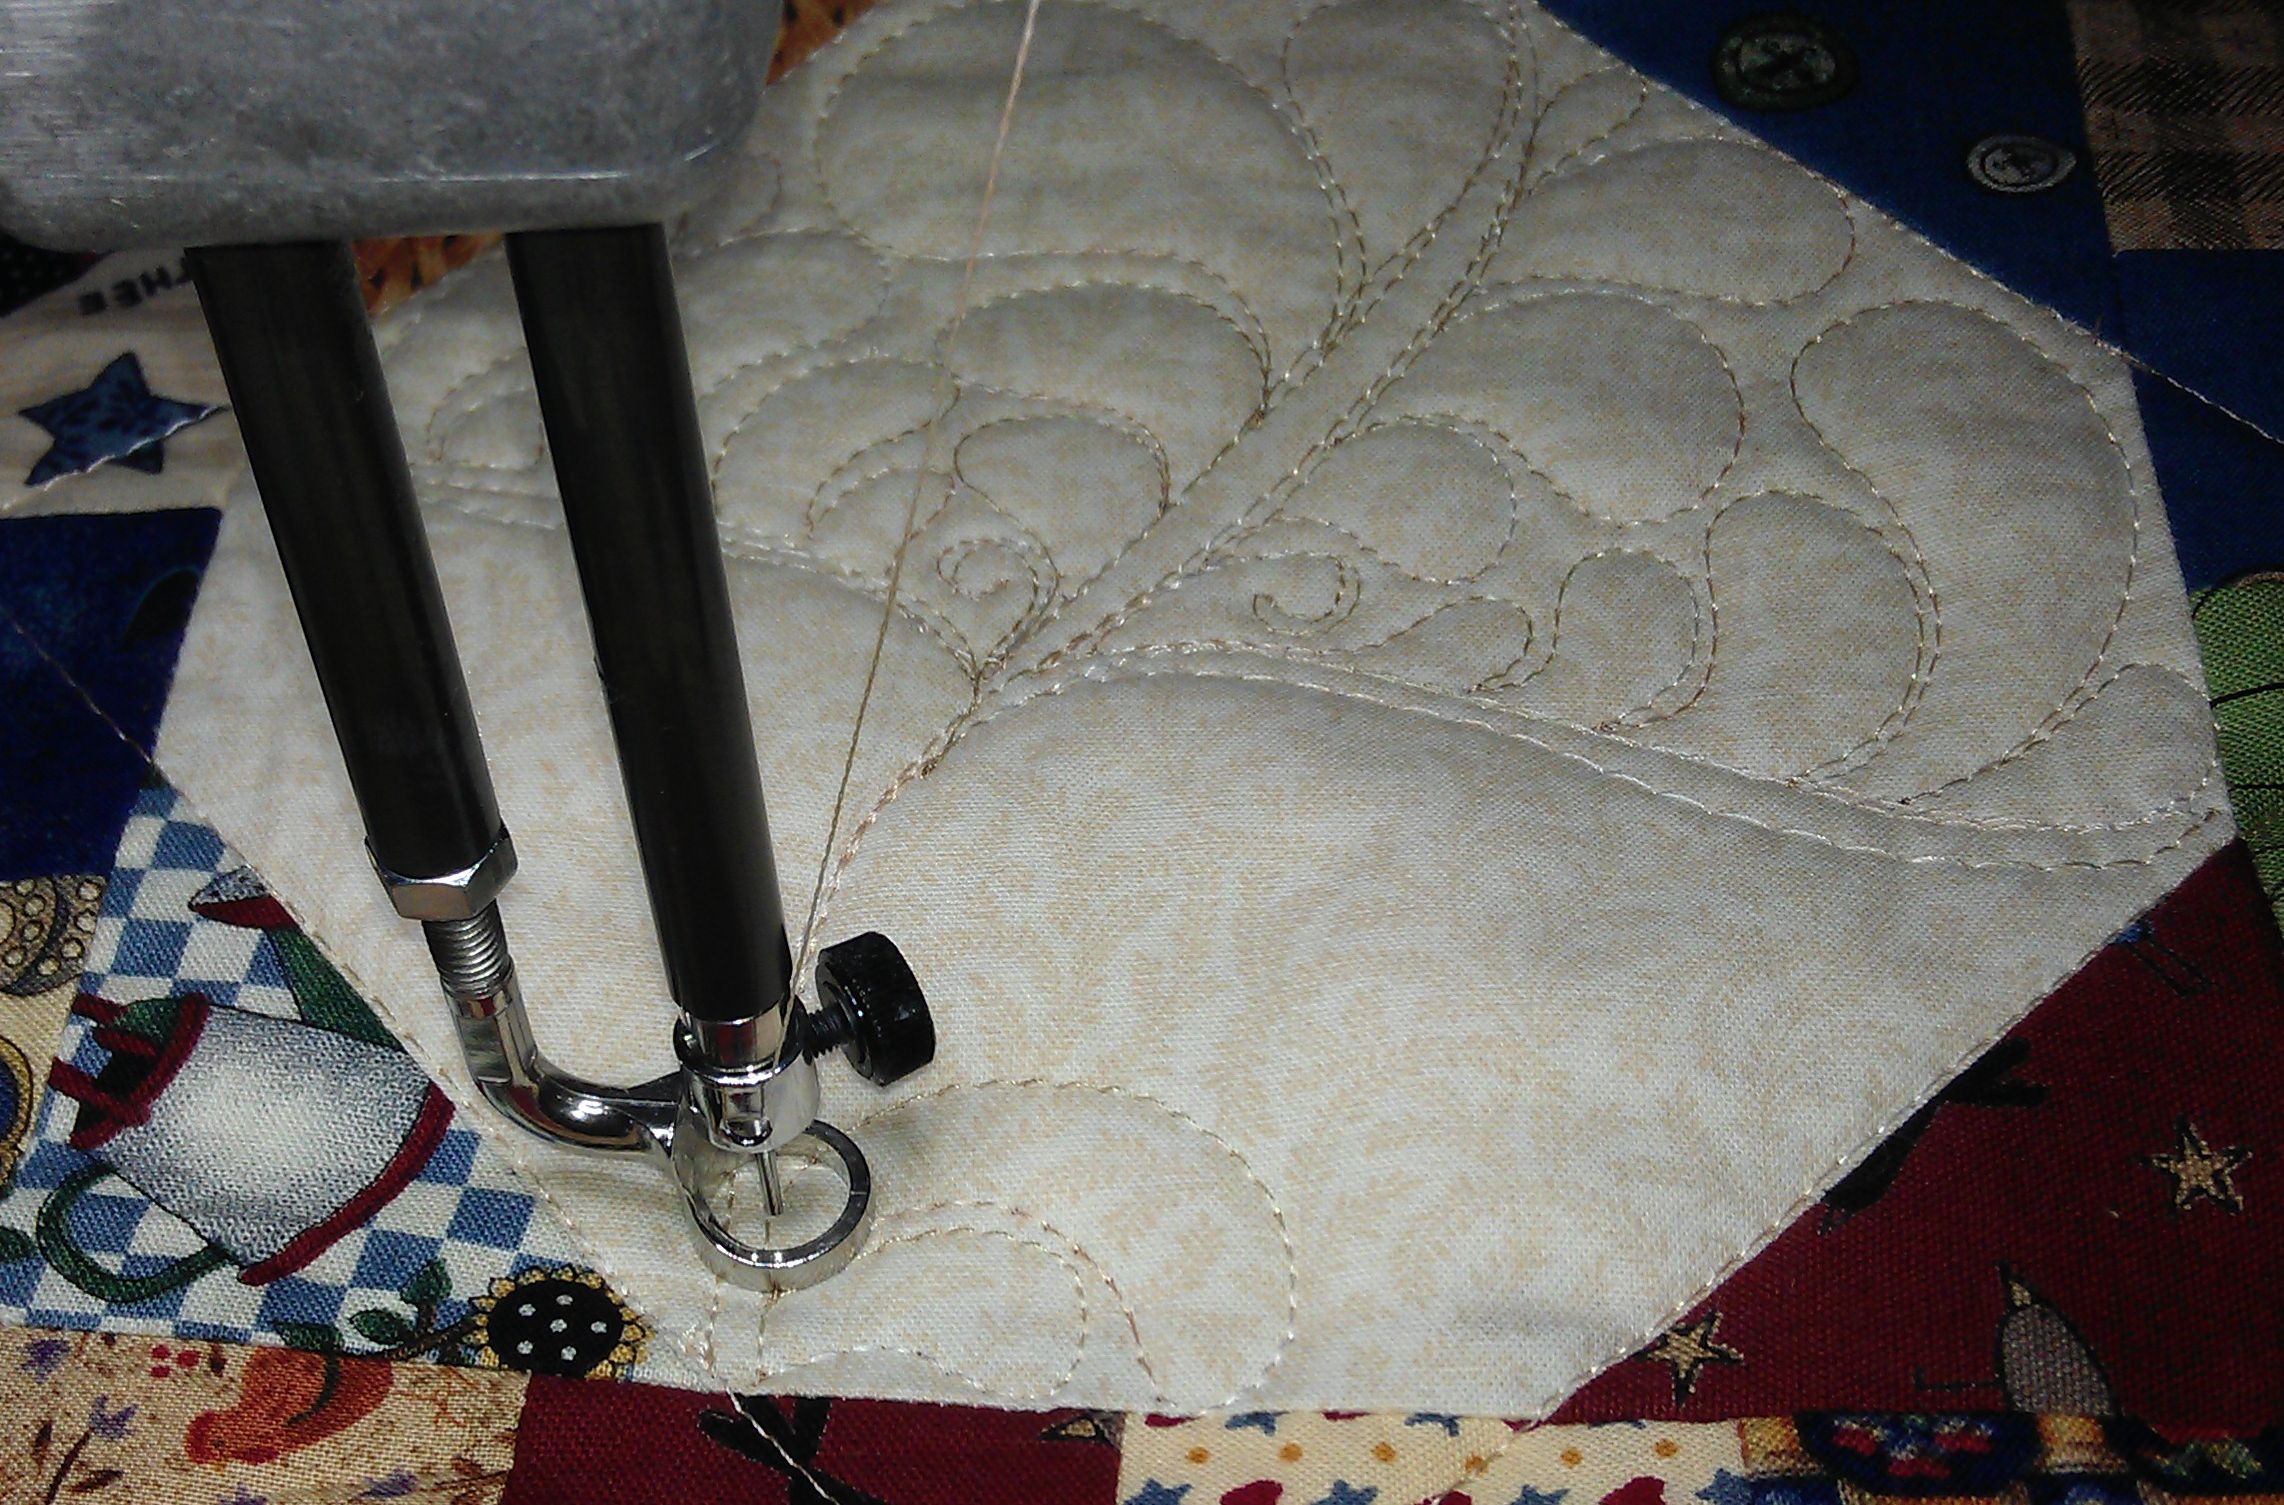
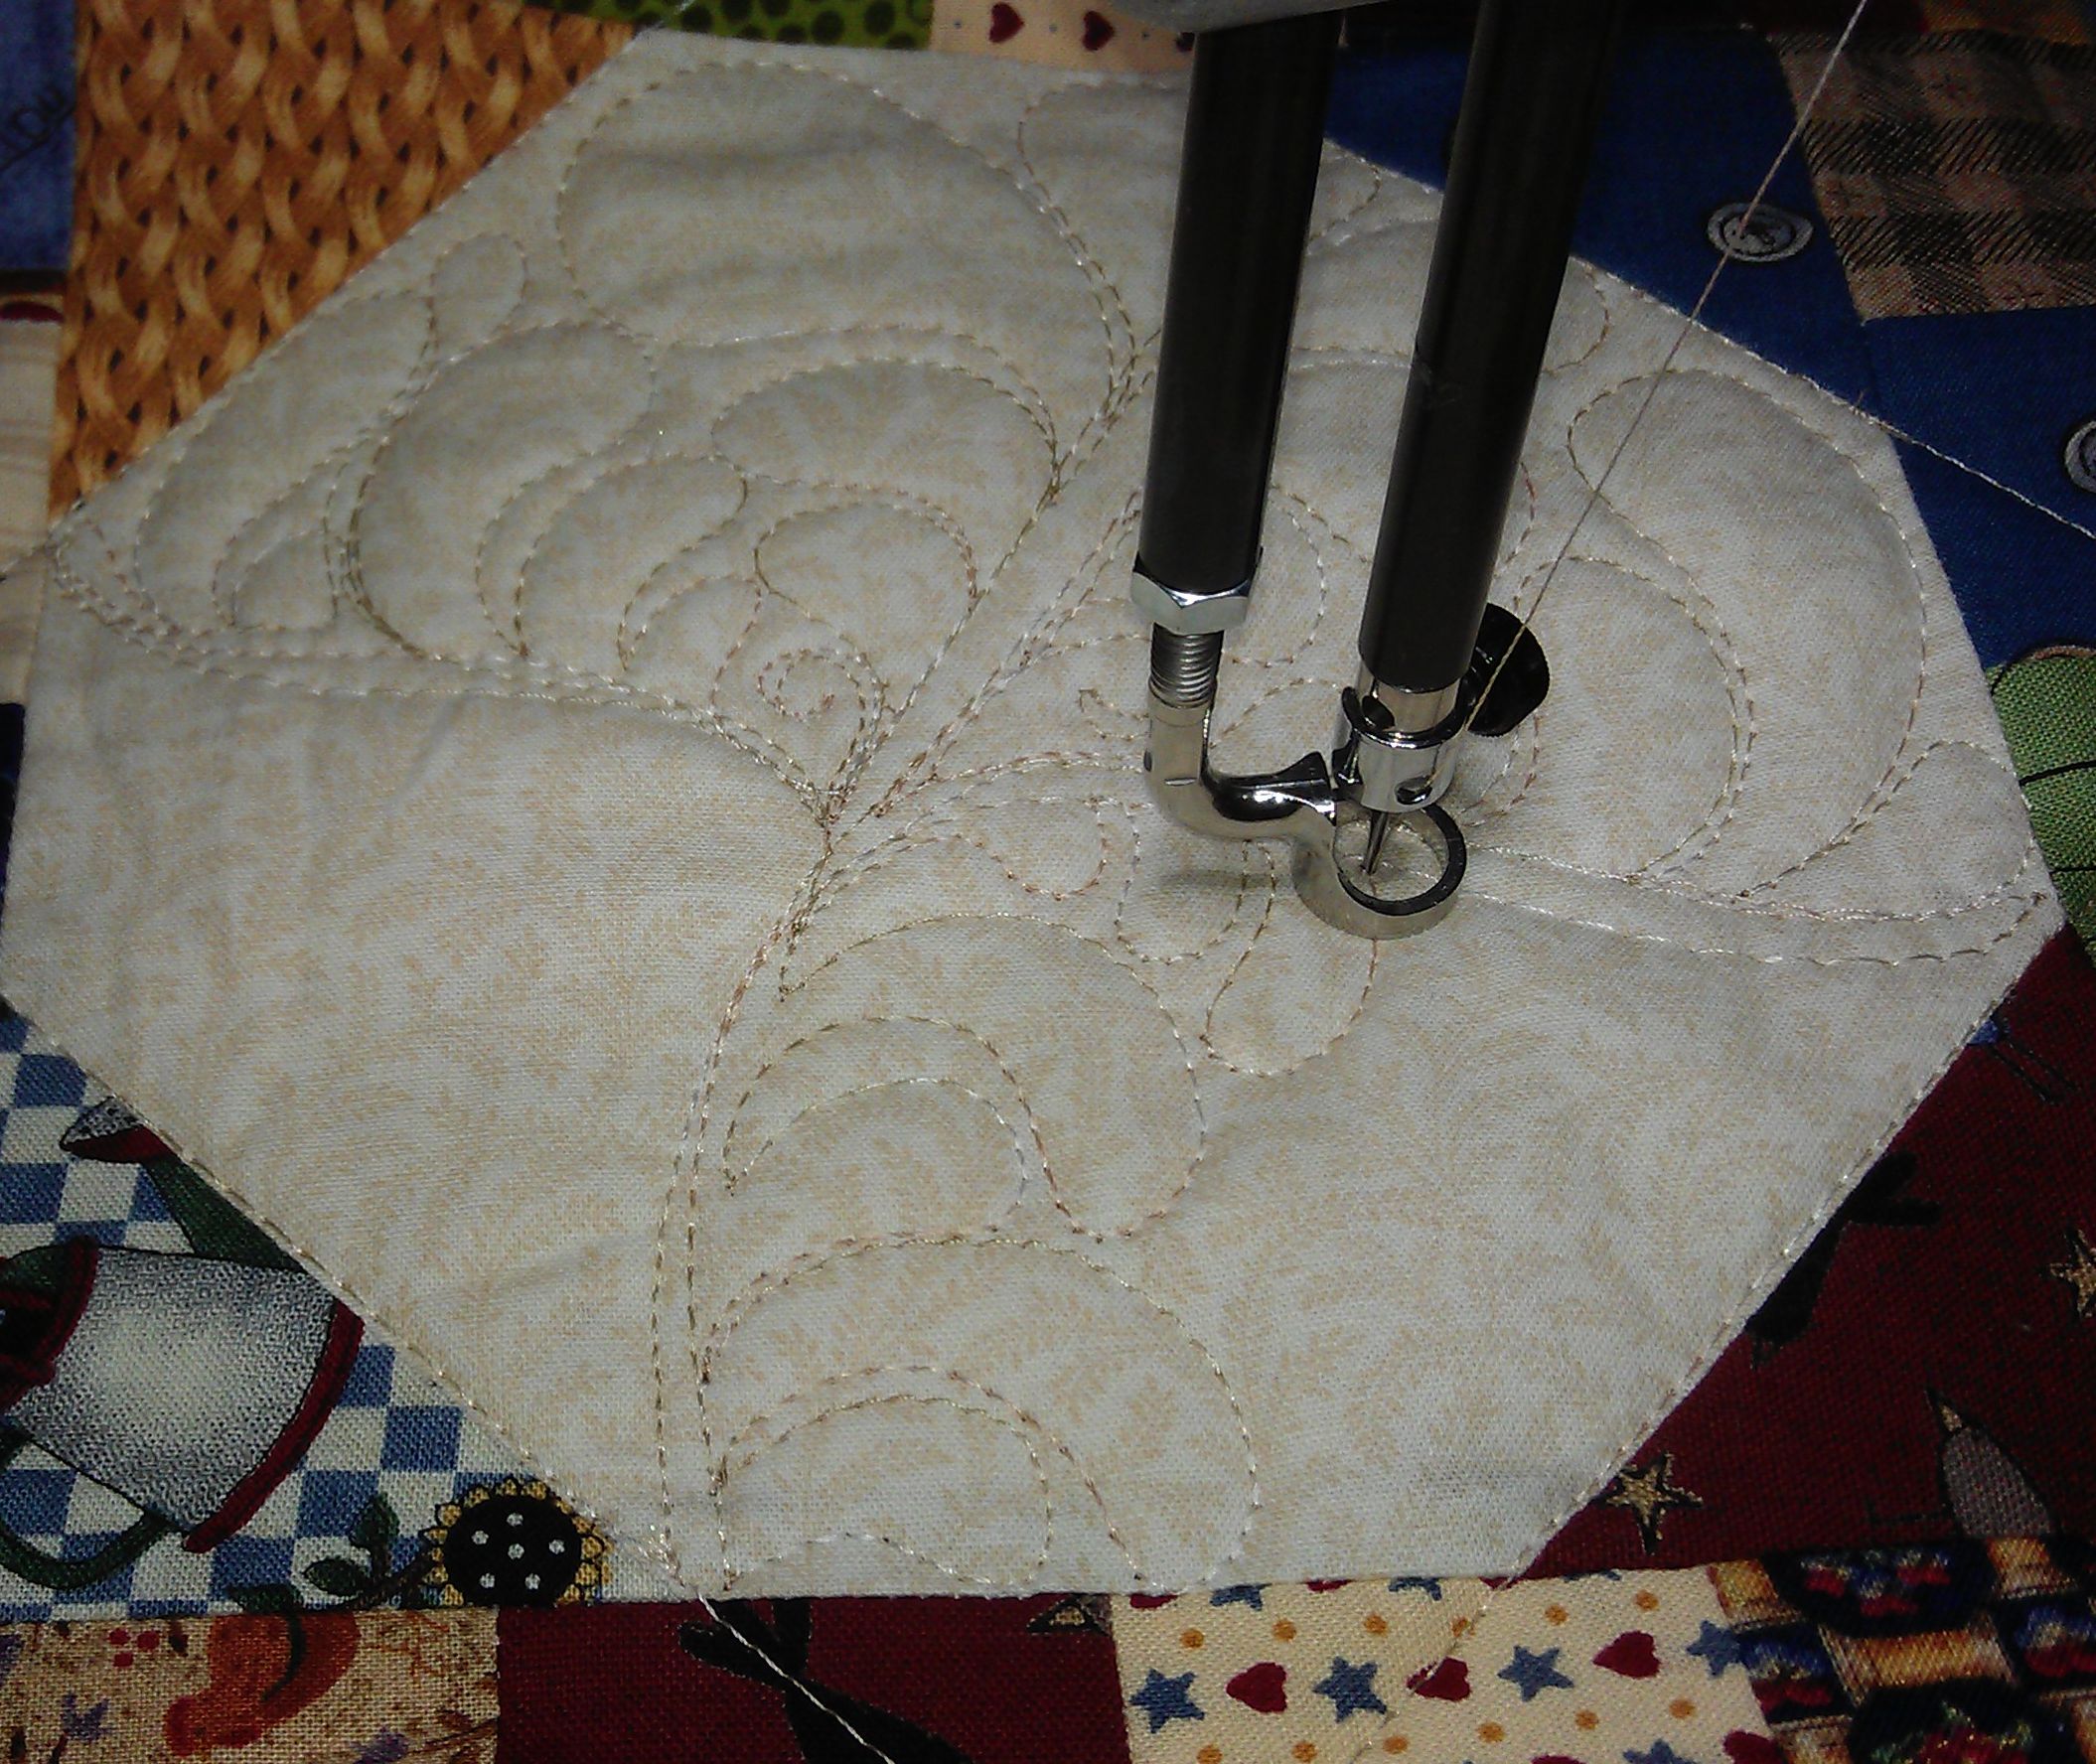
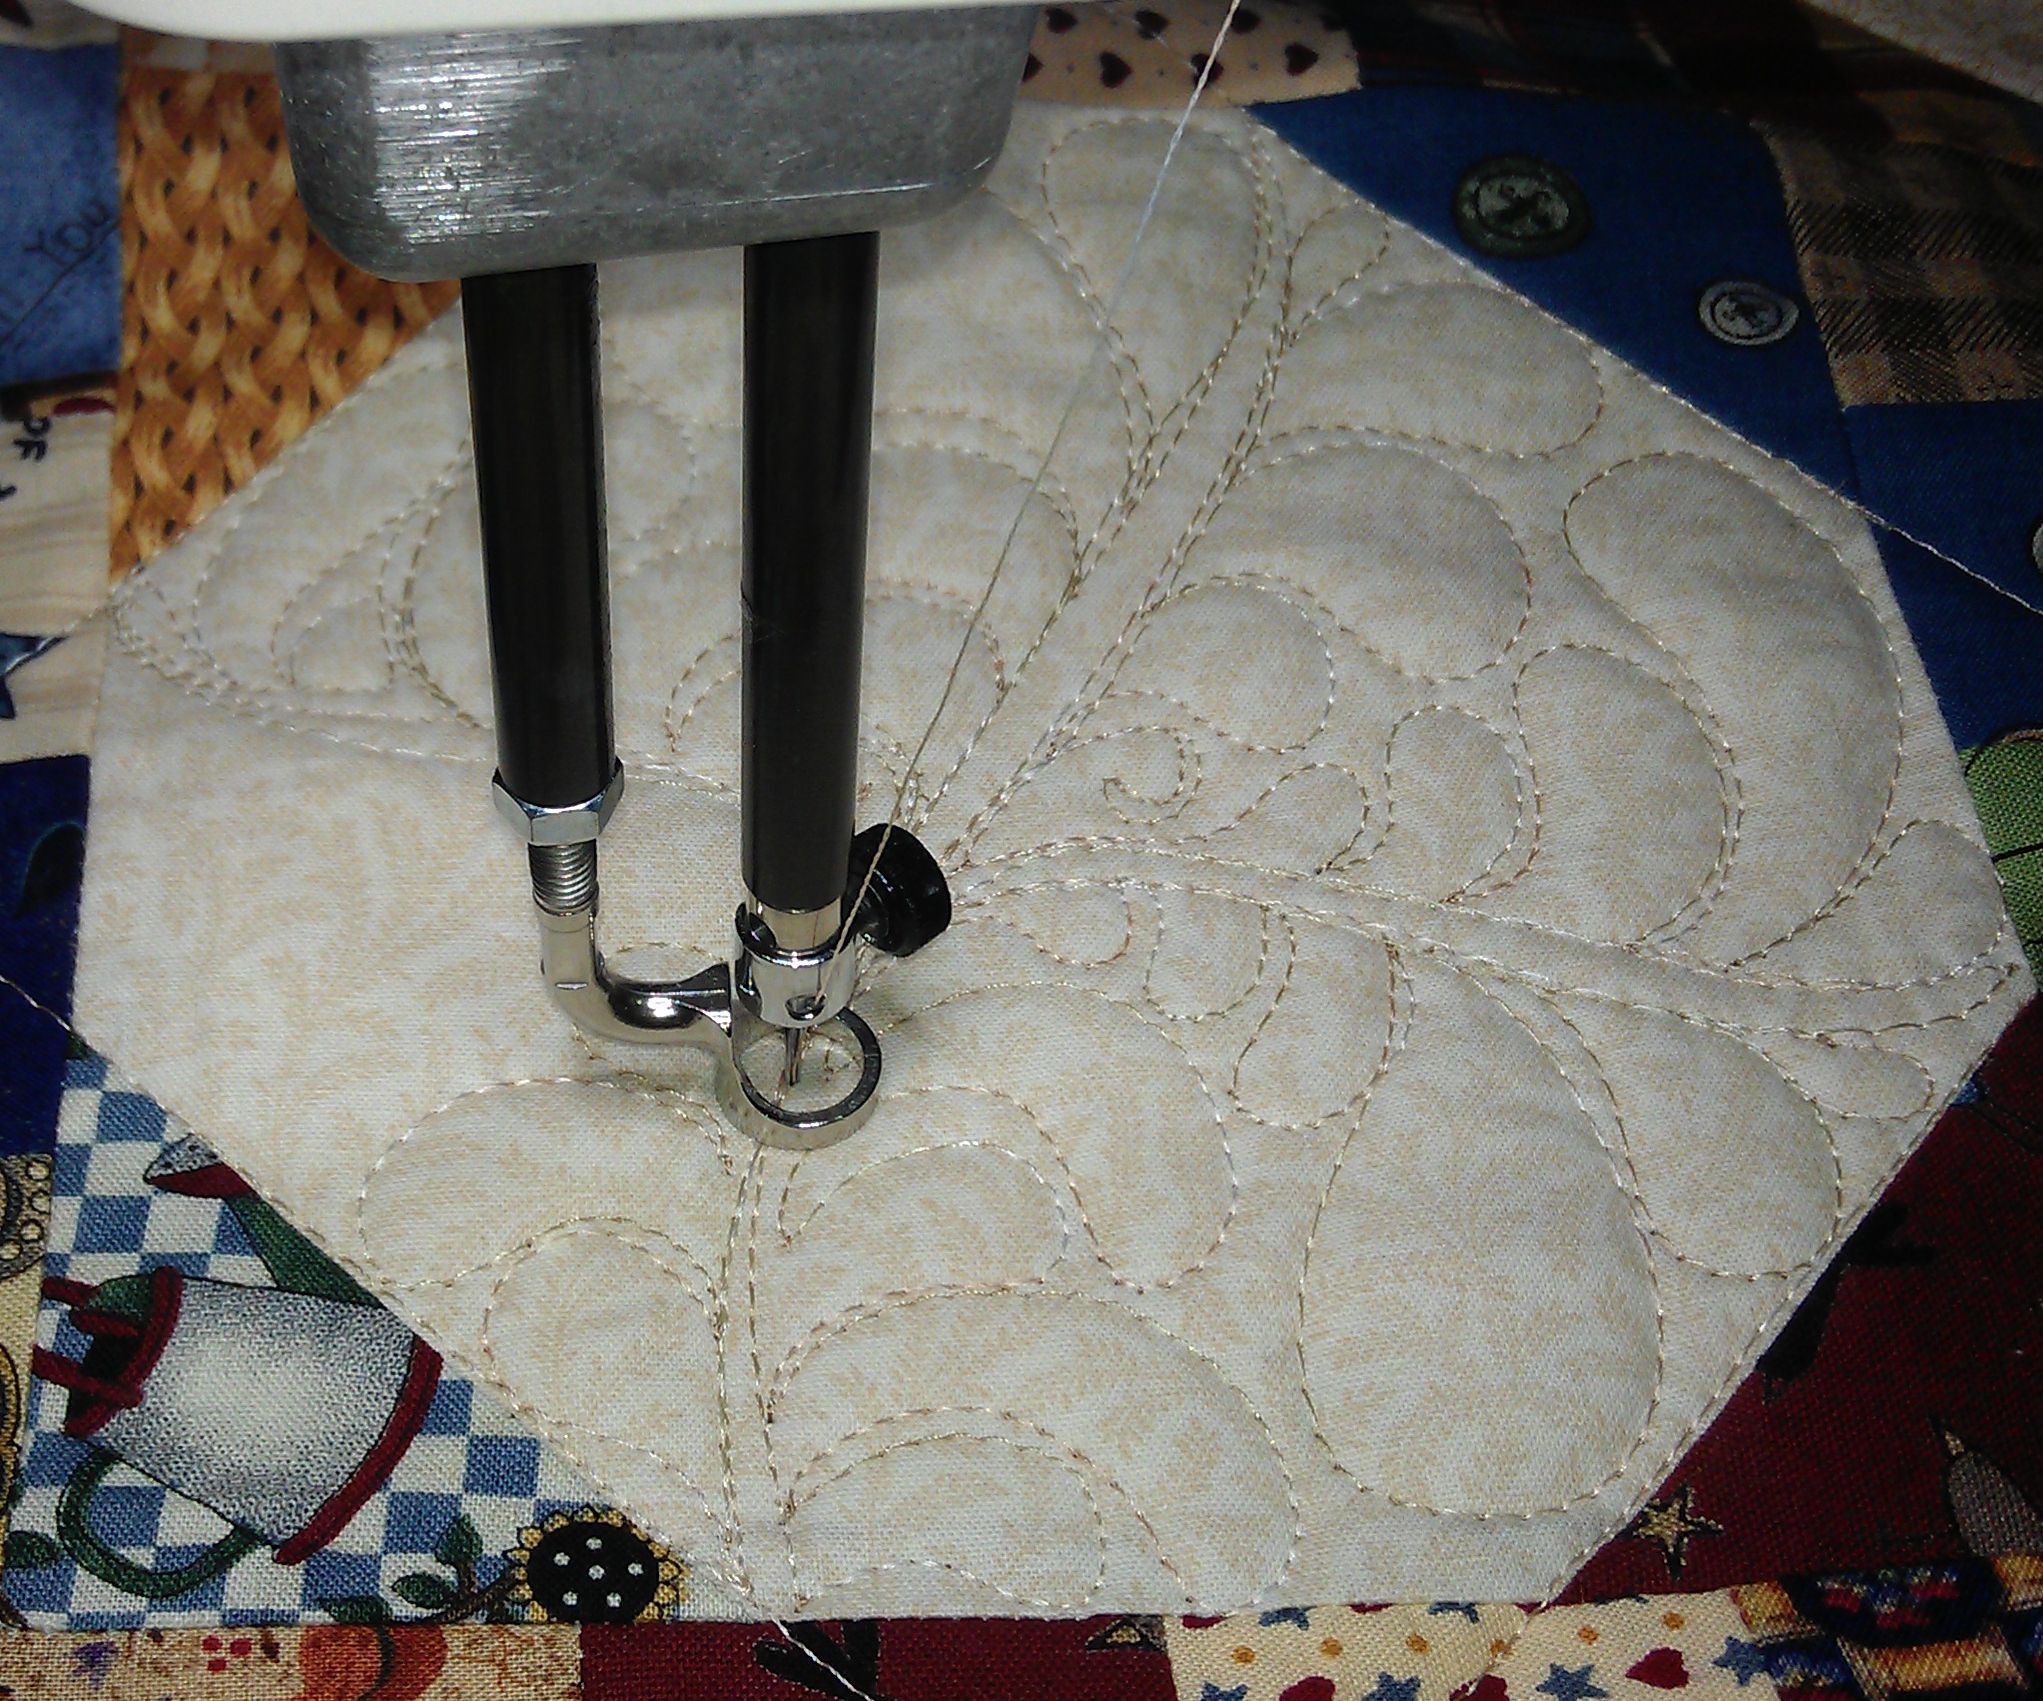
Next, I brush up under the metal housing where the lights are, then down the two shafts, around the needle screw, the needle, and the foot. There doesn’t appear to be a lot of lint on these areas, but you’ll be surprised how much comes out with a good brushing.

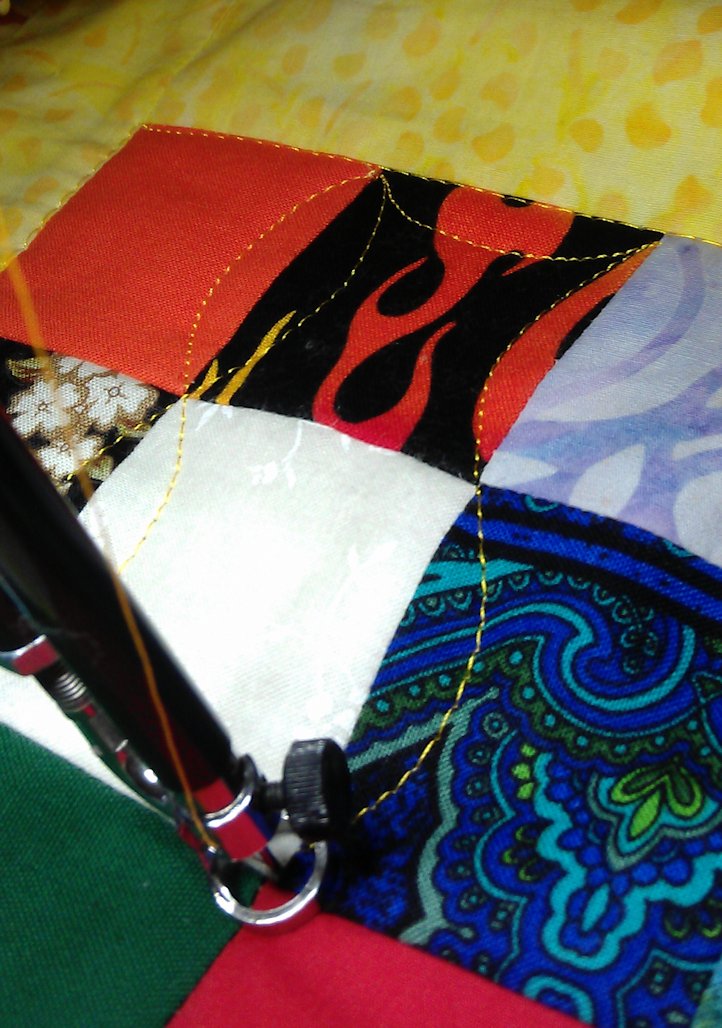
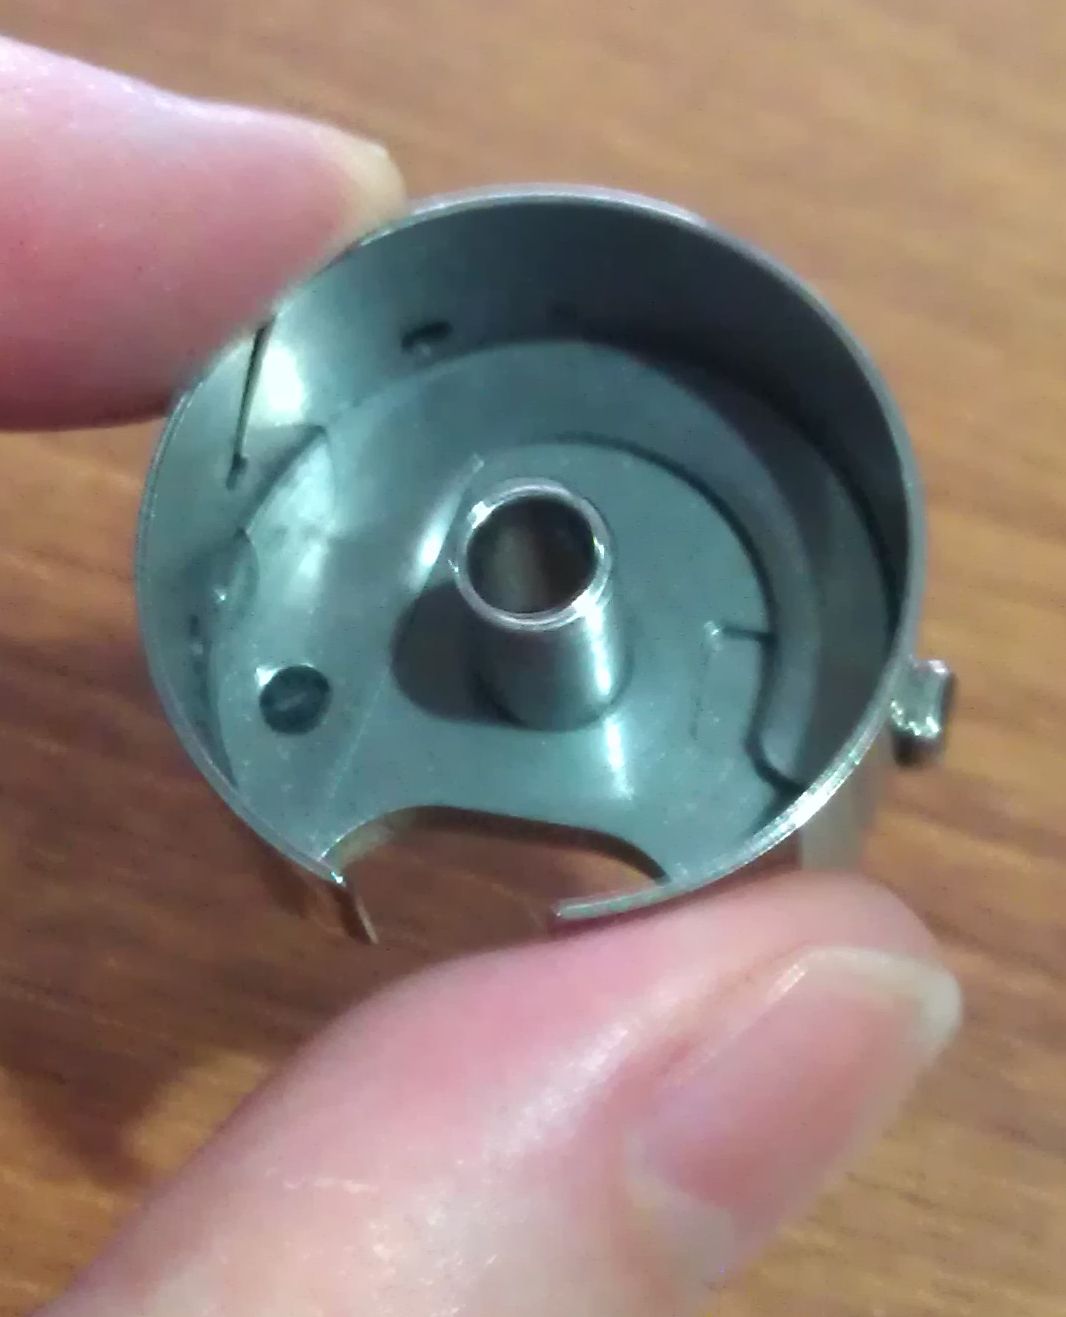
Now I pull out the bobbin. Note the fluff at the opening. What you can’t see is the flattened gunk behind the spring where the thread comes out.

Another view of the lint inside the bobbin case as seen through the opening.

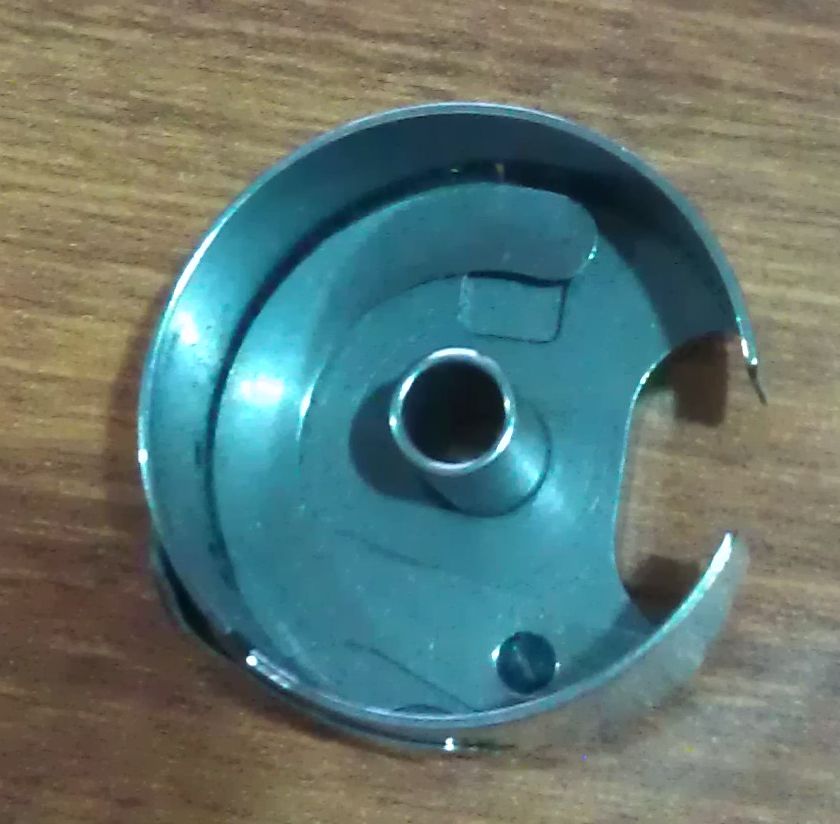
I remove the bobbin (and blow off any lint on the bobbin), then slide an old pin in the small gap between the spring and the case (NOTE: A business card works really well too and is less likely to scratch). Jiggle the pin (corner of a business card) around in there and slide it all the way to the right to get out any squashed gunk. You might also have to put the pin inside the bobbin case and run it up the slit as there may be some lint stuck in there too, and that’s bad as it WILL affect your bobbin’s tension.

View of the small gap where I slide the pin. After cleaning the gap, I brush out the inside of the bobbin case to get rid of the all the accumulated fluff in there.
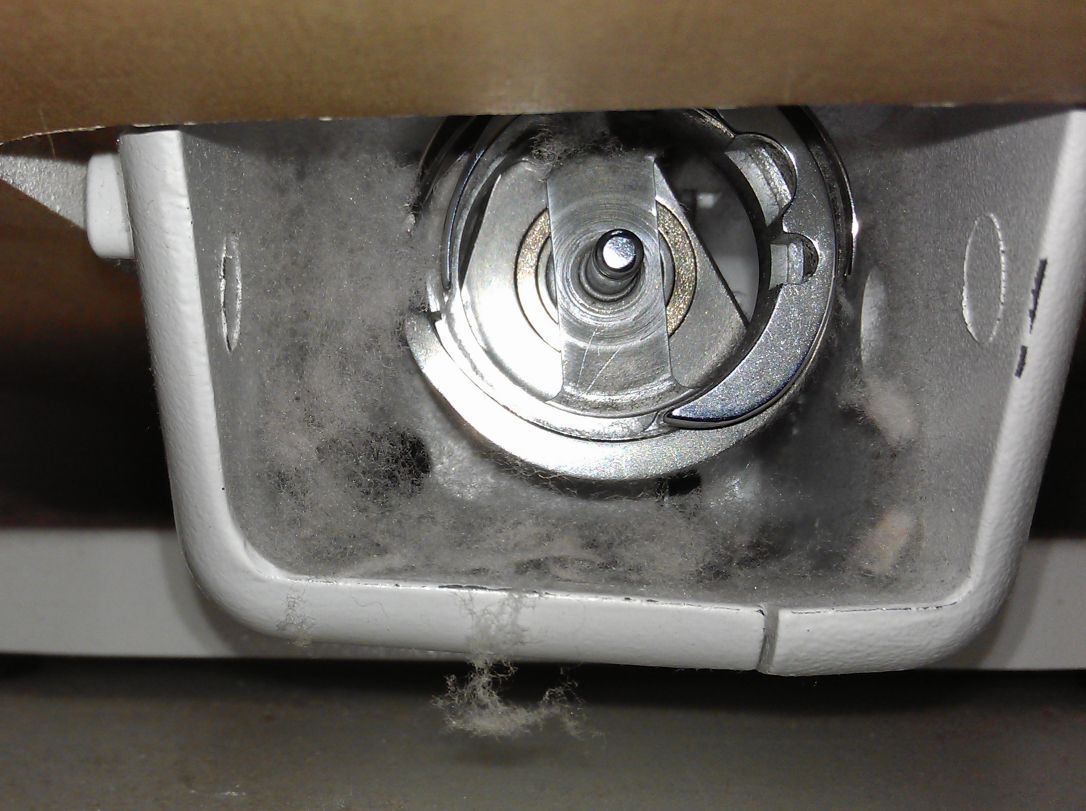
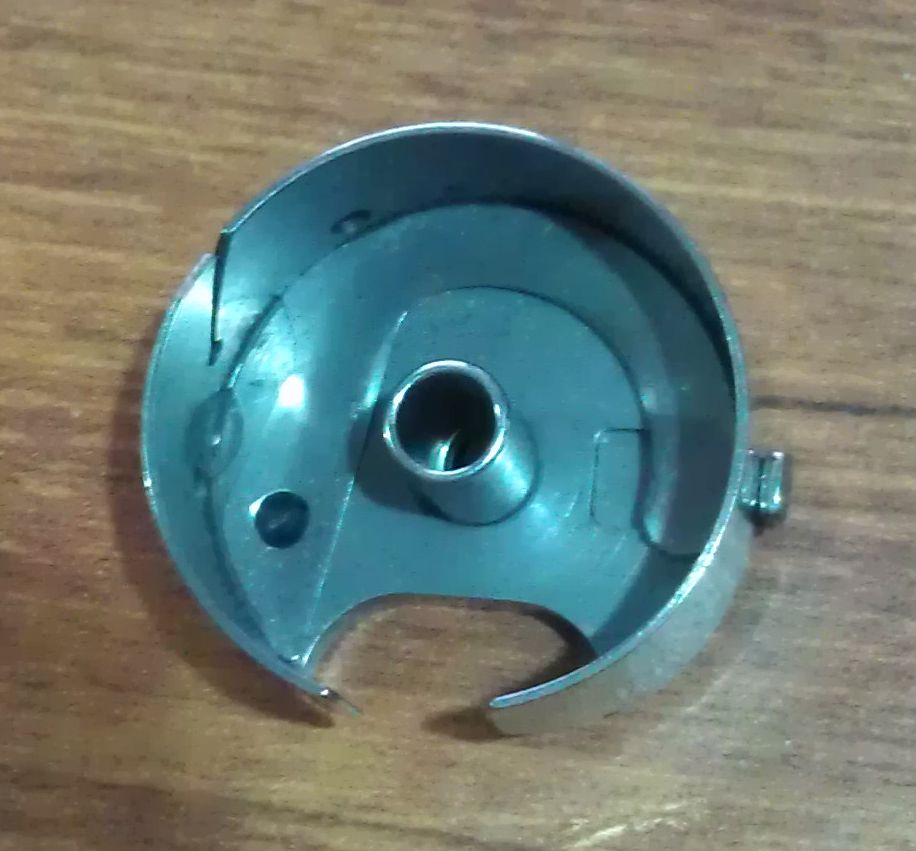
Next, I tackle the area around the bobbin housing. Look at all that nasty lint! I took this photo less than an hour after the previous cleaning. I give the bobbin housing area a good brush from underneath to remove what I can.

Because there was so much lint/fluff below, there’s likely to be even more inside the bobbin housing area. So remove the needle plate and brush out any visible gunk.

Gunk seen from above that brushing out from underneath didn’t get. I usually single press the presser foot a couple of times to turn the bobbin housing and get any more that’s hiding underneath.

The brush gets pretty gunky too, so remove as much as you can by hand.

However, every so often you’ll have to clean the brush so that all the accumulated gunk doesn’t prevent the brush from doing its job. I run a pin up from the bottom to the top several times to get out the embedded gunk.
You can see why I don’t like quilting with cotton!
See also: