Quilting Adventures Spring Seminar: Day 4: 7 March 2012

8 03 2012

Wednesday 7 March 2012

Lots of progress on our art quilts today! I’m ready for the fabric painting tomorrow and then stitching. If I’m lucky I *might* have it close to completed by Friday when we finish up at noon. But then, I thought I’d be at the painting stage by about noon today.

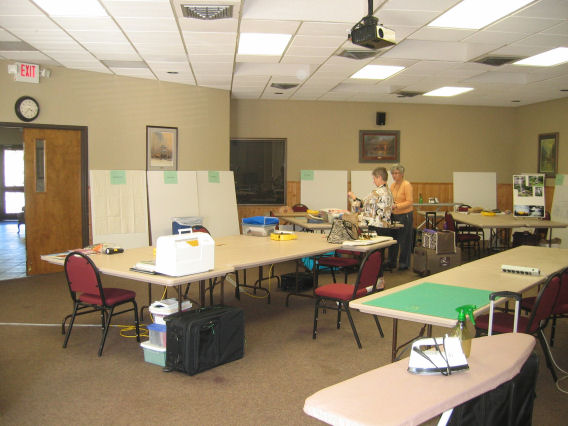
I’m having heaps of fun! The gals in our group are a great bunch, and I’m getting to know those on my table and those at the next table across quite well. We were in fits of laughter over some silly thing today.

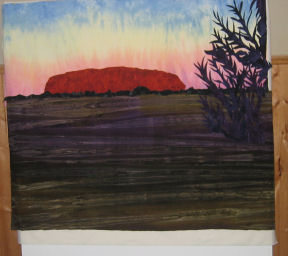
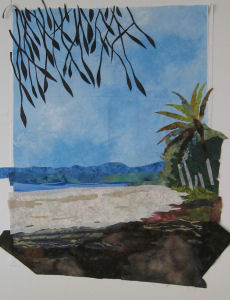
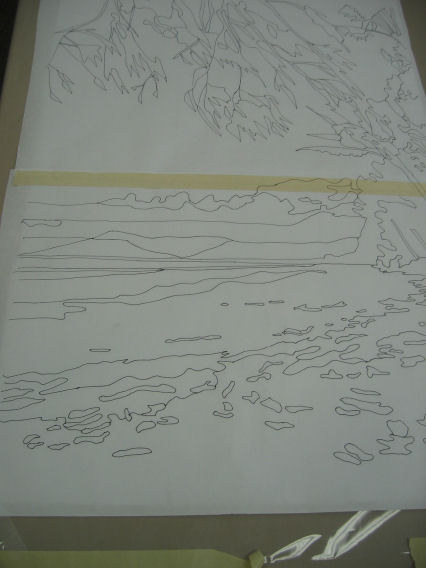
My piece is starting to come together and I’m feeling much happier about it. I changed tack a bit today — I removed the clouds from my piece and replaced them with another range of hills, and I decided to not try to emulate the difficult needle-like casuarina trees, instead opting for a stylised representation of them with overhanging ‘pods’.

Just so I don’t forget the process, here’s a summary of the steps:

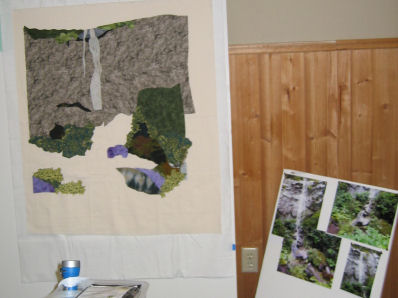
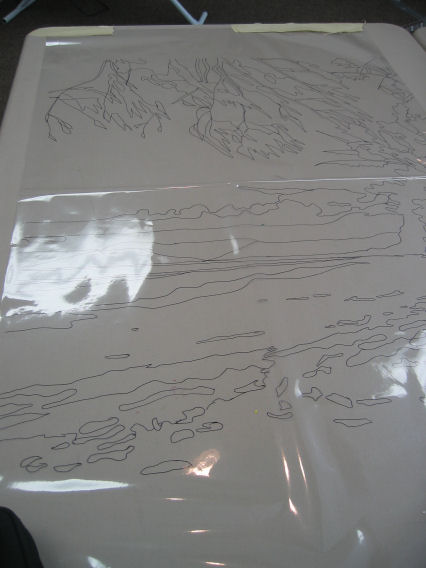
  1. Poster-size photo, taped together.
  2. Clear plastic taped over the photo and draw with a fine Sharpie the outlines where the tones and colours change in the photo.
  3. Pull the photo out, flip it over and put it back under the plastic.
  4. Tape together freezer paper (on the back, cut off excess paper where it’s taped together).
  5. Tape freezer paper down over the plastic and draw the outlines again, this time with an ultra fine Sharpie. This is the pattern.
  6. Tape white muslin over the freezer paper and transfer the outlines to the muslin using pencil. This is where the fused pieces will go.
  7. Mark the pattern with color shades (use a color chart of swatches if you want).
  8. Cut out a section of the pattern at a time (using an Exacto knife) and iron it on the front side of the fabric you want to use.
  9. Using an 18 mm rotary cutter, cut loosely around the edge of the pattern piece on the fabric. Leave about 1/2 an inch.
  10. Iron MistyFuse on to the back of that fabric piece — cut the MistyFuse to the size of the fabric so there’s no excess that will gunk up the iron. Iron between two sheets of parchment (baking?) paper — it releases the heat much quicker than a Teflon ironing sheet).
  11. Using the 18 mm rotary cutter, cut closely around the fabric and pattern piece. Peel off the pattern piece.
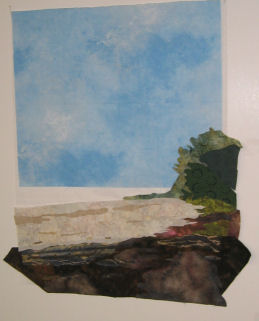
  12. Place the fabric right side up on the muslin, and, when you’re happy with it, fuse it down with the iron.
  13. Cut out other smaller pieces from that pattern and finish off that section.
  14. Only do one small section at a time, otherwise you’ll get lost and will just have a massive jigsaw puzzle to sort out!
  15. After fusing everything down (this could take a couple of days, depending on the size and complexity of your photo!), you’re ready to use fabric paint to soften edges, add shadows, add highlights, deal with the tiny details you can’t do easily with fabric, etc.
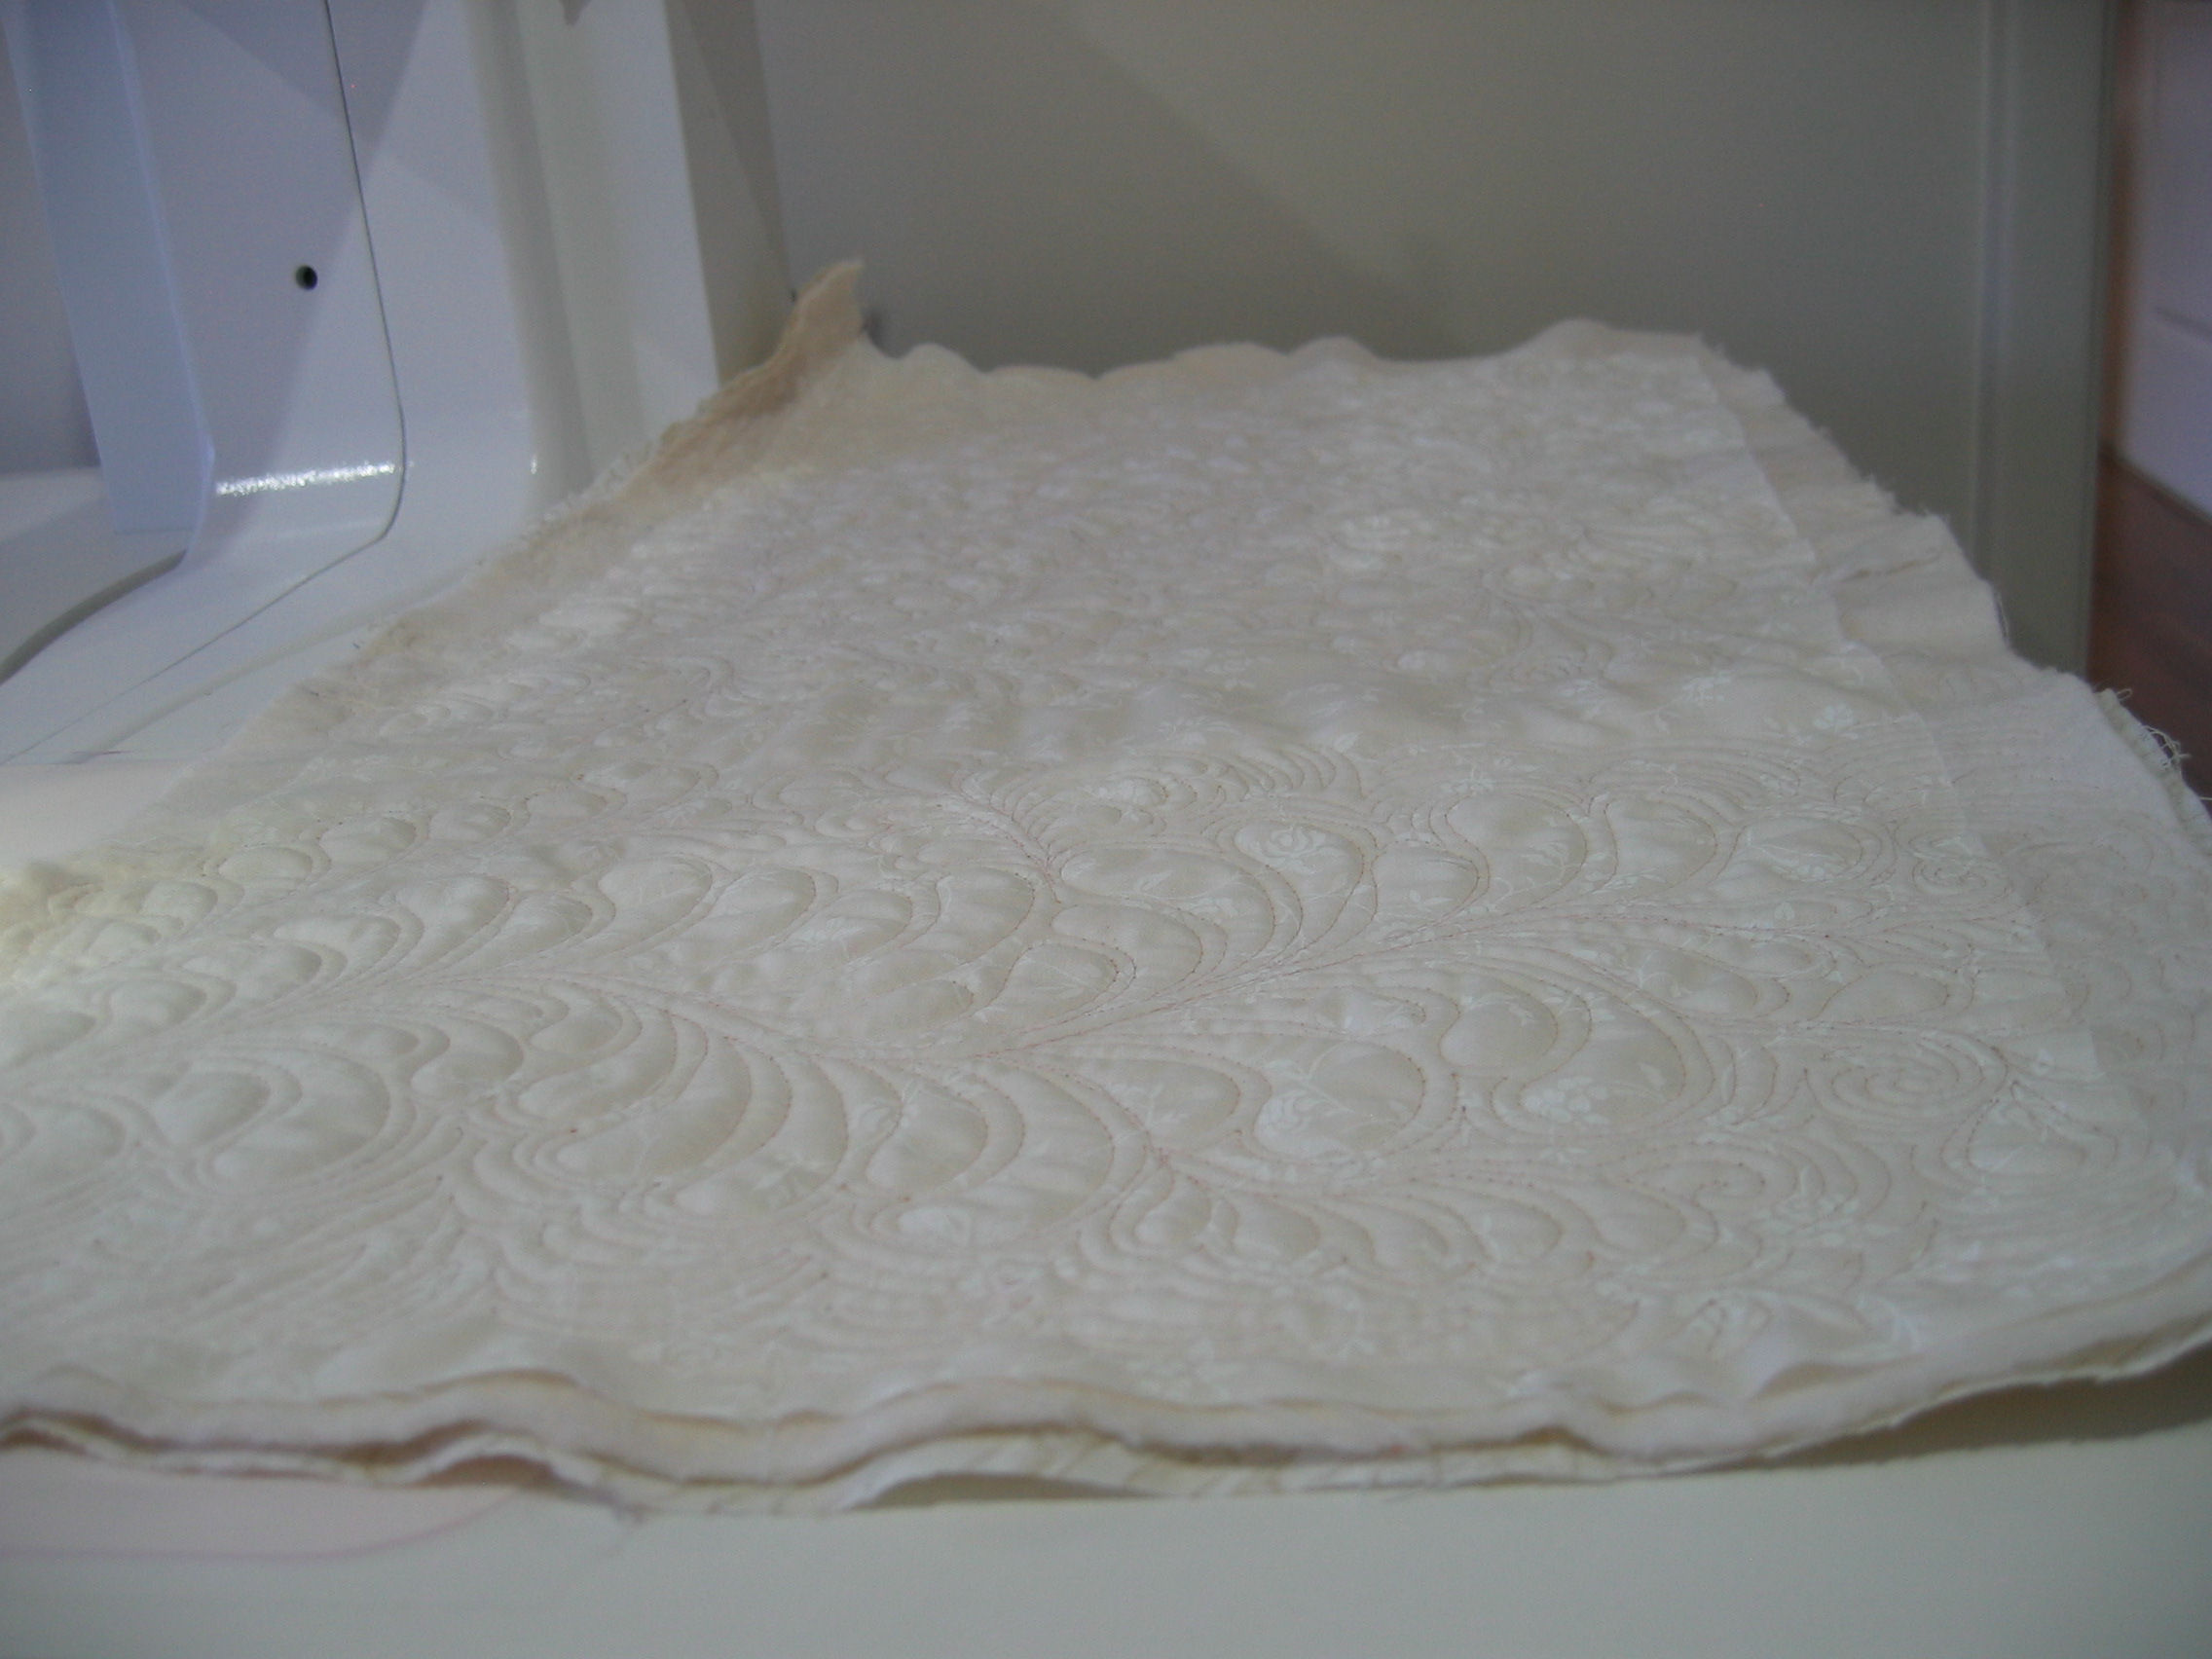
  16. Once you’re done with the paint, you’re ready to stitch. You can either do surface stitching (thread painting) first if it’s likely to be very dense, or go straight to applying the batting and backing and then doing the free motion quilting.
  17. Square up the quilt, add borders and/or binding. (If you’re adding borders, hold off on putting on the batting and backing until after you’ve squared up the quilt and applied the borders!).

Lunch today was tacos, but we made them ourselves from all the supplied ingredients, which means you could eat as healthily or as unhealthily as you wanted to! Also, chicken tortilla soup. I’m impressed with the meals here — they DON’T dress the salads, or add gravy or similar to meals. They leave that for the individual to add. And it’s pretty much all REAL food too — very little that’s processed. Lots of fresh fruit all the time, too, even at the coffee stations outside our rooms.

Dinner is early tonight, then we go to The Quilt Haus for some exclusive shopping 😉

Later… Dinner was Chicken Cordon Bleu with peas and potatoes and a tomato and basil soup; there was something for dessert but I didn’t even look at it.

After buying a few metres of fabric at The Quilt Haus (well, it *is* half the price that we pay in Australia AND there was 10% off!), we returned to the resort and a few of us went back to our workshop room to continue working on our projects. I started my fabric painting and I want to finish that by mid-morning tomorrow so I can start sewing!! No, I haven’t touched a sewing machine, thread etc. the entire time I’ve been here!

Oh, BTW, Kim announced the 2013 faculty for the Quilting Adventures (www.quilting-adventures.com) seminars and retreats after dinner this evening, and it’s an impressive line-up:

  • March 3 to 8, 2013: Gail Garber, Katie Pasquini Masopust, Paula Nadelstern, Cindy needham, and Michelle Watts
  • March 10 to 15, 2013: Robbi Joy Eklow, Rayna Gillman, Lyric Kinard, Velda Newman, and Terry Waldron.
  • June 3 to 6, 2013: Susan Brubaker Knapp (I’d LOVE to attend this one!)
  • September 19 to 22, 2013: Susan Cleveland.

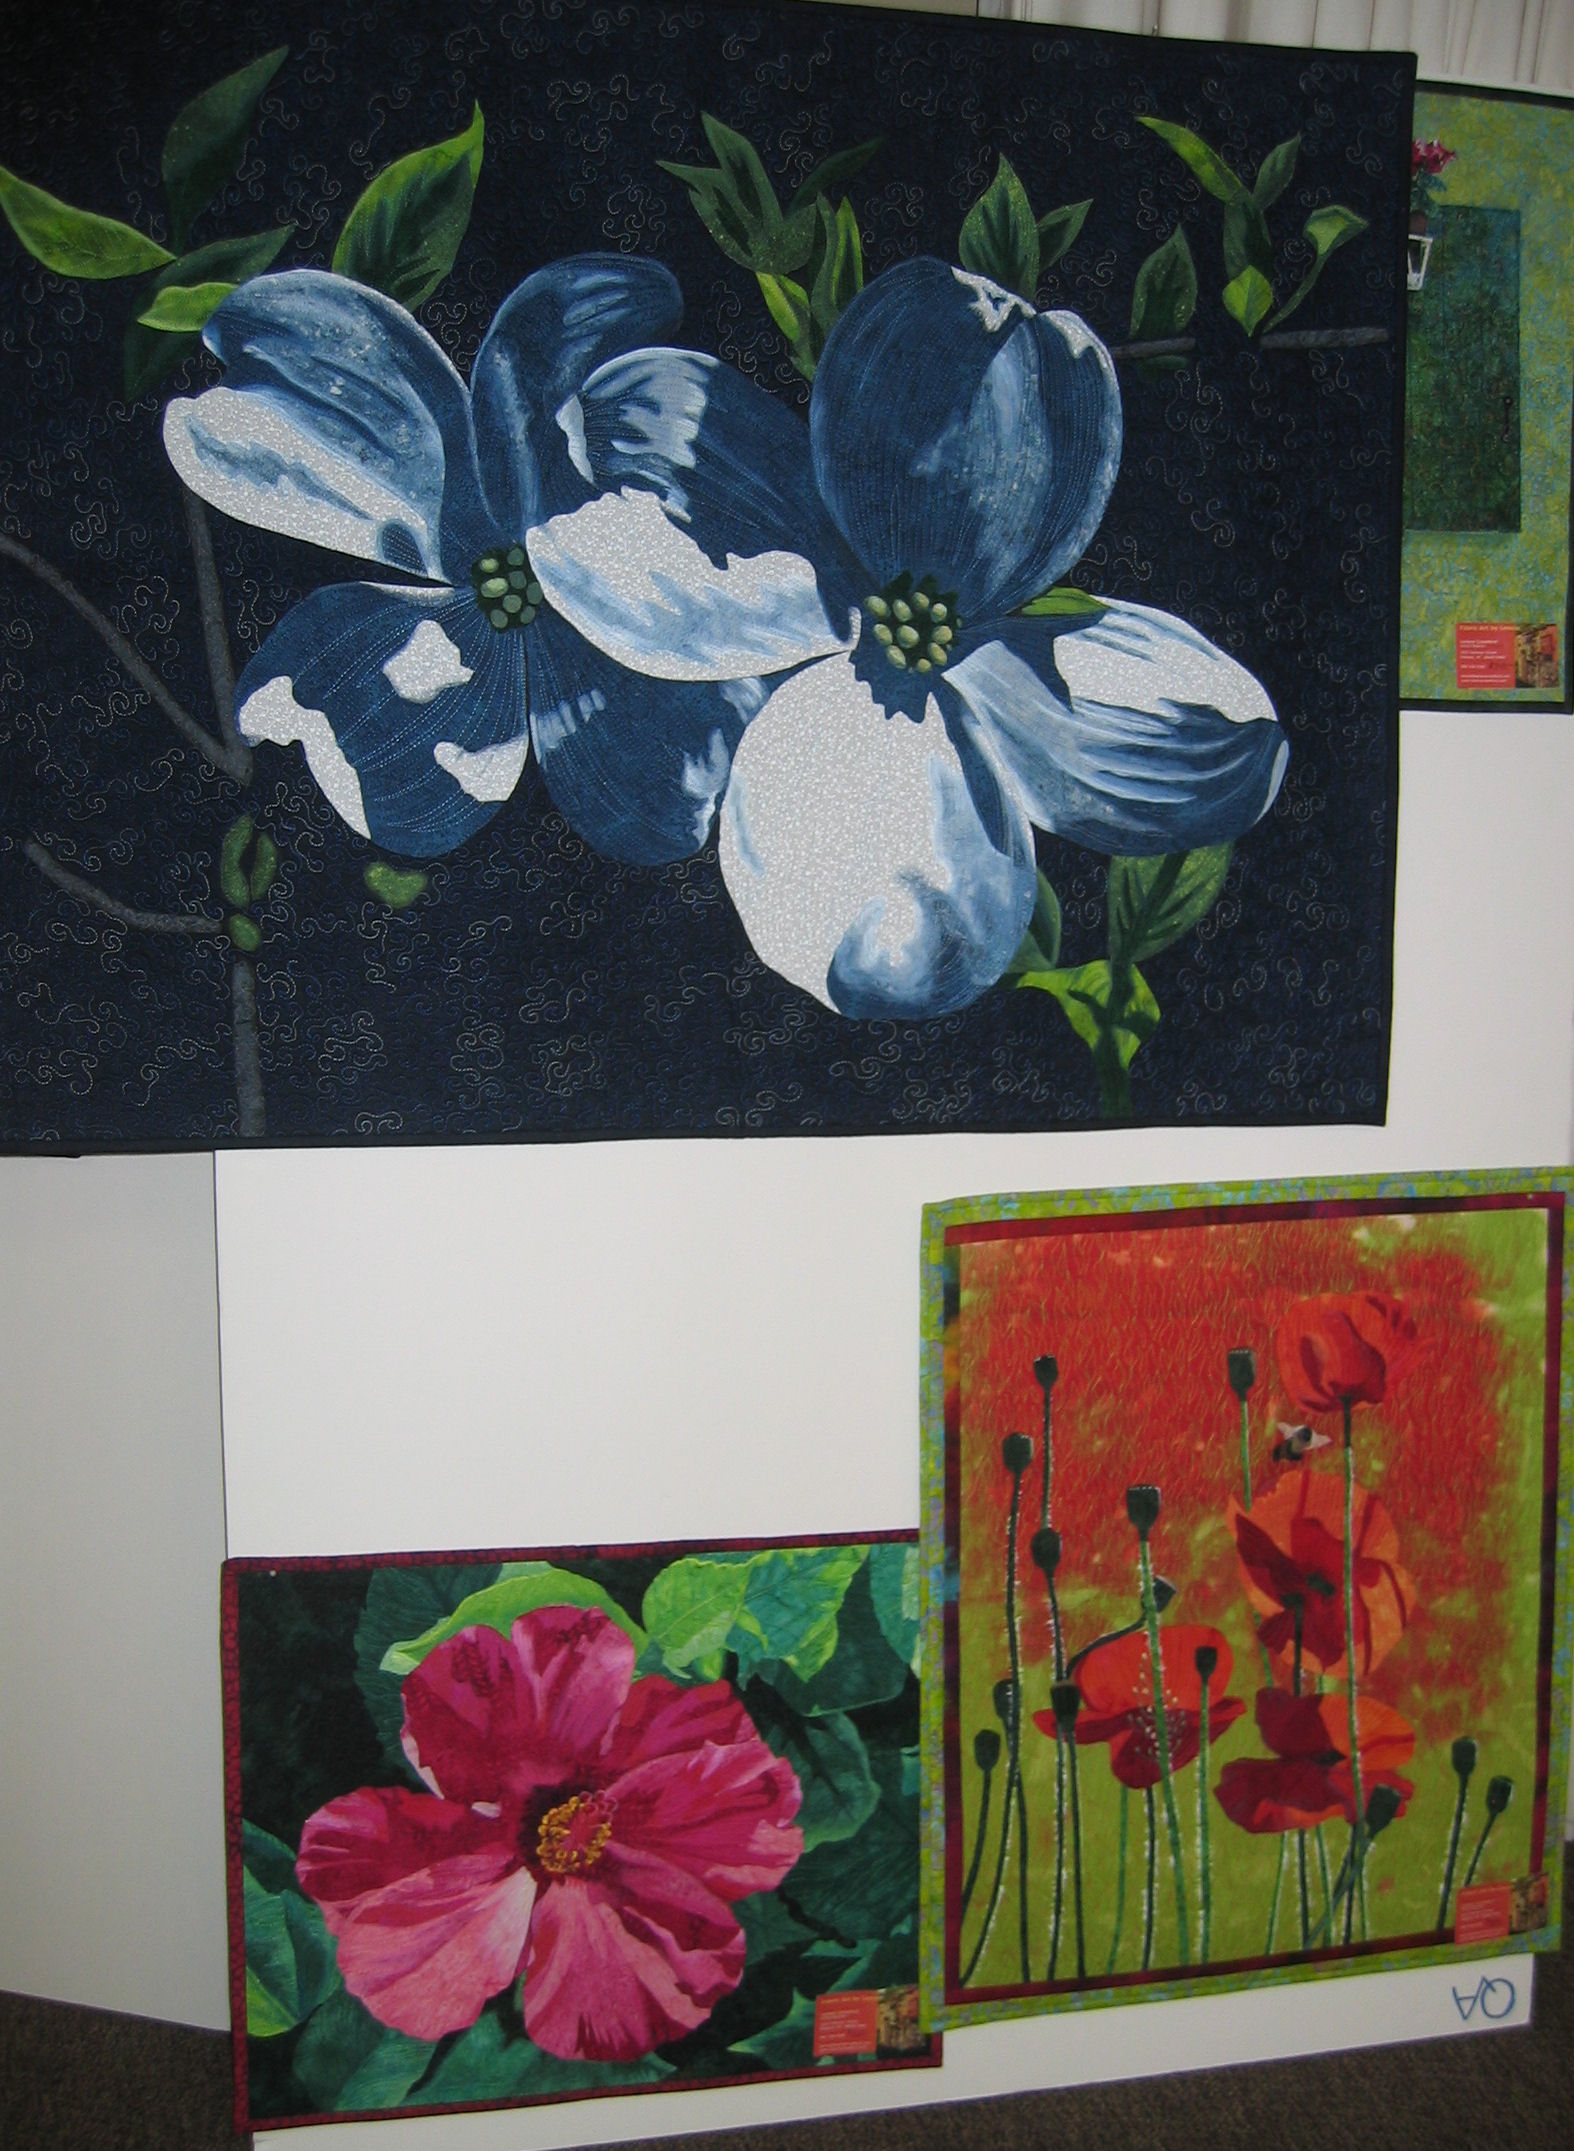
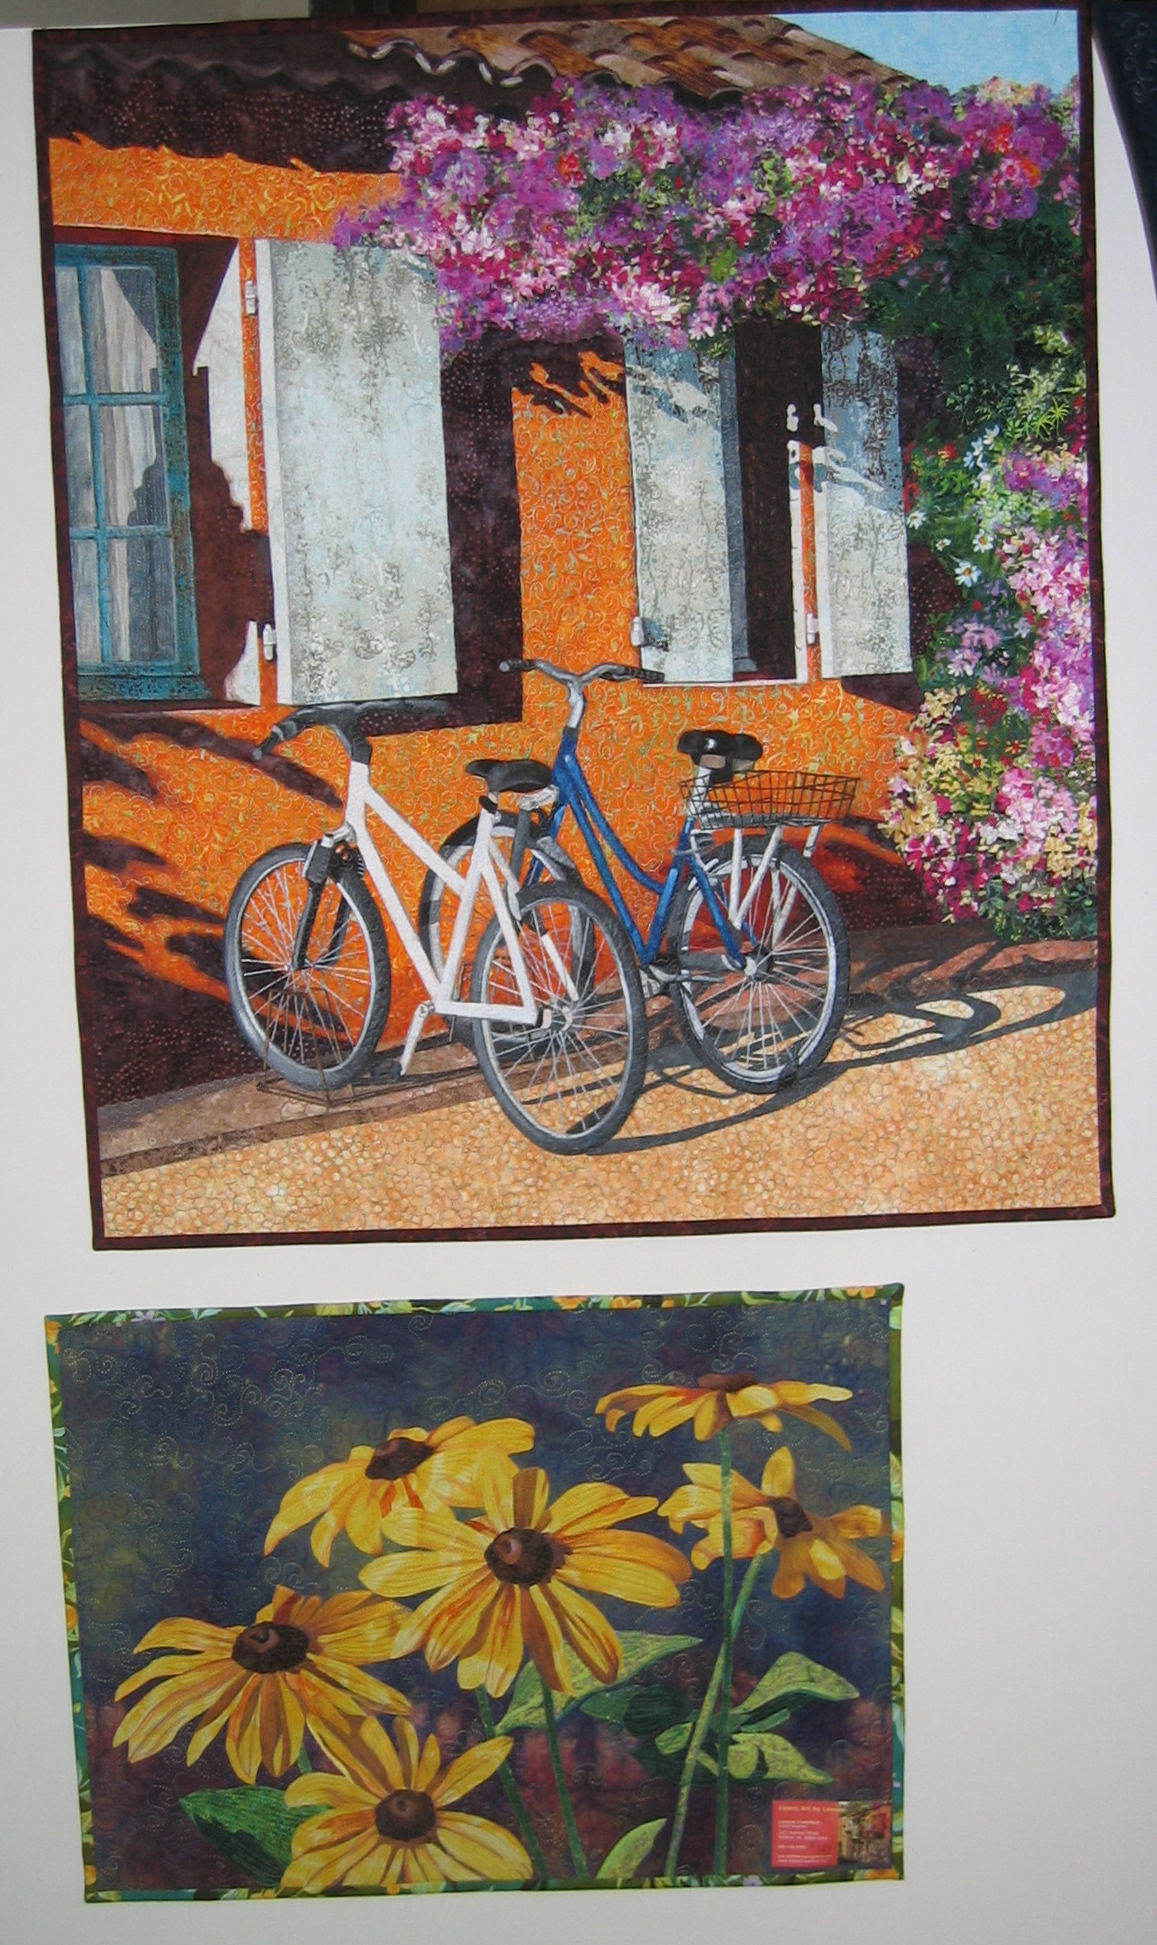
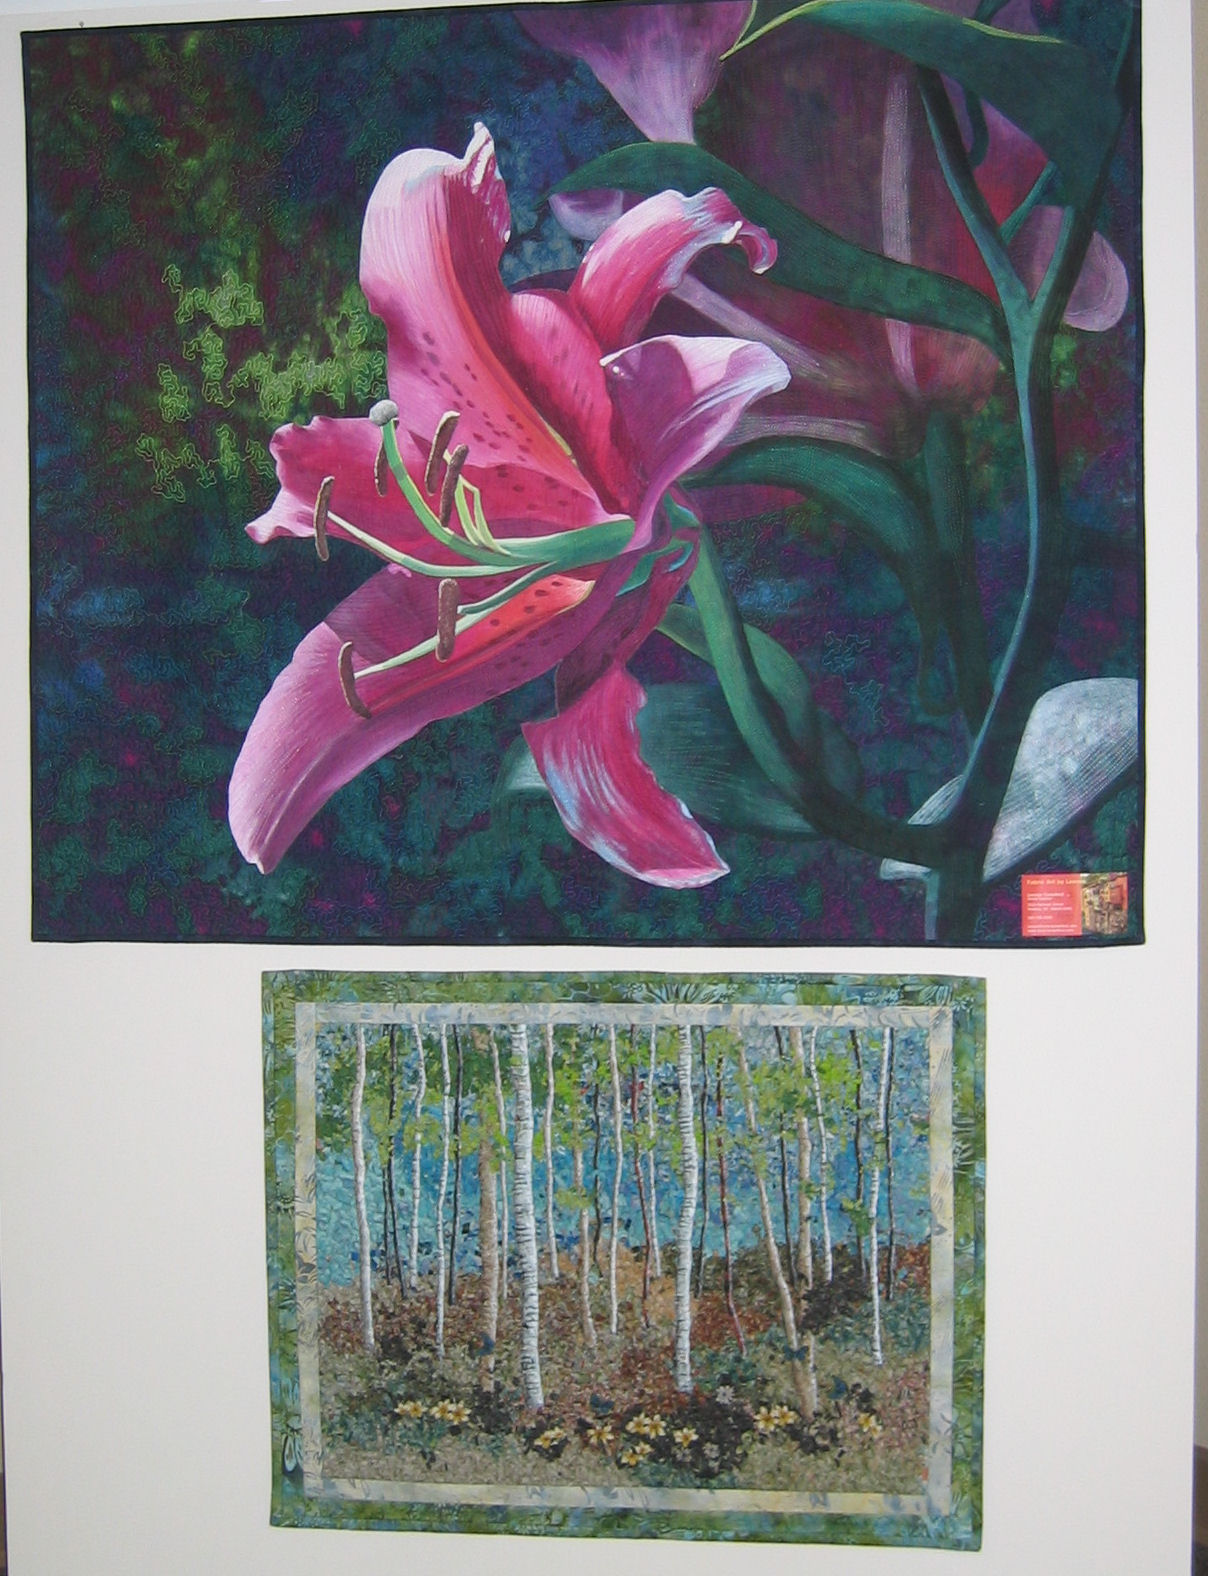
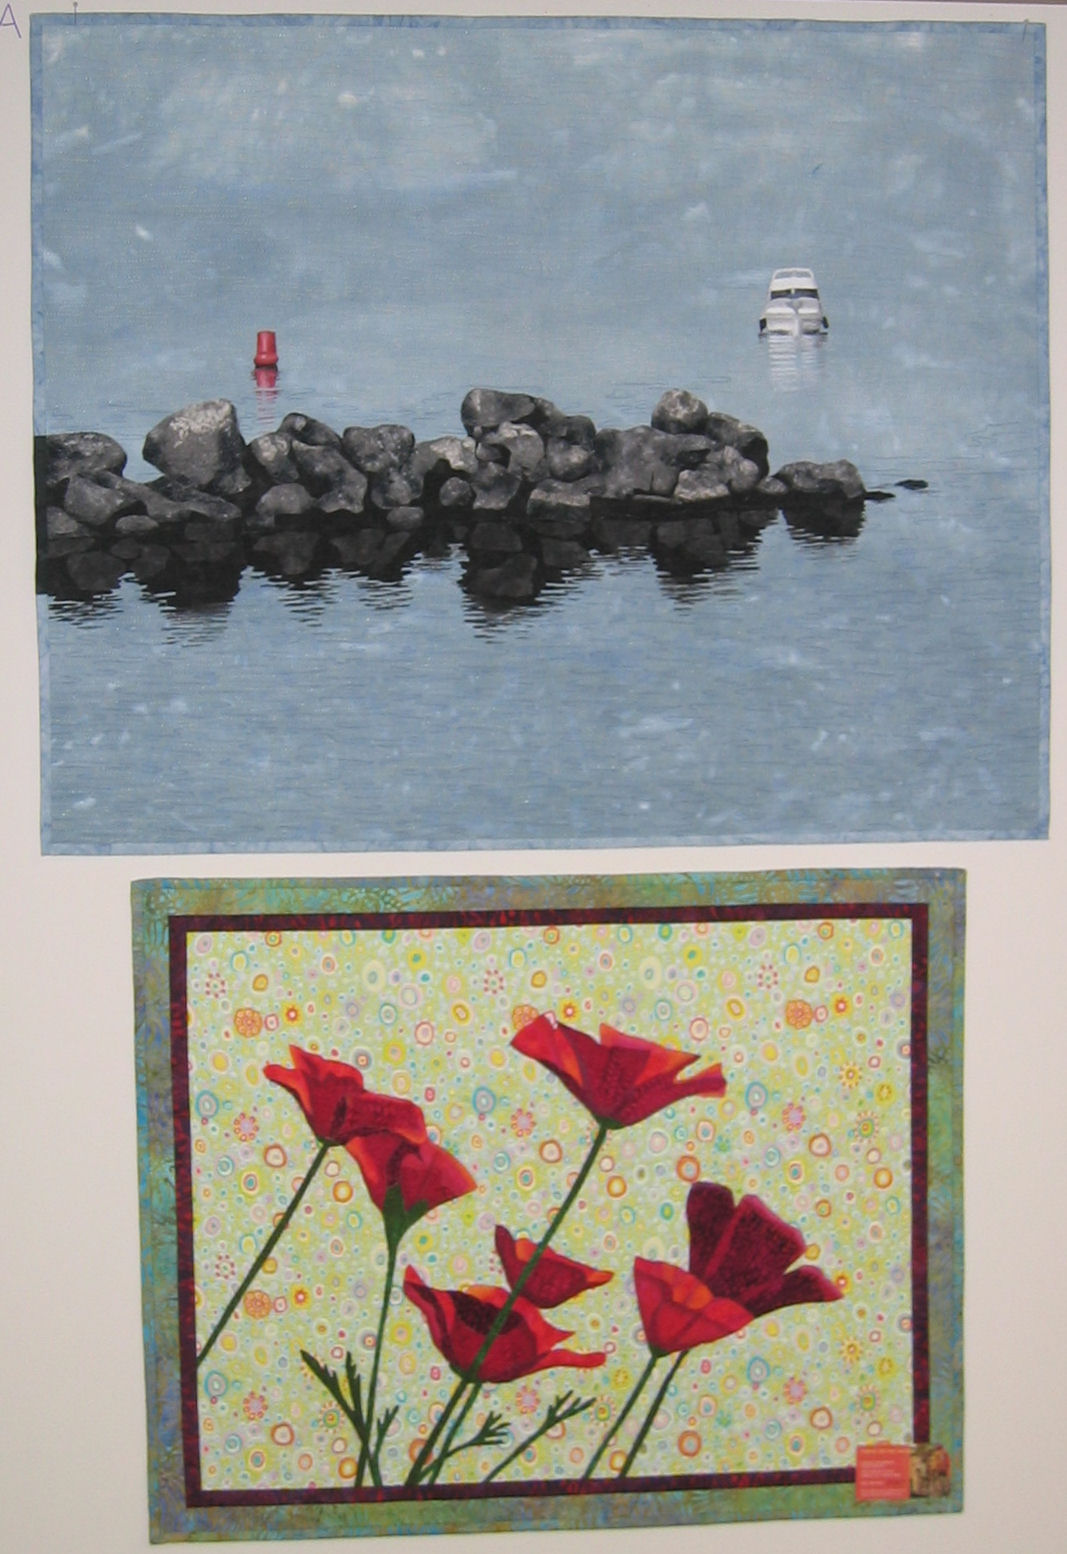
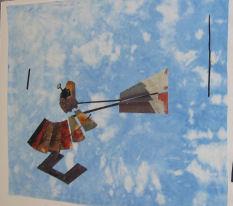
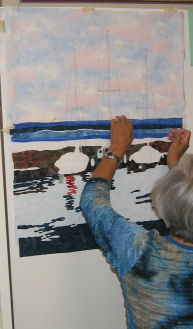
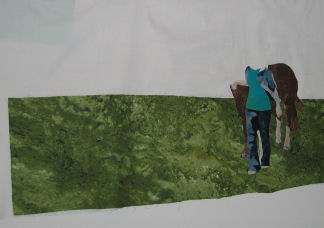
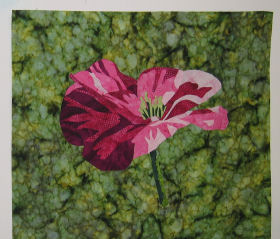
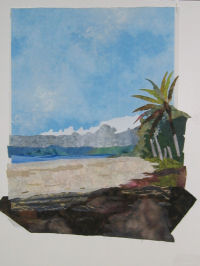
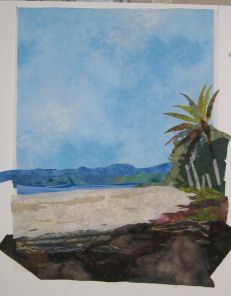
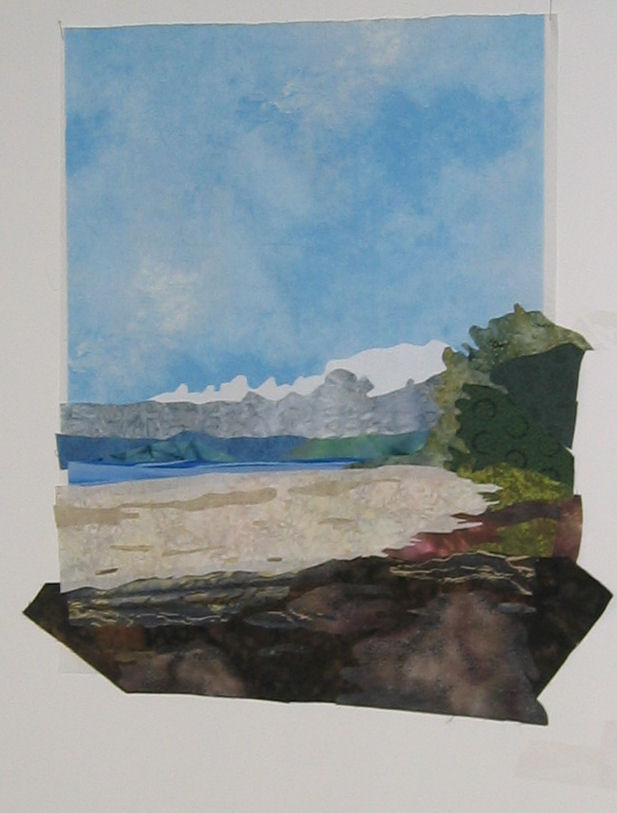
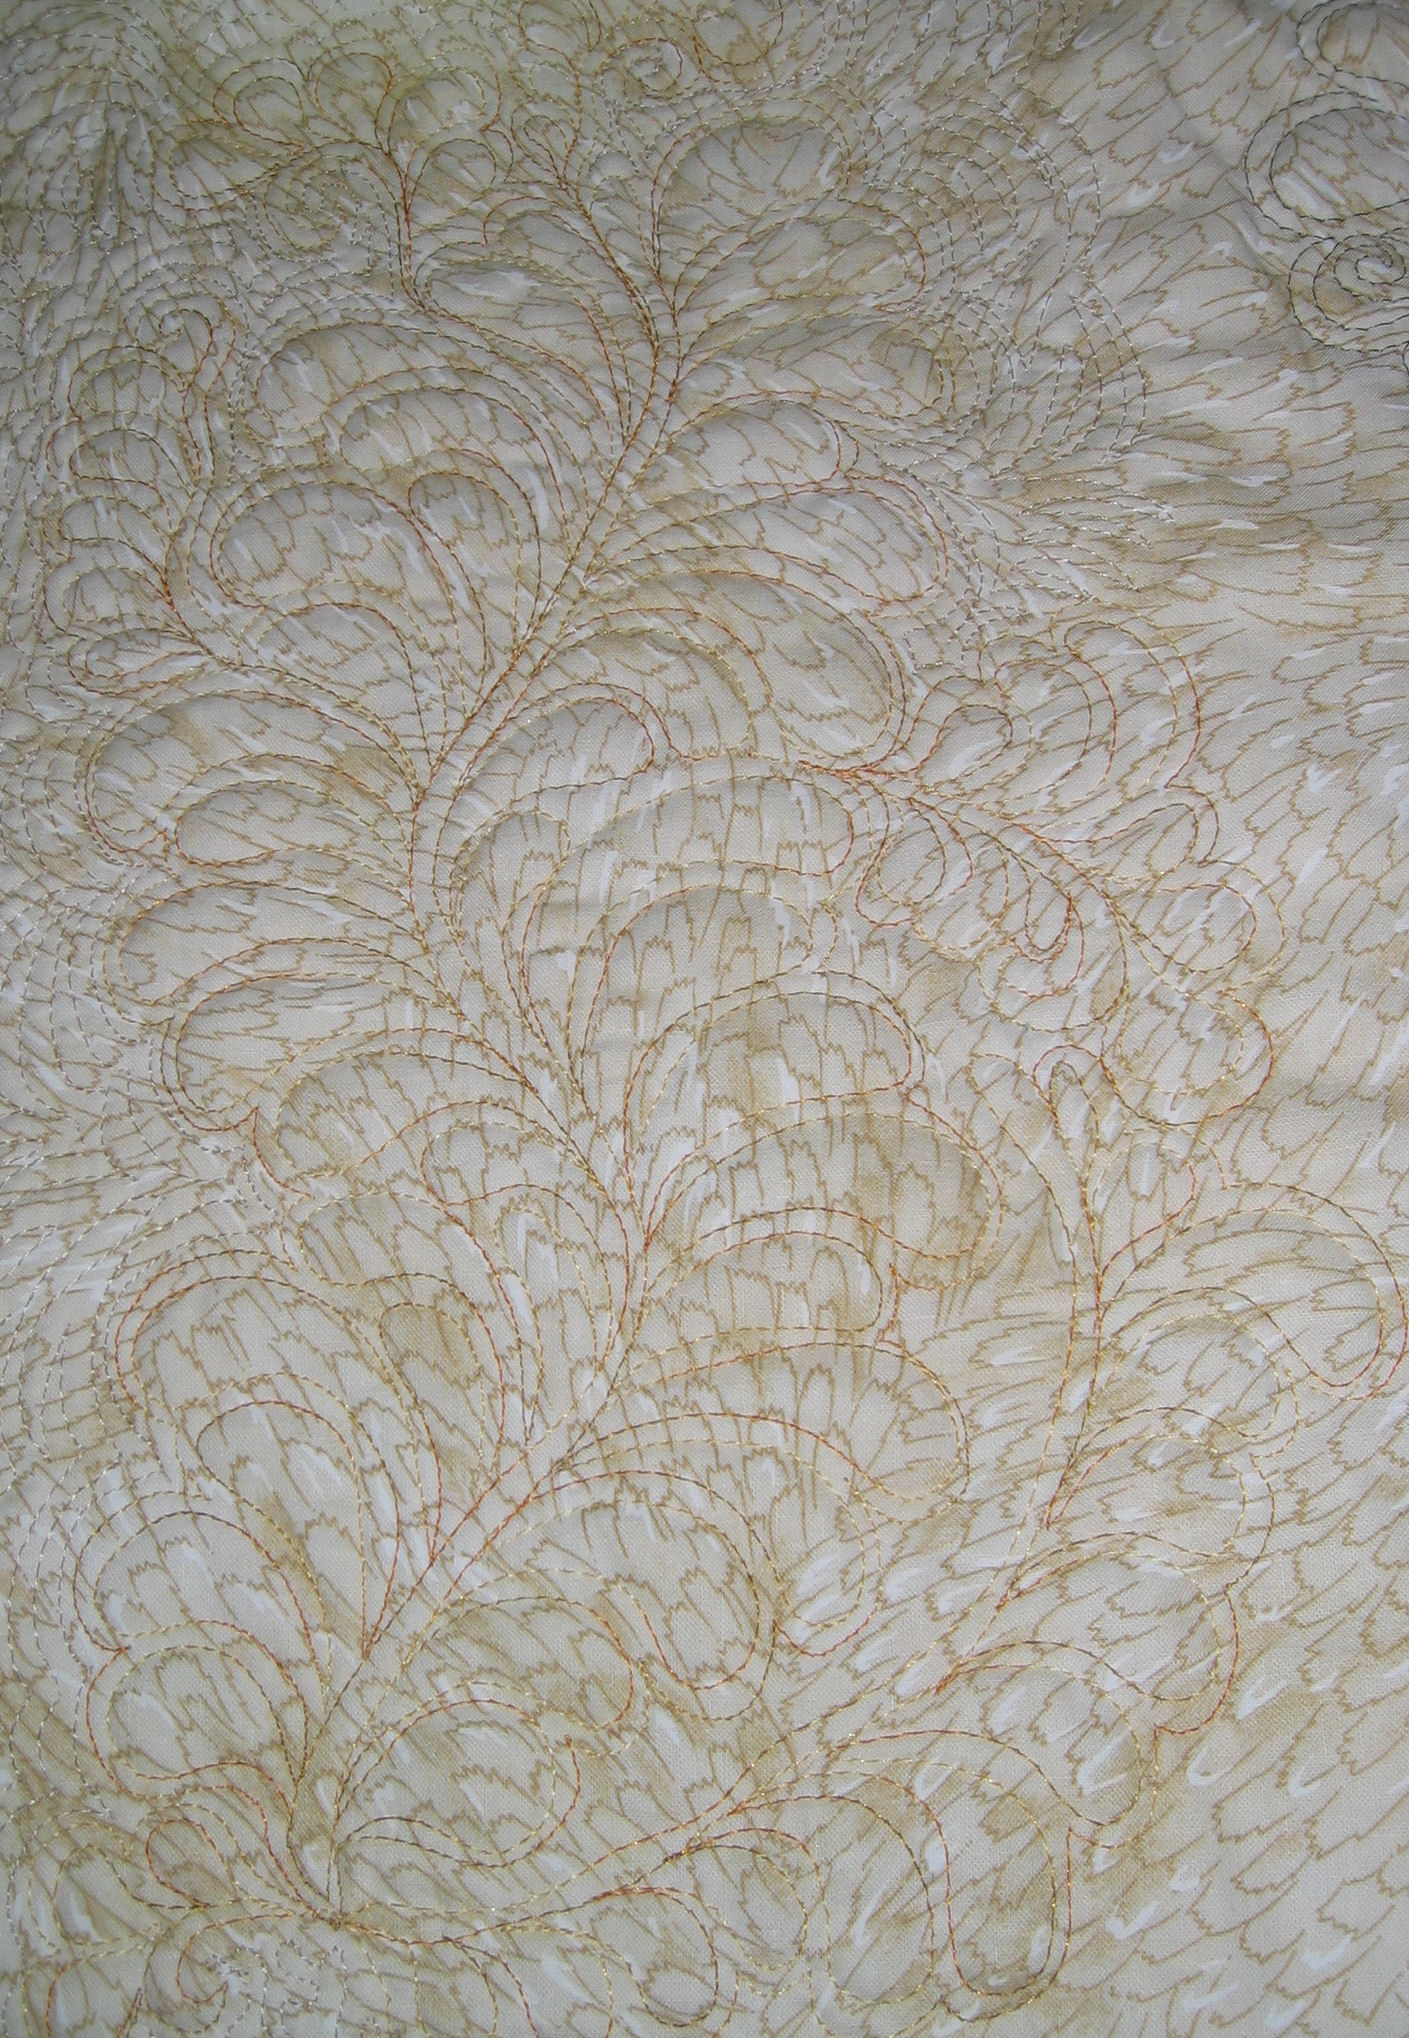
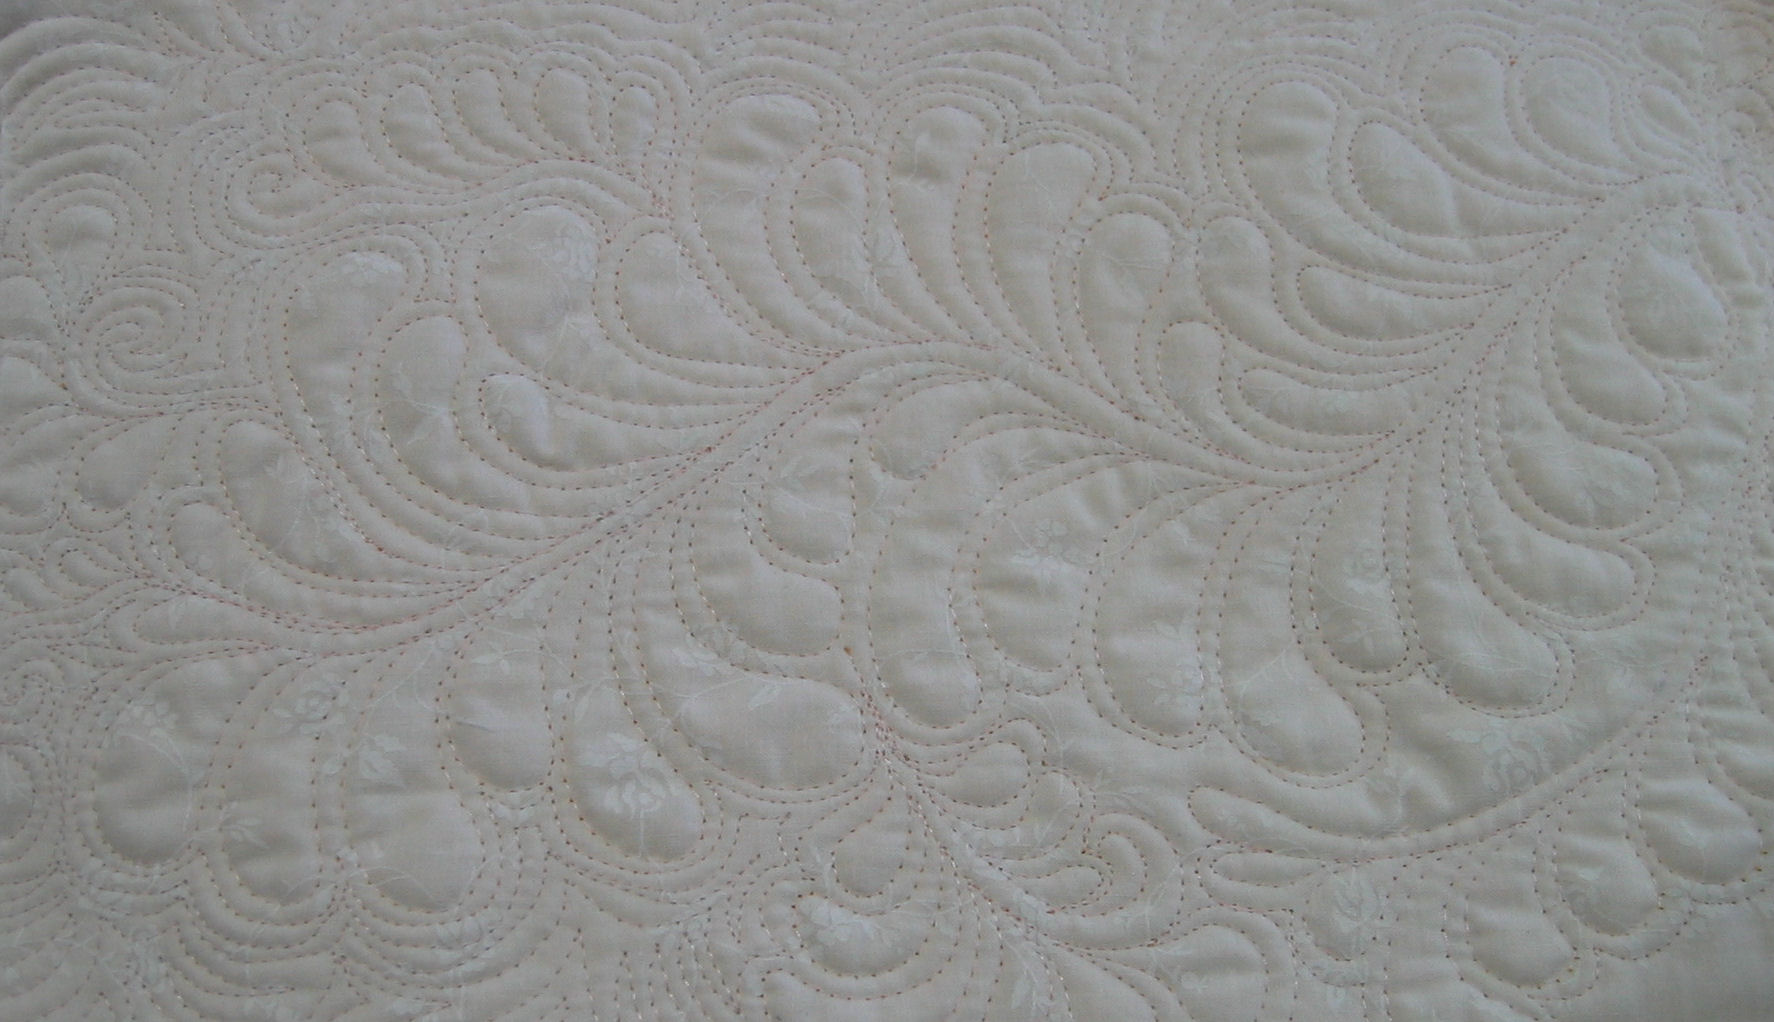
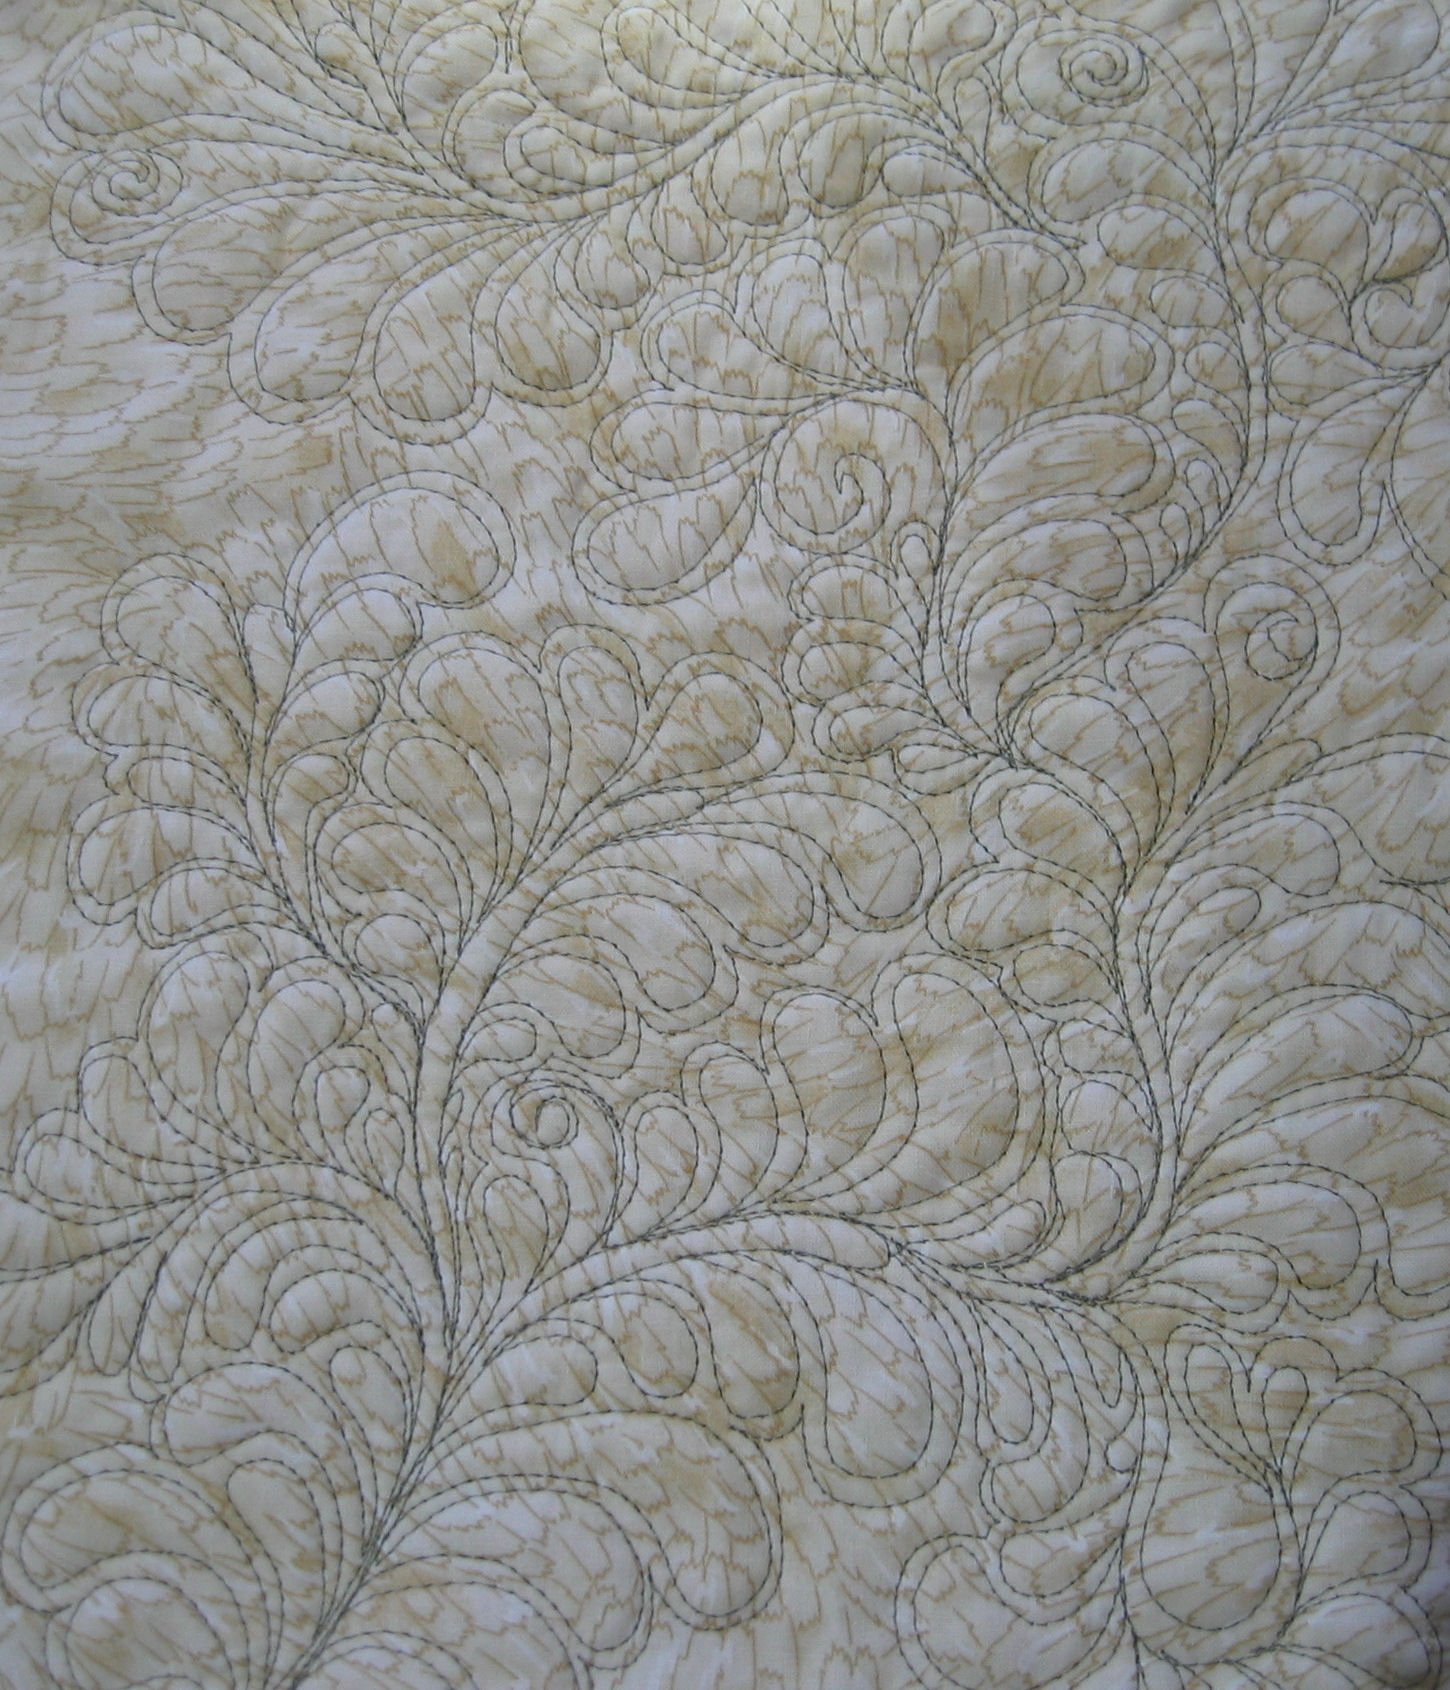
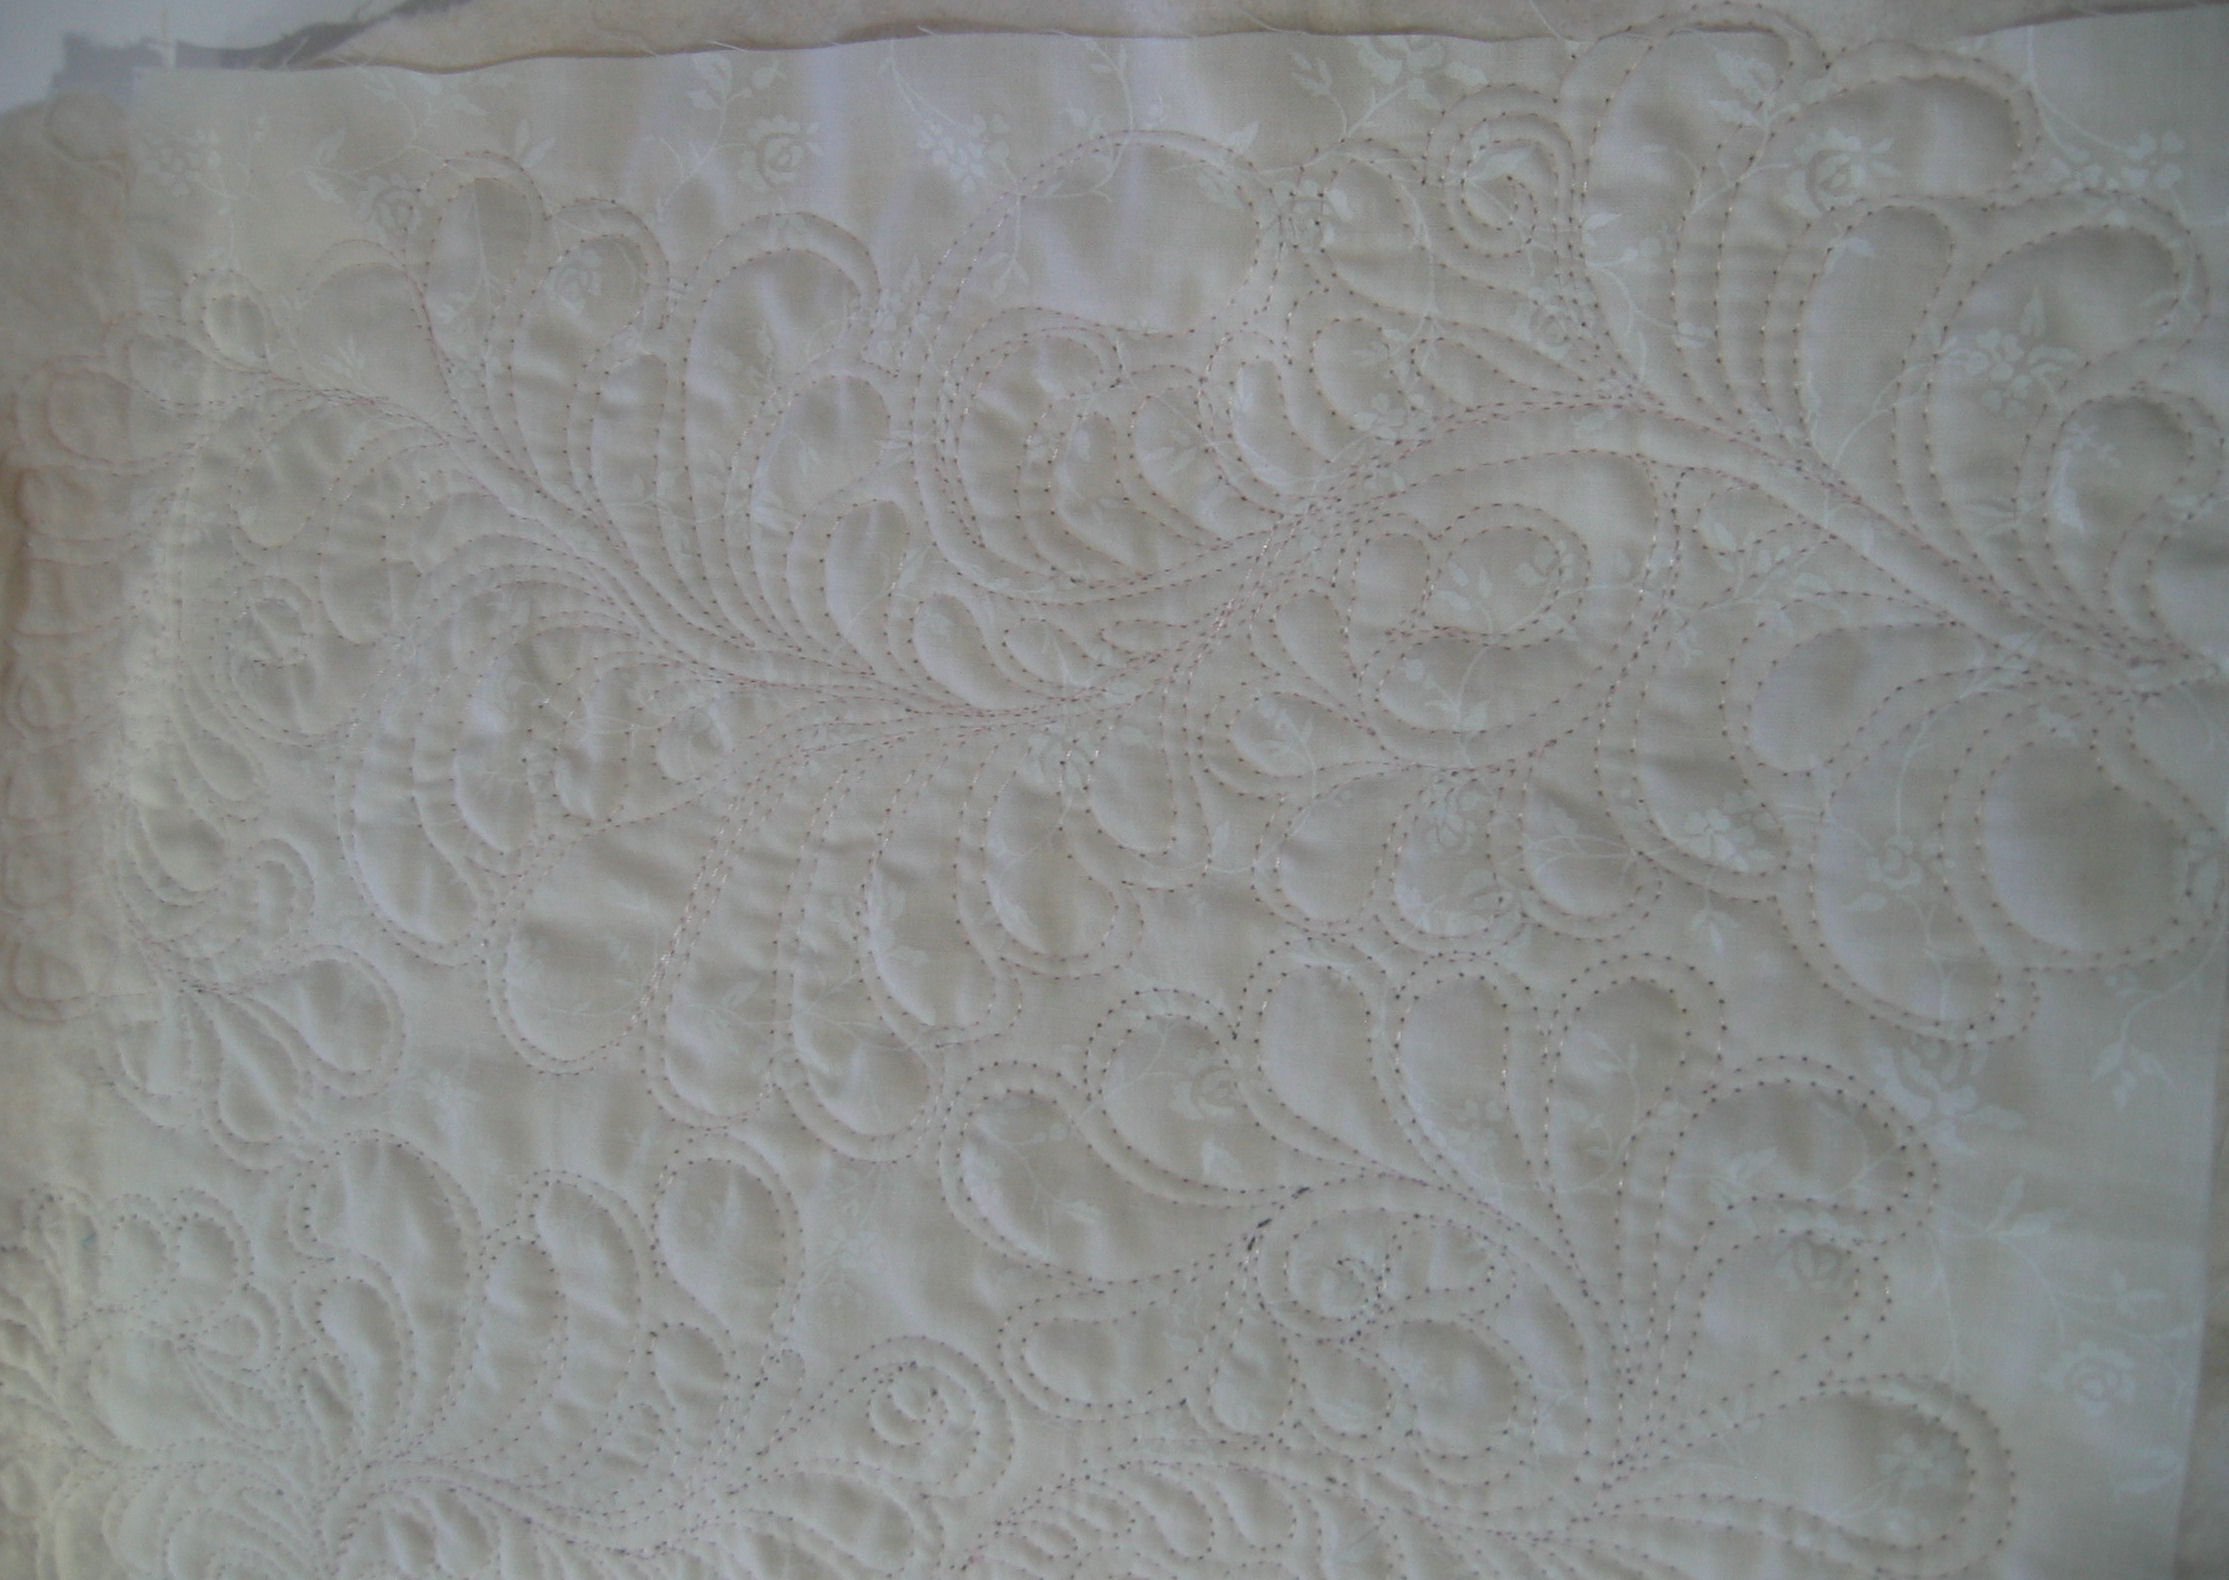
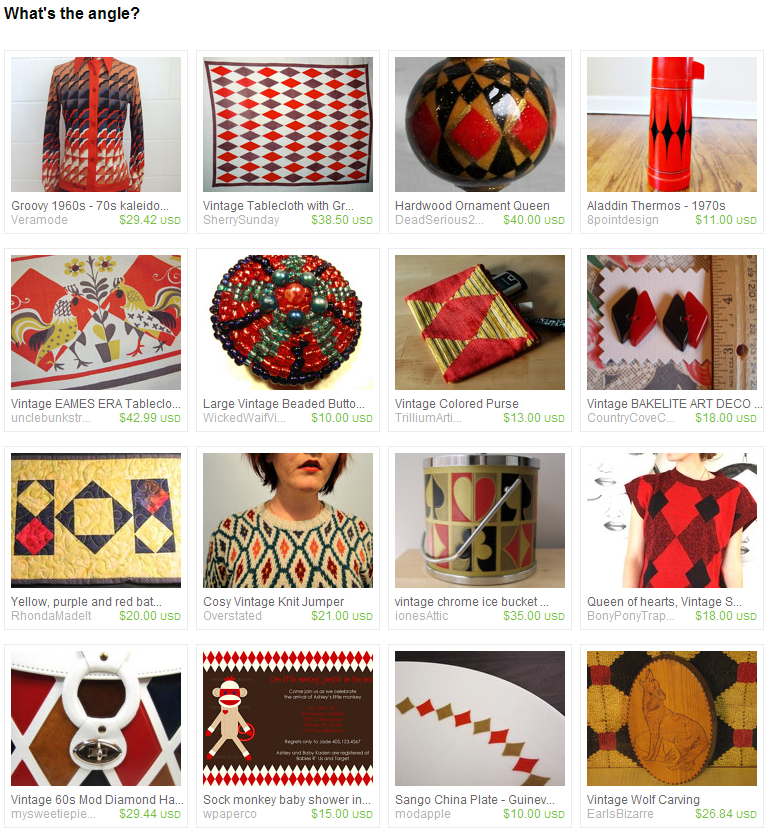
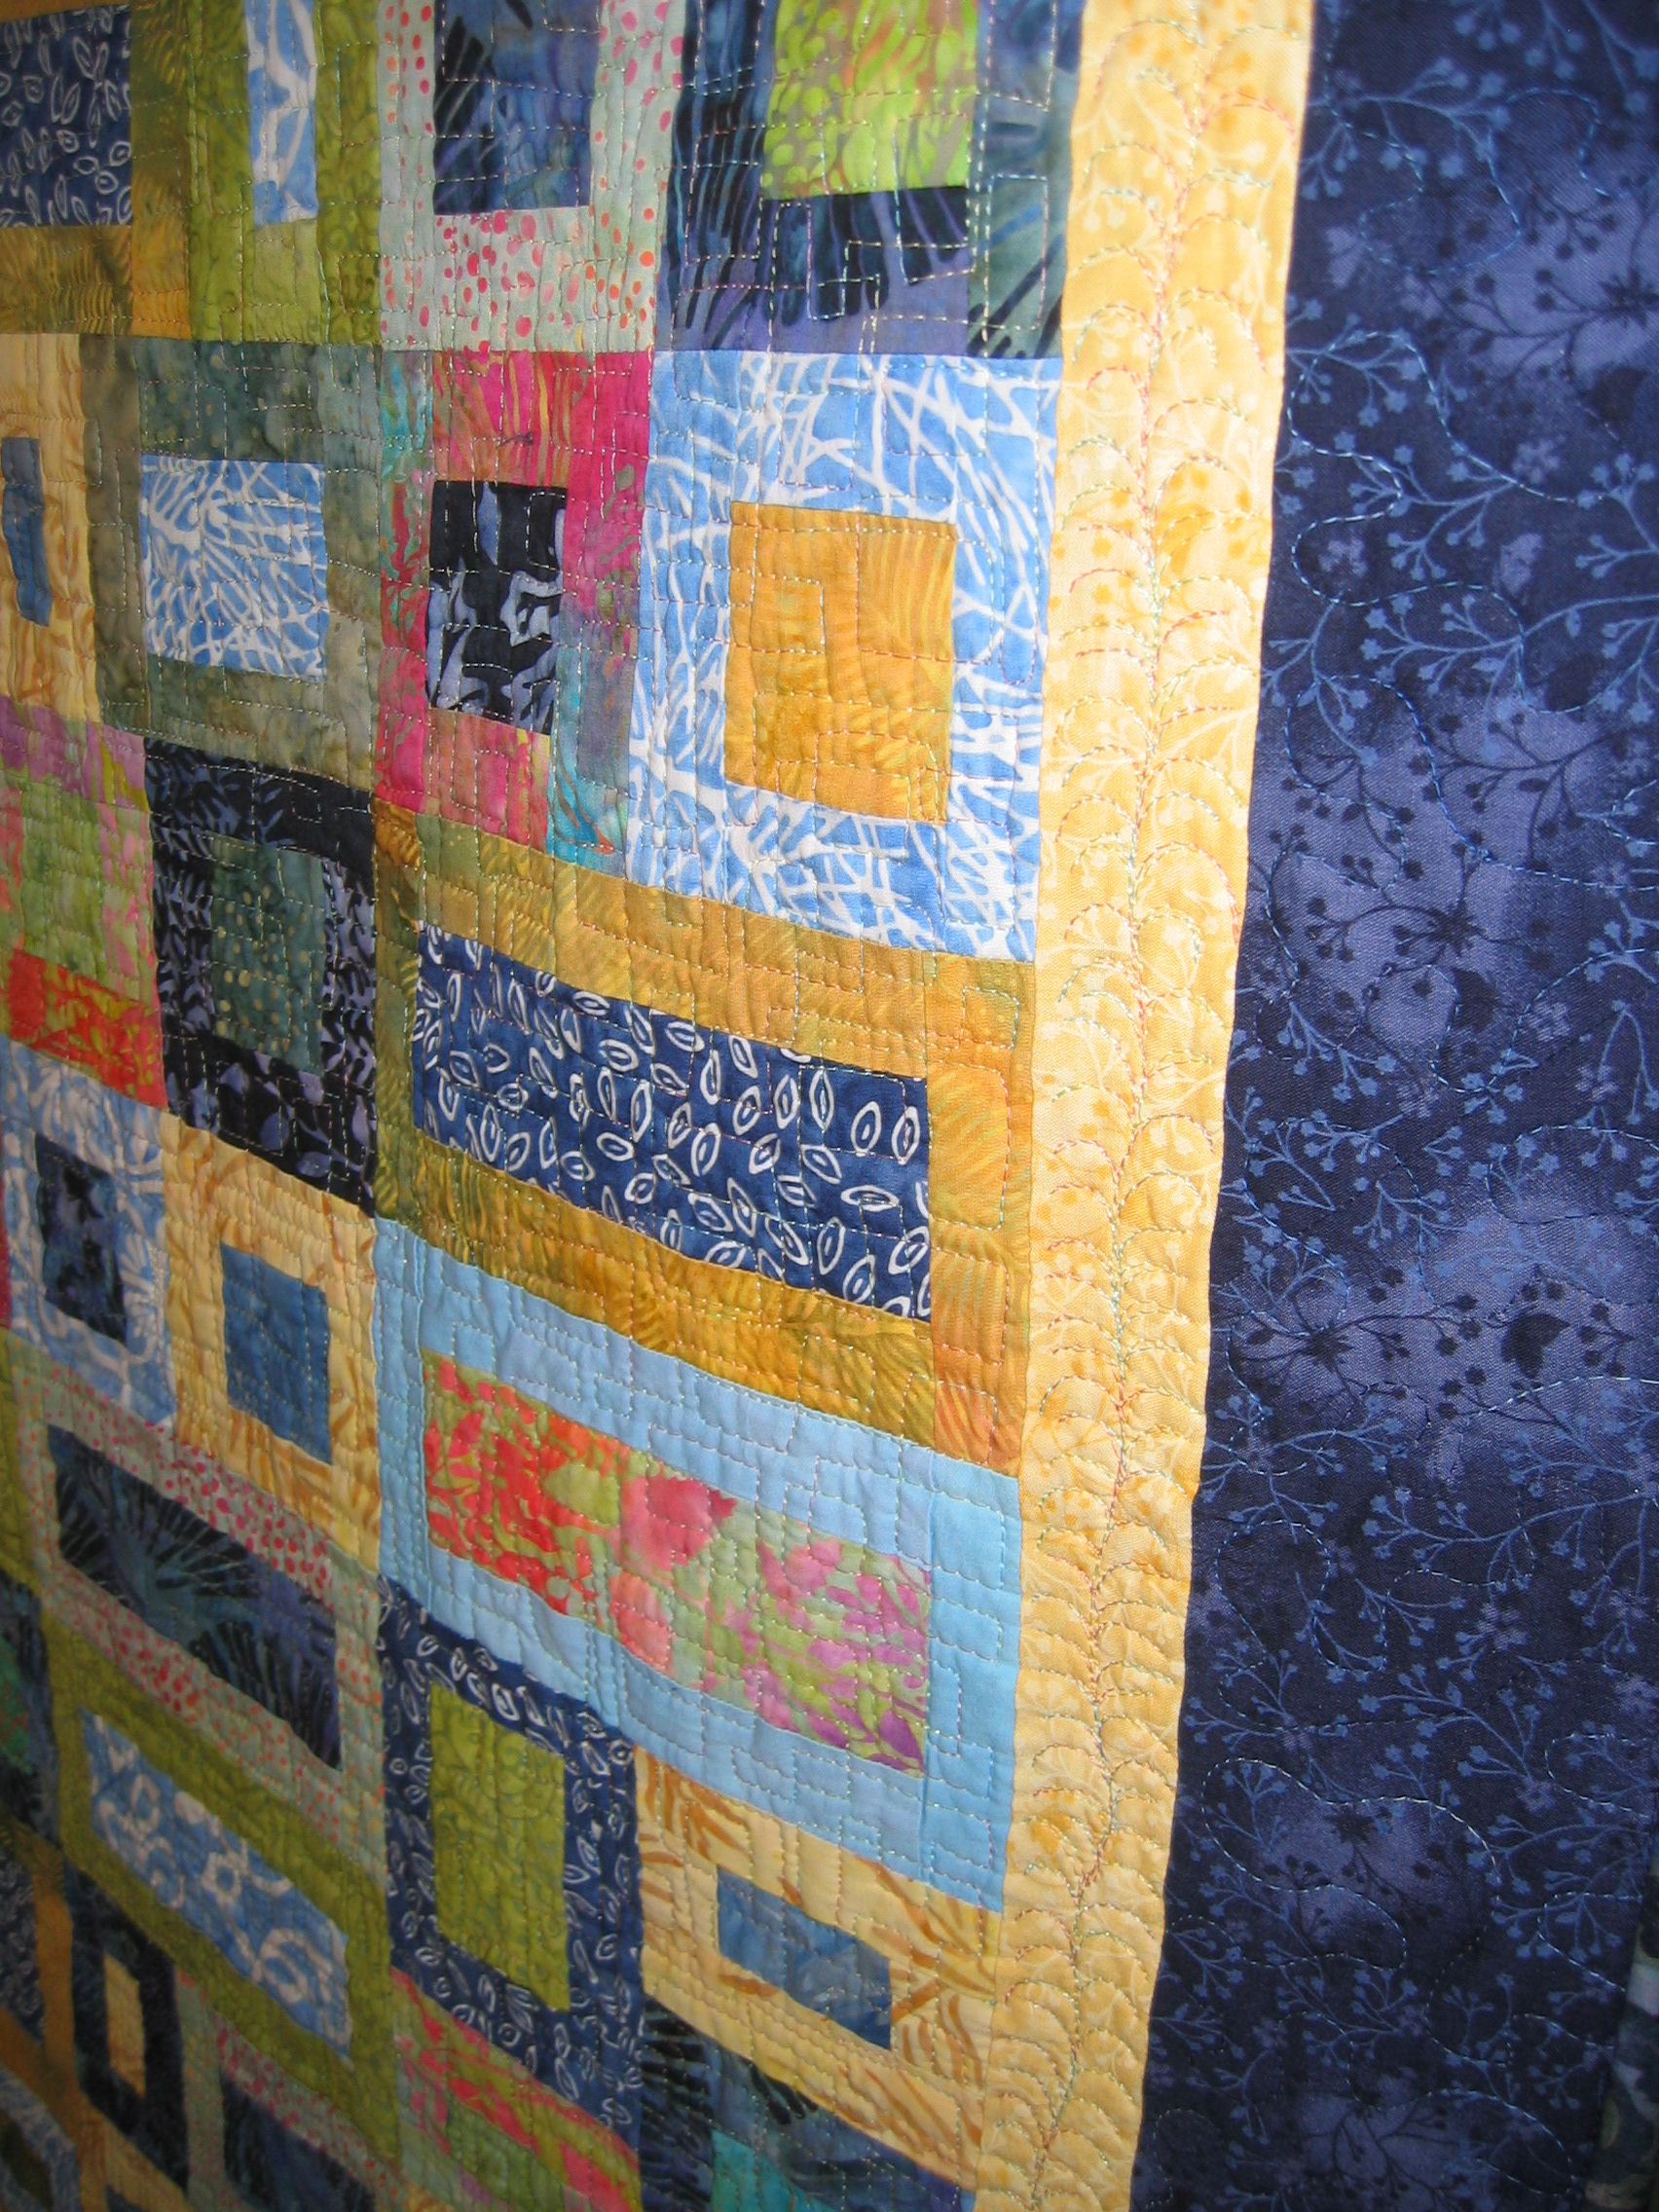
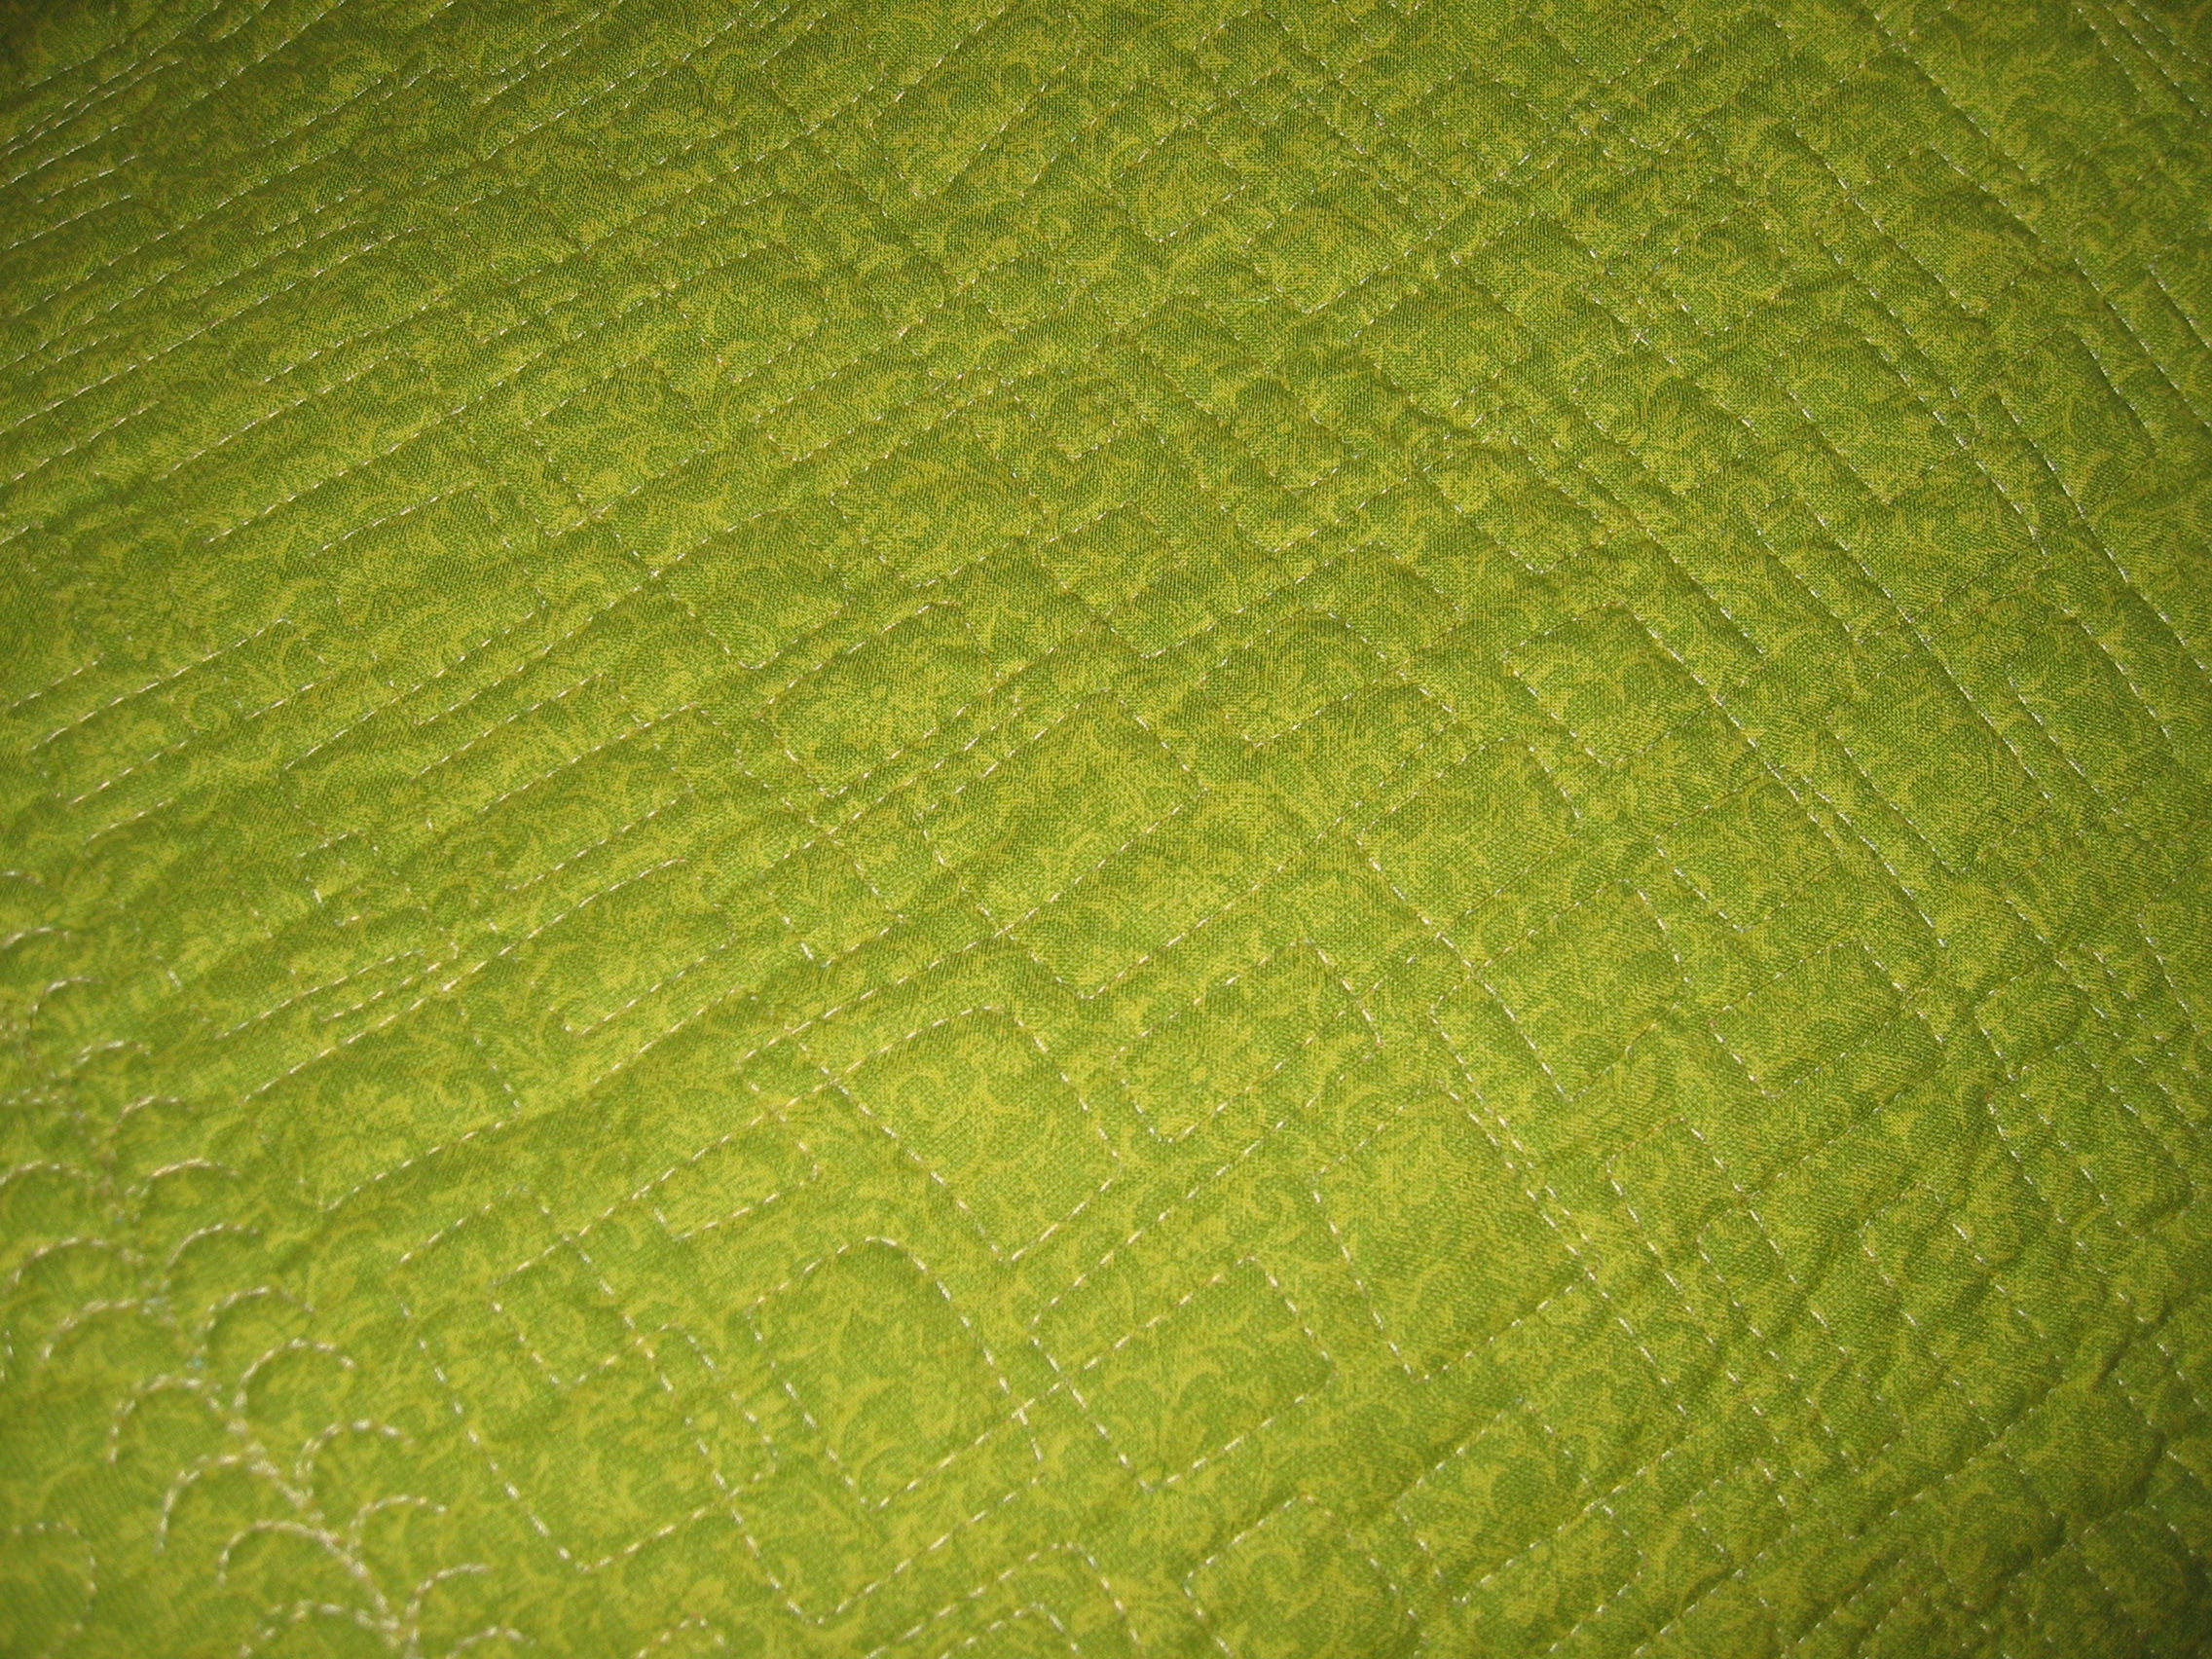
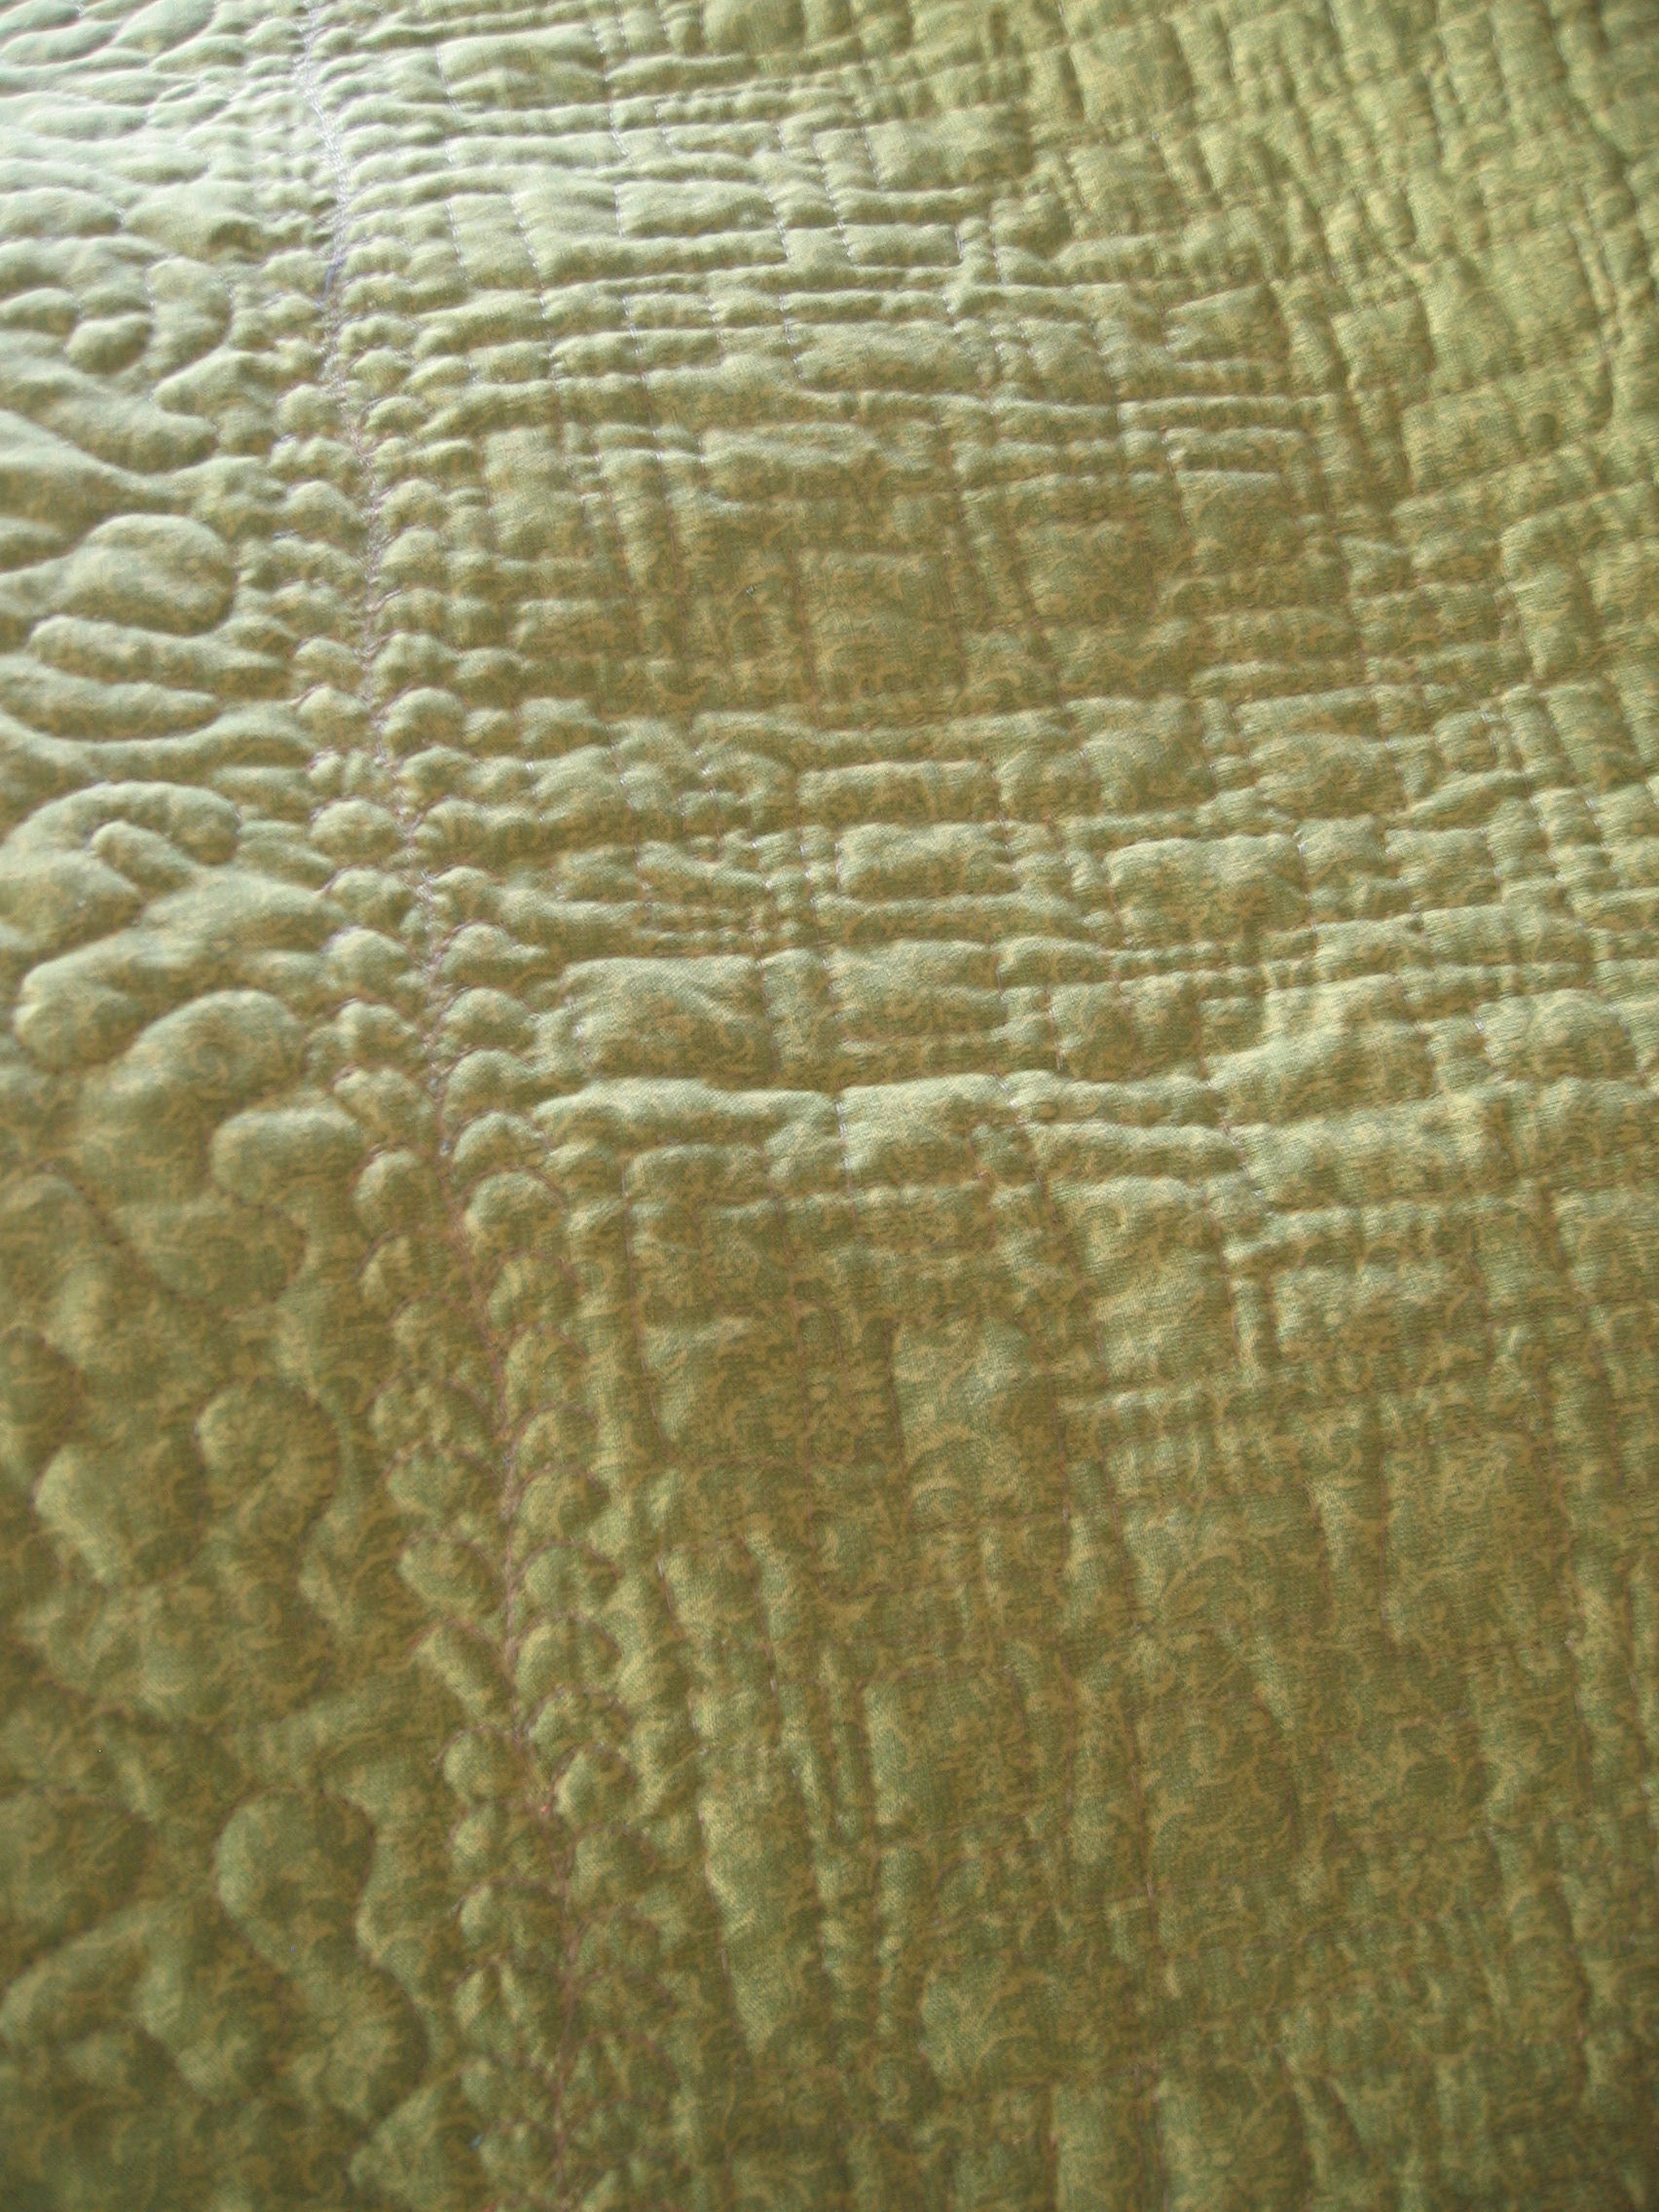
Click on the small photos to see them larger; the first ones (the completed ones!) are some of Lenore’s work — the others are the work of those in my group, and mine:


Quilting Adventures Spring Seminar: Day 3: 6 March 2012

7 03 2012

Tuesday 6 March 2012

Another busy day! And again, I was running on very little sleep. I’m not happy that I’m four days in to my trip and still have jet lag. I’m usually well and truly over it by now. It’s not that I’m tired during the day — I’m not; it’s just that I can’t get to sleep at night until well after 2 am and I’m barely getting 4 hours sleep, sometimes less, and often very broken sleep. I feel wrecked.

Today we continued working on our projects, so there’s not a lot to report except that we’ve all made a lot of progress from yesterday! This is a LONG SLOW process, and while the end result may be sensational, I probably won’t use it much as it takes WAY too much time. But it’s good to learn a new technique as it will always get incorporated into another art quilt at a later date.

Lunch was hamburger, char-grilled skinless chicken breast, salad, and hamburger buns (if you wanted to make your own burger — I passed on the bun and dessert, just sticking with the meat and salad). Dinner was oven-roasted stuffed pork loin with broccoli and some other sort of vegetable gratin thing that had corn in it, salad, and cheesecake.

After dinner, two of the instructors — Vikki Pignatelli and Lenore Crawford — did a ‘retrospective’ of their work, which was most interesting.

I decided not to work on my piece tonight (yes, quite a few of the ladies will sew well into the wee small hours), but instead get these blog posts and photos loaded, catch up on email, and have an early night in the HOPE that I can drop off to sleep as readily as I do at home 😉

Click on a small photo to see it larger. You can see my project’s progress from morning to the end of the day.


Quilting Adventures Spring Seminar: Day 2: 5 March 2012

7 03 2012

Monday 5 March 2012

Phew! What a day!

After sleeping a broken 4 hours last night, I woke after 7:00 am and rushed around like a mad thing to get showered and to breakfast by 7:30 am. With all the chatting (these ladies are REALLY friendly), I didn’t leave breakfast until well after 8:30, just enough time to clean my teeth before the workshops started at 9:00 am.

For most of the morning, Lenore was in charge — we had a slide presentation from her about the changing emphasis in her quilting, the techniques we were going to learn, and some more pictures of her amazing quilts. After a short break late in the morning, she discussed each person’s chosen photo and the good and bad elements of each — where we might be likely to have trouble, where she suggested we paint instead of use tiny bits of fabric, etc. It was really enlightening seeing other people’s photos and hearing how Lenore would tackle each one.

After the break, she demonstrated the first steps in drafting our pattern from our photo, making it all look too easy!

Lunch was really healthy — lots of salad veges, raw vegetable sticks, some optional chopped meats (turkey and ham I think), optional dressings, and two soups. Oh, and brownies for dessert, but I was good and didn’t have one! My aim is not to put on any weight while I’m in the US, which is always much harder than it sounds.

In the afternoon we got started on our pieces. I got my pattern drafted onto plastic, then freezer paper, then on to the muslin base.

And I chose my sky fabric and ground fabric, and some of the other fabrics. I fused the sky fabric to the muslin using MistyFuse (excellent stuff!) and I cut out my first pattern piece. Tomorrow should see us doing much more as we’ll have the whole day to work on our projects.

After we’d finished for the day, there were drinks and lots of laughs in the courtyard, followed by dinner (skinless chicken breast, wild rice, and stir-fried veges — another healthy meal; there were also two soups to choose from, and carrot cake for dessert).

Tonight was ‘show and tell’ of student pieces started in previous years at a Quilting Adventures Seminar. Wow! What a selection, and what talent and creativity on display. Each piece was held up and the person who made it explained a bit about it, such as which class/tutor they had, which year, anything special about its creation, etc. Kim also got me to show the quilt I’ve bought with me for another purpose, and that got a lot of oohs and ahs — and a big belly laugh too! (can’t tell you much about that quilt yet…).

The only dampener on the day was the inability to connect to the internet. I’ve supposedly got WiFi connection, but it’s not working. It finally worked on my phone, but still not on the computer, so I won’t be uploading these blog posts and photos until I get connected. The guy at the T Bar M Resort was most helpful, and has offered me a workaround if I can’t get connected tomorrow.

One final thing… I am blown away by the contrast in the welcoming nature and friendliness of the Quilting Adventures team, and all the students. While I enjoyed most of last year’s 3-day Eleanor Burns Quilting Academy, one of my big complaints was the lack of a general introductory welcome, and a lack of group activities that brought the group together as versus something that was another ‘talk at’ type session. These Texan ladies have really shown how wonderful a workshop can be (an experience like I’ve had at retreats that Michelle Pearson from Handcrafters House in Midland, Western Australia has organised). This personal touch has NOTHING to do with price. You can’t put a price on being friendly and welcoming. These things cost nothing, but when they’re absent, it’s noticeable.

Even after only a day and a bit, already I’d come back in future years if I was in the vicinity at the time one of their seminars was held.

And now it’s time for bed!

Click on a small photo to show it larger.


Quilting Adventures Spring Seminar: Day 1: 4 March 2012

7 03 2012

Sunday 4 March 2012

I found the venue for the quilting workshops — the T Bar M Resort, just outside New Braunfels. Gorgeous location and grounds. I checked in to my room, then went to check out where we had to register for the workshops etc. Kim (one of the organisers) welcomed me with a big hug (we’ve chatted quite a bit via email) and the ladies at ‘The Quilt Haus’ store knew who I was too, as they are hiring me a machine for the week. What a pleasant welcome!

I chose a table in the room where I’ll be spending the rest of the week, and started setting up my gear, including the loan Elna sewing machine (brand new — it will become a demo model for the store once I’ve finished with it). I met a few of the other ladies in my workshop (it looks like there are about 15 of them). Then it was time for drinks, where I met a few more ladies who are in different workshops. GOOD Margaritas, with plenty of tequila! 😉

After drinks was a Texas BBQ dinner (not an open fire BBQ — more BBQ-style beef [brisket?] and chicken and a HOT sauce). Delicious.

Then we had a general session for everyone — I counted about 45 people including the instructors, who will be spread over 5 different workshops. I cracked a special mention for coming the furthest! Most of the ladies are from Texas, with a few from further afield, such as Oklahoma City, Florida, Connecticut, Mississippi, and Kentucky.

After the general session we went to our workshop rooms, where our instructors for the week did a 30-minute intro session. My workshop is with Lenore Crawford, and I got to look at some of her amazing quilts close up.

Then it was back to my room to write up this post, upload my photos (click on a small photo to see it larger), and to TRY to get more than 2.5 hours sleep, which is all I’ve had the past two nights… Damned jet lag…. (Actually, I didn’t upload this blog post or pictures until Tuesday night, which when I first got internet access that worked).

Click on a small photo to show it larger.


2012 FMQ Challenge: February: more feathers…

12 02 2012

This is my second go at feathers…

I’d seen the lovely pieces done by other participants in the FMQ Challenge on Facebook. Those that really stood out were stitched on satins and similar shiny fabrics. They photographed really well. So this afternoon I hunted out an ancient (30 years old?) piece of blue shiny fabric (like Shantung silk, but it wasn’t) and created some more feathers.

This time I nested the feathers (perhaps I should call it ‘Feathering the nest’?) and didn’t do any fill other than the echo quilting around each feather. I really liked the effect on the shiny fabric. I’ll probably cut this piece up and make a clutch out of it, similar to those I have in my Etsy store.

The thread I used was Superior Rainbows variegated 40 wt thread in a blue/teal/aqua.

To see a photo in full size, click it.

(the back)


2012 FMQ Challenge: February

5 02 2012

Nothing like throwing us in the deep end! 😉 This month’s FMQ challenge was from Diane Gaudynski, and it was feathers!! Feathers aren’t that hard to do, but they are terrifying for most beginning FMQ’ers — me included — which is why I was surprised they were put so early in the year. However, there could be a good reason for that — I reckon if beginning FMQ’ers can handle feathers, they’ll have the confidence to tackle pretty much anything.

Fortunately, I’ve been doing free-motion feathers in some shape or form for the past 12 months, and nearly all my feathers have been based on Diane’s method. I find them very therapeutic to do, as her method means you don’t have to travel over existing lines or think about ‘where to from here’. I struggled with feathers until I purchased and read her book.

So to this month’s challenge… After a string of horrendously hot days when going into the sewing room would’ve been like entering an oven, finally we had a most glorious day today, with a maximum of about 25C. It was time to follow Dian’s instructions exactly and practice my feathers!

I ended up doing three practice pieces on the one long quilt sandwich — one using a variegated Guterman Sulky rayon thread, one using a dark Robison-Anton rayon thread (so you can see the stitching in the photo!), and one using a neutral Madeira rayon thread. Despite using these different threads, the back shows the quilting much better than the front!

All quilting was done on my HQ Sweet Sixteen.

Here are some of the photos I took after I’d finished (click on a small image to show it much larger):


2012 FMQ Challenge: January

7 01 2012

I had fun practising free motion leaves, the first ‘lesson’ in the 2012 FMQ Challenge.

I think I improved, and I enjoyed trying some thread enhancements I’d never done before.

I used my Handi Quilter Sweet Sixteen to do the quilting, and except for the final practice piece, all practice sandwiches were done on off-white sheeting, with some offcut cotton or bamboo batting (I can’t remember which as I made these practice sandwiches ages ago!). The bobbin thread in all cases was a soft pink Deco-Bob.

Here are my practice pieces, with a little about each. Click a picture to see it in full size.

Practice piece 1

My first attempt; dark green rayon thread:

Front:

Back:

Practice piece 2

I enhanced this piece with some echo quilting; same dark green rayon thread as first piece.

Front:

Back:

Practice piece 3

I elongated these leaves so they were more like eucalypt leaves, and made them stand out by flattening the background with very tight bubbles (a la Susan Brubaker Knapp’s approach). Dark green rayon thread with an off-white Deco-Bob thread for the bubbles.

Front:

Back:

Practice piece 4

To avoid getting into a ‘leaves are green’ mindset, I used a purple rayon thread (Robison Anton) for the base leaves. I then went around them loosely with a fluoro orange thread (Mettler?), then again with a variegated metal thread with copper, gold, red, and green in it (Guterman?). I then used a lighter green rayon thread (Mettler) to echo the leaves and make them puff out a bit more.

Front:

Practice piece 5

Still sticking with the ‘leaves aren’t always green’ theme, I decided to do some elongated leaves in a blue and tan variegated cotton thread (Superior?), then went around them with an aqua blue variegated thread (Rainbows), then I used a silver metallic thread (Wonderfil) for the stems and veins of the leaves ONLY, then followed that with tiny bubbles in the same silver thread. I quite liked how this turned out and call it my ‘Blue Gum’ piece!

Front:

Triptych of practice pieces — #3, 4, and 5 (right to left); each section measures about 5 x 6 inches.

Practice piece 6

My final piece. I decided to get away from the off-white fabric and used a large scrap of bright pink cotton I’ve had for 25+ years! I just stitched basic leaves, but in silver to show the effect of metallic thread (Wonderfil) on a plain background.

Front:

Back:

Grayscale:

I changed the photo to grayscale to show the stitching in metallic thread as the bright pink fabric doesn’t photograph well.

So there you have it — January’s challenge completed!


Etsy Treasuries #75 to #118

24 12 2011

I’ve been very slack about putting up screen shots of Etsy Treasuries my items have been featured in. In fact, it’s March 2011 since I put up a gallery!

So here they are (click on a small image to show it full size):


Cost of craft work

6 11 2011

For my most recent quilt, I sort of kept track of my fabric and thread usage and time and got a BIG surprise:

  • 16x batik fat quarters (@ ~$7 each = $112; offcuts of this fabric made the binding)
  • 2.5 metres backing fabric (@$22 per metre = $55)
  • 0.5 metres yellow border fabric (@$22 per metre = $11)
  • 1 metre blue border fabric (@ $22 metre = $22)
  • 500 metres Superior thread ($15)
  • 500 metres bobbin thread (~$10)
  • 2.5 metres bamboo batting (@ ~$30 metre = $75)
  • Pattern from Four Paws Quilting (~$10)

So, the supplies alone for this lap quilt cost a surprising $310!!! PLEASE NOTE: Australian fabric prices are more than double what people in the US pay. We pay between $22 and $30 a metre for fabric (compared to the US prices of $9 to $12 a yard [2013 prices]), and at least $6 for a fat quarter. Our prices for batting, backing and thread are also much more expensive than US prices.

Time taken (approximately):

  • Choosing main fabrics and ironing them prior to cutting: 1 hour
  • Figuring out pattern instructions: 1 hour
  • Cutting main fabrics: 3 hours
  • Sewing top together: 8 hours
  • Choosing, ironing, cutting and sewing on border and binding fabrics: 3 hours
  • Sewing extra blocks into backing fabric: 1 hour
  • Laying out the three layers and pin basting: 2 hours
  • Quilting on the HandiQuilter Sweet Sixteen: 10 hours (some 84,000 stitches!)
  • Final ironing, squaring up, trimming ready for binding: 1 hour
  • Adding binding (all by machine): 1.5 hours

Total time (approximately): 31.5 hours

I didn’t count electricity usage (sewing machine, quilting machine, iron, room lights) or amortisation of the costs of the sewing or quilting machine, or factor in annual servicing for both, or attendance at courses/retreats to learn new techniques.

If I charged $20/hour for the time taken (that’s less than a cleaner makes in Australia!), the base cost of this quilt would be $940 ($630 labour + $310 supplies), before looking at any profit. Adding a 25% profit margin would make this quilt $1253! I just can’t see anyone paying $1250 for a lap quilt.

Let’s do some more sums, assuming fixed costs for the supplies ($310) and a fixed profit margin (25%) but changing the labour rate:

Wow! I’m charging WAY too little for my quilts on Etsy. That said, people still baulk at more than $100 for a lap quilt. As you can see from the above, the supplies alone cost more than $300, without factoring in time or profit.

After all that, this quilt is going to a friend as a gift. That’s my choice.

But I tell you what, after looking at the real costs of making a quilt, I won’t be quitting my day job any time soon. I’d be going backwards trying to compete with some of the prices on Etsy, and would be getting nothing for my time, let alone any profit margin. I can’t see how someone can make a lap quilt and sell it for $100, unless they are getting the fabric for nothing and have a team of slaves elves to help them.

It’s all so very depressing… How can an artist/craftsperson make a living doing their craft? How can they charge a fair price for their labour, so that they aren’t in the poor house, yet the customer feels they are getting value for money?

See also:


Blue, yellow and green all over – new quilt

6 11 2011

Today I finished a lap quilt that I started last weekend. I used a pattern I’d been meaning to try for some time — it reminded me a little of a Gustav Klimt painting. (The pattern is ‘Surrounded’ from Four Paws Quilting: https://fourpawsquilting.com/pages/patterns.html)

I haven’t made a quilt from a pattern for ages, so this required a bit more discipline than I’m used to 😉 That said, I did adapt and modify a little… The pattern required 8 different fabrics in half-yard pieces, but I didn’t have much in half-yard lengths, so I used 16 fat quarters instead. All batiks (except the border and backing fabrics, which were cotton). I chose a blue/yellow/green theme and I’m quite pleased with how it came out.

To echo the very geometric nature of this quilt, I free motion quilted the main top with squares/rectangles in one continuous line using a pastel variegated thread in yellow, pinks, greens and blues, then did a sort of curly grass motif in the yellow border with the same thread, and a large meandering stipple in the blue border in a dark blue variegated thread.

When I finished making the blocks, I found I had two left over, so I incorporated them in the back of the quilt. I like that they add a touch of interest to what would otherwise be a pretty boring back!

Click the thumbnails below to see an image in larger size, then click again to zoom in to see the stitching etc.

This quilt is going to a friend, but I kept track of my costs and got very depressed…