Jelly Roll Race

20 01 2013

I keep looking this up on YouTube, so figured I’d link to it on my blog so I don’t have to remember where to find it πŸ˜‰

I might sew one of these today…

The main part starts at about 2 minutes in.

Later the same day…

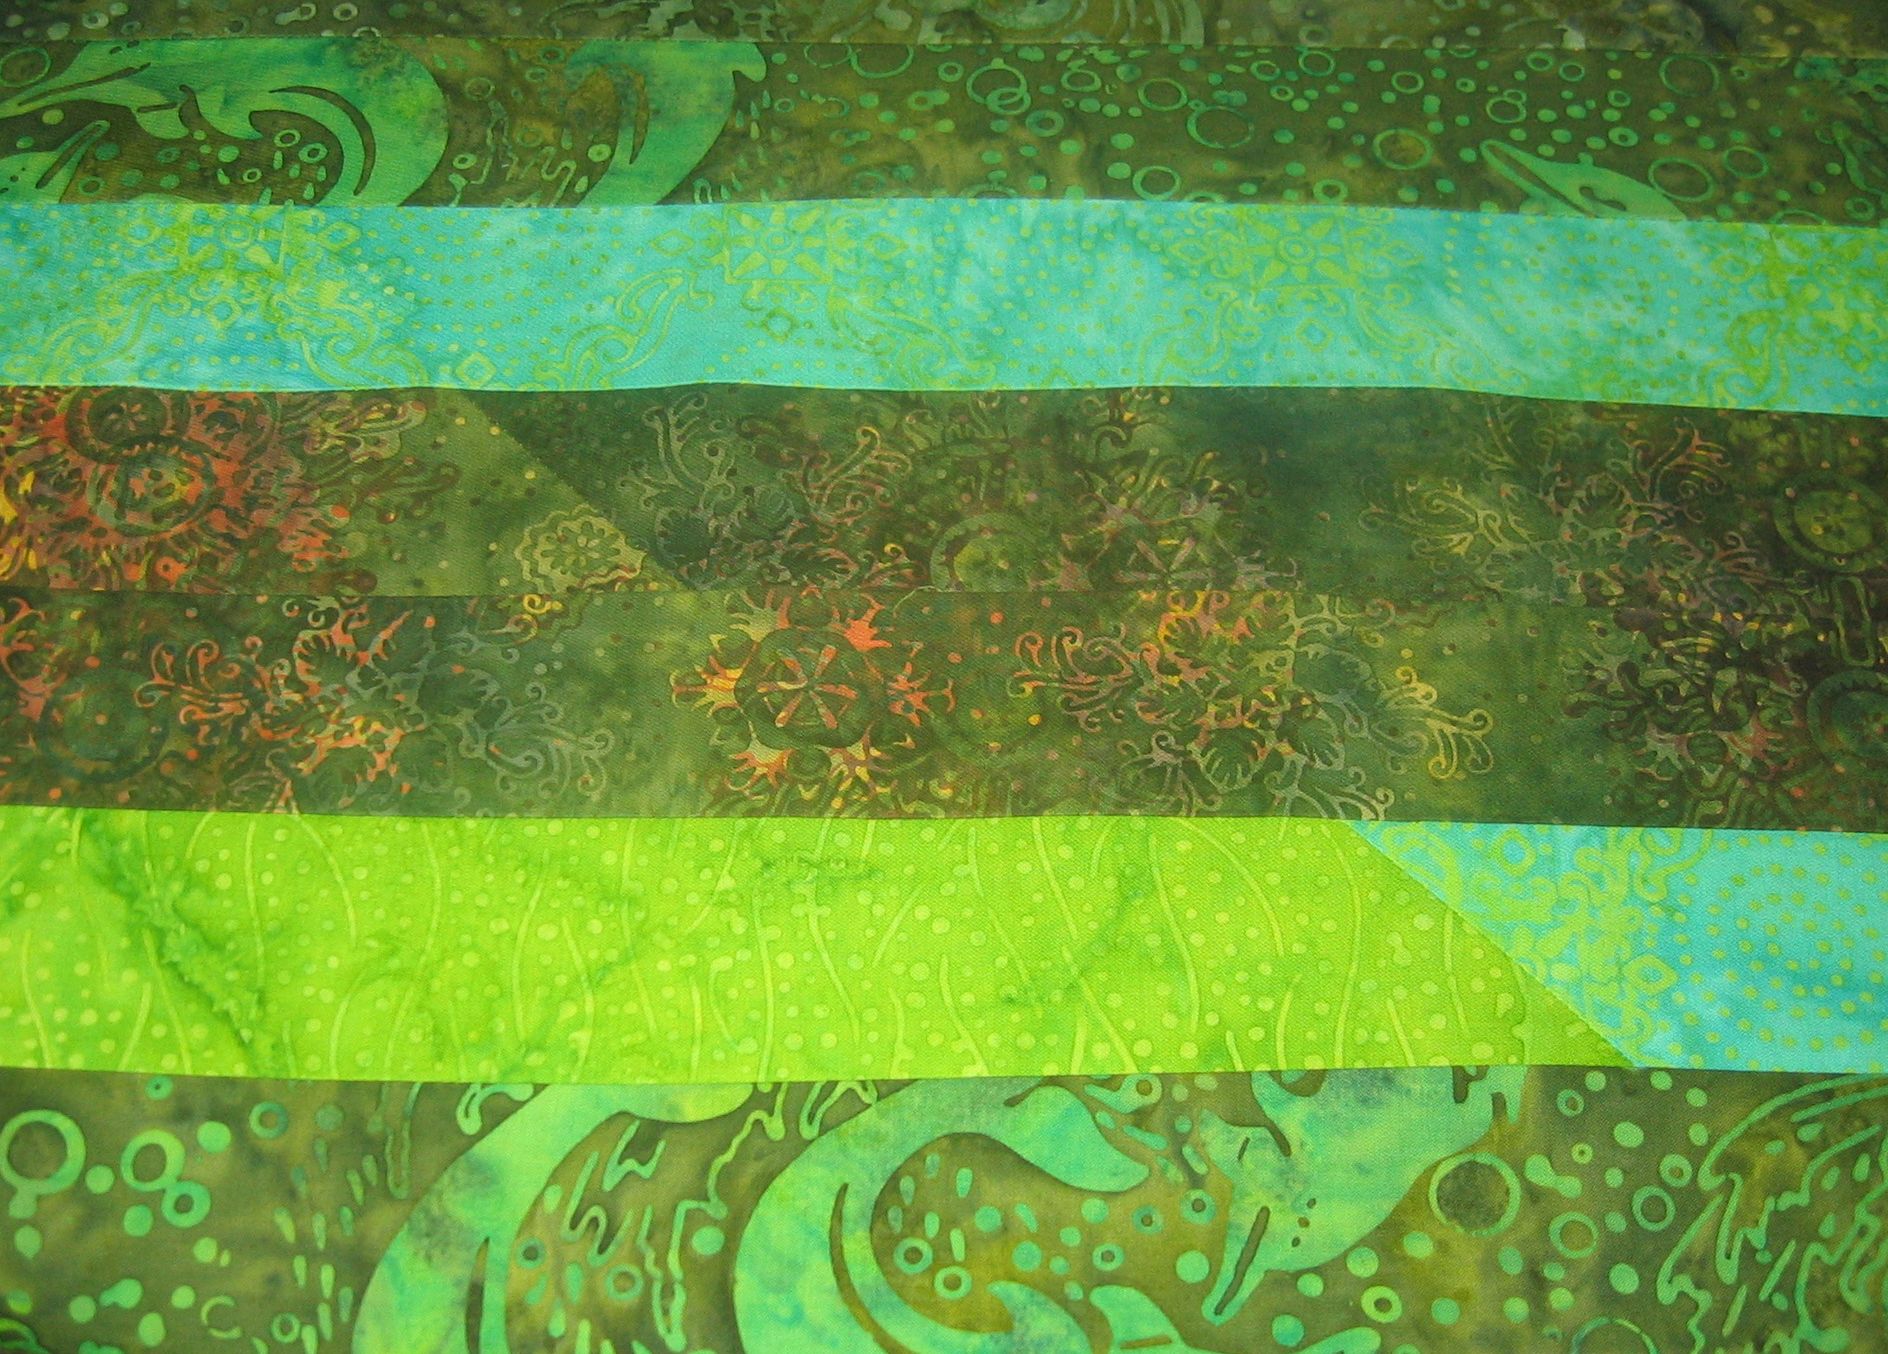
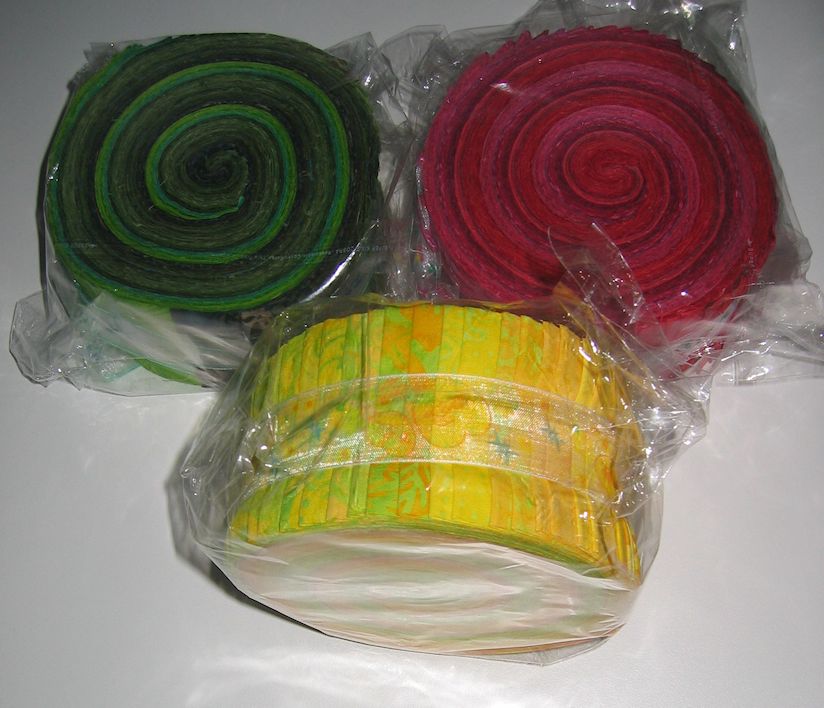
I had a green batik jelly roll I picked up in Bali last September. I have three baby quilts to make, so thought I’d use this technique and that jelly roll for the quilt tops.

batiks07


Here’s all those strips sewn into one long 1600″ strip:

green_jelly_roll01

However, I was disappointed in the final result.

I think there were a couple of reasons — the jelly roll seemed to have a lot of medium and dark fabrics and not many lights, and the technique of just grabbing them off the roll in the order they were in meant that like colours were stitched together giving double strips of the same fabric; even where different fabrics were joined, the contrast wasn’t enough to be noticeable (see picture below where there are two strips that have joins).

green_jelly_roll02

Had I realised this earlier, I might have started again and mixed in the pink jelly roll strips with the green (the yellow is to be used for something else) or deliberately picked a light, then medium, then dark, the light again etc. instead of stitching them straight off the roll as per the instructions in the video.

While this took me longer than an hour (probably about two hours), it was a very quick way to make a quilt top. I have enough to make four baby quilt tops, but as I’m not happy with the effect (I just got stripes, not that slashing effect that you see in the video), I may well use what I made as the backs for the baby quilts. And as I’ve sewn and cut down the finished top to about 25″ wide, I’ll use one of the clever techniques for backs that Elizabeth Hartman shares on her free Craftsy lesson to make the backs a bit bigger: http://www.craftsy.com/class/creative-quilt-backs/117

I was glad I tried this technique and would use it again, but next time I’ll be more careful about the fabric contrasts in the jelly roll and perhaps pick and choose what fabric goes with what, instead of just doing them in the order they are on the roll.

Update: There’s a new Jelly Roll Race video, showing how to add little squares between the ends of each jelly roll strip:


Community Quilt 56

15 01 2013

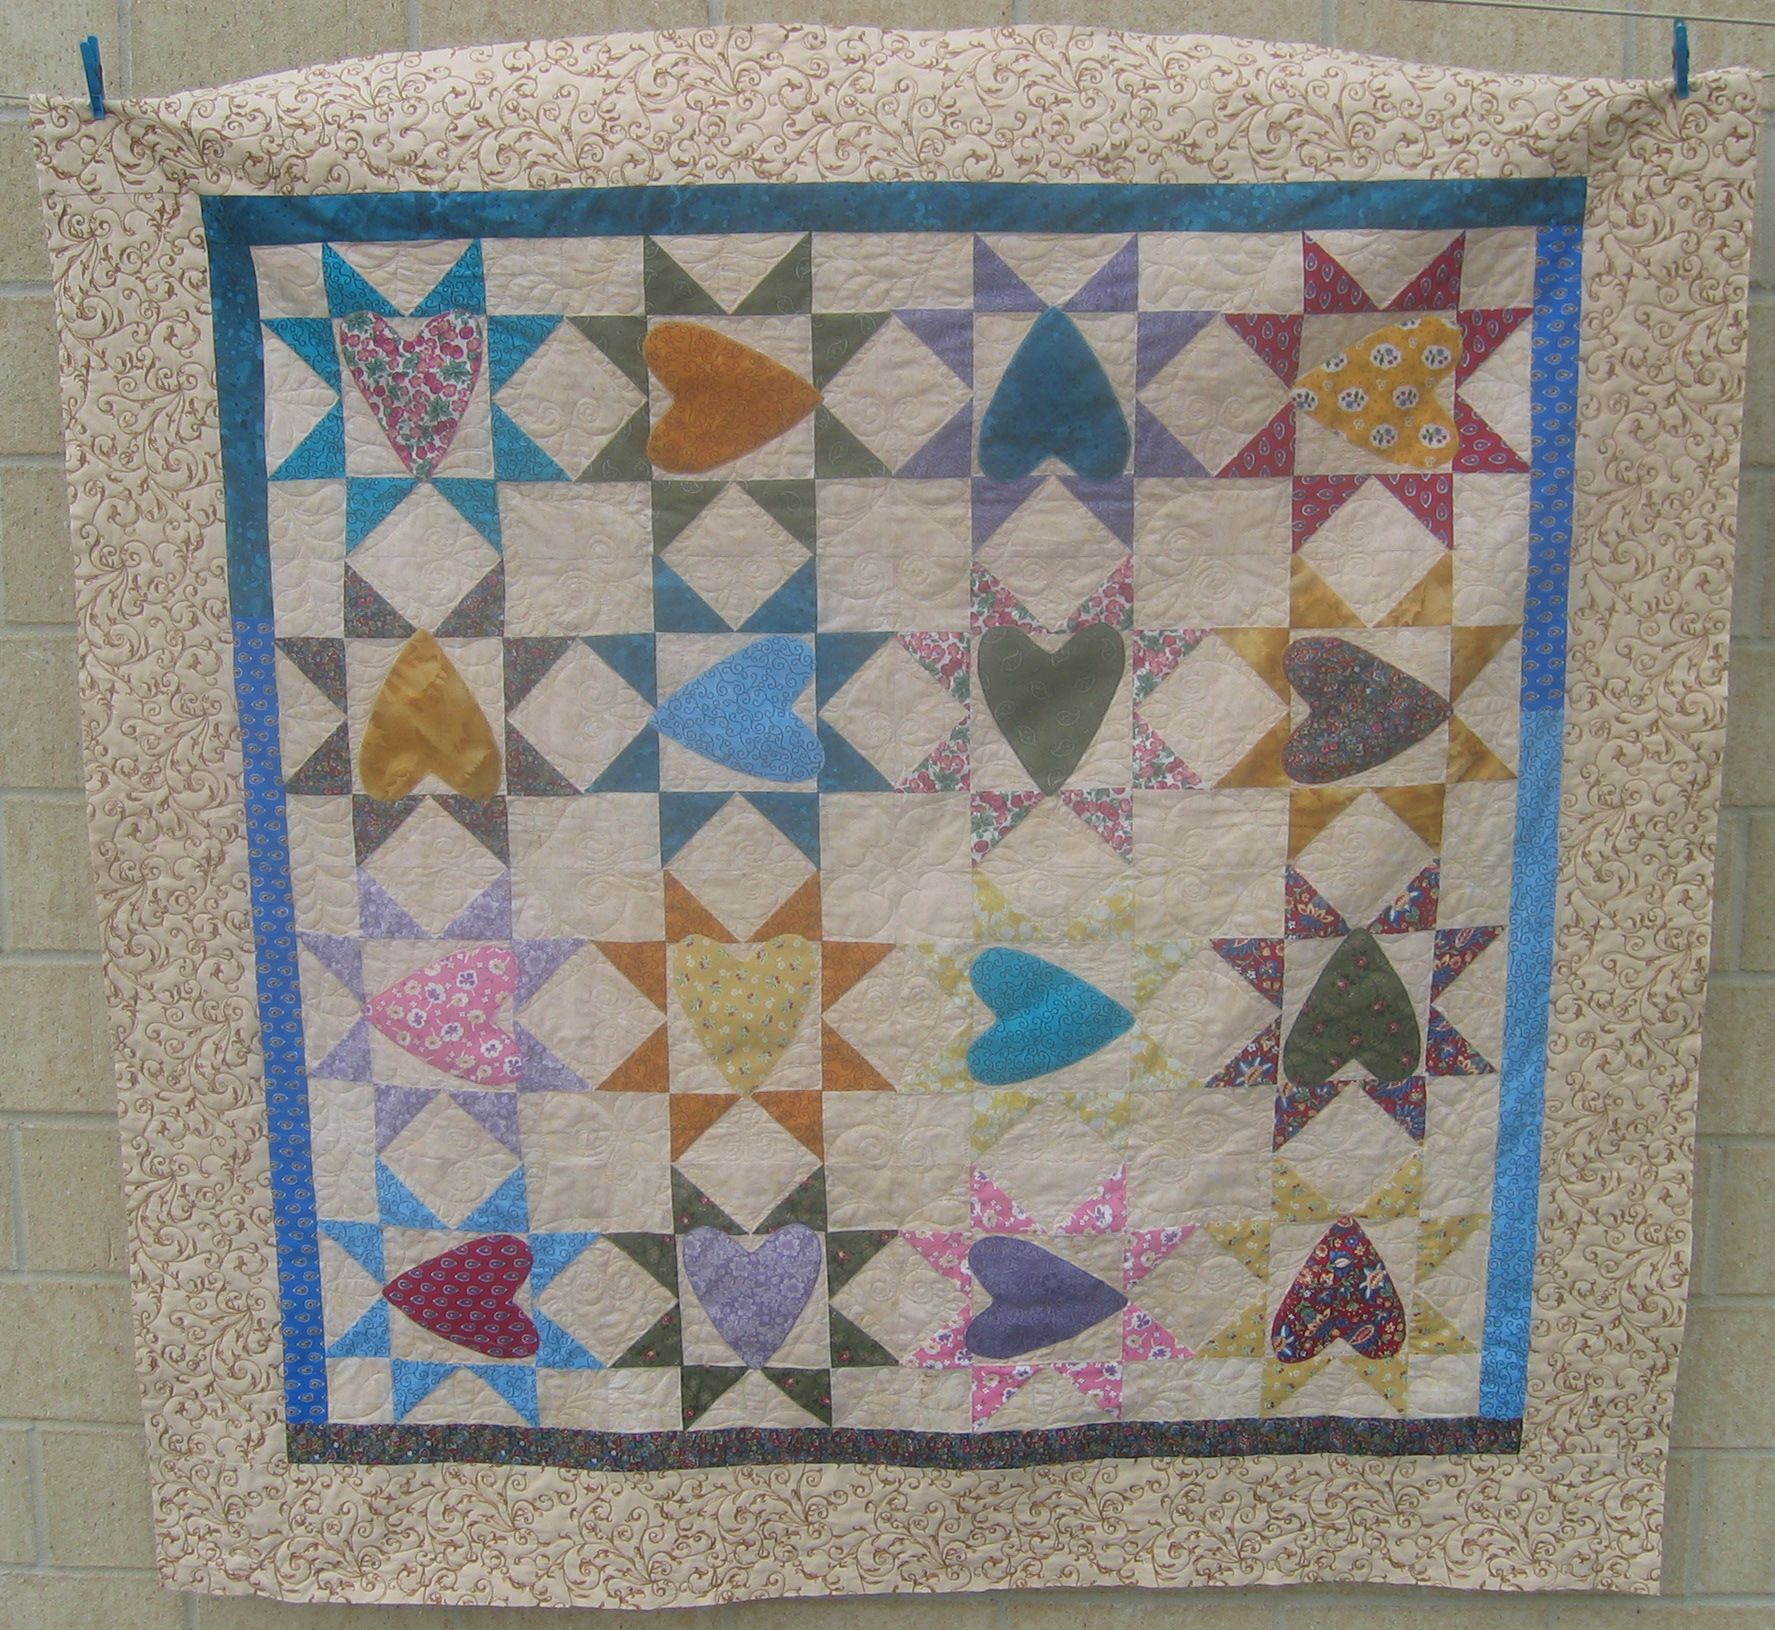
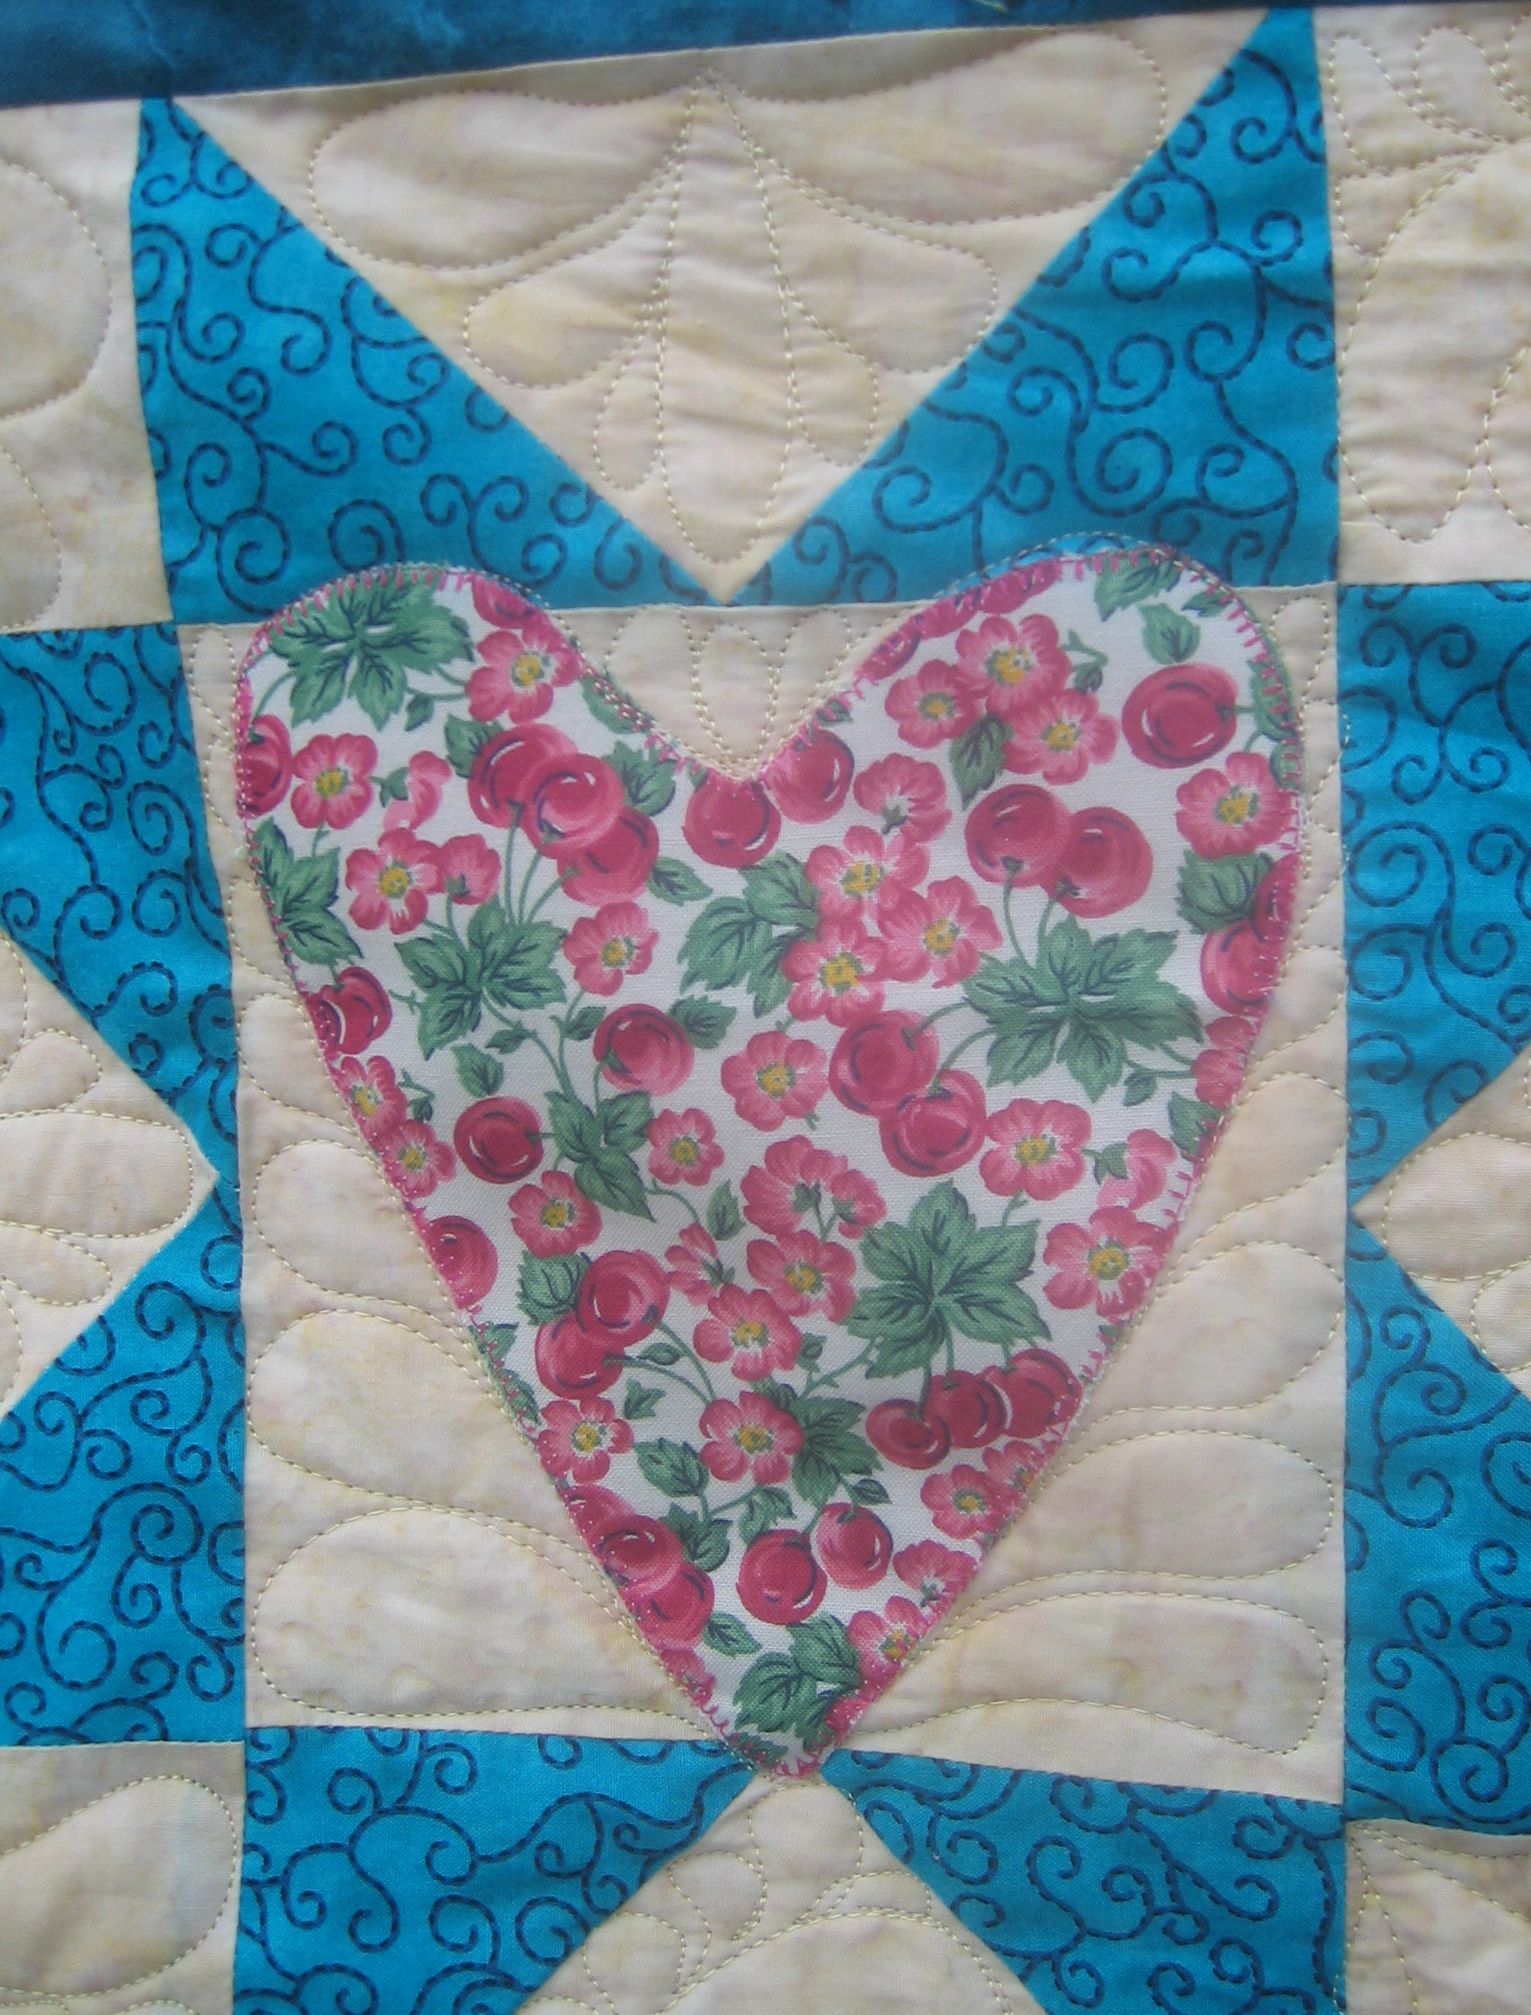
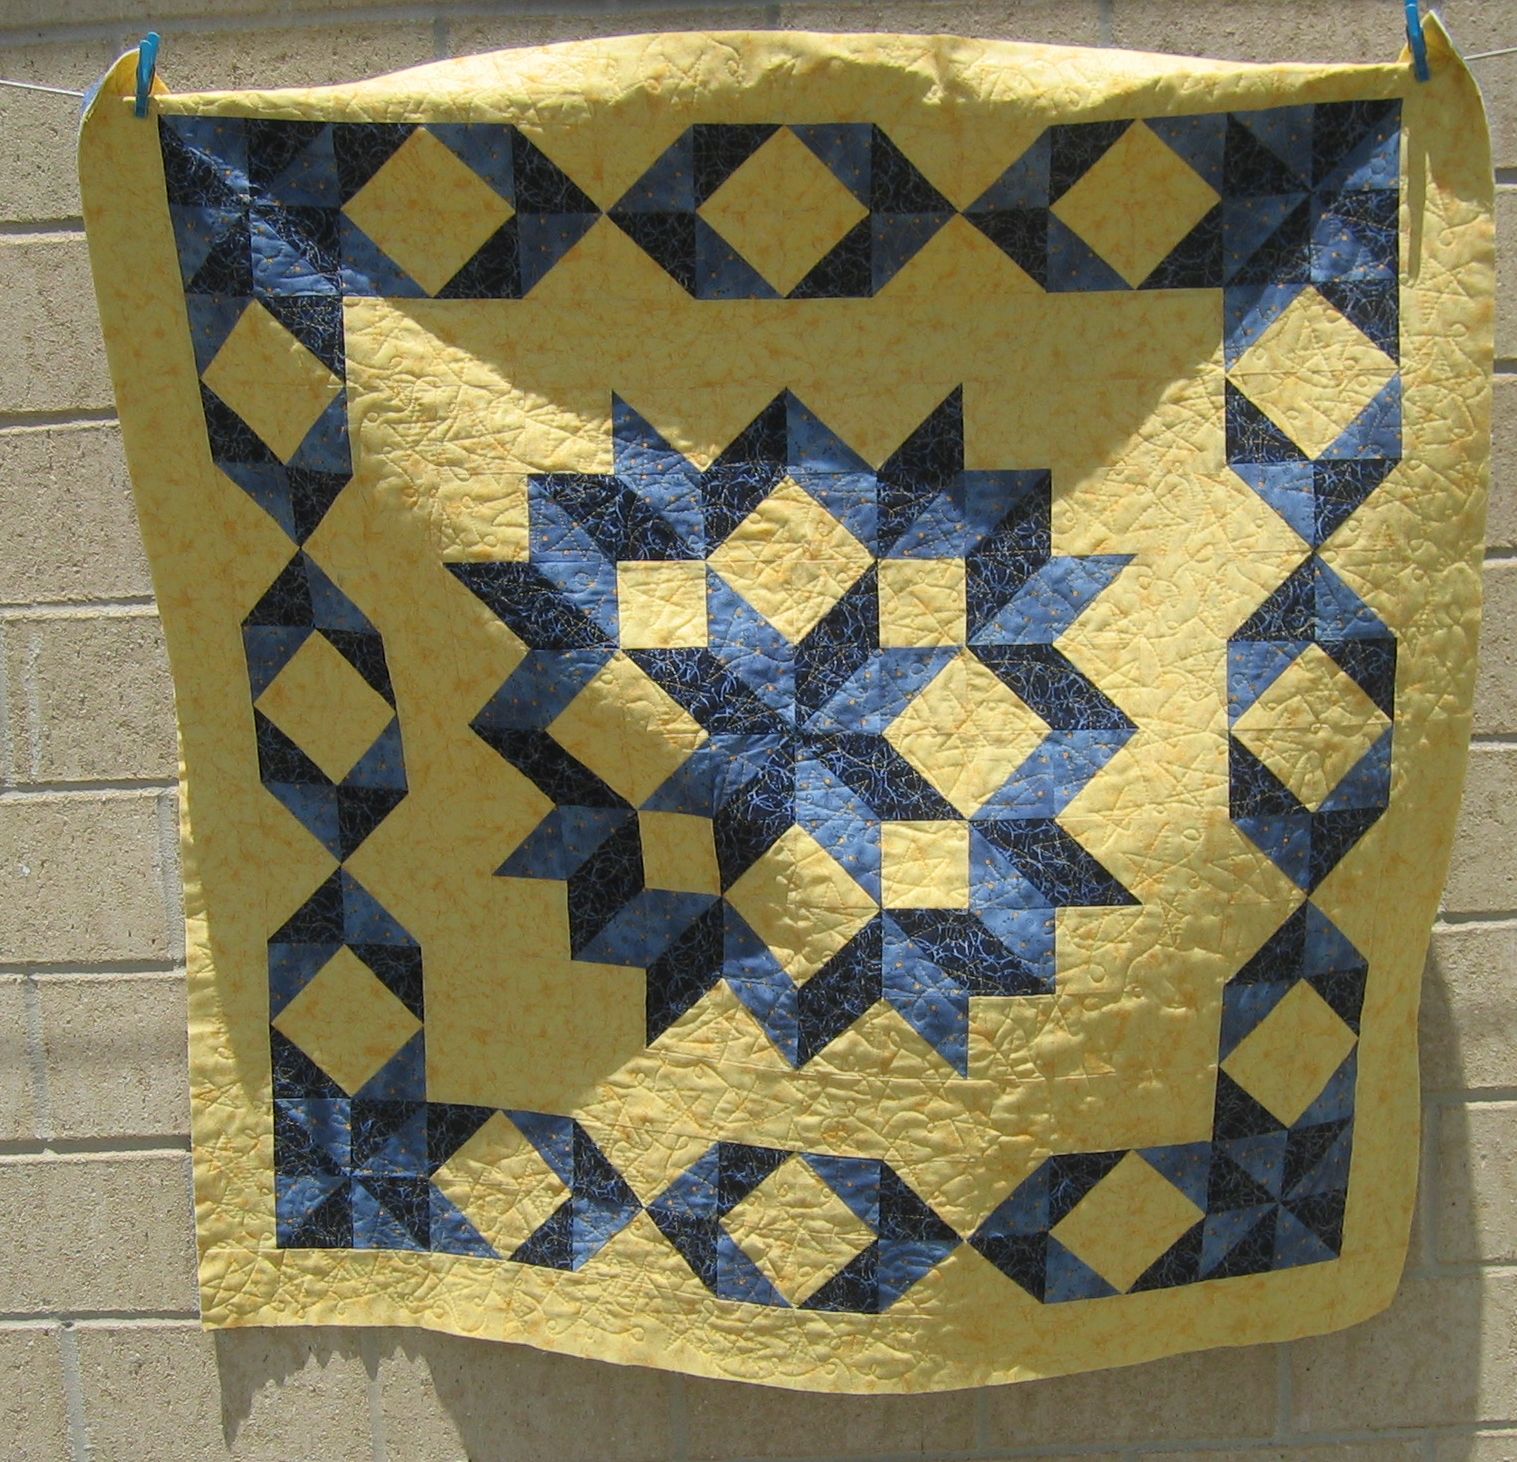
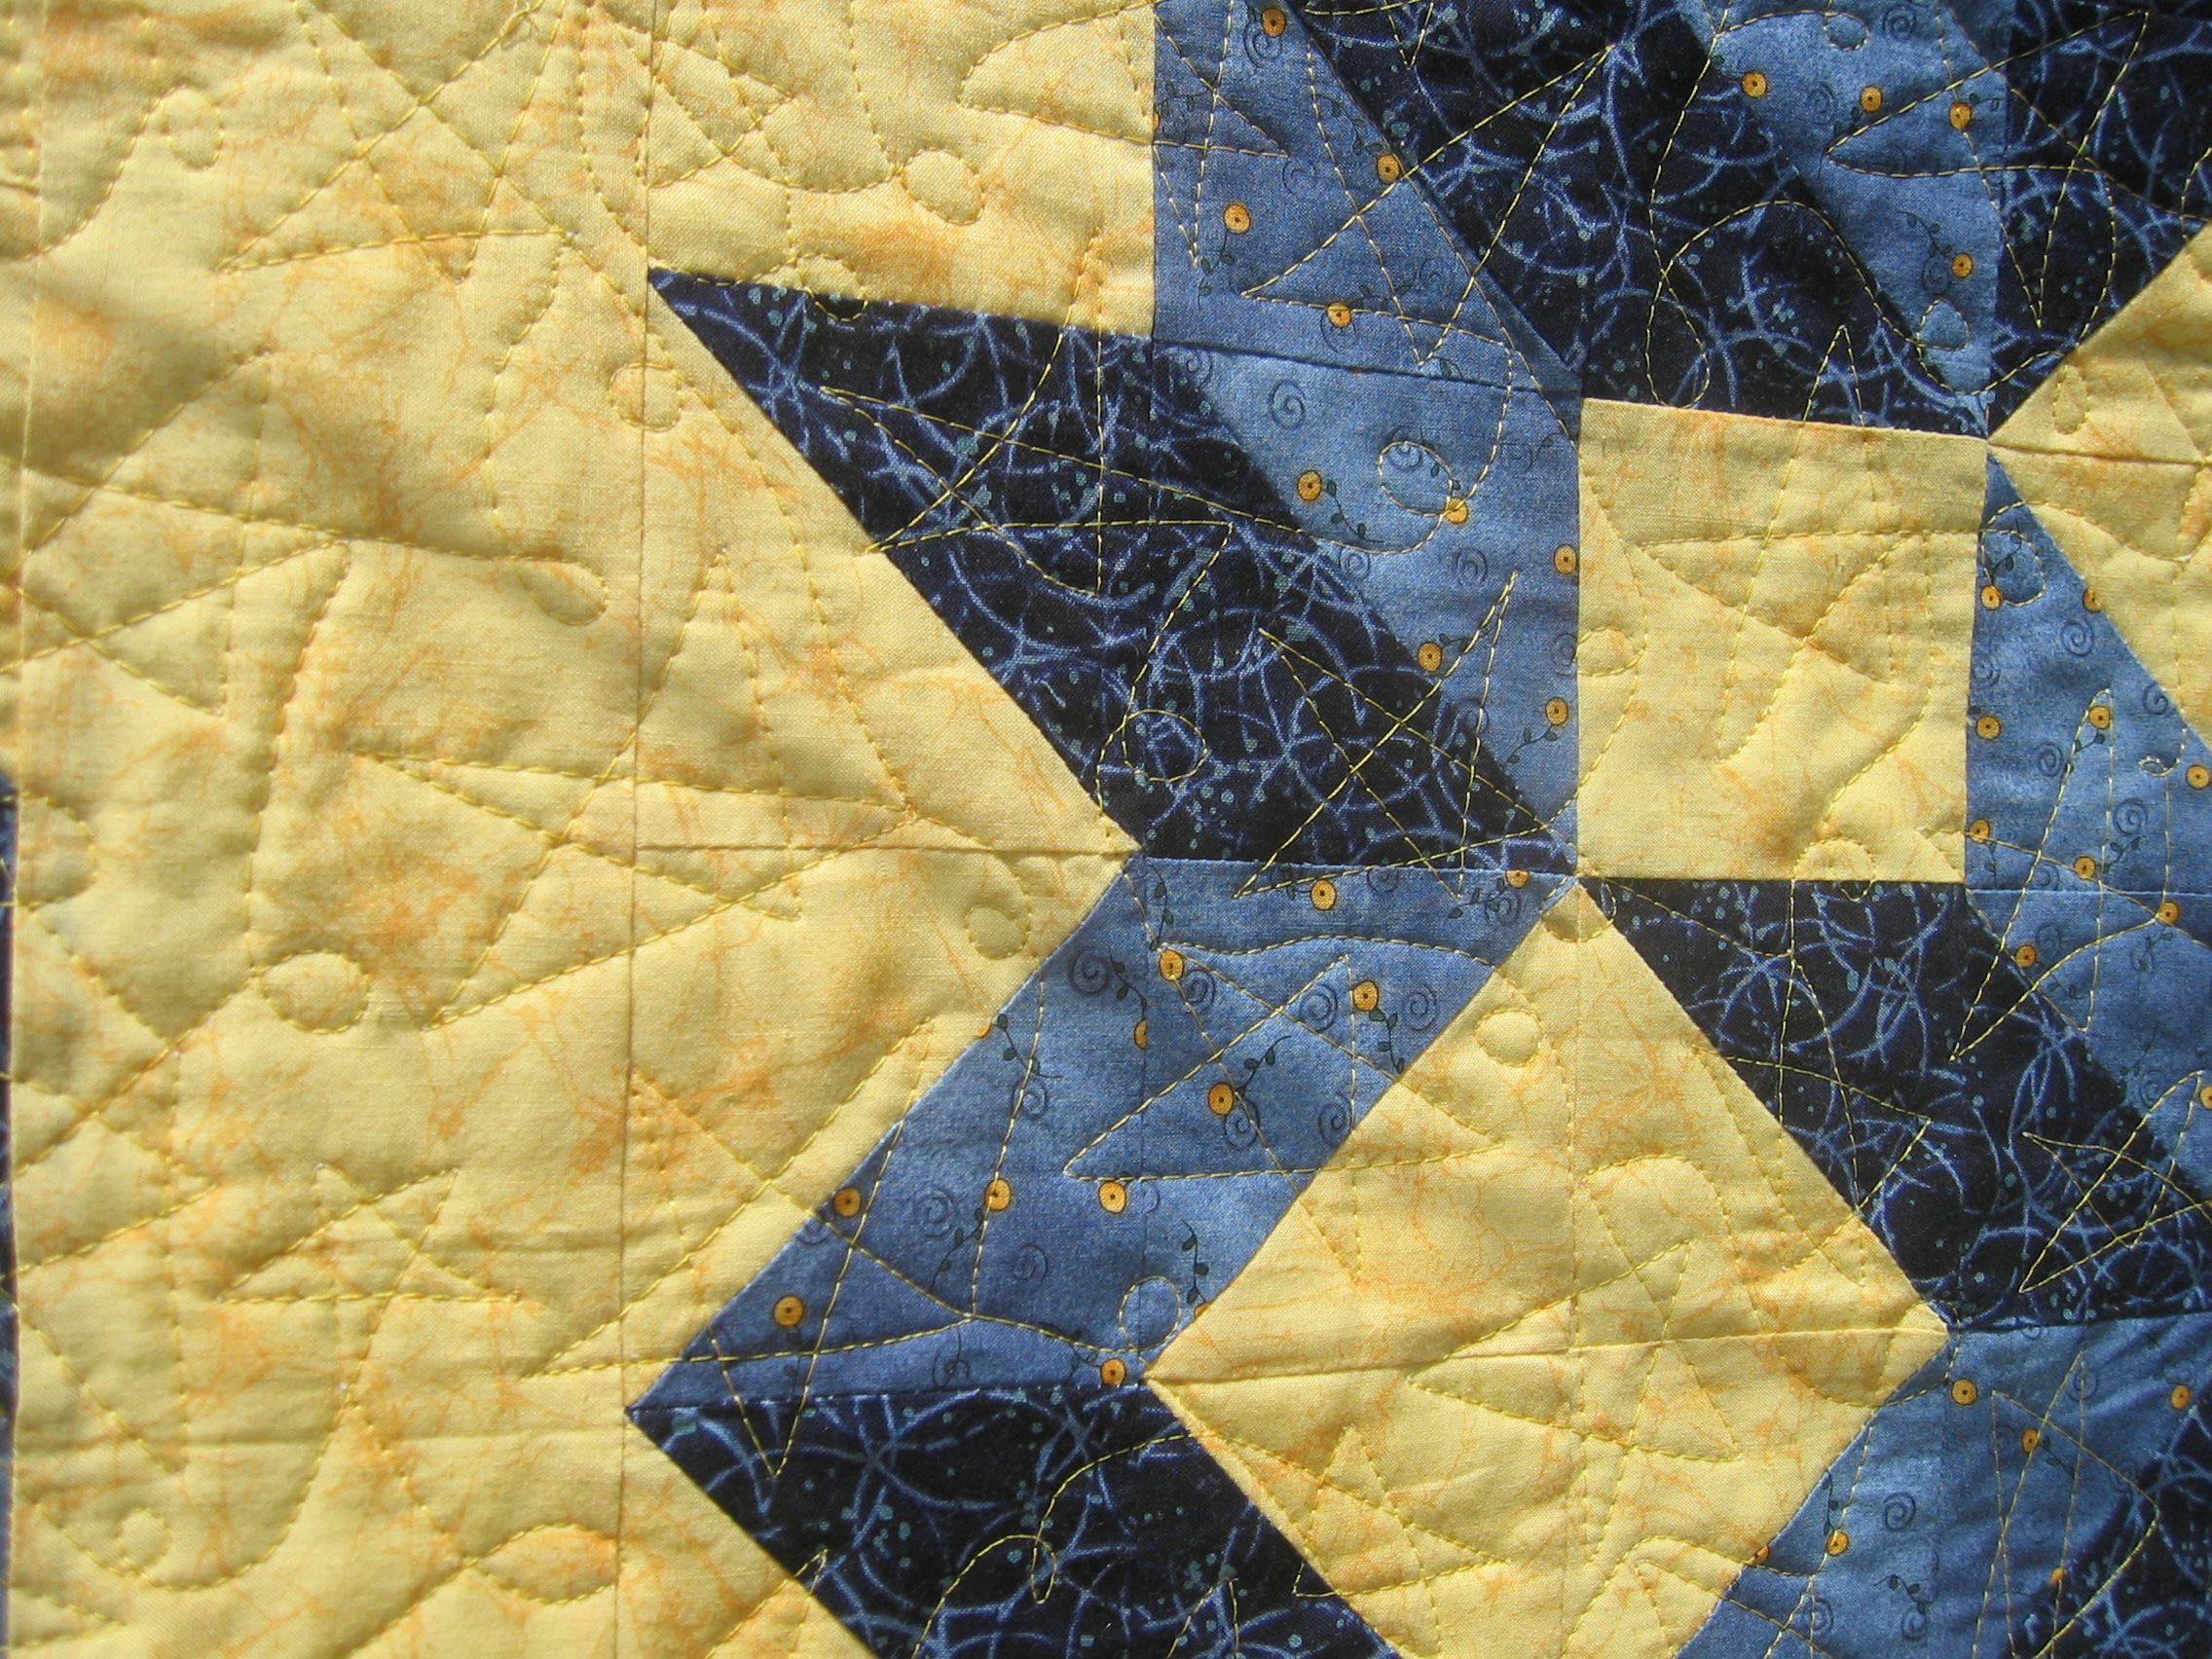
This was another busy quilt, with a lot going on in the blocks (stars and large appliqued hearts) and in the border fabric. I decided to only quilt the ‘white space’ and leave the star points, the hearts, and the first border unquilted.

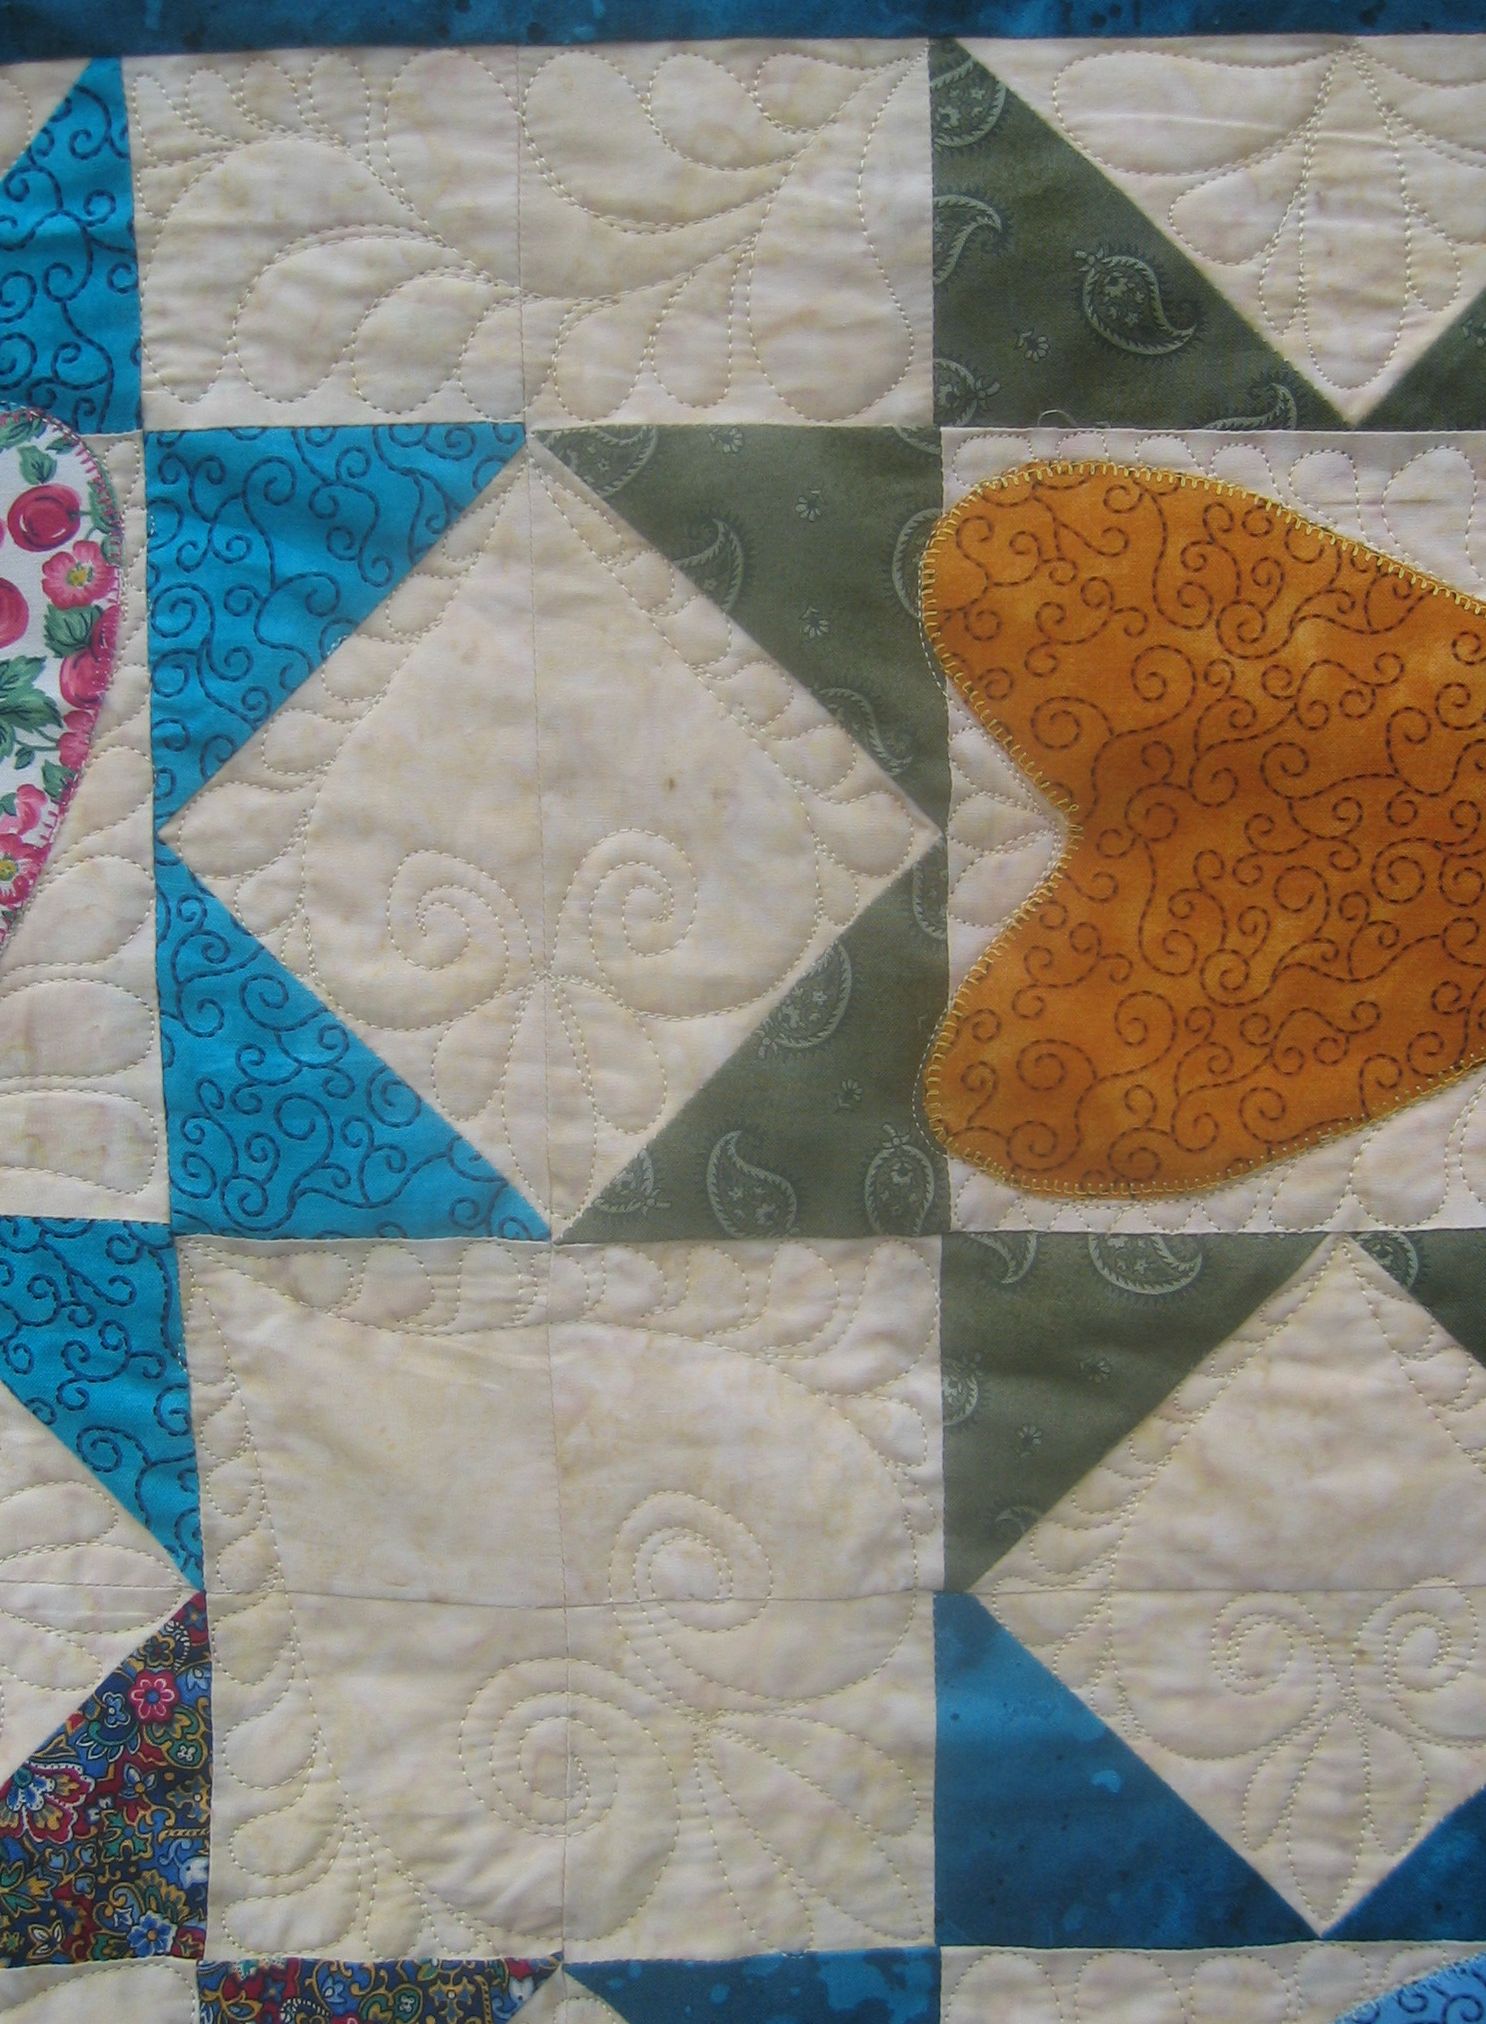
I started with the diamond shapes between the big stars, quilting a free motion heart (with curlicues) in each and finishing the hearts off with free motioned feathers. I did something similar in the large cream squares.

Next, I did the cream triangles along the blue border — also doing another featherlike motif. More feathers for the rectangular shapes along the blue border — I got the idea for how to quilt this odd shape from the ‘Create Your Own Dream Feathers’ book by Peggy Holt (thanks for this book, Glenys!).

I then stitched feathers around each appliqued heart. And stitched some plainish hearts in the very centre and the corner squares. Then the main part of the top was finished.

For the border, I decided to just follow (in general terms!) the design motif of the fabric using a similar coloured thread. This fabric was already very busy and I thought that doing something equally as busy but using another different quilting motif was going to be overload in this area. I’m glad I stuck to my original decision, even though it took much longer to quilt than I expected — there must have been thousands of curlicues in that pattern!

As an aside, I must be getting more confident in my quilting as I did all the quilting at 60-70% speed on my Handi Quilt Sweet Sixteen! That’s pretty fast!

Click on a photo to view it larger.

quilt56_01

quilt56_04

quilt56_03

quilt56_02

Threads used:

  • Top: Robison-Anton ‘Maize’ for the main quilt top (rayon, 40 wt, colour #2264); Robison-Anton ‘Old Gold’ for the border (rayon, 40 wt, colour #2201)
  • Bobbin: Wonderfil Deco-Bob (80 wt, colour DB 115)


Community Quilt 55

15 01 2013

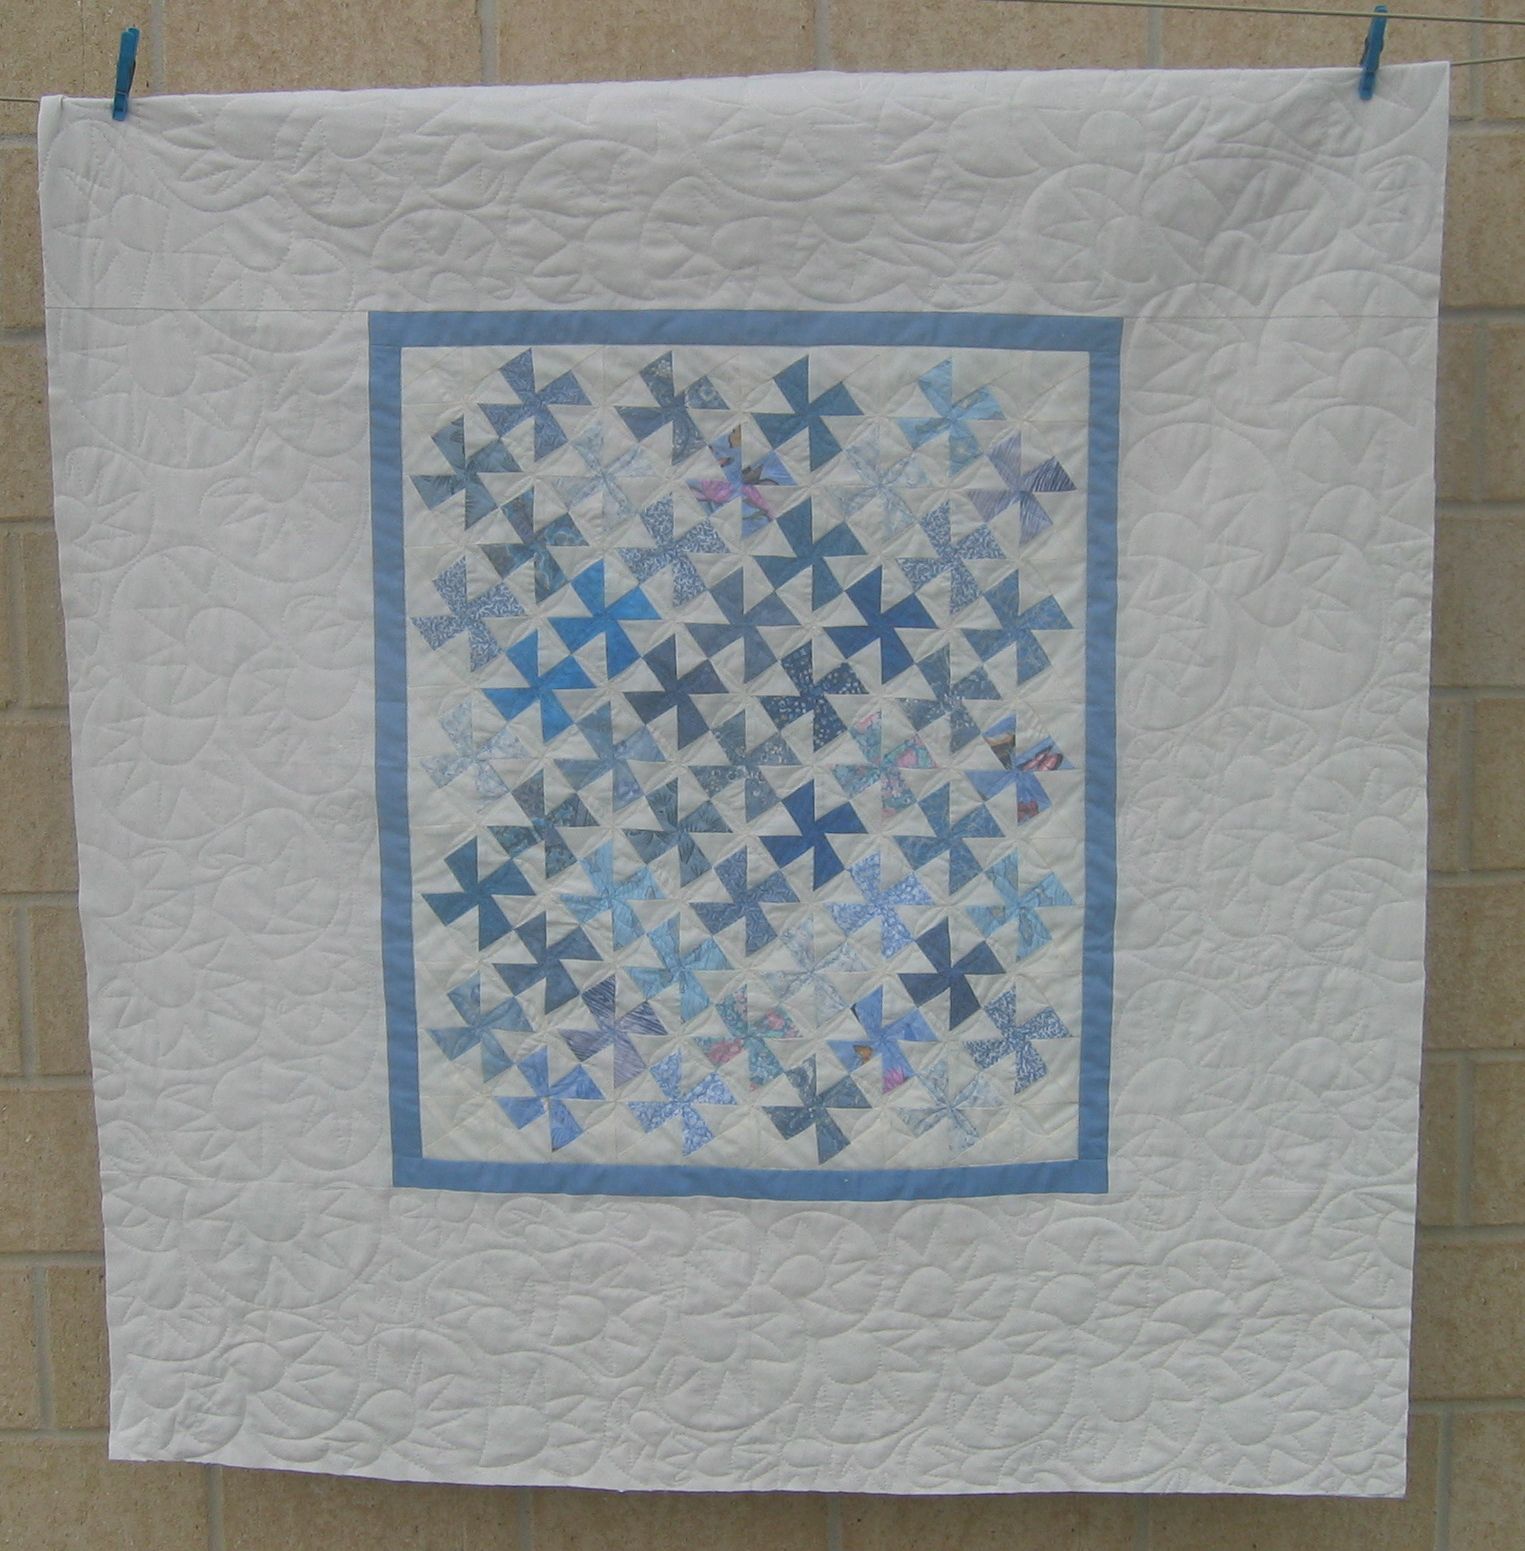
I kept this one a while before deciding how to quilt it. The blue pinwheels were quite small and dense and then there was that great expanse of white space to deal with. How to quilt it???

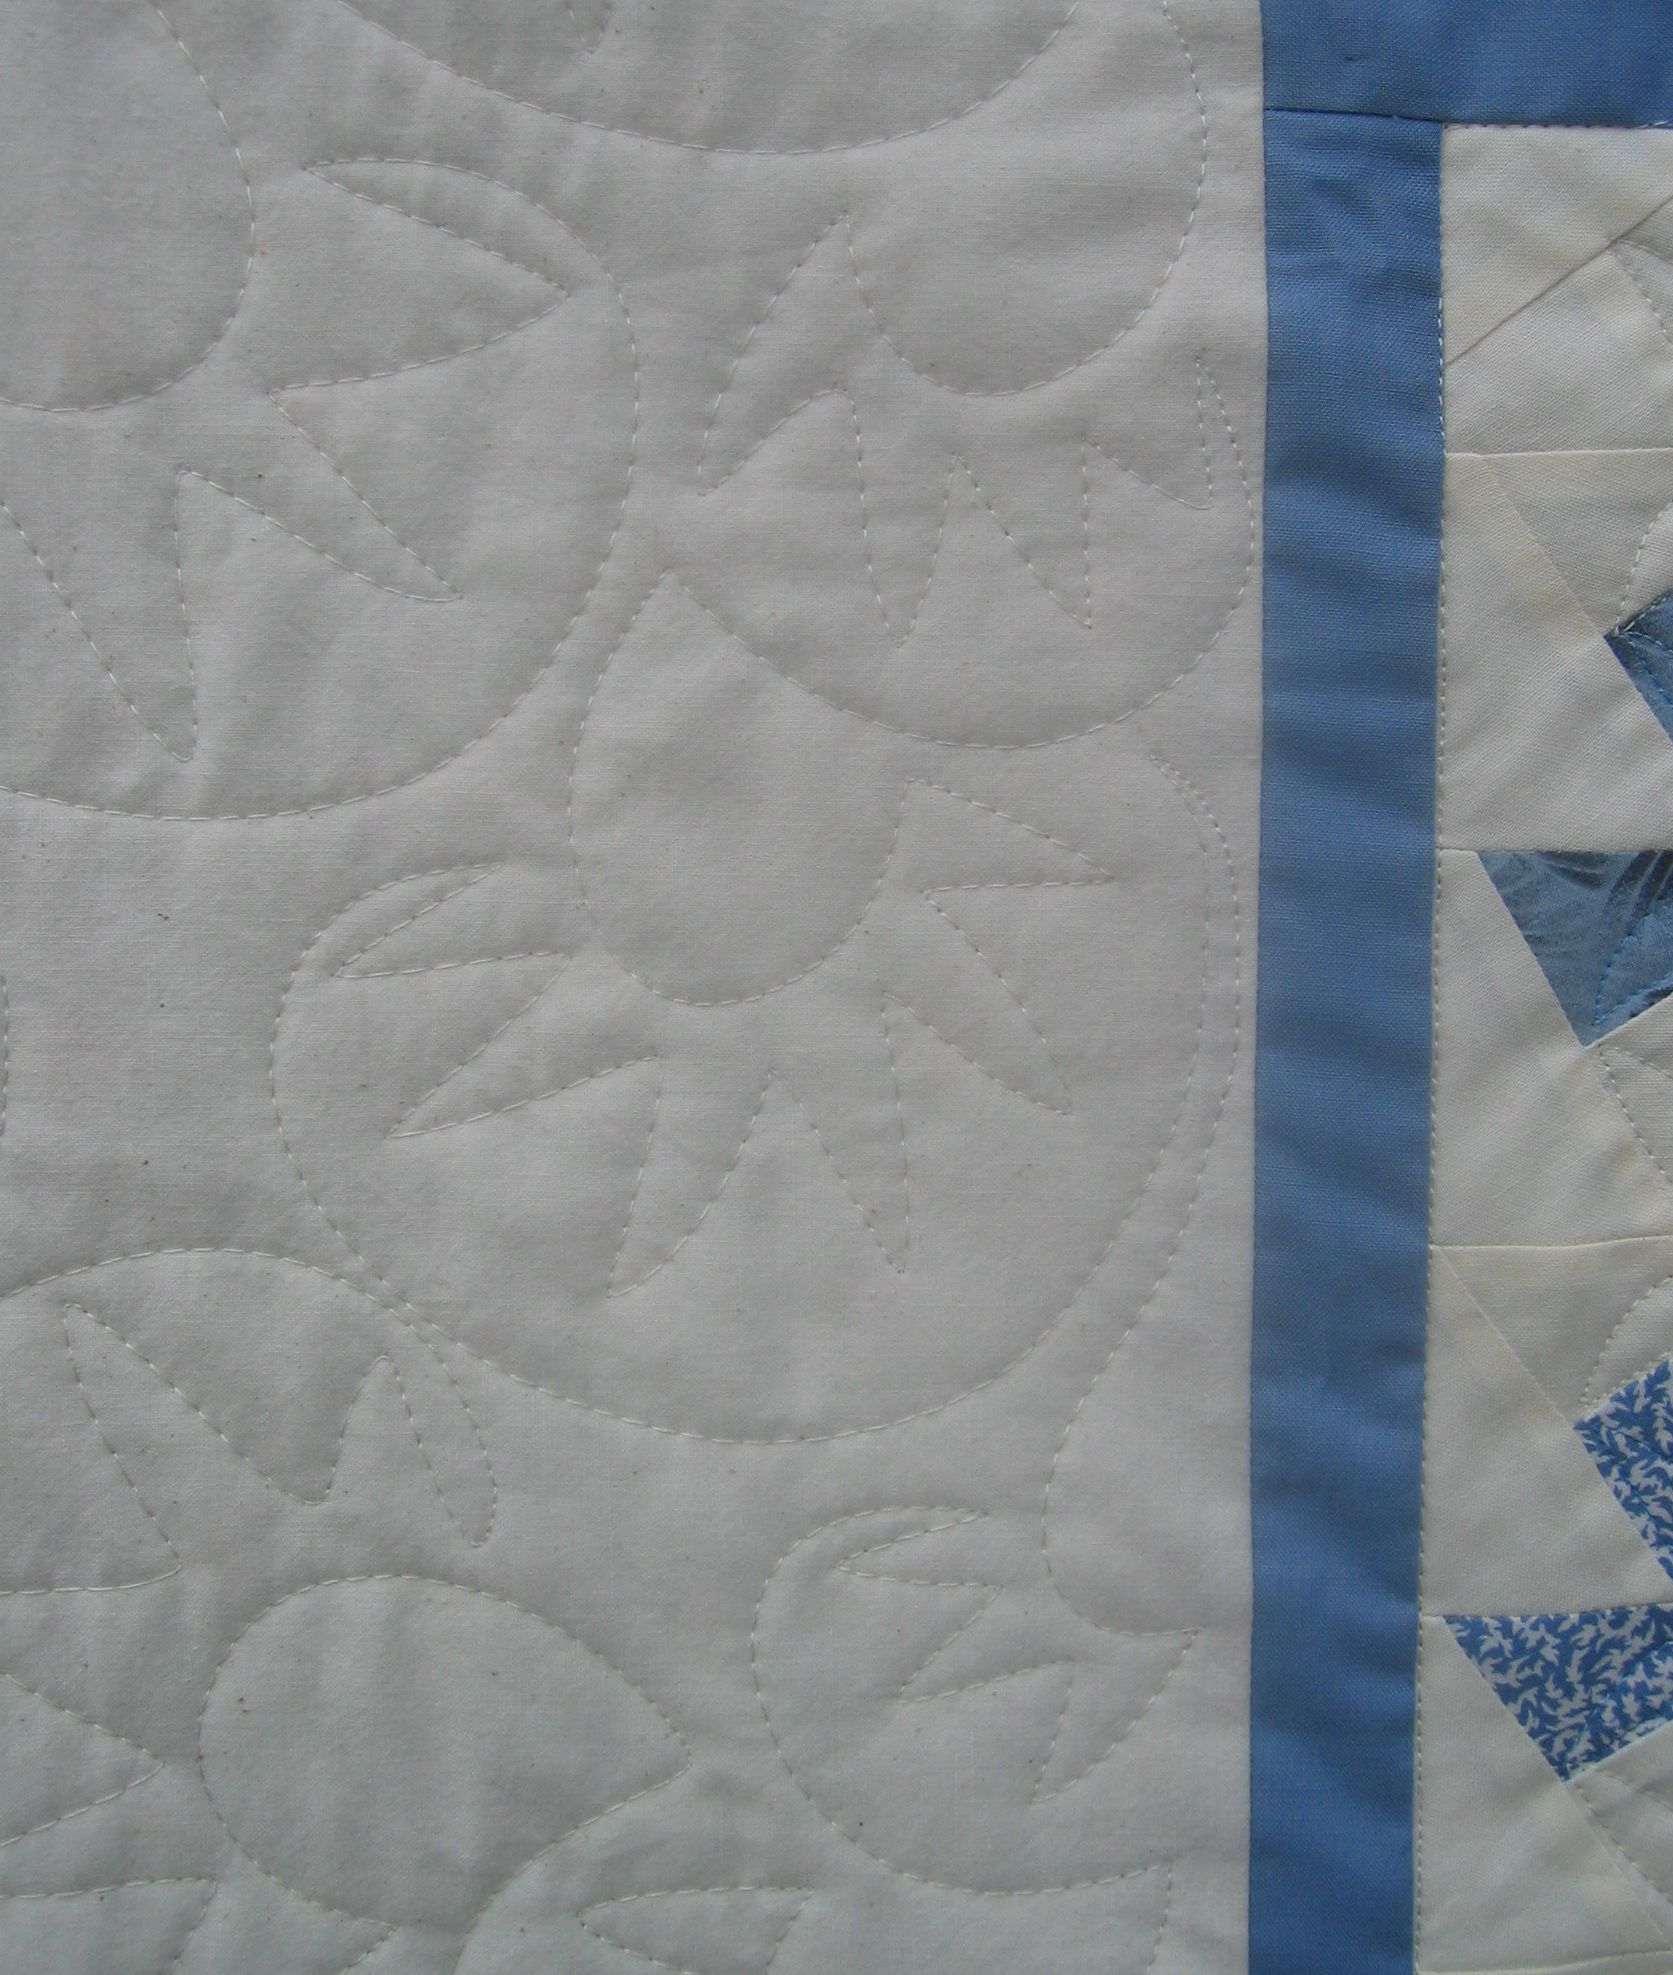
I started with the central pinwheel area first. I thought about ‘stitch in the ditch’, but then decided to do hopping arcs, thus creating the illusion of flowers or ‘cathedral windows’. I just did these free hand — no marking of any sort — so they are a bit wonky, but as this quilt isn’t going to be in a show, I wasn’t too fussed by a little wonkiness πŸ˜‰ I did these in the blue areas (with a blue variegated thread) and in the cream areas too (with a matching thread).

The next decision was how to quilt all that white space. I thought of doing Zentangle-style doodling, but it was a hot day and I really didn’t want to spend another eight hours on this quilt, even in the air conditioning. Also, the pinwheels were the focus, not the white space. So I did another variation on theΒ open headband motif — instead of doing a second and third arc back over the first, I made a few spiky star points, then arced back and started the next one. I made these quite big, which meant they were quick to stitch. The reason I chose the spiky start points was to reflect the points of the pinwheels.

Click on a photo to view it larger.

quilt55_01

quilt55_02

quilt55_03

Threads used:

  • Top: Superior Rainbows variegated blue (trilobal polyester, 40 wt, colour #817), and Fil-Tec Glide for the cream (trilobal polyester, 40 wt, colour #20001)
  • Bobbin: Bobbinfil (white, 70 wt)


Using the Handi Quilter Sweet 16 cuTex Bobbin Winder

13 01 2013

I bought my Handi Quilter Sweet Sixteen just under two years ago. With it came a bobbin winder, which my dealer showed me how to use. The instructions that came with the machine were next to useless…

So here are some instructions for THIS bobbin winder (see picture below). I believe Handi Quilter now supplies a different style bobbin winder with the Sweet Sixteen, so only use these instructions if your bobbin winder is made by cuTex and looks like this:

bobbin_winder01

bobbin_winder02

How to thread the cuTex bobbin winder

See the diagram below for the thread path; you can thread either side of the bobbin winder, just don’t cross thread over from one side to the other.

bobbin_winder03

  1. Pull the thread off the spool and up and through the thread mast.
  2. Poke the end of the thread into the little hole above the tension knob (circled in yellow in the photo above).
  3. Pull the thread you’ve just poked through the hole back towards the spool and β€˜floss’ it between the tension disks (the silver part of the tension knob area)
  4. Pull the thread towards the silver spindle (far left in photo above — NOTE: there is no bobbin on this spindle). If you have a bobbin with a slot, poke the thread through the slot, then push the bobbin onto the spindle. If you don’t have a slot on the bobbin, wind the thread around the bobbin several times before pushing it on the spindle – it needs to have a decent grip so the rest of the thread can β€˜catch’ on it when you switch the bobbin winder on.
  5. Press the On switch.
  6. Adjust the timer (how much time will depend on how thick the thread is – I tend to have mine set between 9 and 15, but thicker threads will require less as they fill up quicker). You can always restart if the timer stops before the bobbin is full.
  7. Press the Start button and make sure the thread β€˜catches’ on the bobbin and starts to fill.
  8. Use your fingers or the back of your hand to feel the tension of the thread coming from the tension disk to the bobbin – it shouldn’t be too tight, but equally it shouldn’t be totally slack either. There should be some β€˜bounce’ in the thread tension. If the tension is too tight or loose, turn the tension knob – retest the β€˜bounce’ and adjust the tension as required.
  9. Do NOT overfill the bobbin – only fill it to about 80% full, not all the way. If you overfill the bobbin, it will not work correctly in your machine.
  10. Turn the bobbin winder off when you’ve finished, cut the thread near the full bobbin, and remove the bobbin — sometimes the bobbin will be quite tight, so you may need to use a bit of brute force to get it off!

As I tend to use similar weight threads for my bobbins, I only need to tweak the tension a little every so often; otherwise, it’s set and forget.

Other hints:

  • I use the back metal holder on the bobbin winder for some of my spare bobbins — it holds about six (see the top photo).
  • Β To stop thread from spooling off the bobbin once it’s wound, I wrap it was a child’s ponytail elastic (see picture below) — I can get a pack of 20 or so from the supermarket for just a few dollars.
  • I keep my already-wound bobbins in a zip-lock bag suspended by a ribbon from the unused thread mast on my Sweet Sixteen — I find it’s easier to keep them there as they are only an arm’s length away (see picture below). Unfortunately, the metal spool holders on the Sweet Sixteen are just a tad too thick for the bobbins — I wonder if they’ll change that in a future design? So many thread spools have different thicknesses in their central cores, I’m surprised HQ didn’t just go for a versatile spool holder thickness that would suit thread spools AND M-size bobbins.
bobbin_winder04

And yes, my Bling Bear (a present from my friend Glenys) watches over me while I quilt πŸ˜‰


Great video on thread tension for long- and mid-arm quilting machines

10 01 2013

This great YouTube video from Jamie Wallen is a clear explanation on getting the tension right for long-arm quilting machines. It also applies equally to mid-arm machines, like the HQ Sweet Sixteen.


Practice may not make perfect, but it helps!

6 01 2013

Earlier this week on the Handi Quilter sit-down model Yahoo! group, Emily asked me how long I’d been quilting to ‘get this good’. In my long reply to her (and the group), I outlined my quilting journey in recent years.

However, that journey actually started back in 1986 when I lived in Canada for a year and saw my first-ever Mennonite quilts at a local fair in the Kitchener-Waterloo area of Ontario. I purchased a dahlia quilt pattern for a queen size bed at that fair, but to this day have never made it πŸ˜‰ When I returned to Australia in 1987, I hunted out a store that held patchwork classes and made a couple of quilts as a result. Life got in the way from about 1990 until we moved from the city to the country in 2007, and then the next stage of my quilting life took off…

Here’s my long reply to Emily — bottom line: practice is the key!

The key is practice! Everyone says it, but it’s really true in the case of FMQ. My first attempts at a stipple in early 2007 looked like jagged, pointy brain coral – my friend and dealer taught that class and she will attest to my very pathetic efforts πŸ˜‰ I never thought I’d get smooth curves and was ready to give up there and then.

I played with FMQ on and off from then on, getting a bit better all the time. But my first quilts were still quilted by a local long-armer. It wasn’t until late 2008 that I felt I had enough confidence to do some very basic Β FMQ on a β€˜real’ quilt: https://rhondabracey.com/2008/09/20/quilt-workshop-cosmic-curves-convergence-quilt-finished/

I was still pretty much at the stippling level (I could get curves now!) and continued that way until mid-2010 when I attended a 2-day FMQ retreat/workshop run my my lovely dealer (https://rhondabracey.com/2010/06/15/photos-from-the-retreat/). We were FORCED to practice all sorts of FMQ designs. I was getting better, but was still disappointed in many of my efforts. Tension was a big issue for me with things like metallic threads, but Michelle was patient and full of knowledge, so I got there. And I got the bug! I practiced some more and got better each time.

I found the Leah Day 365 days of FMQ website (http://www.leahday.com/project1/) and decided to make samples of all her designs (I did most of them on my domestic machine, with the last ones done on my Sweet Sixteen: https://rhondabracey.com/2011/08/01/my-leah-day-project/).

In March 2011, I attended a quilting workshop in the US when I was there for a conference and tried out the Sweet Sixteen. I was smitten ;-). Another friend in our local group bought a Sweet Sixteen around that time and I just had to try it for more than 10 minutes! She was going away for two weeks so generously lent me her β€˜Queenie’ while she was away (https://rhondabracey.com/2011/04/07/testing-the-beast/). Oh boy! That did it. In that 2 weeks, I quilted about three UFOs I had, including one where I quilted a different motif in every block (https://rhondabracey.com/2011/10/15/challenge-quilt-2011-the-finished-quilt/). I was totally hooked and bought my own machine a few weeks later (https://rhondabracey.com/2011/05/05/my-very-own-bee/).

Last year (2012) I participated in the 2012 FMQ Challenge (http://sewcalgal.blogspot.com.au/p/free-motion-quilt-challenge.html) and that pushed my boundaries even more. I forced myself to make each month’s practice piece, even if I wasn’t keen on the technique or felt I’d never use it again. Some of my efforts were less than impressive πŸ˜‰ (https://rhondabracey.com/2012/12/13/2012-fmq-challenge-summary/)

Then in June 2012, I offered to quilt community quilts. I figured if I was ever going to master FMQ, I had to get a lot more practice. I knew I couldn’t make quilts forever – just not enough friends and family to make them for; and besides, I wanted to practice quilting, not piecing. As I said in the previous email, quilting community quilts has been a win-win – I’ve had heaps of practice and they’ve got finished quilts to donate to the various charities, hospitals, cancer support groups etc.

You don’t get to 6 million stitches in a few hours ;-). Some smaller quilts with a simple motif take me an hour or so to quilt; others take me several days depending on the size of the quilt, how I decide to quilt it, whether I use more than one thread colour/type or threads that break (I avoid these now). For example, McTavishing takes FOREVER as it’s so dense and goes into every corner, whereas the various headband motifs I use – and large stippling – take me far less time. I’m up to 60-80% speed on these motifs these days as I now have the β€˜muscle memory’ for them from heaps of practice. I think Malcolm Gladwell said in one of his books that it takes about 10,000 hours of practice to achieve mastery – I think he’s right, though I wouldn’t call myself a master ;-).

And yes, I have a day job, and no, I don’t quilt at night. However, I try to only work three days a week in my day job, which leaves four days for quilting πŸ˜‰ Some weeks I’ll quilt a bit on every one of those four days; other weeks I might only quilt for an hour or so on one day of the four – it depends on what life is throwing at me at the time. I don’t have kids, grandkids, or pets, and I have a low maintenance husband – as a result, I don’t have a lot of external demands on my potential quilting time that others have.


Domestic sewing machine needles vs industrial sewing machine needles

6 01 2013

Update June 2019: This Handi Quilter Blog article clearly explains the type of needles you need to buy for your longarm or Sweet Sixteen machine: https://handiquilter.com/all-about-needles/

On the Handi Quilter sit-down model Yahoo! group someone asked about whether they could use their domestic sewing machine needles in their HQ Sweet Sixteen (or Babylock Tiara) machine.

In a word, NO!

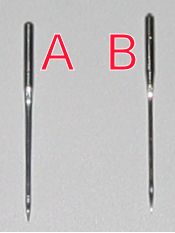
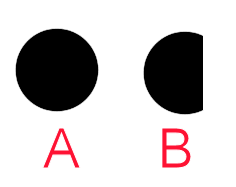
The needles are made differently, with the prime difference being the shape of the shank. On a domestic sewing machine needle, the shank is flat at the back. On an industrial machine needle, the shank is fully rounded.

sewing-machine-needle-parts

Image of a domestic sewing machine needles’ parts. Industrial machine needles have the same parts except for the shape of the shank. (From http://www.sewingmantra.com/index.php/needles/parts-of-sewing-needles/)

The needles used in the Sweet Sixteen are industrial needles and do not have this flat piece on the shank. In the diagram below, A represents an industrial sewing machine needle looking down from the top, whereas B is a domestic sewing machine needle from the same angle — note the flat part on the shank.
needles_tops

needles_front

The fronts of industrial (A) and domestic (B) sewing machine needles look just the same.

needles_back

However, the backs are different. The industrial machine’s needle (A) is fully rounded at the back; whereas the domestic sewing machine’s needle (B) has a flat back on the shank.

Domestic sewing machine needles have the flat side on the shank to make it easy for you to insert the needle correctly into the needle holder on the machine. However, with the industrial needles, you have no guide as to where to place the needle. Thus you need to be careful when inserting the needle in your Sweet Sixteen to make sure the long groove is facing you, and the scarf (the notch on the back) is away from you.

One way to do this successfully is to take the old needle and place its point into the eye of the new needle (with the long groove facing towards you), then insert the needle so that the old needle is at the 6 o’clock position, perpendicular to the new needle. Some people position the needle just off centre, at the 5:30 position (this is what I do) and that’s fine. But don’t position it too far away from the 6 o’clock position otherwise the bobbin thread won’t be picked up correctly and you will not be able to form a stitch correctly.

needles_position

For more information about sewing machine needles and how they work, check out the excellent videos on needles (videos 16 and 17) from Superior Threads: https://www.superiorthreads.com/videos/thread-therapy-with-dr-bob-educational-videos/. Note: These videos focus on domestic machine needles (particularly topstitch needles), but much also applies to industrial machine needles, especially the information on needle sizes. As an aside, I mostly use 40 wt threads for my quilting and a size 100/16 134 R Groz-Beckert needle in my Sweet Sixteen (the 134 is important).

For more information on needles suitable for Handi Quilter machines, see this free video: http://www.qnntv.com/videos/tnt-threads-needles-tension-with-handi-quilter/ or http://www.youtube.com/watch?v=dZBNUKsCyxg (needles and their relationship to thread is discussed in the first 10 minutes).

Update: R versus MR needles: A further question from the group was about whether we can use MR needles instead of R needles in the Sweet Sixteen. Handi Quilter is quite clear on that — NO! SeeΒ https://www.handiquilter.com/forums/discussion/1375/needle-confusionΒ (To quote from that 2015 forum post response by the Handi Quilter Educator: “Handi Quilter recommends the R needles for the Sweet Sixteen, the Avante and Fusion machines and the MR needles for the Infinity machine.”)

There’s a picture of an MR needle here: http://www.schmetzneedles.com/category/Long-Arm-Needles-27 — you can see the difference in the shape of the needle, so I can see why HQ says NOT to use them in the S16.

Groz-Beckert describes the tips of the needles (which give the letter designation such as β€˜R’) in the ‘Cloth points’ article here:Β https://dev.groz-beckert.com/mm/media/en/web/pdf/Cloth_points_from_Groz-Beckert.pdfΒ . And Superior Threads has more information on the codes on Groz-Beckert needles here:Β https://www.superiorthreads.com/education/groz-beckert-needle-package-numbers.

These are the main needles I buy (in sizes 12 to 20, though mostly 14 and 16):

Two final hints:

  • Hint 1: Use the groove on the front of the needle to help thread your needle easily every time. Instead of trying to get the end of the thread into the eye of the needle, run it down the groove and it will pop into the eye without a problem almost every time (assuming the end of the thread is snipped, of course, and not frayed).
  • Hint 2: Discard your old sewing machine needles, pins etc. into a safe, sealed container. I use an old glass spice jar as I couldn’t justify the expense of an official ‘sharps’ container from the drugstore. It will take a long time to fill this jar, and once full, I’ll throw out the sealed jar take this jar to my local pharmacy for correct disposal and grab another one for my dead needles.

needles_dead


Community Quilt 54

1 01 2013

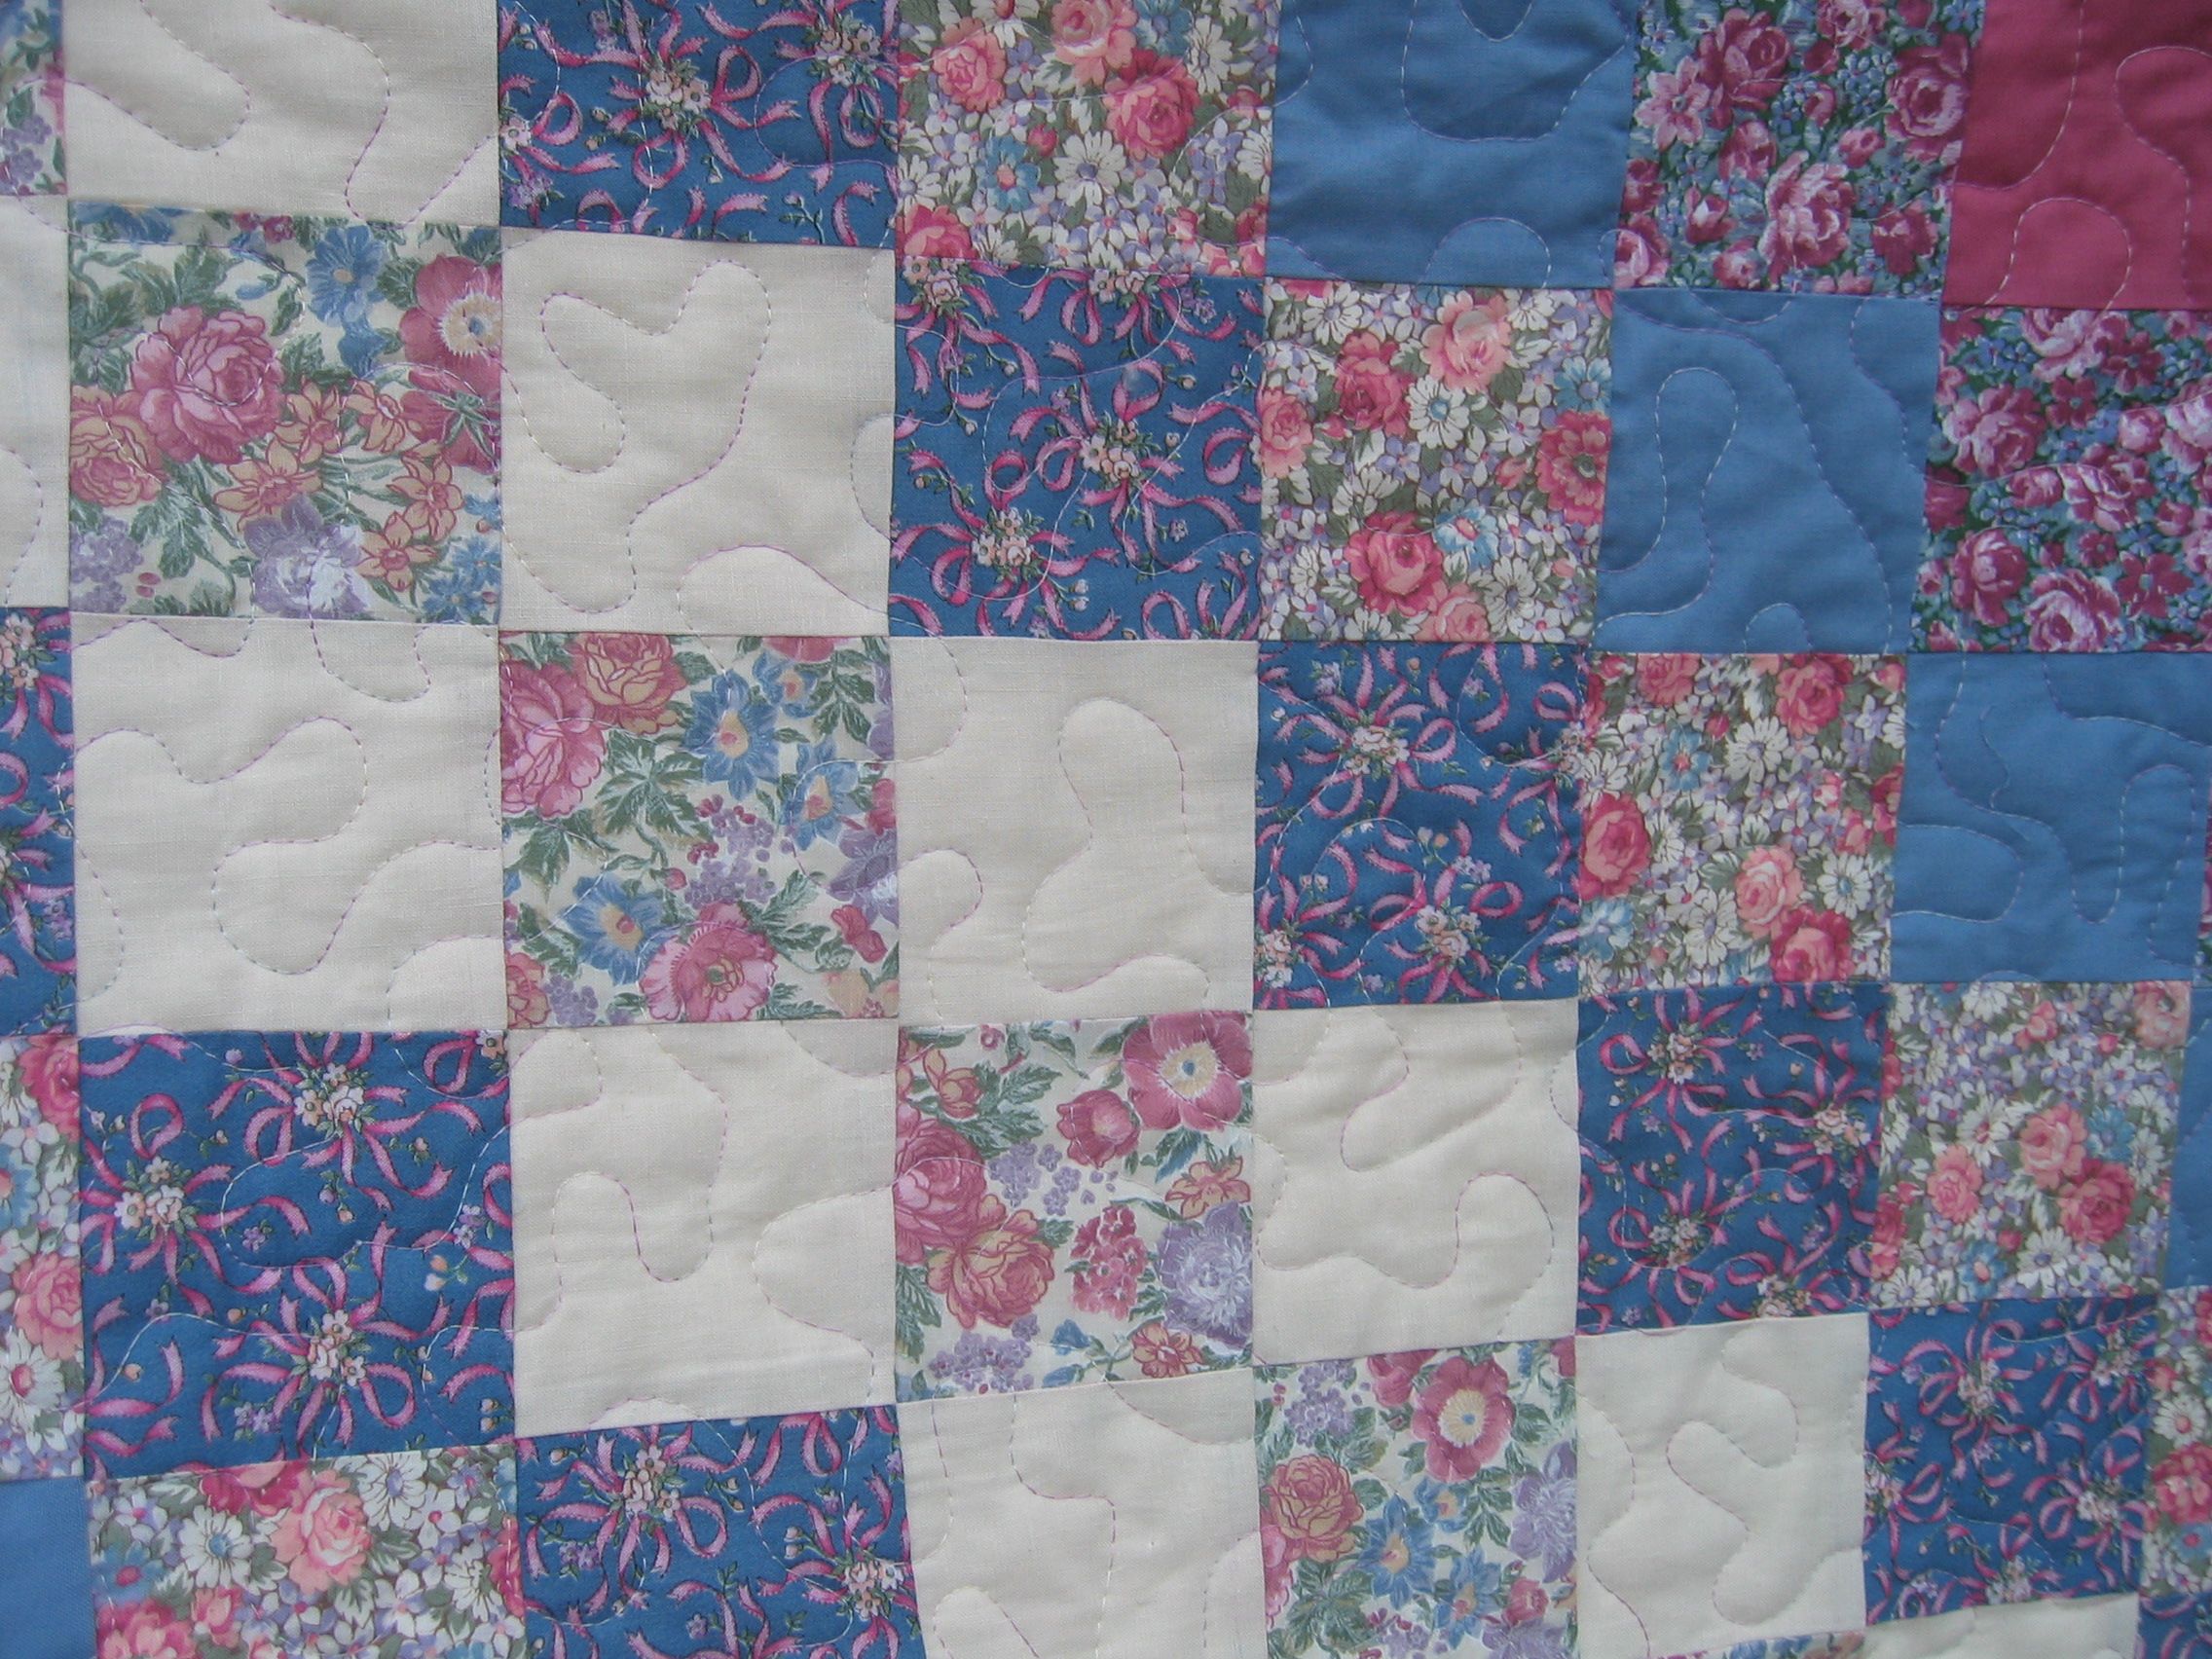
Another ‘busy’ quilt. So I decided to quilt it just with a plain and simple large stipple, using a variegated pink, blue and white thread.

And so ends the 12 quilts I’ve quilted since Boxing Day πŸ˜‰ I go back to work next week and have other stuff to do before then, so I doubt I’ll be as productive as the past week.

Click on a photo to view it larger.

quilt54_01

quilt54_02


Community Quilt 53

1 01 2013

This was a such a nicely constructed quilt top, I had to let it sit for a few days after I saw it — I needed to decide how to quilt it.

I thought of doing something quite formal, but in the end opted for a more fun quilting motif — free motion stars and loops! All in a matching yellow thread. The stars were really easy for me — I’d doodled hundreds of such stars when I was a teenager while listening to teachers prattle on… πŸ˜‰

Click on a photo to view it larger.

quilt53_02

quilt53_01


Community Quilt 52

1 01 2013

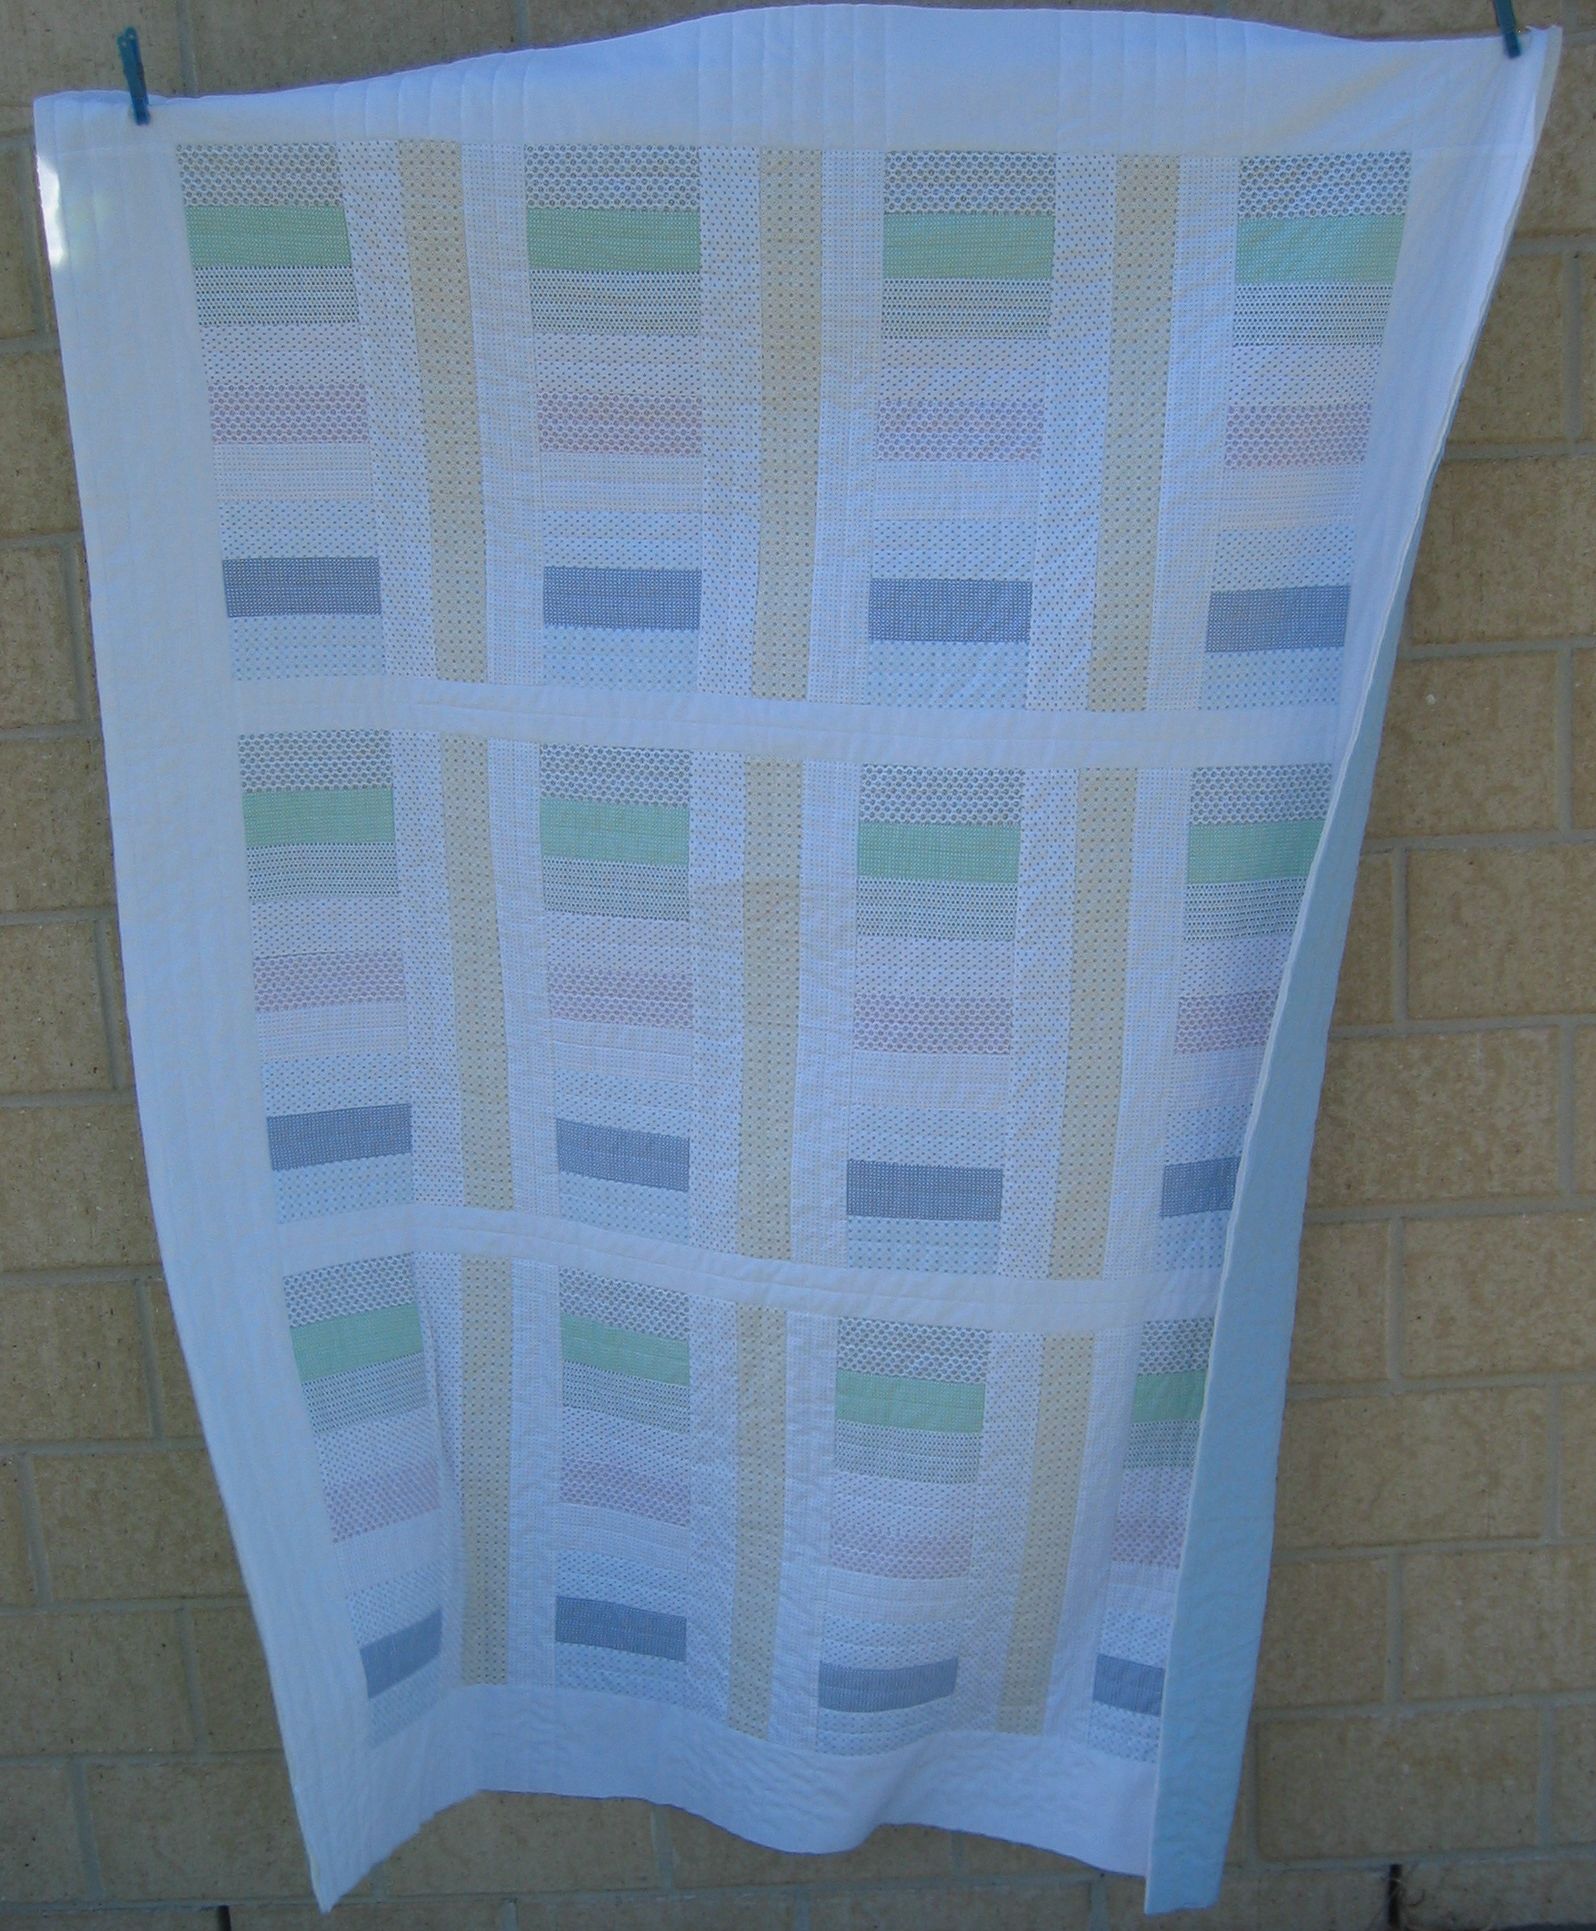
I really liked the simplicity of this ‘Chinese coins’ quilt — I suspect it was made from a jelly roll of fabric. The fabric was a crisp cotton, similar to the fabric used for quality men’s shirts and not like standard quilting fabric at all. Even the tiny patterns on the fabric were similar to that on men’s shirts.

It leant itself perfectly to straight line ‘modern quilt’ stitching, so I used my favourite ‘Line Tamer‘ ruler to stitch the straight lines in white thread. I added an extra line in each strips and in the sashing strips, and extended the stitching on the vertical strips into the top and bottom borders.

Click on a photo to view it larger.

quilt52_01

quilt52_02