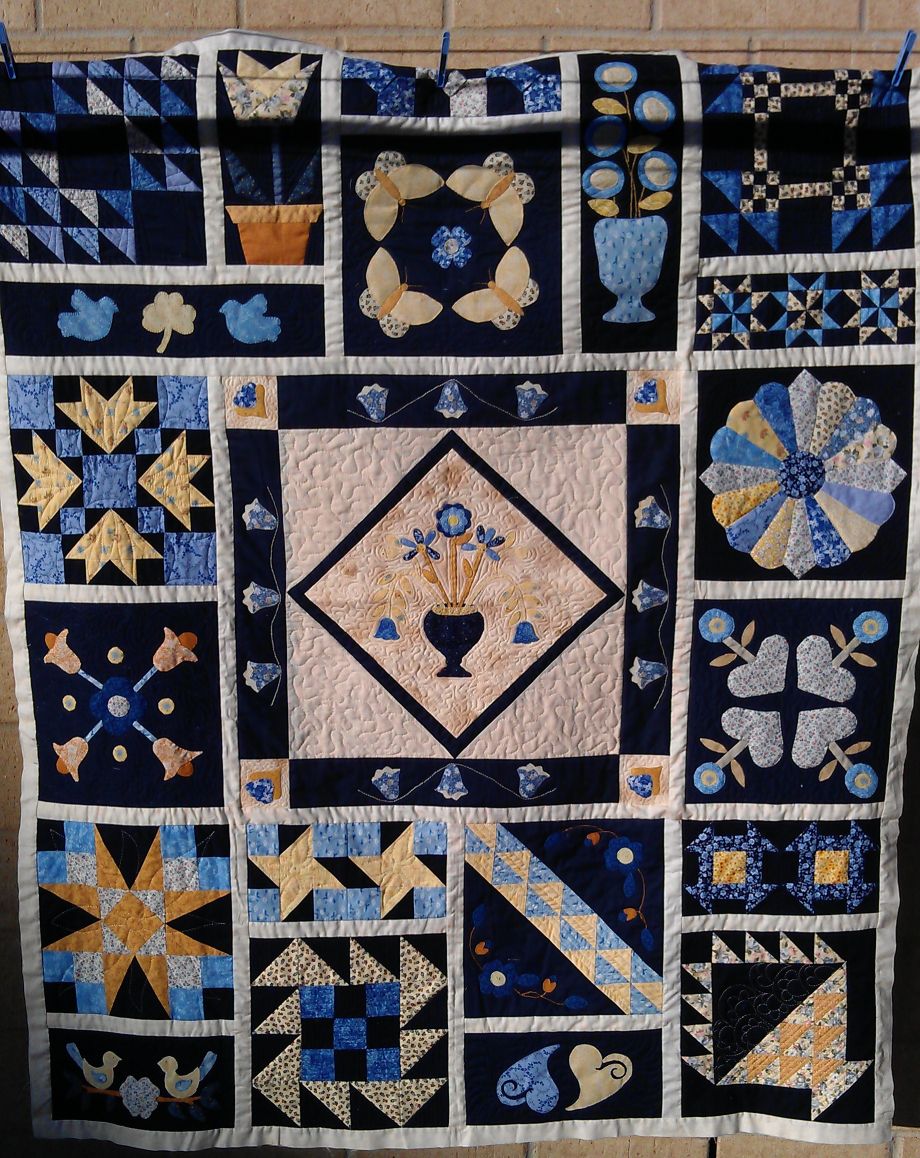
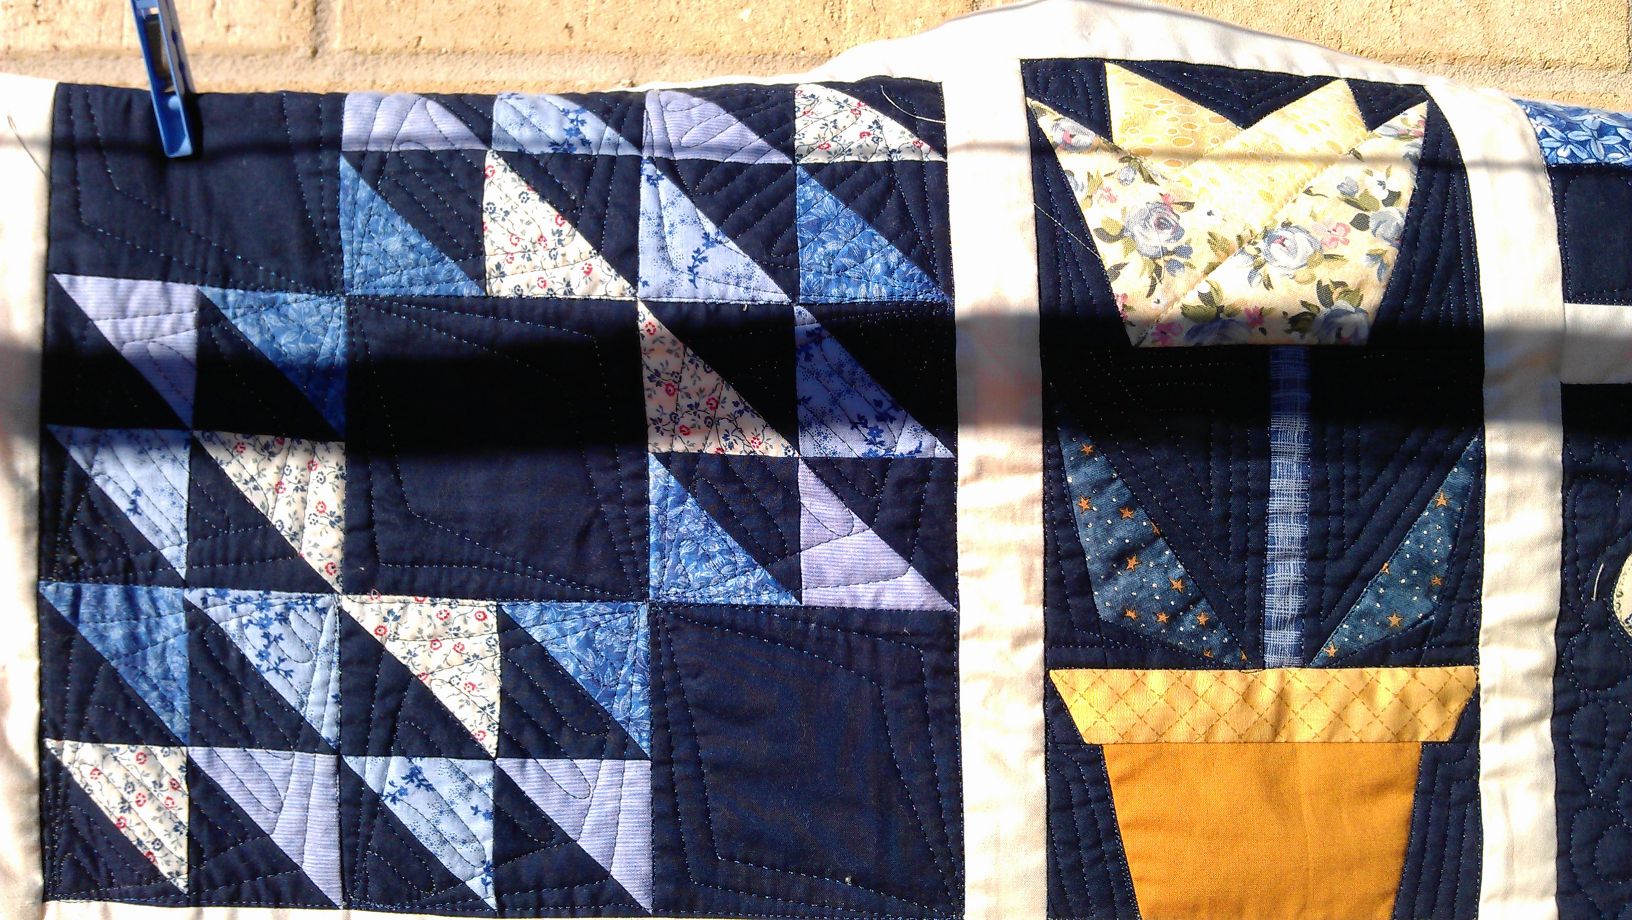
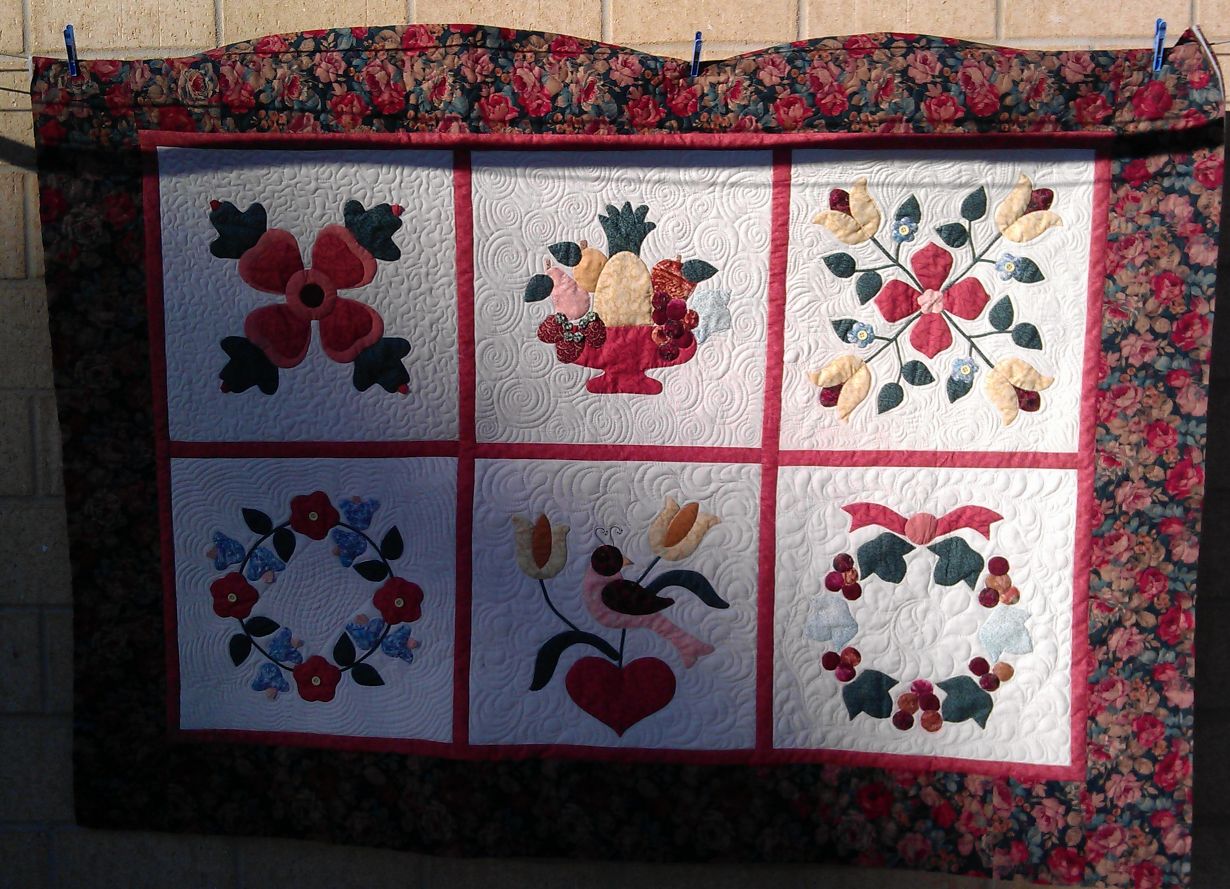
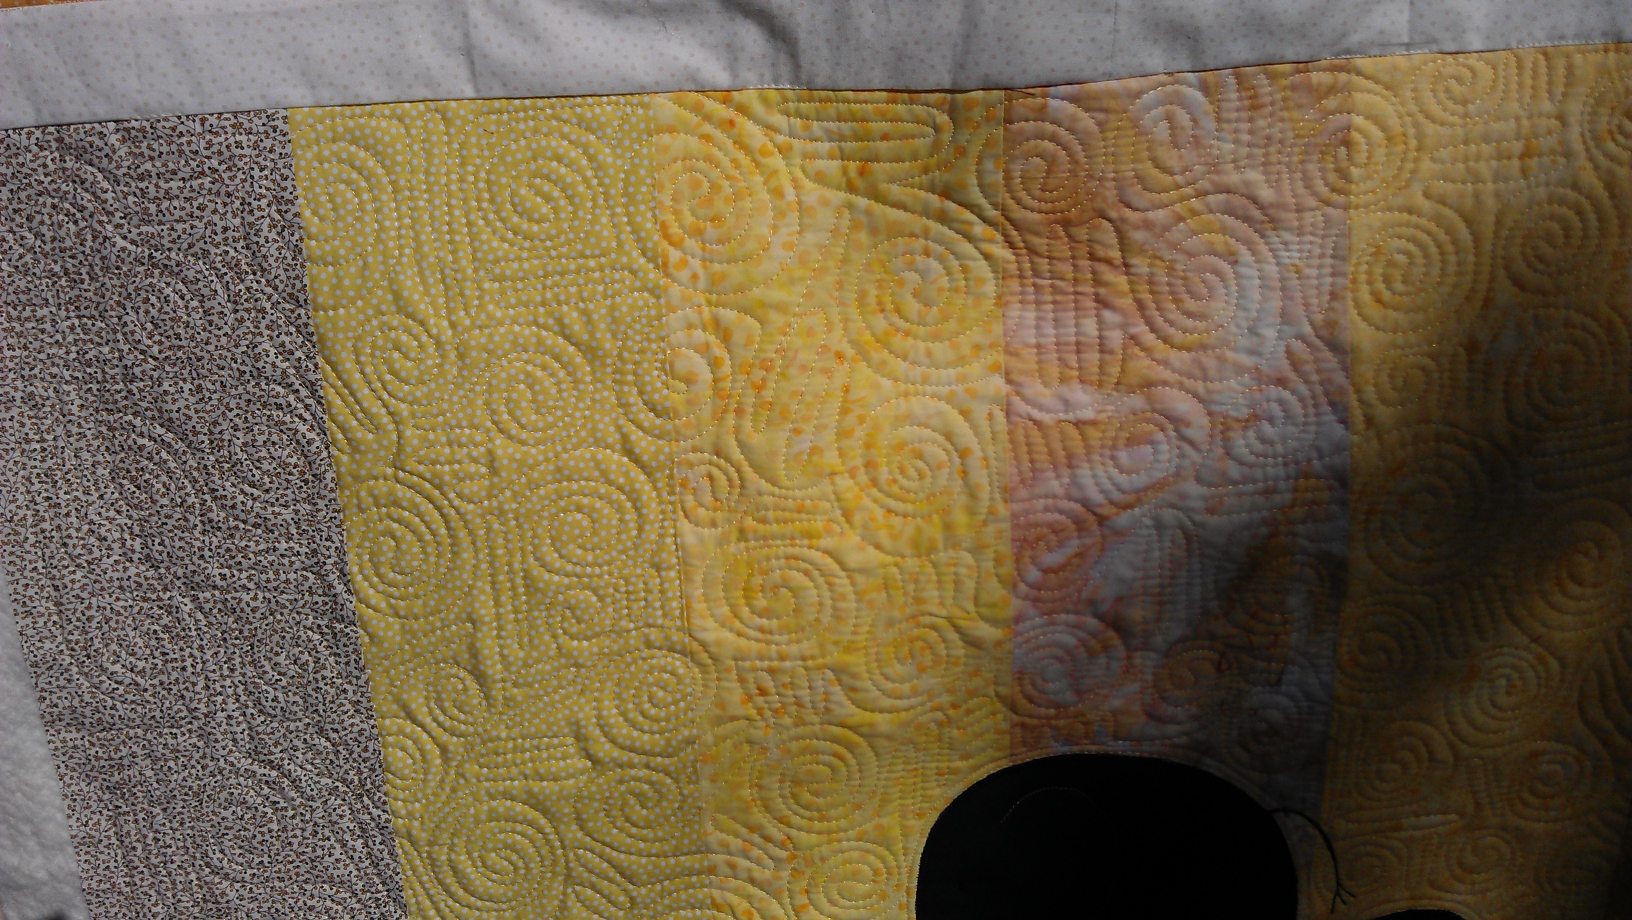
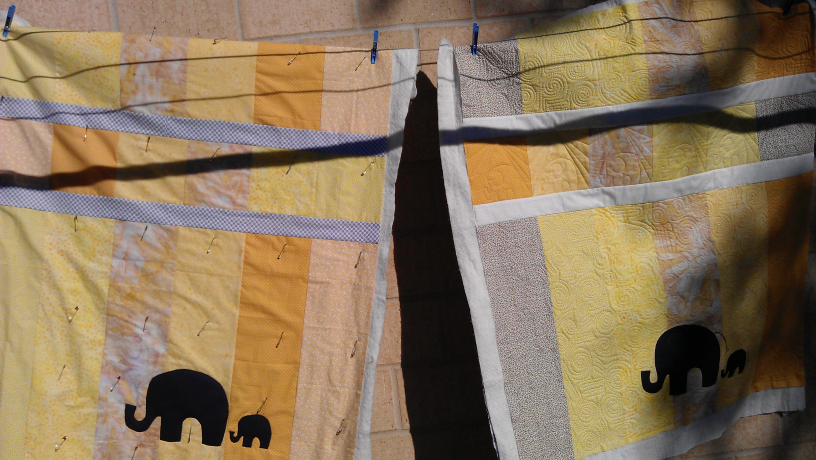
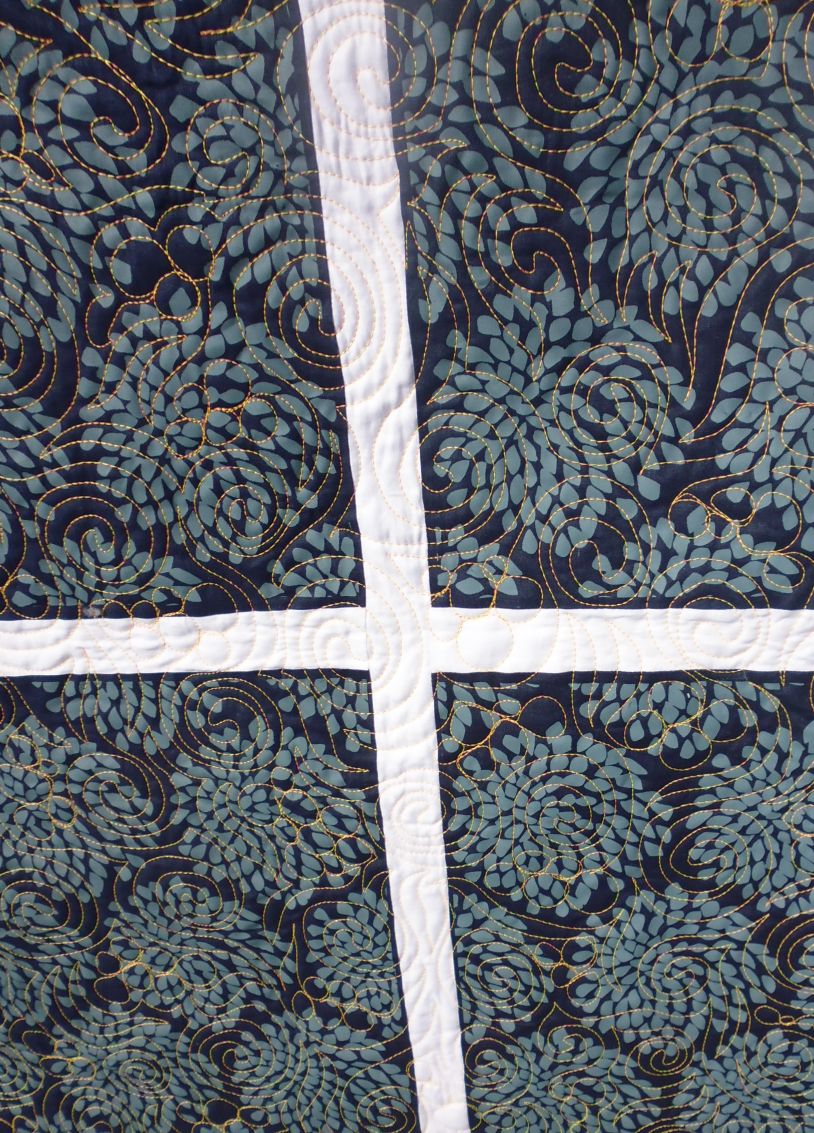
This large quilt was unusual in that it was made up of 9 large rectangles of fabric divided by white sashing strips. From the ‘hand’ of the fabric, I suspect the rectangles were screen printed. I liked the almost Japanese feel of the fabric, with the indigo and the stylised chrysanthemums (that’s what I saw, anyway;-) It was quite a large quilt.
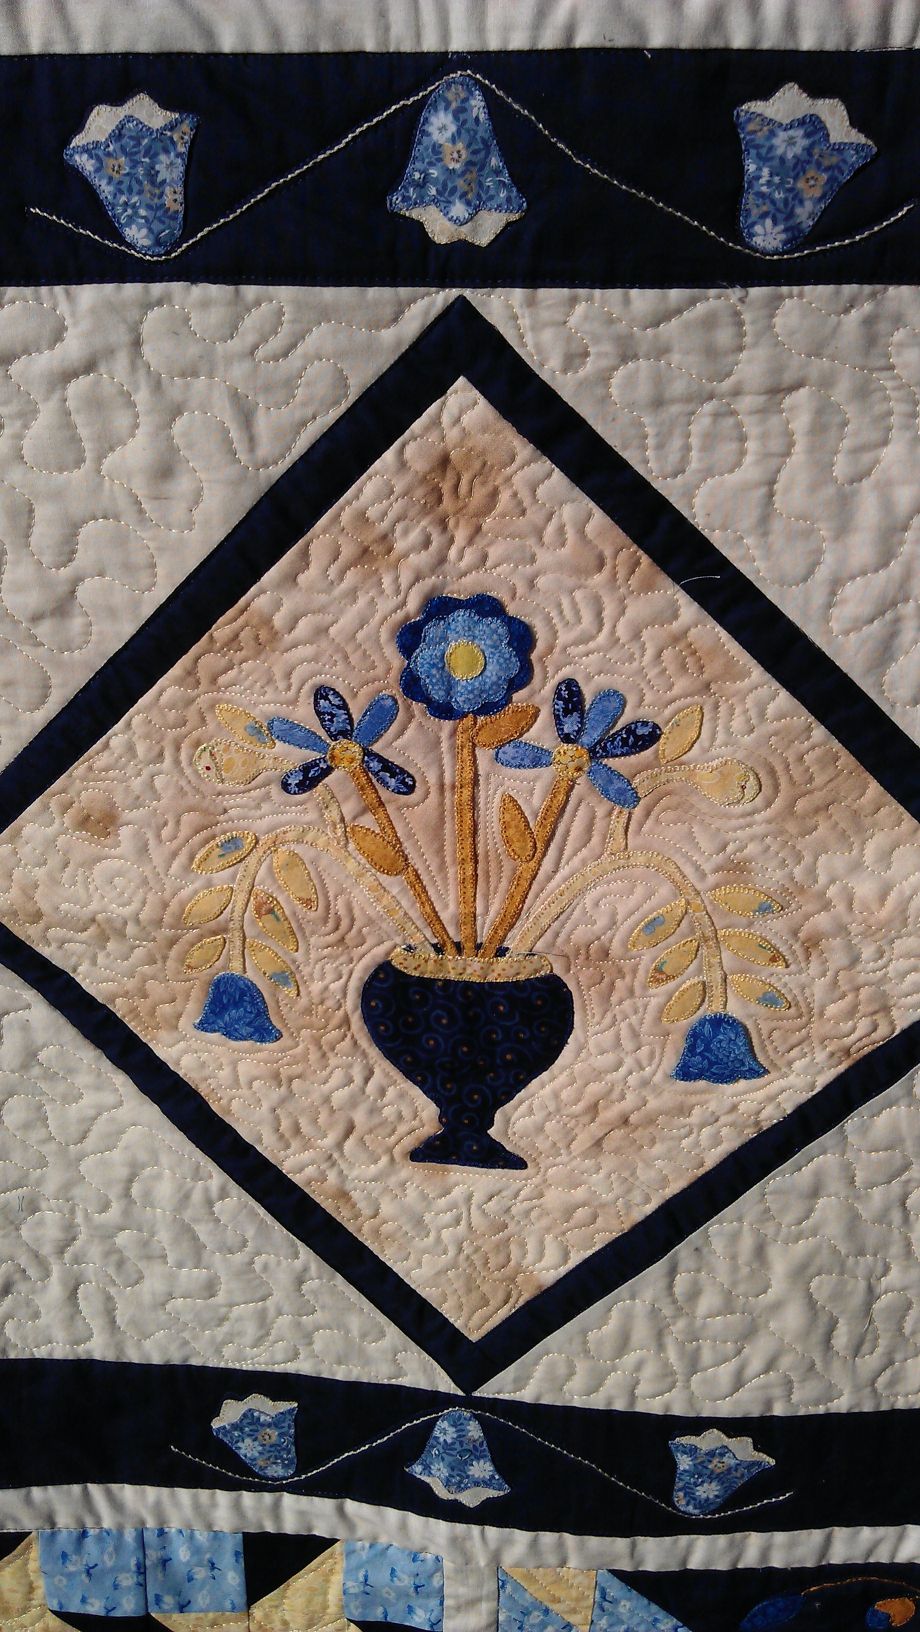
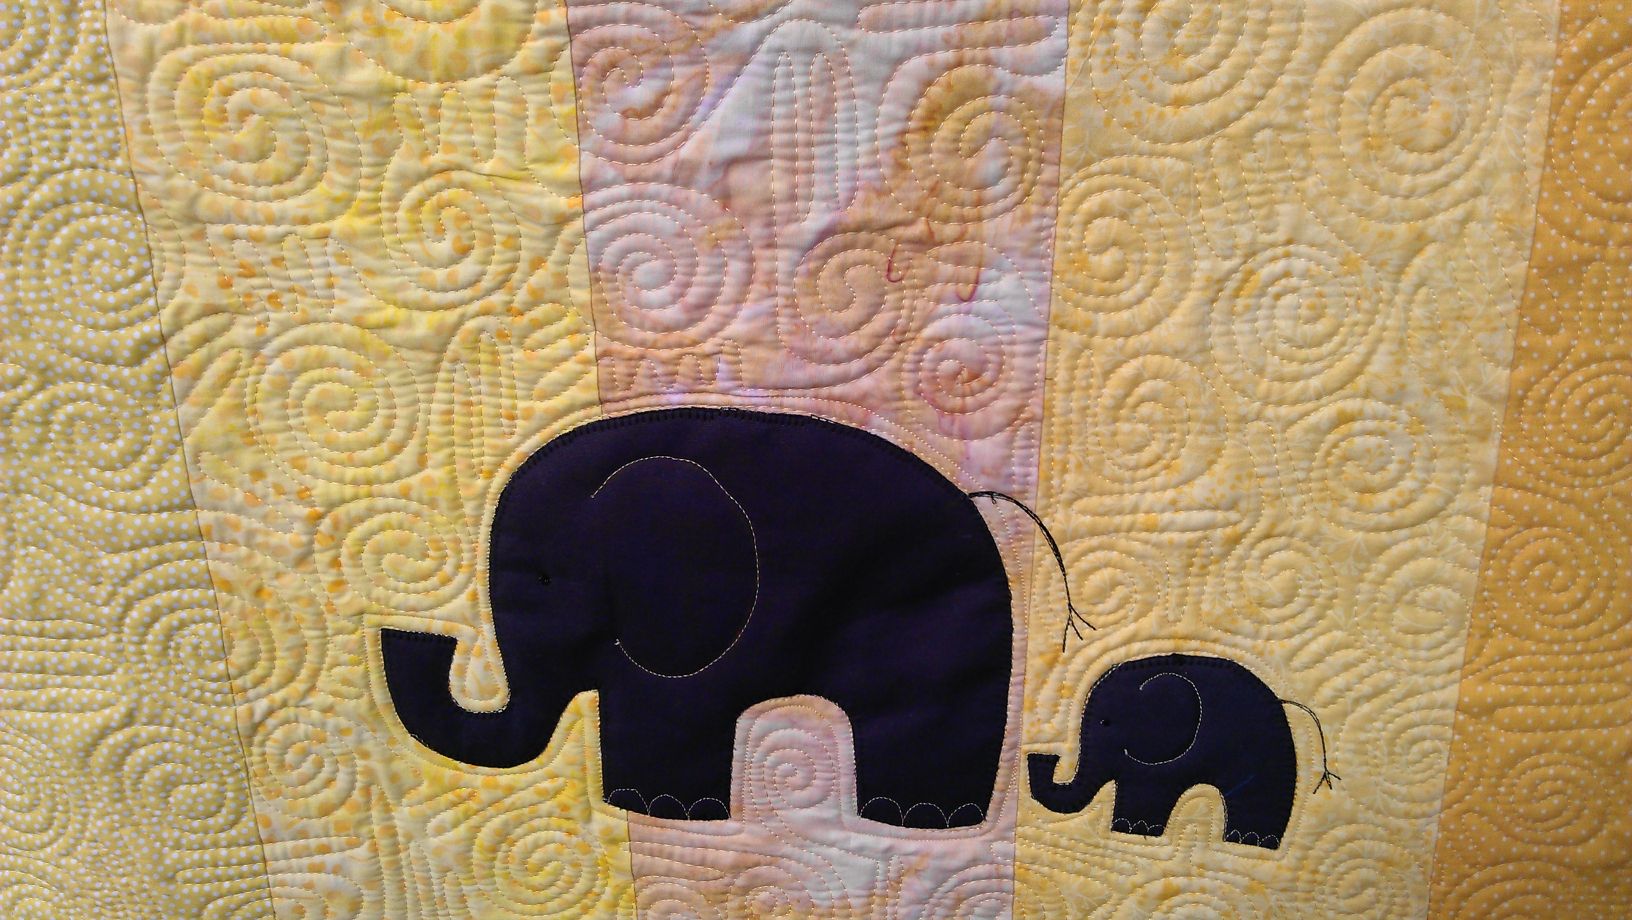
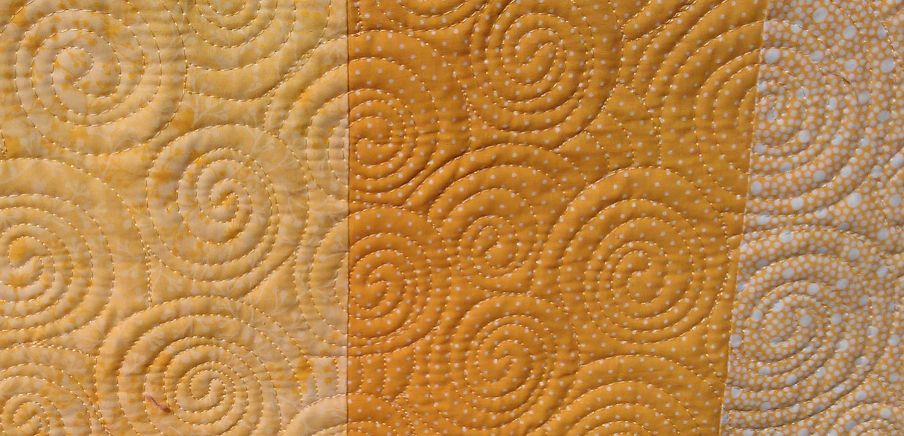
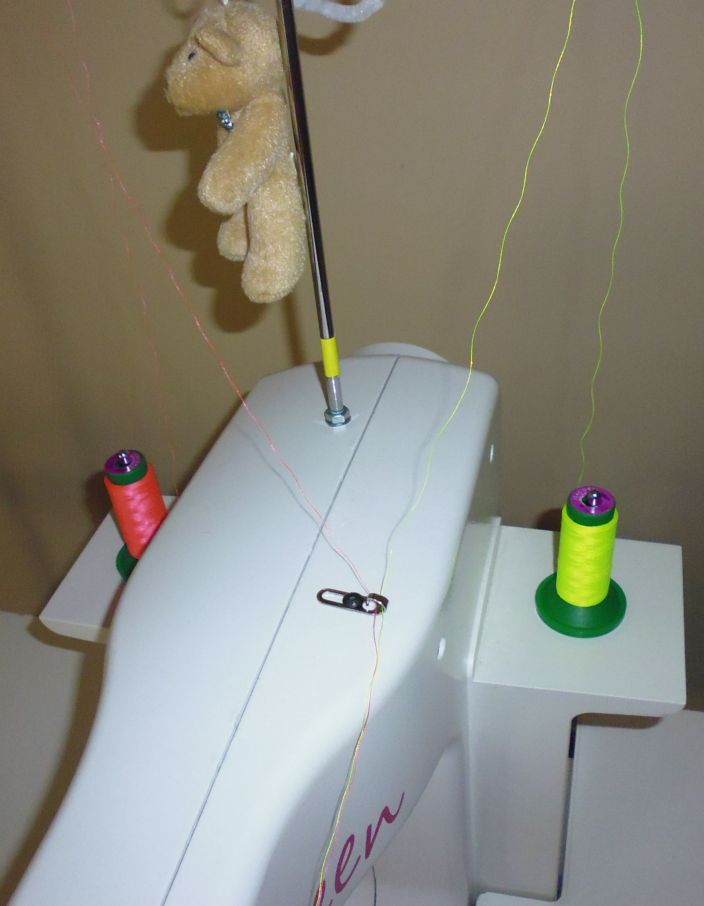
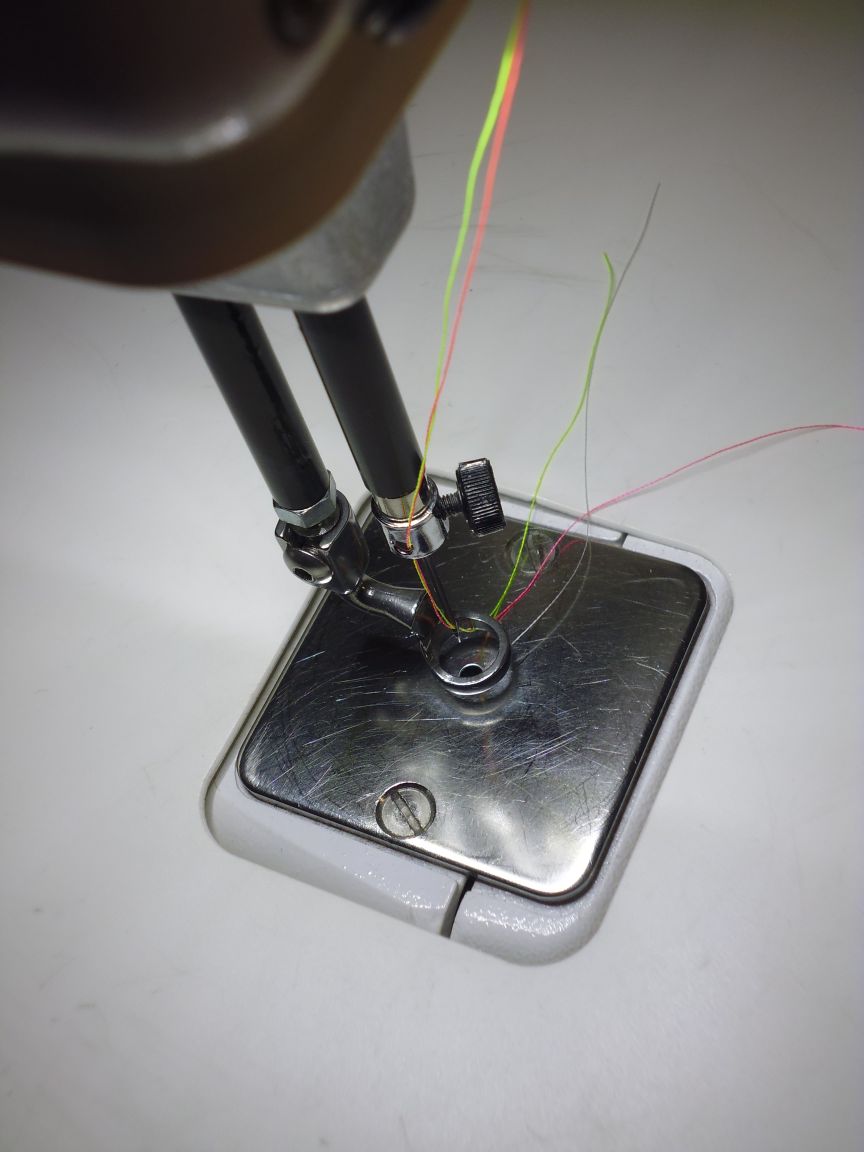
How to quilt it? I had some thoughts when I first saw it — perhaps uneven parallel lines almost like a tartan? Perhaps large circles or wreaths? My thoughts on this waxed and waned, but what didn’t change was my idea to quilt it using fluoro (neon) thread. I auditioned a few threads against the fabric, and while I quite liked fluoro orange against the dark blue, I decided to try something different and blend a fluoro lime green and fluoro pink! I’ve only stitched with two threads once before, and I was a bit hesitant as the weight of the combined threads through the needle eye might cause shredding or breakages. But I worried needlessly — the two threads I chose worked PERFECTLY through the size 18 needle I used, and I didn’t have a single thread issue across the whole quilt.
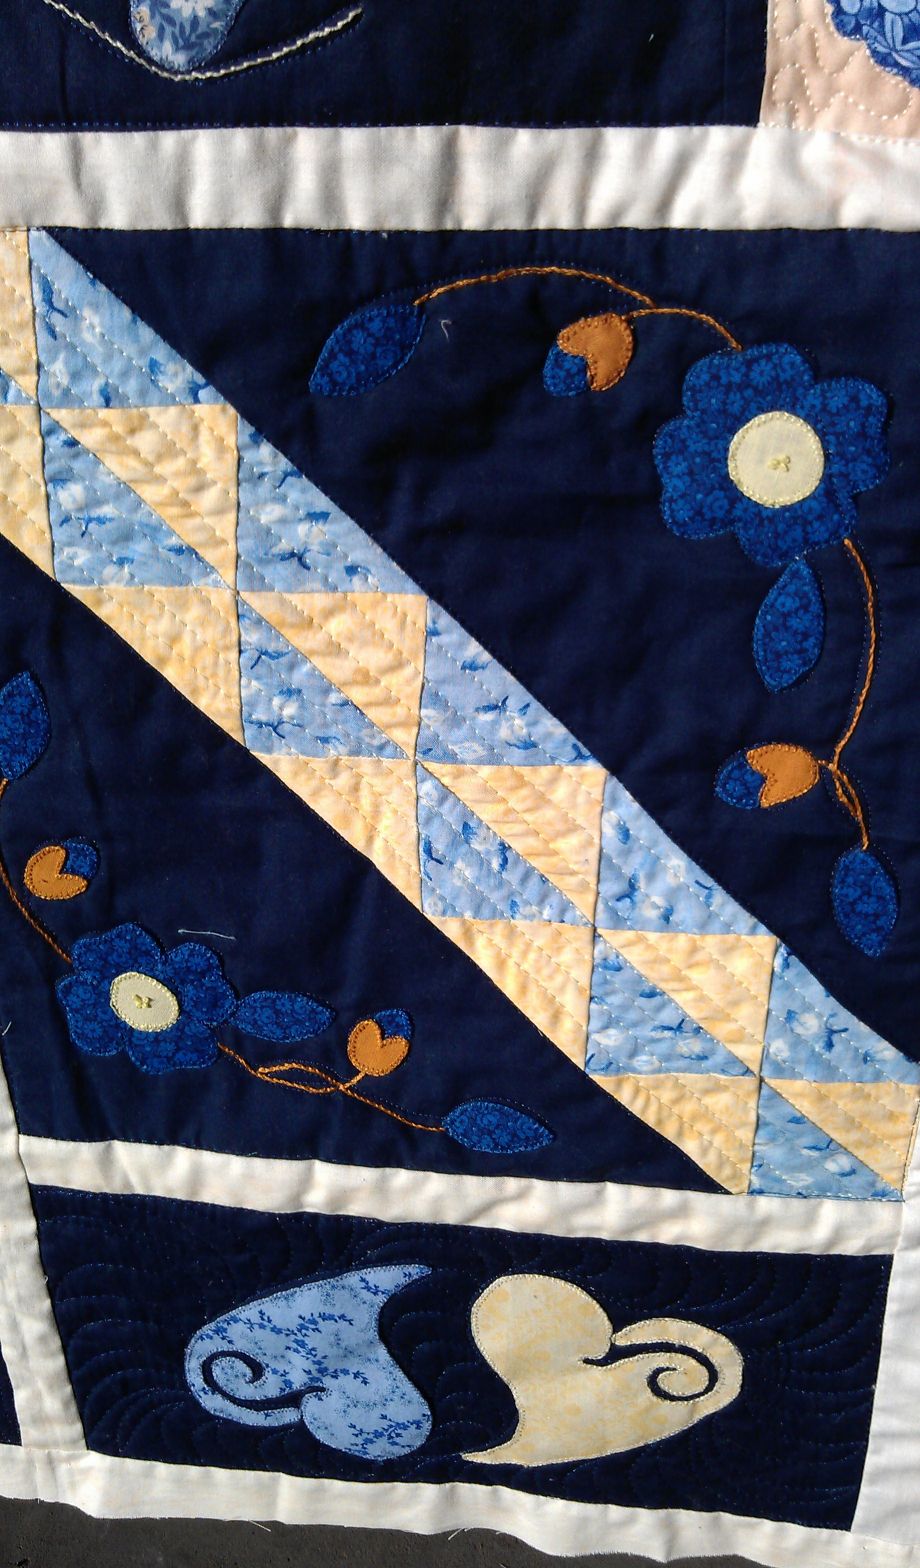
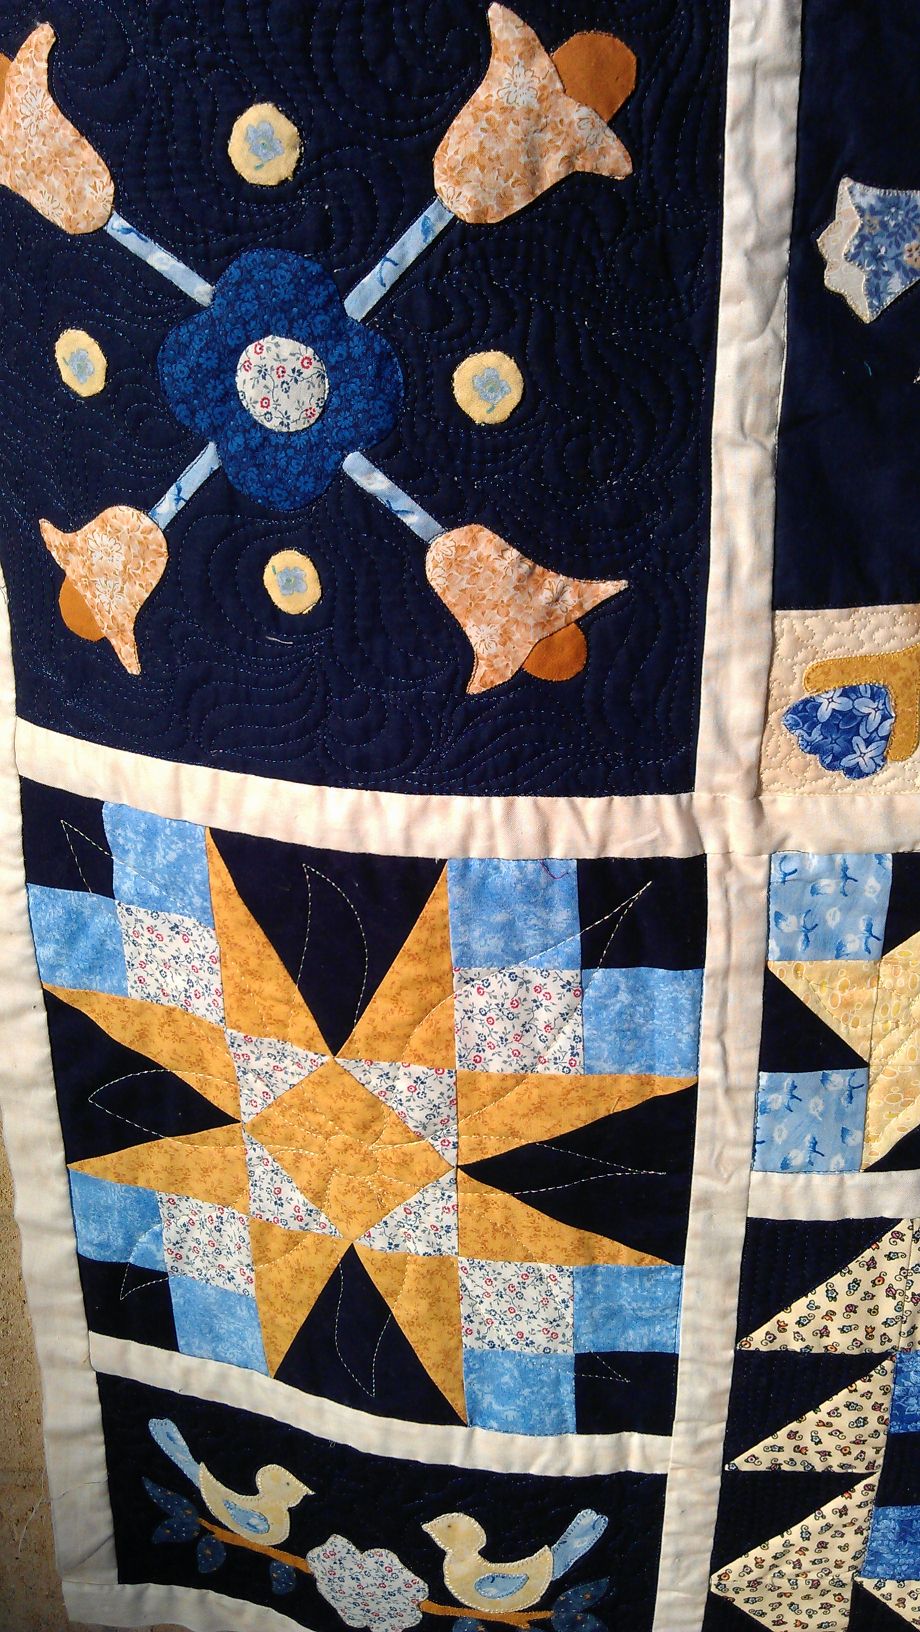
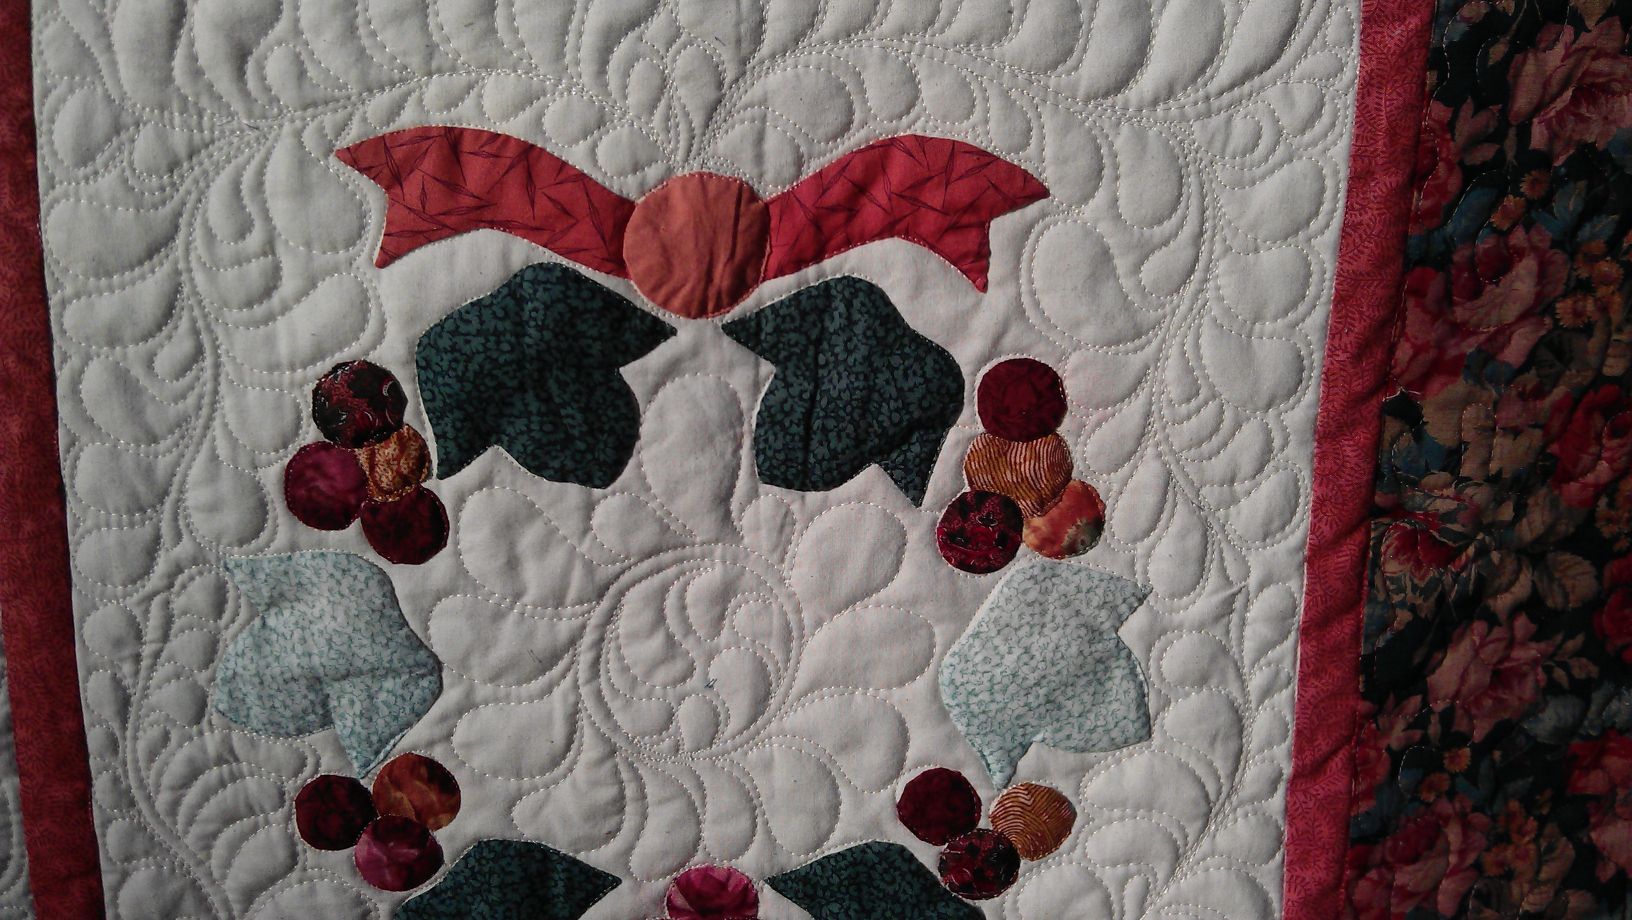
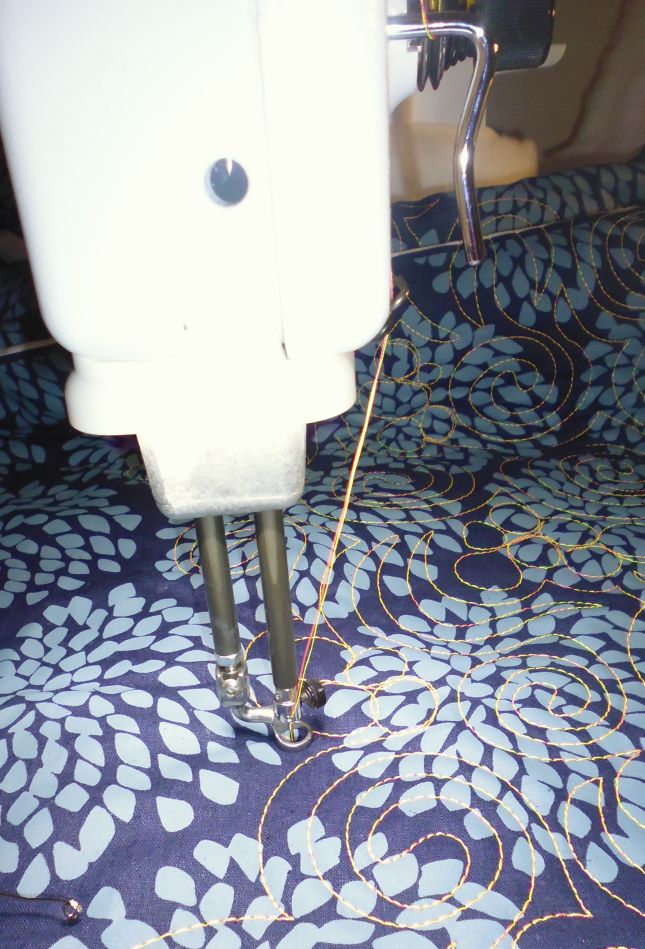
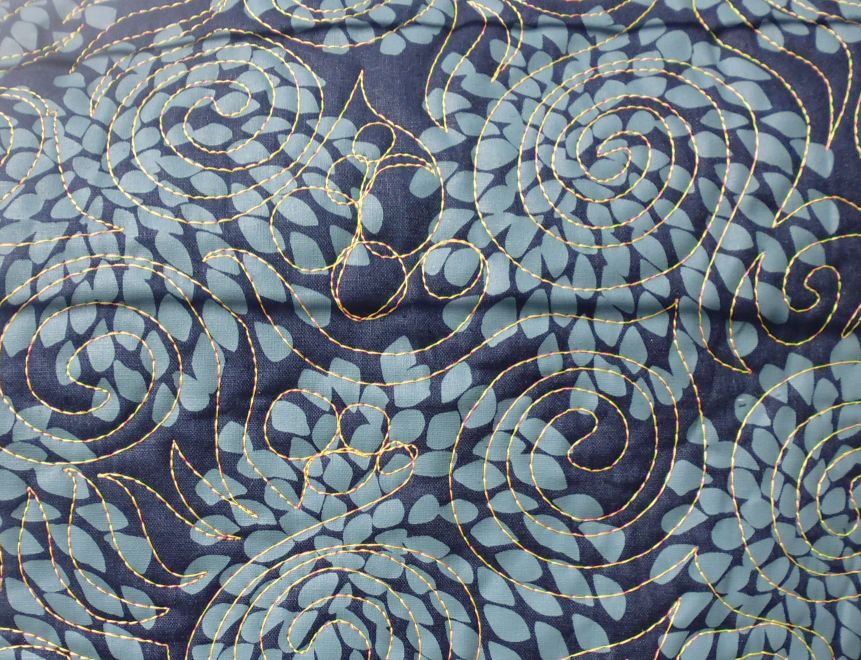
As far as the quilt motif went, I decided to follow the organic roundness of the flowers (or are they fireworks?) and do a mostly rounded motif, with some ‘flames’ scattered between. In the end I did lots of spirals, segueing into flames and/or bubbles. I really liked how the threads played together — despite them being fluoro pink and lime green, the overall effect is a sort of thick yellow, and it’s only when you get close that you can see the different threads weaving around each other.
One final thing — if you’re ever handing off your quilts for someone else to quilt (or if you’re going to quilt them yourself) PLEASE make sure that ALL pins are removed from inside the quilt layers. I ran over a small safety pin a couple of times and was just very lucky that I didn’t break a needle, jam the needle in the bobbin case, and/or throw the timing out on my machine. Had the timing been thrown out, it would have cost me a 4-hour round trip to the city plus about $50 to $100 to get it fixed!! That’s one expensive safety pin!
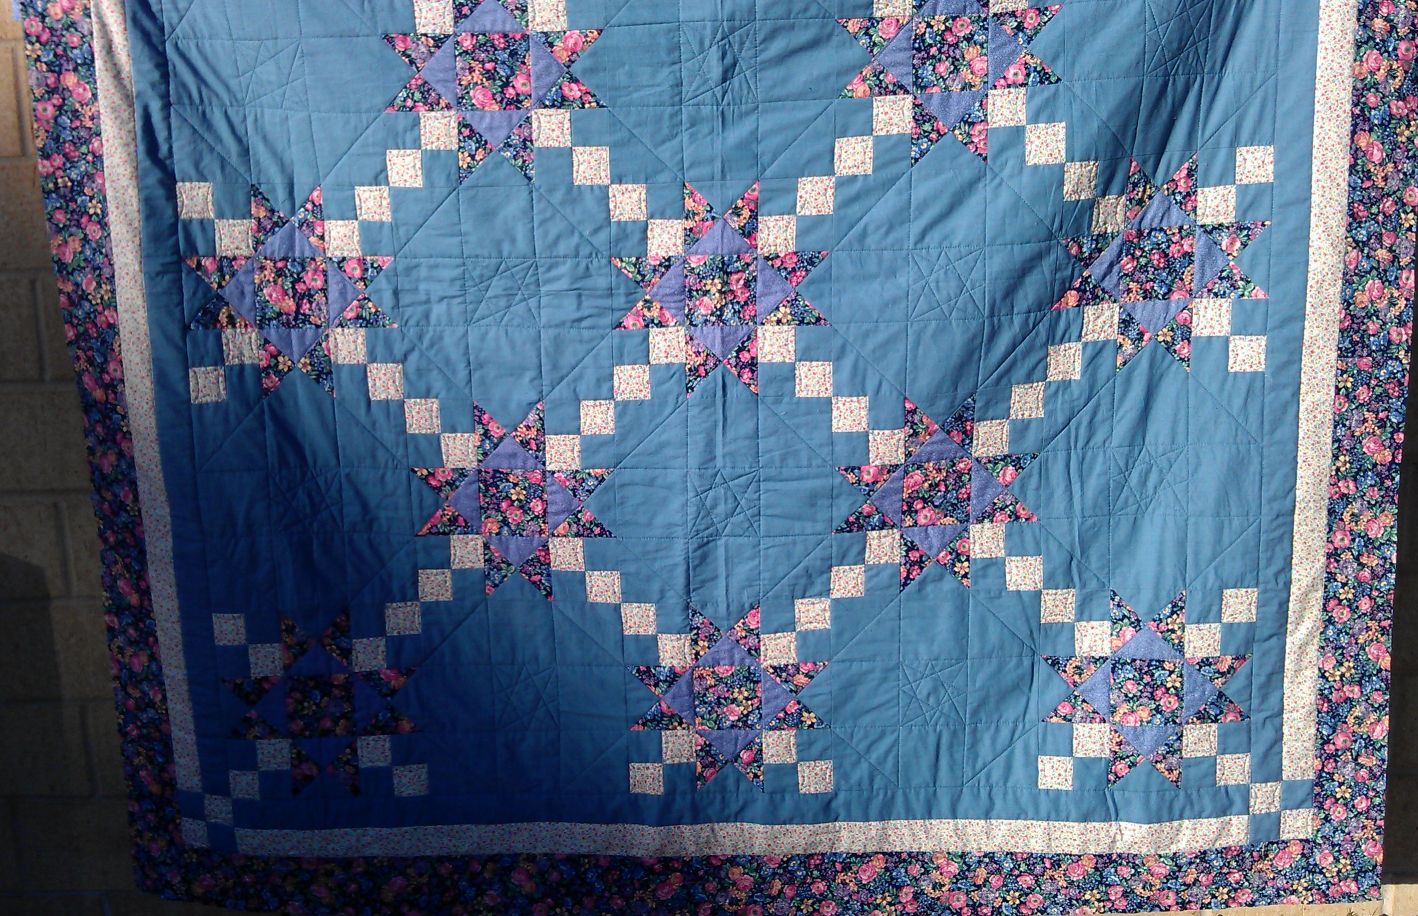
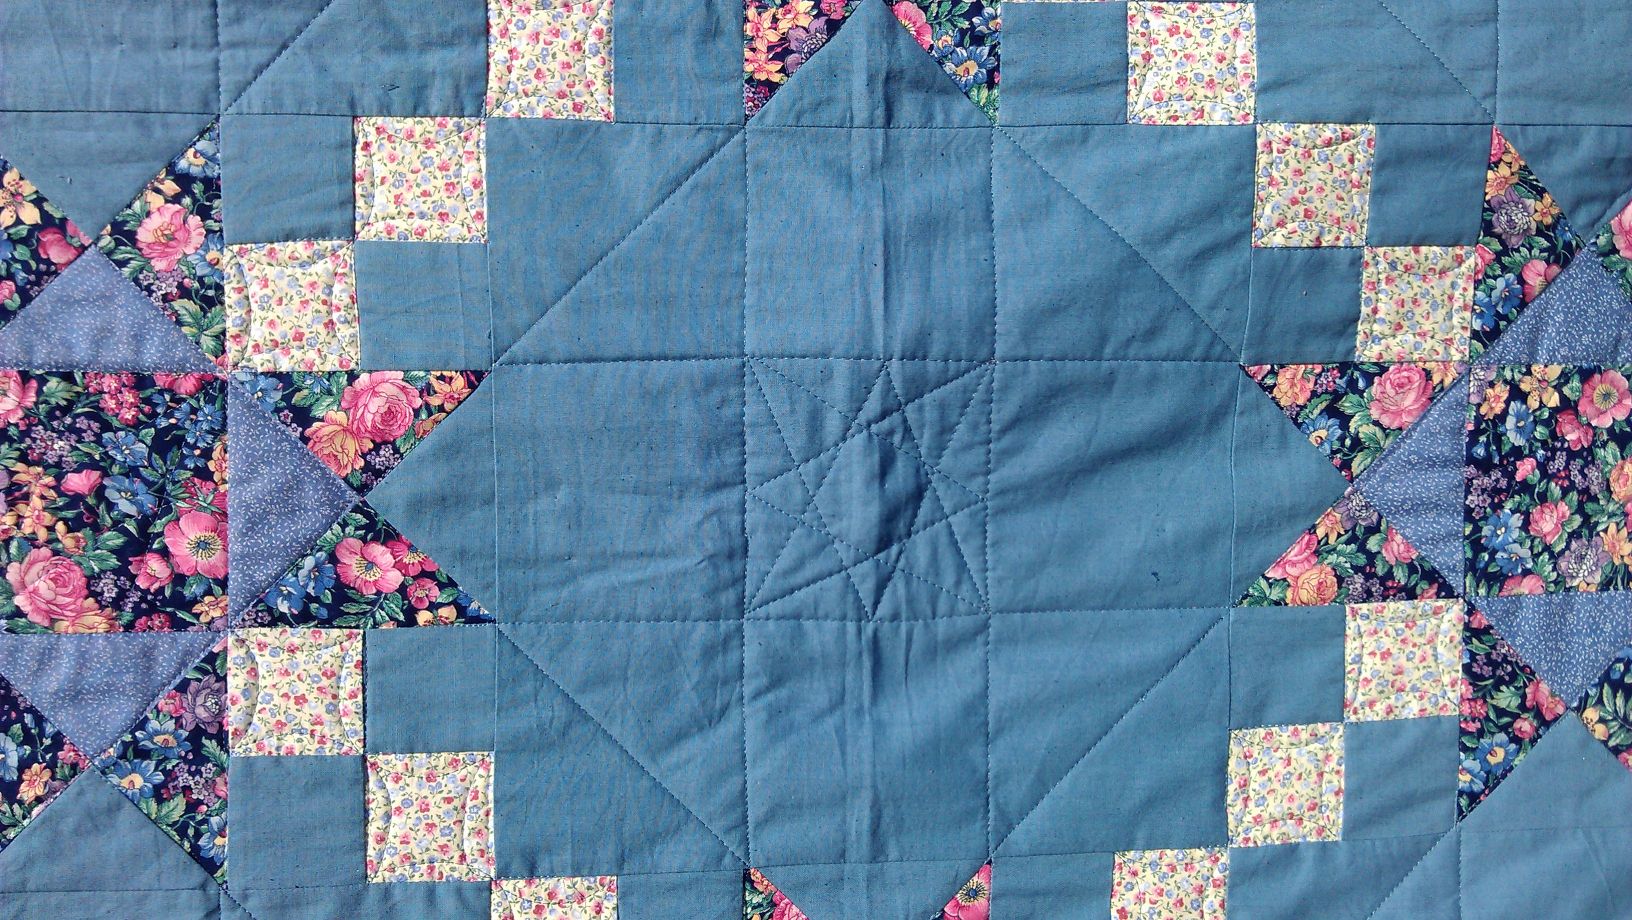
(Click on a photo to view it larger)


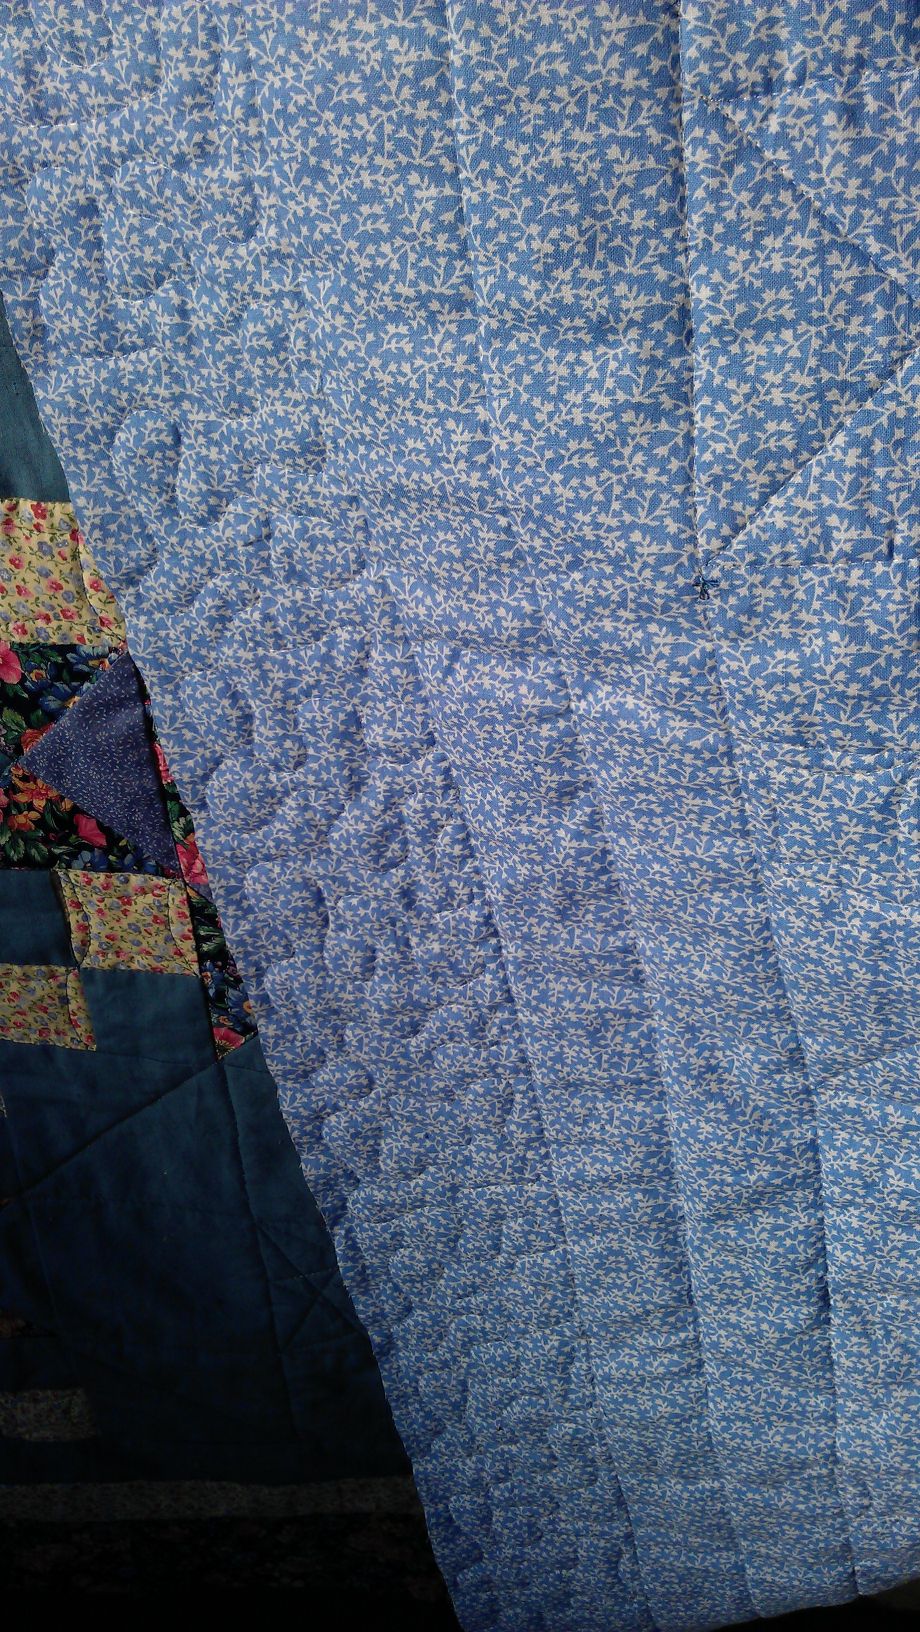
The back:

The tiny safety pin that I missed, which was buried inside the quilt layers:

Threads used:
- Top: Both Isacord 40 wt threads — colours 1940 and 6010
- Bottom: Fil-Tec Magna Glide pre-wound bobbin (60 wt, white)