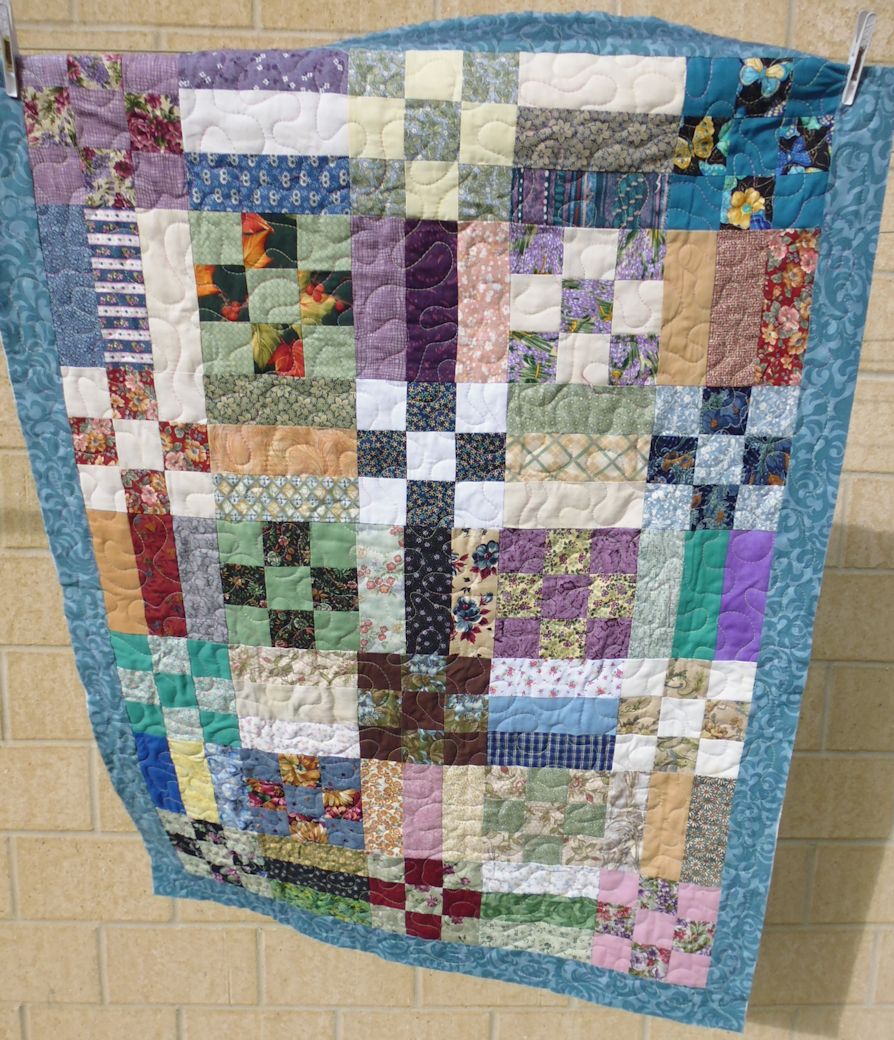
Our 2016 quilt challenge was set by our friend Helen Godden, a renowned, internationally known quilter of extraordinary pieces. We had to email Helen a high-resolution digital photo we’d taken and that we thought would work well as an art quilt. She printed each photo onto a large photographic sheet, which she then divided randomly into five pieces. She then mailed each person a single piece of everyone else’s photo, including their own. We didn’t know who the photo pieces belonged to (except our own, of course). Our task was to re-create in fabric, thread, fabric paints, etc. the photo pieces we received. We were to leave a decent seam allowance around each fabric re-creation, and were NOT to quilt it. We had to send our completed fabric pieces back to Helen by the end of December 2015. Once she received all the completed pieces, she sorted them out and sent each back to the owner of the original photo. Our task was to join the individual pieces our friends had created into a whole, then embellish it, quilt it, modify it however we wanted, as long as it was ready for revealing at our annual quilt retreat in July.
Below are the original photos and the finished products (each is made up of 5 pieces), followed by photos of the five pieces I worked on, and then the ‘show and tell’ pieces we shared after the reveal. Click on a photo to view it larger.
Photos and finished quilts
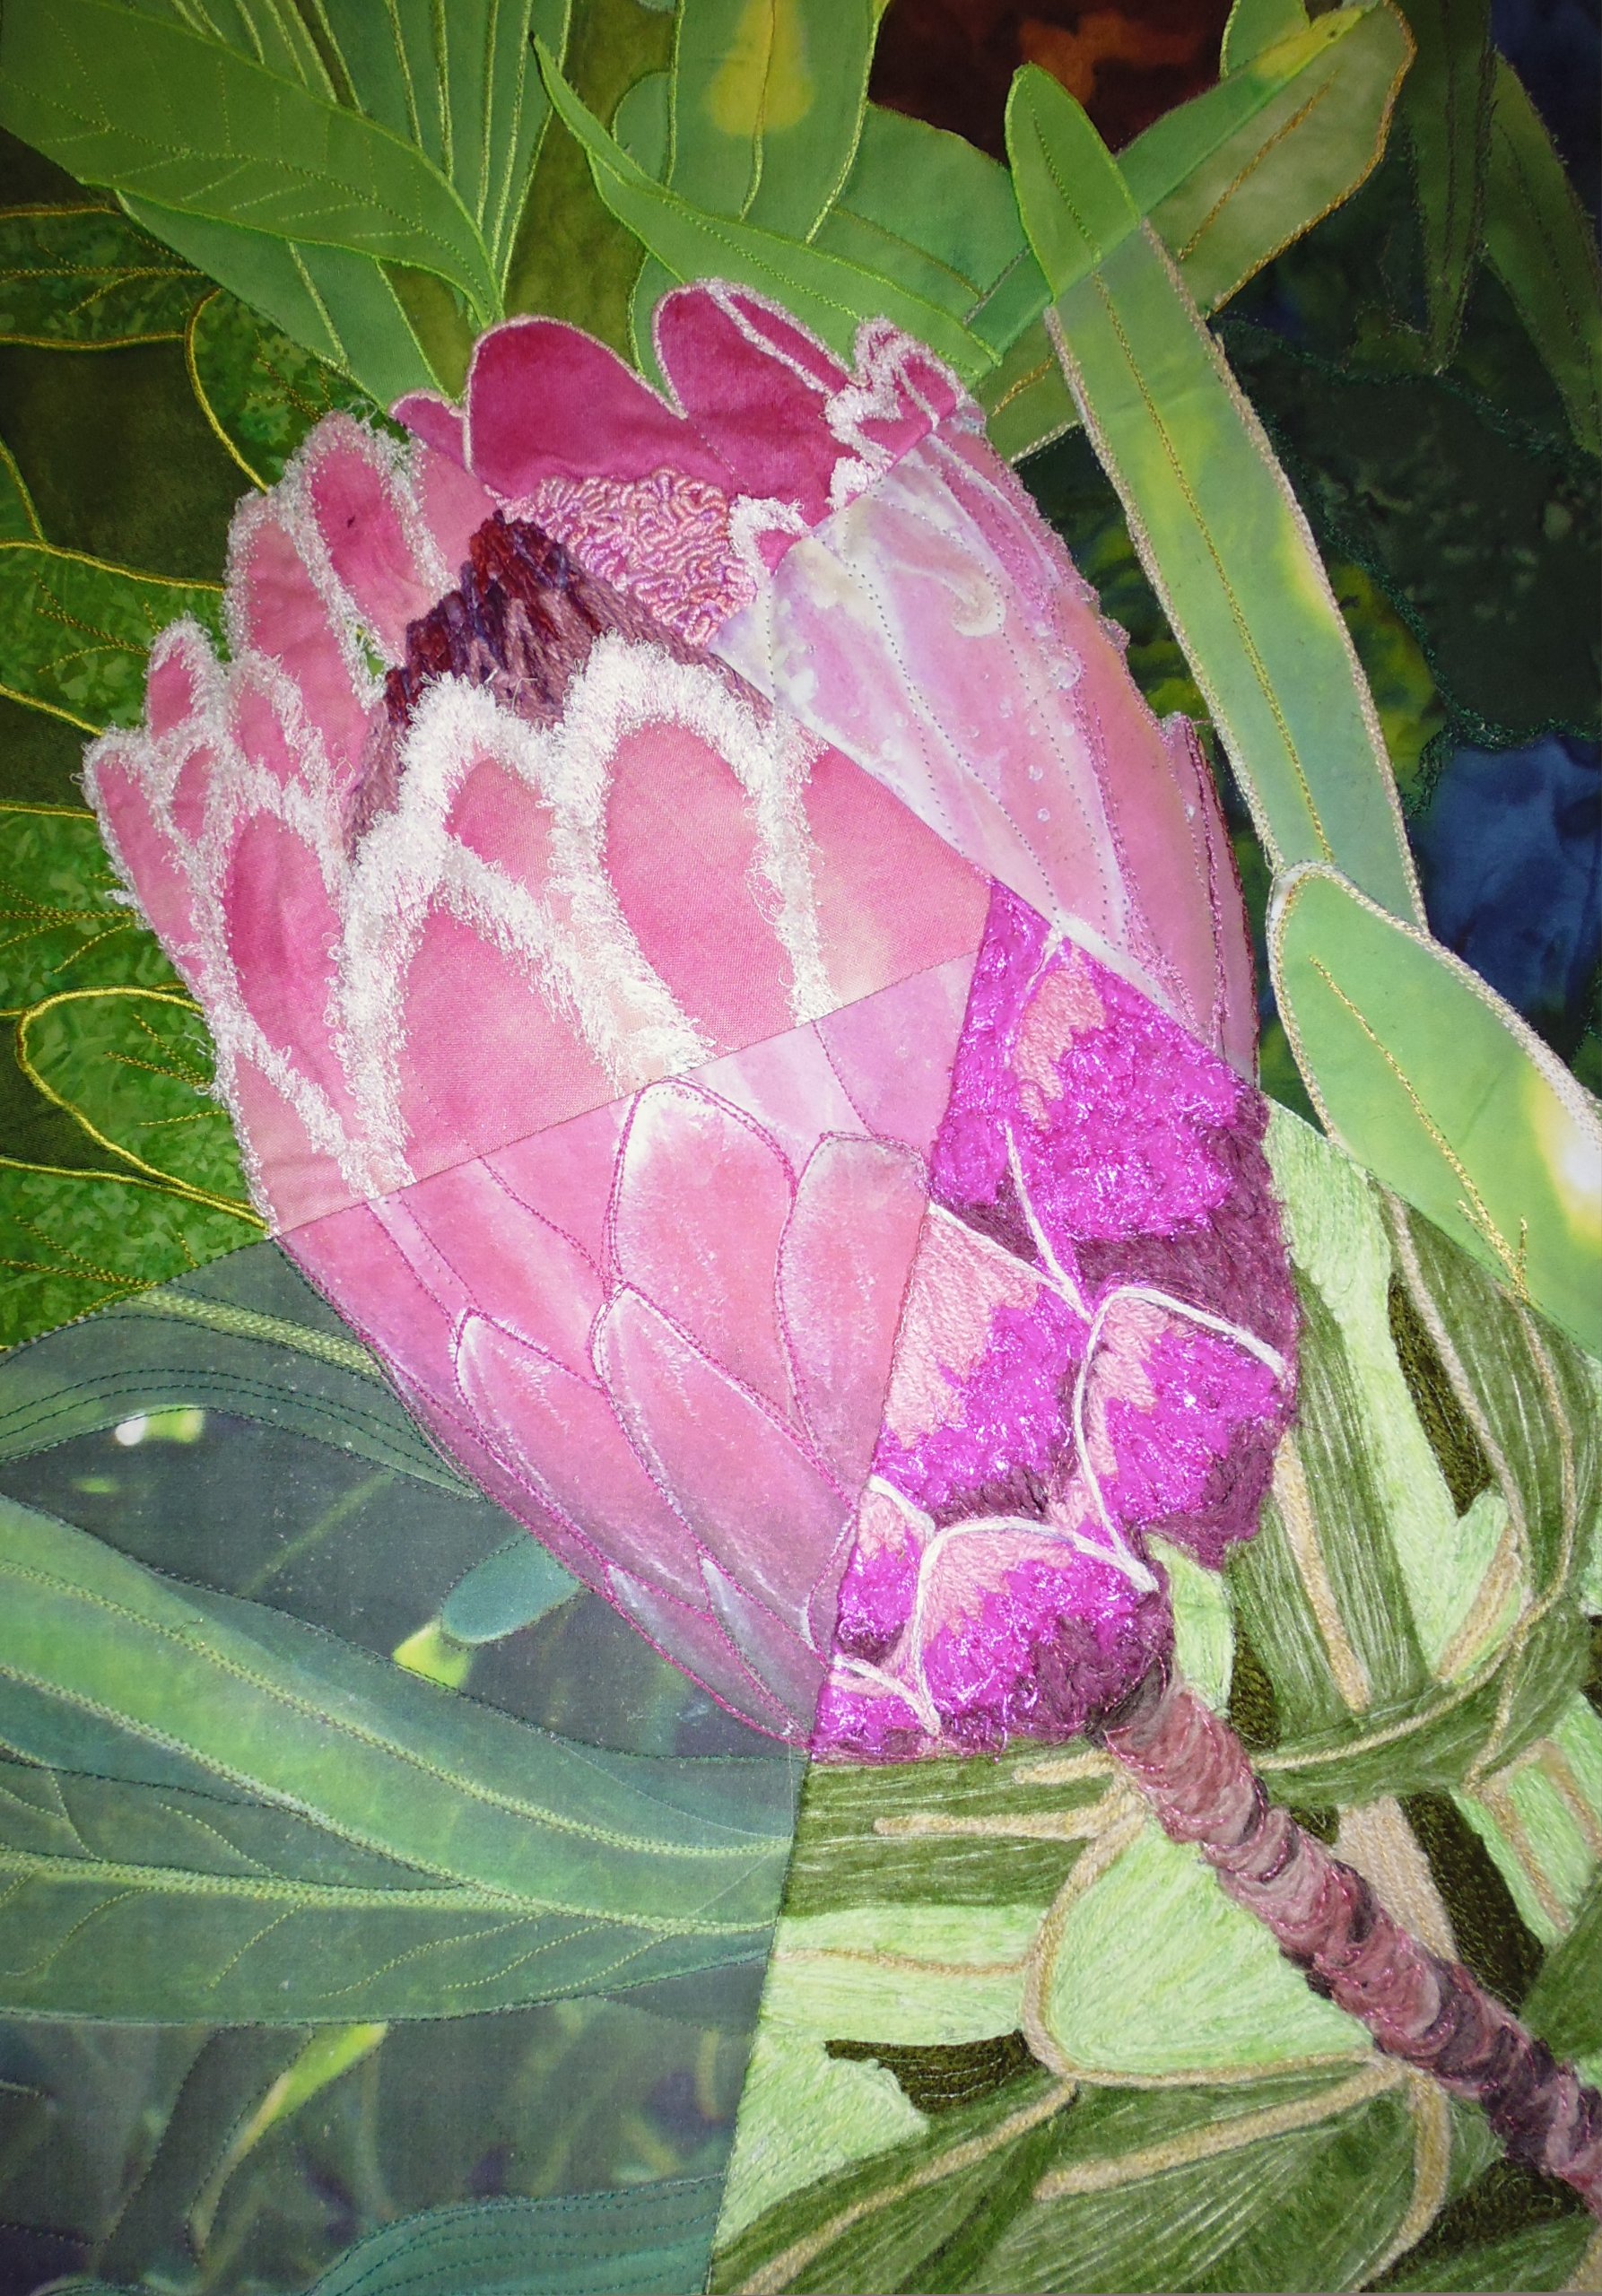
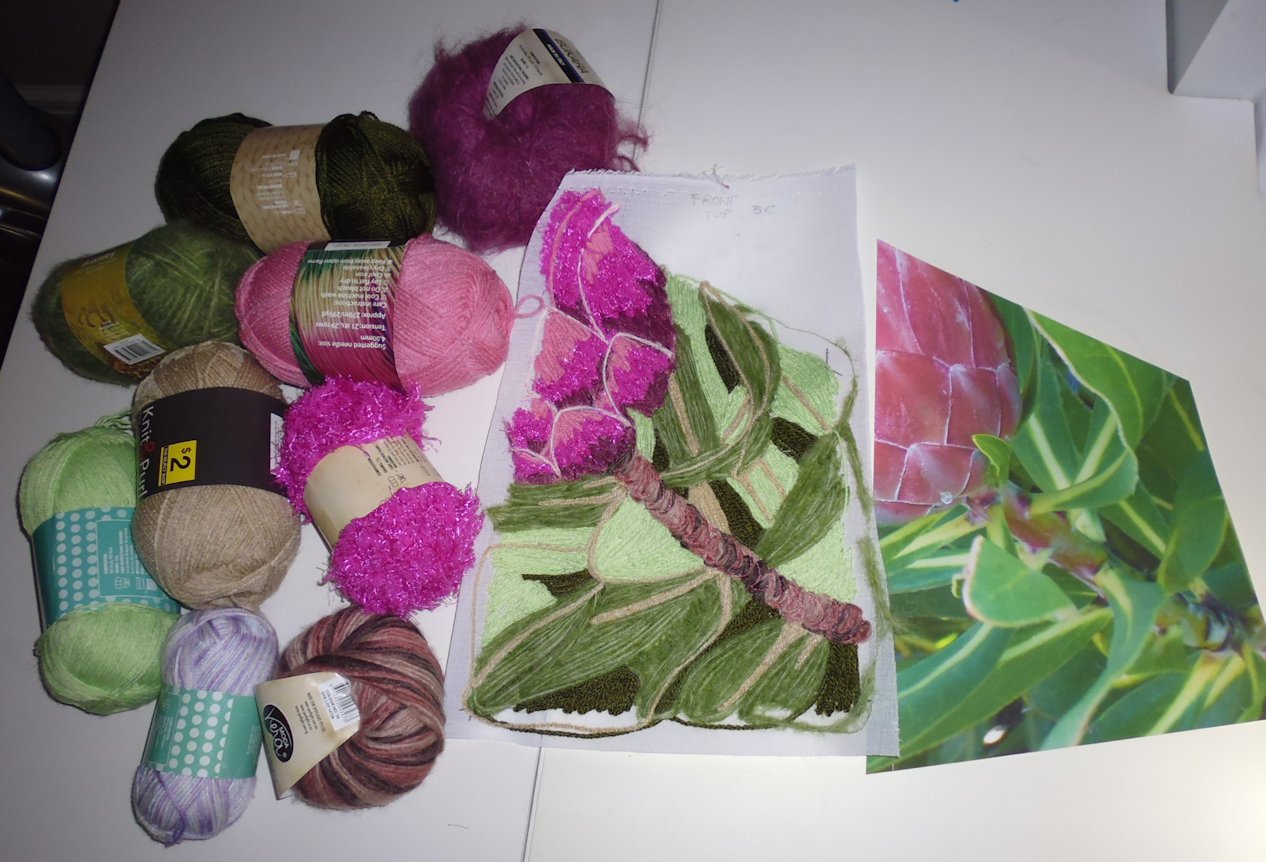
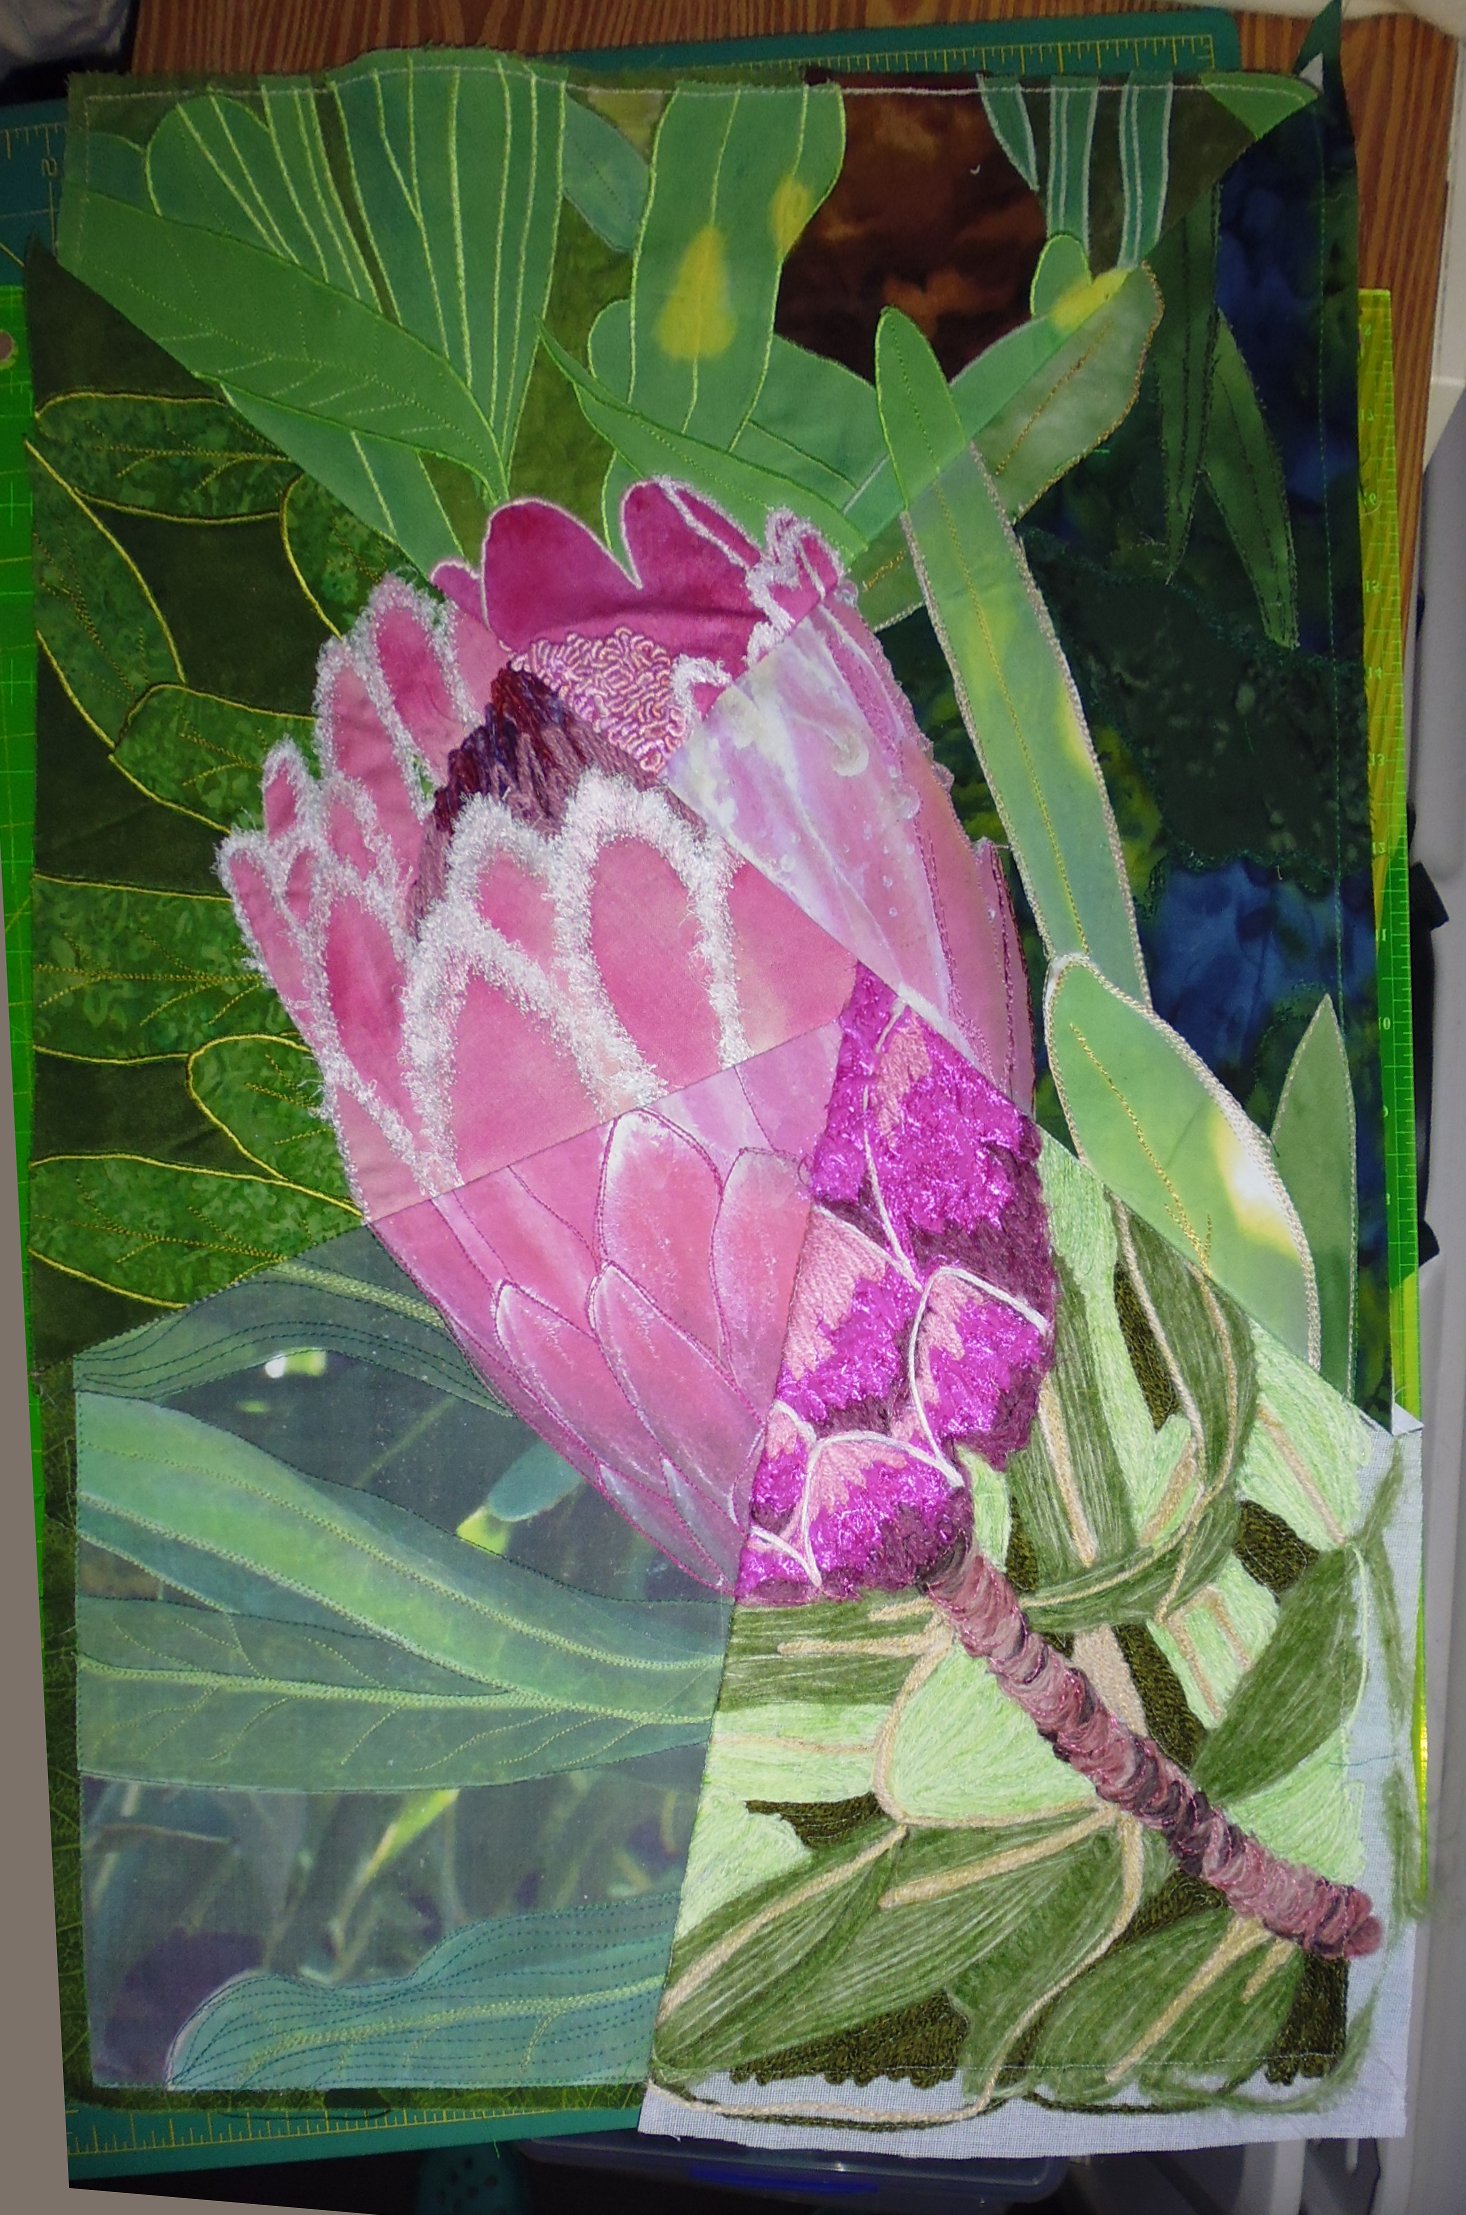
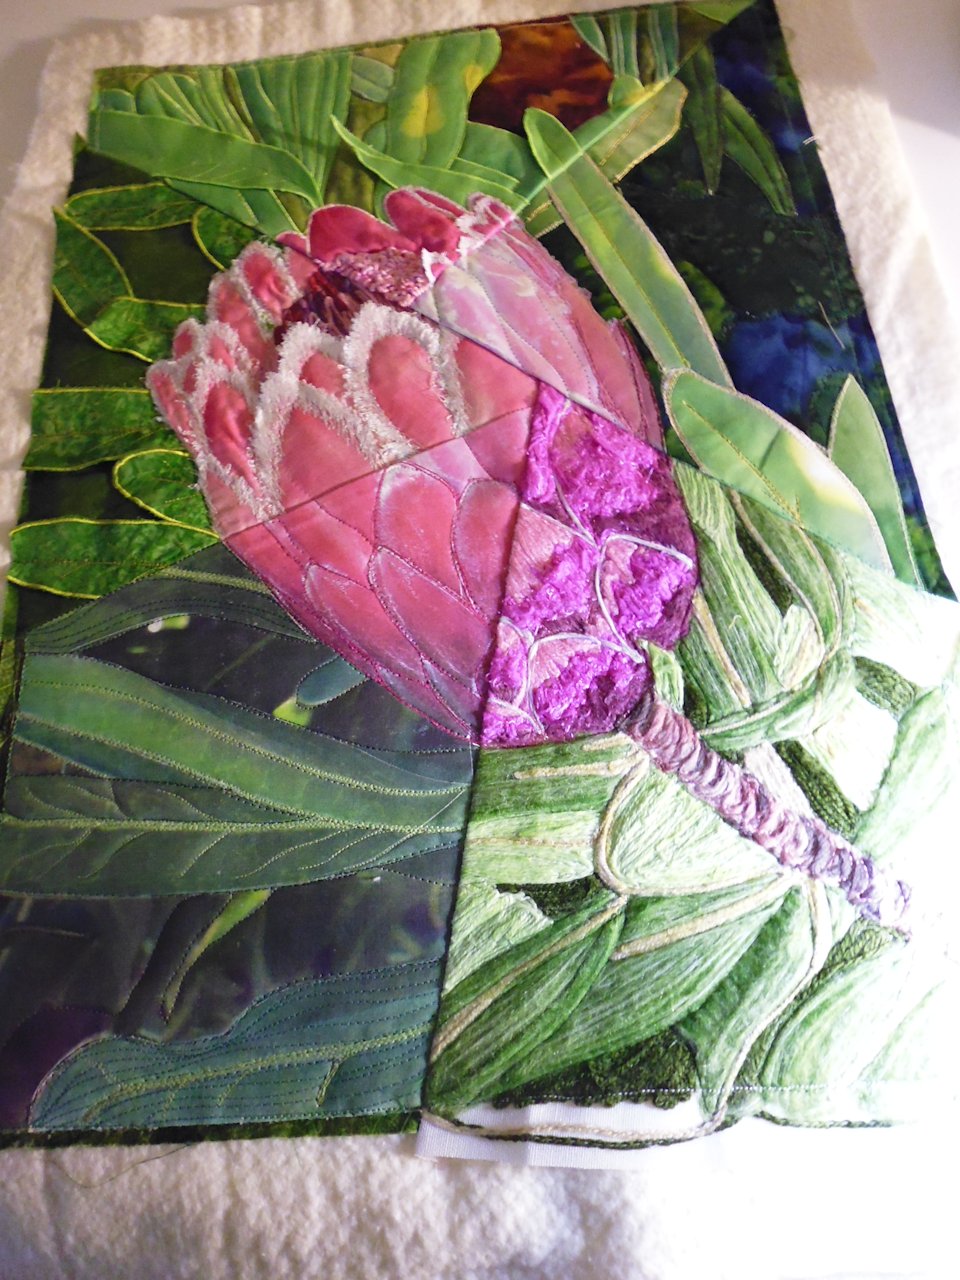
My photo of a protea flower from my garden, and my finished piece, which I’ve called ‘Fractured protea’:


This art quilt is now available for sale from my Etsy store: https://www.etsy.com/au/listing/605095934/fractured-protea-art-quilt
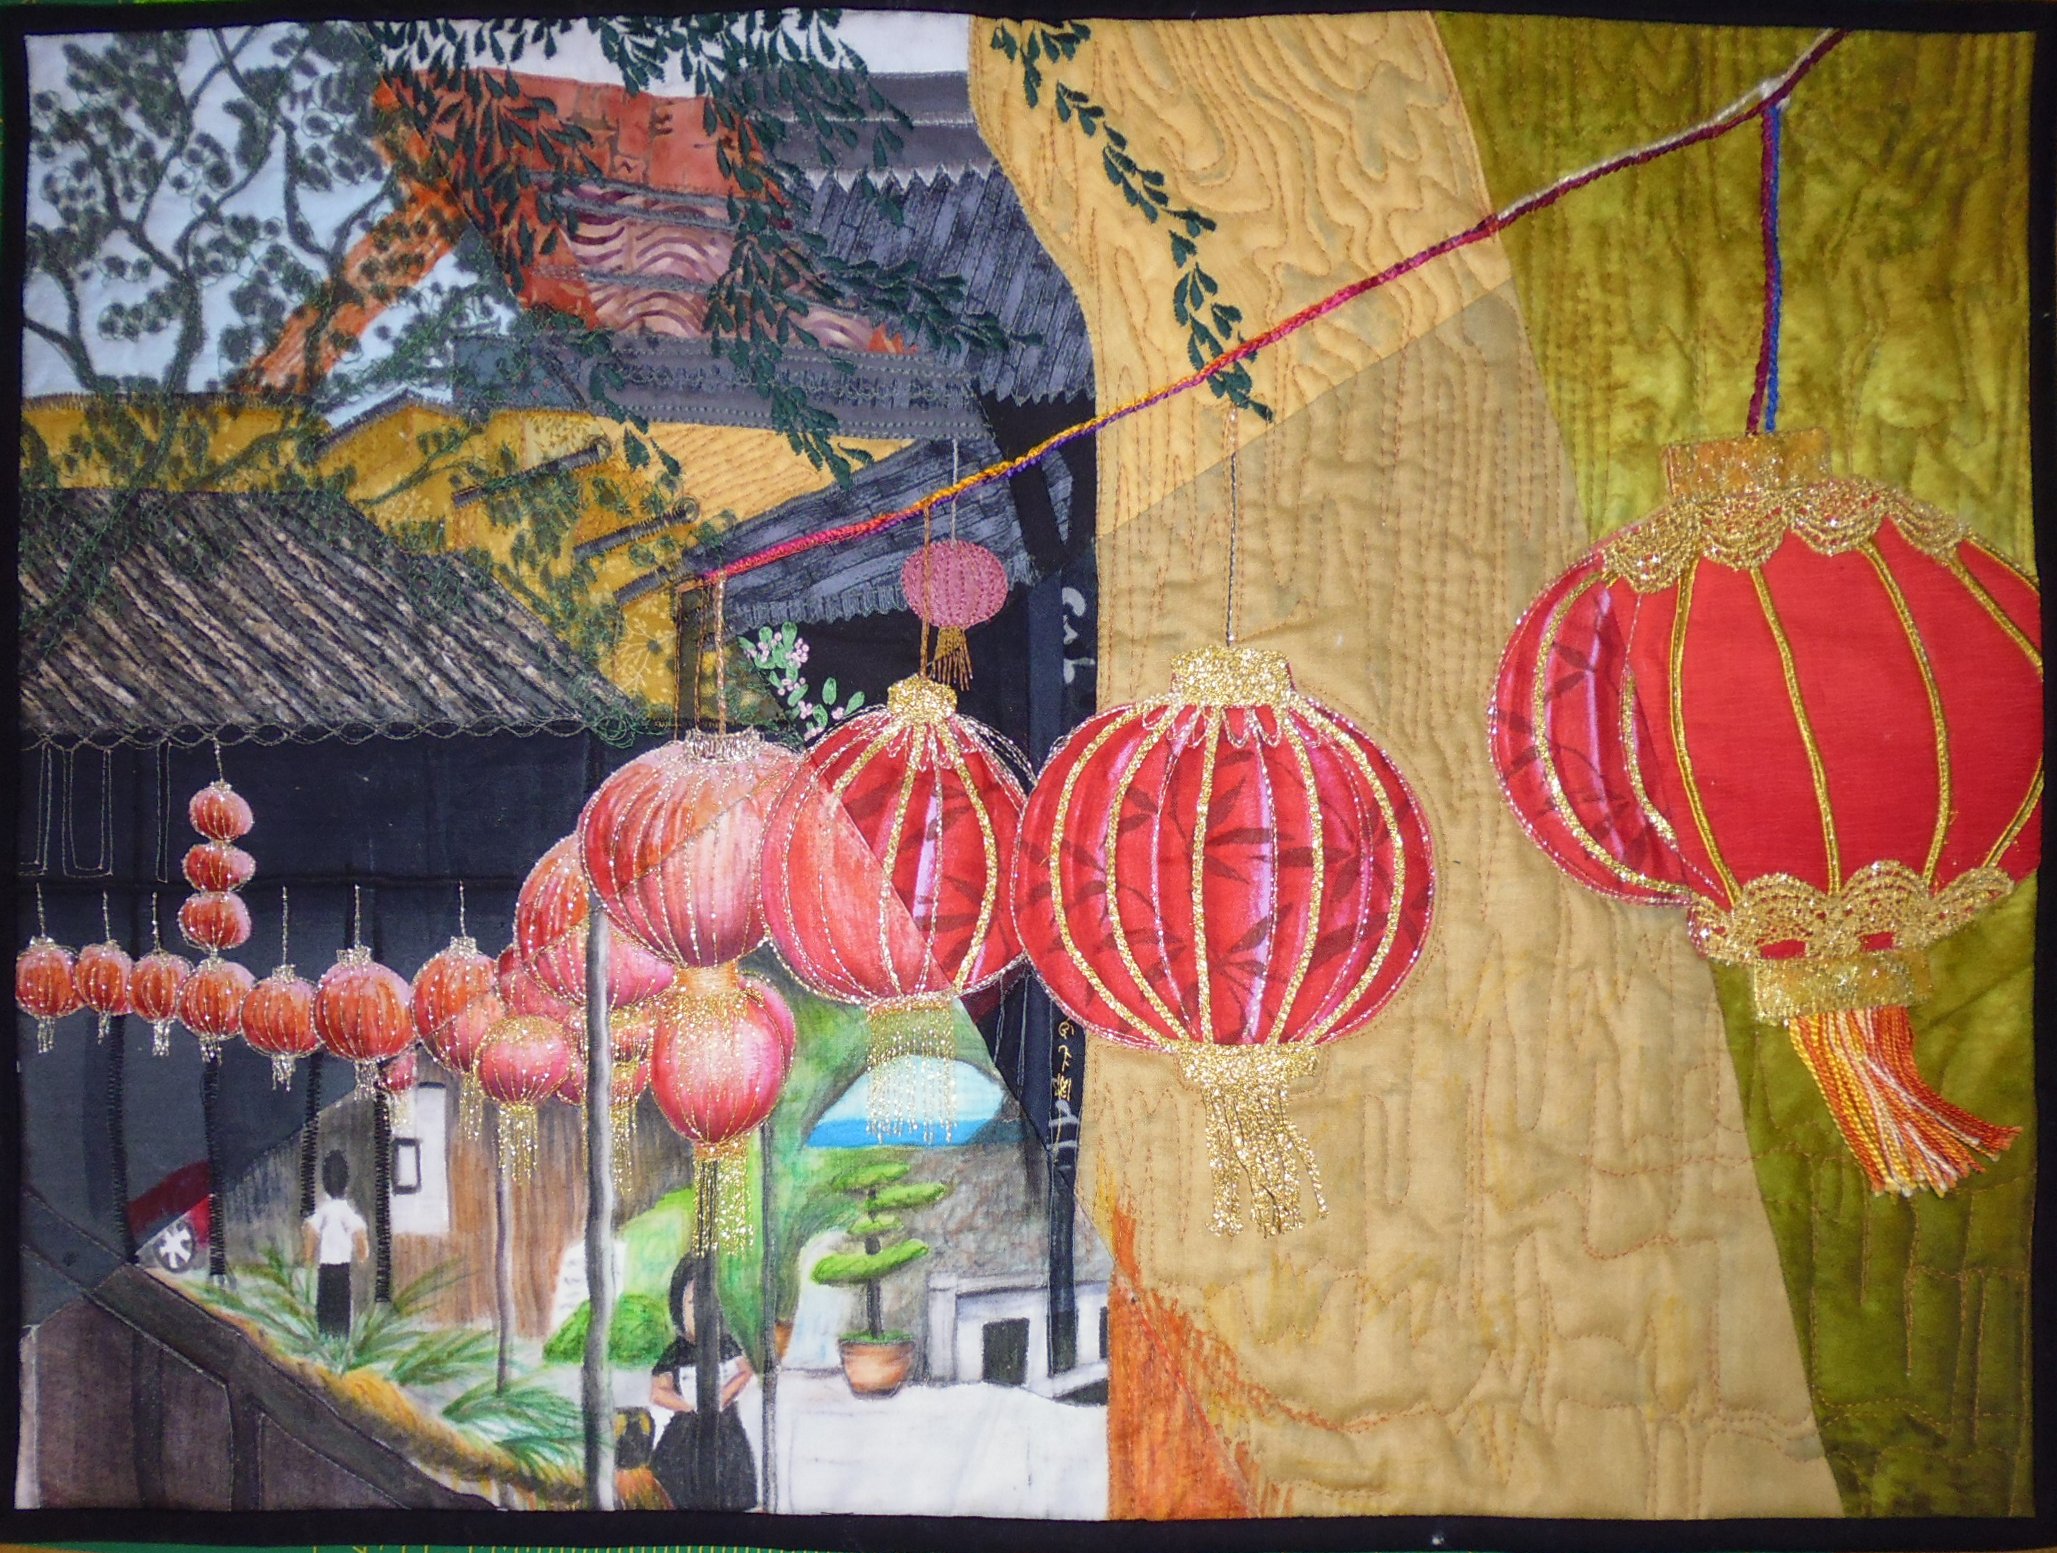
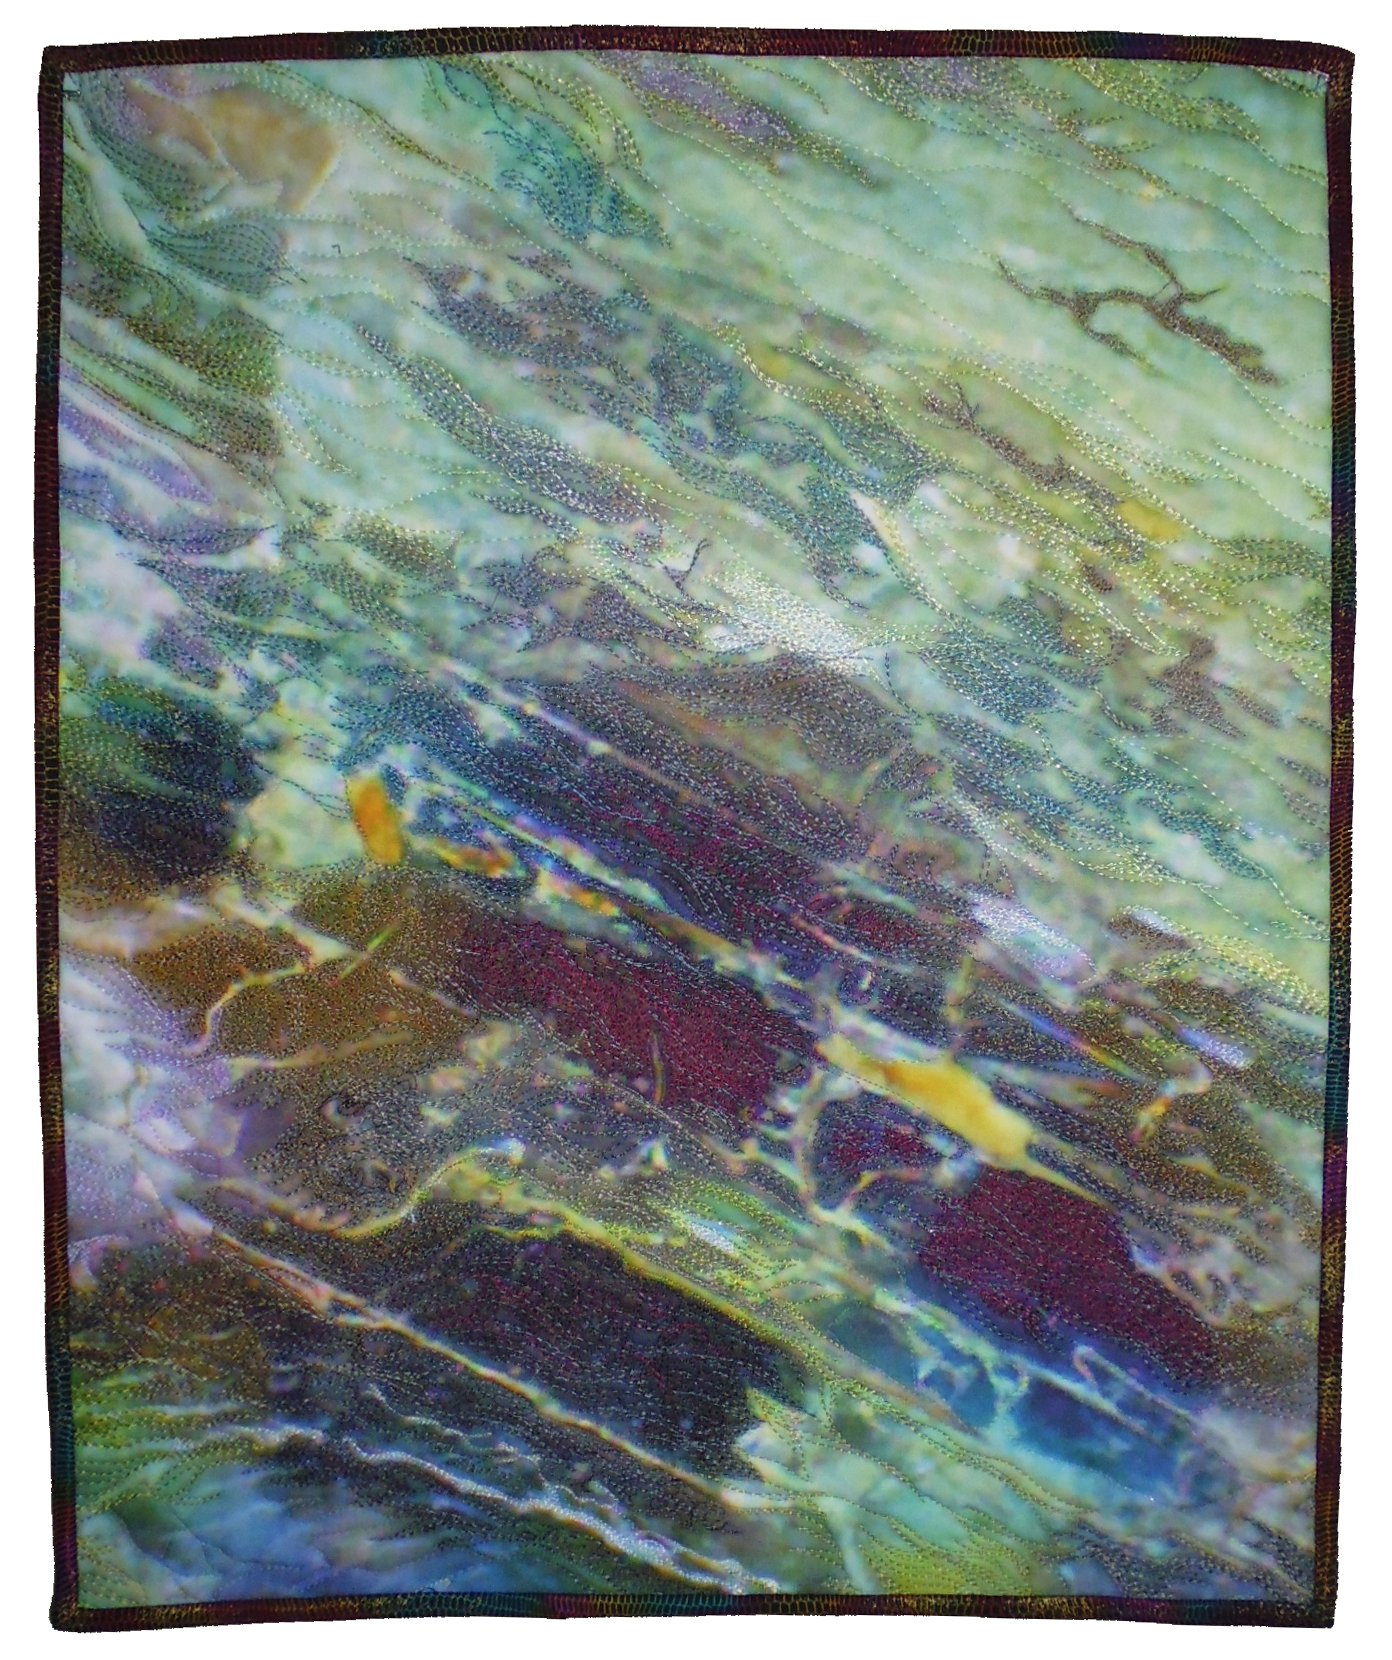
Michelle’s photo from a trip to China, and her finished piece (note the level of detail on the left side!):


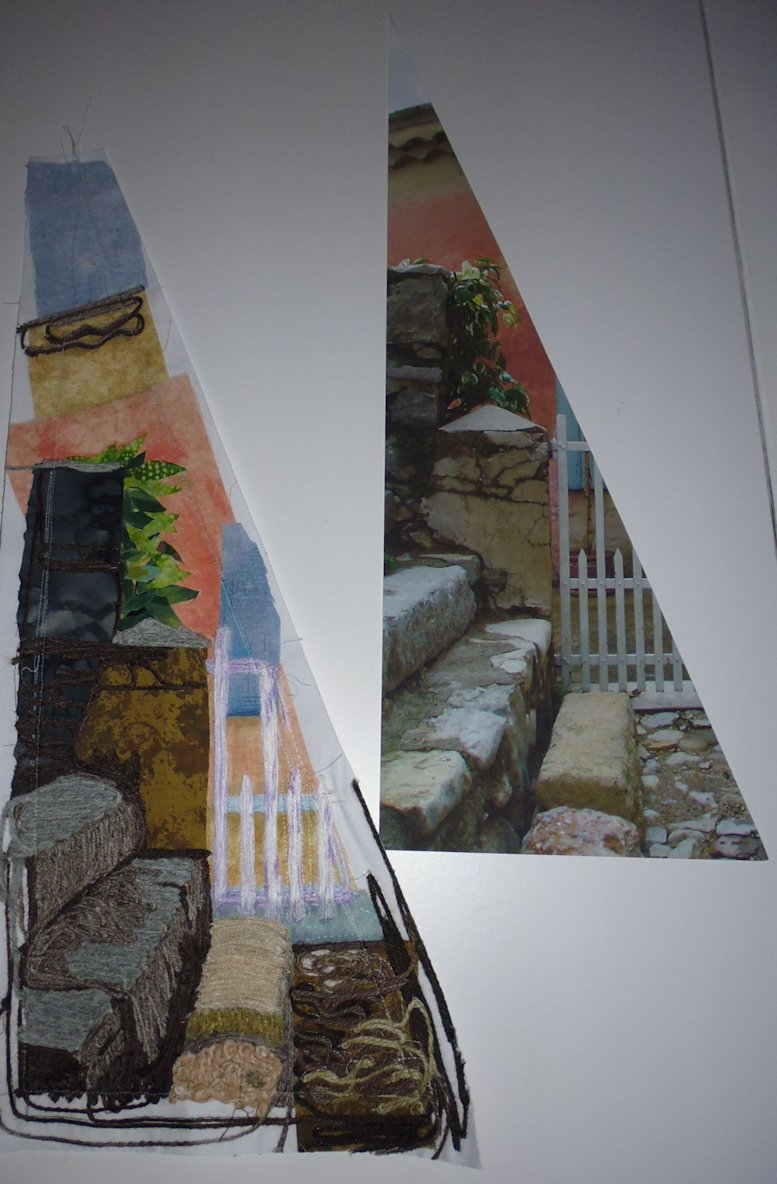
Flora’s photo from a trip to France, and her finished piece (I like how she emphasised the joins, giving a stained glass and sun ray effect):


Bobbie’s photo of a barn (house?) in the Yarra Valley, Victoria, and her finished piece (she added some plastic blinds, a padlock, and a few other things to the finished piece; someone added a HUGE glass and bottle of wine!):


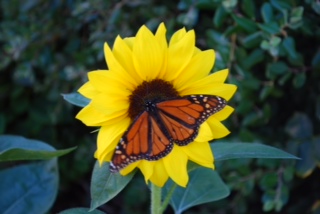
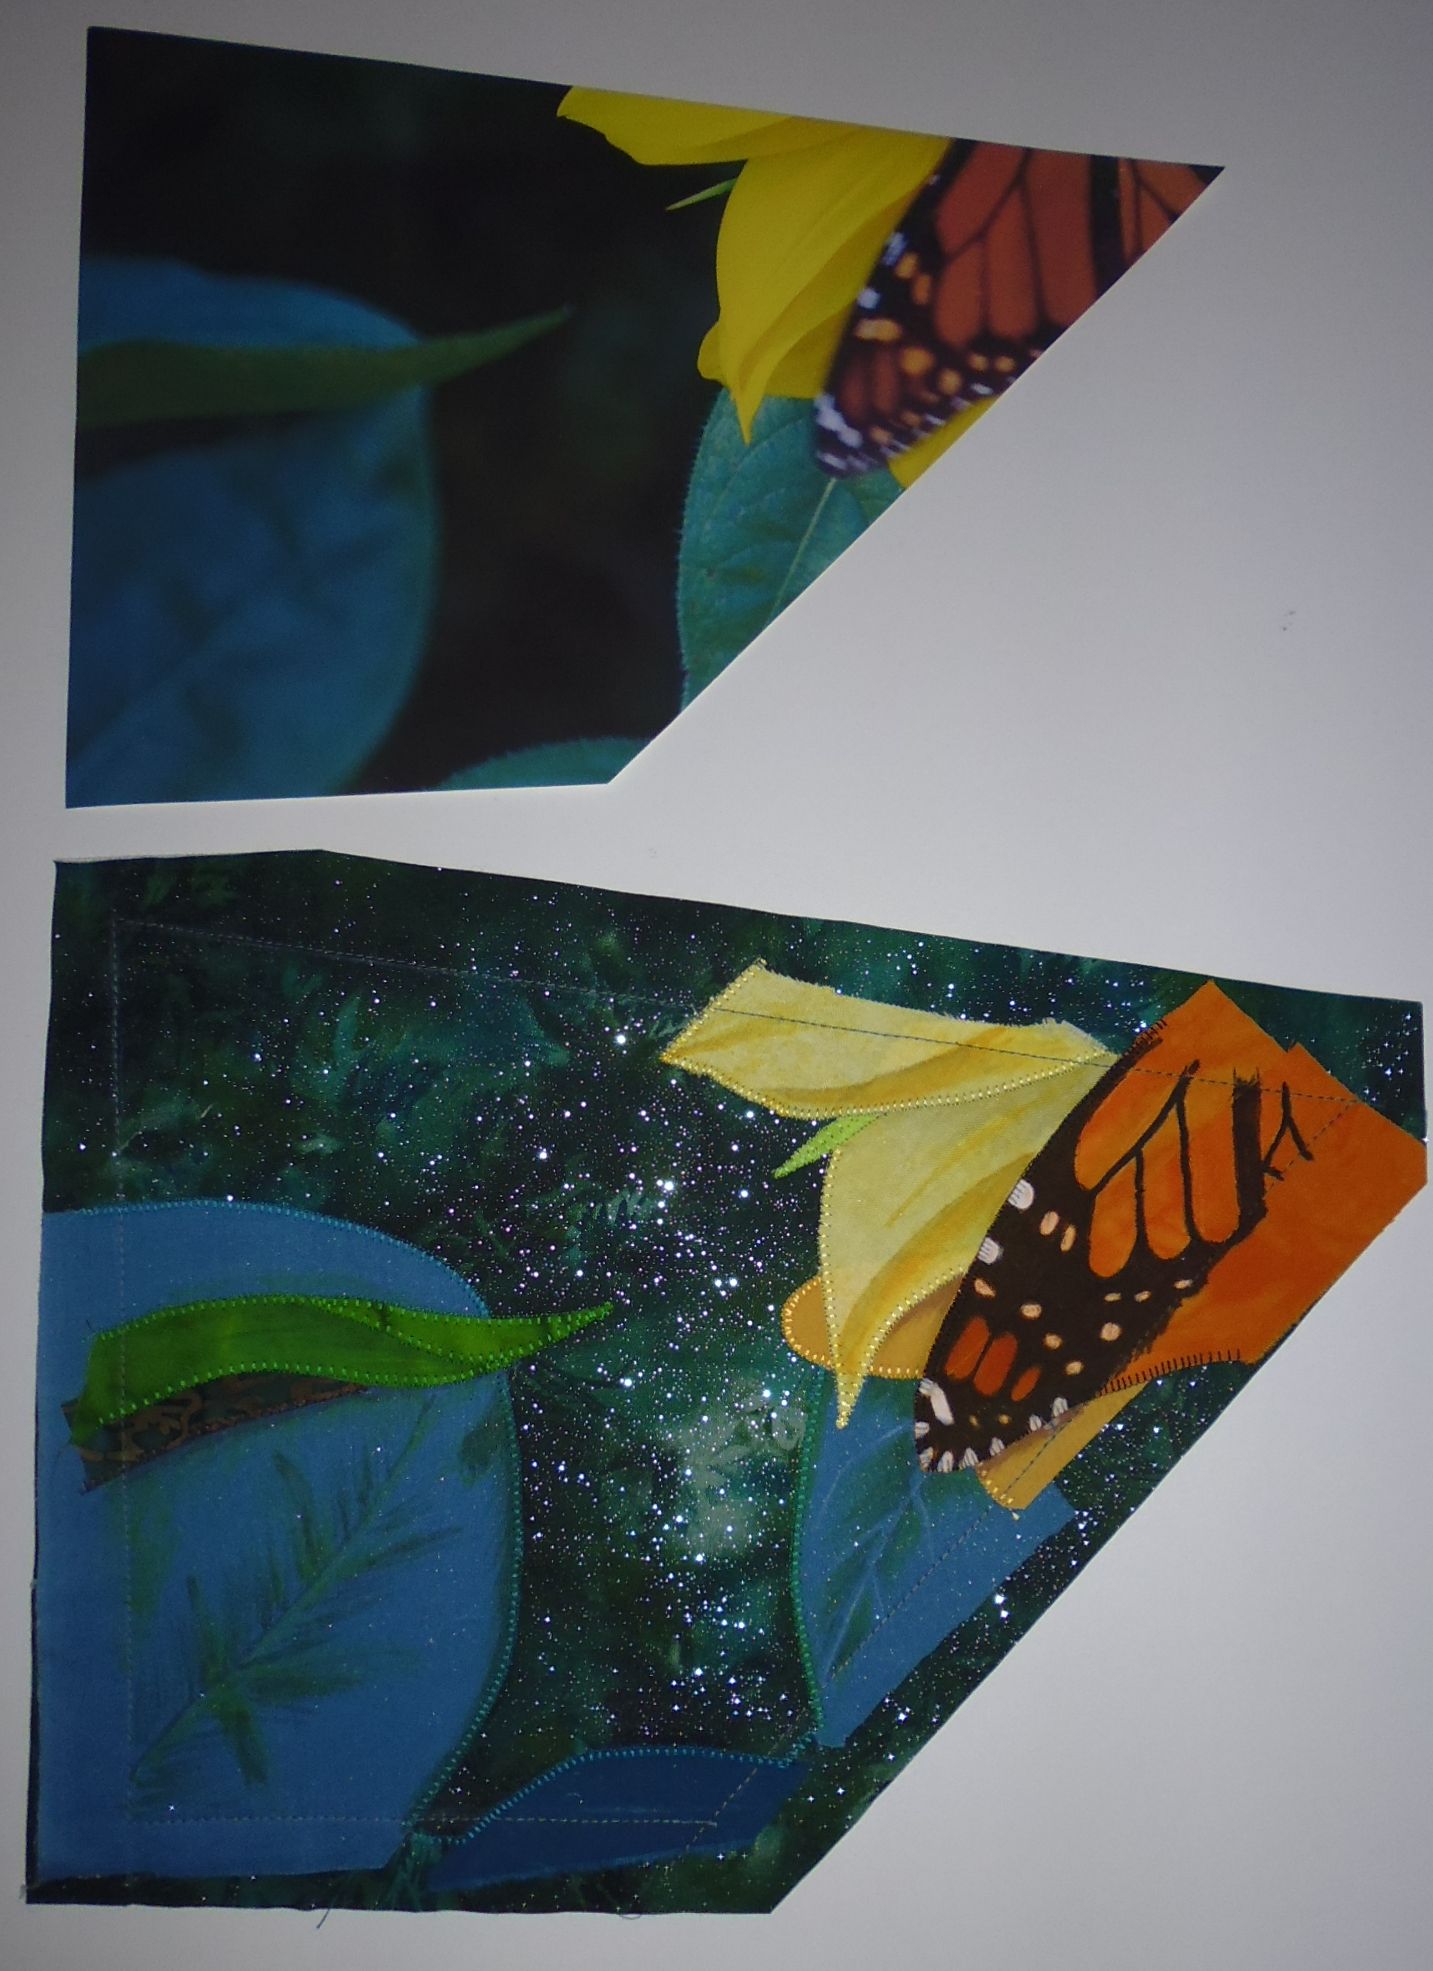
Glenys’ photo of a butterfly on a sunflower, and her not-quite-finished piece (Flora joined it for her during our retreat weekend, but I don’t have a photo of that; Glenys will complete the butterfly’s body once it’s all joined):


The pieces I worked on
My own
I decided to couch my piece with yarn, using buckram as the stabiliser. I drew an outline of the elements in my piece of the photo onto the buckram, then couched it with various yarns, using my Sweet Sixteen quilting machine. I was so impressed with what the girls had done when I got all the pieces back — lots of three-dimensional leaves, beautiful fabrics, and very fancy thread work on the flower and in its centre. But I directed a few profanities to Helen for how she had sliced my photo up — it was a real problem getting it back together in the centre joins as the bulk of the elements in the centre of the flower were super thick to get a needle through. I finished the piece by adding batting and a muslin backing, quilting the main elements in it, then adding a pillow case/envelope backing in a green batik.


Michelle’s piece
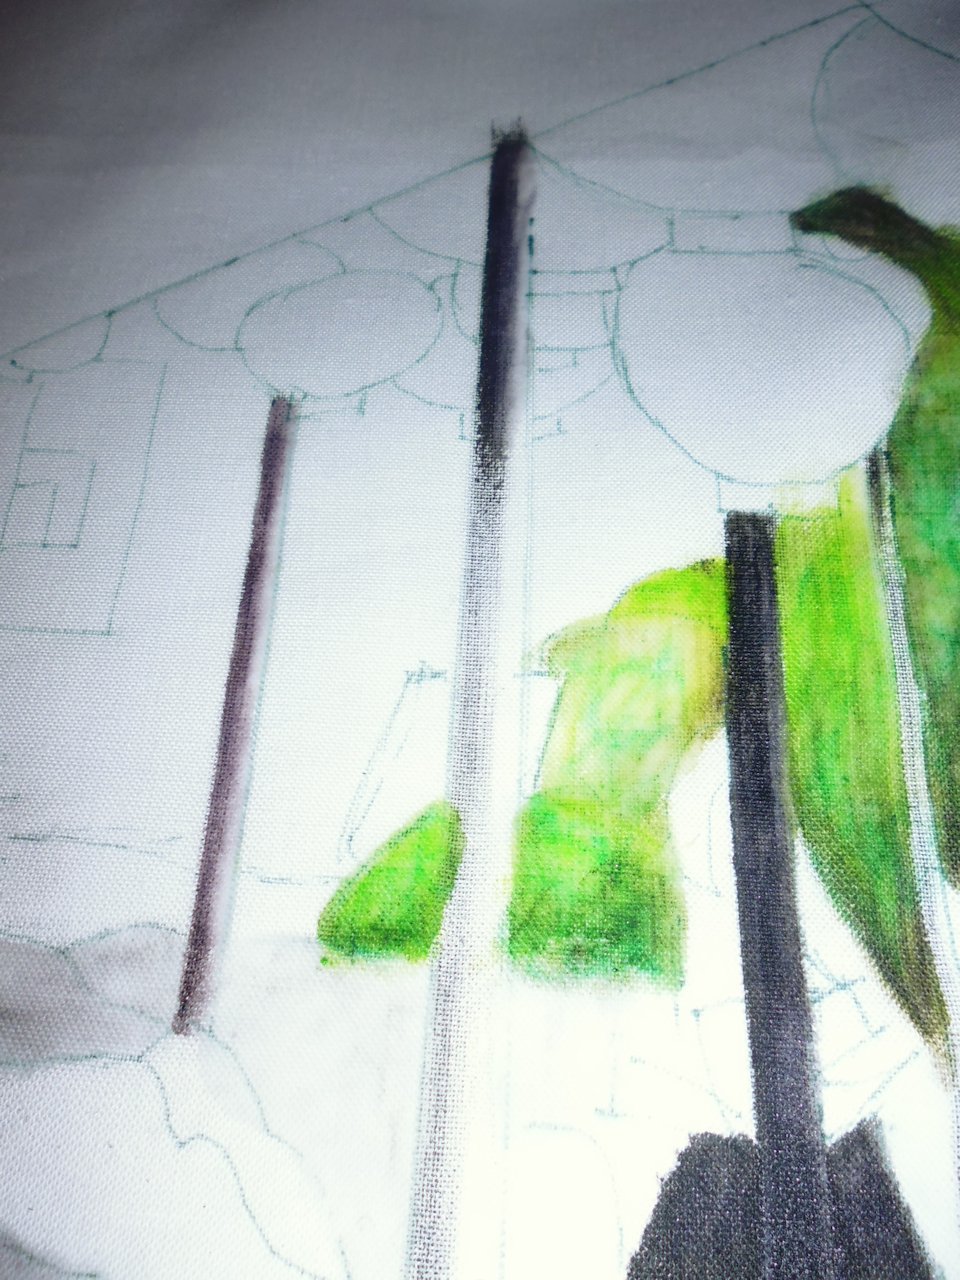
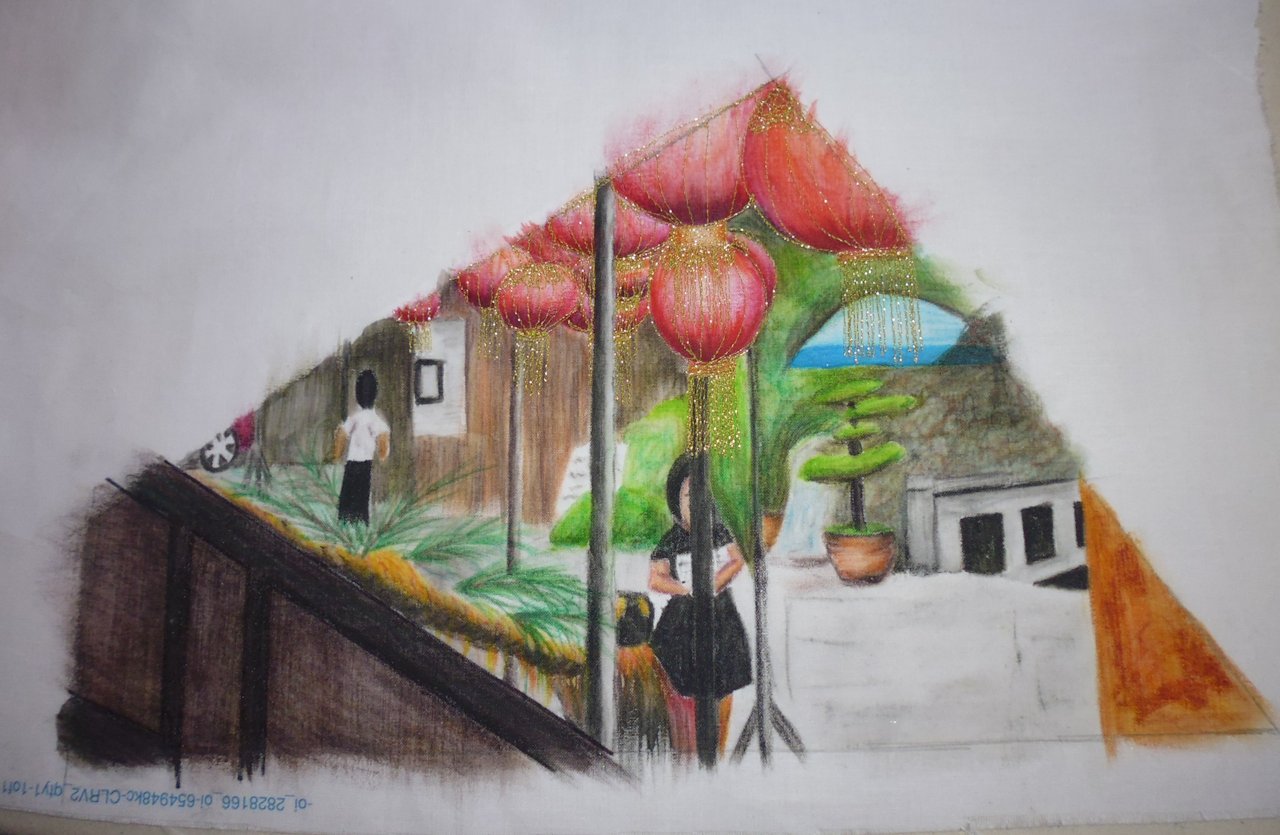
I drew the short straw on this one, getting the most complex and detailed part of the photo. I did a lot of cursing! Because of the detail, I decided early on to NOT use applique or fabric for the various elements, instead deciding to drawing them (with Gel pen) onto white fabric suitable for fabric painting, then painting them. I had to experiment a lot to find a painting solution that didn’t bleed, eventually settling on Inktense watercolour pencils and a textile medium. I finished it off by stitching gold metallic thread on top of the red lanterns. It took a LONG time to paint this piece, but eventually I was done. And very pleased to send it back to Helen.


Flora’s piece
I used a combination of techniques for this one — applique, couching with yarn, shading with Copic markers and Inktense watercolour pencils, etc. Getting the perspective on the steps right was tricky!

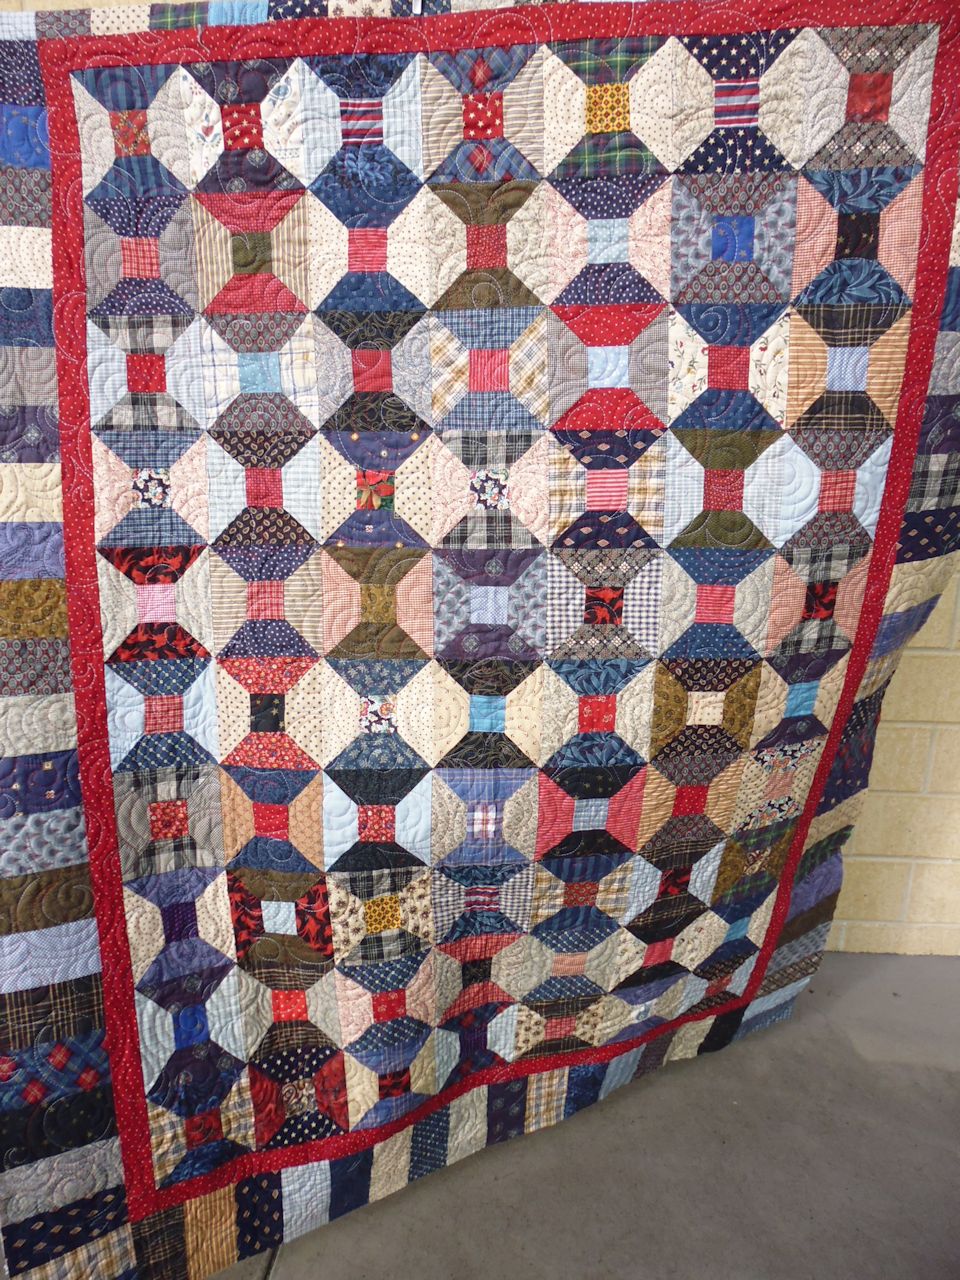
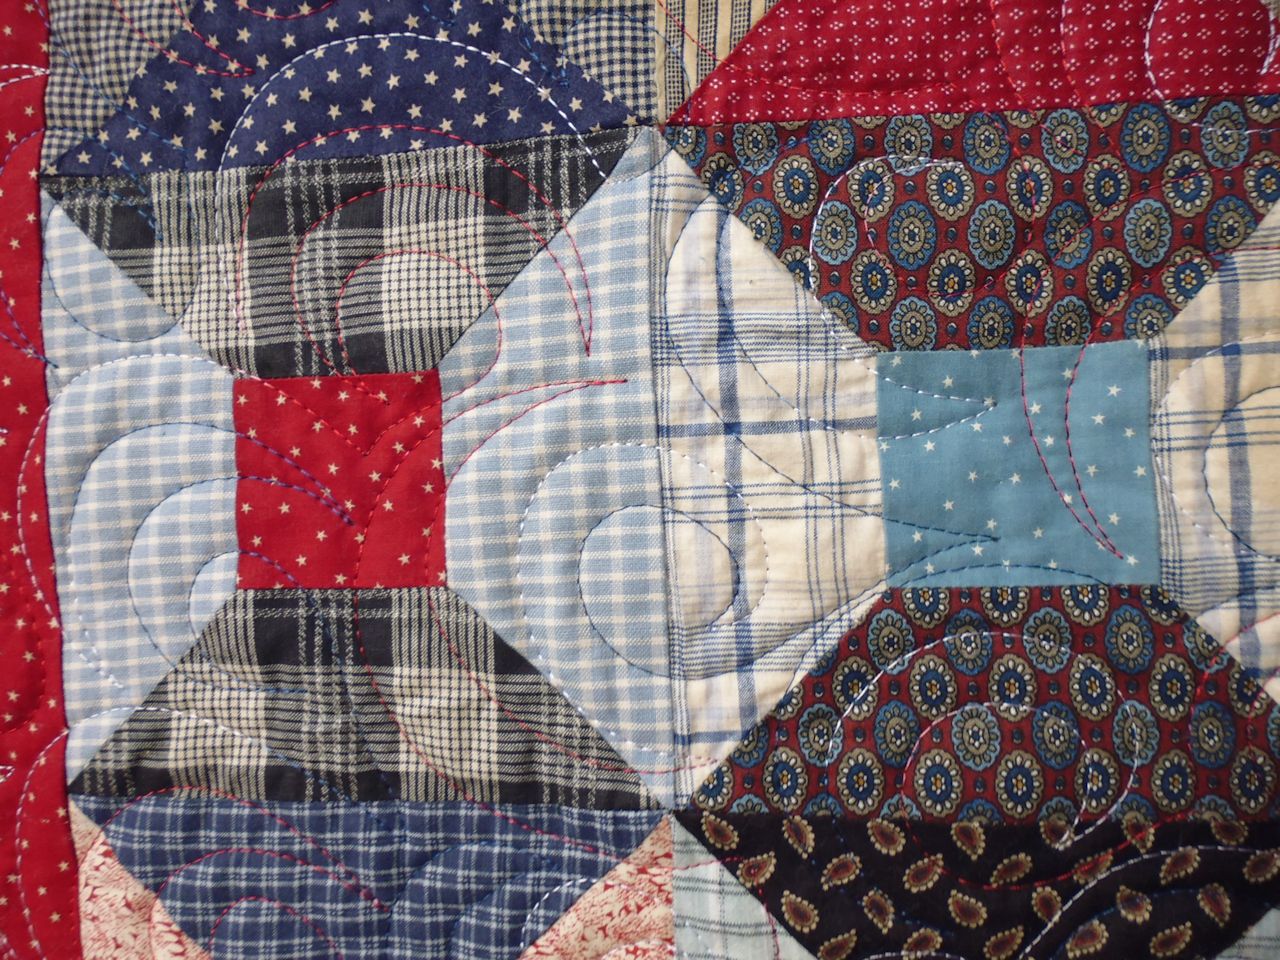
Bobbie’s piece
Ah, straight lines!!! Bobbie’s piece was made up of five strips, which would’ve made it an easy one for her to join. Mine was the centre strip, though I didn’t know it until the reveal. Again, I decided to couch it, using buckram as the stabilising base, and various yarns. I added some Copic marker colour for the rust near the window, and some shadows.

Glenys’ piece
This one was ideal for applique, which is what I did for the leaves, the sunflower petals, and the orange base of the butterfly. I added shading with Copic markers, and painted the black and white elements of the butterfly (I can’t remember what I used!).

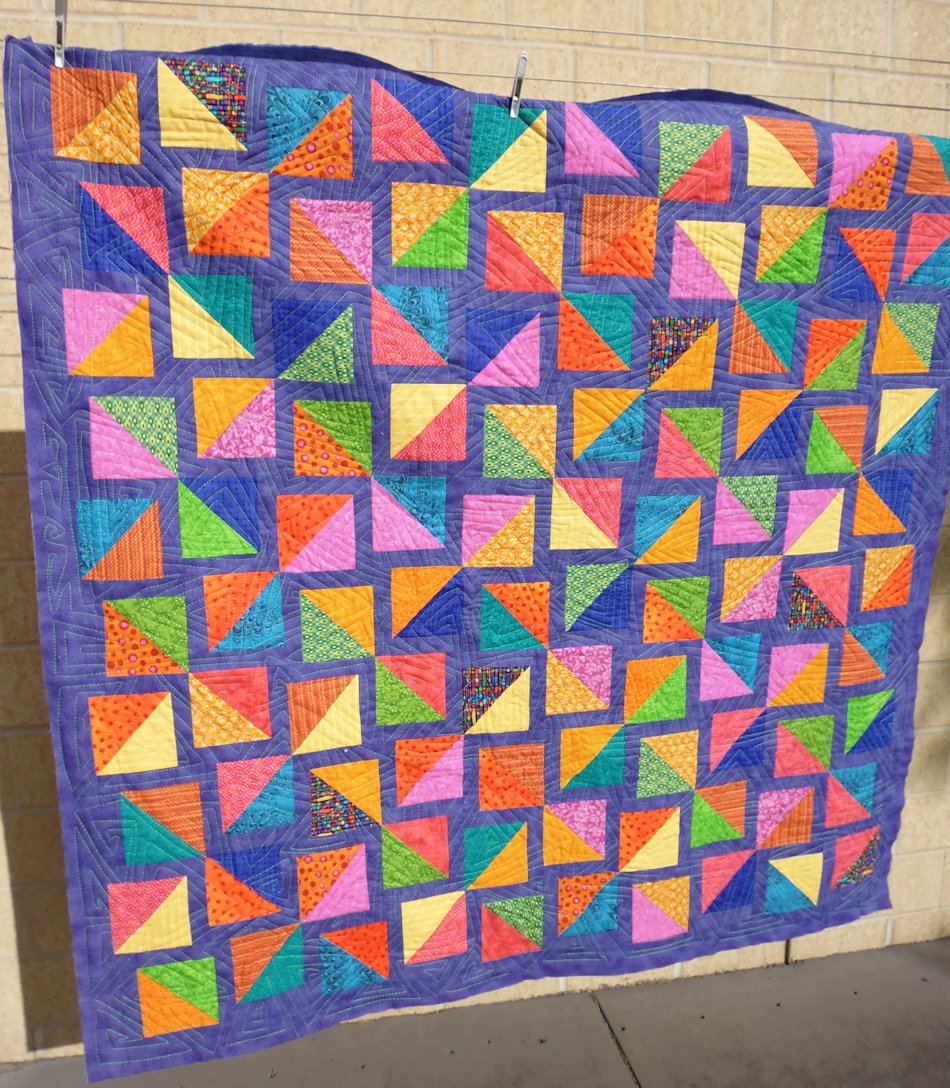
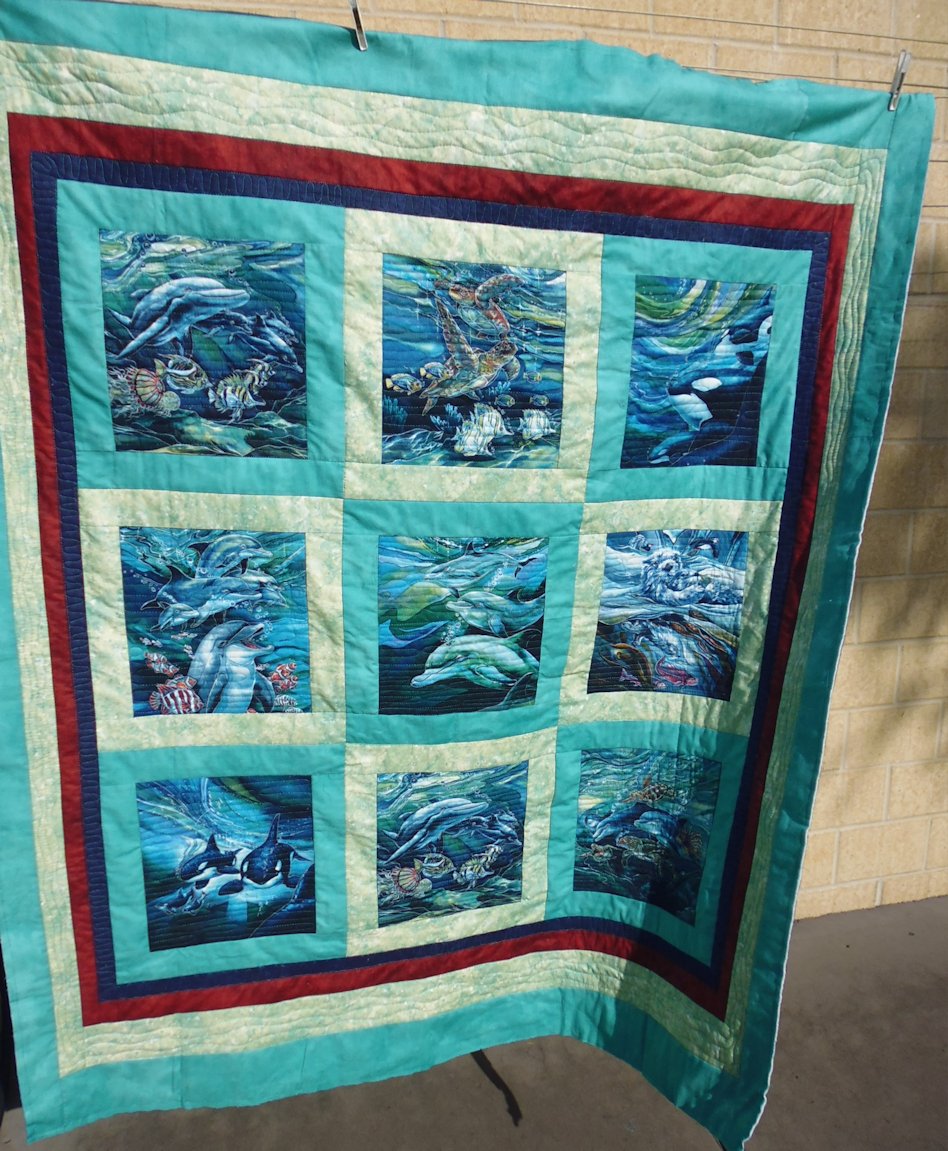
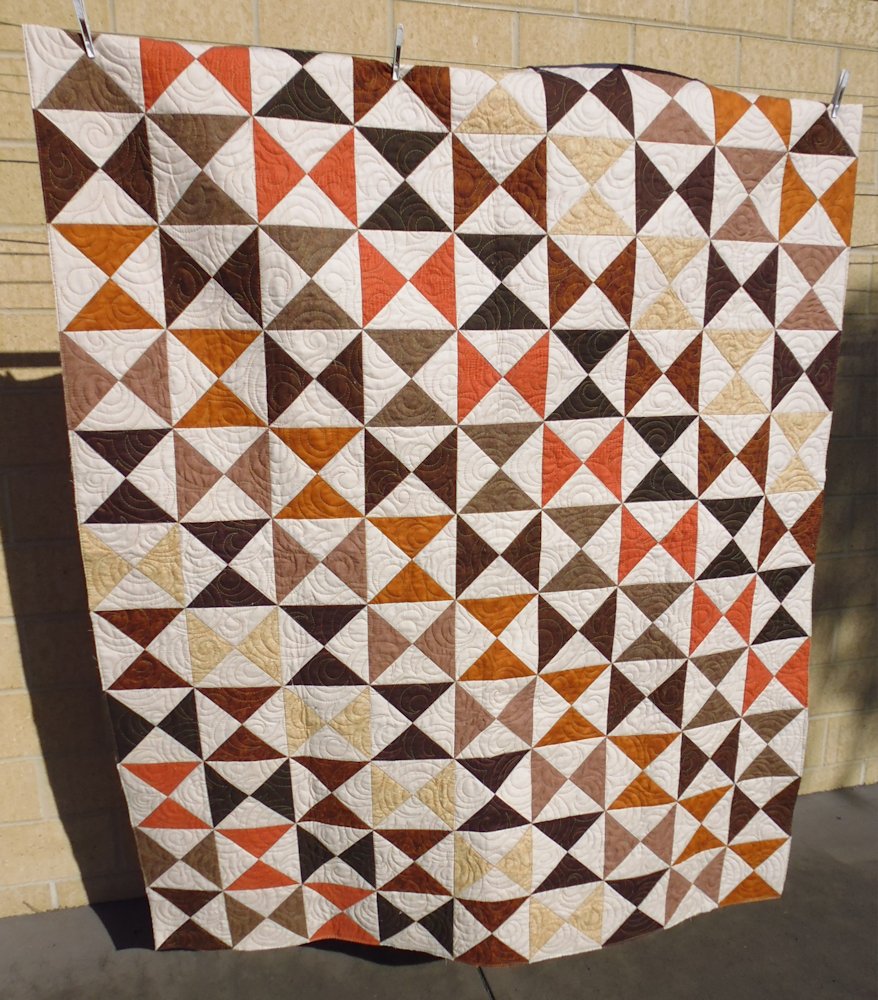
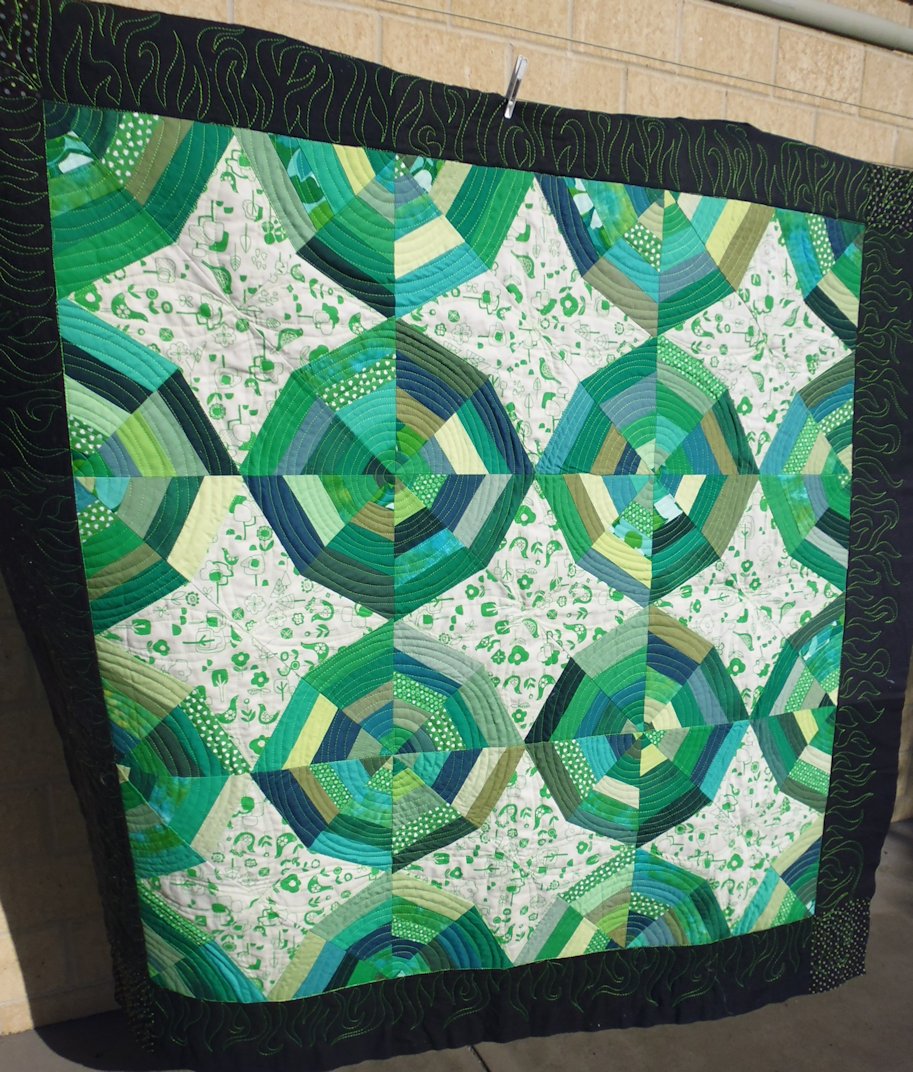
Show and Tell
After the reveal of the challenge pieces, we always have ‘show and tell’ where we bring along some of the work we’ve done during the year. Here are some of our show and tell creations.
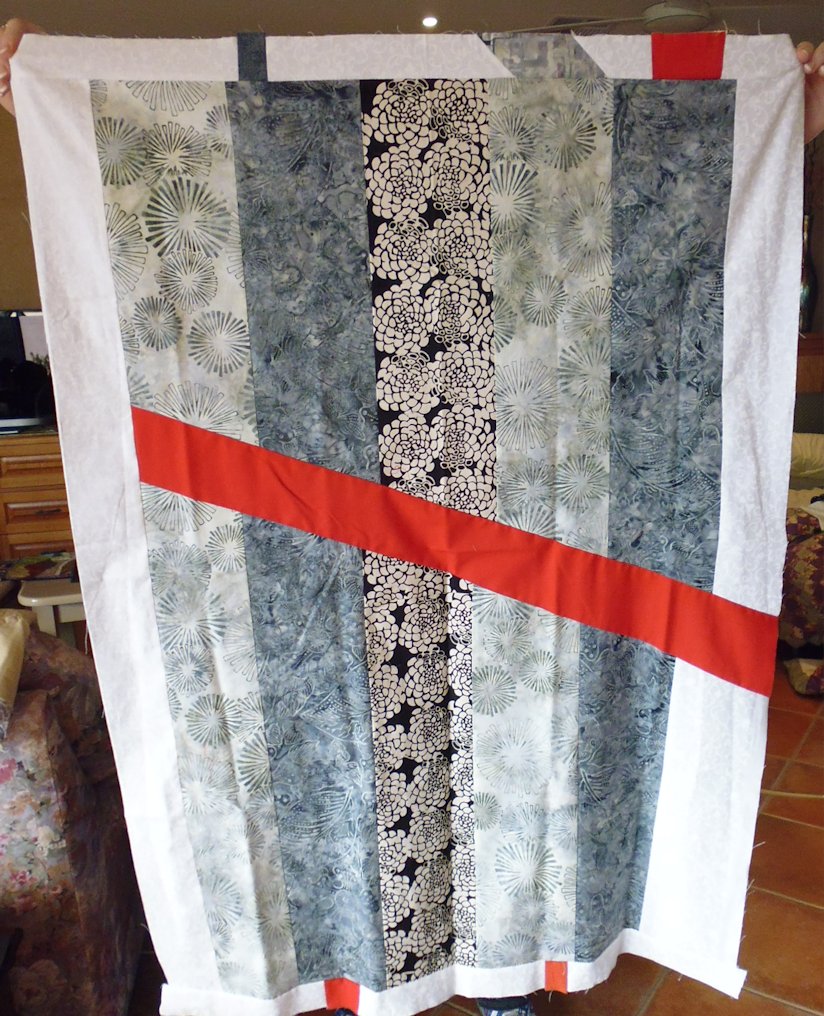
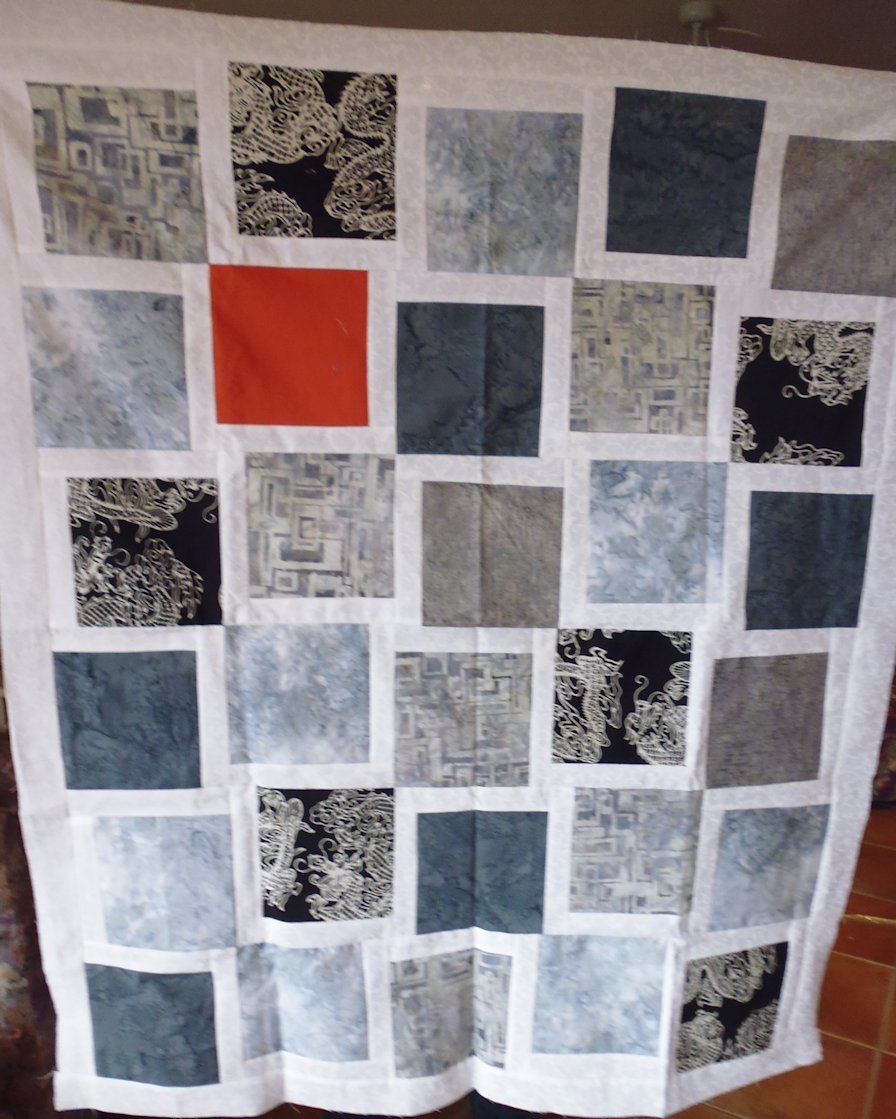
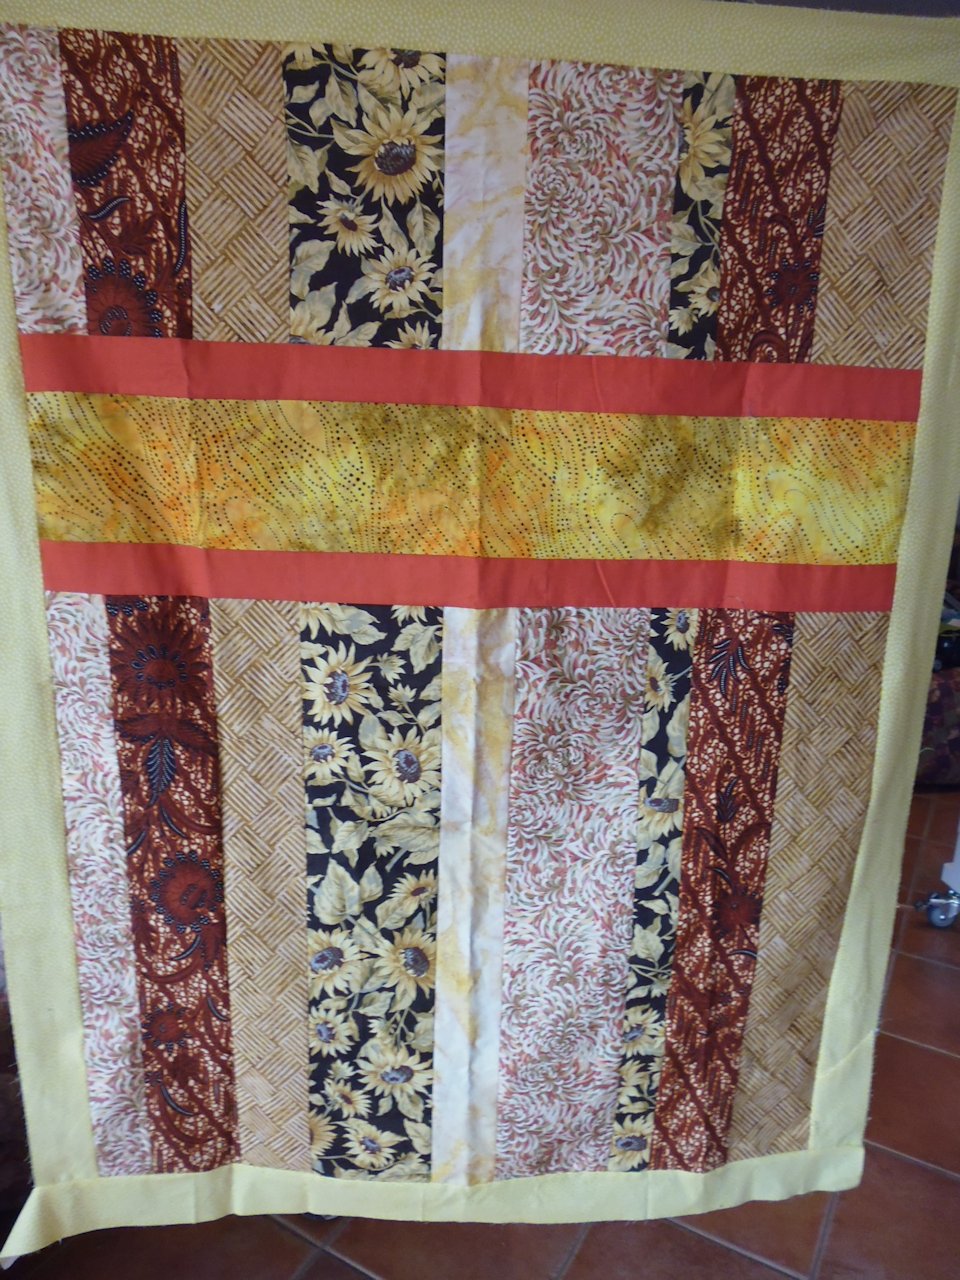
Bobbie


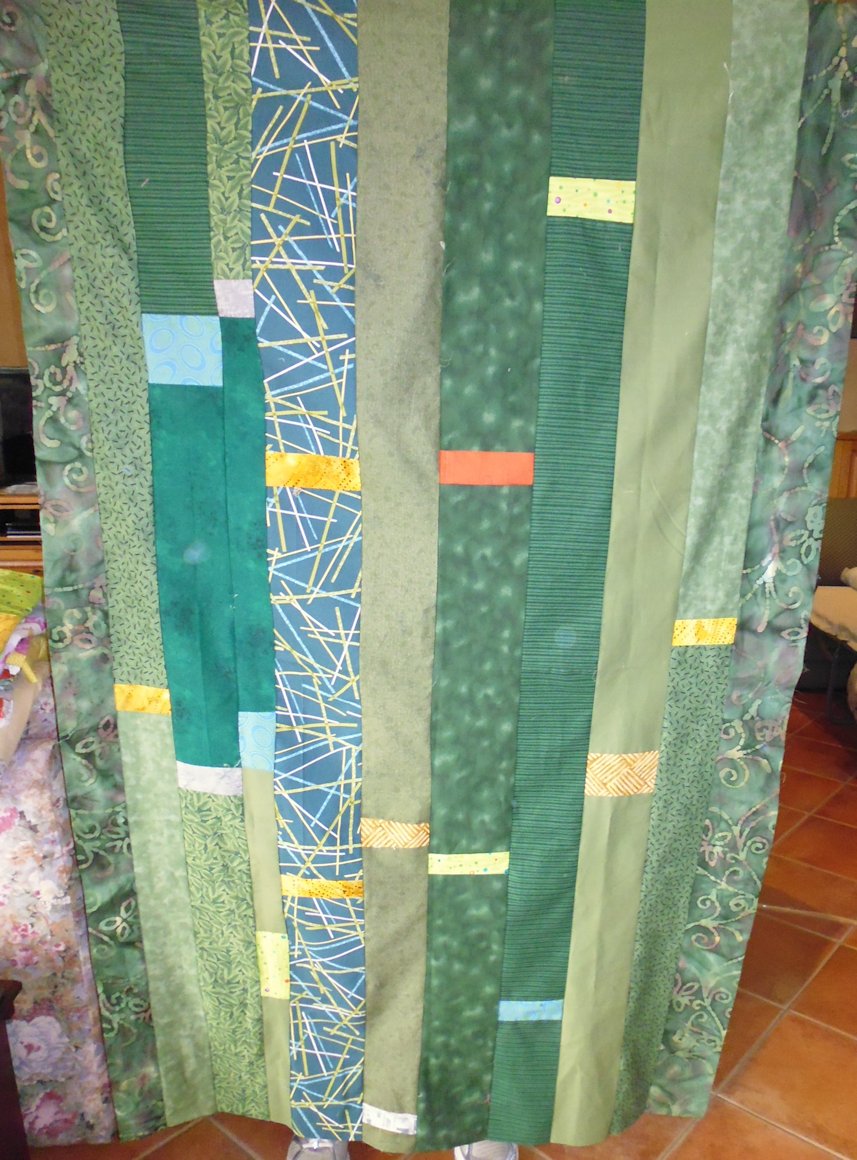
Glenys

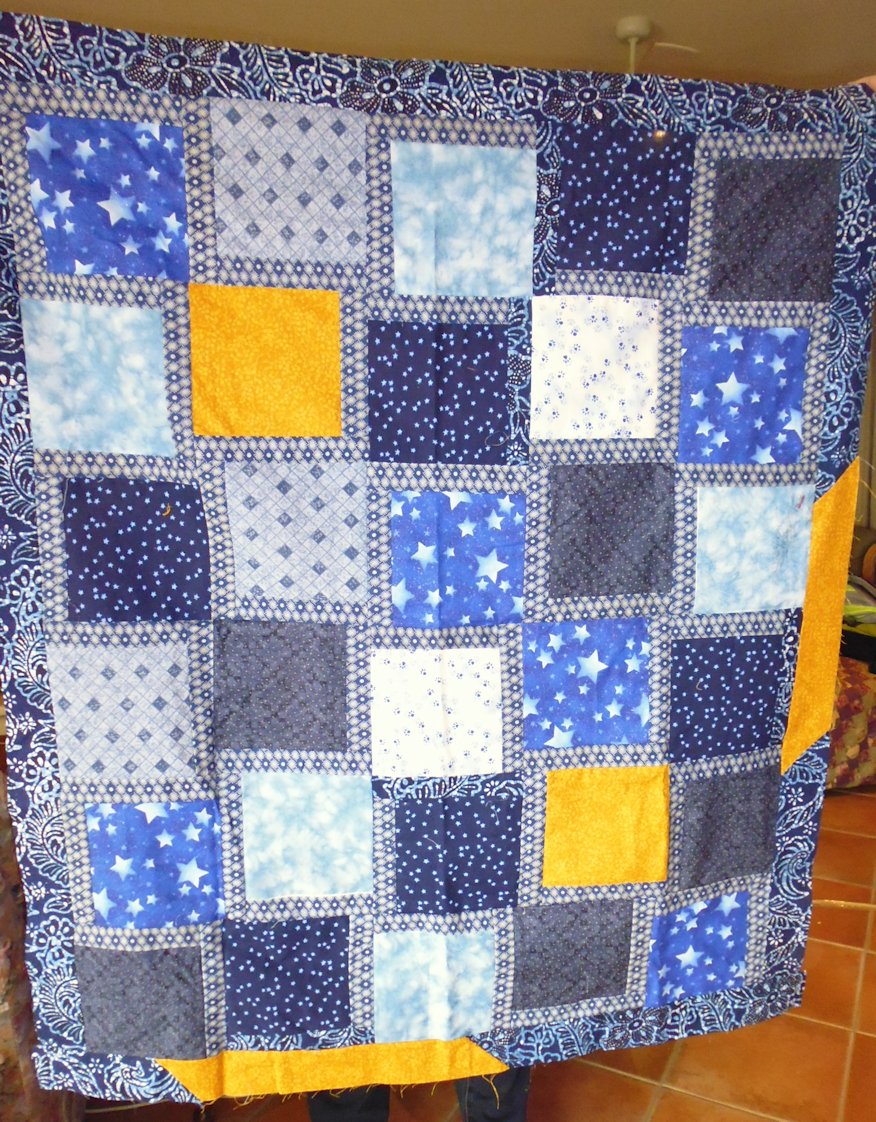
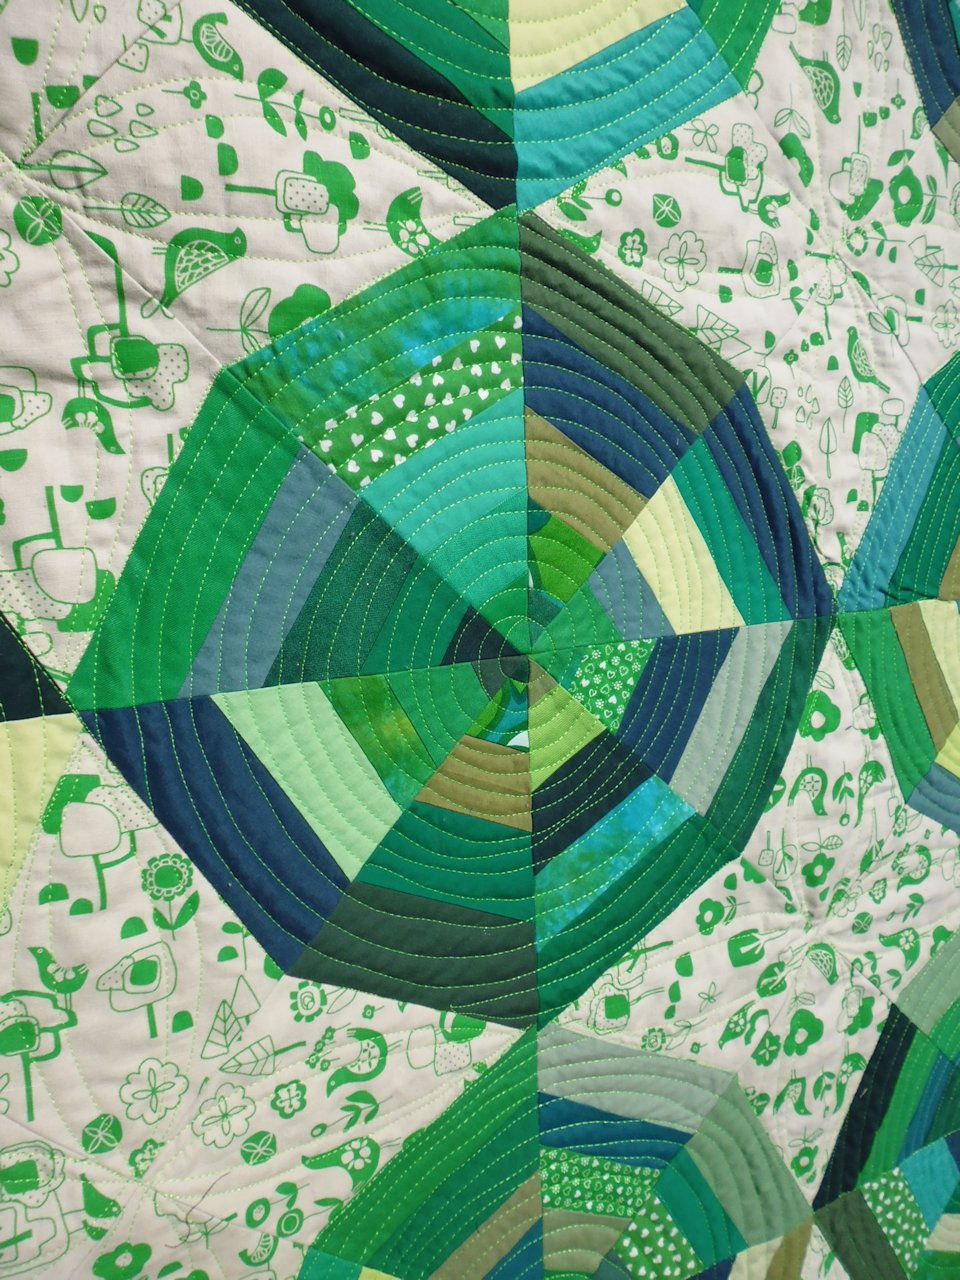
This looks really complicated, but she said it was pretty easy as it’s just striped fabric cut and joined in certain ways. I call it ‘licorice allsorts’!
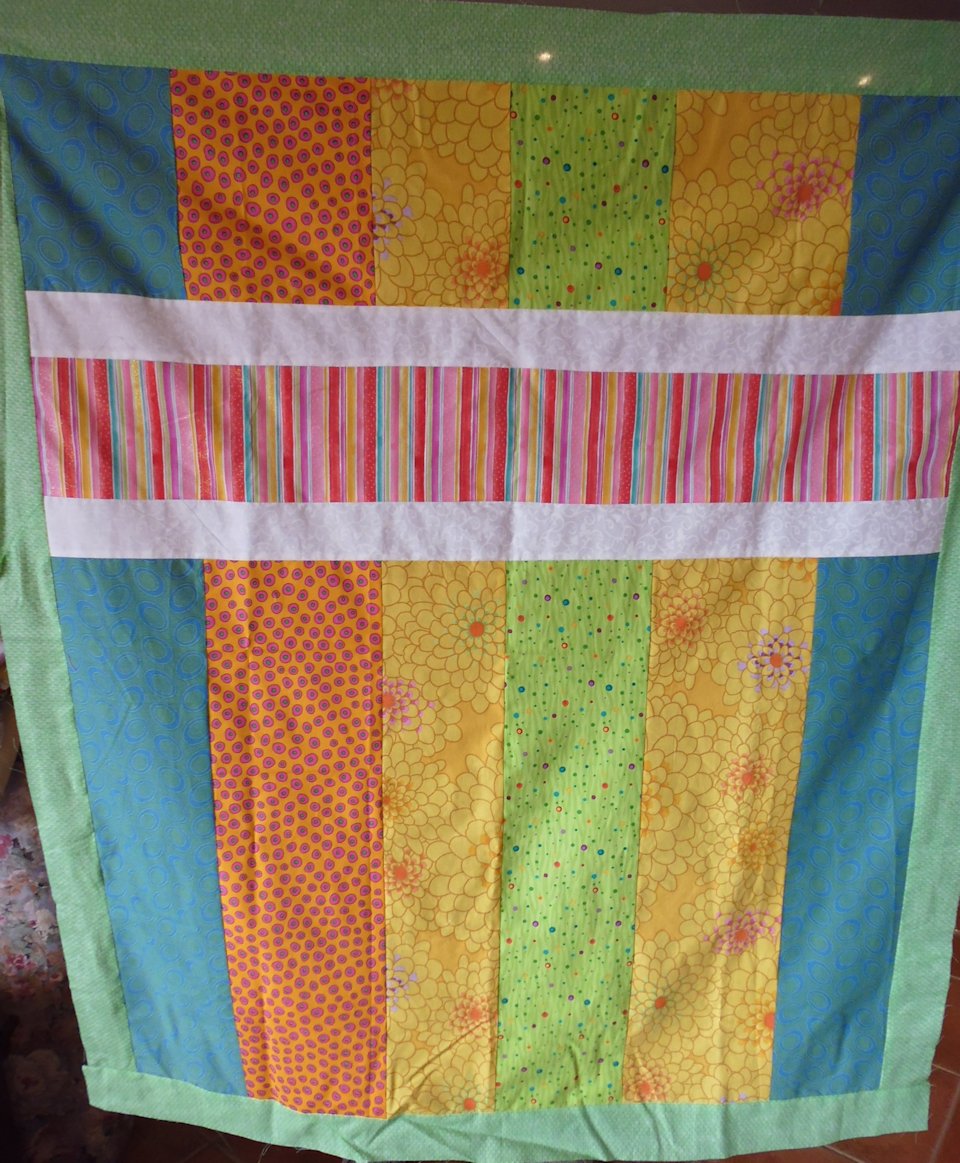
Mine