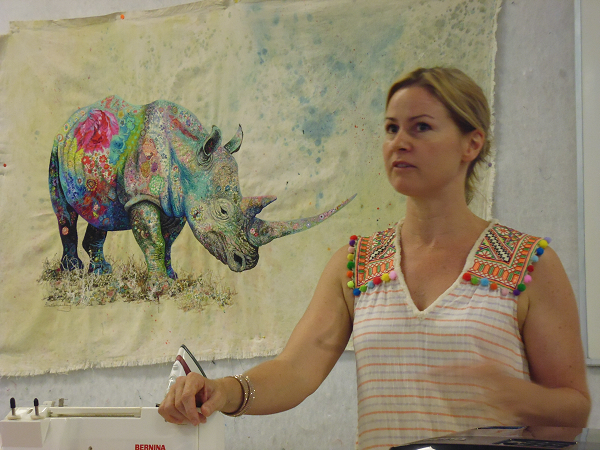
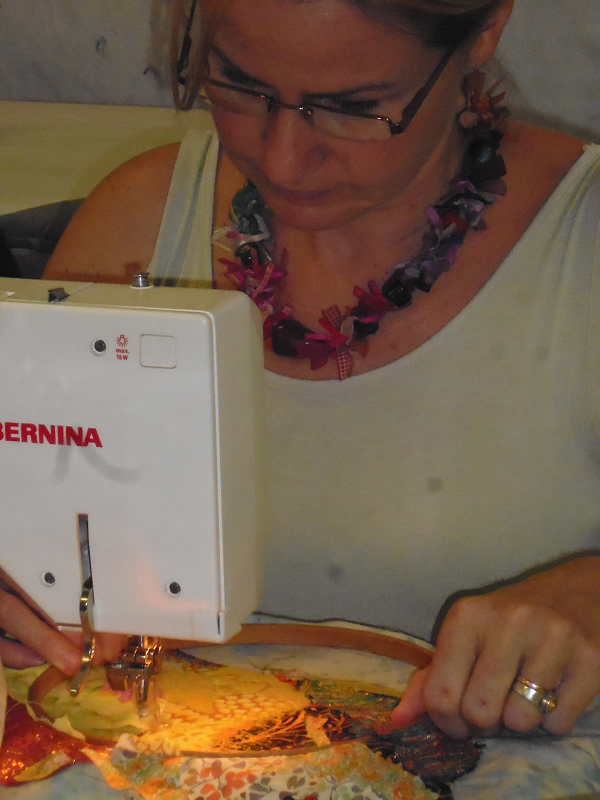
Last weekend I had the privilege of attending the first-ever workshop held by textile artist Sophie Standing. And what a workshop it was! Sophie (originally from the UK, then ten years in Kenya, and now living in the Seychelles) was an absolute delight, so helpful, and just an all-round lovely person. And her art is AMAZING! The four days just flew by, ably helped by the hospitality of Michelle and her team at Handcrafters House in Midland, Western Australia. Thanks must go to Michelle for working for more than two years to convince Sophie she needed to share her skills with the quilting world. I’m sure a new world has now opened up to Sophie, and I expect to see her moving from strength to strength as her work and techniques become more widely known.
Now, to the workshop…
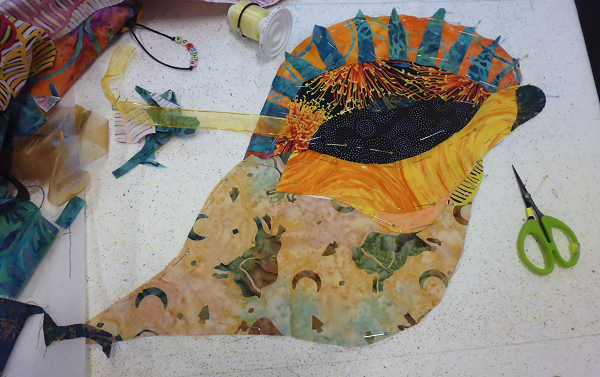
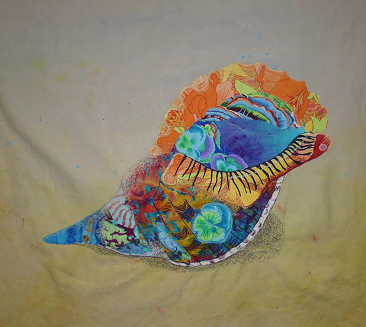
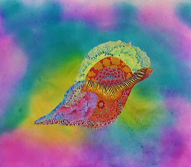
We all worked from the same photo (provided by Sophie) of a shell on a beach, but the variety of work produced by the 20 ladies in the workshop was as different as they were.
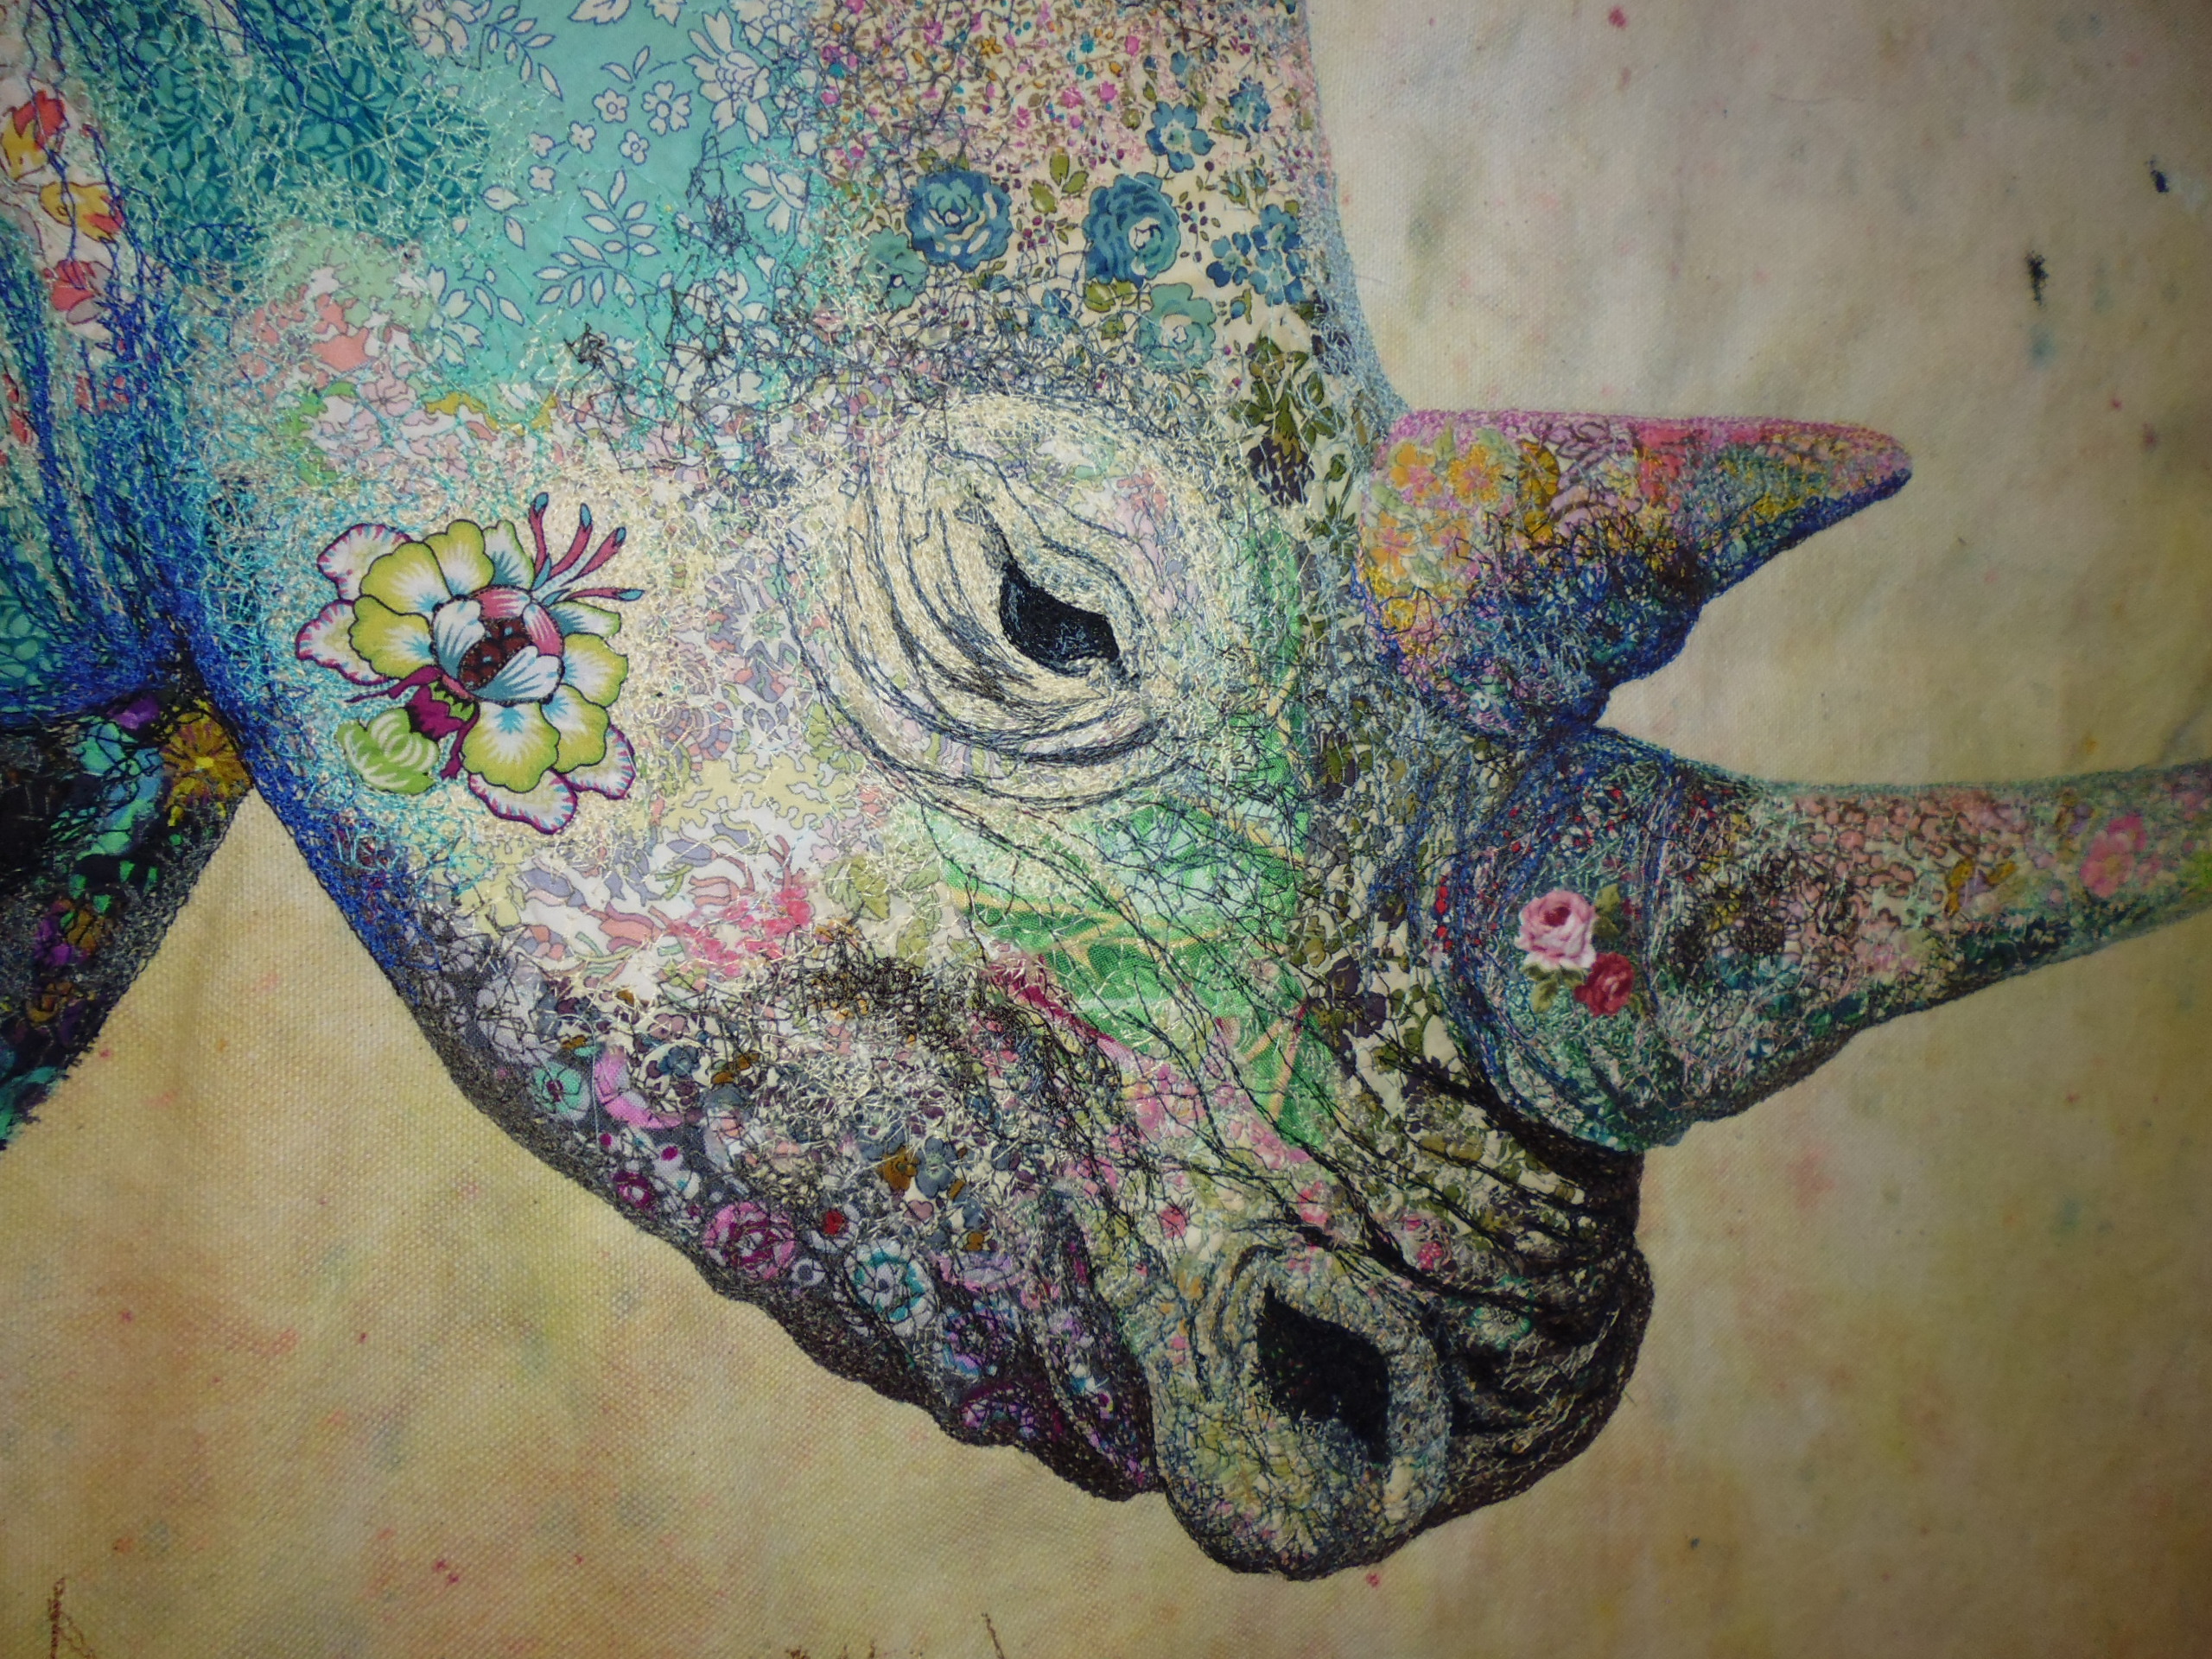
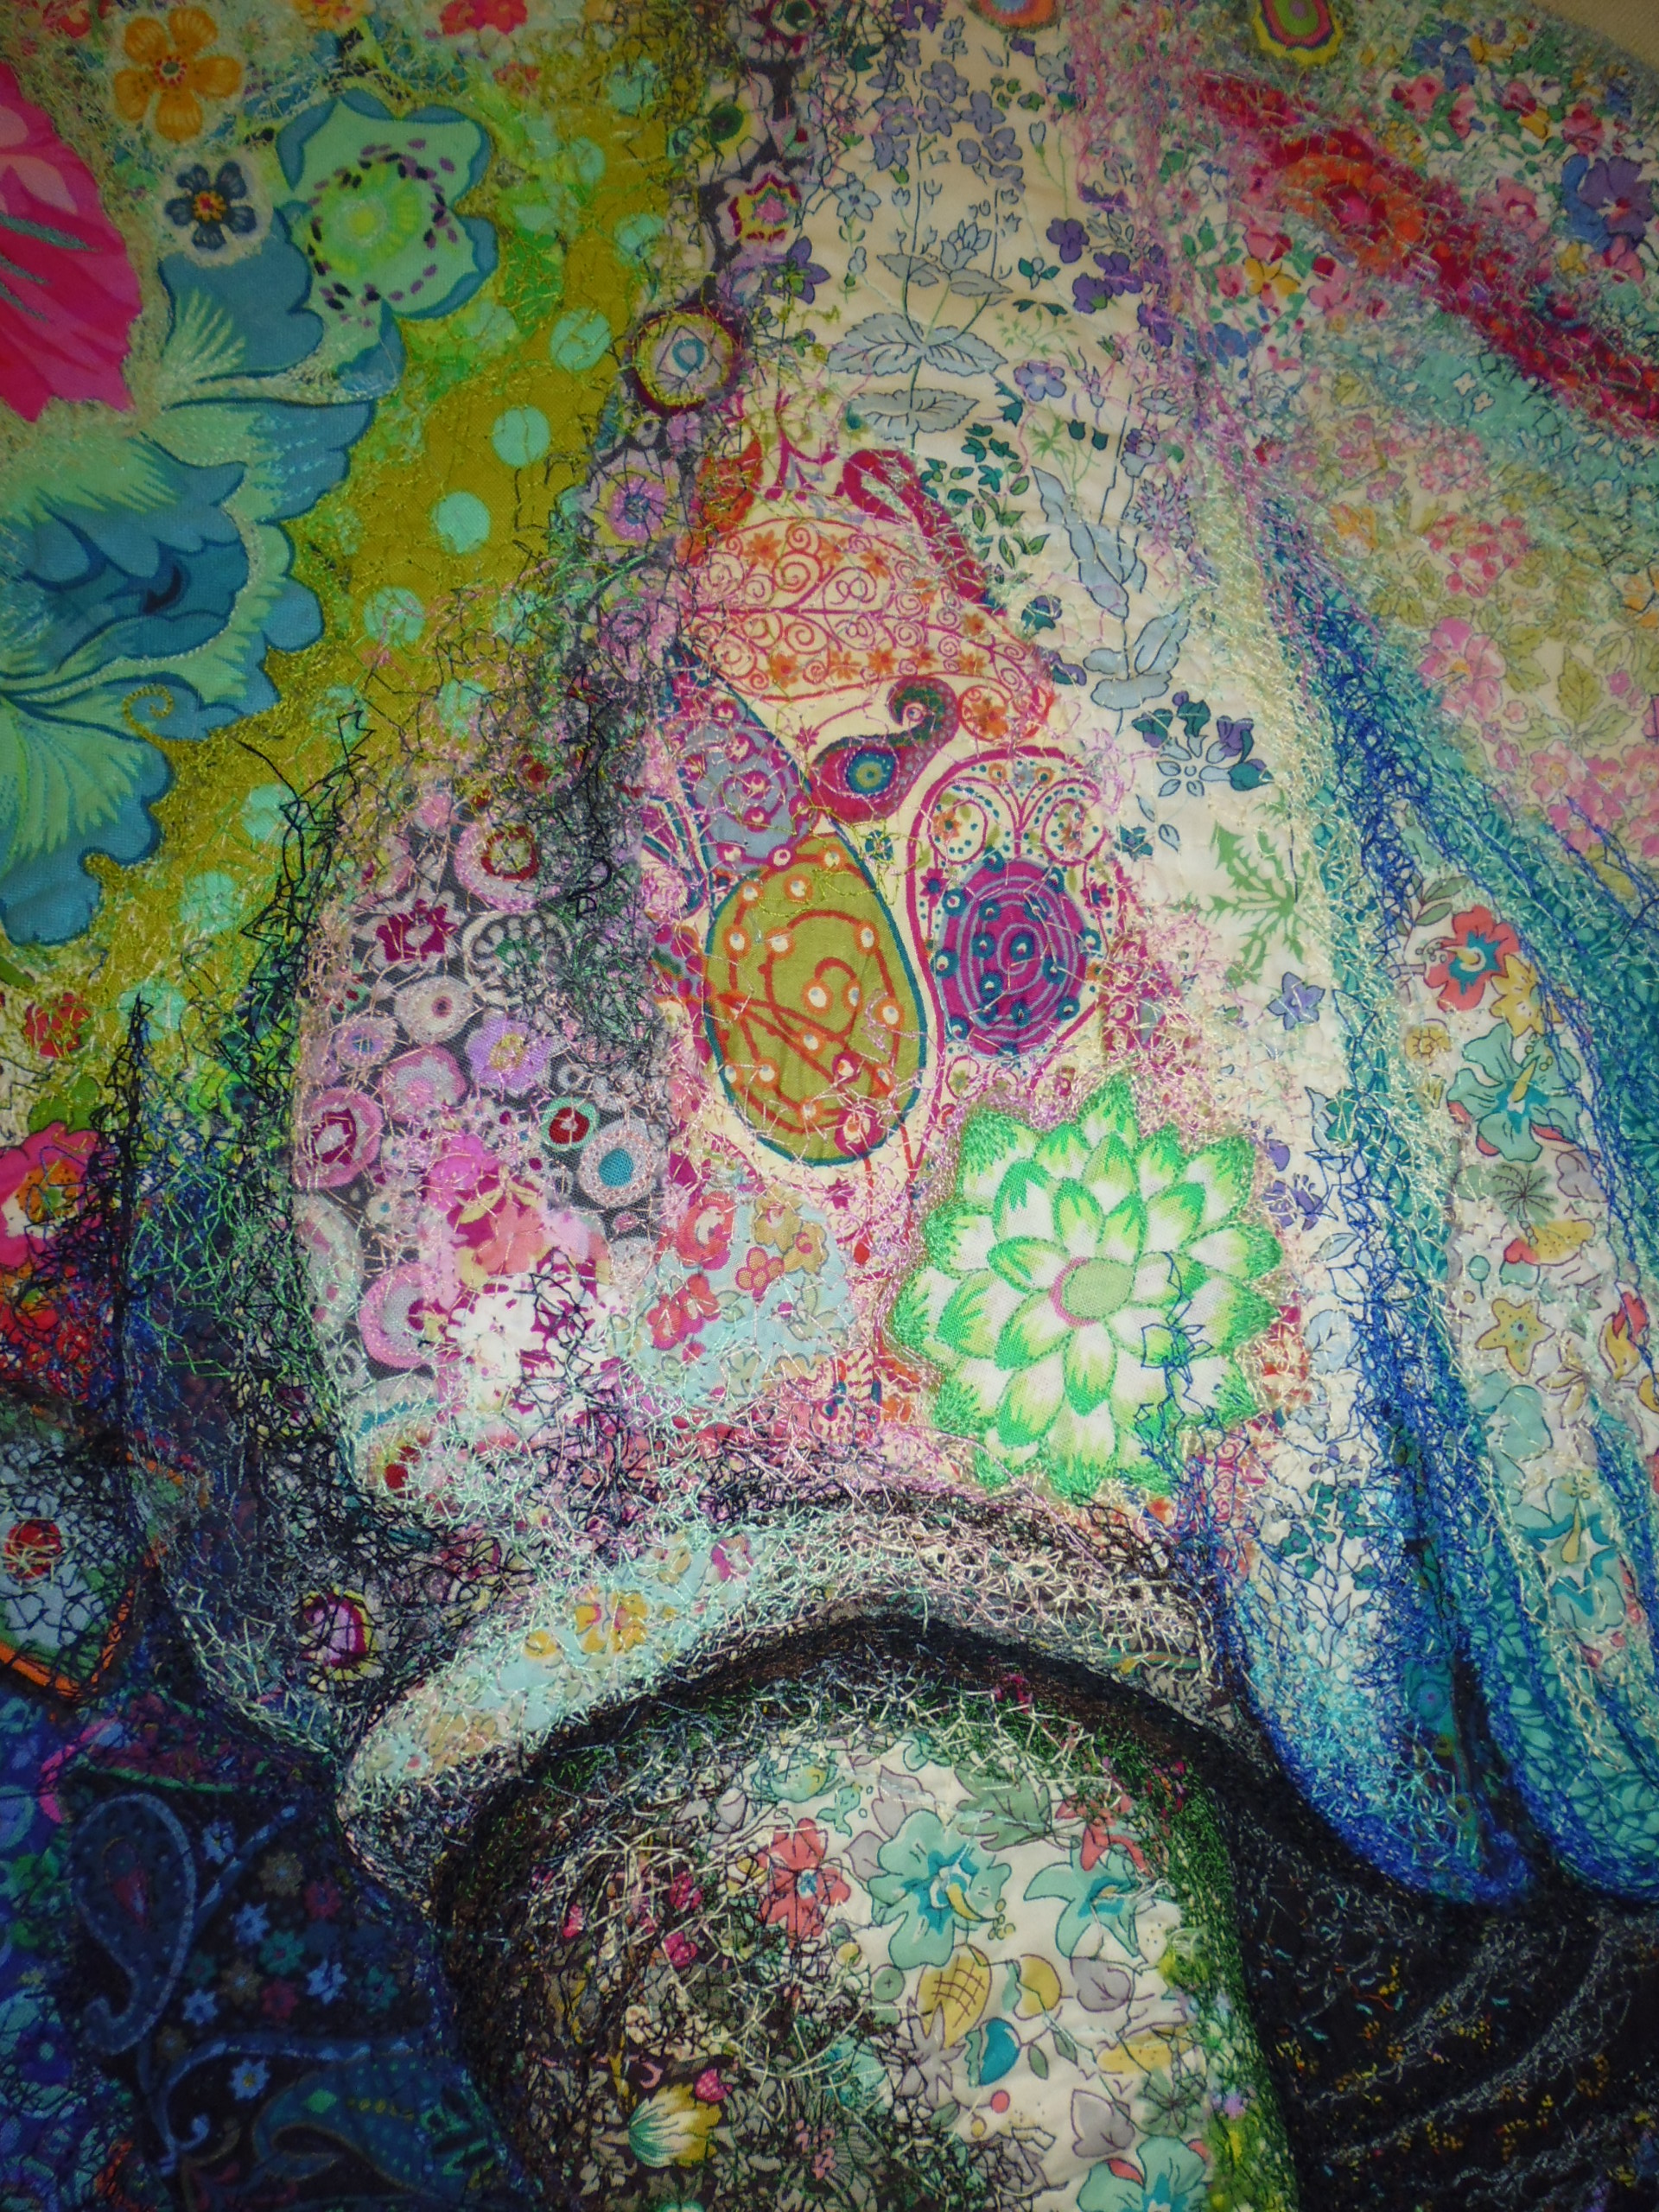
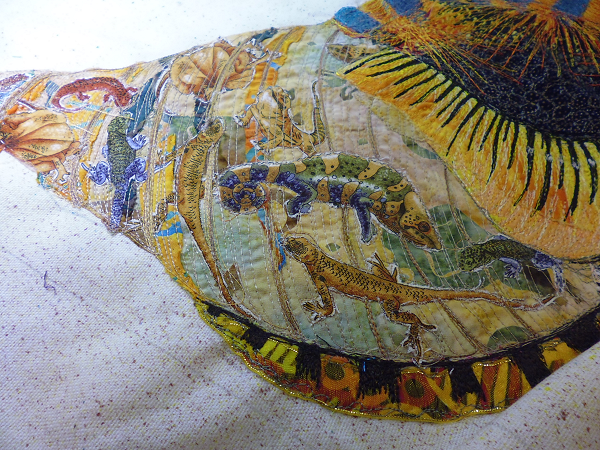
Sophie started by talking about some of her pieces and the techniques she used for choosing fabrics, thread, and stitches. Then we were off on our own, choosing our fabrics and getting started on cutting out, pinning, and stitching. I think we all needed a little help from Sophie with our fabric choices — I know I did, and I was really pleased with the fabrics she helped me choose. I didn’t use some, added others (the lizards on the body of the shell, for example — I figured if Sophie can put flowers on a gorilla, I can put lizards on a shell!), but basically used the palette she helped me with.
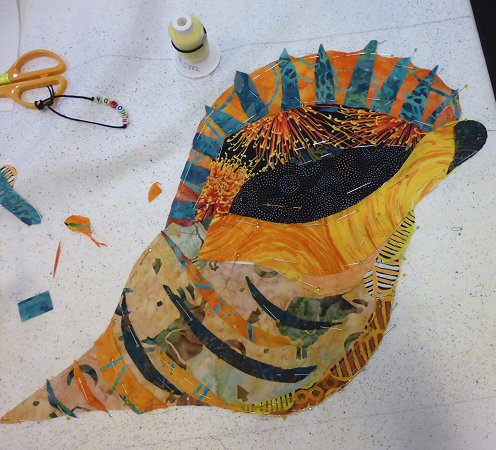
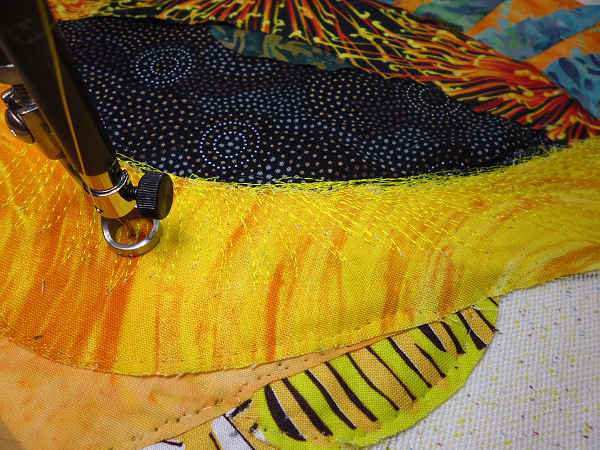
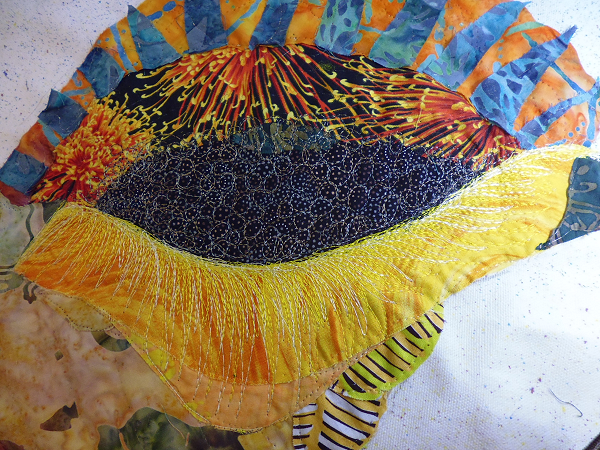
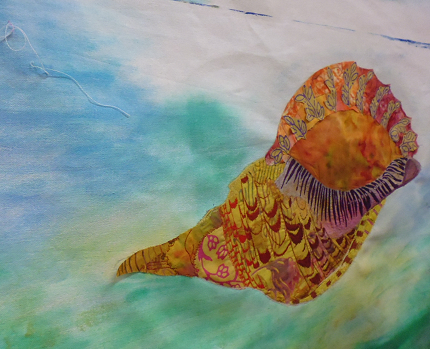
The photos below show the original shell, some of my work in progress, followed by a section of Sophie’s work, and then some photos of some of the other work done in class.

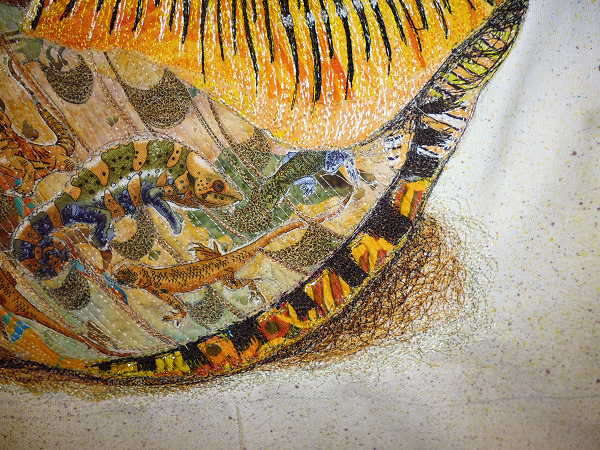
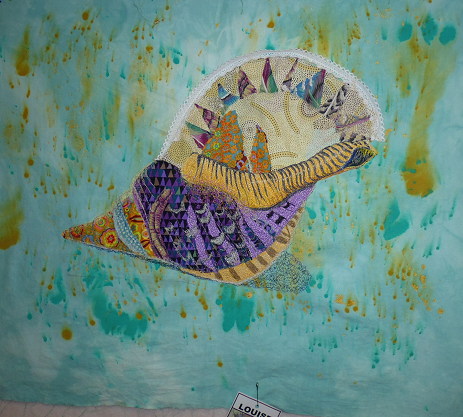
My interpretation – in progress
(click on a photo to view it larger)


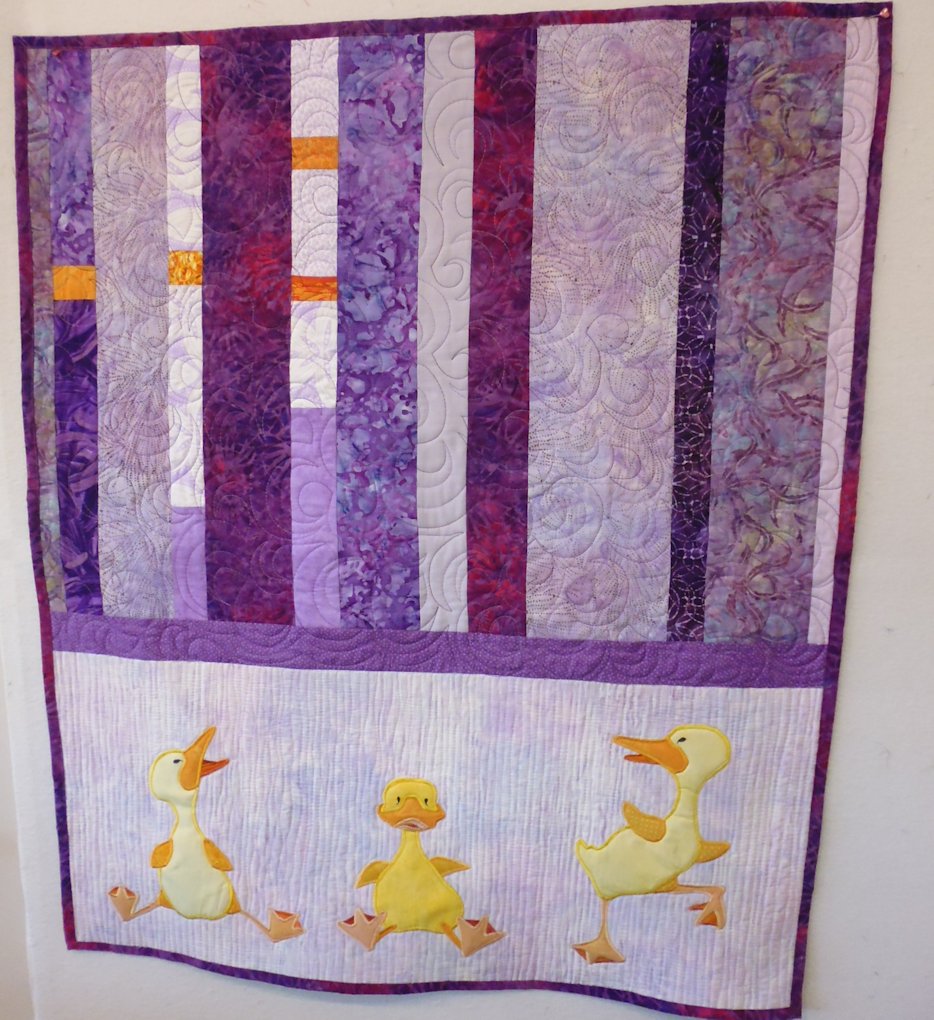
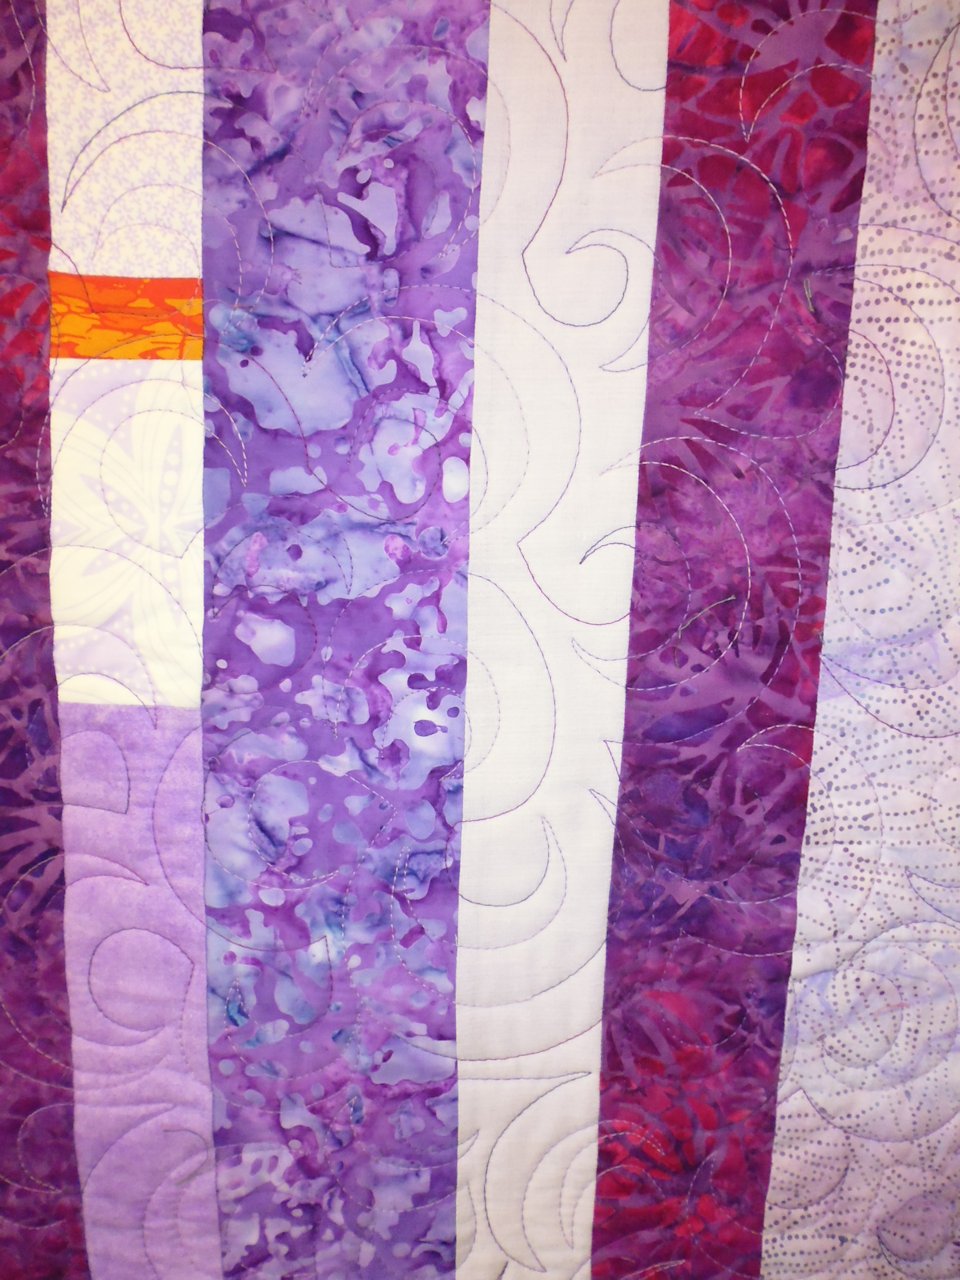
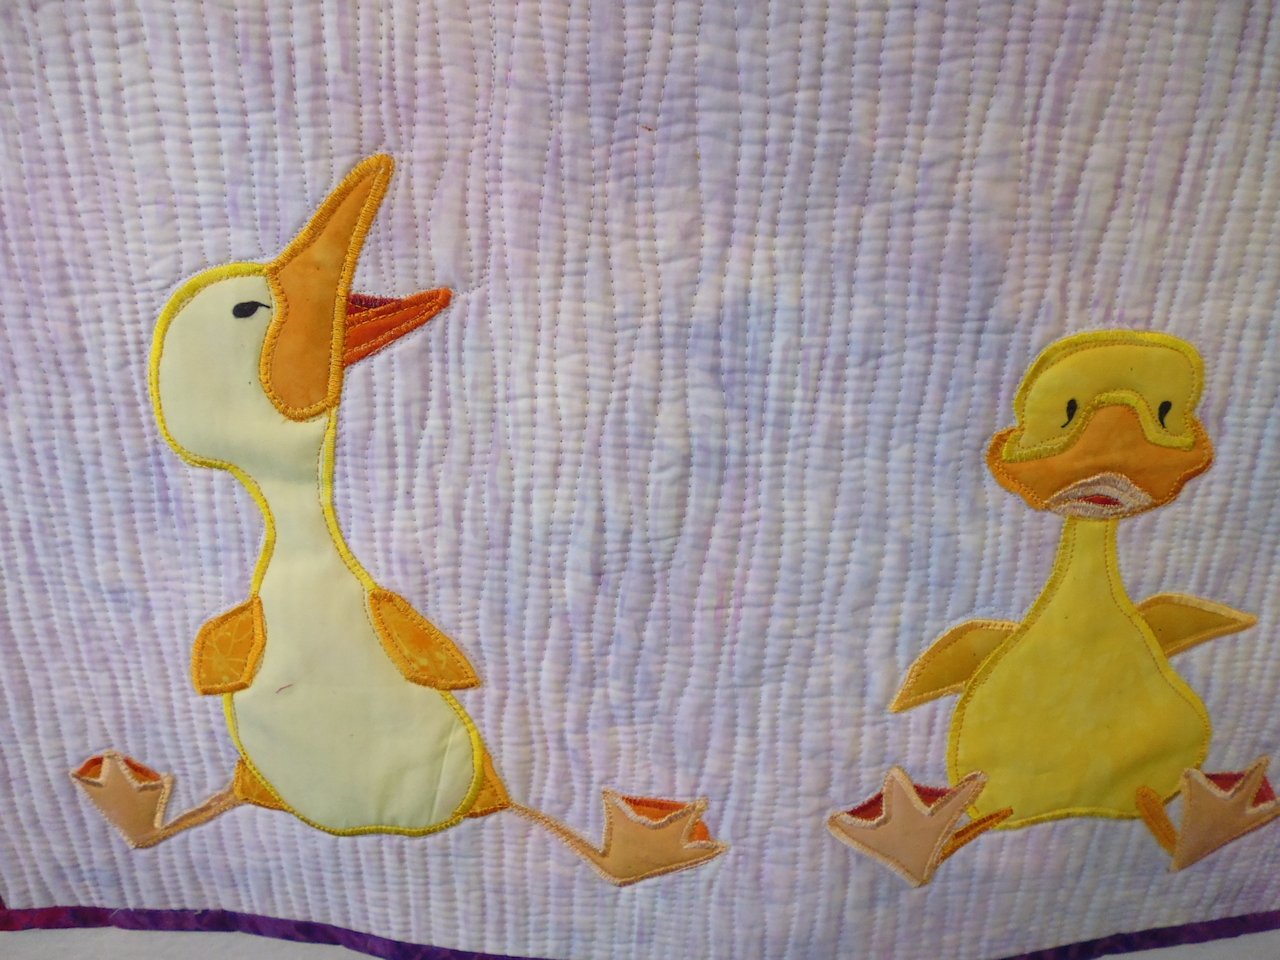
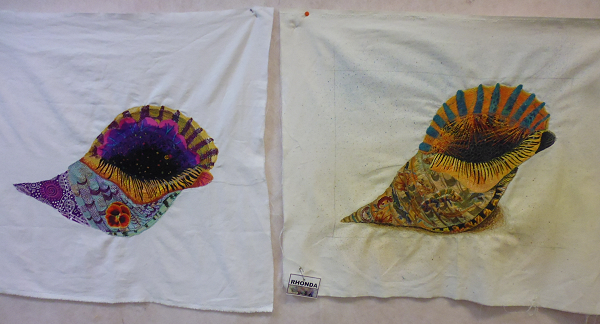
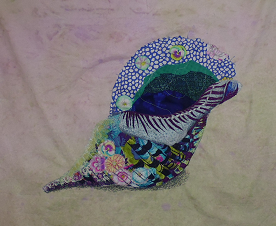
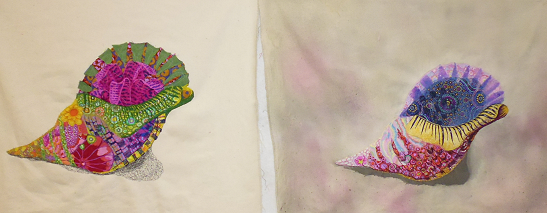
Others’ work


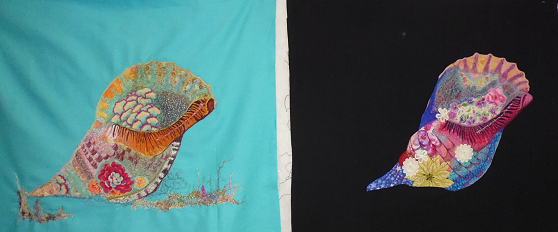


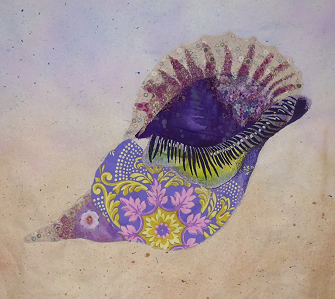
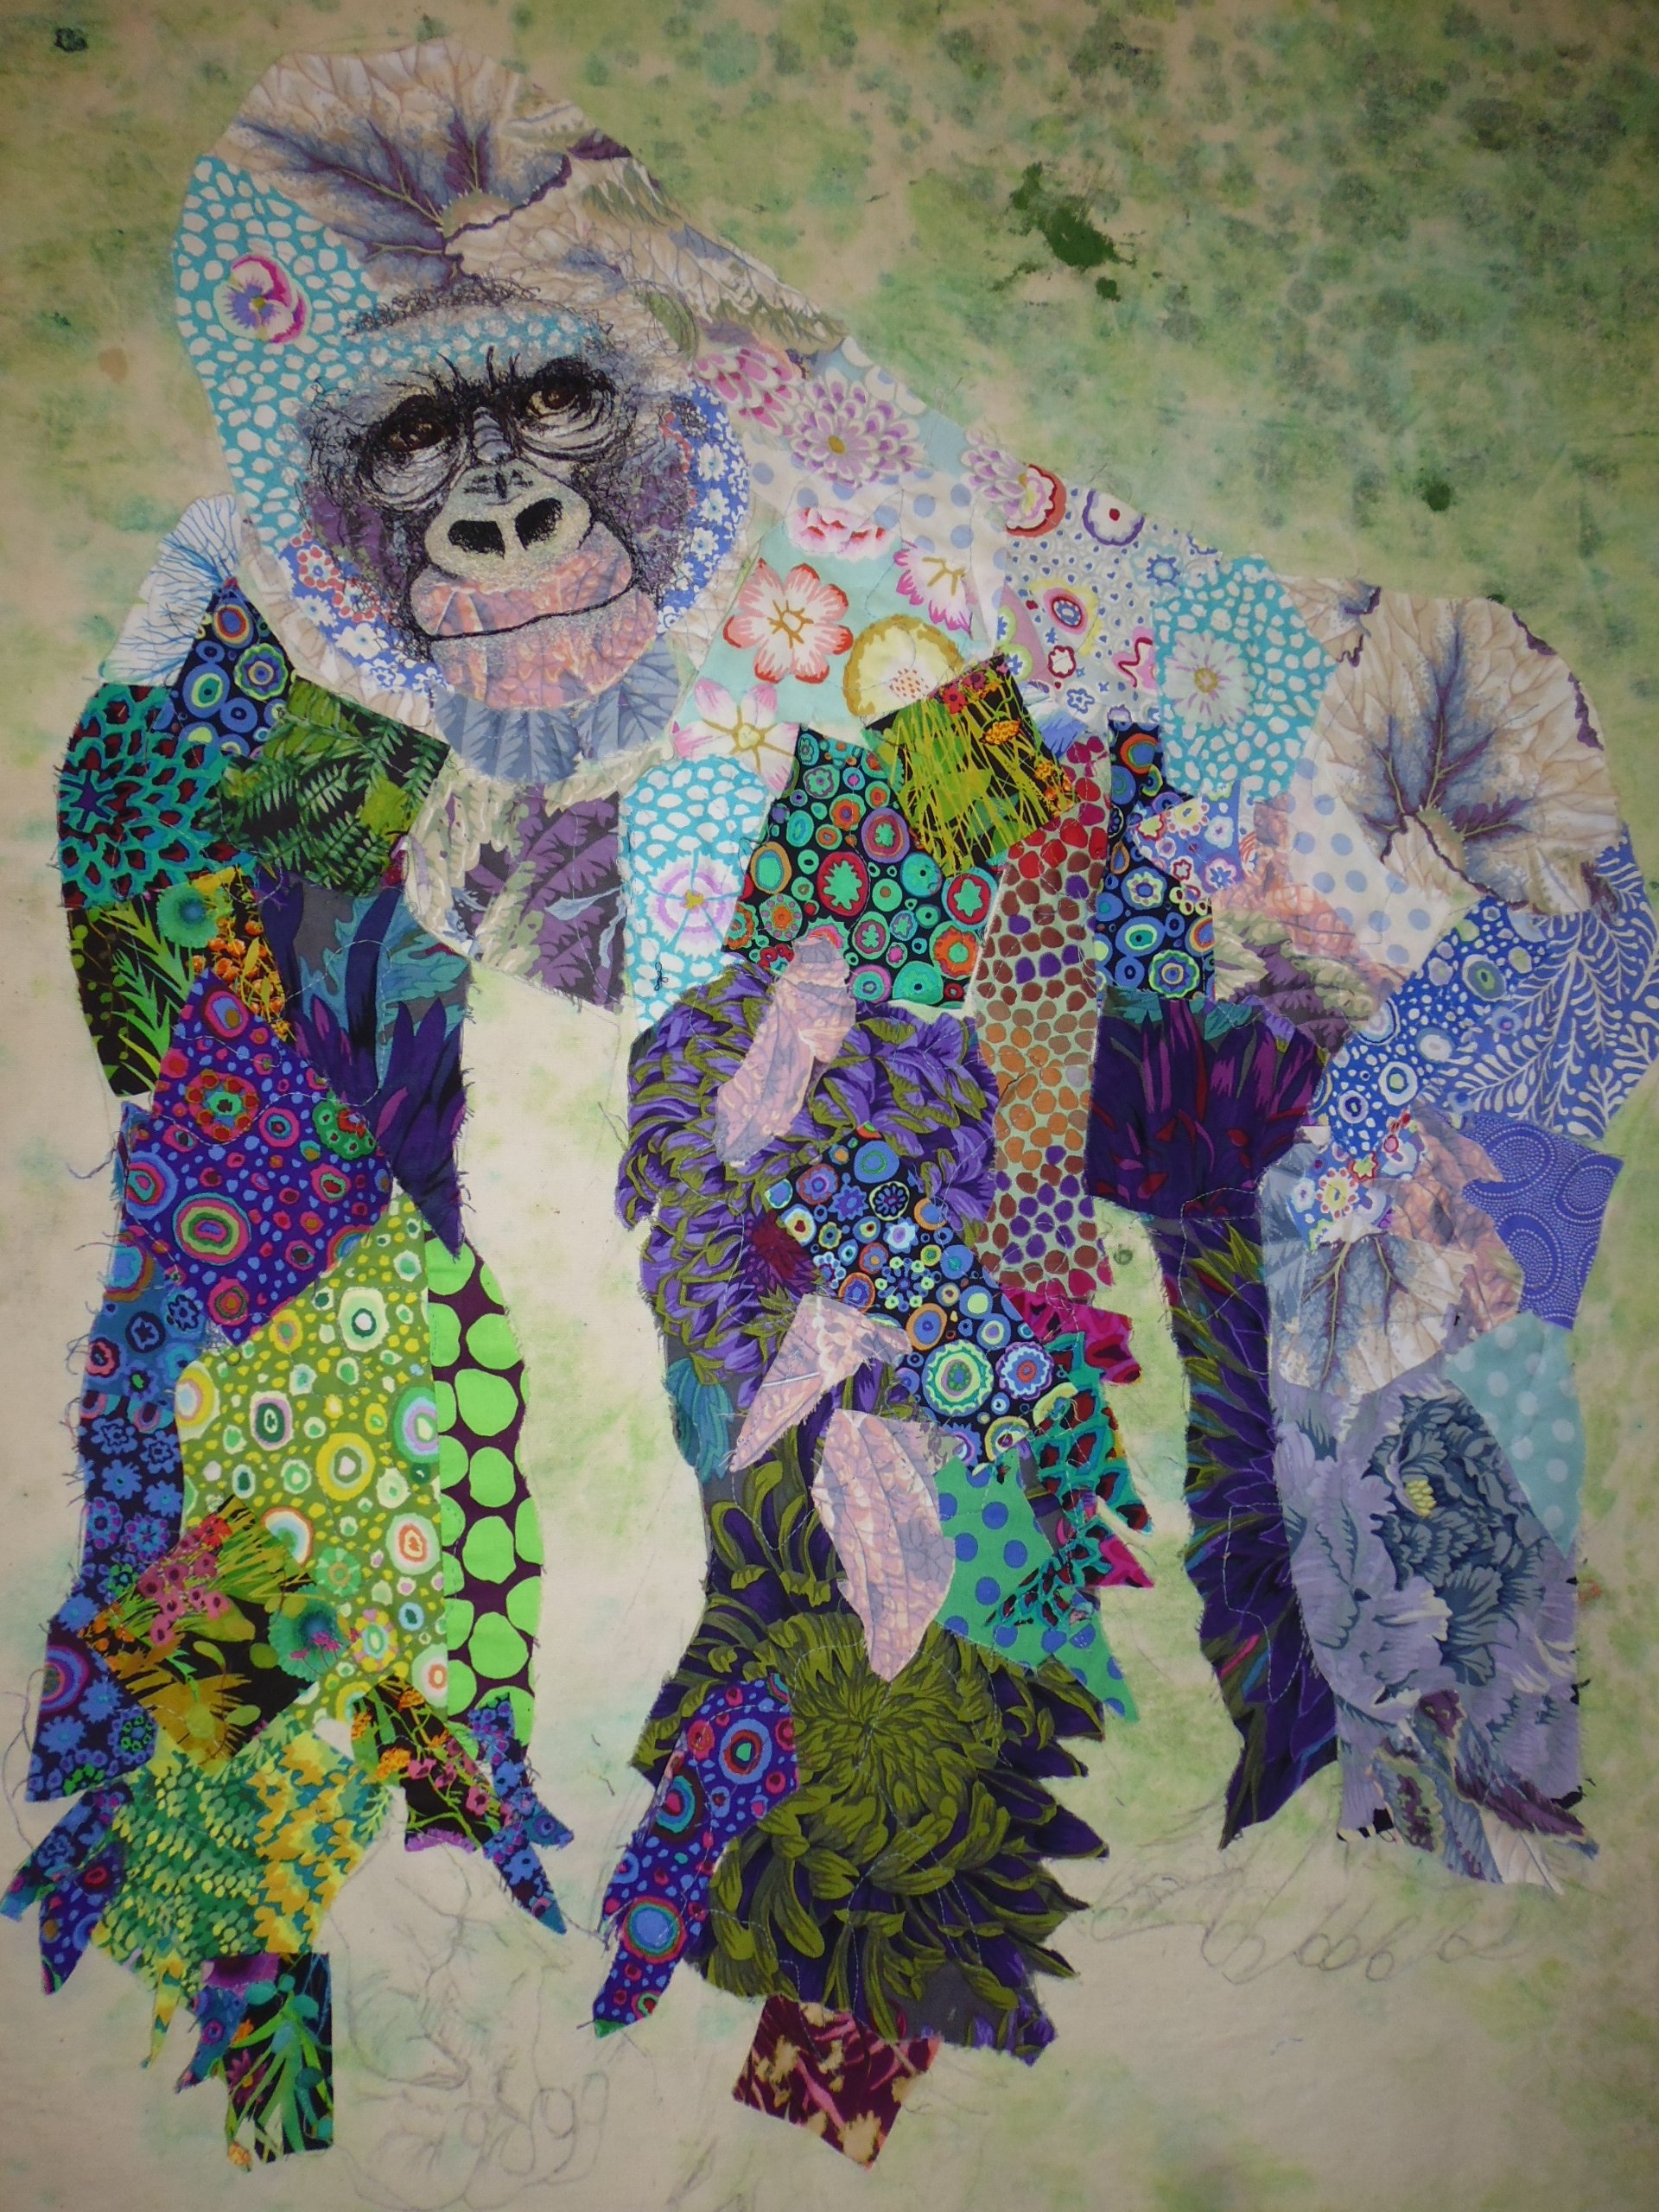
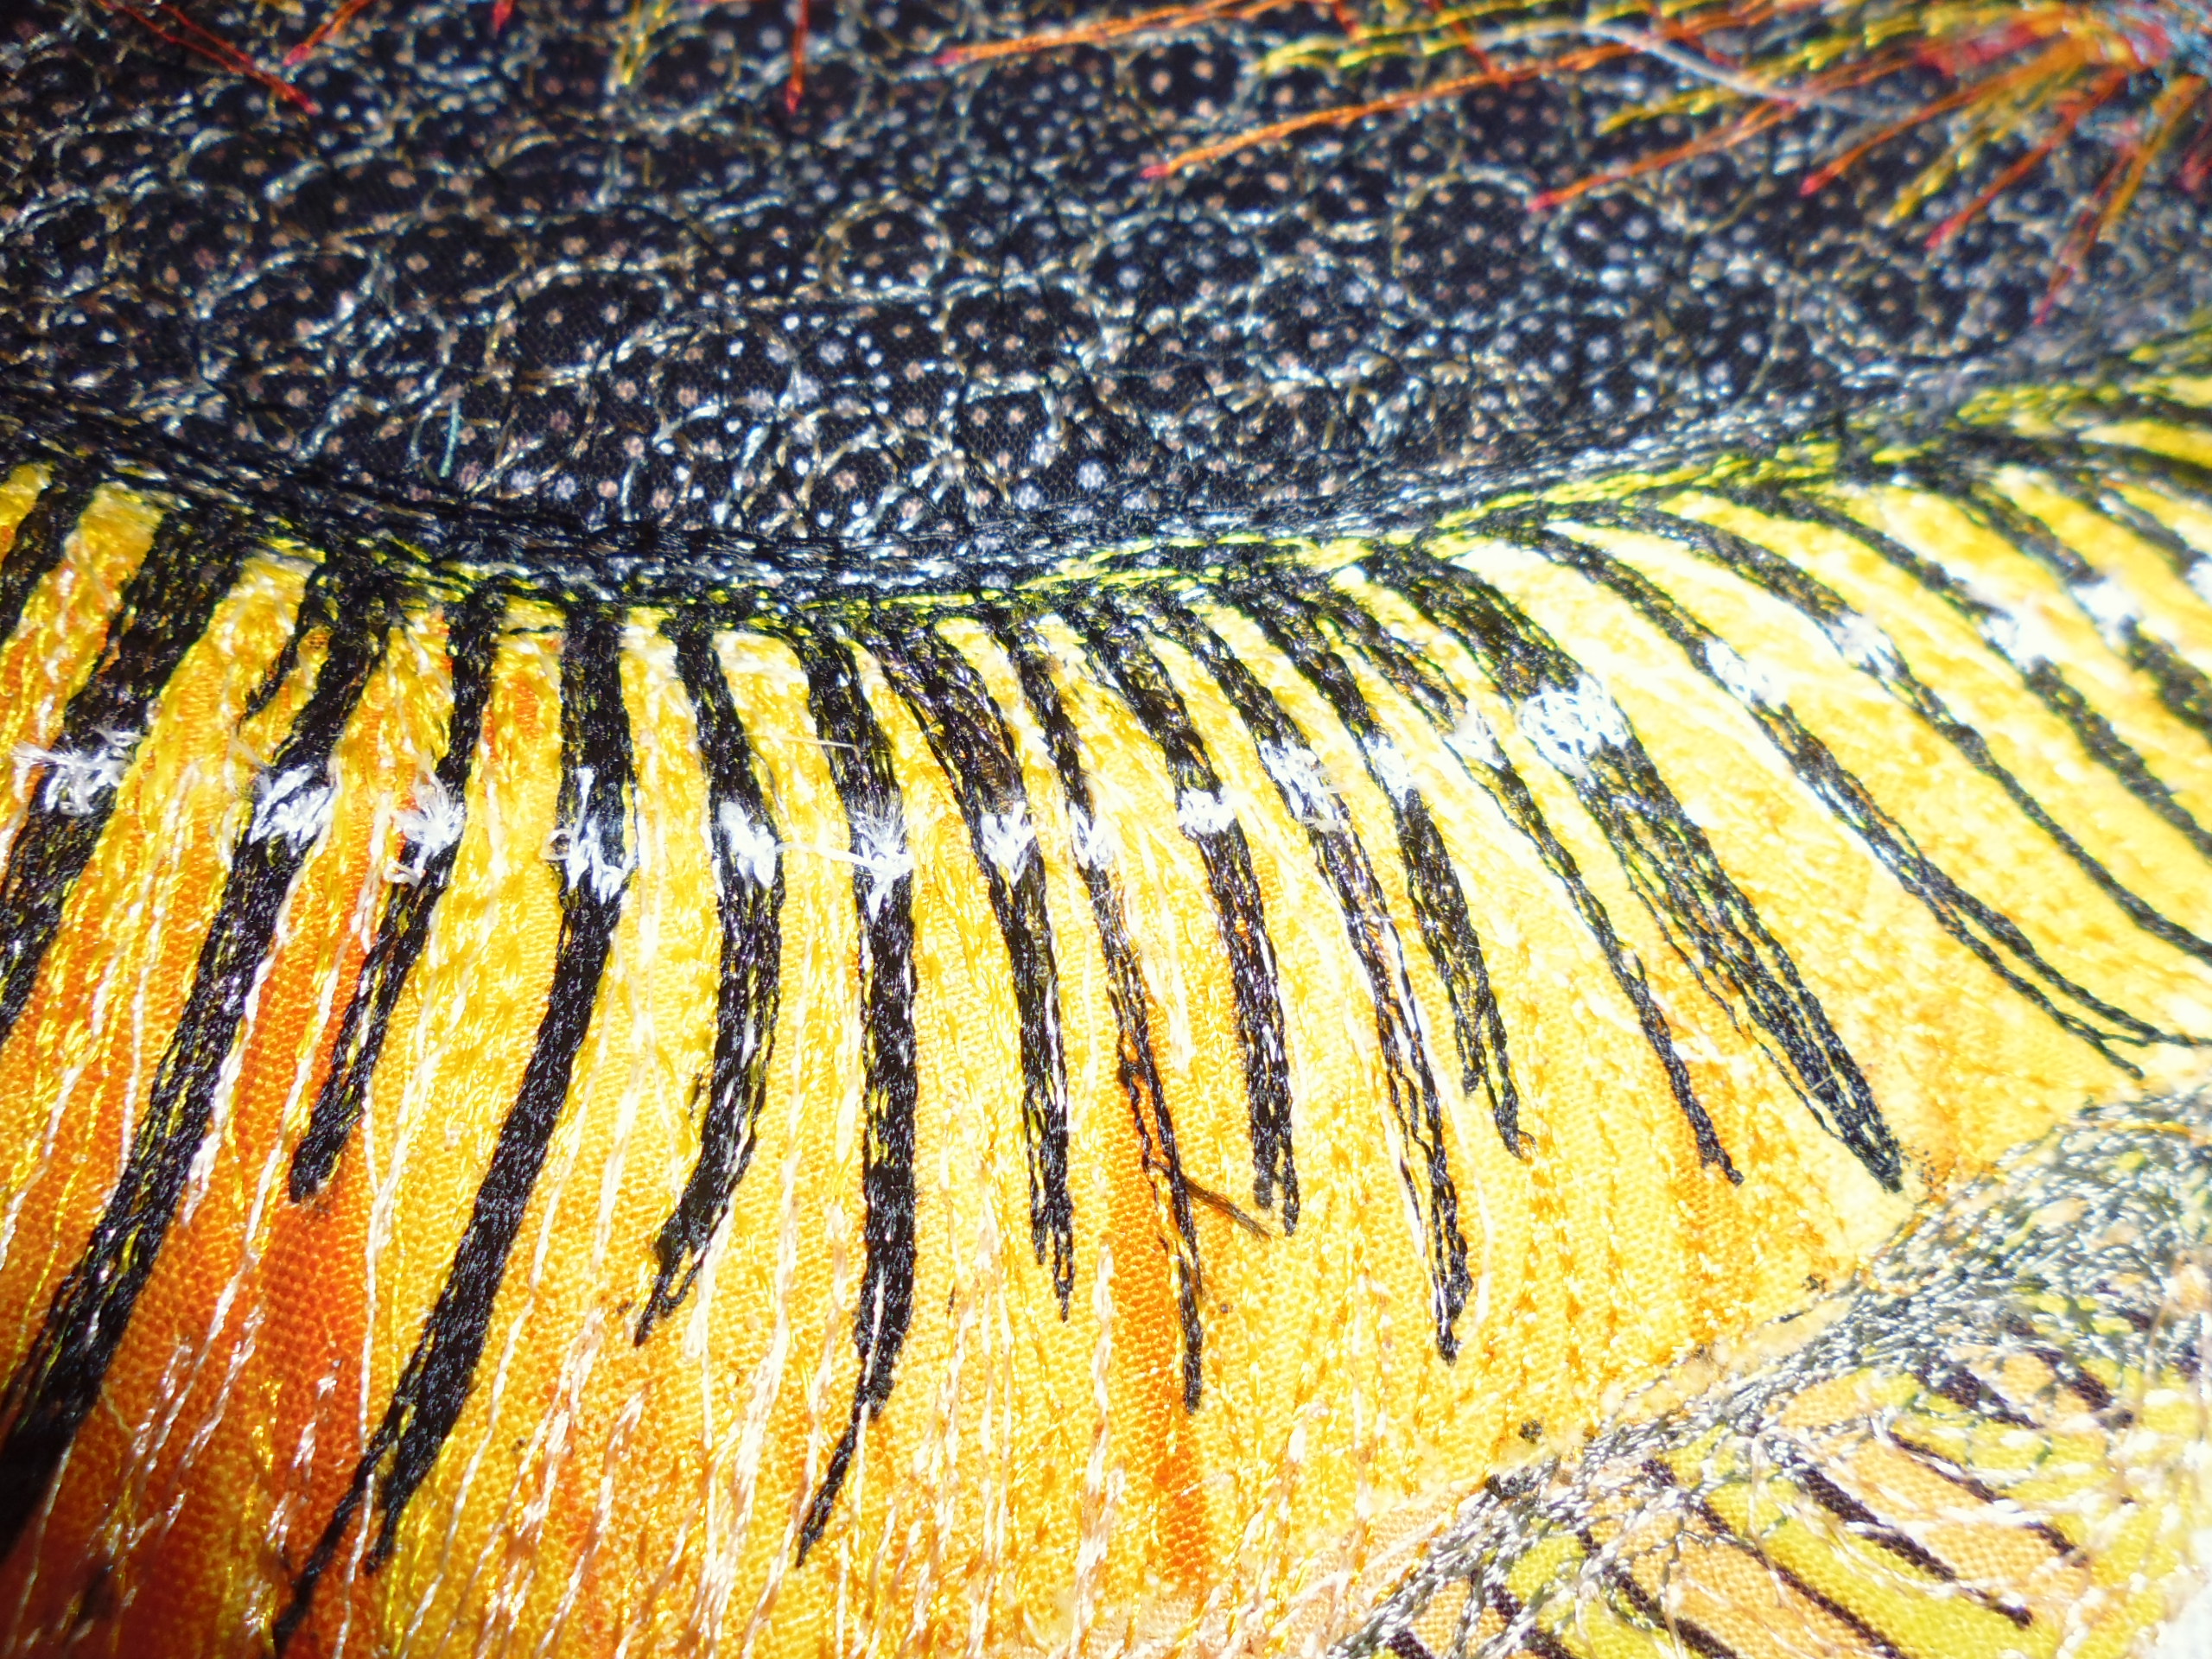
Sophie and her work