I thought Quilt #146 was my challenge quilt in the latest bunch. Not so. It was this one!!
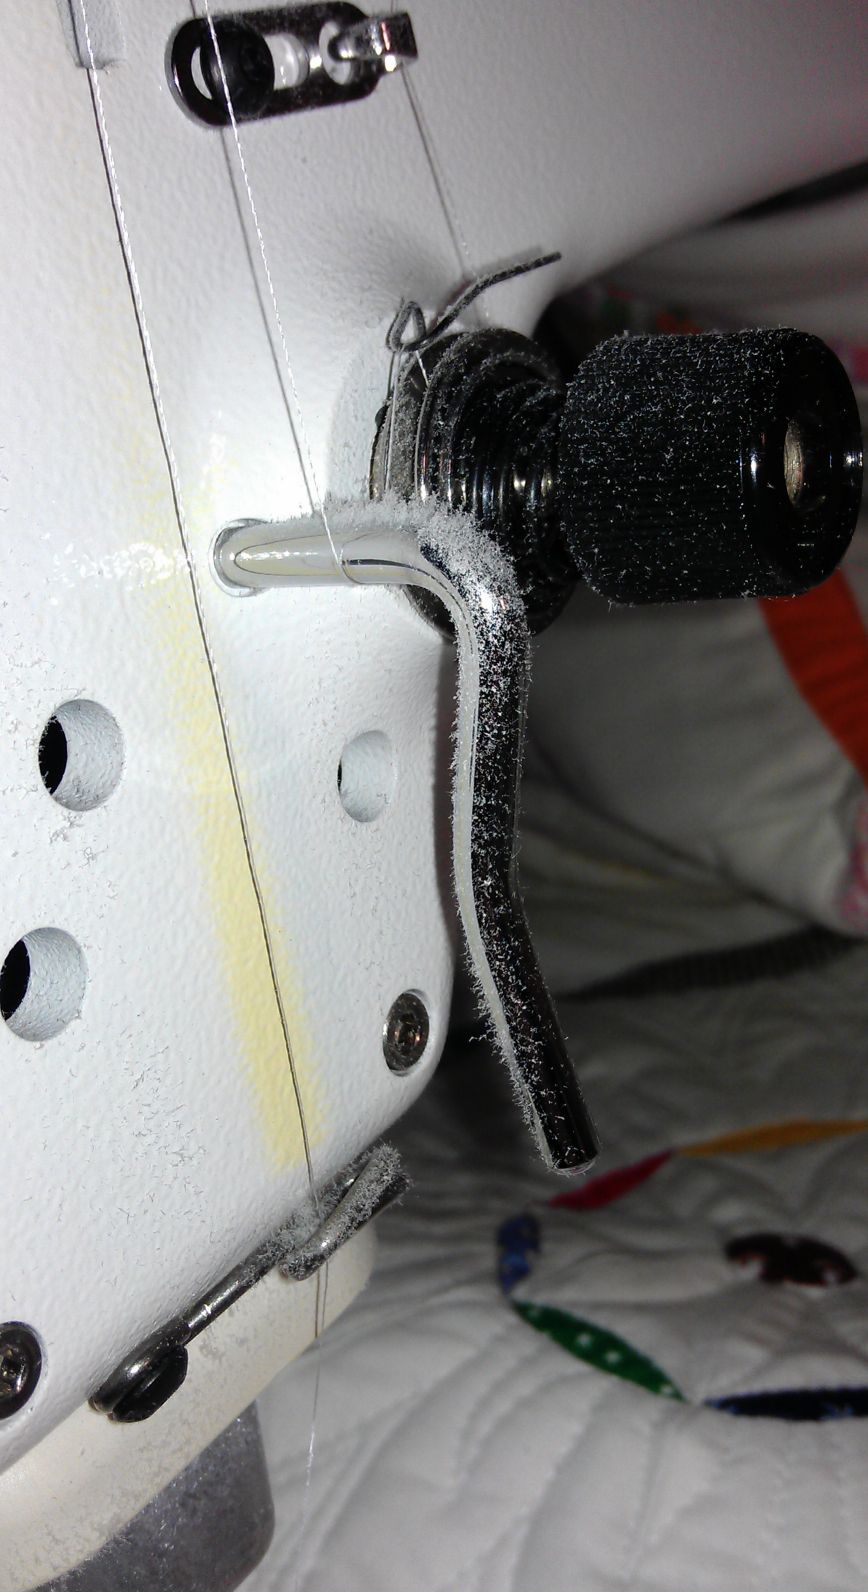
Why was it such a challenge? Well, it was FULL of bias edges, very thick seam joins, and lots of puffiness as a result of those bias edges. I had to do a LOT of quilting on it to try to flatten it, and I think I succeeded, for the most part. However, there are still parts of this quilt that have pleats and folds that I just couldn’t get out. And where the big circular blocks join, there are masses of seams that come together to form a big lump — having already snapped a needle off in the bobbin case before (which cost me $$ to have fixed as well as a trip to the city), I wasn’t going to attempt to sew through those. Someone has carefully appliqued on little circular disks into the centres of the other seam joins, and I’ll be suggesting that they add more where those horrible lumpy seam joins are.
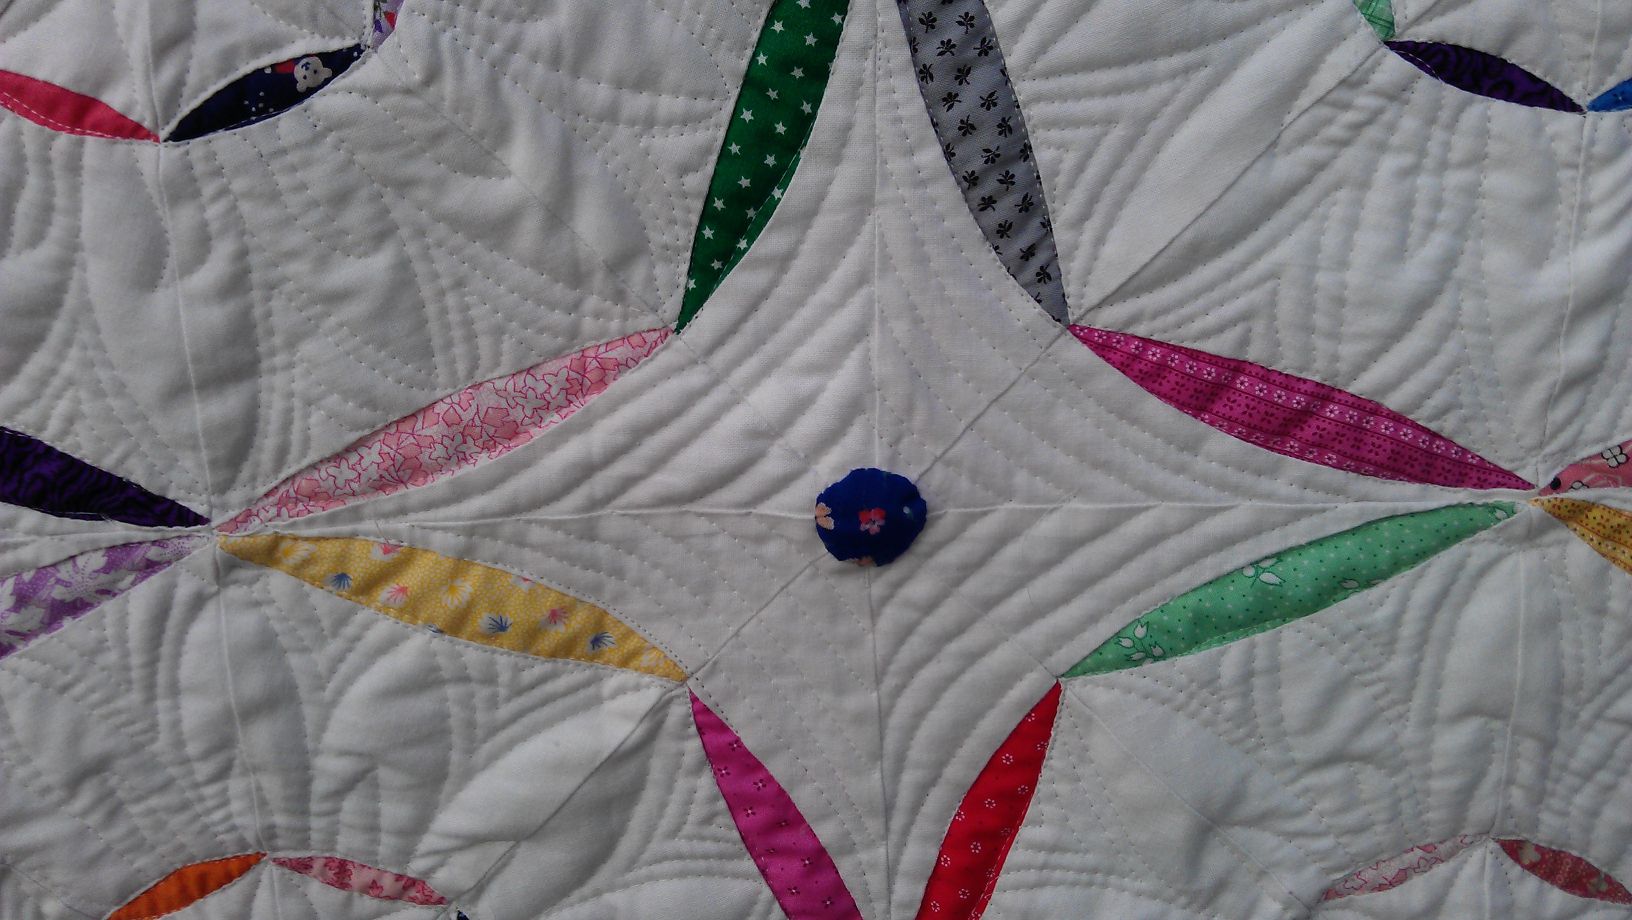
I started by stitching in the ditch are all the circles and the borders to stabilise the quilt as far as possible. Then I tackled the centres of each circle inside a larger circle by curving out to a point and back in, making flower petals. For the larger circles, I did the same, dividing (with my eye) each inner area into thirds, stitching up to an outer point then back down then up to the centre point of the curve, then down and back up to a seam point.
After stitching the big flower petals like this, they were still too puffy, so I stitched some inner ‘flame’ sort of thing inside each one, then did some echo stitching around the big petals. That squashed them for the most part.
For the areas outside the circles, I just did some echo stitching in a continuous-line spiral. I left the pink borders unstitched. For the main white border, I continued the theme of the curved petals (no markings or rulers — just eyeballed them) then echo stitched around each one.
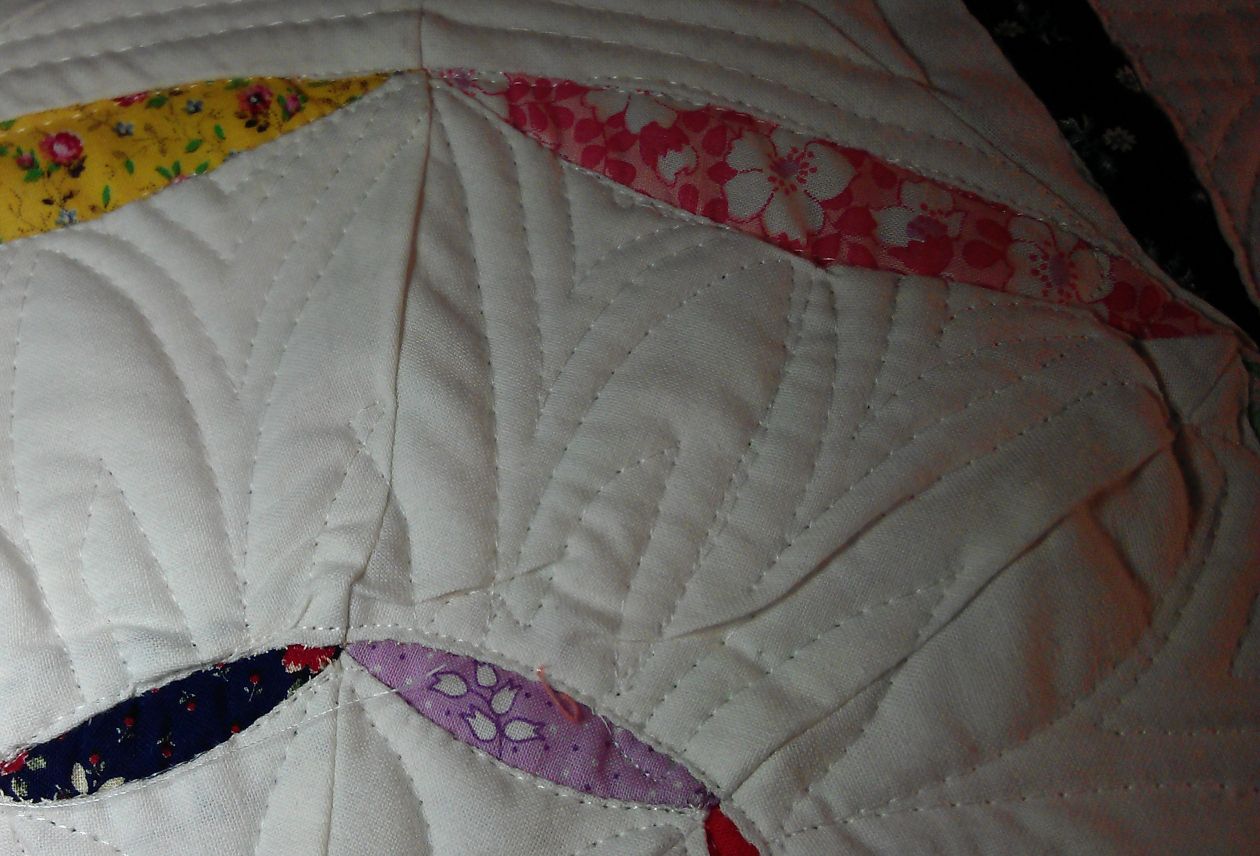
The first set of pictures below show the finished quilt, followed by pictures showing the puffiness I had to deal with in this quilt. Yes, it WAS a challenge and half!
(Click on a photo to view it larger)


Puffiness:

Puffy, puffy, puffy…
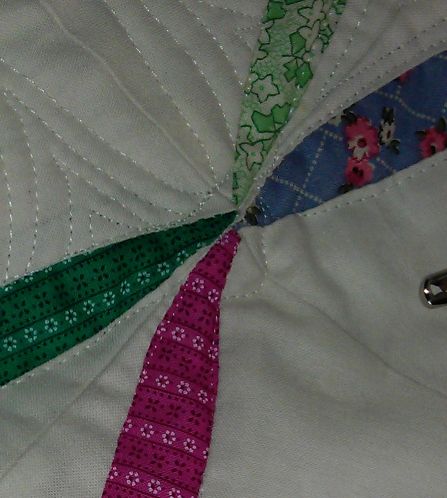
Seam join with about 8 seams coming together. Very lumpy.

Stitching some puffiness into submission, but some of these folds were just unavoidable
Threads used:
- Top: Fil-Tec Magna Glide pre-wound bobbin (white)
- Bottom: Fil-Tec Magna Glide pre-wound bobbin (white)