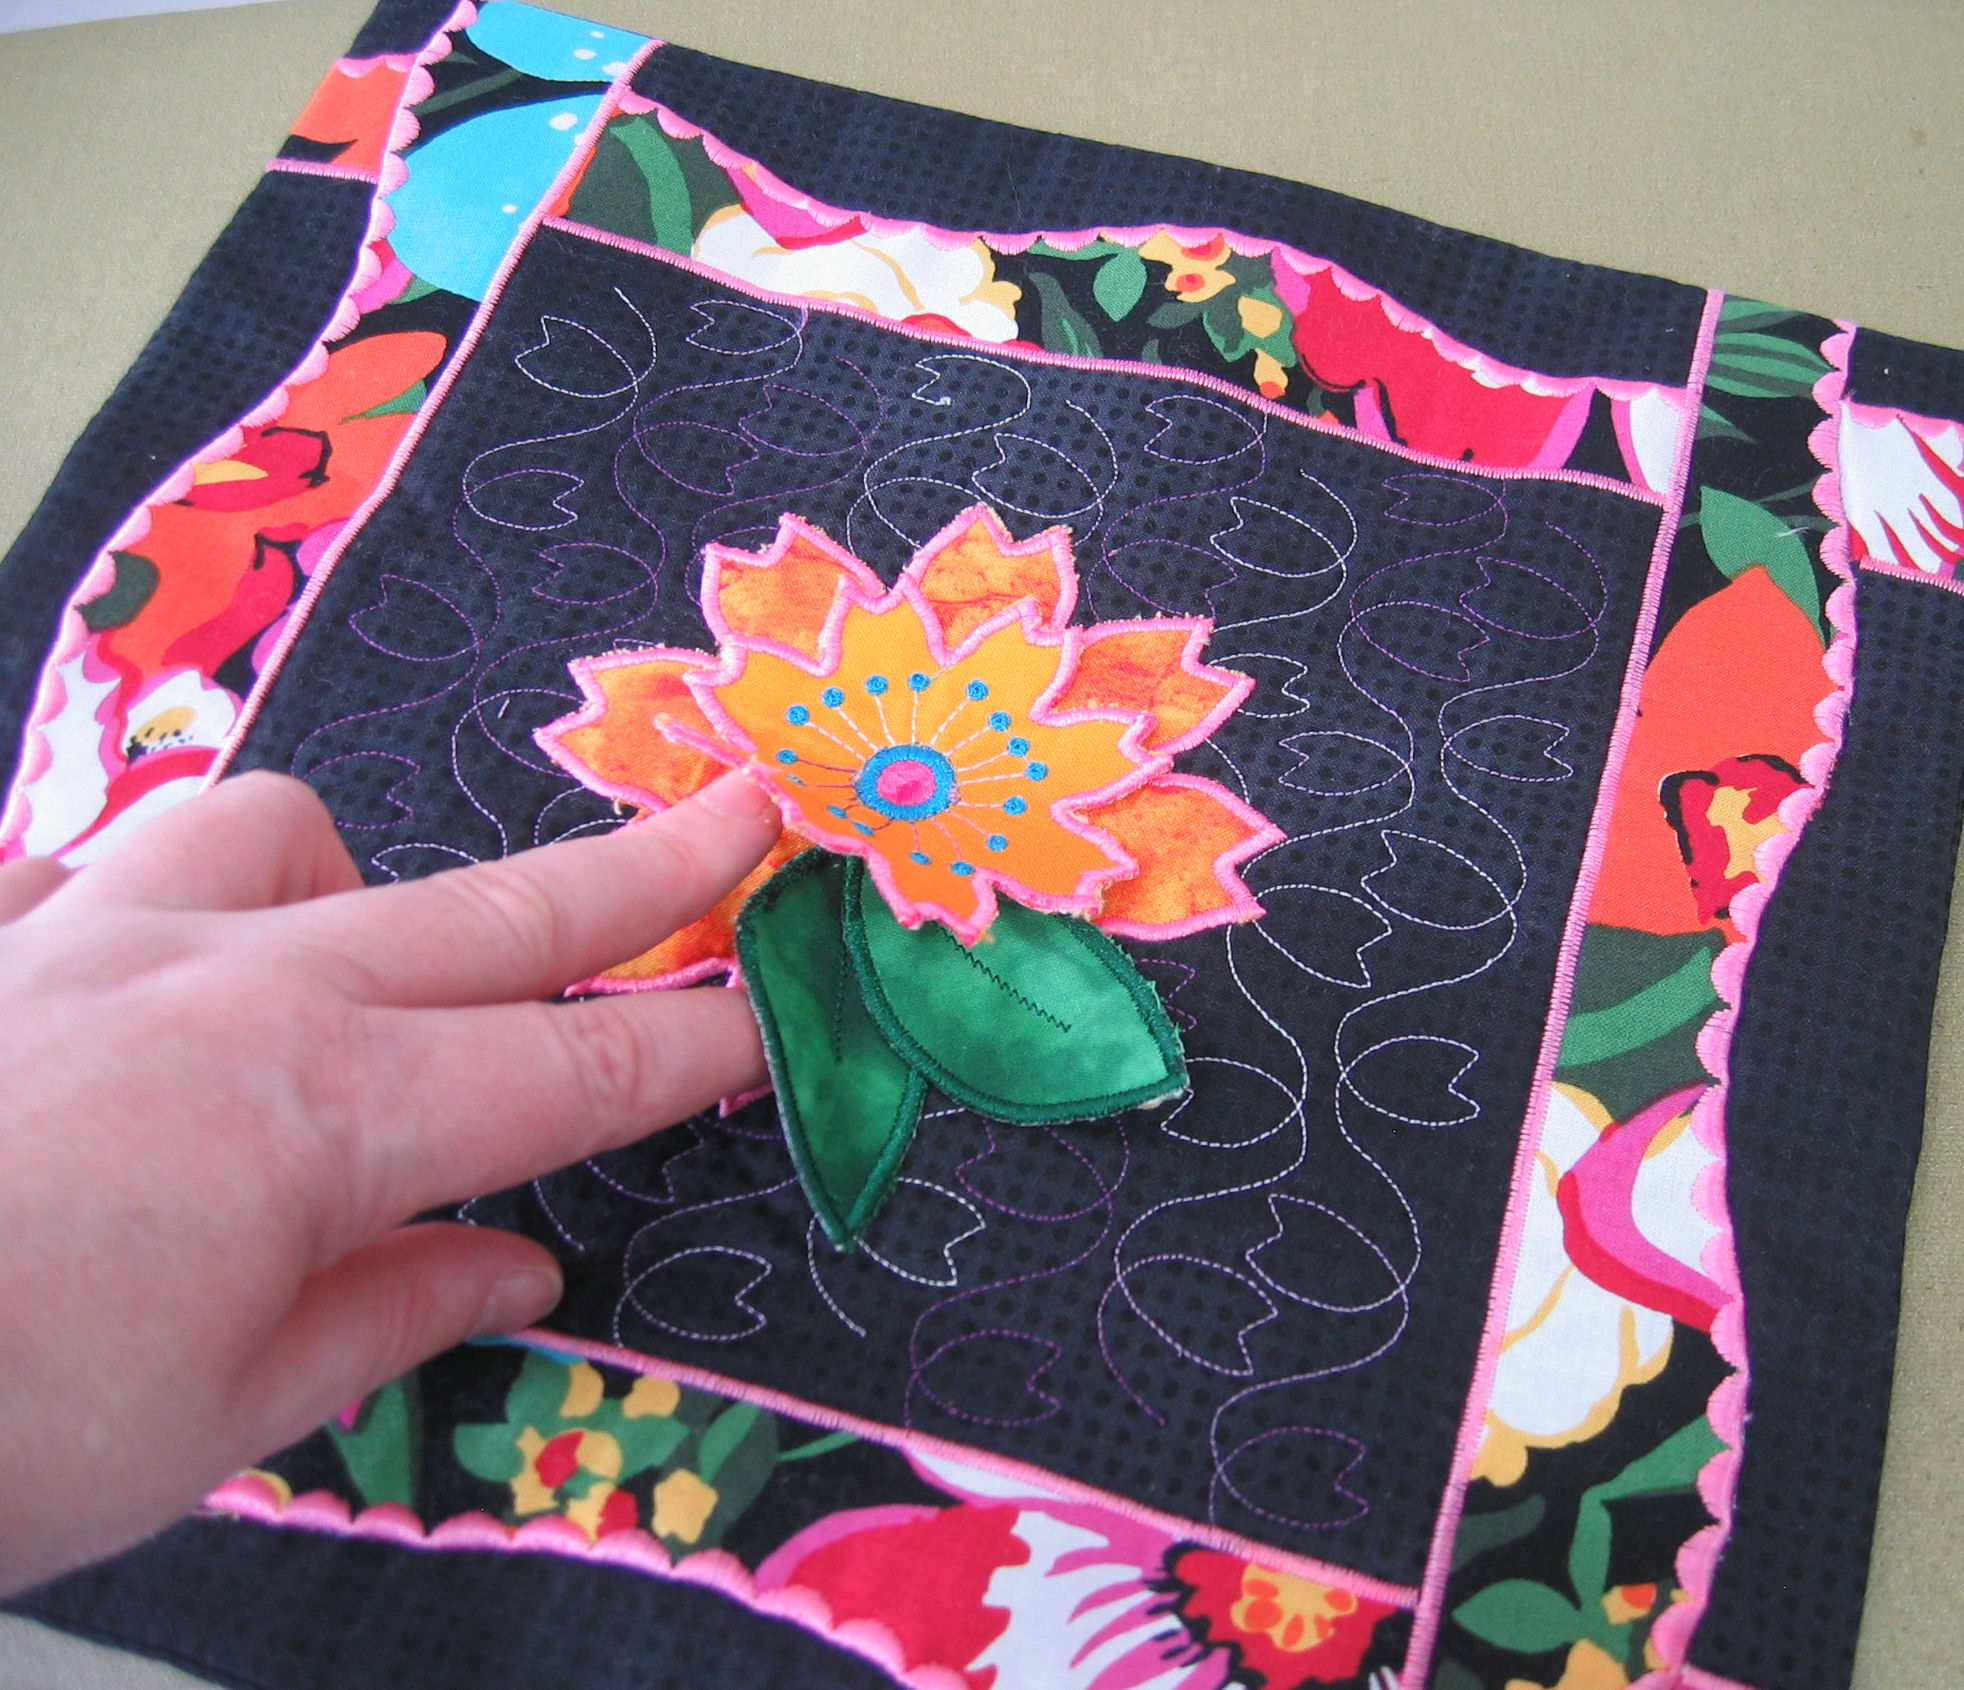
Some time back I received a set of charm squares (5 and 10 inch) and matching 2.5 inch strips as part of a promotional ‘gift’ for subscribing to a quilting magazine. I never figured out what to make with all this fabric and, over time, I’ve used parts of it for some of the travel accessories I make and sell on Etsy — luggage tags, luggage handle wraps, luggage straps and the like (http://www.etsy.com/shop/RhondaMadeIt?section_id=6122839).
I hadn’t touched the pack of 40 five inch squares. Until now.
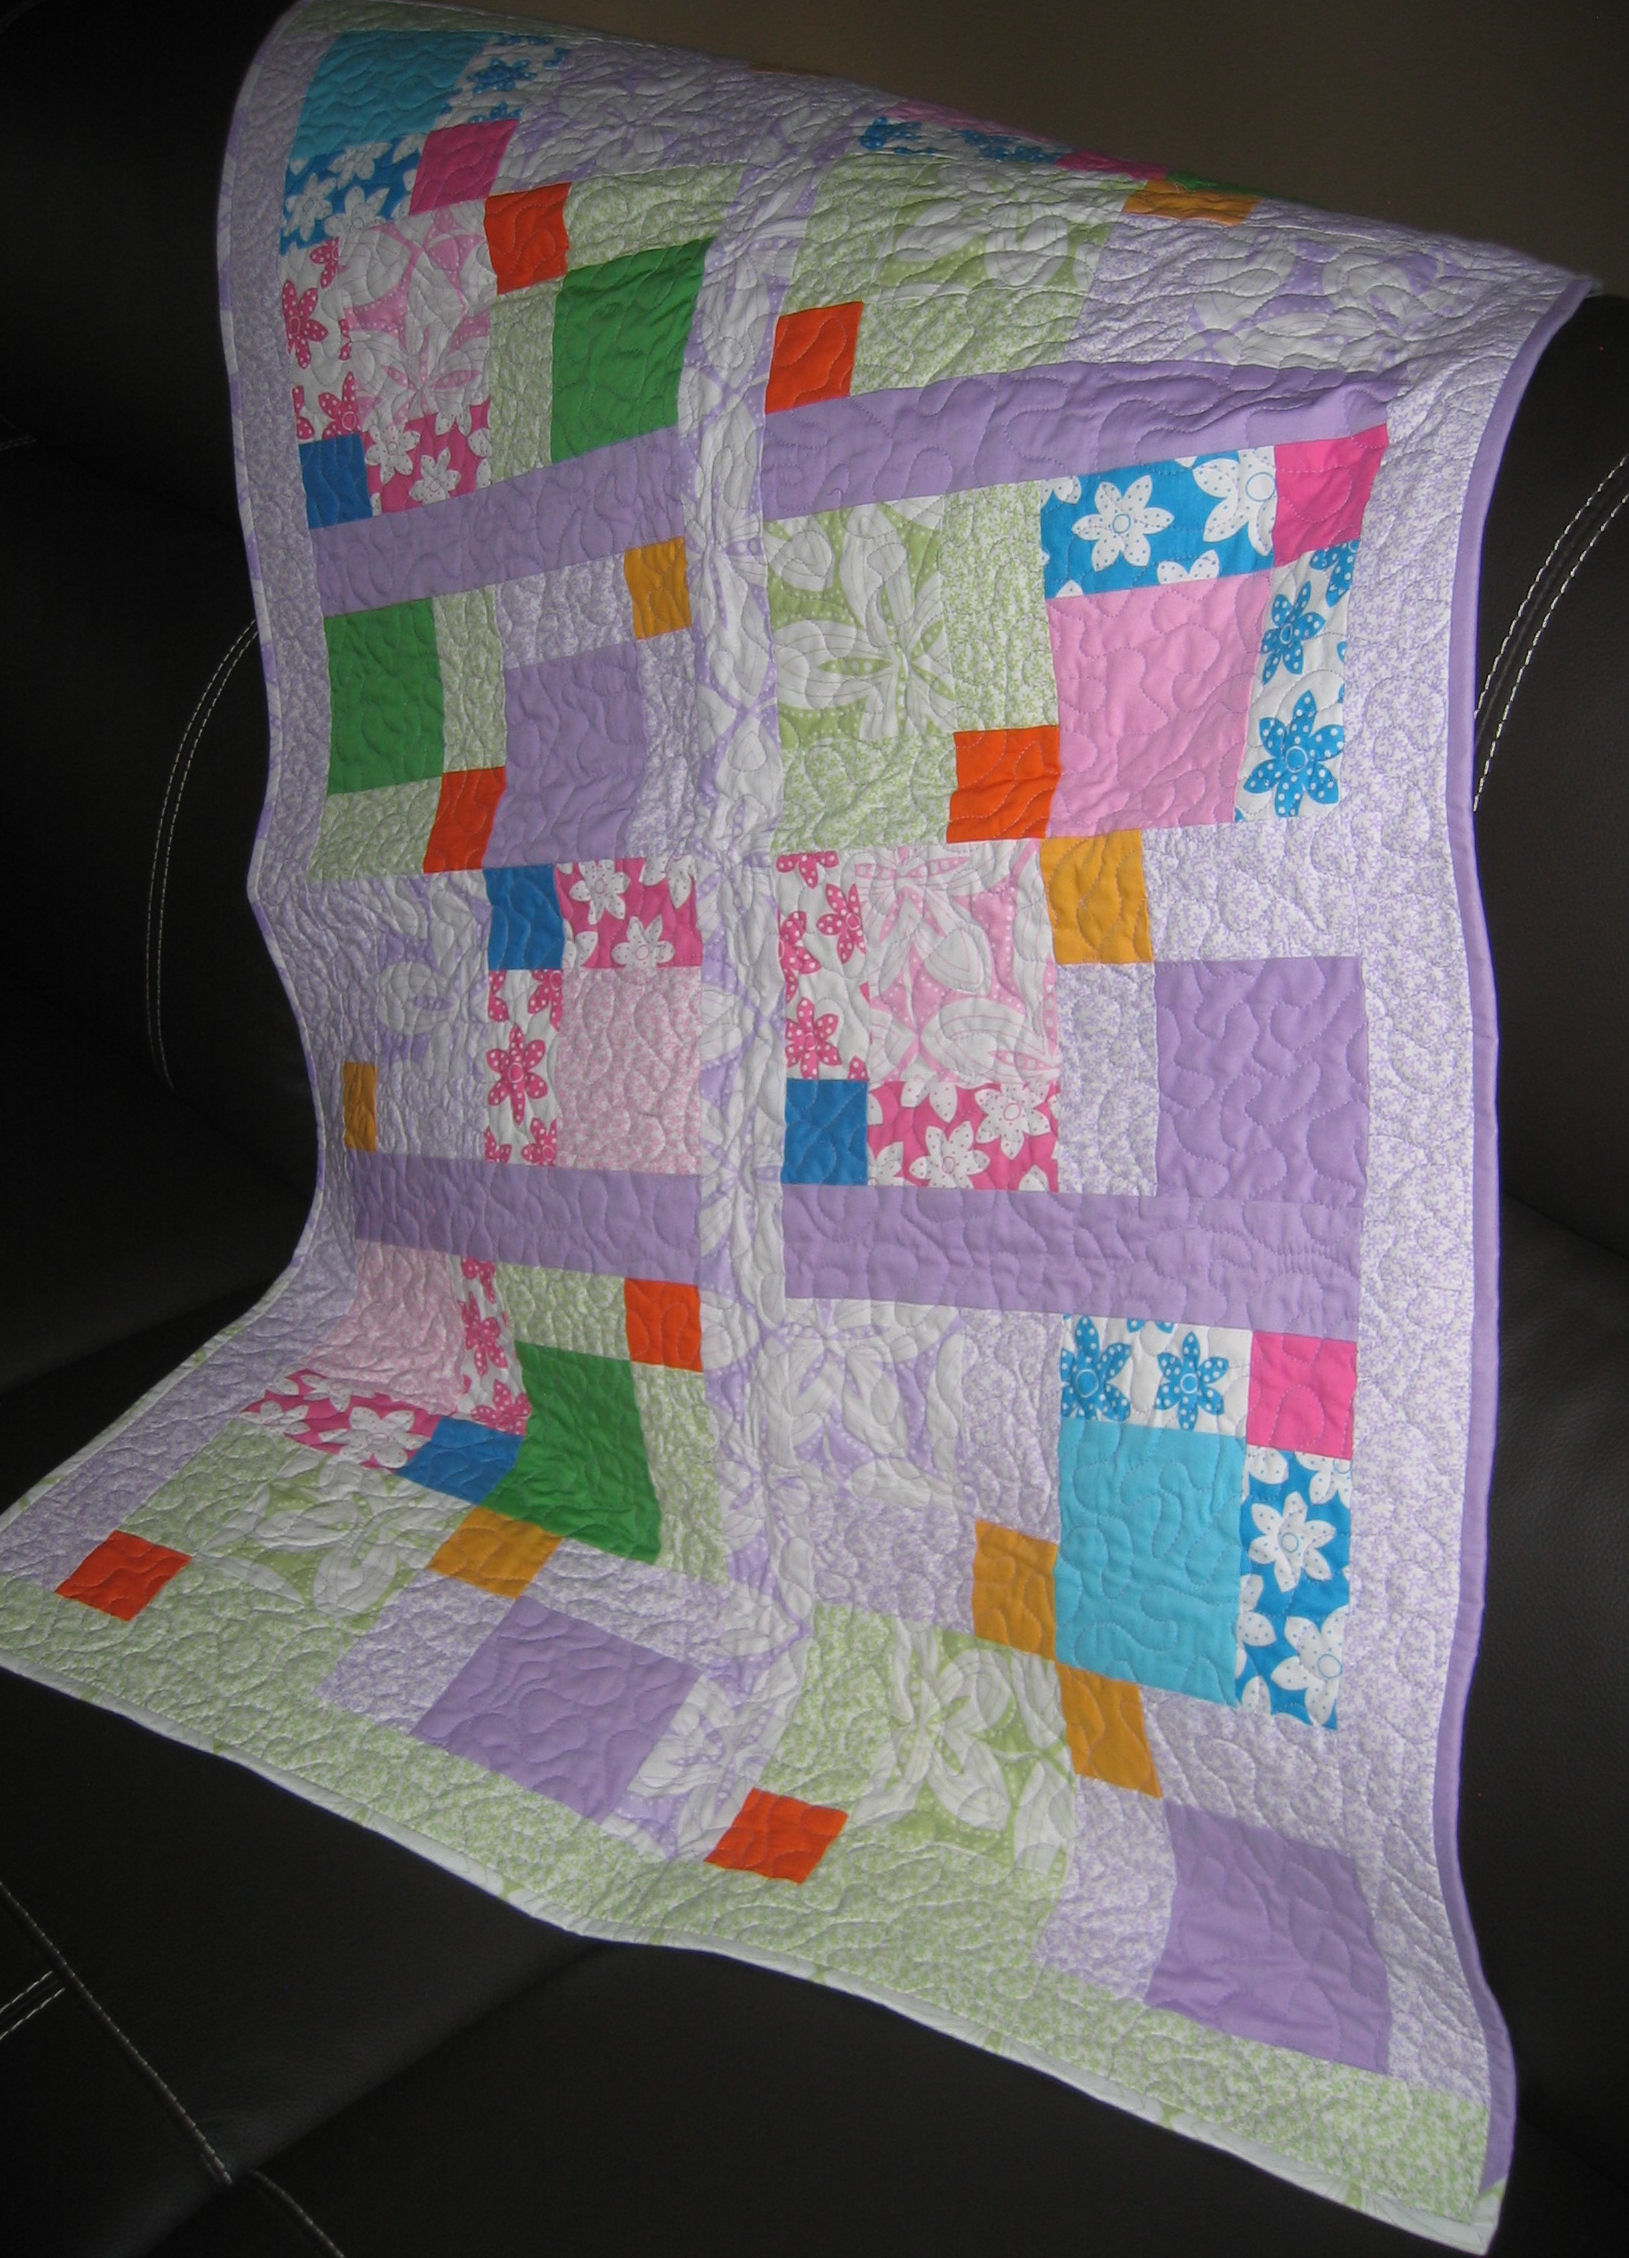
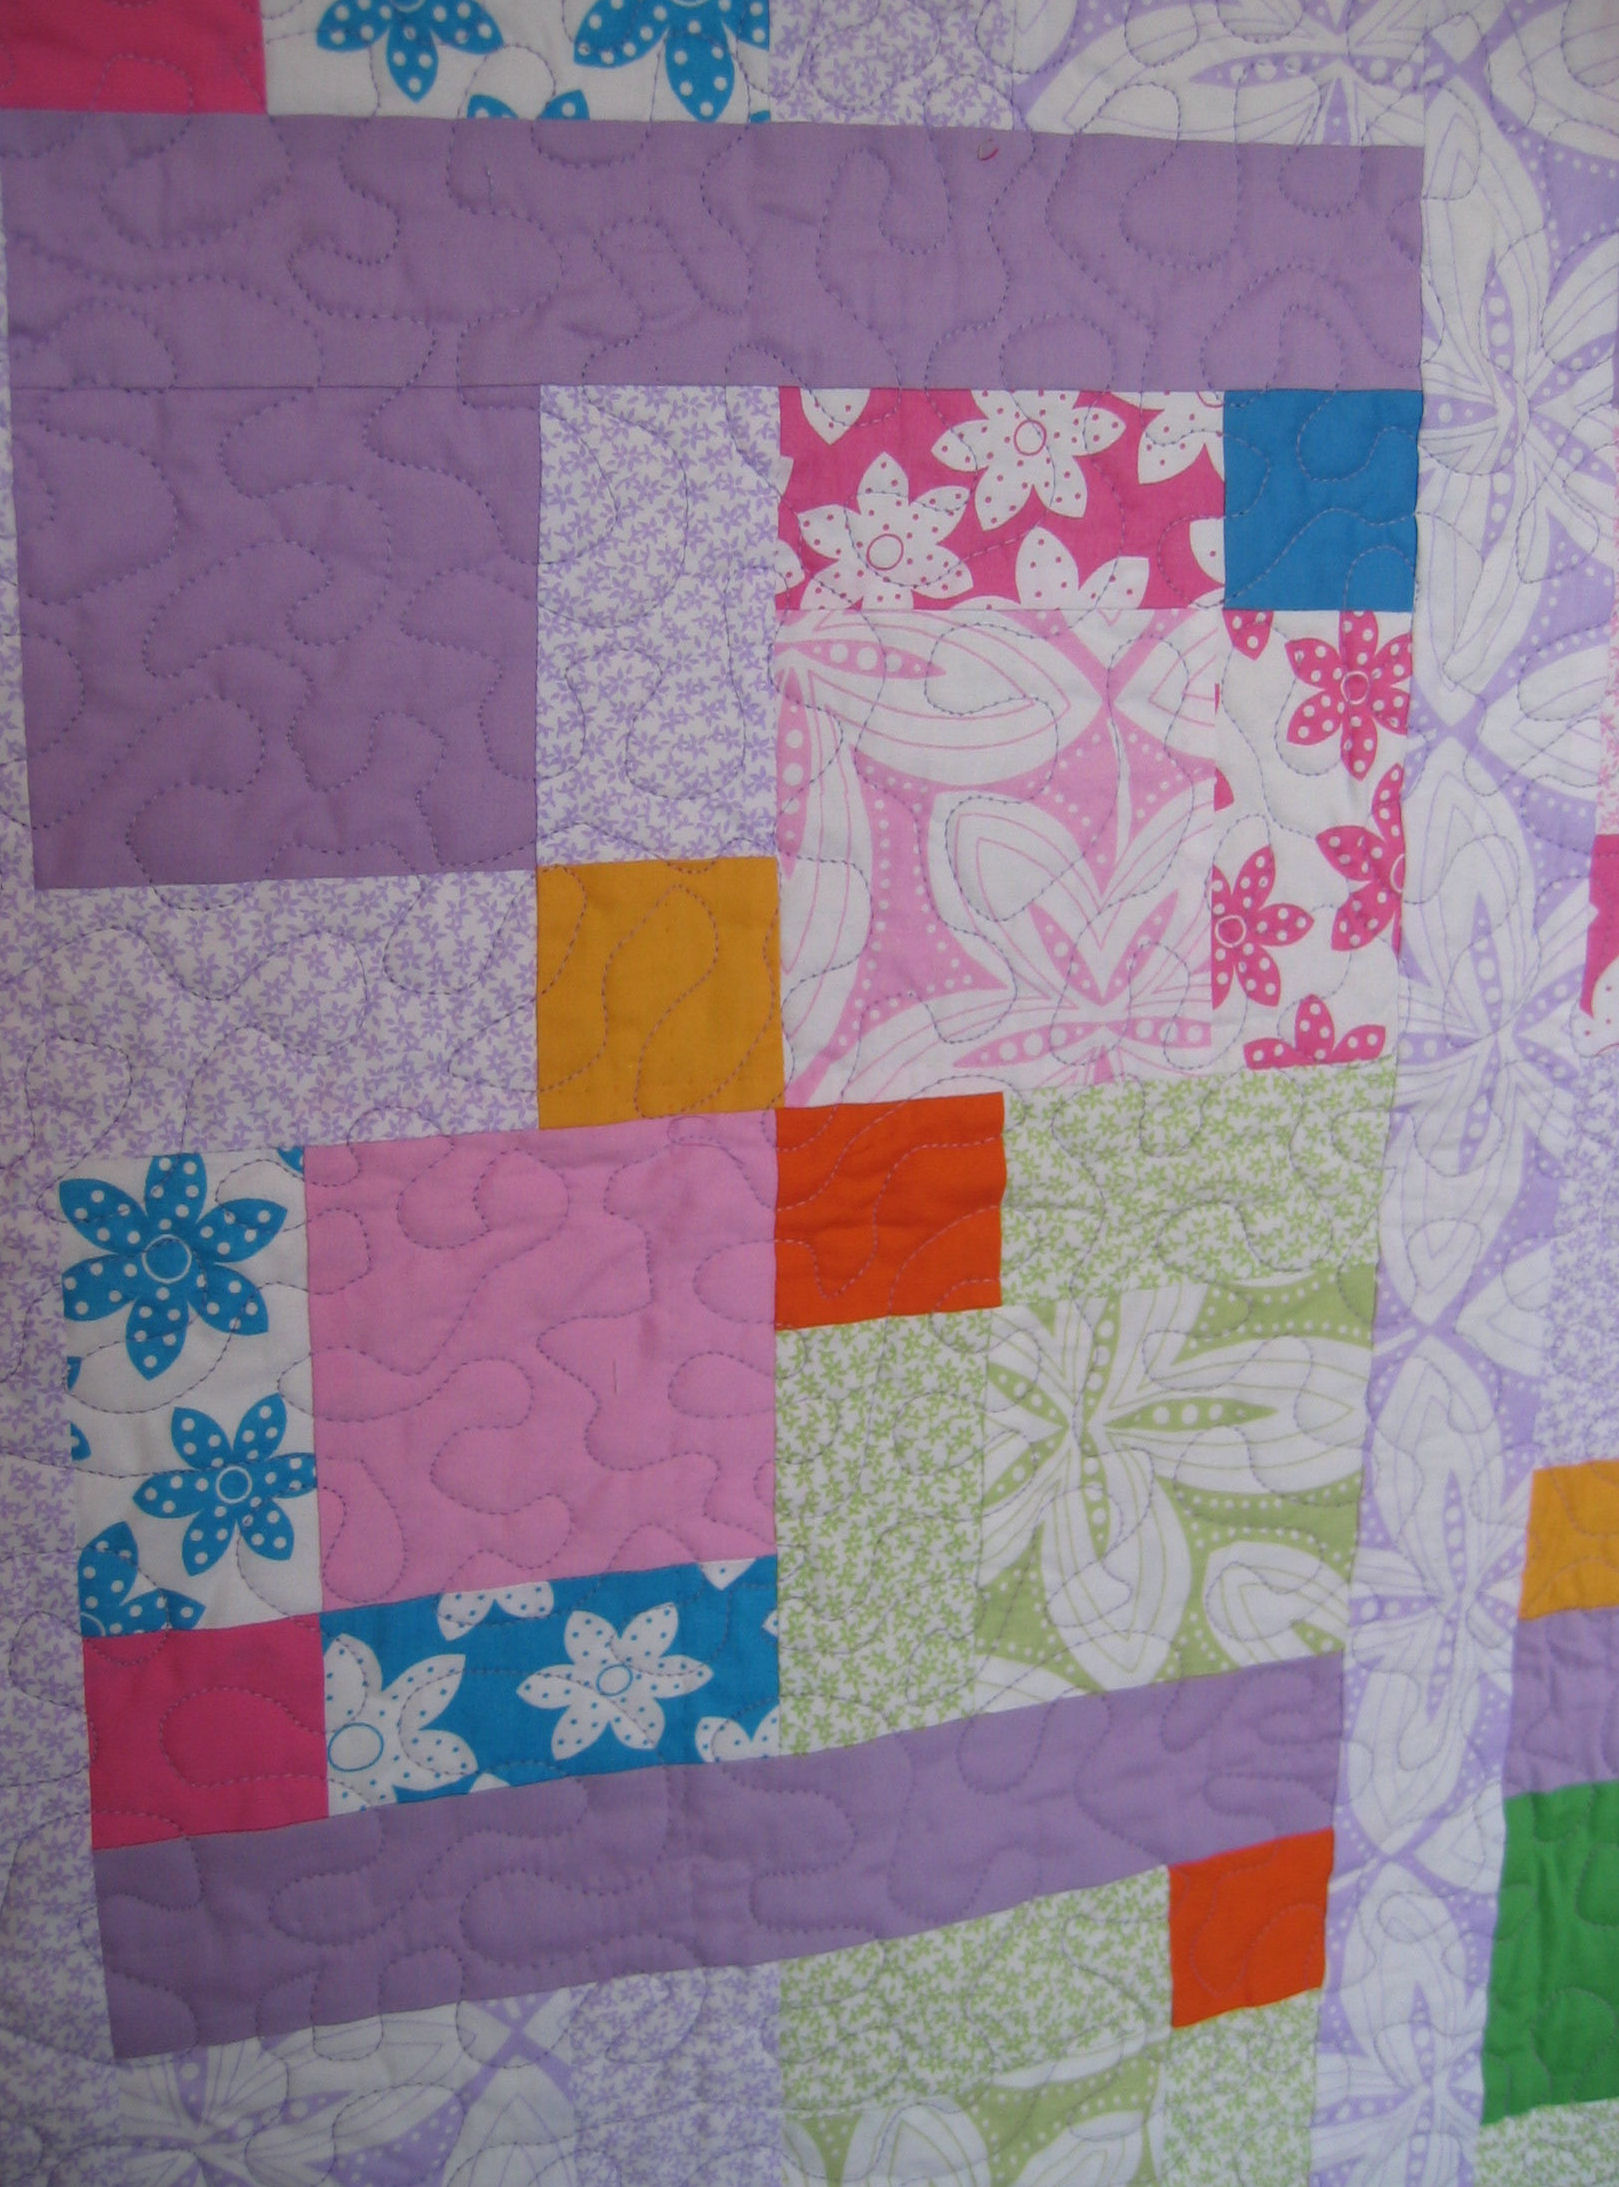
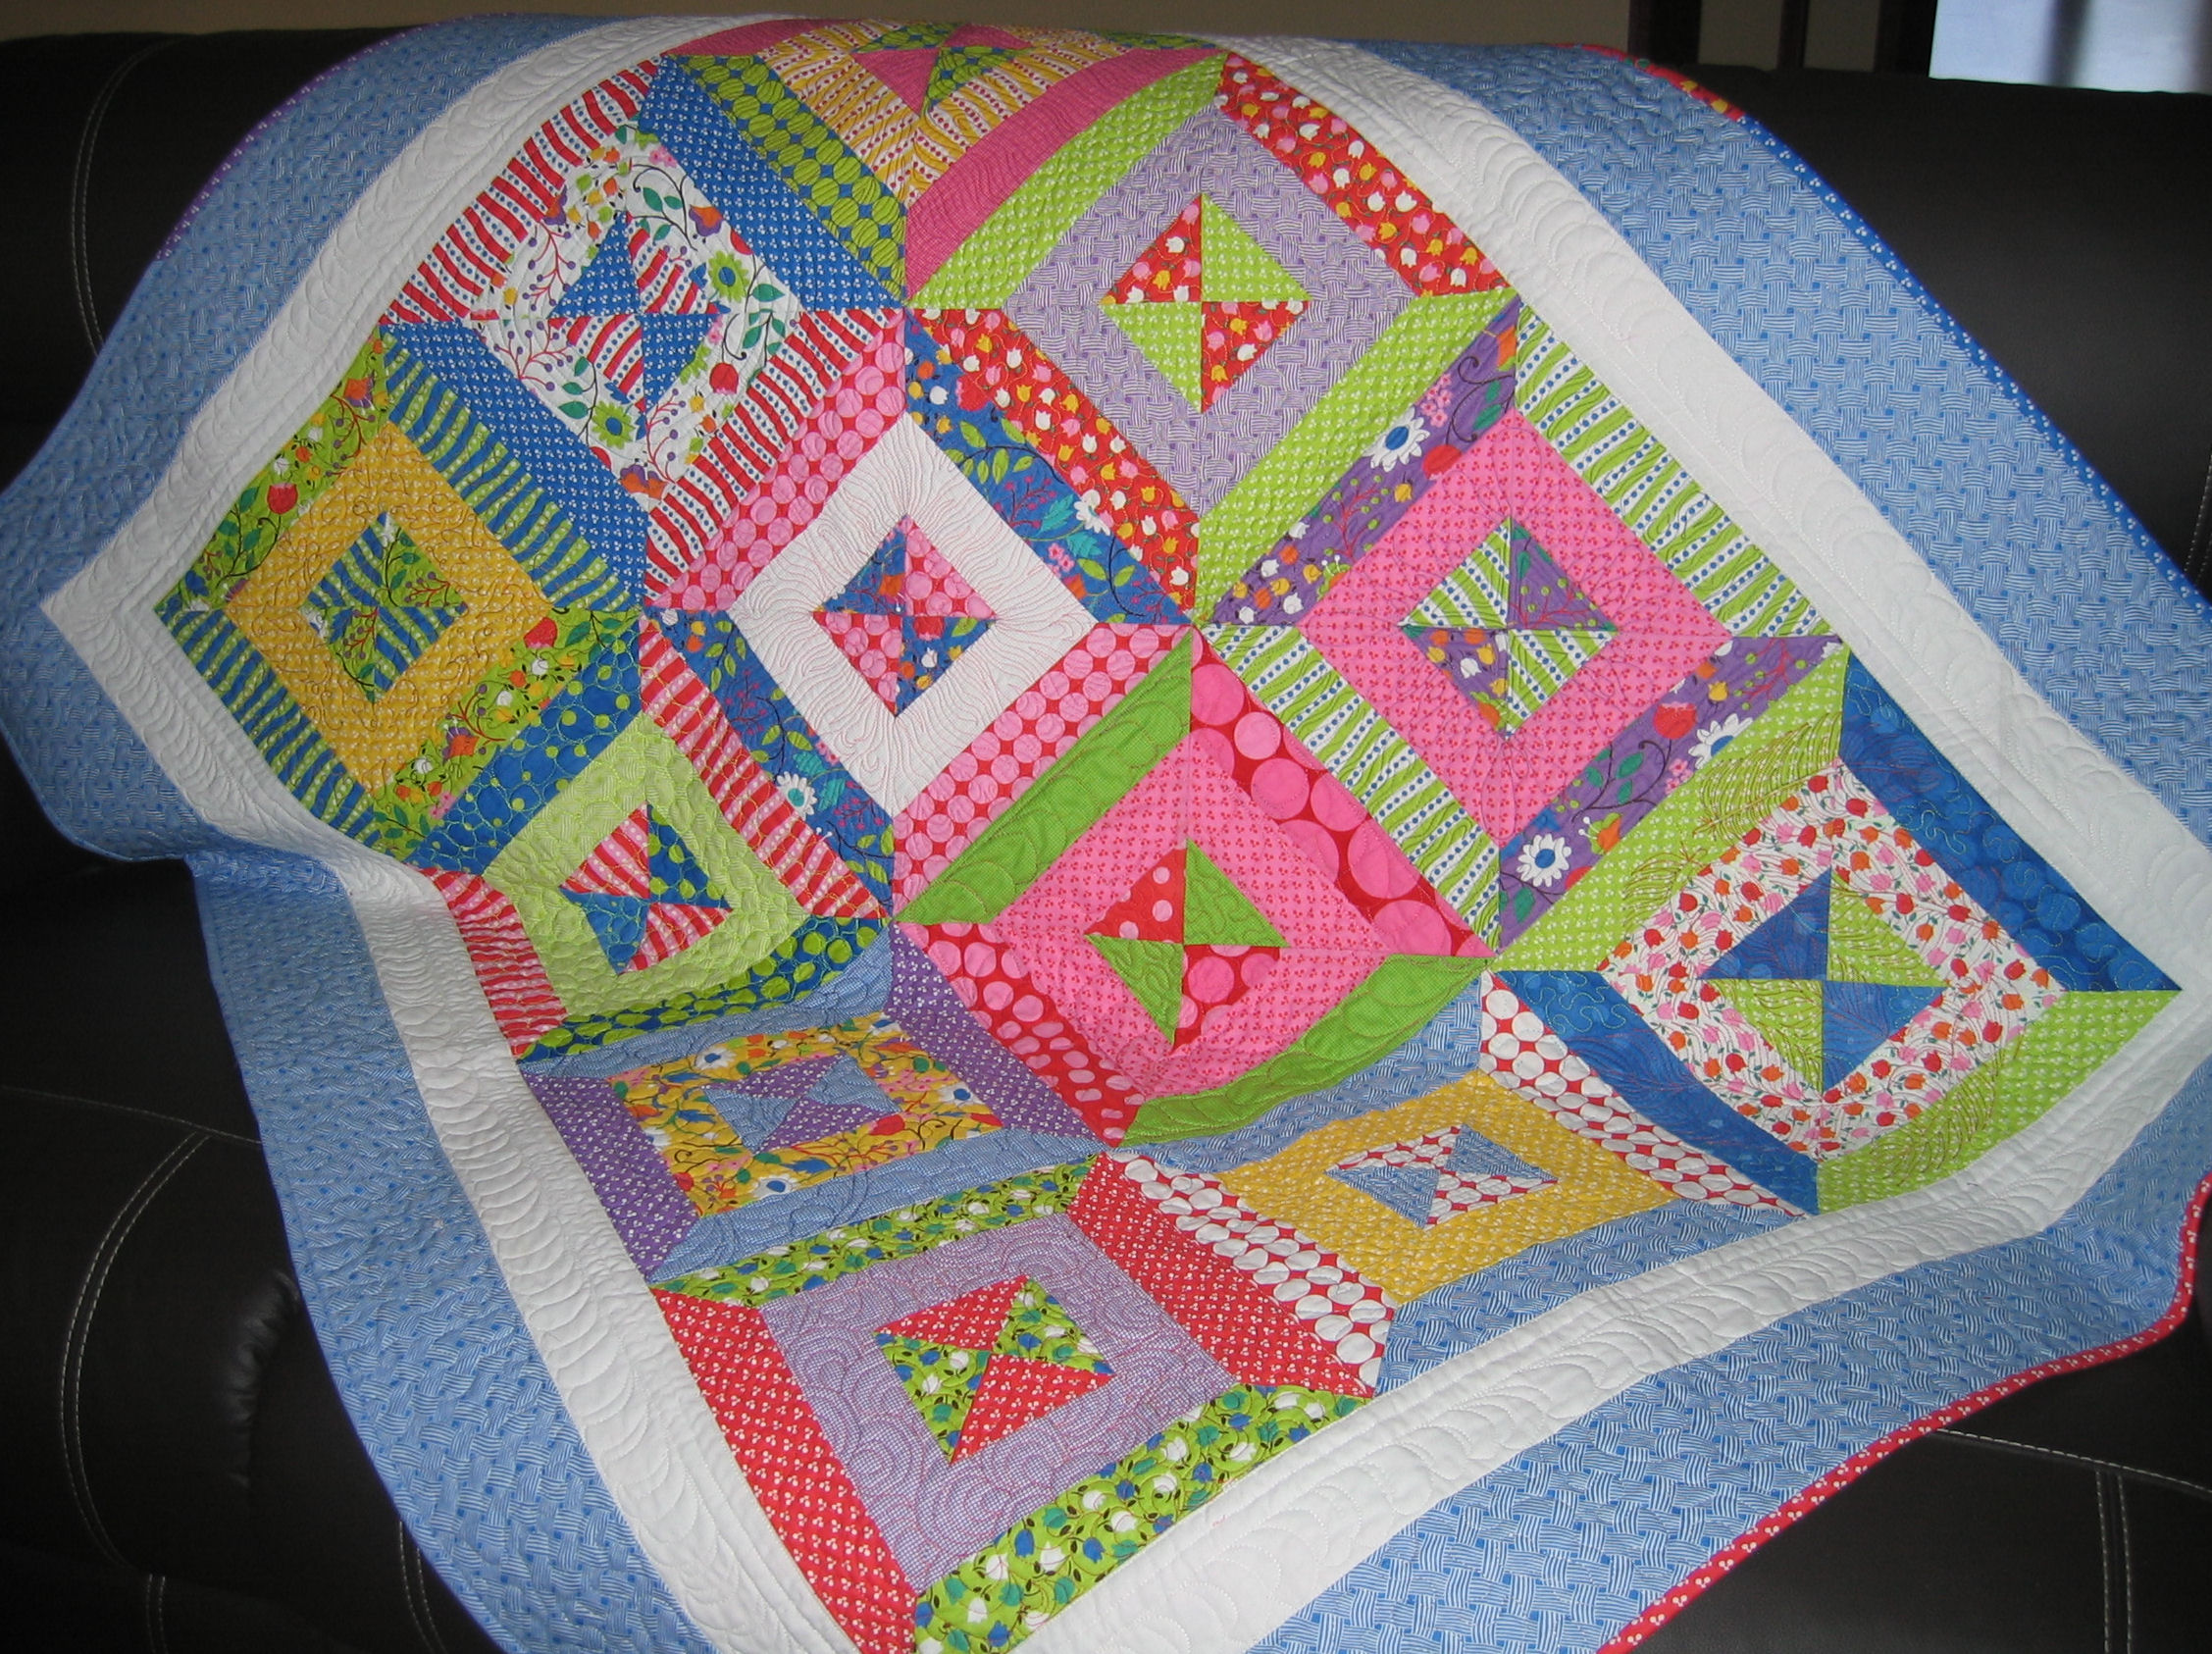
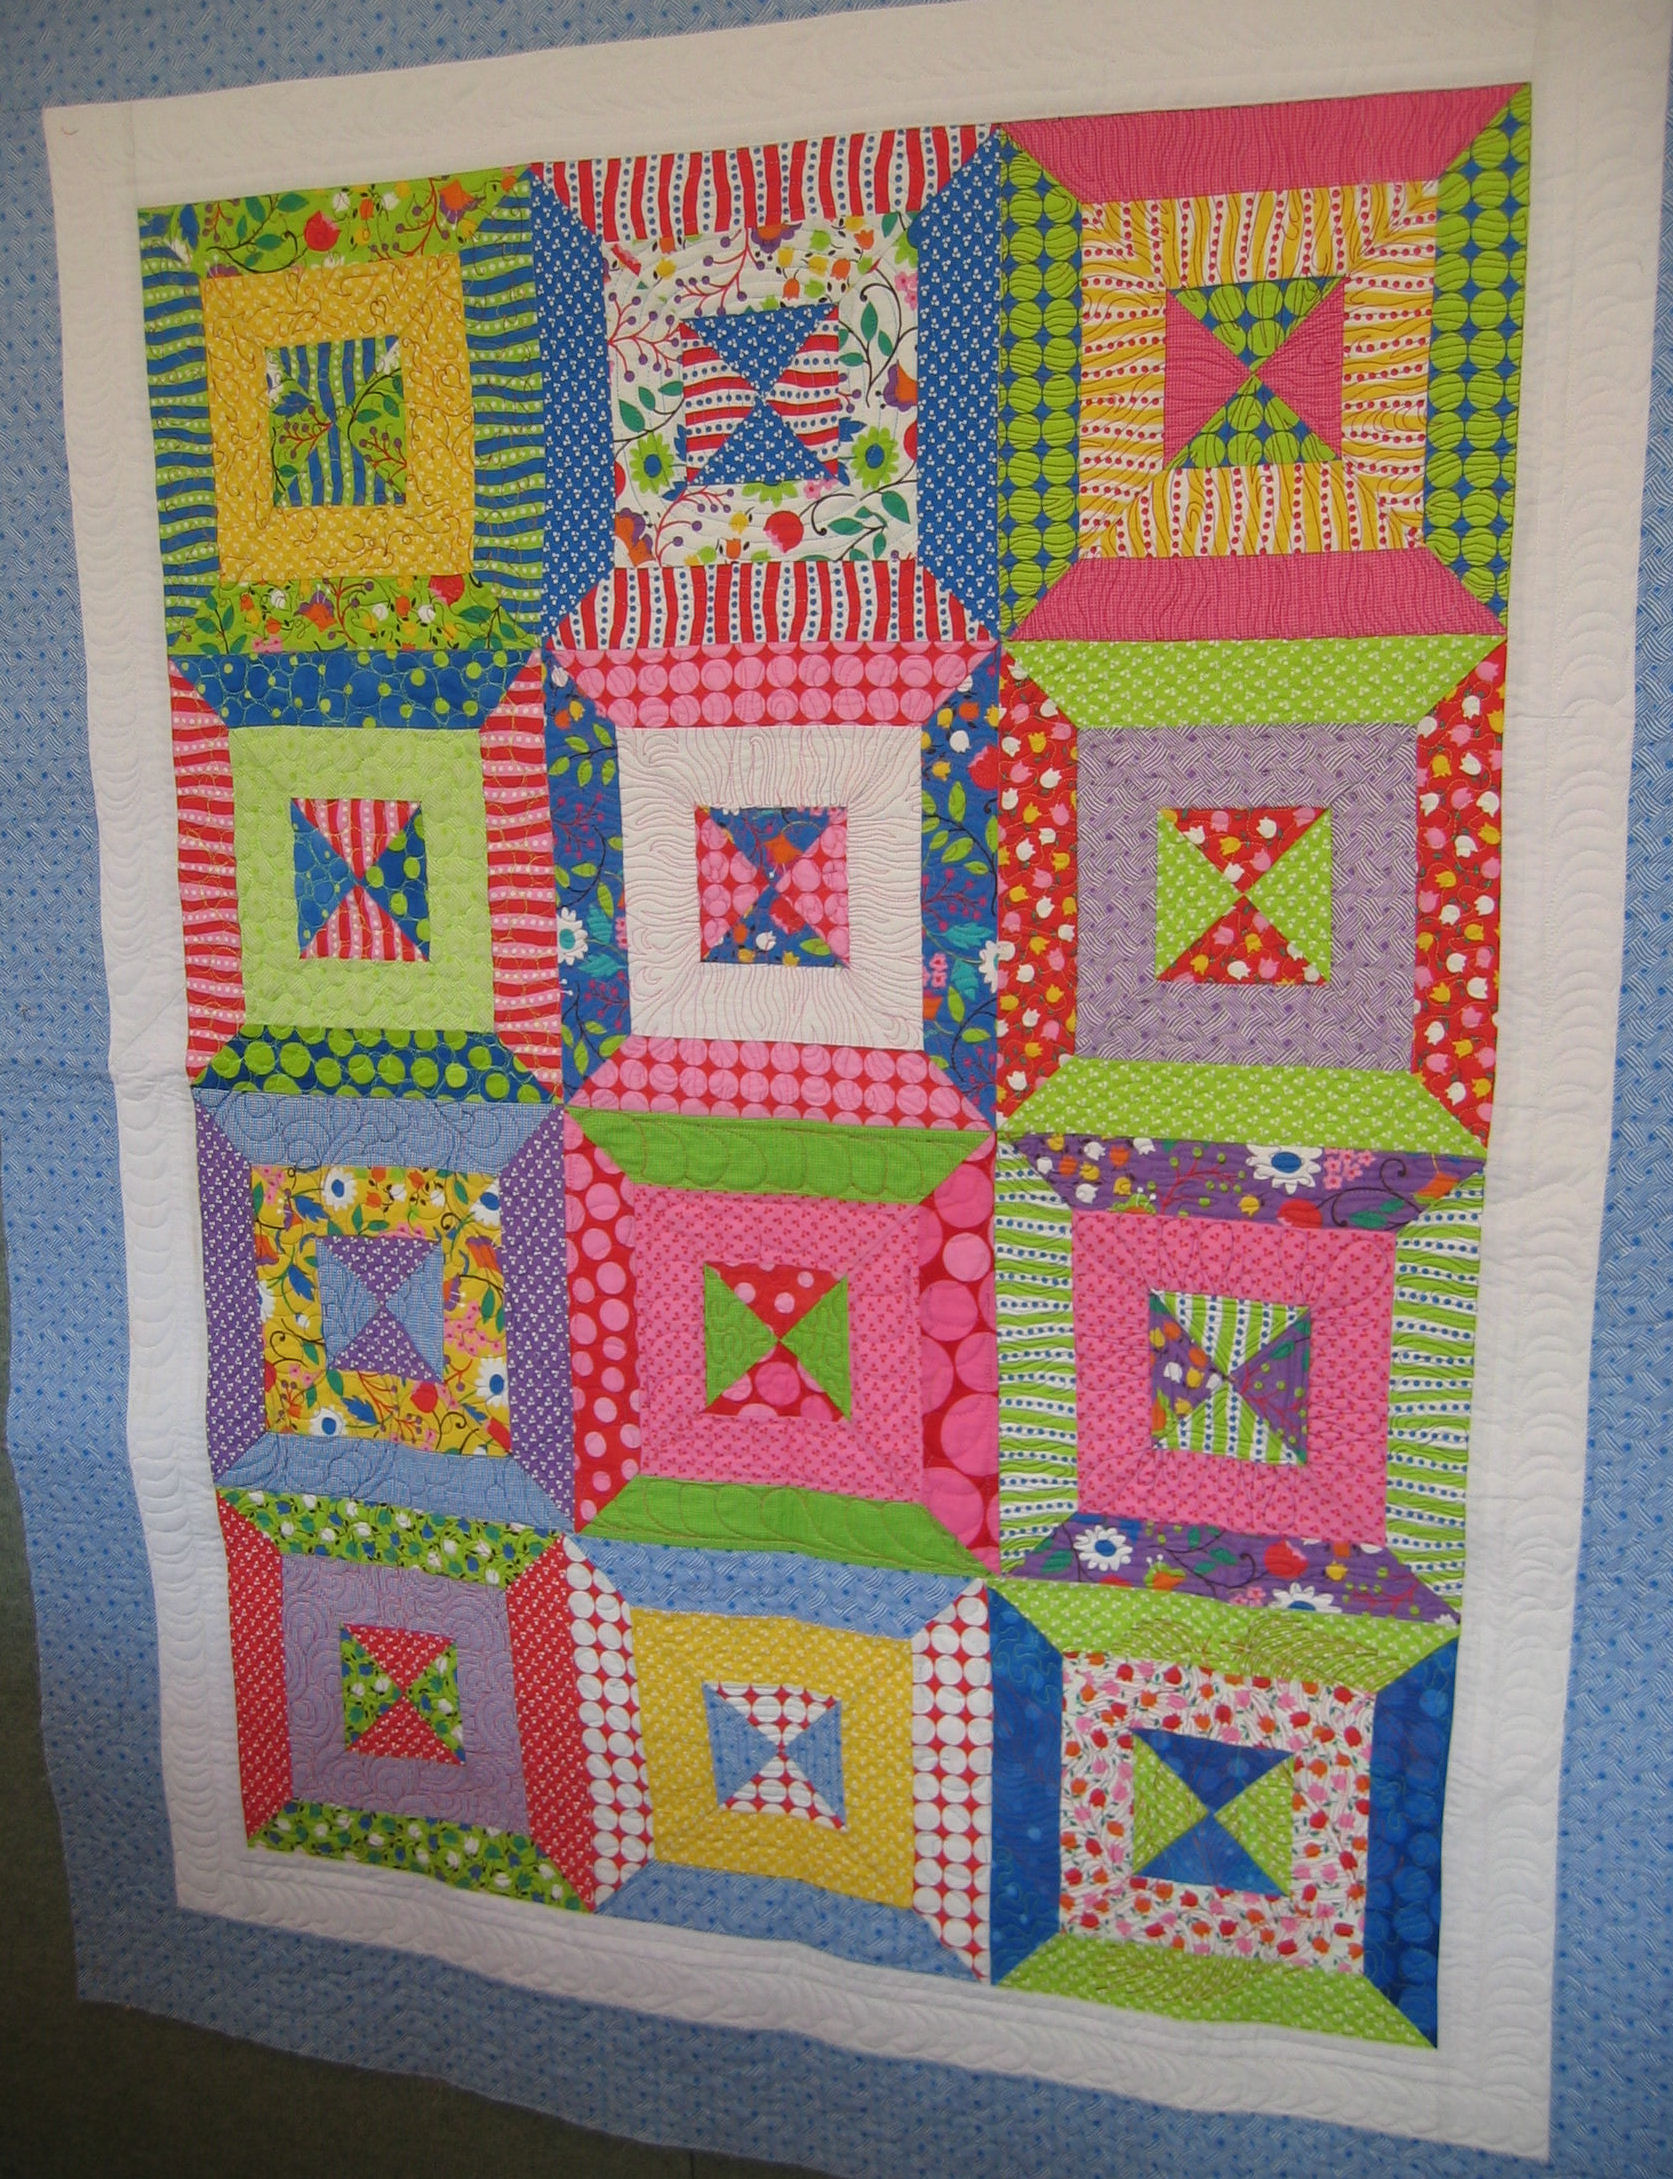
I decided to make a gender-neutral cot quilt out of them, using mostly the lavender and soft greens, peppered with some of the pinks and blues and the occasional orange.
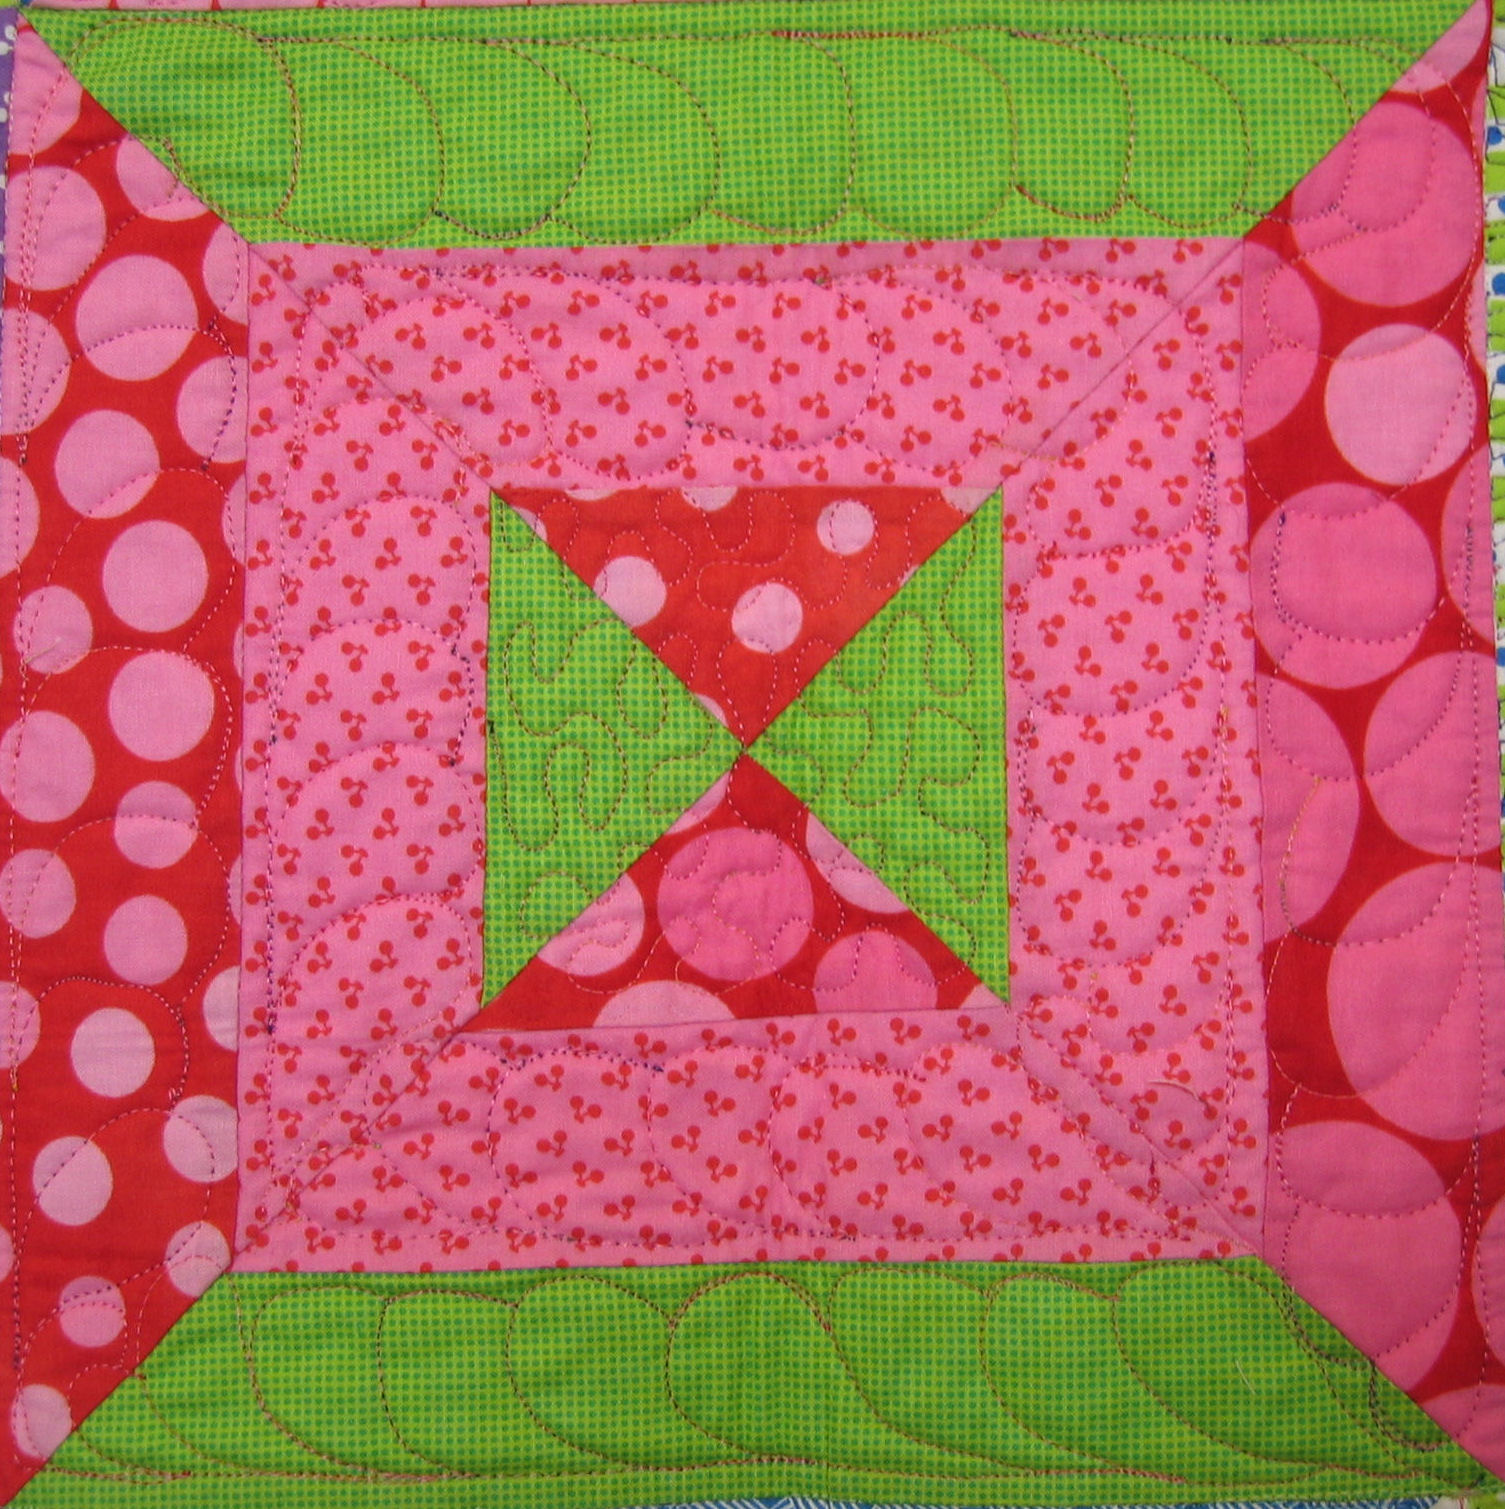
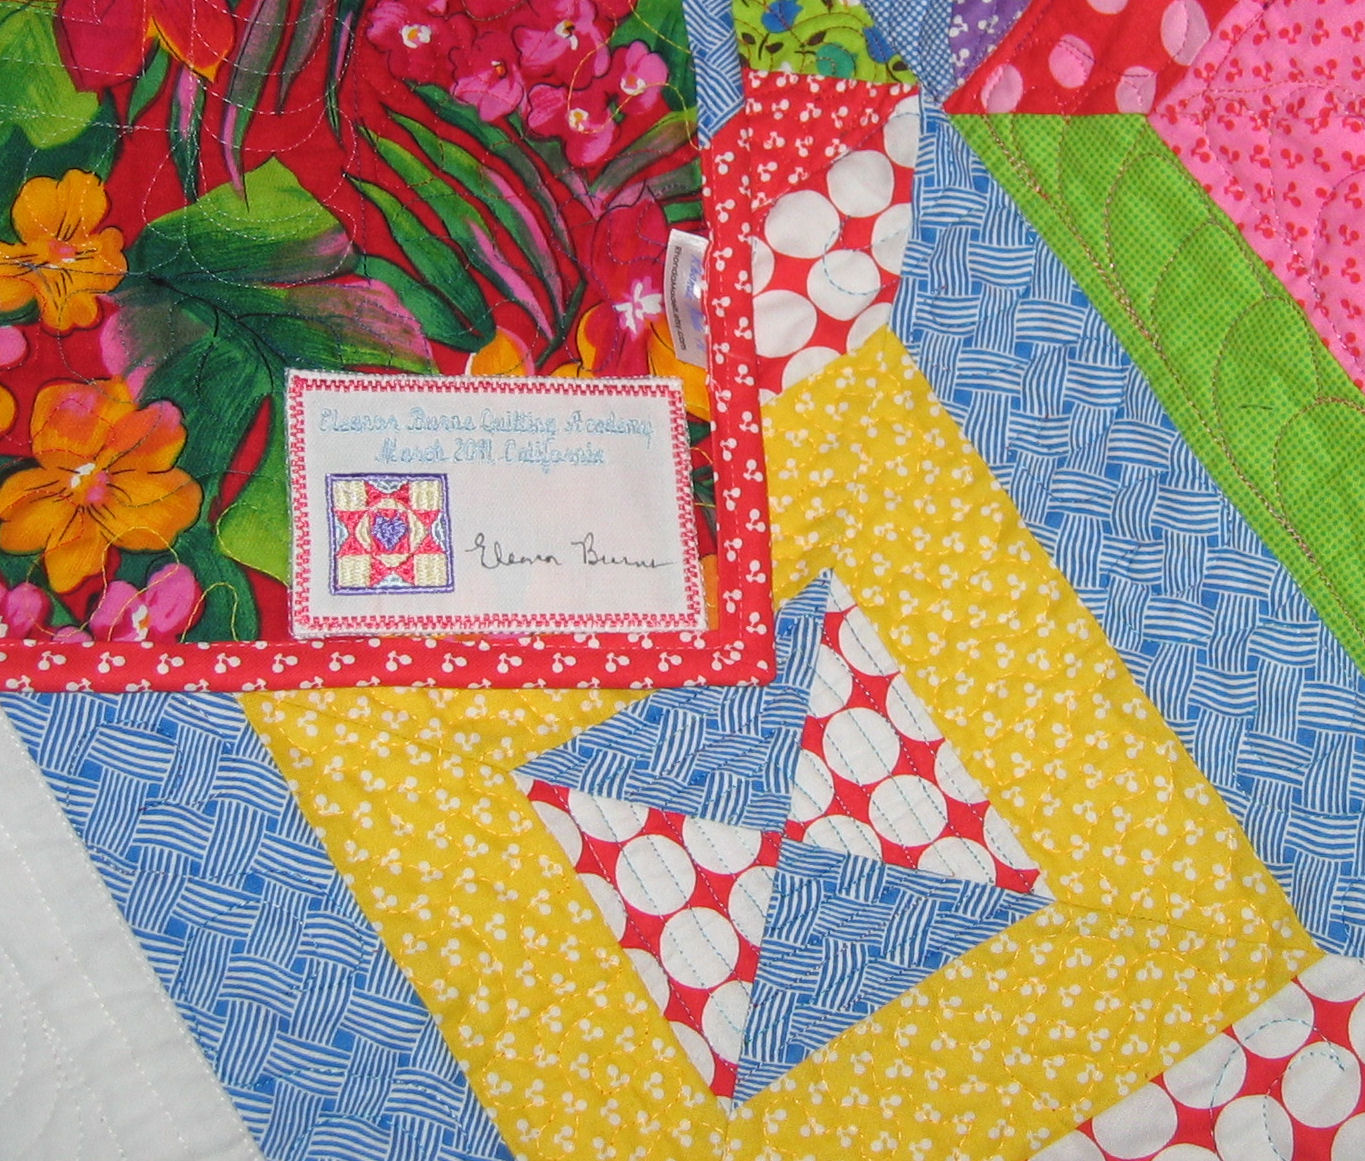
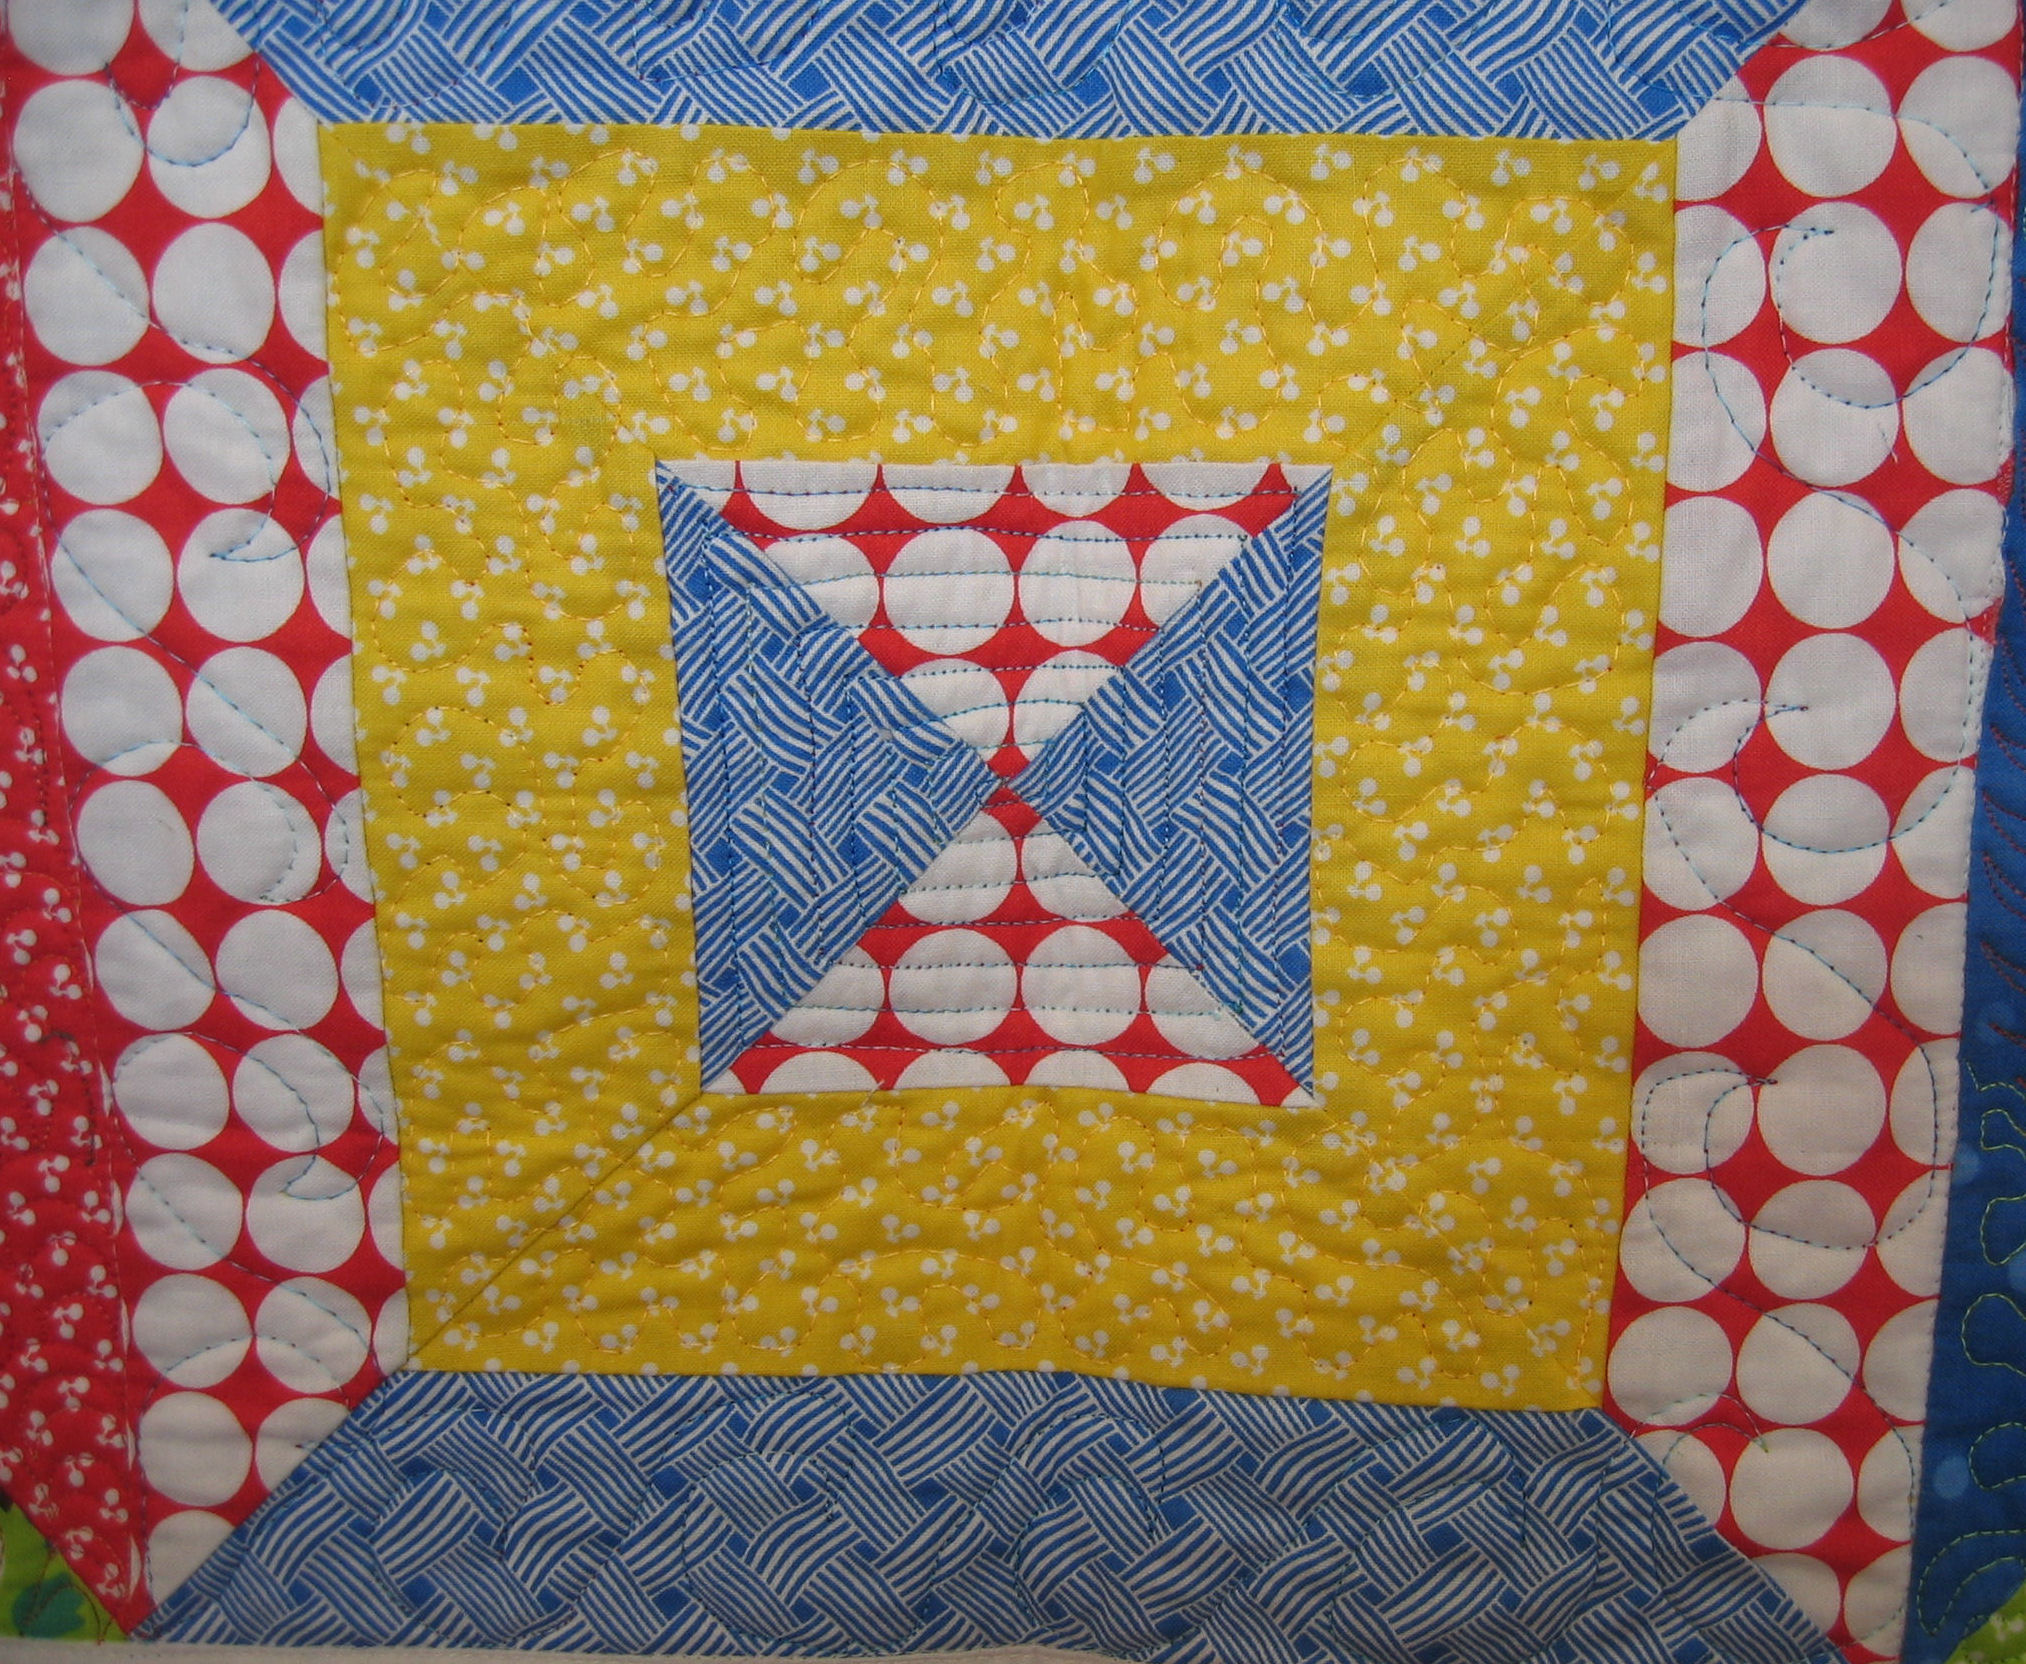
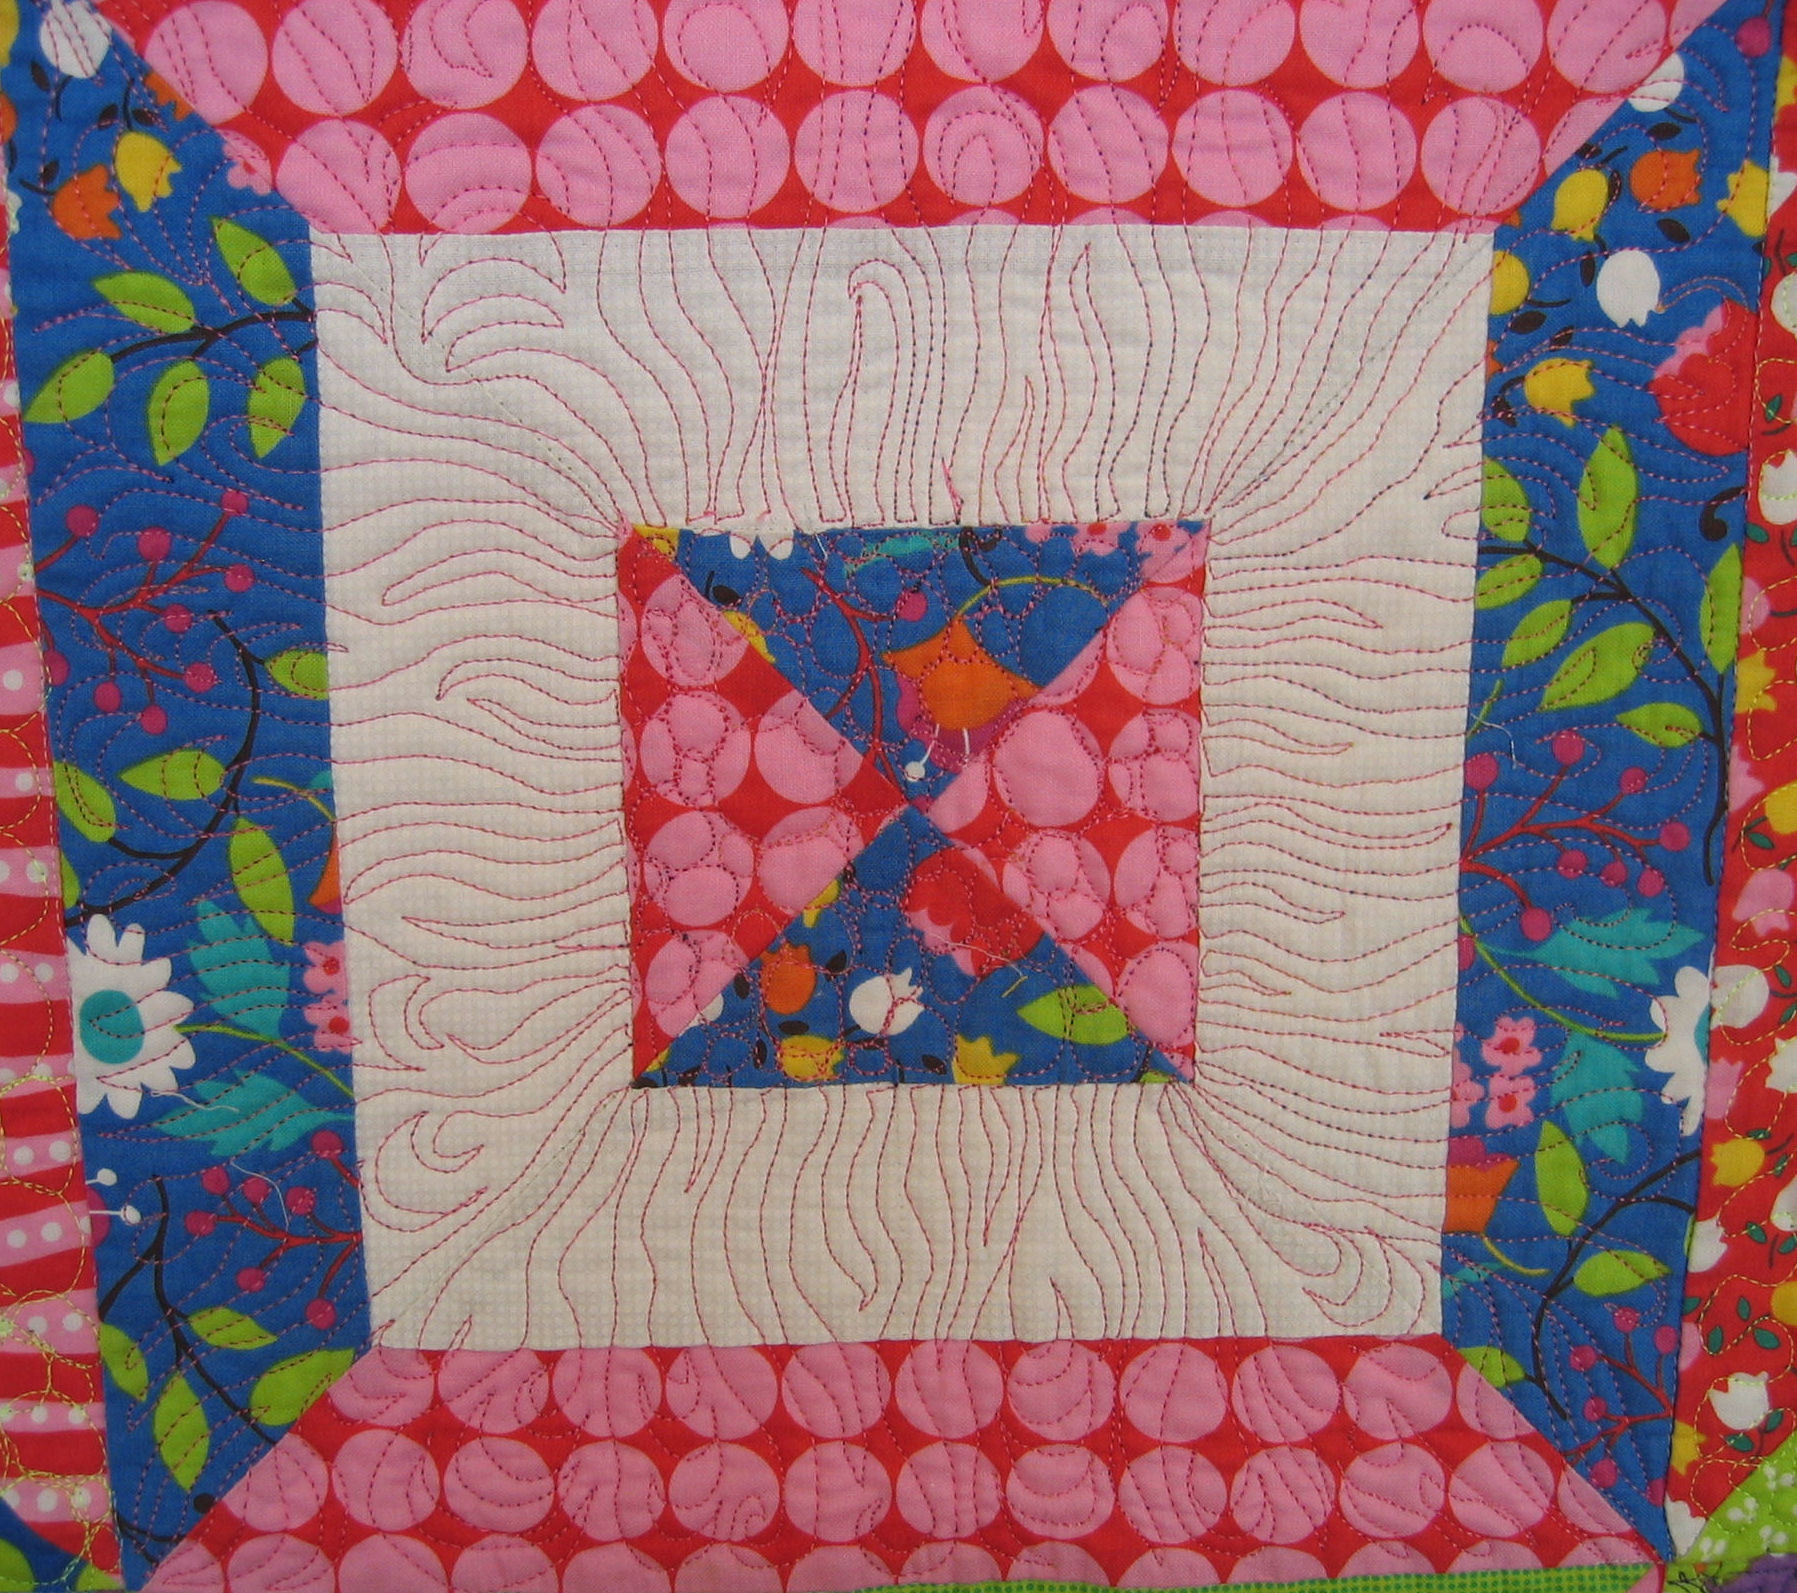
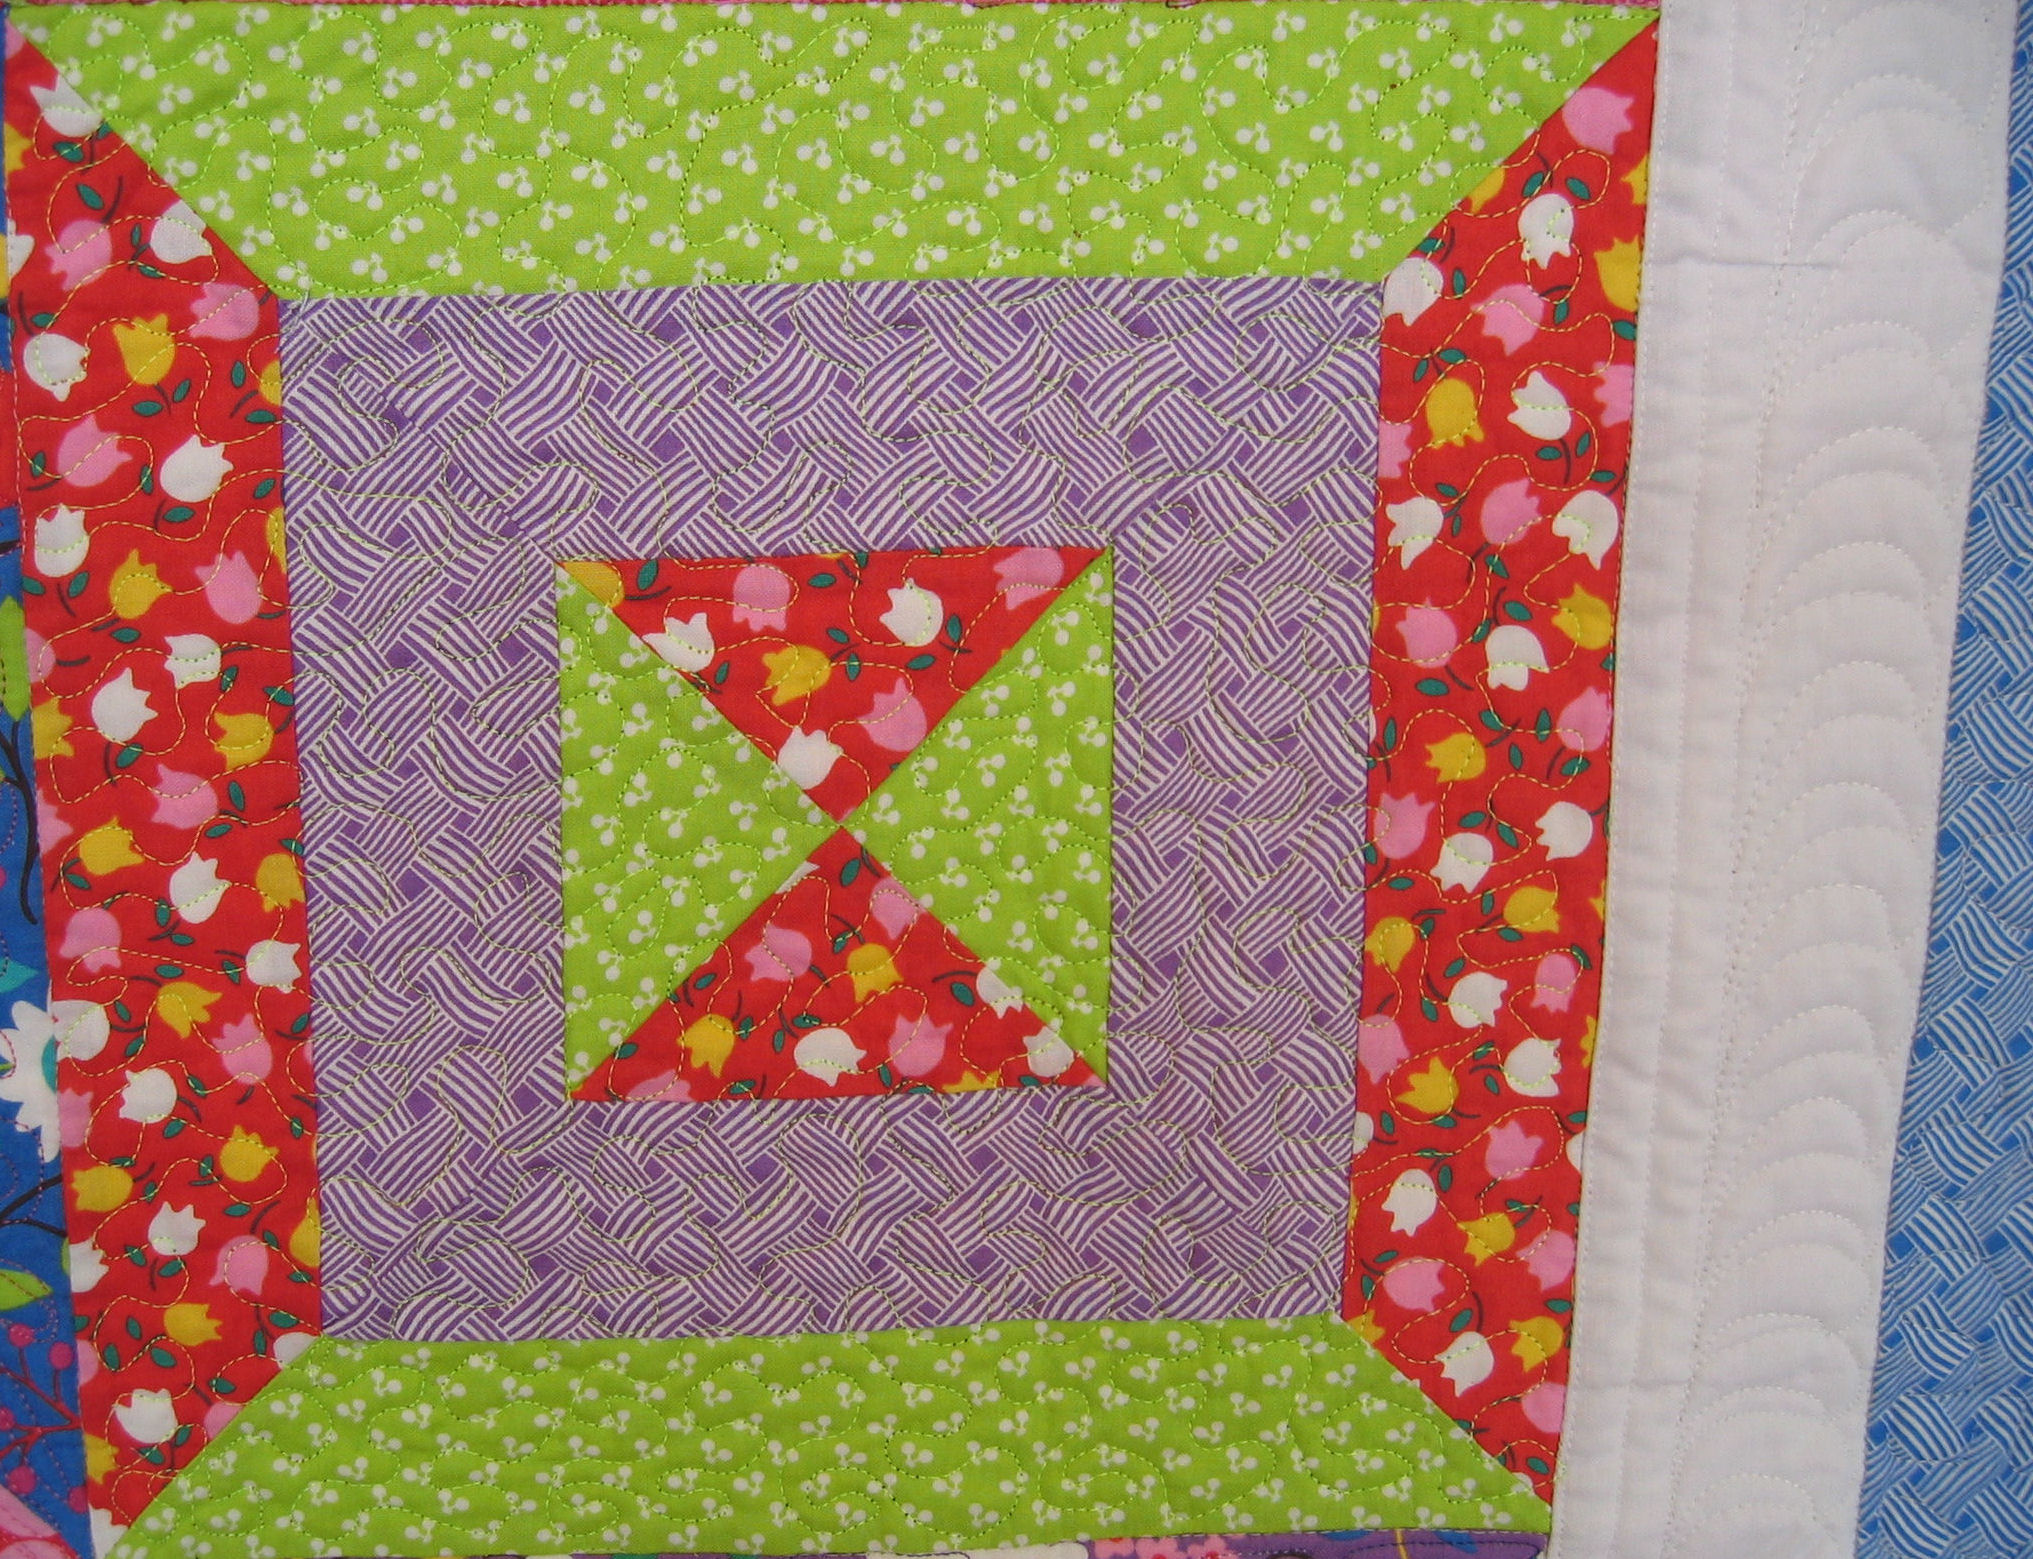
I used a disappearing nine-patch technique and then mixed up the blocks to give a more random appearance. I separated each set of four blocks with sashing strips in the lavenders and greens, added batting and a purple backing fabric, then free motion quilted the entire cot quilt in a large meandering stitch, using lavender thread top and bottom. The binding is a mix of the remaining lavender and green fabrics.
I’ve now added this pastel, gender-neutral cot quilt to my Etsy store: http://www.etsy.com/listing/72831508/lavender-and-green-gender-neutral-cot
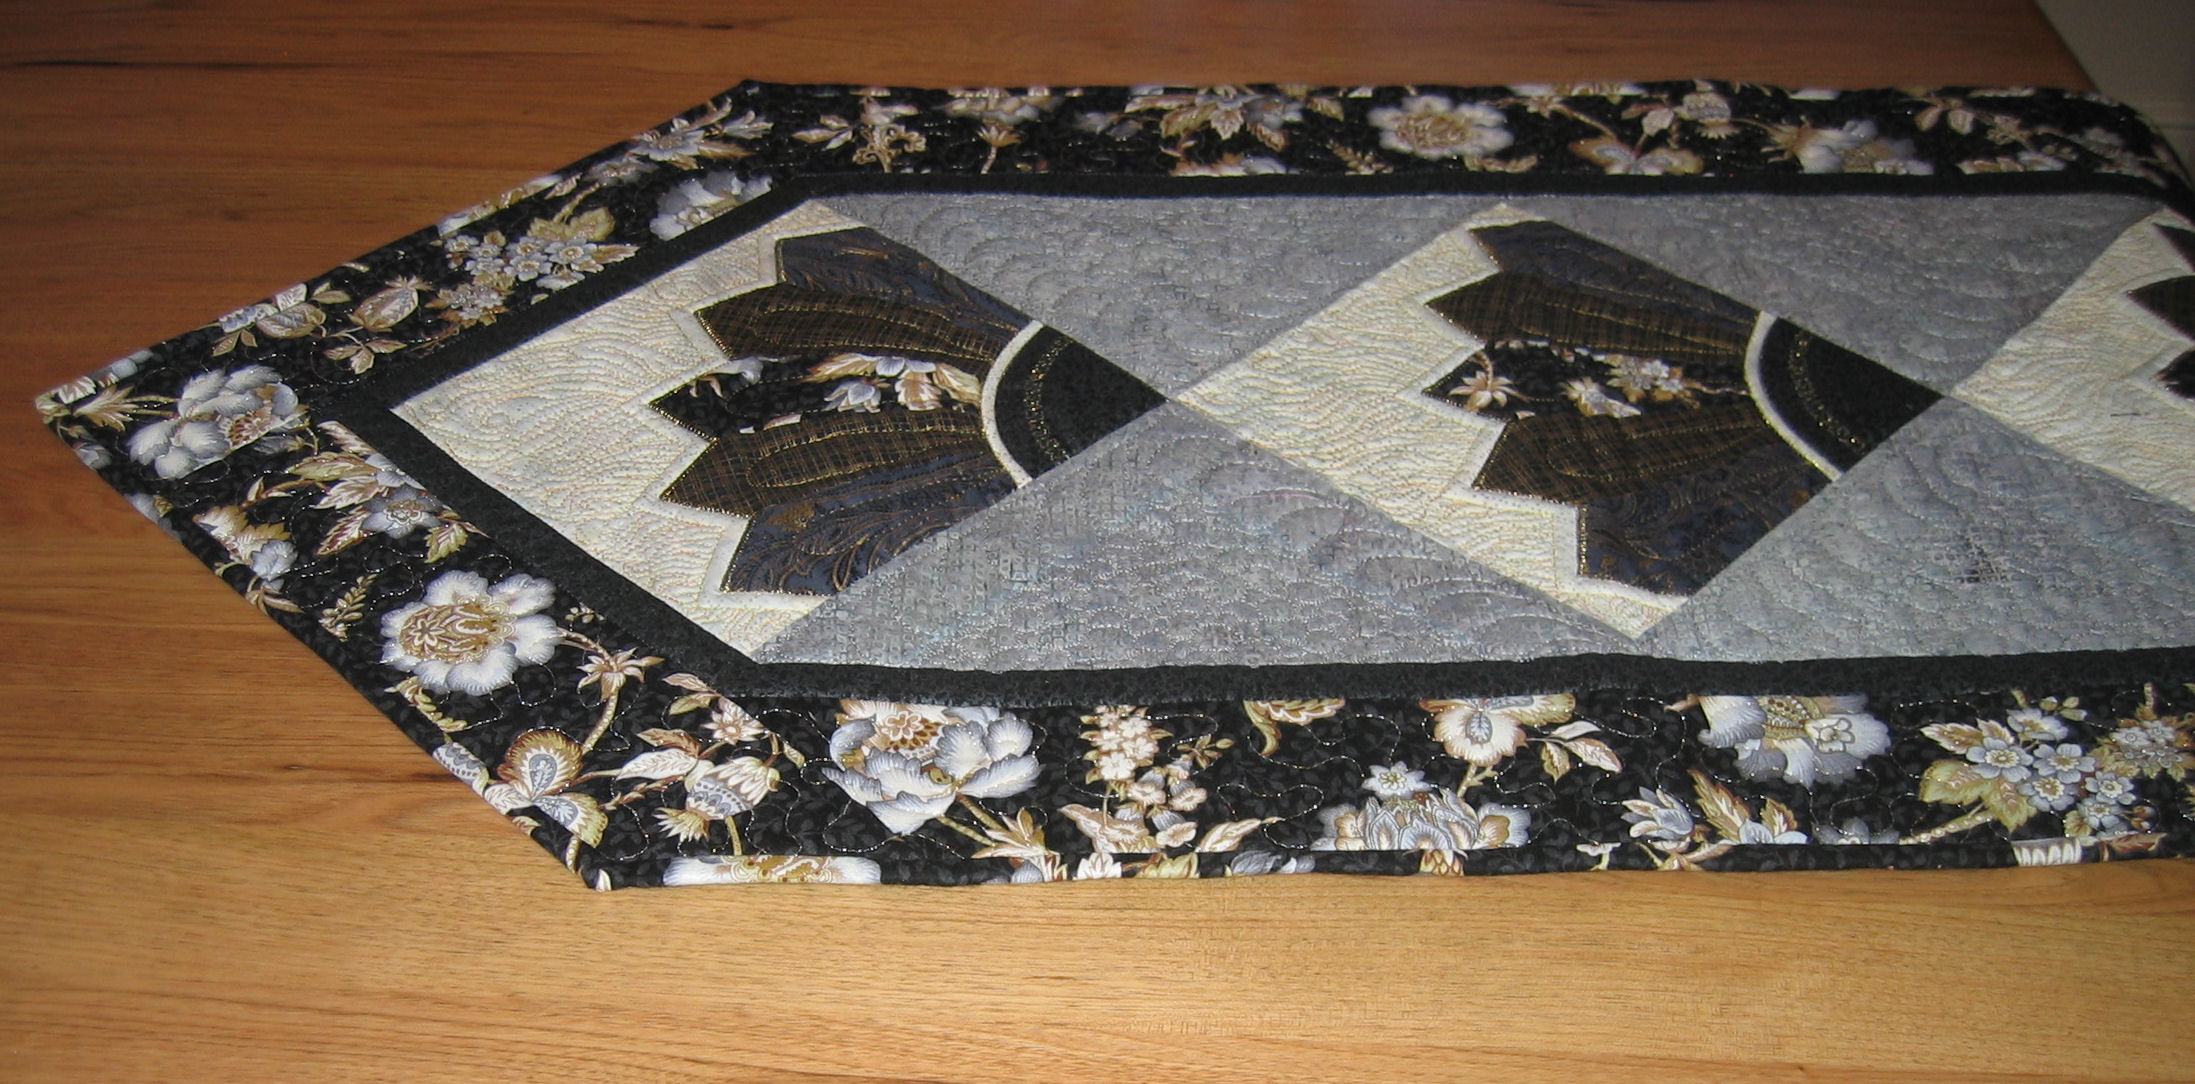
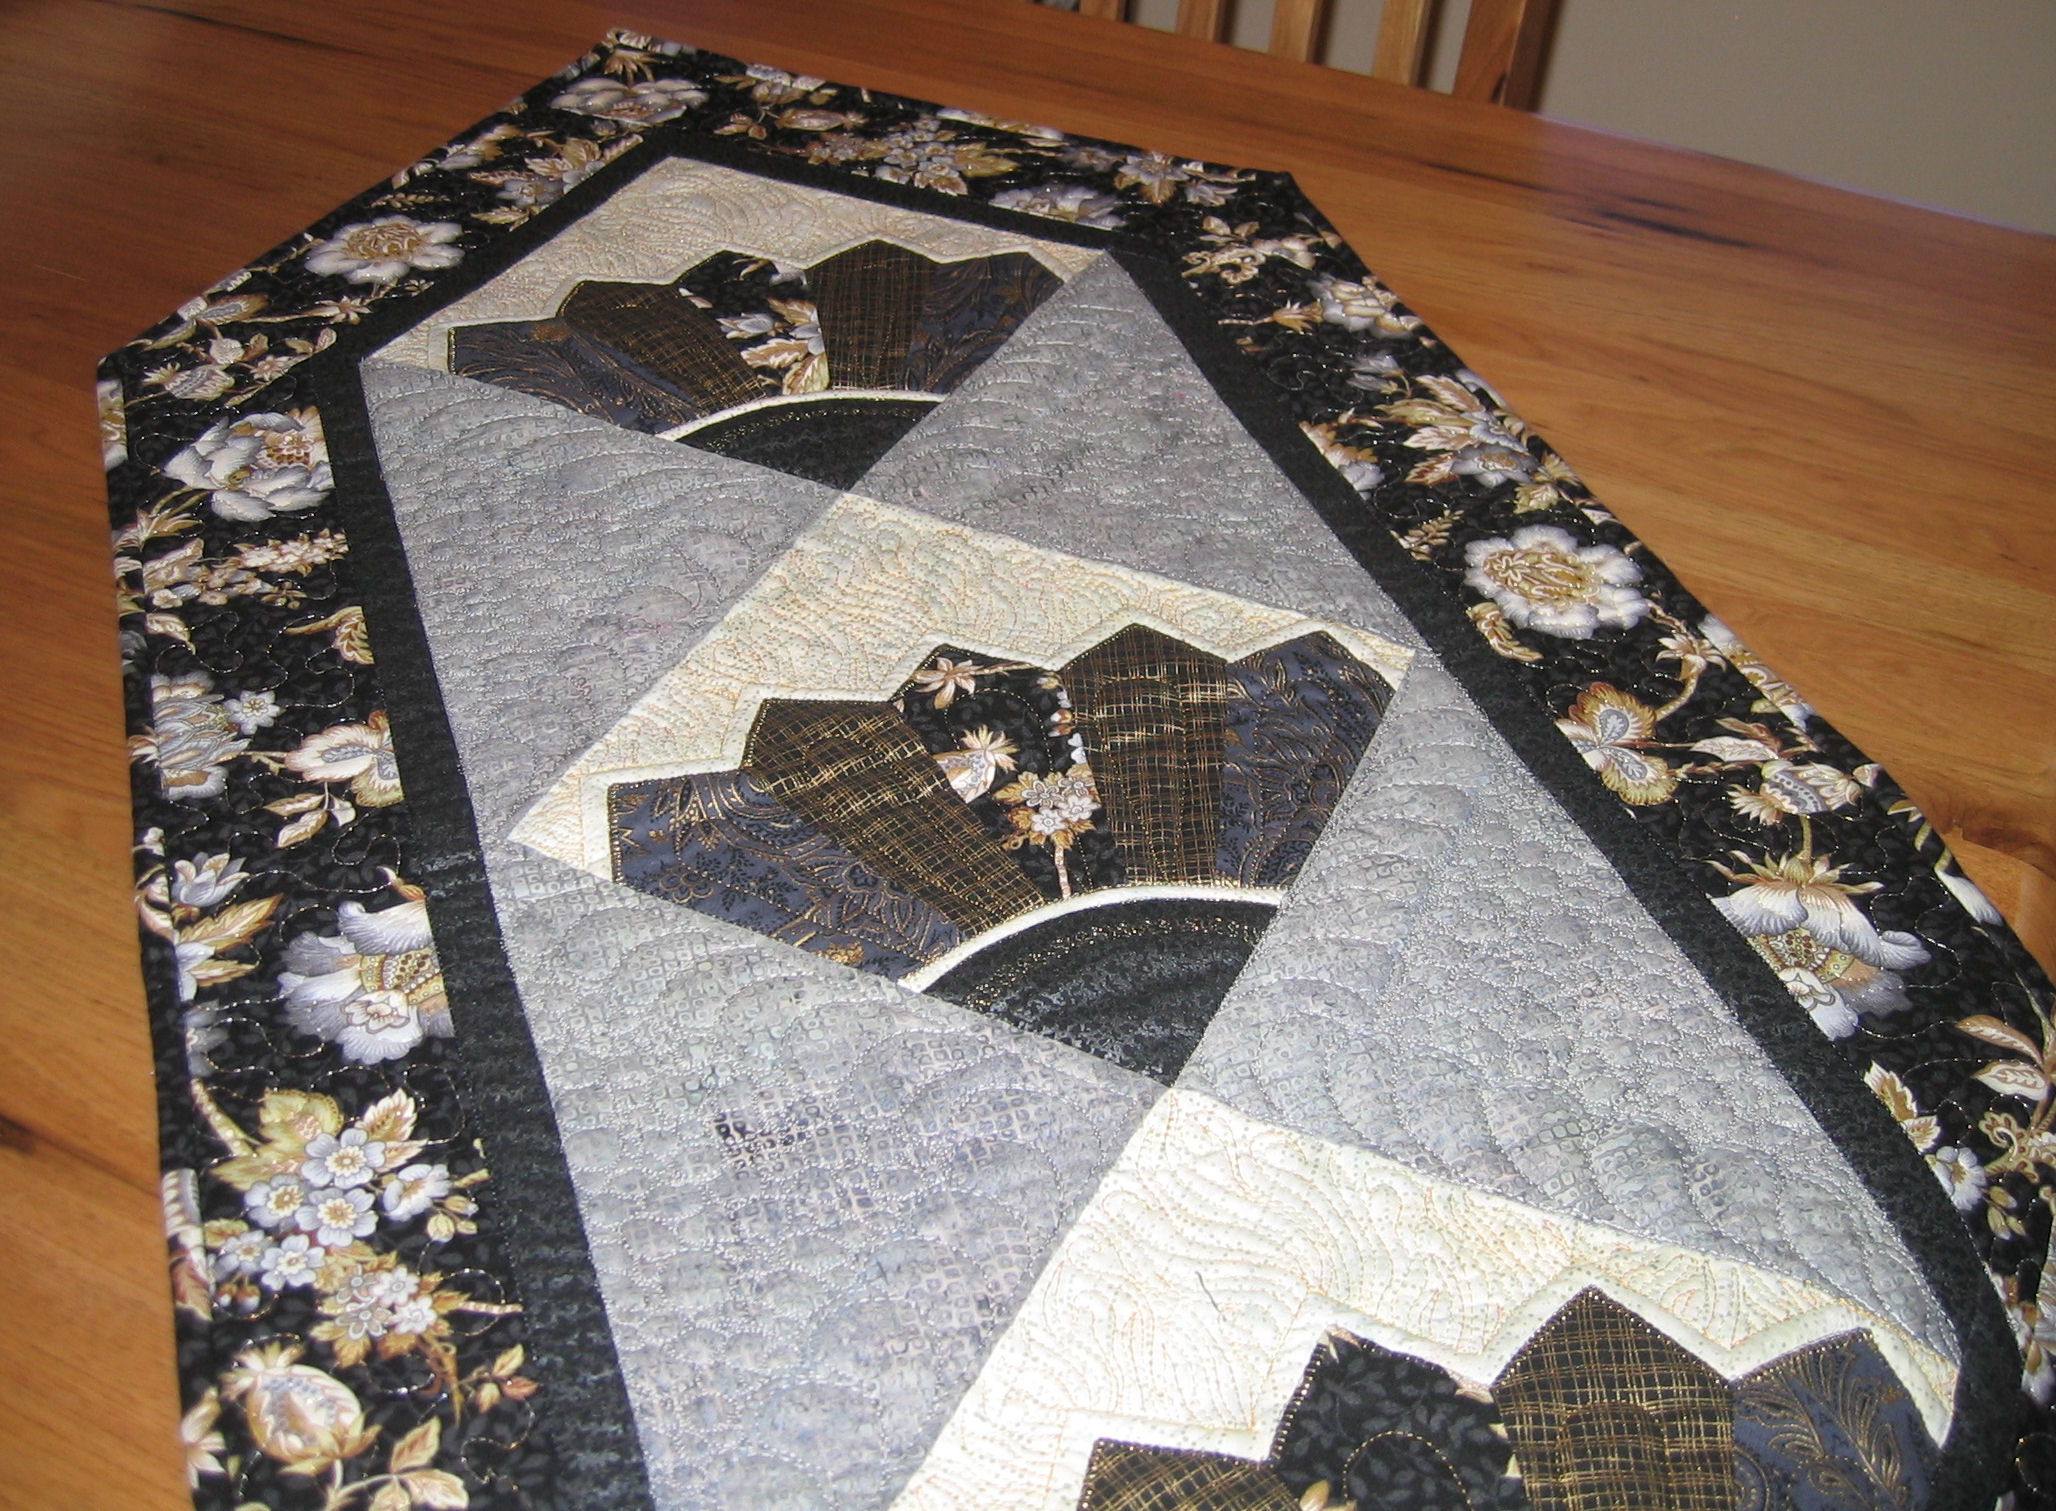
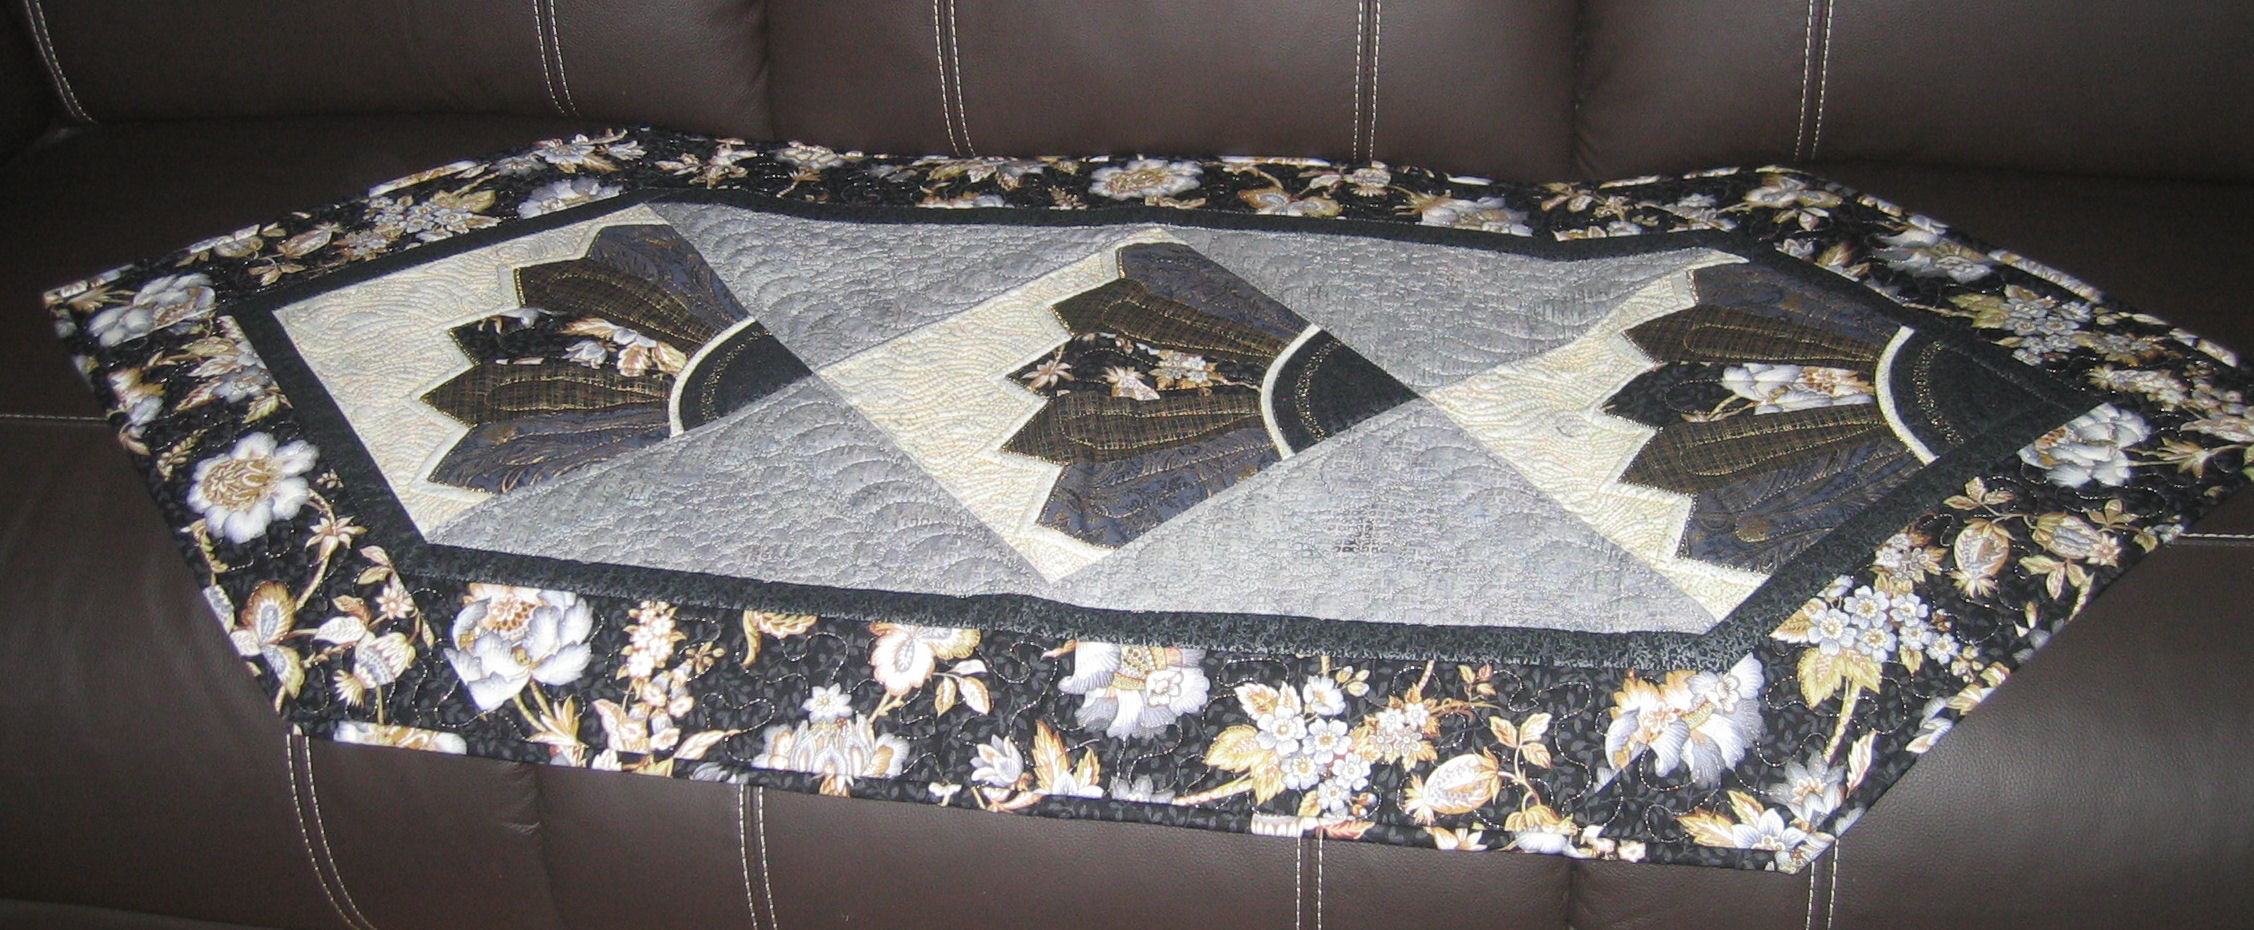
Click on a small photo below to show it full size, then click on it again in full size mode to zoom in to see the stitching.