Folio

2 08 2009

My friend Whitney suggested a while ago that journal/notepad covers might be something I could make. So a few weekends back I experimented by making Whitney one for her birthday! I wrote this post in July, but it won’t be published until sometime in August, after she’s received her present — I don’t want to spoil her surprise!

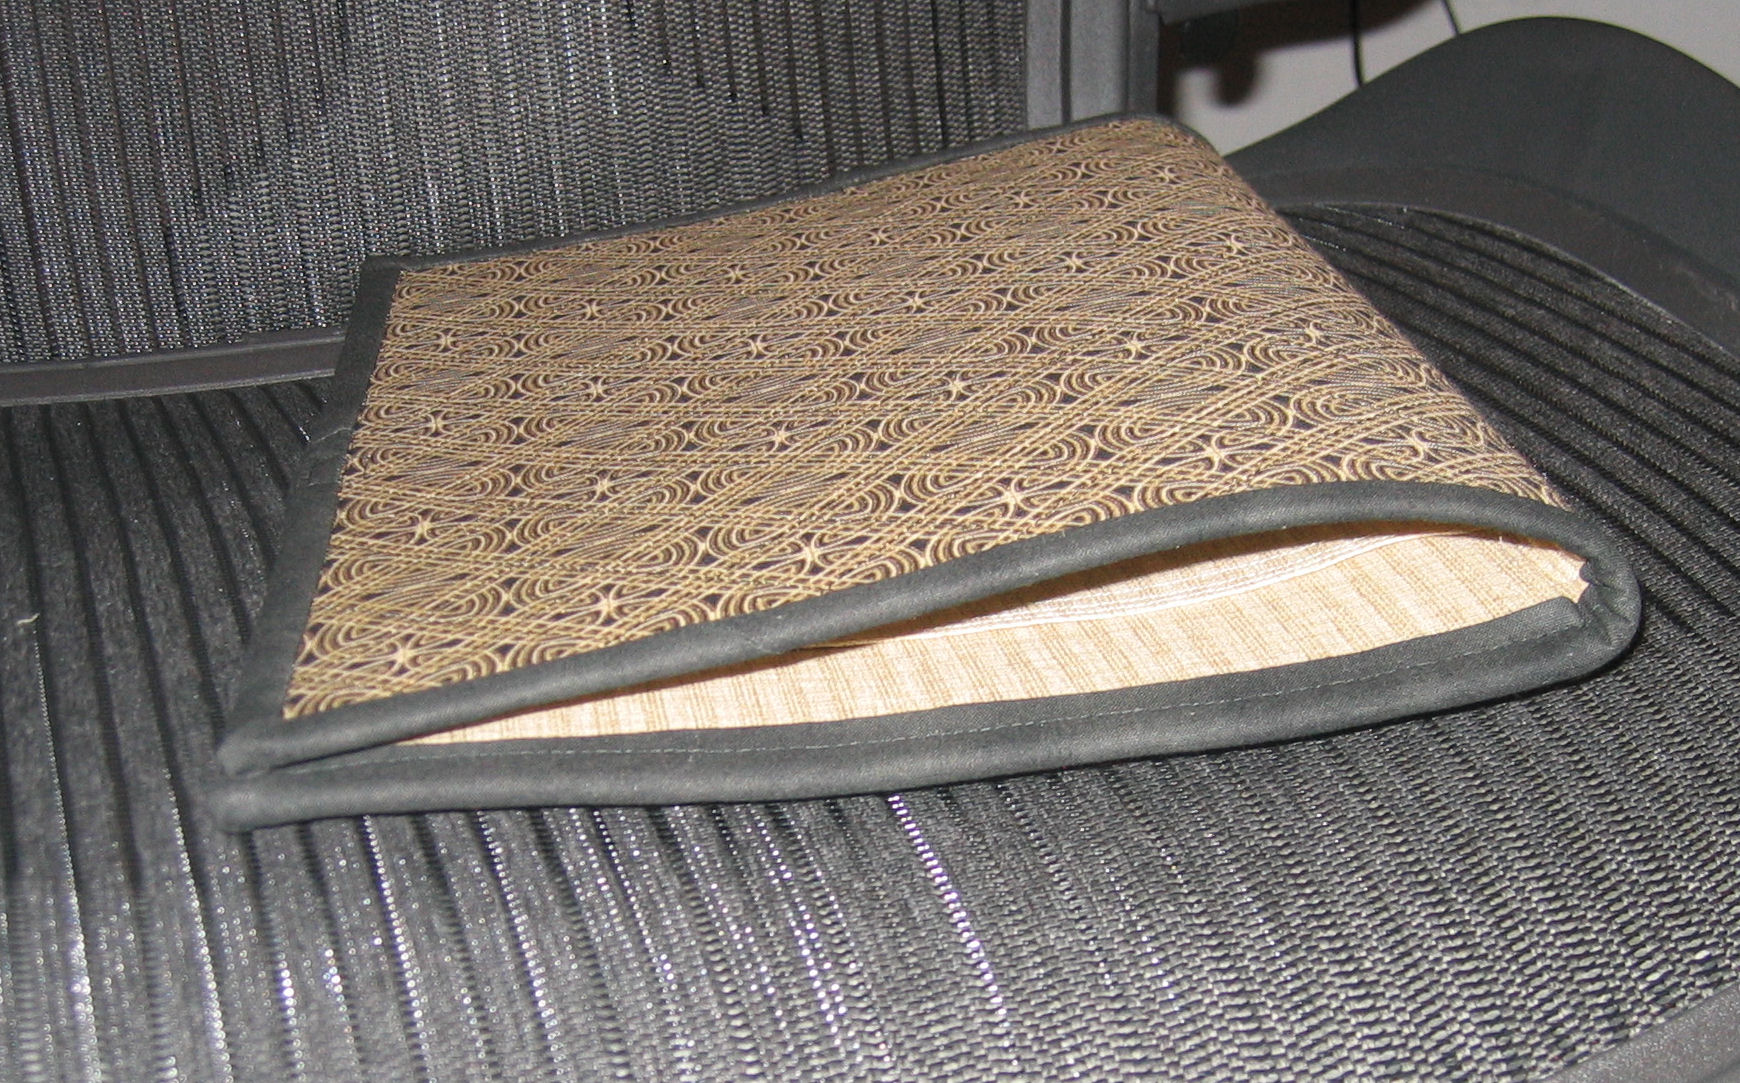
It took me about 4 hours to make it — without a pattern and just following my nose and an existing folio I already had. I made it so that it can take A4 and Letter notepads, a spiral bound notepad (slips in to the vertical pocket to the right of the spine), as well as a business card, other small items, loose leaf paper, and, after I’d taken the photos, I added an elastic bit to hold a pen in the spine. The closures are velcro.

So, what do you think? Should I make these? The 4+ hour time frame would mean they’d be expensive, plus there’s at least a yard/metre of fabric in one (at about AU$25 per metre) and about 1/2 metre of Stitch and Shape.

Click on an image to view it full size.


Using magnetic snaps

1 08 2009

mag_catches

When you buy magnetic snaps, they don’t come with instructions! So you either have to figure out how they work (not easy), ask someone who’s used them before, or go to your friend Google and ask it!

I’ve now used magnetic snaps on a couple of tote bags I’ve made. The internet resources I found most useful in perfecting *my* technique (which uses a combination of the techniques from the sites below) were these:

If you’re using ordinary snaps (not the magnetic ones), here’s a tutorial on how to put them together: http://www.gold-fingers.co.cc/2011/05/tutorial-putting-snaps-on-sewing.html


Cleaning fusible glue off sewing machine needles

30 07 2009

Following on from my earlier post about cleaning fusible glue off a Teflon-coated iron, here’s the problem I had with gunked up sewing machine needles and how I solved it with the help of a couple of people on the Etsy forums.

Problem

I’ve been doing some fast free motion quilting on a piece that’s made up of stiff interfacing onto which is fused a piece of fabric. I’ve gunked up (technical term!) 7 sewing machine needles already this evening.

The speed of the needle going through the layers seems to be re-melting the glue on the fusible and sticking to the needle, ultimately causing the thread to snap and the eye and shaft of the needle to become sticky and full of sticky gluey gunk.

How do I clean the gunk off these needles? I’ve tried an orange-based cleaner (which helped to an extent), and am now trying acetone. Any other suggestions?

These needles are perfectly fine otherwise.

Solutions

These options were suggested:

  • Sewer’s Aid: “If you put a drop on your needle before sewing through fusible it even prevents the build-up”
  • Rubbing alcohol
  • Soak in orange cleaner then wipe off
  • Soak in orange cleaner and use a scourer to wipe off
  • Holy Cow (degreaser)
  • Nail polish remover (acetone)
  • Rubbing with a wet rag
  • Scraping off with a fingernail
  • Acetone
  • Put under a flame and wipe clean

What I did while waiting for all these suggestions to come through:

  1. Soaked the needles in acetone overnight.
  2. Wiped down and then scraped with a fingernail and a pin.
  3. There was still a bit of gunk in the eyes and the slot along the shafts of these needles, so I put them in one of those little sort of ‘sonic’ things for cleaning jewellery, then scraped them again. That pretty much got all the gunk off them.
  4. I’ve also ordered some Sewer’s Aid from the local fabric store…

The next day I discovered something else: Leave the fused fabric alone for some hours before sewing it!! I left another piece for 24 hours before starting to free motion quilt it and had no problems with glue getting on the needle, whereas the first piece that caused the grief I was sewing within an hour of fusing. I shouldn’t be so keen and eager!


Cleaning fusible glue off a Teflon coated iron

30 07 2009

Over time, I get a gunky glue build-up of glue from fusible web on the sole plate of my Teflon iron. I try hard to use an applique ironing sheet (which prevents LOTS of fusible disasters!), but sometimes the glue is almost invisible and before I know it, it has stuck to the bottom of the iron. I also use distilled water for the steam in my iron. I never use the tap water because of all the chemicals in it. It can clog up your iron something terrible.

Today I had a spare 30 minutes, so it was time to tackle the problem…

Teflon is not stainless steel, so using harsh abrasives and scrubbers is not the answer. Off to the internet, where I didn’t find many answers. However, I found some, so I thought I’d collate them here for future reference for me and anyone else looking for a solution.

I’ll try each option over time and report their effectiveness here. But first, some options using things I already had in the house (Note — except where stated, your iron must be COLD):

  • Orange oil-based glue remover (De-Solv-It): Smells great, but required a lot of elbow grease and still didn’t remove it in a timely manner. Perhaps if I had more patience…
  • Xylene-based glue remover (Goof Off): Use in a well-ventilated situation with NO possibility of sparks or flames. Highly flammable and toxic to the respiratory system — you’ve been warned! Like De-Solv-It, it worked to a degree, but required a lot of elbow grease and didn’t remove it as quickly as I’d hoped.
  • Acetone (cheap nail polish remover): Same as for the xylene-based cleaner — worked to a degree, but required a lot of elbow grease and didn’t remove it as quickly as I’d hoped.
  • Damp cloth: I wet an old kitchen sponge with just water and squeezed out the excess, then laid it over the sole plate holding it down with elastic bands (you could put it on the bench and just put the iron on it!). After about 15 minutes, I removed the sponge and used my thumbnail to scrape off the residue. It worked pretty well! If you don’t have longish fingernails, perhaps use a credit card or a piece of thin, hard plastic or wood (like a pop stick, orange stick or clean satay stick) on an angle to gently scrape off the residue.
  • Nylon scourer: I took the iron to the kitchen, turned it on to the highest setting, put it on steam, held it over the kitchen sink and pressed the steam button several times. Then I turned off and unplugged the iron. While it was still pretty hot, I used a nylon kitchen scourer to remove the residue (I used a scourer  with a sponge back — one of those thin ones would probably let too much heat through and burn your fingers!) I don’t know whether it was all the other things I’d done, but this worked really well. Next time, I’ll just try this without using any of the other techniques first to see how well it really works.
  • The winner!!! Cheap, easy, and it works a treat!! This from Zzazz on Etsy: I use a soft brush, like an old toothbrush, and some white vinegar suitable for cleaning. It’s amazing what comes off the bottom. Rinse with warm water and dry with a clean towel. It should be good to go after that.

I found these suggestions on the internet but I haven’t tried any of them yet:

  • Baking soda paste: Make a paste of baking soda and water, and scrub with a washcloth. Requires a bit of elbow grease and you have to clean out the steam holes when you’re done. See http://farmgirlheart.wordpress.com/2007/07/17/a-new-purse-and-a-new-tip/
  • Bounce dryer sheets: This tip wasn’t specifically for a Teflon sole plate, but I can’t see that a dryer sheet would hurt Teflon. Wet a new dryer sheet (Bounce brand is recommended, though it’s possible other dryer sheets may work as well), wipe it over the iron and you’re done. I suspect this would work very well for a just-created gunk of glue, not for a build-up of some weeks. See http://forums.marthapullen.com/read.php?f=7&i=189779&t=189779
  • Use an iron cleaner made specifically for Teflon irons.
  • Salt and waxed paper: I think this solution is specifically for irons WITHOUT a Teflon sole plate so read the information on the web forum I’ve linked to BEFORE trying this. I have not tested this and offer no guarantees for its efficacy on a Teflon sole plate. You’ve been warned. See http://answers.yahoo.com/question/index?qid=20090104073641AA6cmjA
  • Tin foil (!) and other options: A wide variety of solutions is listed here: http://www.blockcentral.com/tips-pressing.shtml

Of course, avoiding the problem in the first place is the best solution so use an applique ironing sheet (or baking paper if you don’t have one), clean off the sheet between each use with a scrap piece of cloth, and have a scrap piece of cloth an old plastic card (like  a credit card) near the iron to scrape it immediately you realise that you’ve got fusible stuck to it.

If only I practiced what I preach! 😉


Got my first wholesale order

22 07 2009

A lady in Brisbane found me on Etsy, contacted me about wholesale prices, and after a few emails back and forth, she’s paid for an initial order of 5 luggage tags (ones I have already made) and 32 coasters (to be made). She’s opening a homewares store in Brisbane and wants to stock some of my goodies! (Queensland readers: I don’t have the details of where her store will be yet.)

W00t!


My 6th Etsy treasury listing

21 07 2009

You can view it ‘live’ here until July 23: http://www.etsy.com/treasury_list_west.php?room_id=61762

This one expires soon, so here’s a screen shot of it:

'Beach umbrella' featured in this Etsy Treasury

'Beach umbrella' featured in this Etsy Treasury


Published

21 07 2009

See “Interweaving words and fabric” on my professional blog: http://cybertext.wordpress.com/2009/07/19/interweaving-words-and-fabric/


Featured in another Etsy Treasury!

8 07 2009

My fifth! The Treasury is here for a few days: http://www.etsy.com/treasury_list.php?room_id=69476

But there’s a screen shot below so you can see my piece amongst the other Australian patchwork and quilted items.

Mine is "Underneath the Australian Sun"

Mine is "Underneath the Australian Sun"

Oh, and if wanted to purchase this piece or see others I’ve made, go to my Etsy store.


Tested local emergency room last night

5 07 2009

My sewing machine sits on a small roll-top desk which doesn’t have good access to the back if you drop anything and it rolls under, so I tend to ‘grab’ dropped spools of thread etc. with my knees. Well, yesterday I dropped a pair of needle-nose tweezers I was using to remove fine bits of thread from a piece. Yep, the points went straight into my inner thighs about three inches above my left knee. Ouch.

Dangerous weapon

Dangerous weapon

After the initial ouch, I thought that I probably should go to the bathroom and check if it was bleeding. As I stood up I felt blood running down my leg, so I suggested to my husband that he should come and investigate. Sure enough, I was bleeding profusely. He was very cool, calm and collected. He immediately got me to hold a tissue very firmly over the small pin pricks made by the tweezers, while he went and got an Esky ice brick out of the freezer and tied it tightly over the wound with a towel. Then he made me go lie down on the sofa with my leg elevated. Classic ICE procedure — ice, compression, elevation.

Later he told me that my femoral artery is in the vicinity of where I stabbed myself, and suggested that perhaps we should go down to the hospital to at least get a tetanus injection. So that’s how I ended up testing our local hospital’s emergency room!

The nurses dressed the leg, put a patch over the wound (it had well and truly stopped bleeding — being frozen for a couple of hours will do that!), and gave me a jab. Then it was home to put my leg up some more and to eat take-out pizza!

I’ve now taken the canvas-type apron from the kitchen (which I rarely use — the apron, not the kitchen!) and will now wear it when I’m sewing so that if my reflexes want to catch things with my knees (I doubt it after yesterday’s experience), there’ll be a little more protection than just some tracky dack* cloth.

Update: Pictures of bruise and ‘snake fang’ marks of tweezer entry points some 36 hours later (striped lines are marks from dressing patch).

bruise2

*US-ians: tracky dacks = fleecy track suit pants


Laptop sleeve/tote pattern finished – finally!

27 06 2009

I FINALLY finished writing up the pattern for the laptop sleeve/tote bag I’ve made for me and for my friends Char and Sue.

Example instructions

Example instructions

The pattern is for sale from my Etsy store here: http://www.etsy.com/view_listing.php?listing_id=27045345 (as is the laptop made for the pics in that pattern: http://www.etsy.com/view_listing.php?listing_id=25830180).

The surprising thing about writing up this pattern was how hard it was! The initial writing was easy, but then I had to test it to make sure it was correct.At that point I realised how many assumptions I had made about the audience’s knowledge, so it was back to the drawing board. Like the presentations I’ve done using code, a pattern has to be absolutely correct — no missing or assumed steps. It was much harder than I expectedand took much longer than I thought it would — and I’m a technical writer who does this sort of stuff for a living!