Community Quilt 41

25 12 2012

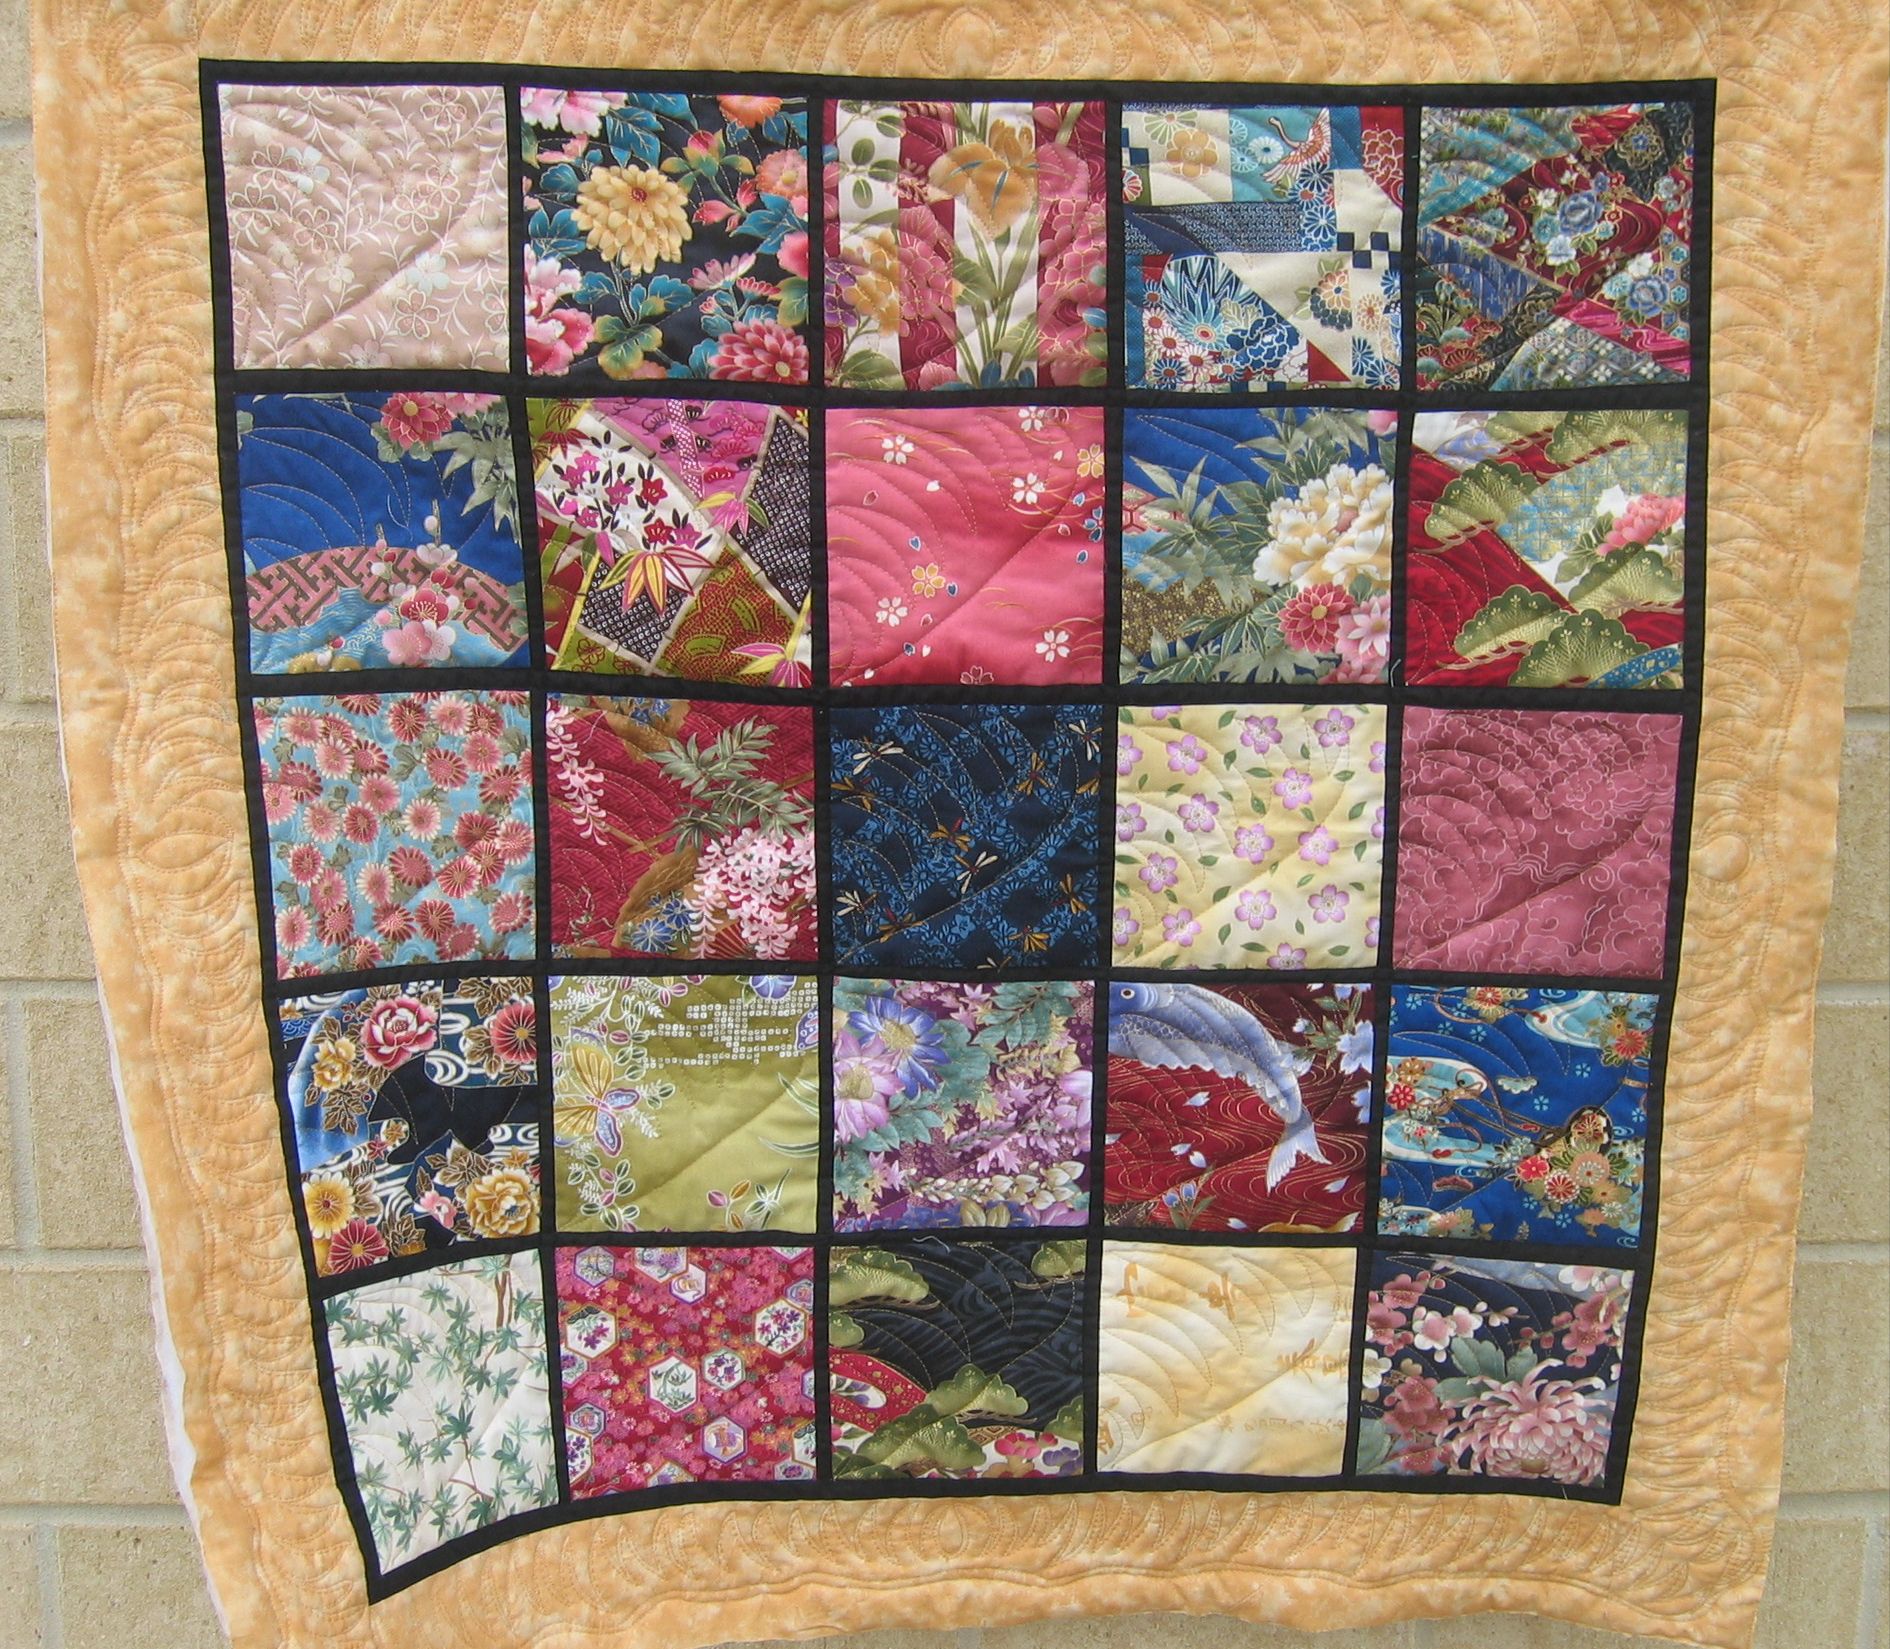
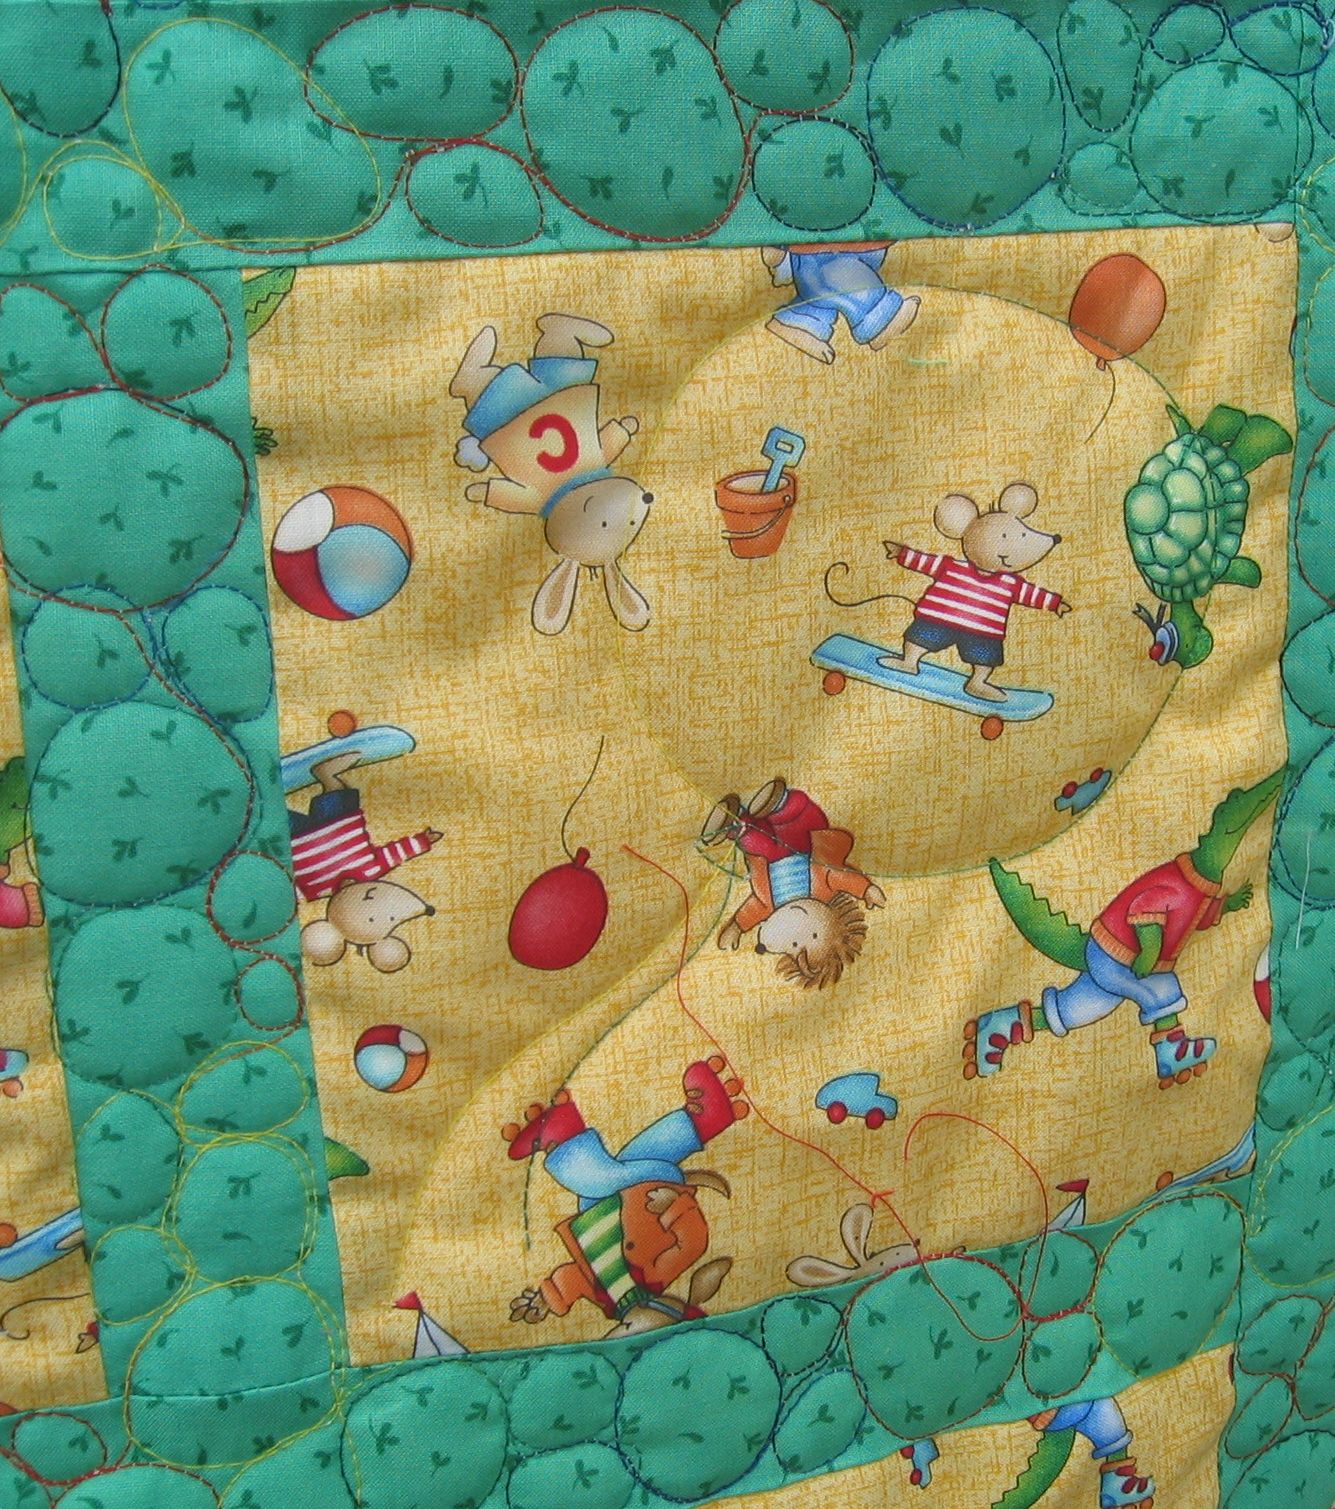
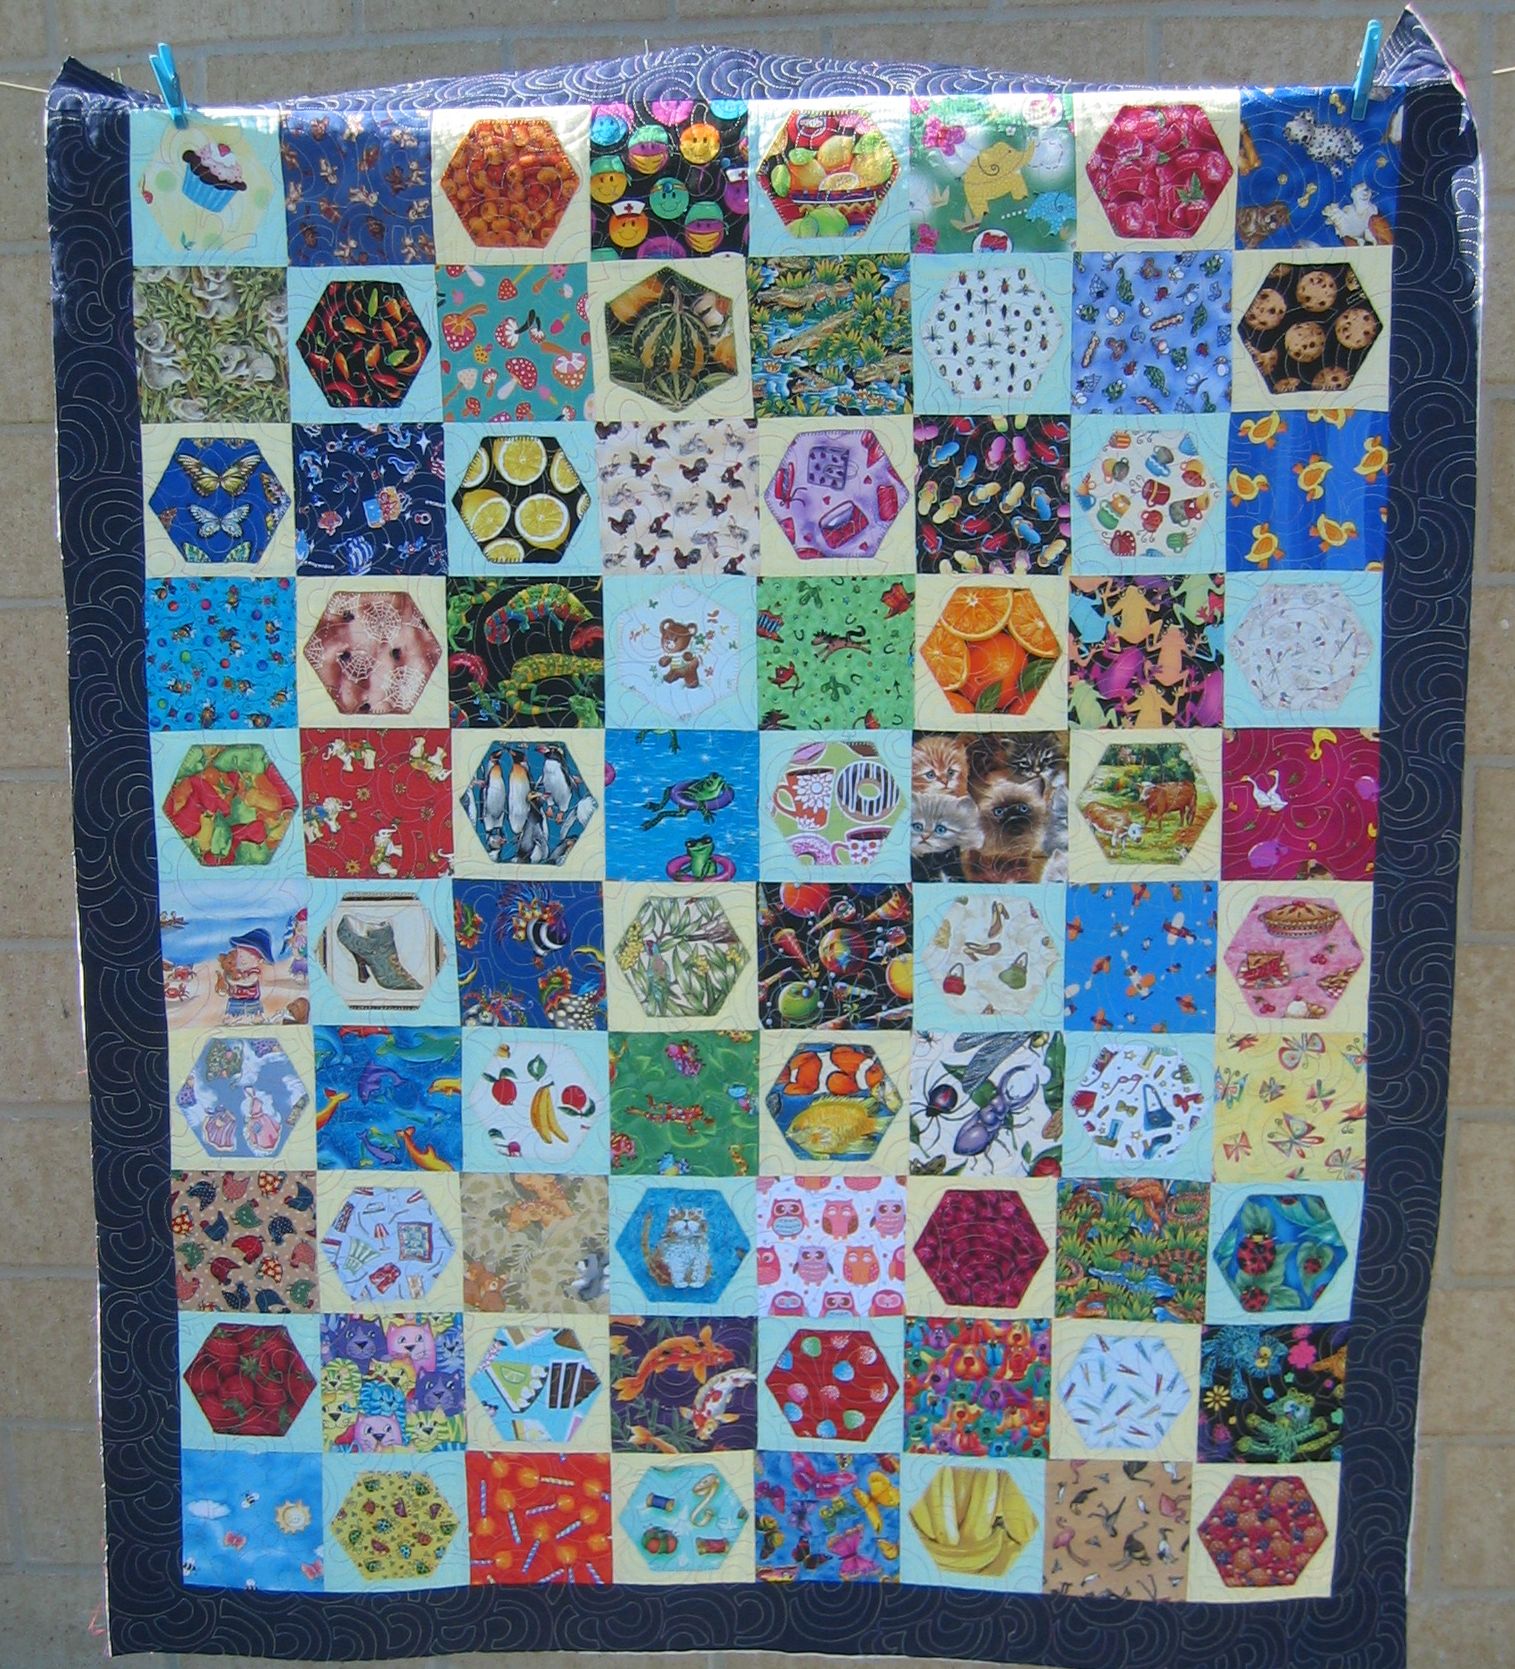
Community quilt #41 was a very busy ‘I spy’ (or ‘eye spy’) quilt. An I Spy Quilt is made from fussy-cut fabrics, usually children’s prints and novelty fabrics with motifs that the recipient can ‘spy’ when looking at the quilt.

This one had everything from kittens to spiders, pegs to lemons, and everything in between! It was very ‘busy’ visually, and had every colour under the rainbow in it. The fussy cut pieces were hexagons, and most were on a pale blue or pale yellow background fabric. These blocks were separated by other novelty fabric blocks, and the whole top was bordered with a plain navy fabric.

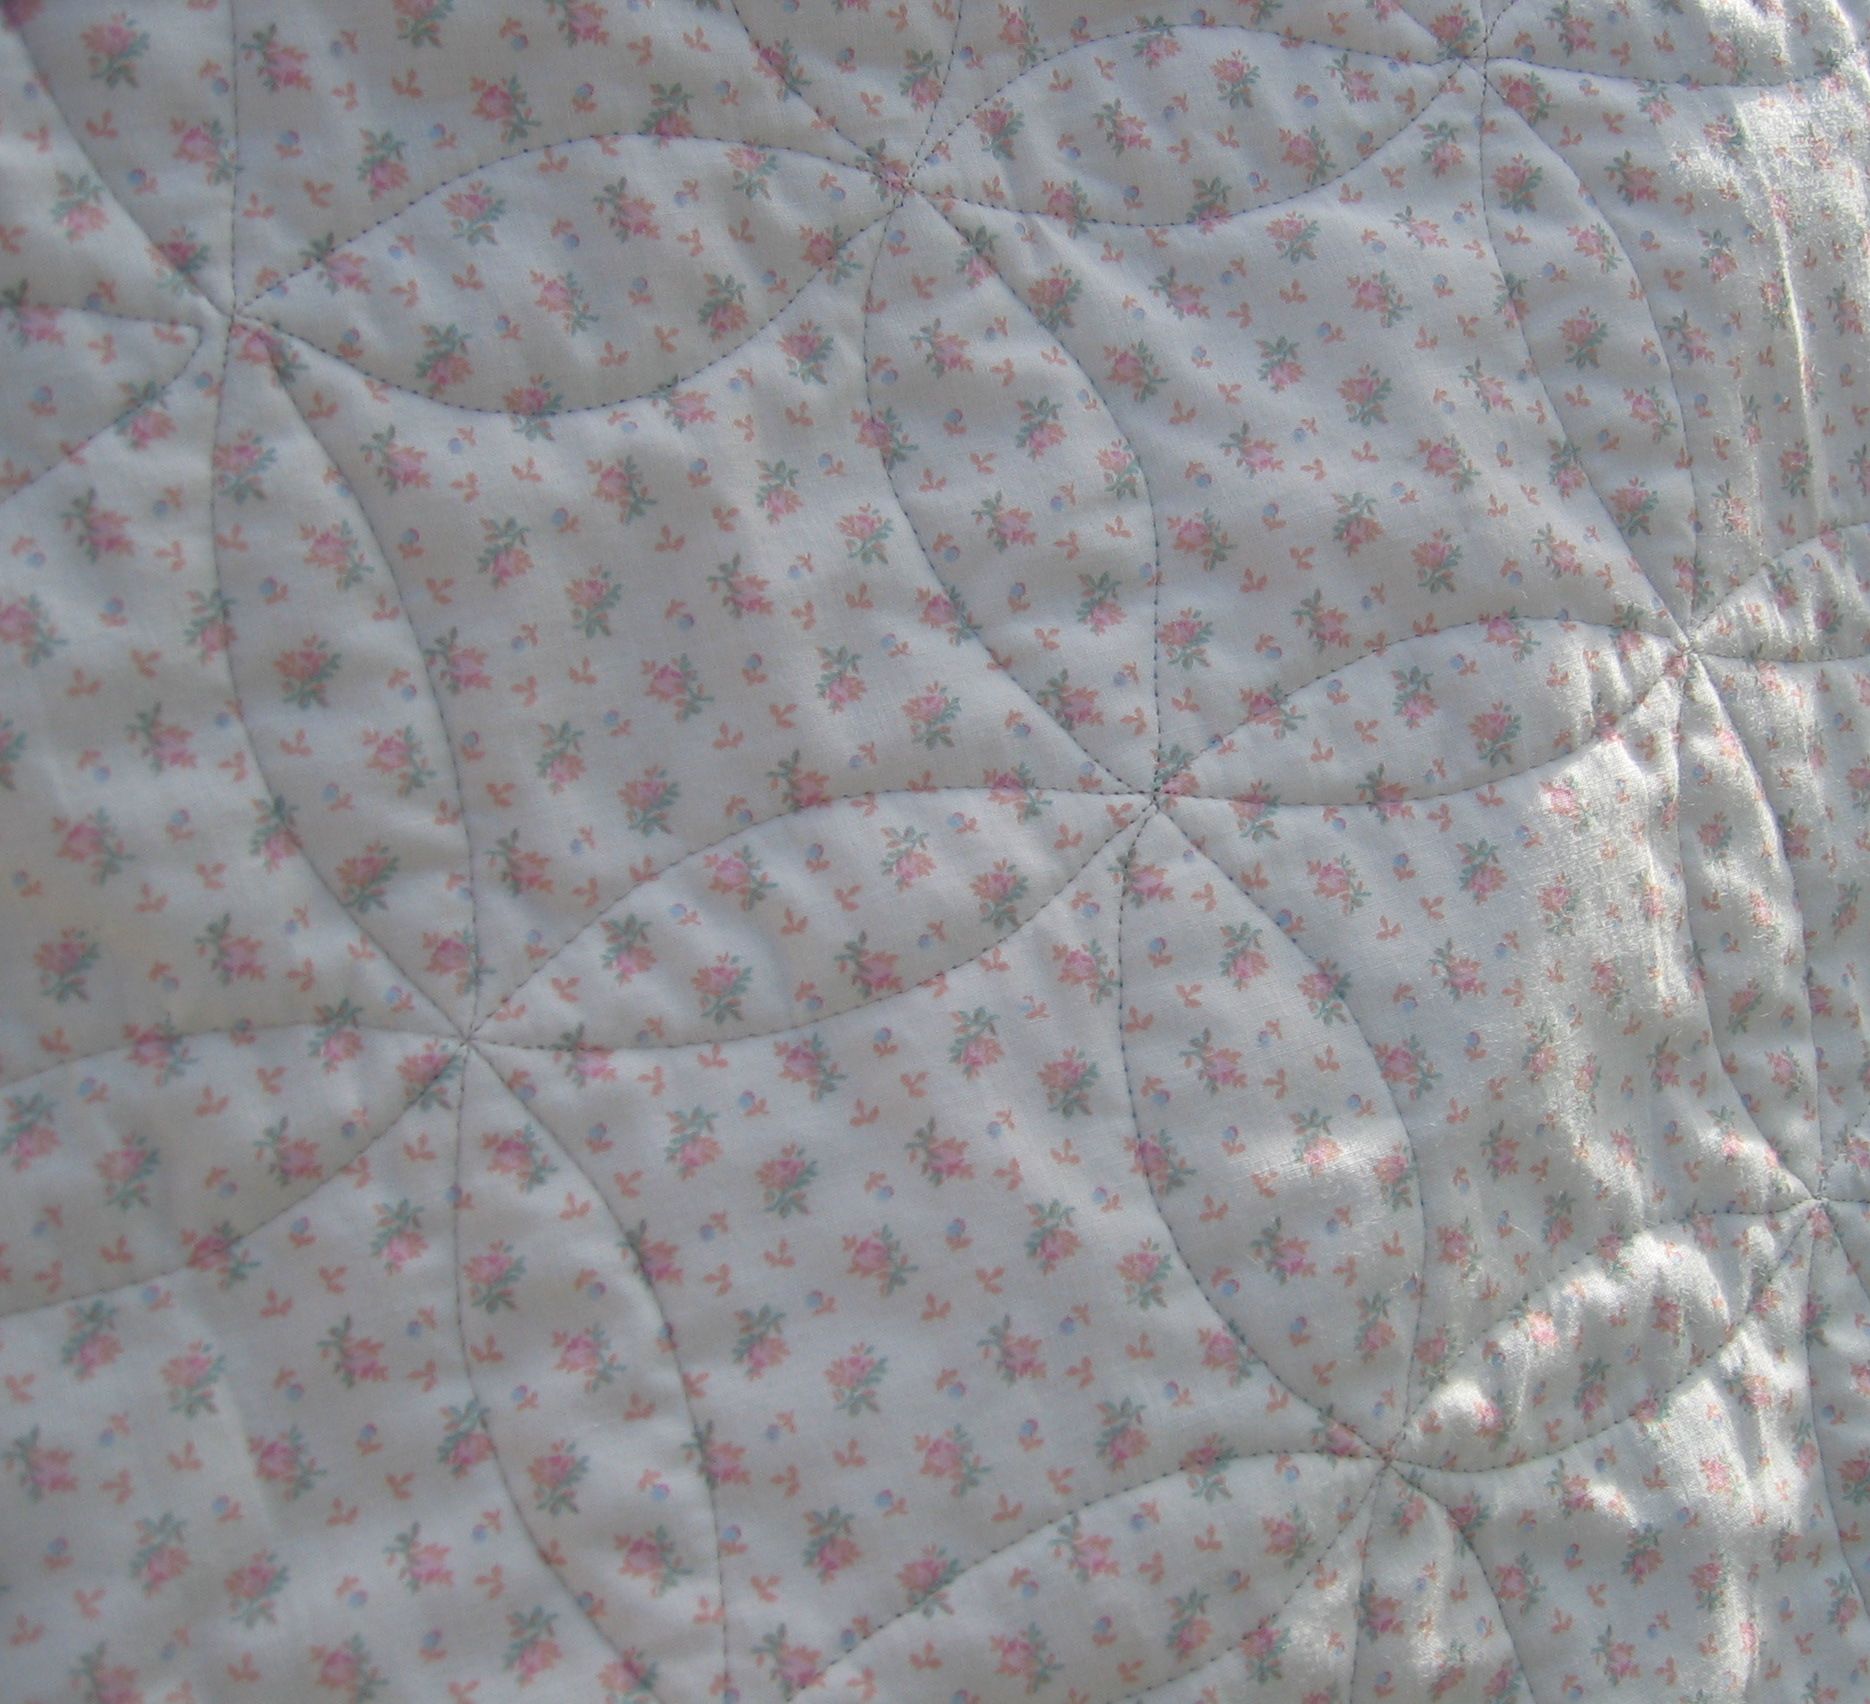
How to quilt such a busy quilt? I thought of doing outline stitching around the motifs as I did for the lolly jar quilt, but I decided against this fairly quickly after examining some of the motifs more closely. I thought of the open headband motif — quick, easy; or a large all-over stipple. Then I decided to do a variation of the open headband motif — instead of points at each turn, I decided to square them off, giving a geometric look to the quilting.

As there were so many colours in this quilt, I used a pastel variegated thread to blend in with many of the fabrics. I also extended the stitching into the border as I didn’t want yet another different motif to draw the eye — there was already enough going on in this quilt!

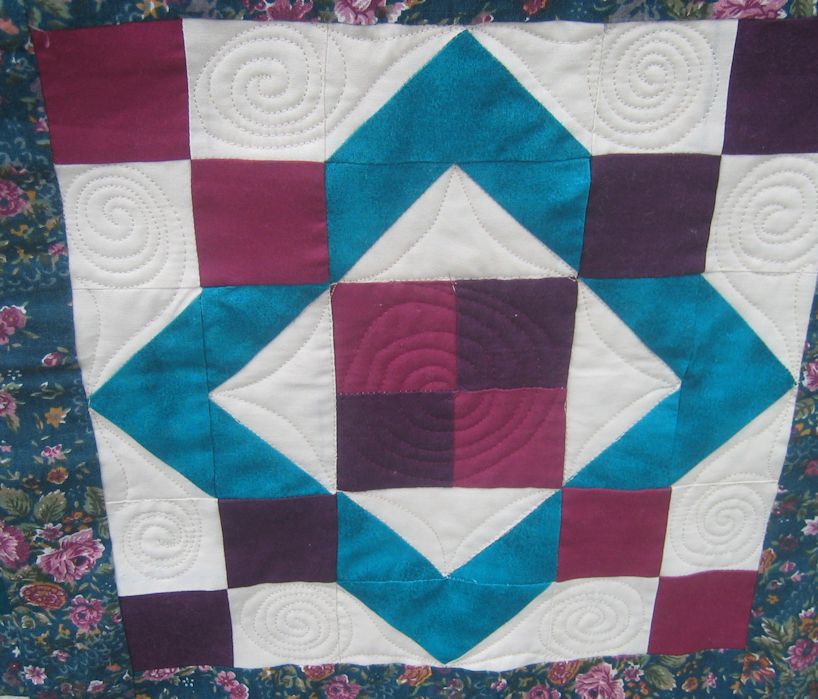
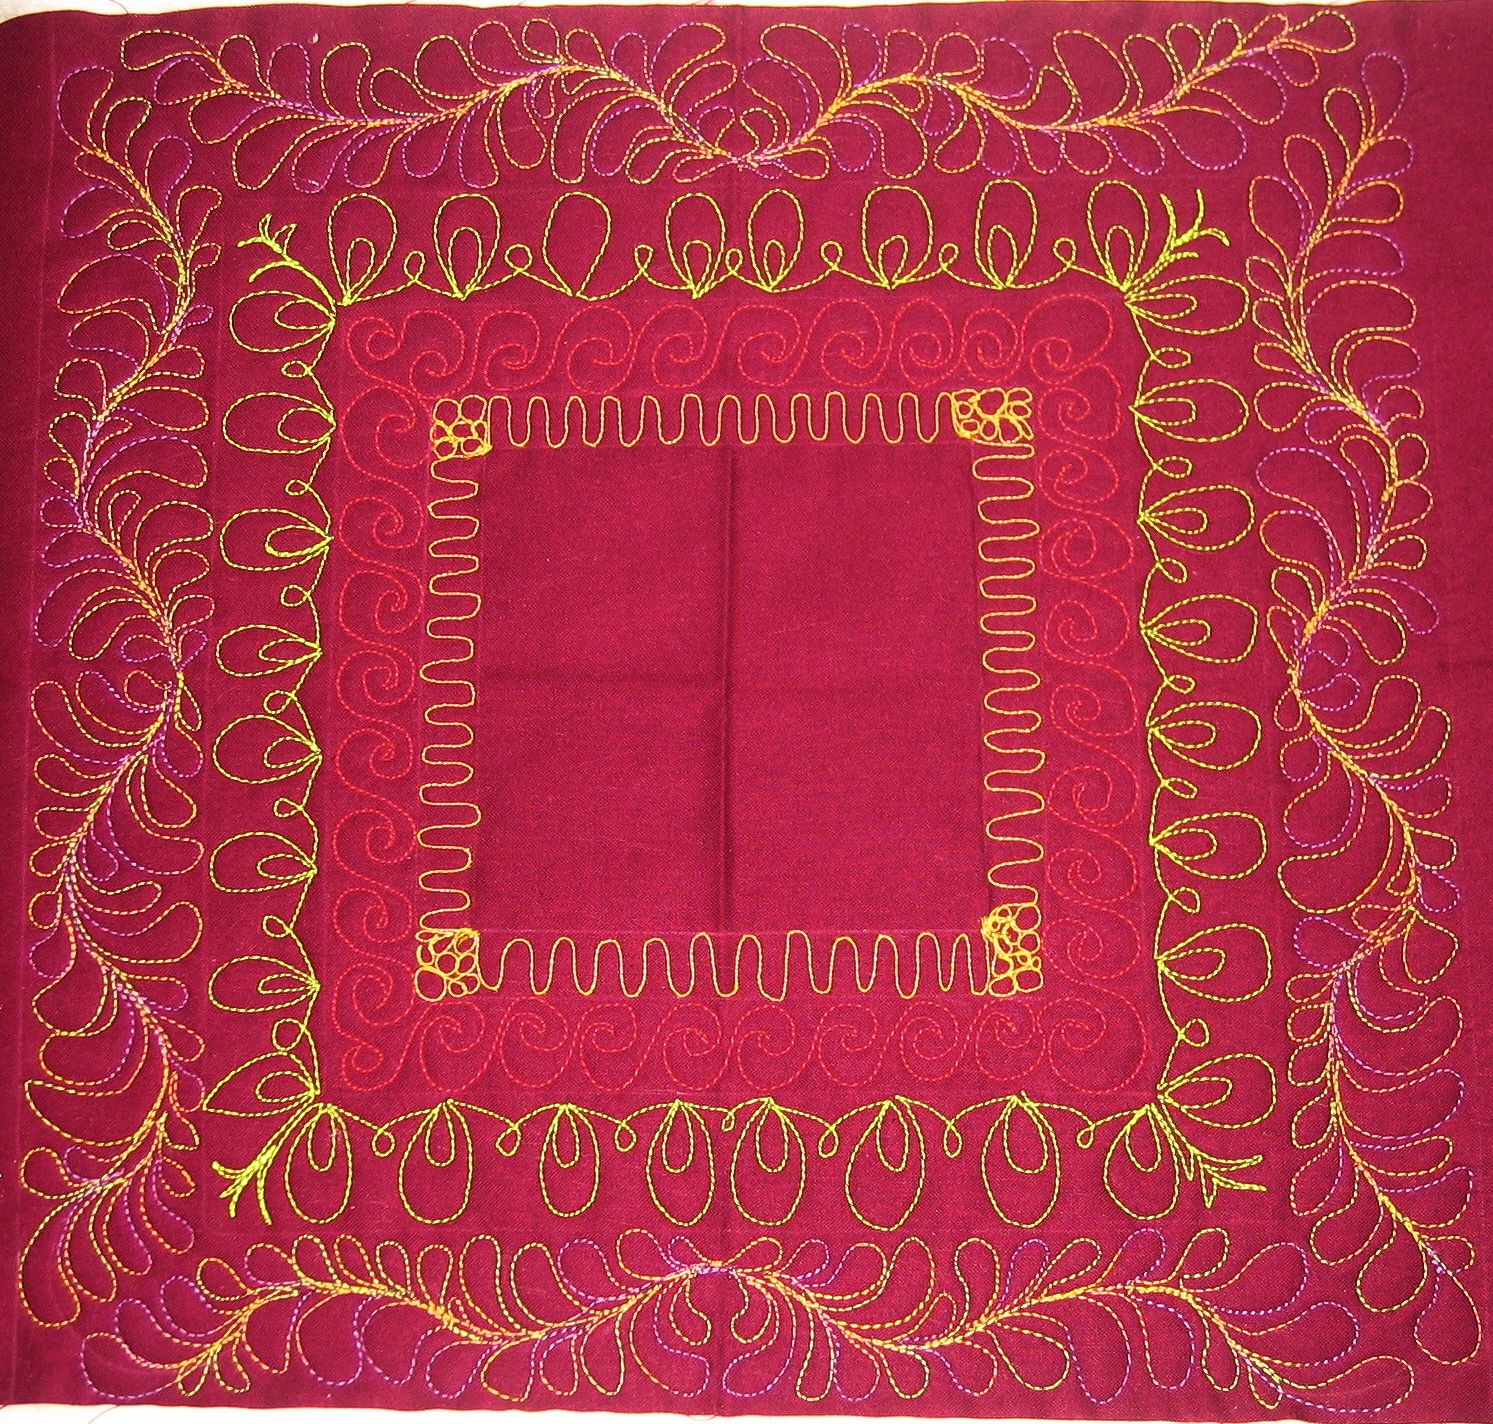
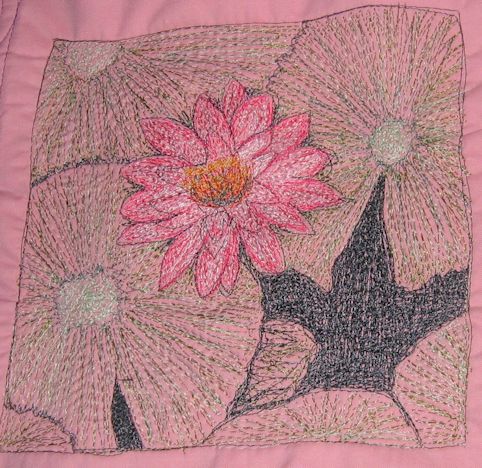
(Click a photo to view it larger)
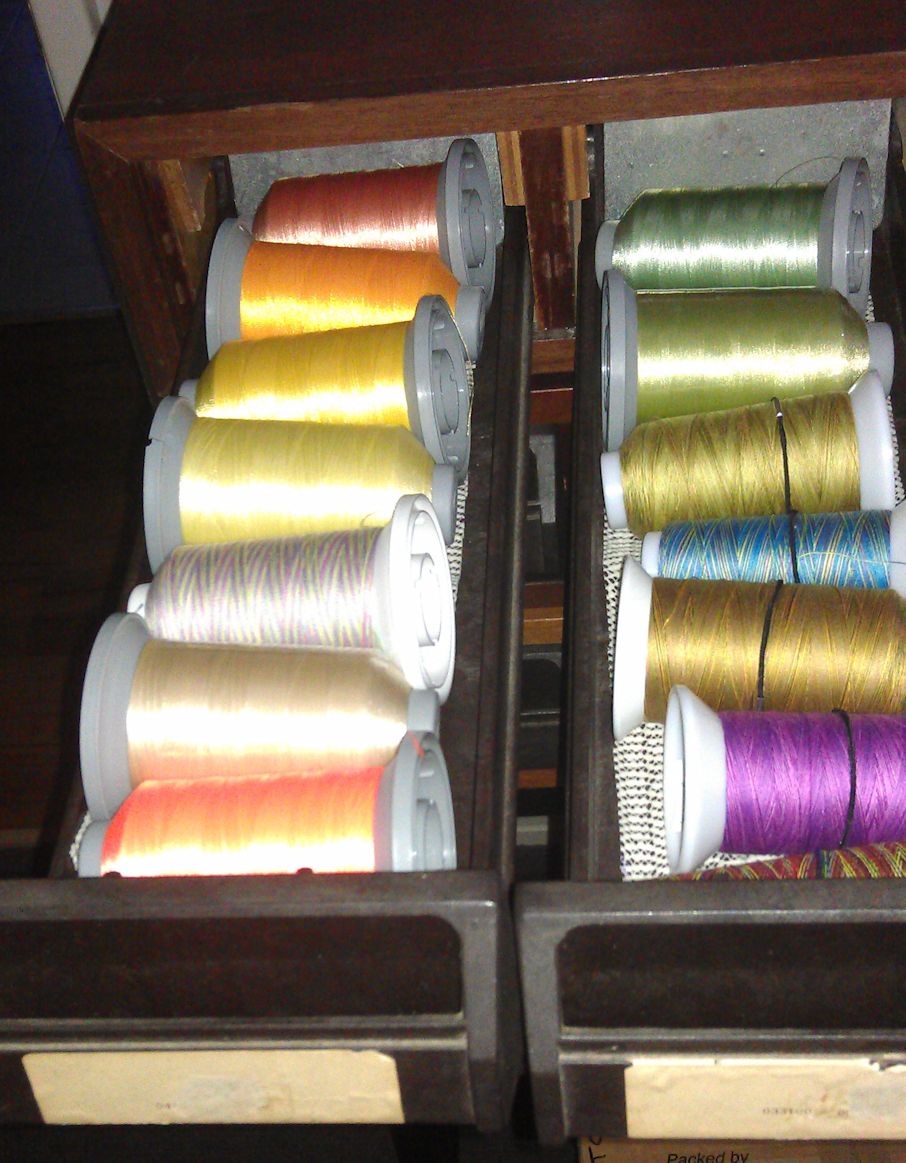
quilt41_02

quilt41_01

quilt41_03

Threads used:

  • Top: Fil-Tec Harmony in variegated pastel pinks, yellows and blues (cotton; 40 wt; colour ‘Spring’ 14062)
  • Bobbin: Bobbinfil (white, 70 wt)


Community Quilt 40

22 12 2012

This pretty quilt didn’t take too long to quilt. It was a lap size quilt for starters. And I did very simple quilting on it, using long arcs to make the flower ‘petals’.

As all the fabrics were florals, I decided to quilt large flower shapes. To quilt from the centre out to the corners would’ve have taken too long, so instead from the point at one edge and did long sweeping up and down arcs crossing in the centre of each diamond and at the points. The effect is of large intersecting circles (‘cathedral windows’), or if you can’t see those (the back shows them better), then just flower petals 😉

Click on a photo to view it larger.

quilt40_01


quilt40_02

quilt40_03

Threads used:

  • Top: Guterman Sulky in a soft variegated pink for the lighter diamonds (rayon, 40 wt; colour 2100); Superior King Tut variegated purple, blue, green and yellow for the darker diamonds (Egyptian cotton, colour ‘Cairo’ #932)
  • Bobbin: Wonderfil Deco-Bob (80 wt; colour DB 115)


Community Quilt 39

16 12 2012

Another blue and cream quilt… Pinwheels this time.

Some of the fabrics had water, fish, water lilies, or water birds in them, so instead of following any of the very geometric shapes of the pinwheels, I went for something quite different — water! I used a pretty pale blue to mid blue variegated thread and I think it worked well for this all-over design. I like how it gives a ‘modern quilt’ feel to this traditional pinwheel pattern.

I timed this one properly and also reset the stitch counter on my Sweet Sixteen — the quilting took 3 hours and some 80,000 stitches.

Click on a photo to view it larger.

quilt39_01

quilt39_03

The back:quilt39_02

Threads used:

  • Top: Wonderfil Tutti (Egyptian cotton, 50 wt; colour TU 21)
  • Bobbin: Bobbinfil (white, 70wt)


Community Quilt 38

16 12 2012

This was a big quilt, with well over 120 appliqued butterflies arranged in circles in each block. How to quilt it?

Click on a photo to view it larger.

quilt38_01

Well, I wanted to make the butterflies ‘pop’, so I decided to do a small stipple around them, but I didn’t want the stipple to take over, so I grabbed a large bowl from the kitchen and marked a big circle. I figured I’d do something in the circle later…

After quilting around all the butterflies in all the blocks, I now had an empty circle in the middle. Well, that looked odd, so I thought maybe I could stitch a butterfly in the centre of each circle, but I needed the central butterfly to ‘pop’ too, so I went with a smaller inner circle (another kitchen bowl), then the butterfly in blue, with blue and pink in the wings (there was some pink in some of the blue fabrics), followed by more stippling around each butterfly to make it stand out.

quilt38_02

About the centre butterfly: I could have hunted through all my books, magazines, tear-out templates from magazines etc. for a suitable butterfly outline, but I could have spent hours doing that and still not find the outline I wanted. So off to Google! I searched for butterfly outline then clicked on the Google Images link. Once I found the shape I wanted, I printed it out at the correct percentage to fit my centre (yes, I had to try a couple of % settings first!). Then I put the printout under a sheet of stiff plastic (the sort used as the outer cover of spiral- or coil-bound business reports), and marked the outline with a thin Sharpie. Then I cut out the plastic template and used a marker to go around this template in the centres. I stitched around each outline in blue, then did a very free motion design inside the wings in the same blue as well as the little banana-shaped stitches up and down the body, followed by the antenna also in the same blue. Once I’d done that, I added some free motion pink curlicues inside the free-motioned blue wing shapes. No patterns for any of that inside the butterfly — just from my head.

As all the blue sashing fabrics had a leaf motif, I stitches leaves in the sashing strips in the same blue thread as the centre butterflies.

quilt38_03

I think it took about 8 to 12 hours to quilt this large quilt  — I did it over two days.

The back:

quilt38_04

Threads used:

  • Top: Fil-Tec Glide (‘Cream’, colour 20001; 40 wt polyester); Floriani (blue, colour PF373; 40 wt rayon (?)); Robison-Anton (‘Pale orchid’ [pink], colour 2423; 40wt rayon)
  • Bobbin: Bobbinfil (white, 70wt)


Community Quilt 37

14 12 2012

The last of the small quilts in the latest batch was a very pretty ‘stained glass’ style quilt in Asian fabrics. Each fabric was quite different so how to quilt it? I thought of doing something different in each block, but figured that might make it too busy (the fabric is busy enough), and I thought of doing a water motif. But eventually I decided on a spiky grass motif in a gold coloured thread (not metallic). I repeated the same grass in each block and used a smaller version of it in the border.

(Click on a photo to view it larger.)

quilt37_02

quilt37_03

In the border I also used the technique I learned in the December FMQ Challenge of making the centre and corner elements ‘kiss’ each other.

quilt37_04

quilt37_05

Threads used:

  • Top: Robison-Anton rayon (color 2332 ‘Penny’; 40 wt)
  • Bobbin: Wonderfil Deco-Bob (DB 115, 80wt)


Community Quilt 36

14 12 2012

The next small quilt in the most recent batch was another child’s quilt.

(Click on a photo to view it larger.)

quilt36_01

I looked at the fabric for a hint as to how to quilt it, and found it in the balloons. I hunted out some ancient variegated overlocker thread I had in bright primary colours (plus green) and used that to stitch a big balloon in each block. I didn’t mark the balloons — just stitched them from the end of a tail, up to the balloon, around in a sort of circle, then stitched a small triangle for the knot/mouthpiece, and came back down for another tail. Pretty easy, really.

quilt36_02

The fabric also had balls in it, so I did large bubbles in the green borders and sashing emulating the roundness of the balls, again, in the same overlocker thread. Then I stitched one HUGE balloon over the entire quilt in the last of my ‘glow in the dark’ thread. Hopefully, the child who receives this quilt will see it at night 😉

quilt36_04

quilt36_03

Threads used:

  • Top: Variegated overlocker thread I’ve had for years!
  • Bobbin: Bobbinfil (white; 70 wt)


Community Quilt 35

14 12 2012

My new batch of quilts arrived with the lovely Lisa a week ago! I completed the three smaller ones last weekend but have only just got around to taking the photos and writing blog posts about them.

First was a pretty teddy bear quilt. I wanted to make the hand-embroidered bears ‘pop’ (those blocks had double batting behind them, like trapunto), so I knew that tight/dense stitching around the bears would do that. I also stitched around the main bear shapes to make them pop even more. The bears were the most important element, so I used a cotton thread that blended in with the cream (calico?) background. And I decided to use MacTavishing as the tight stitch.

(Click on a photo to view it larger.)

quilt35_02

After doing the bear blocks, the coloured borders of each block were too puffy, so my next decision was how to stitch them in a way that flattened them but with a stitch that a child might enjoy. I decided on big bubbles, in matching threads for each block (I didn’t want the bubbles to stand out too much).

My next decision was what to do with the empty cream blocks (setting squares) in the middle and on the outer edges. For the outer edges, I went with MacTavishing again, and for the inner blocks, I found an outline of a teddy bear on the internet, printed it out, cut it out as a temporary template, centred it and stitched around it, then added MacTavishing to make the outline ‘pop’. The final thing I added was another row of outline stitching around these two bears — in a ‘glow in the dark’ thread! Hopefully, it will show at night and the child who receives this quilt will get great delight in seeing the glowing outlines of the two little bears 😉

quilt35_03

quilt35_01

The back:

quilt35_04

Threads used:

  • Top: Superior King Tut ‘Papyrus’, plus various coloured threads to match the borders of each block
  • Bobbin: Wonderfil Deco-Bob (colour DB 115; 80 wt)


2012 FMQ Challenge: Summary

13 12 2012

This year I participated in my first-ever long-distance quilting challenge — the 2012 FMQ Challenge hosted and organised by SewCal Gal, a lady in southern California. Each month, SewCal Gal arranged for a different tutor to teach us a particular technique. All the tutors were great, and I’ve already incorporated many of their techniques in the quilts I’ve quilted this year. Some techniques I may never never use again, but I’m glad I did them. One thing about doing something you’re unfamiliar with is that it forces you to try something new — and even if you don’t like it and will never do it again, at least now you know why.

So this post highlights some of the sample pieces I did over the course of the year. Each month has a link to the blog post I wrote about my process and what I learnt from doing that month’s challenge piece, as well as a photo depicting the practice piece.

I’d like to thank SewCal Gal and all the wonderful tutors for giving up their time and sharing their knowledge so freely (yes, this challenge cost us nothing to enter except our time and dedication). I had a great time doing the challenge pieces and I learnt a LOT! I’d also like to thank all the other participants who so willingly shared their adventures on our Facebook page, and who so kindly helped everyone else, even if was just words of encouragement or ‘Likes’ for a particular piece.

January: Frances Moore: Leaves

Blog post: https://sandgroper14.wordpress.com/2012/01/07/2012-fmq-challenge-january/

05_front

February: Diane Gaudynski: Feathers

Blog posts (yes, there are two!): https://sandgroper14.wordpress.com/2012/02/05/2012-fmq-challenge-february/ and https://sandgroper14.wordpress.com/2012/02/12/2012-fmq-challenge-february-more-feathers/

blue_front02

March: Ann Fahl: Loopy fills

Blog post: https://sandgroper14.wordpress.com/2012/03/31/2012-fmq-challenge-march/

2012 FMQ Challenge March 01

April: Don Linn: Marked designs

Blog post: https://sandgroper14.wordpress.com/2012/04/23/2012-fmq-challenge-april/

Design 2 stitched out with McTavishing as the external filler

May: Leah Day: Spine designs

Blog post: https://sandgroper14.wordpress.com/2012/05/20/2012-fmq-challenge-may/

2012_fmq_may

June: Cindy Needham: Micro fills

Blog posts(yes, there are two for this month!): https://sandgroper14.wordpress.com/2012/06/08/2012-fmq-challenge-june/ and https://sandgroper14.wordpress.com/2012/06/09/2012-fmq-challenge-june-part-2/

geometric_feathers03

July: Angela Walters: Tiled fills

Blog post: https://sandgroper14.wordpress.com/2012/07/29/2012-fmq-challenge-july/

July 2012 FMQ Challenge piece

August: Wendy Sheppard: Jester’s hats

Blog post: https://sandgroper14.wordpress.com/2012/08/19/community-quilt-13-and-2012-fmq-challenge-for-august/

quilt13_02

September: Paula Reid: Marked design

Blog post: https://sandgroper14.wordpress.com/2012/09/21/2012-fmq-challenge-september/

IMG_4725

October: Teri Lucas: Name echoing and fills

Blog post: https://sandgroper14.wordpress.com/2012/10/07/2012-fmq-challenge-october/

fmq_Oct2012

November: Sarah Vedeler: Spirals

Blog post: https://sandgroper14.wordpress.com/2012/11/25/2012-fmq-challenge-november/

quilt32_04

December: Patsy Thompson: Border effects

Blog post: https://sandgroper14.wordpress.com/2012/12/02/2012-fmq-challenge-december/

Dec_2012_finished

Bonus tutorial: Susan Brubaker Knapp: Photo

Blog post: https://sandgroper14.wordpress.com/2012/09/30/2012-fmq-challenge-bonus-tutorial/

bonus


Threads I’ve used in my Sweet Sixteen

13 12 2012

Someone on the Handi Quilter Sweet Sixteen Yahoo! Group (HQ_Sit_down_model) asked about thread recommendations. Here’s my response in case it helps anyone else.

My experience with my Sweet Sixteen (remember the tension is fully adjustable, and needle size affects breakages too):

  • Superior King Tut – Can get a bit linty/fluffy, especially if you’re going fast. Rarely breaks.
  • Superior Rainbows – Shreds/breaks occasionally; no fluff.
  • Isacord 40 wt polyester – I LOVE this thread in my S16 – it goes through the machine like a hot knife through butter. Never breaks or shreds and no fluff and looks good on the quilt. Big colour range too.
  • Fil-Tec Glide – Similar to Isacord
  • Fil-Tec Harmony – similar to King Tut as it’s also a cotton; can be very fluffy/linty especially when you’re going fast so clean out the bobbin area and the tension disks often.
  • Madeira Rayon – shreds/breaks occasionally; I only ever thread this through no more than two top holes (sometimes only one) otherwise it breaks more often. No fluff.
  • Robison-Anton rayon – as for Madeira Rayon
  • Floriani (embroidery thread?) – as for Madeira Rayon; not sure if this is a rayon or polyester – it’s definitely not cotton.

For bobbin thread, I tend to use lightweight threads, such as Wonderfil’s Deco-Bob (80 wt) or Invisifil (100 wt), or Bobbinfil (70 wt). Update: ALso Fil-Tec Magna Glide Classic pre-wound bobbins (60 wt) — love those!! I have used normal 40 wt thread in the bobbin, but I hate having to change bobbins so often with that 😉 On one lap quilt, I used King Tut in the bobbin and the top – I had more than 10 bobbin changes (I think it was about 12) for that quilt, whereas when I use Deco-Bob or Bobbinfil, I can often get a lap quilt done with just two bobbin changes. And with Invisifil, even fewer (though I think Invisifil is a little thin for a quilt that’s going to be used a lot – it’s good for art quilts, though).

Remember, this is MY experience with MY machine. Your experience with these threads differ. Always test on a scrap sandwich and adjust tension and needle size if you can’t seem to work with the thread.

See also:

threads_catalog02


2012 FMQ Challenge: December

2 12 2012

The last free motion quilting challenge for 2012 (ever?) was announced today. It was another by Patsy Thompson, and this time she focused on various treatments for borders — narrow and wide and all sizes in between. I had some spare time today, so I got to and did it!

Here’s my piece (click the photo to view it larger — it looks MUCH better larger). Unfortunately, reds, oranges, and yellows don’t photograph well on my camera. The fabric is a deep/dark maroon and I used a bright fluoro yellow on the inner border, a fluoro orange for the next one, followed by a fluoro lime green, and a variegated King Tut thread that combines yellow, green, and purple (‘Passionfruit’, colour #931) in the outer border. I wanted the stitching to stand out 😉

Dec_2012_finished

I enjoyed doing this one — thanks for your excellent instructions, Patsy — though I wasn’t happy with the inner loops (especially when I practised them going back the other way to make ovals — they looked really horrible!). I quite liked the shell variation (the lime green one on this piece) and intend practising that one some more. I did the feathers without a curved ruler — I just used the base of a thread spool to mark the curves 😉

So that’s it. The 2012 FMQ Challenge is over. The last step is to post a summary, which I’ll do in the next few days. Meantime, I’d like to thank SewCalGal for all her efforts in making this happen, the 2000 or so other quilters worldwide who participated, and the sponsors who donated prizes. I’ve had fun and I know I’ve improved my FMQ skills and increased my confidence. I tried some things outside my comfort zone that I enjoyed, and others that I didn’t — but it was all about expanding my knowledge and skills and if there’s a technique I’ll never use again, at least I’ll know why.