143 animal pouches and hanging bags

23 11 2025

That was the total number of animal pouches/hanging bags I made recently and delivered to a wildlife care place in Busselton last week. Actually, it was more than 143, because all the x-small and small pouches are lined, meaning that 2 pouches get made for each final pouch. Adding those lining pouches to the total meant that I made 247 items!

I gave them:

  • 73 x-small (lined) pouches (total of 146 pouches made)
  • 31 small (lined) pouches (total of 61 pouches made)
  • 11 large (unlined) pouches
  • 13 medium (unlined) pouches
  • 10 x-large (unlined) pouches
  • 5 hanging bags

Many of the small pouches will be used for ringtail possums, and other small marsupials such as quenda, bandicoots, numbats, baby birds, while the larger ones will be for the larger marsupials, such as wallabies, kangaroos, etc.

I have hardly dented my fabric stash!!


More animal pouches

10 10 2025

We had our second (and last for the year) 4-day sewing and quilting retreat earlier this week. I’d replaced my old overlocker a month or two ago, so I’d done quite a bit of prep for this retreat by sewing lots of bits of scrap fabric together on the overlocker to make pouch liners for injured and sick animals. But most of the making was done on the retreat. At the last retreat, I’d made about 75, but that was before the overlocker sped things up—this retreat I made 189 pouches in 3.5 days plus 106 liners!!! In the photo are 48 extra small and 58 small lined pouches, and 28 medium, 32 large and 23 extra large unlined pouches.

I dropped them off to the Kanyana Wildlife Centre’s animal hospital on the way home, and they were most appreciative—they said they’ve had a lot of possum rescues recently and the smaller pouches are ideal for them.

In the photo, the yellow pile in the foreground are the 58 small lined pouches, while the yellow pile behind are the 48 extra small ones. The rest are the large (foreground), medium (middle) and extra large (back) unlined pouches.


Making pouches for wild animals

25 07 2025

The weekend after I returned from Europe, I went to an annual retreat up in the Avon Valley National Park. I love it up there in winter—everything is so green, the kangaroos and emus abound, and the raging Avon River can be seen from the top of the hill. I didn’t have anything I desperately needed to sew, so before I left for Europe, I’d decided I’d just make pouches for a wild animal rescue centre in the Perth hills (Kanyana, for the locals). I’d cut out a lot of the fabric before I left, and had asked the group to bring along any lengths of fleece or flannel they no longer wanted. Between what I’d cut out, what fabric I was given, and other fabric I’d brought along and got donated, I made 75 pouches of all sizes, suitable for small animals like baby joeys and quendas, and larger animals like wallabies and small kangaroos. One of the women in the group lives near the rescue centre and offered to drop them off for me. I’ll make more during the next retreat in October.

Sunrise, Avon Valley National Park, early July 2025

If you look closely, you should see a kangaroo or two

early morning fog, Avon Valley National Park, July 2025

75 animal pouches completed!


Back in the groove

6 10 2023

I knew my sewing/quilting mojo would return eventually! I’ve been on two 4-day retreats this year and both times I’ve sewn.

July 2023 retreat

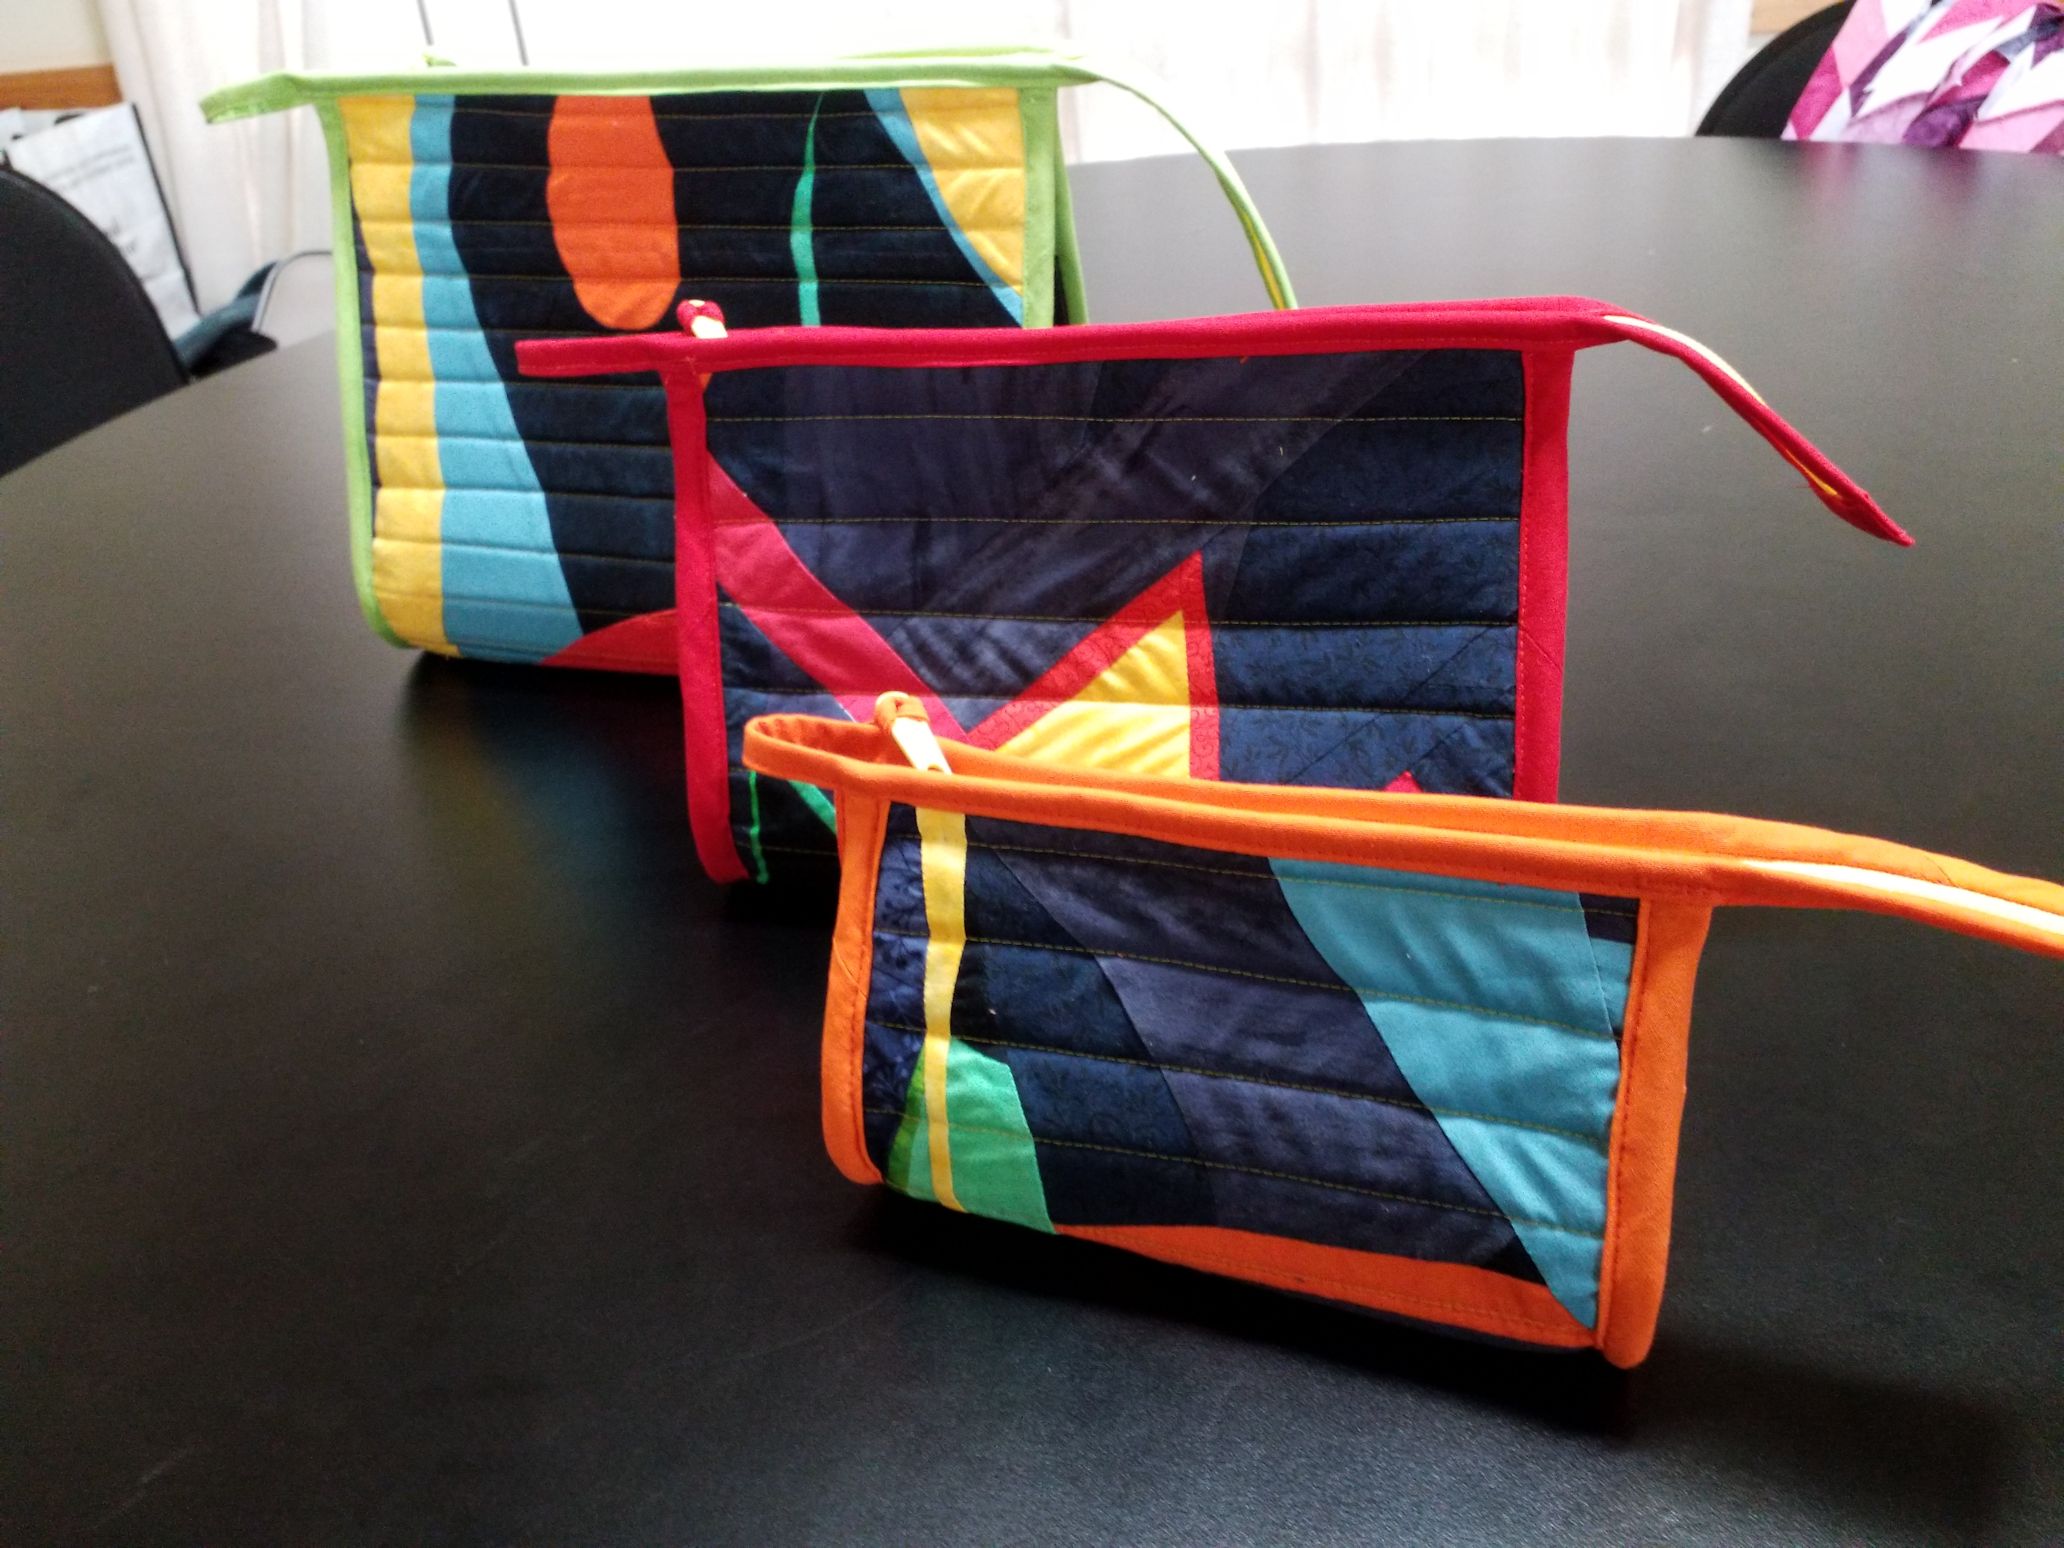
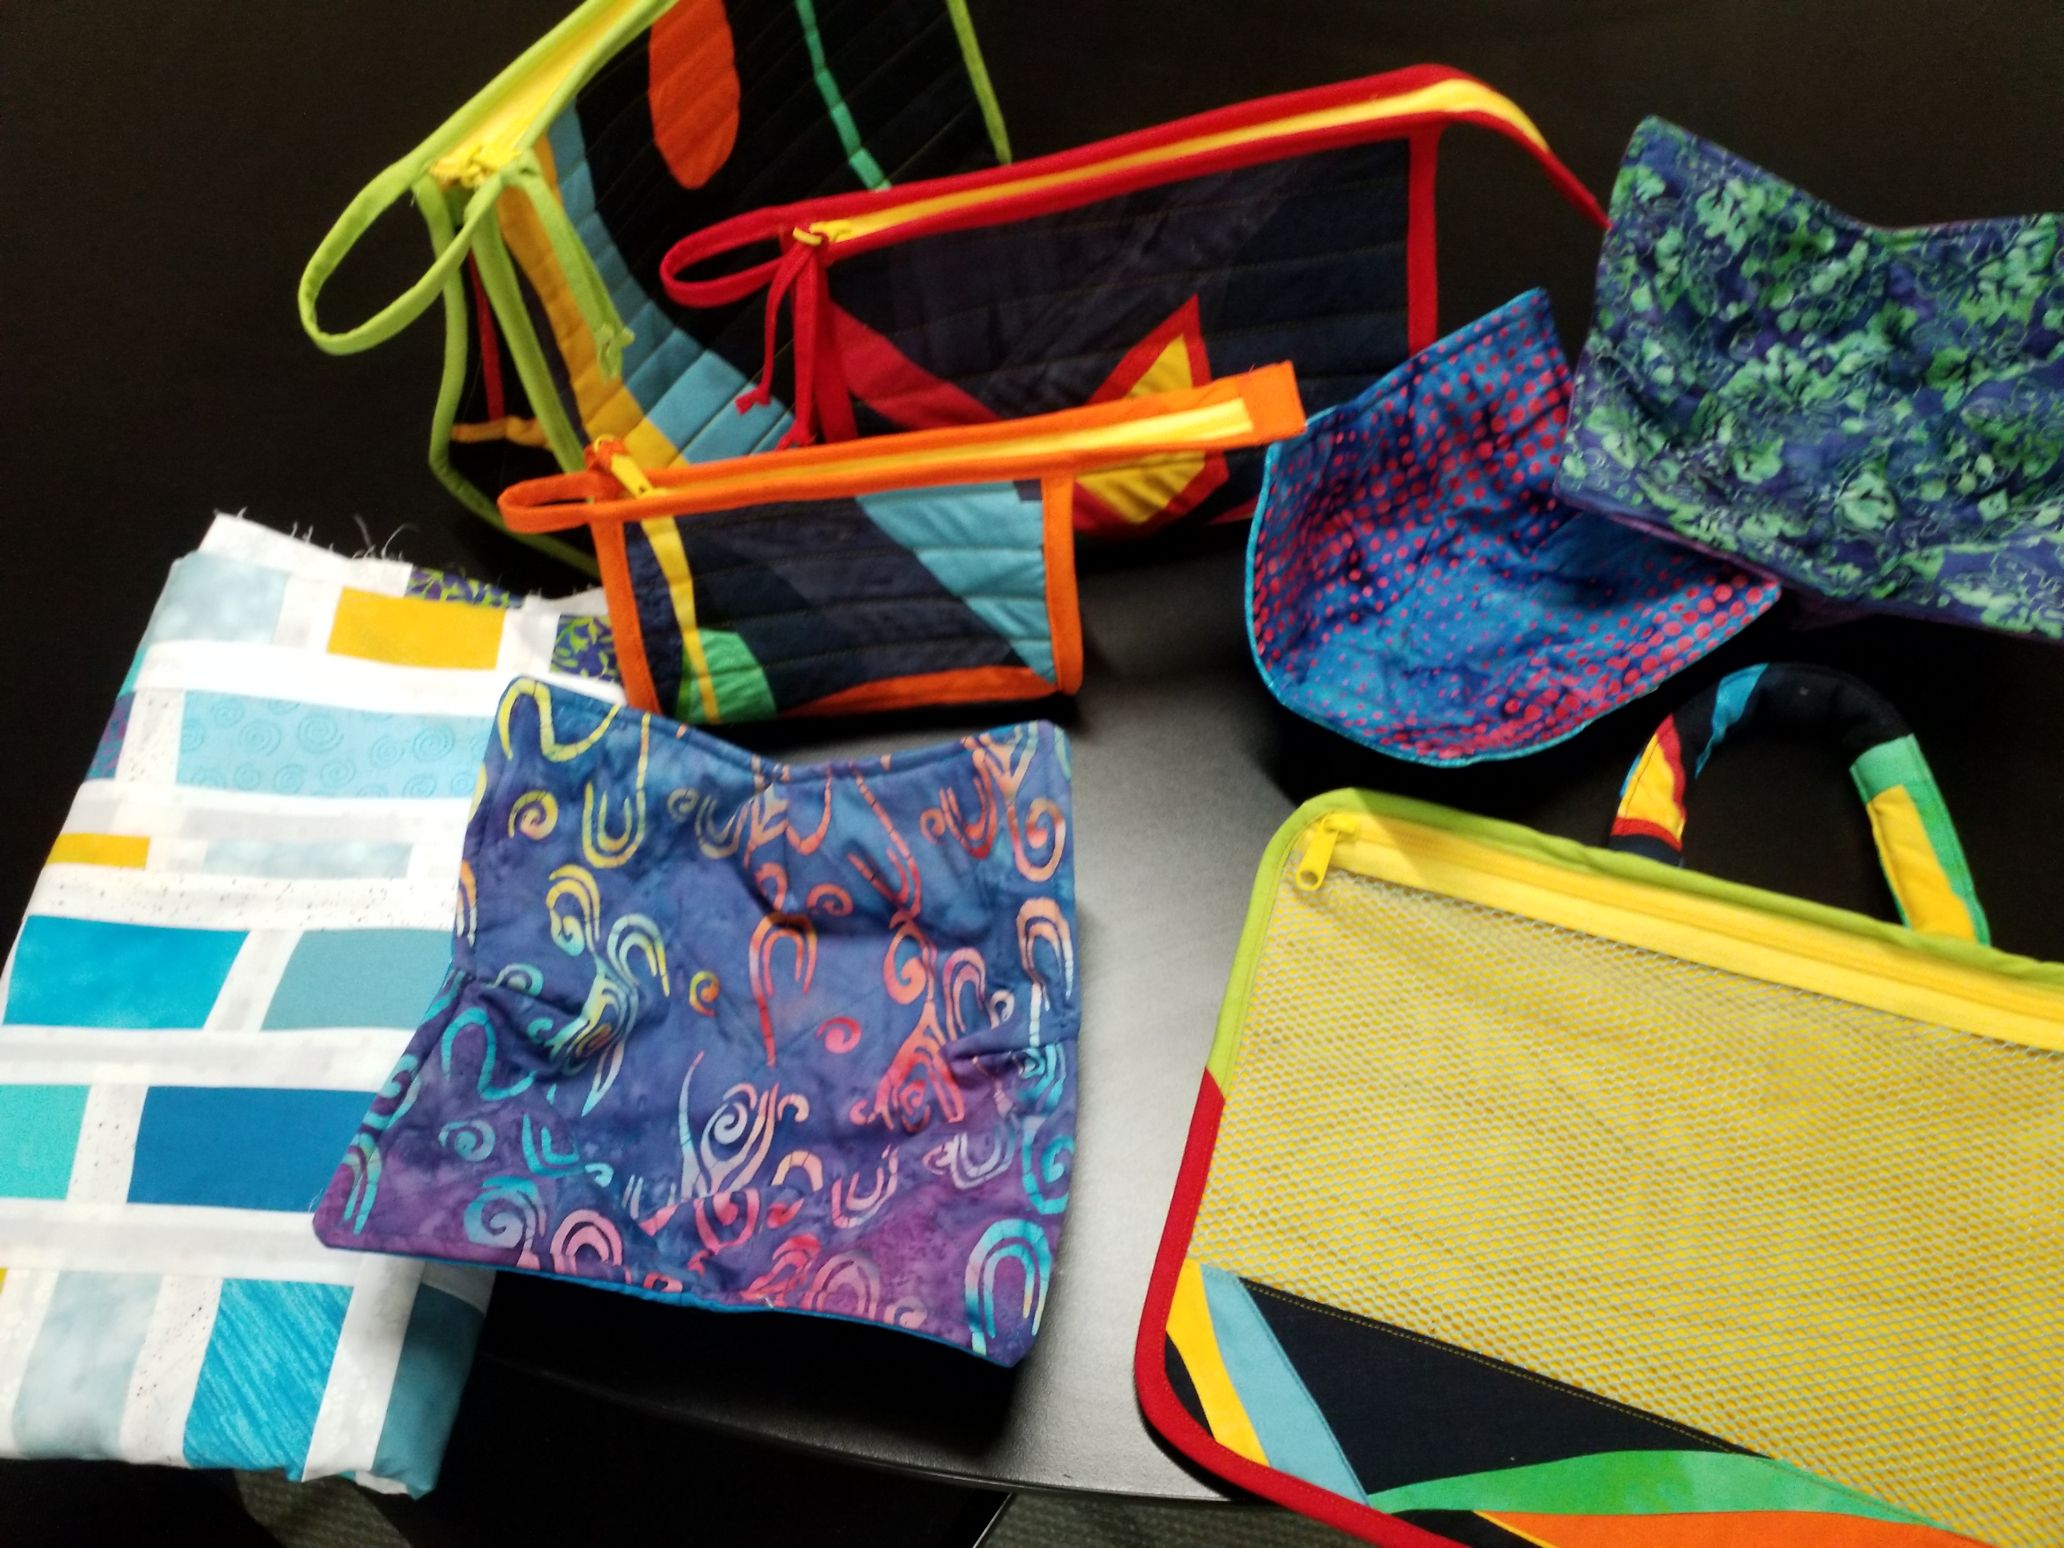
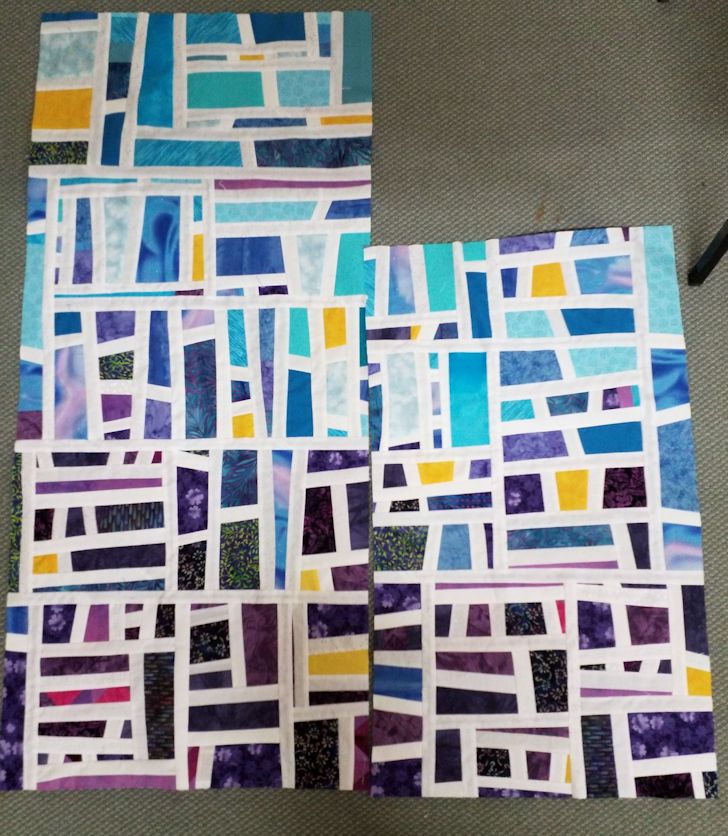
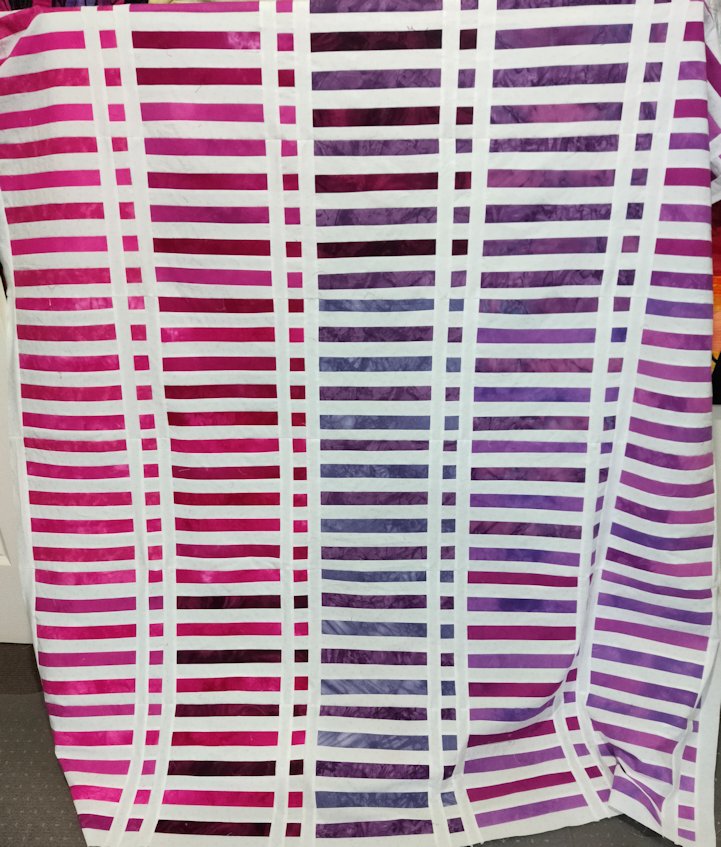
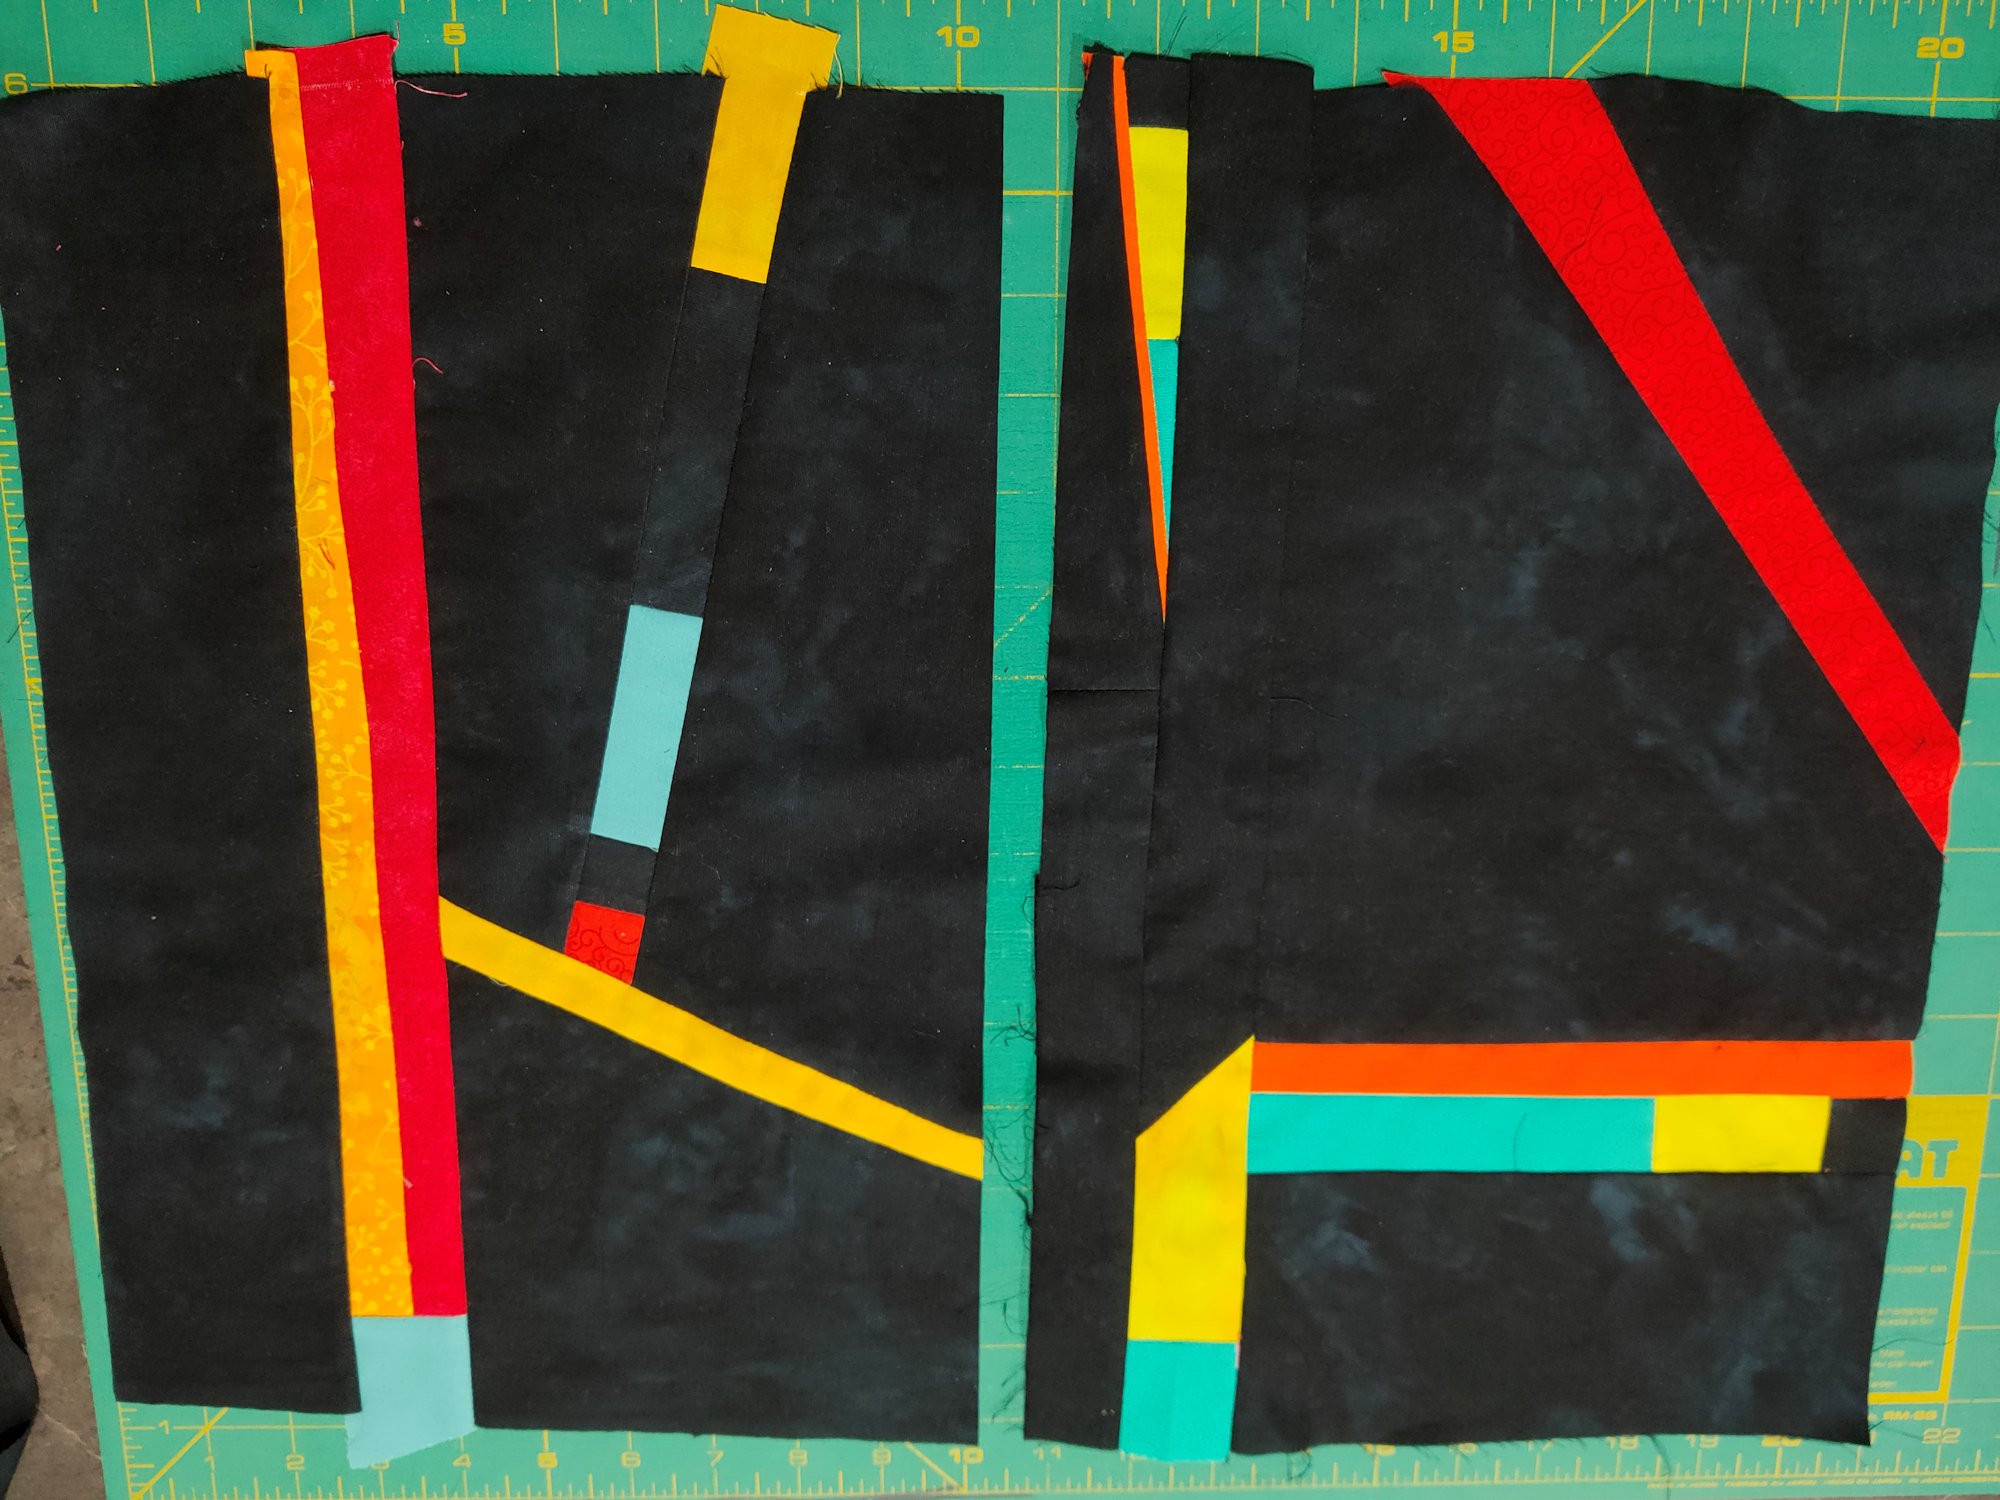
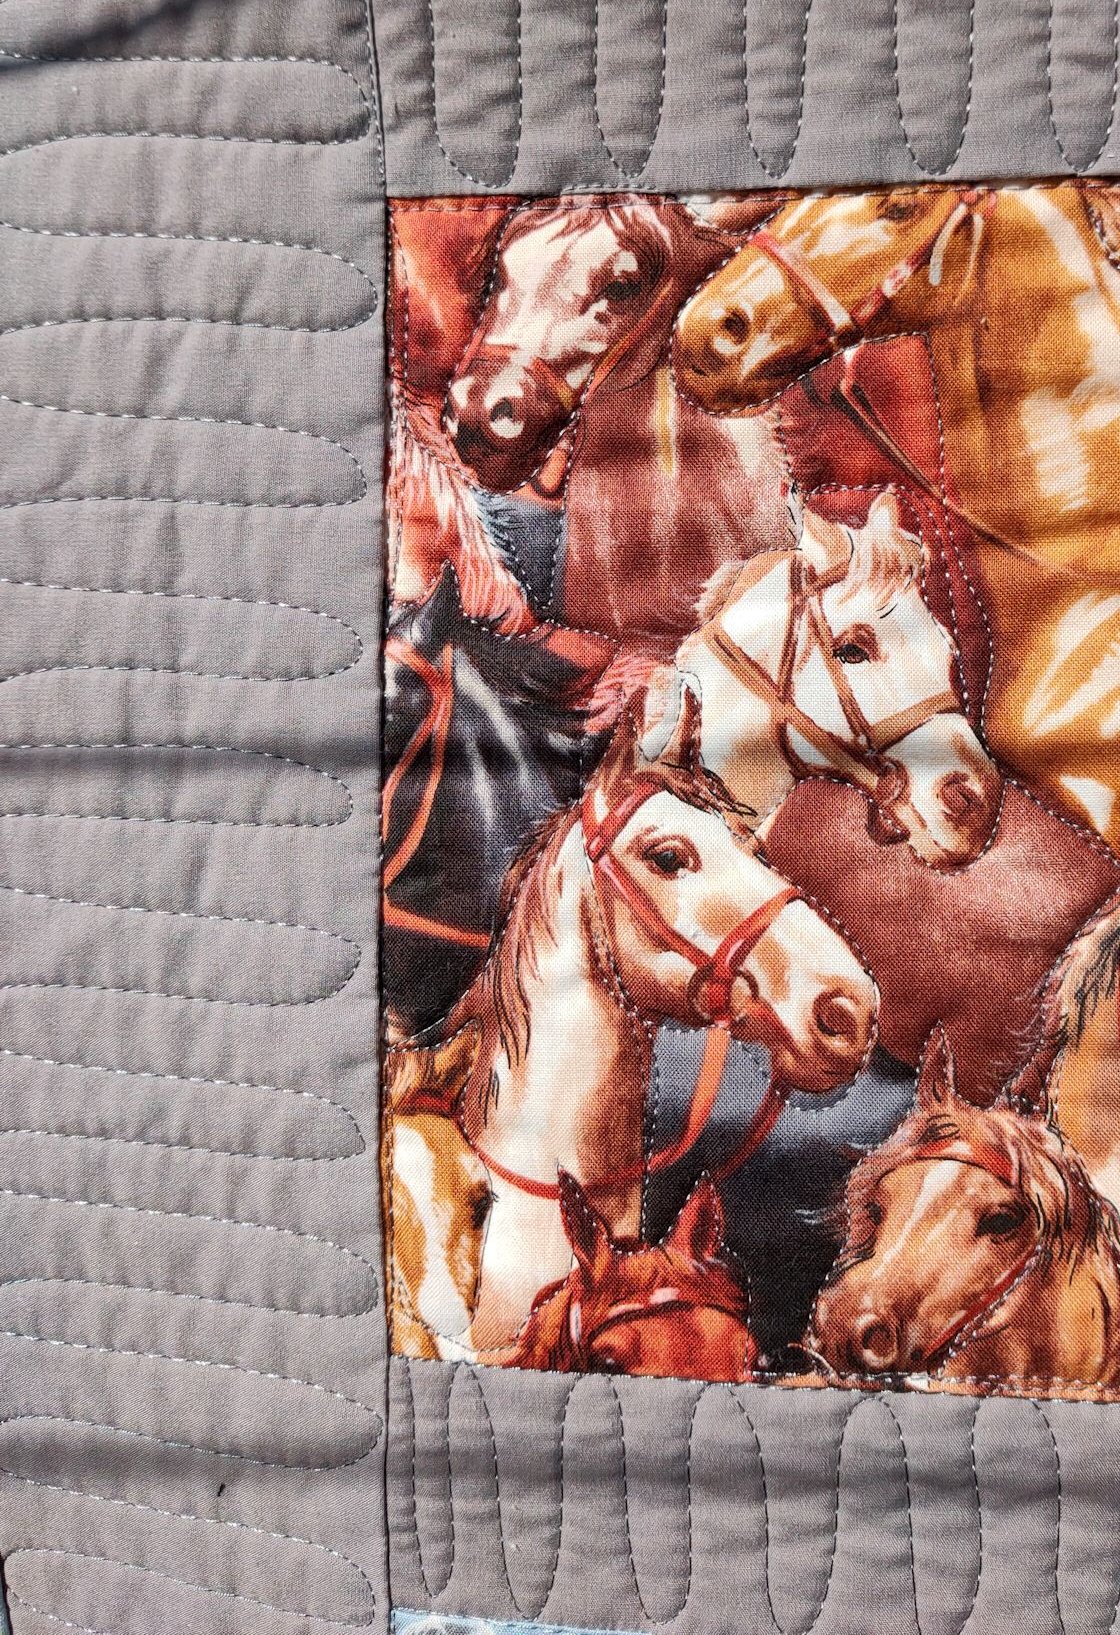
The first retreat was in July 2023, and I did some repairs to a jacket of my Dad’s so it would fit me, added the borders to a quilt top I started 2 or more years ago, made some bowl holders, made a set of 3 bags using fabric I’d created from scraps, and a zipped project folder. When COVID lockdowns were on, I did a class with Sheila Frampton-Cooper where I learned how to sew improvisational curves etc. I didn’t know what to do with the new pieces of ‘fabric’ I’d created, but when I decided to make the bags, that fabric seemed perfect for it. The pattern I used for the bags was Open Wide 2.0 from http://www.byannie.com (https://www.byannie.com/open-wide-2). I learned a lot about working with mesh, soft and stable, Wonder Clips, and zips. I learned even more about zips in the most recent retreat in October (below).

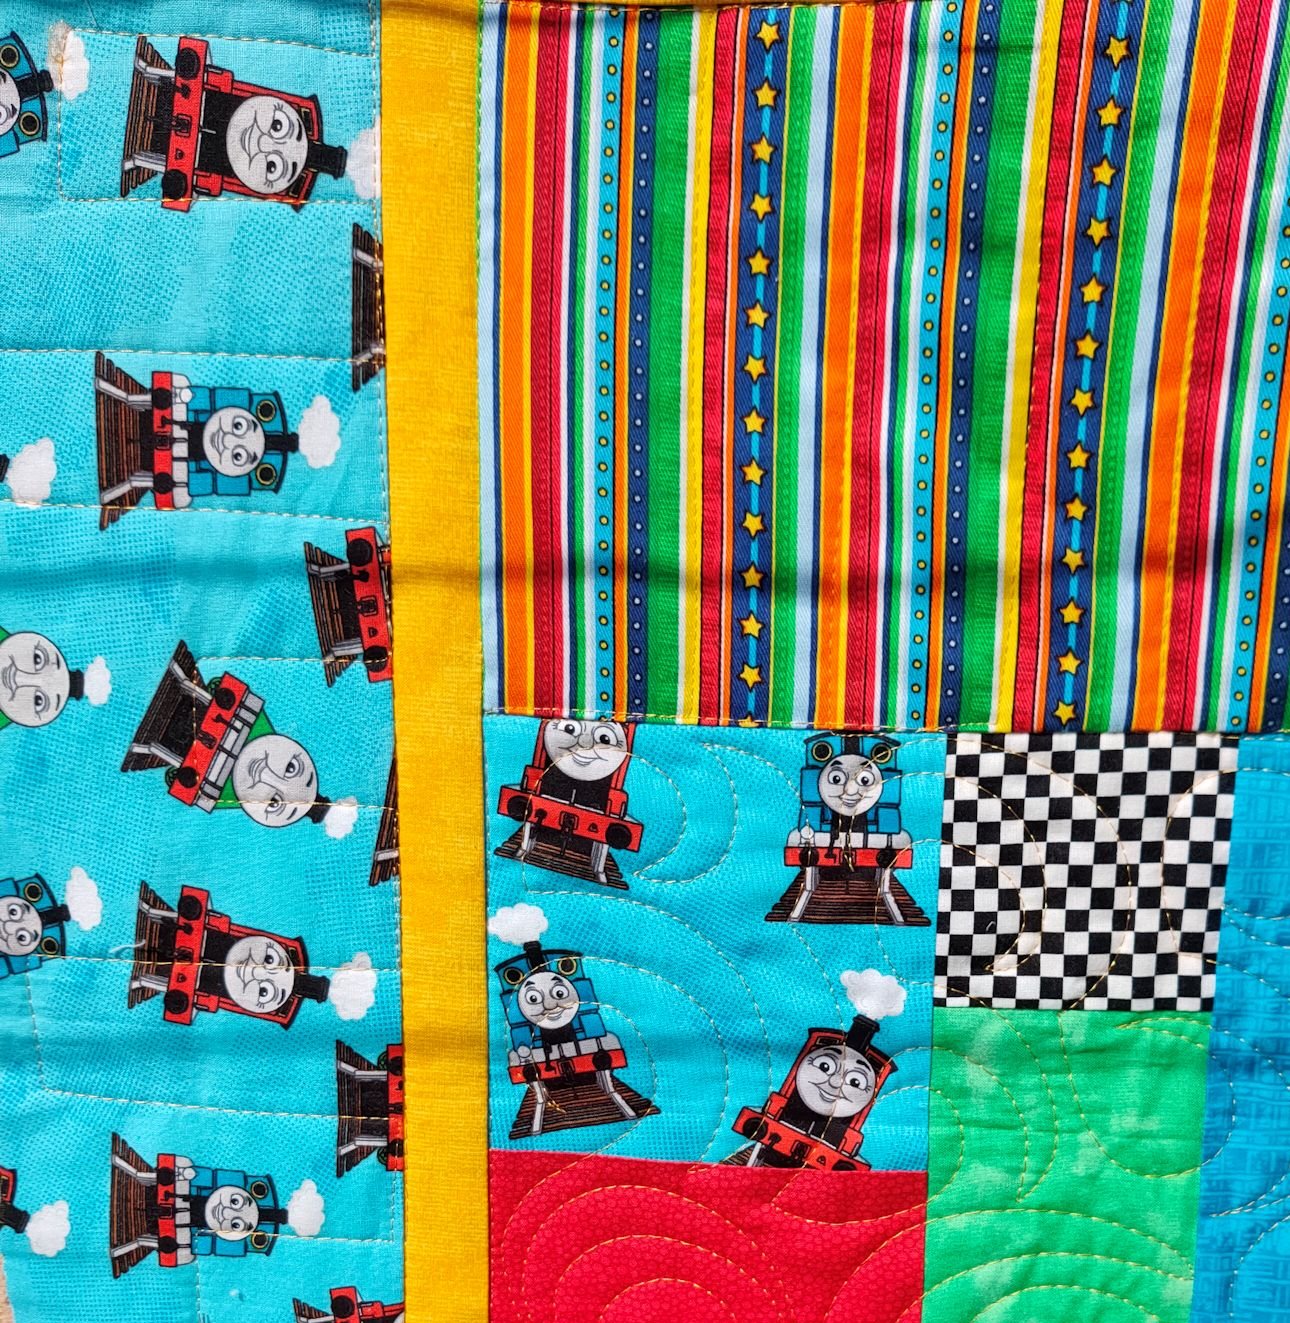
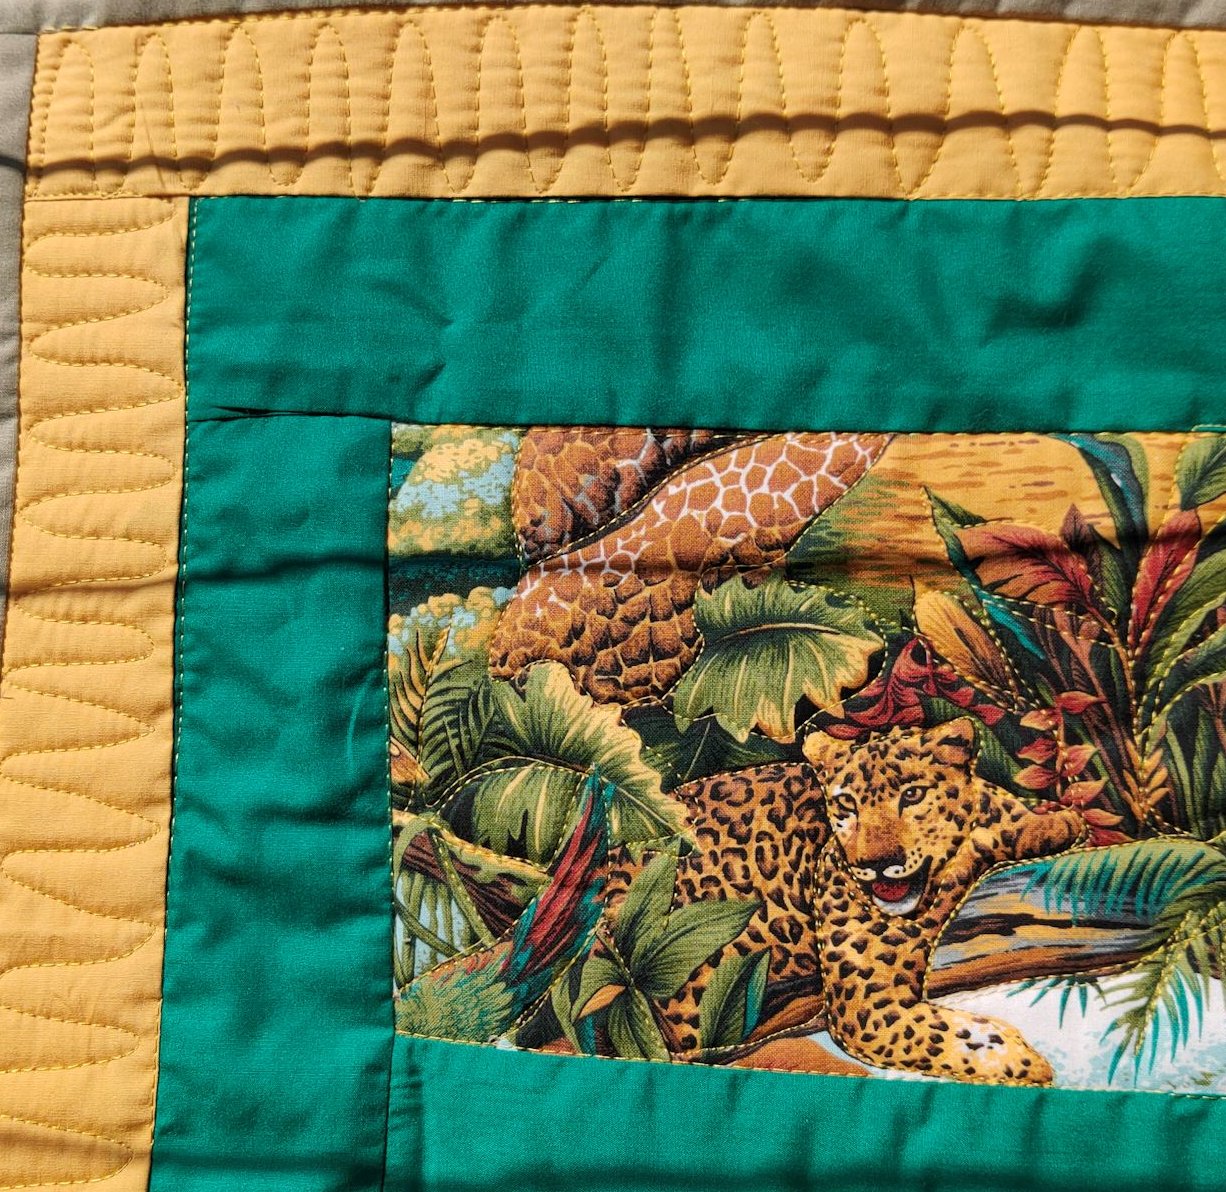
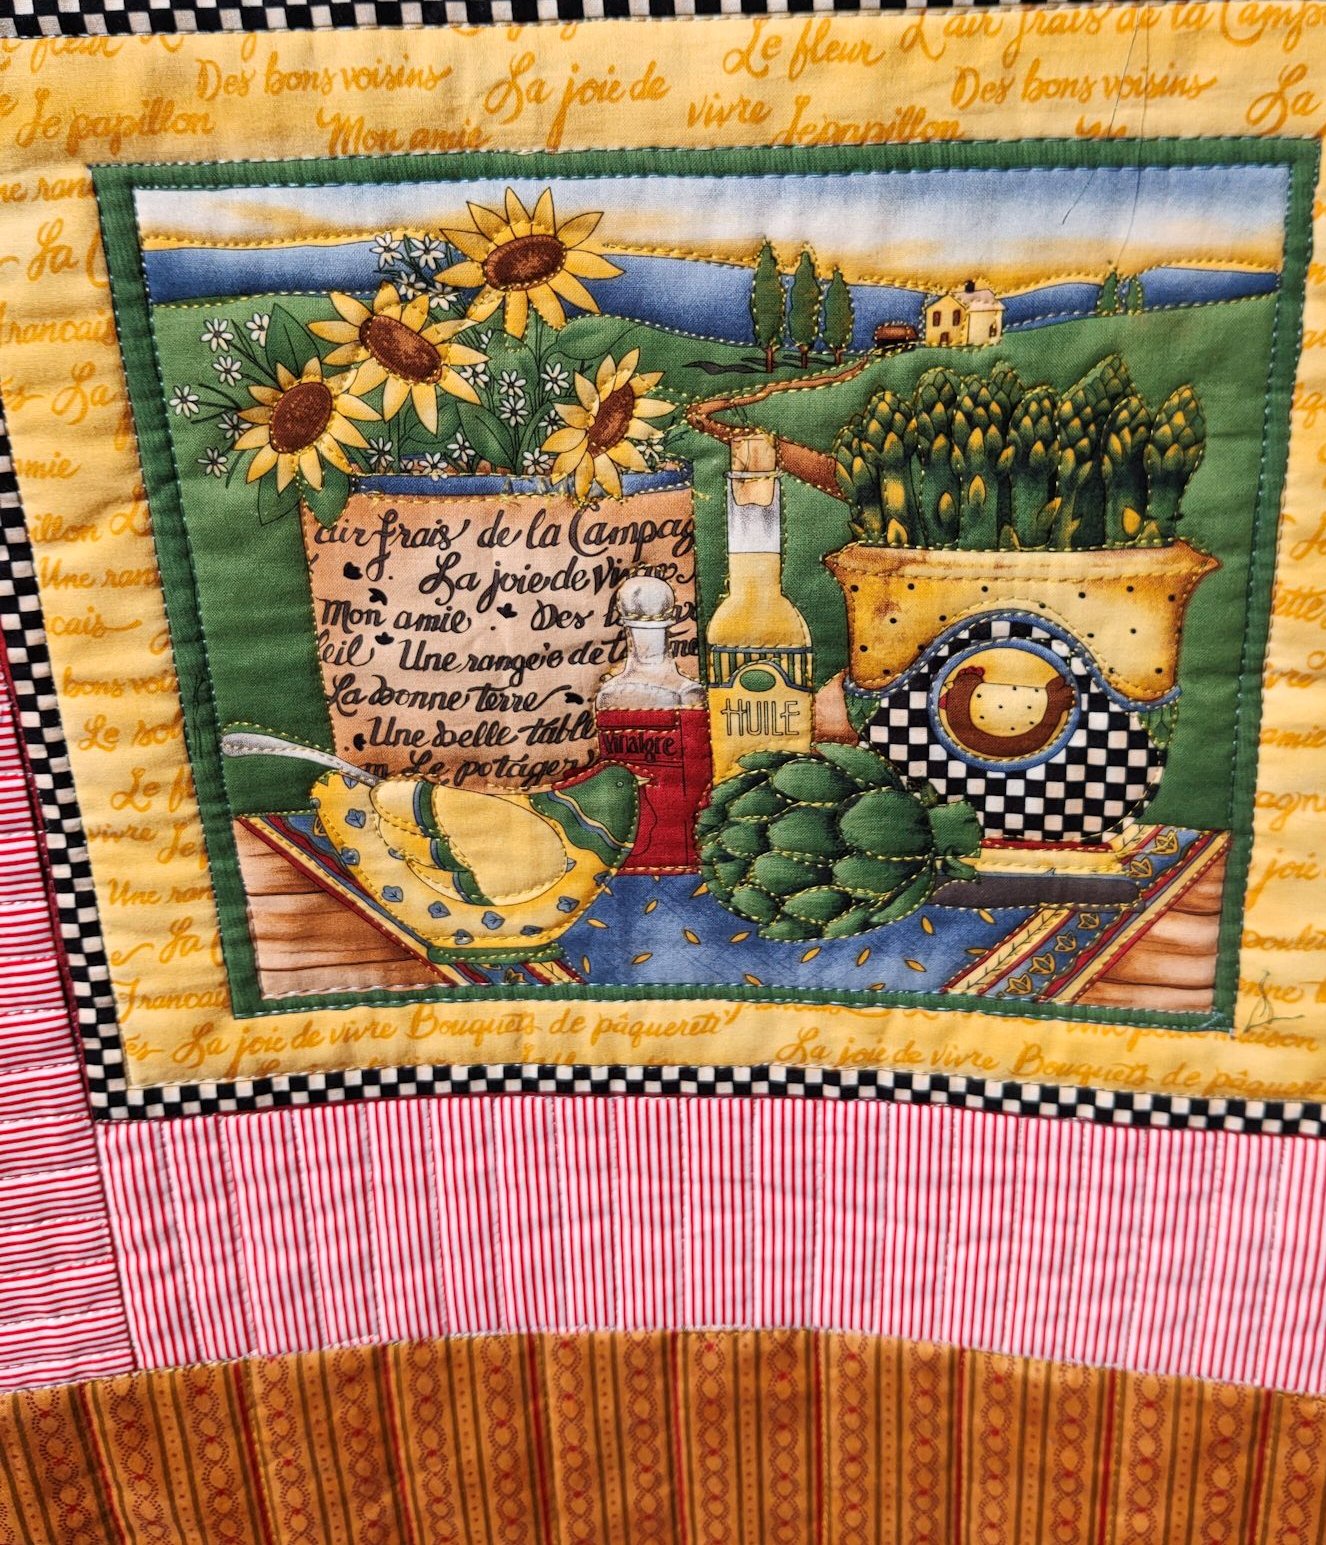
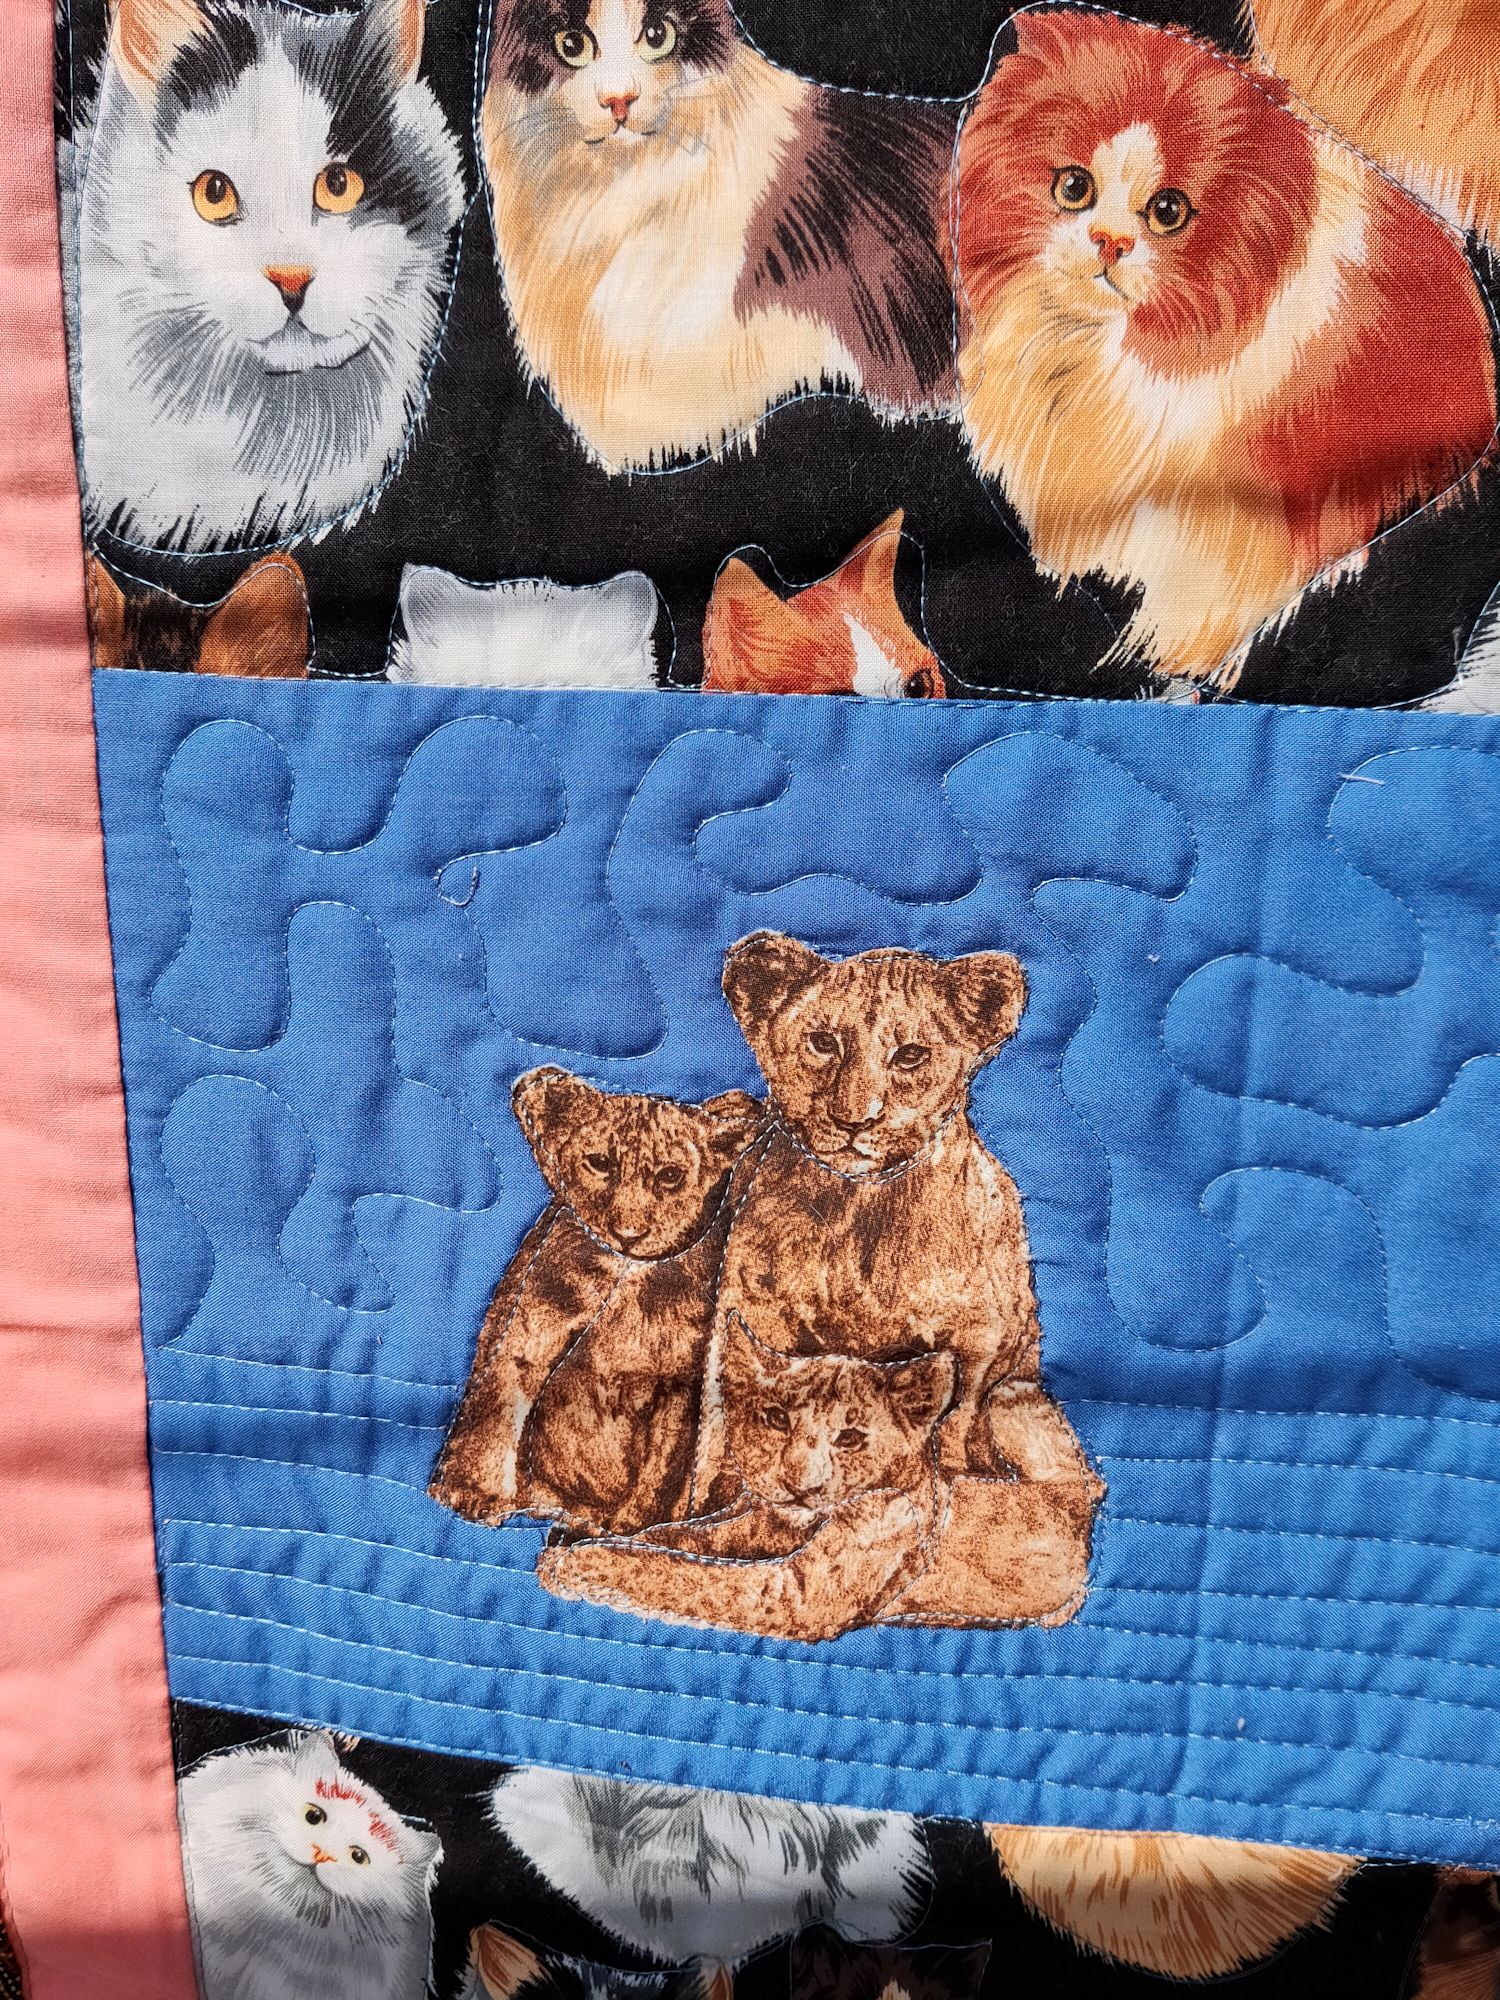
Some of the photos from the July retreat:


October 2023 retreat

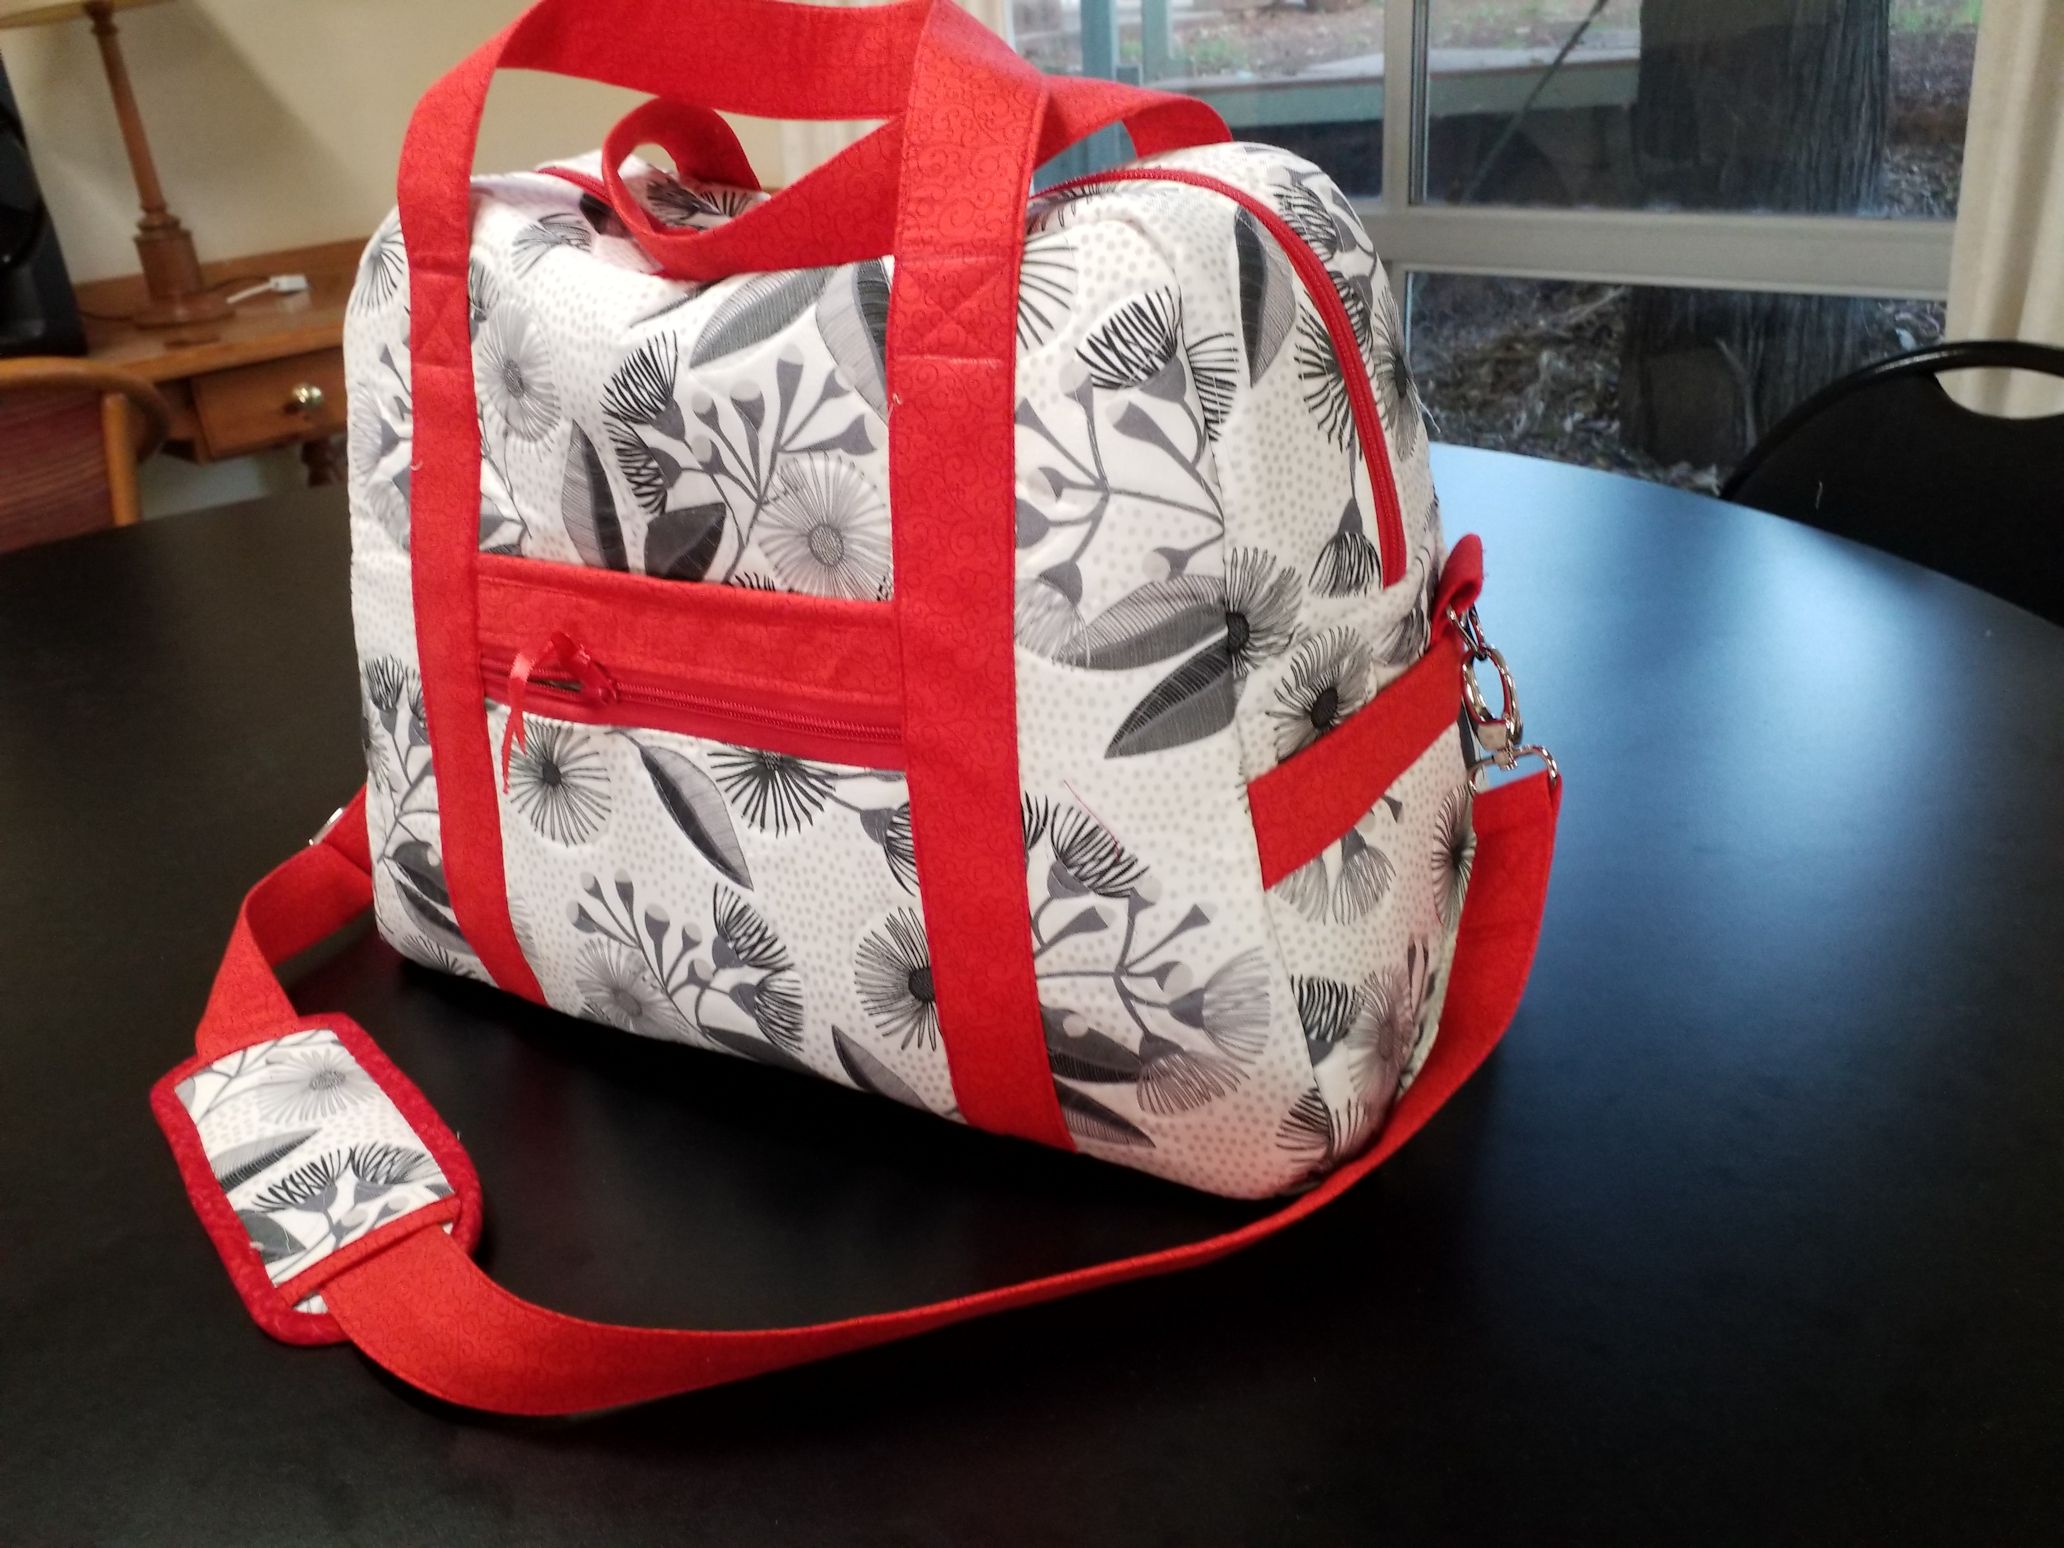
In the most recent retreat, I ventured a bit further into bag making. Here’s a tip—if you find a locally handmade large fabric bag in a market for less than $100, the maker is LOSING a lot of money. Why? The cost of the materials (pattern, zips, soft and stable, mesh, fabric, bag hardware etc.) was well over $100 and that’s not counting the skills and labour involved (the travel bag alone took me 20+ hours to make, including several hours of prep time).

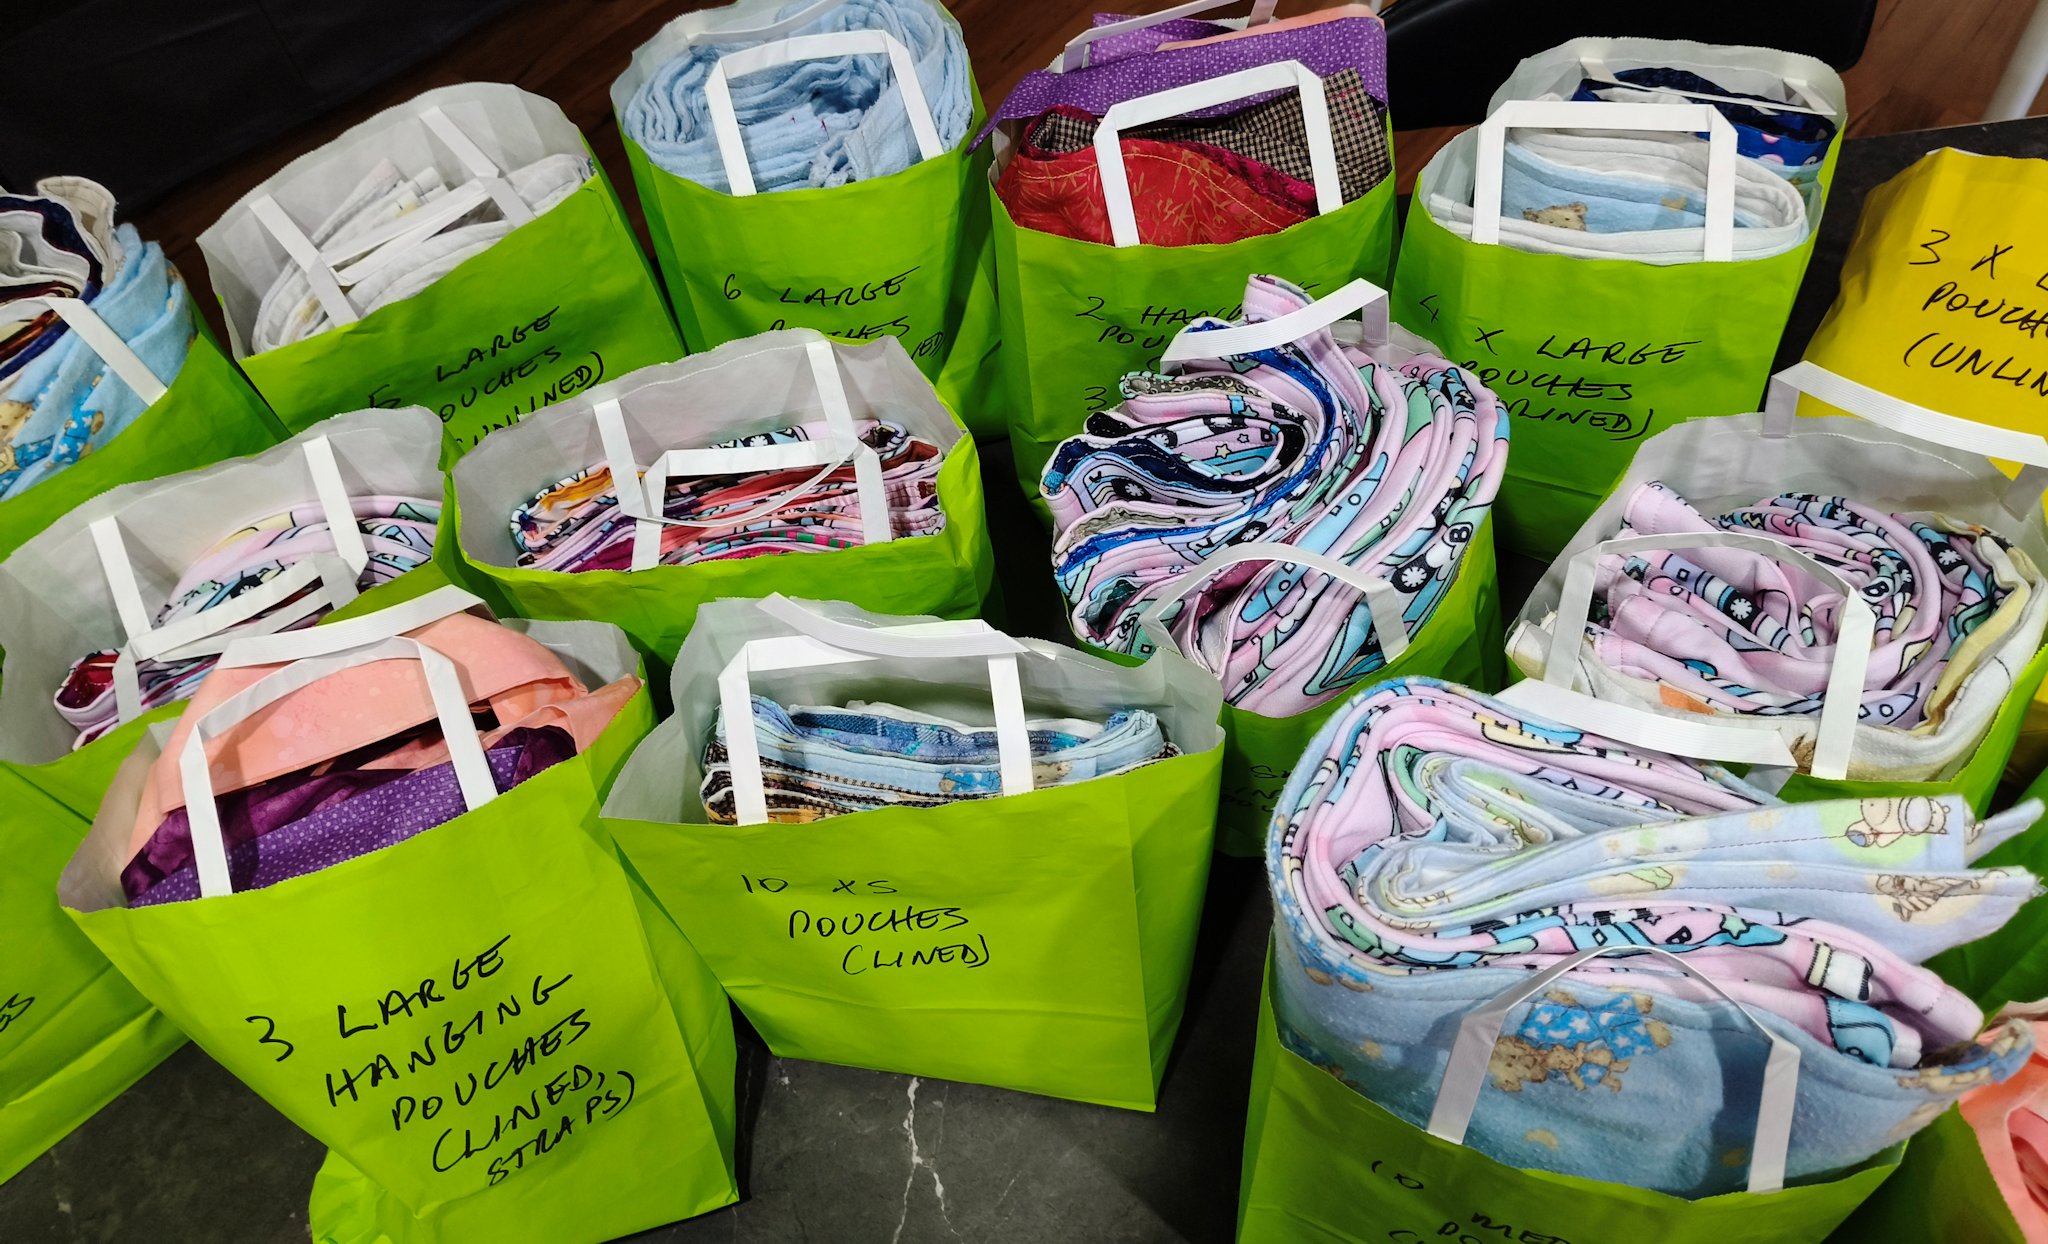
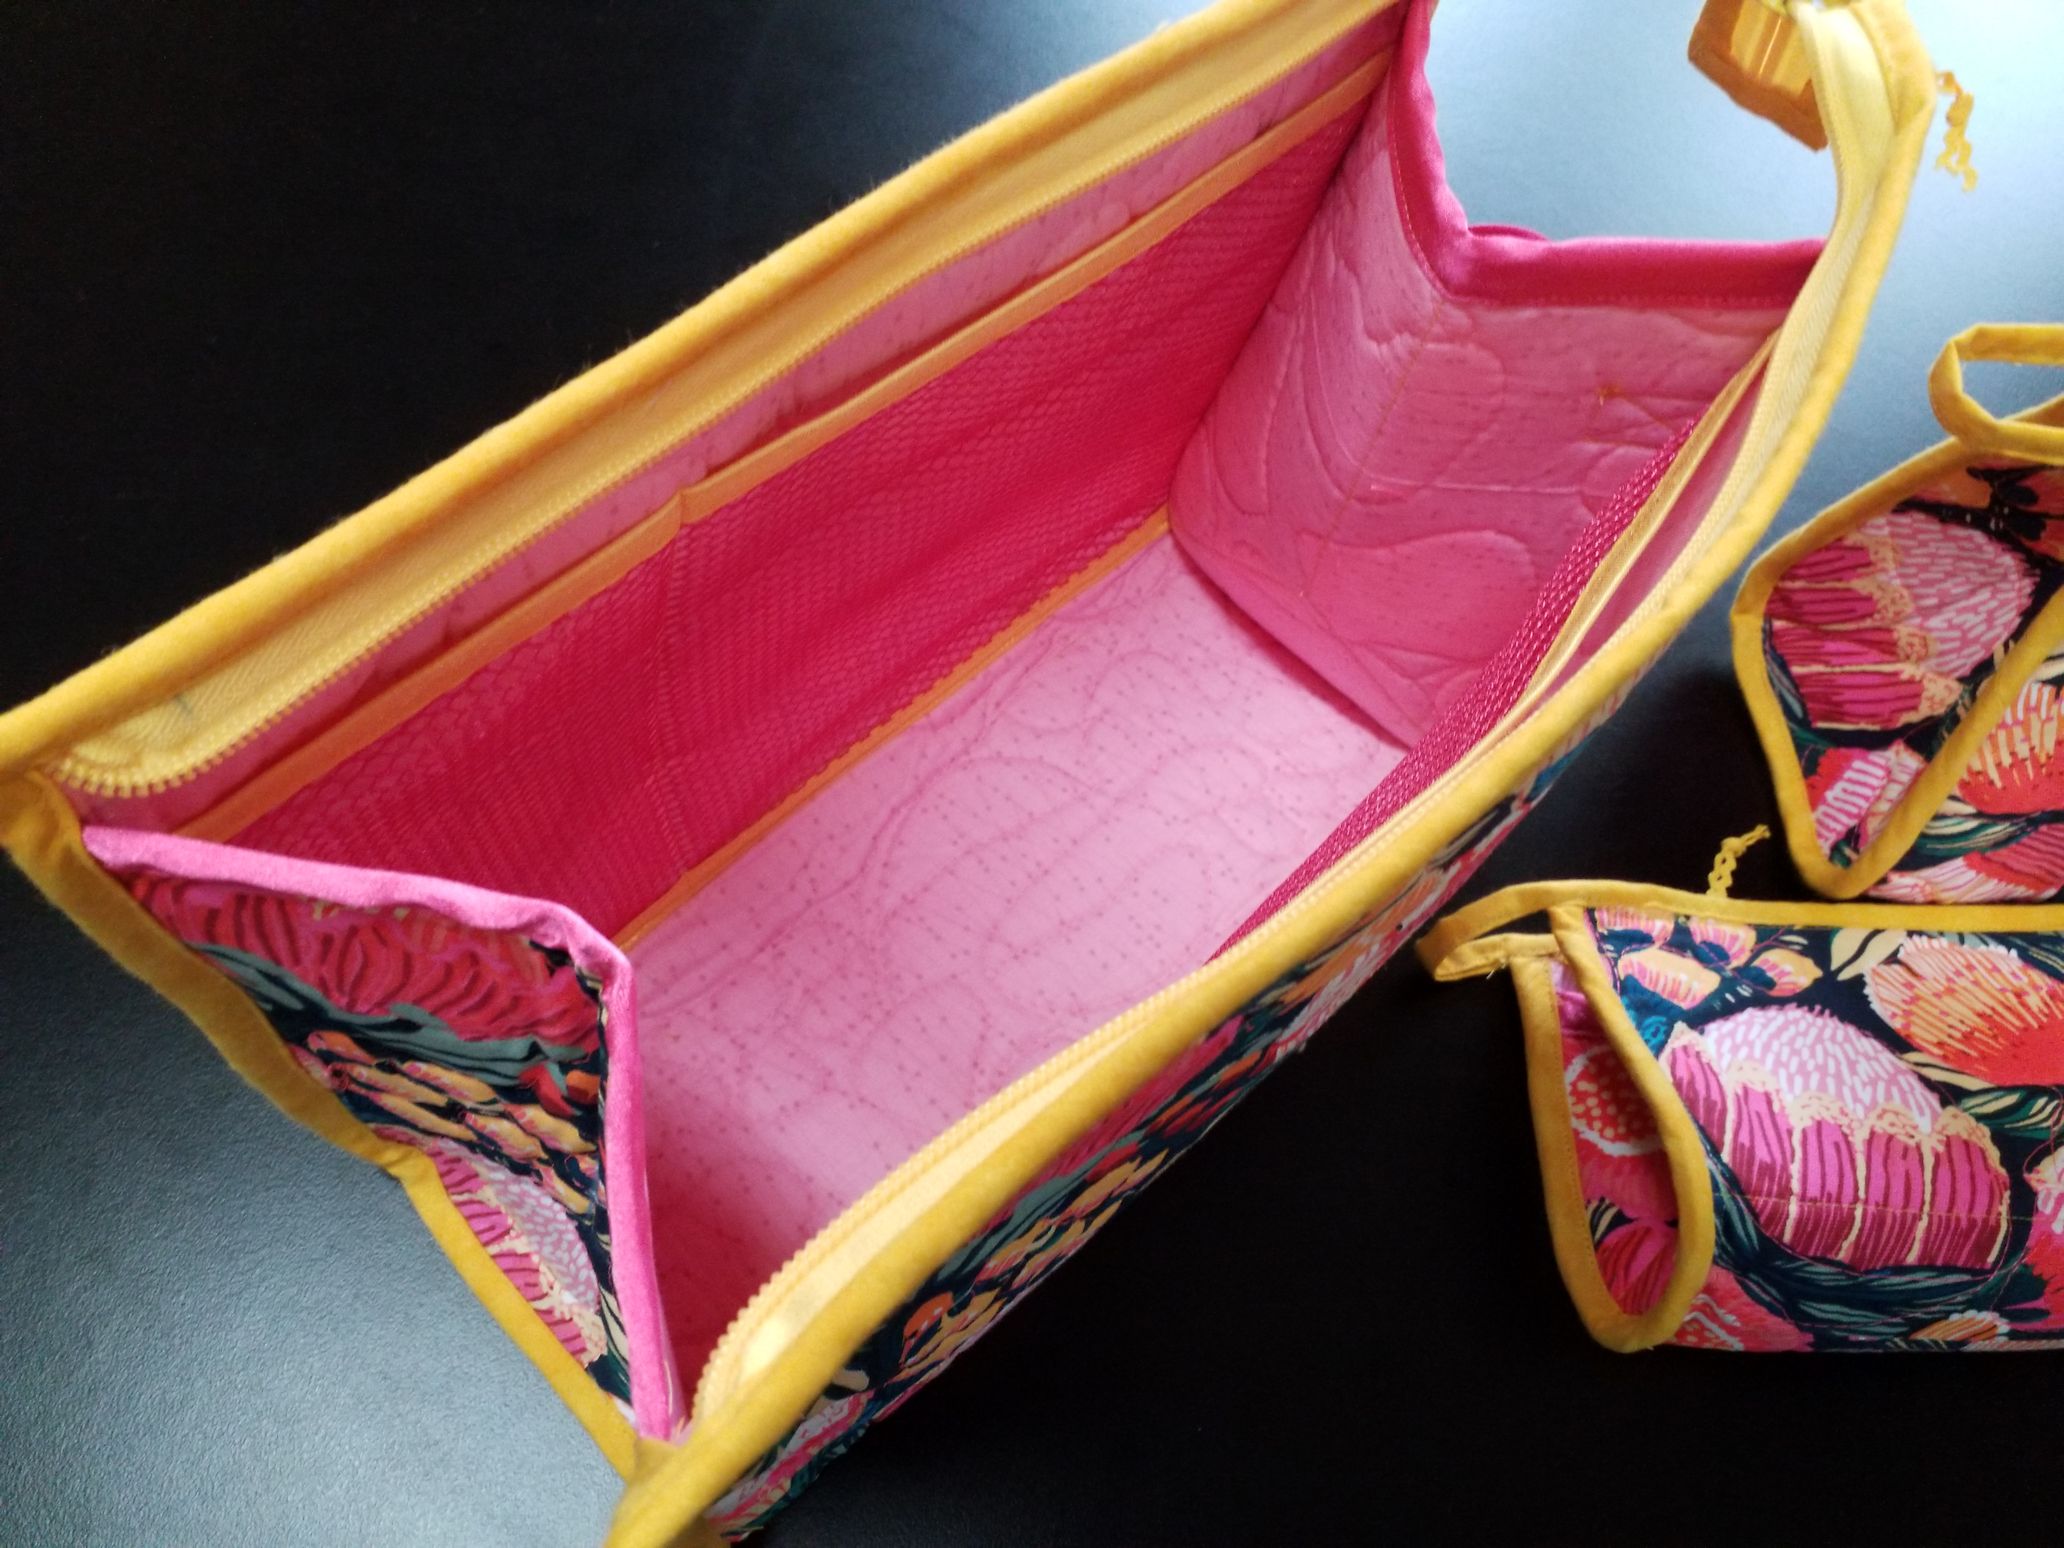
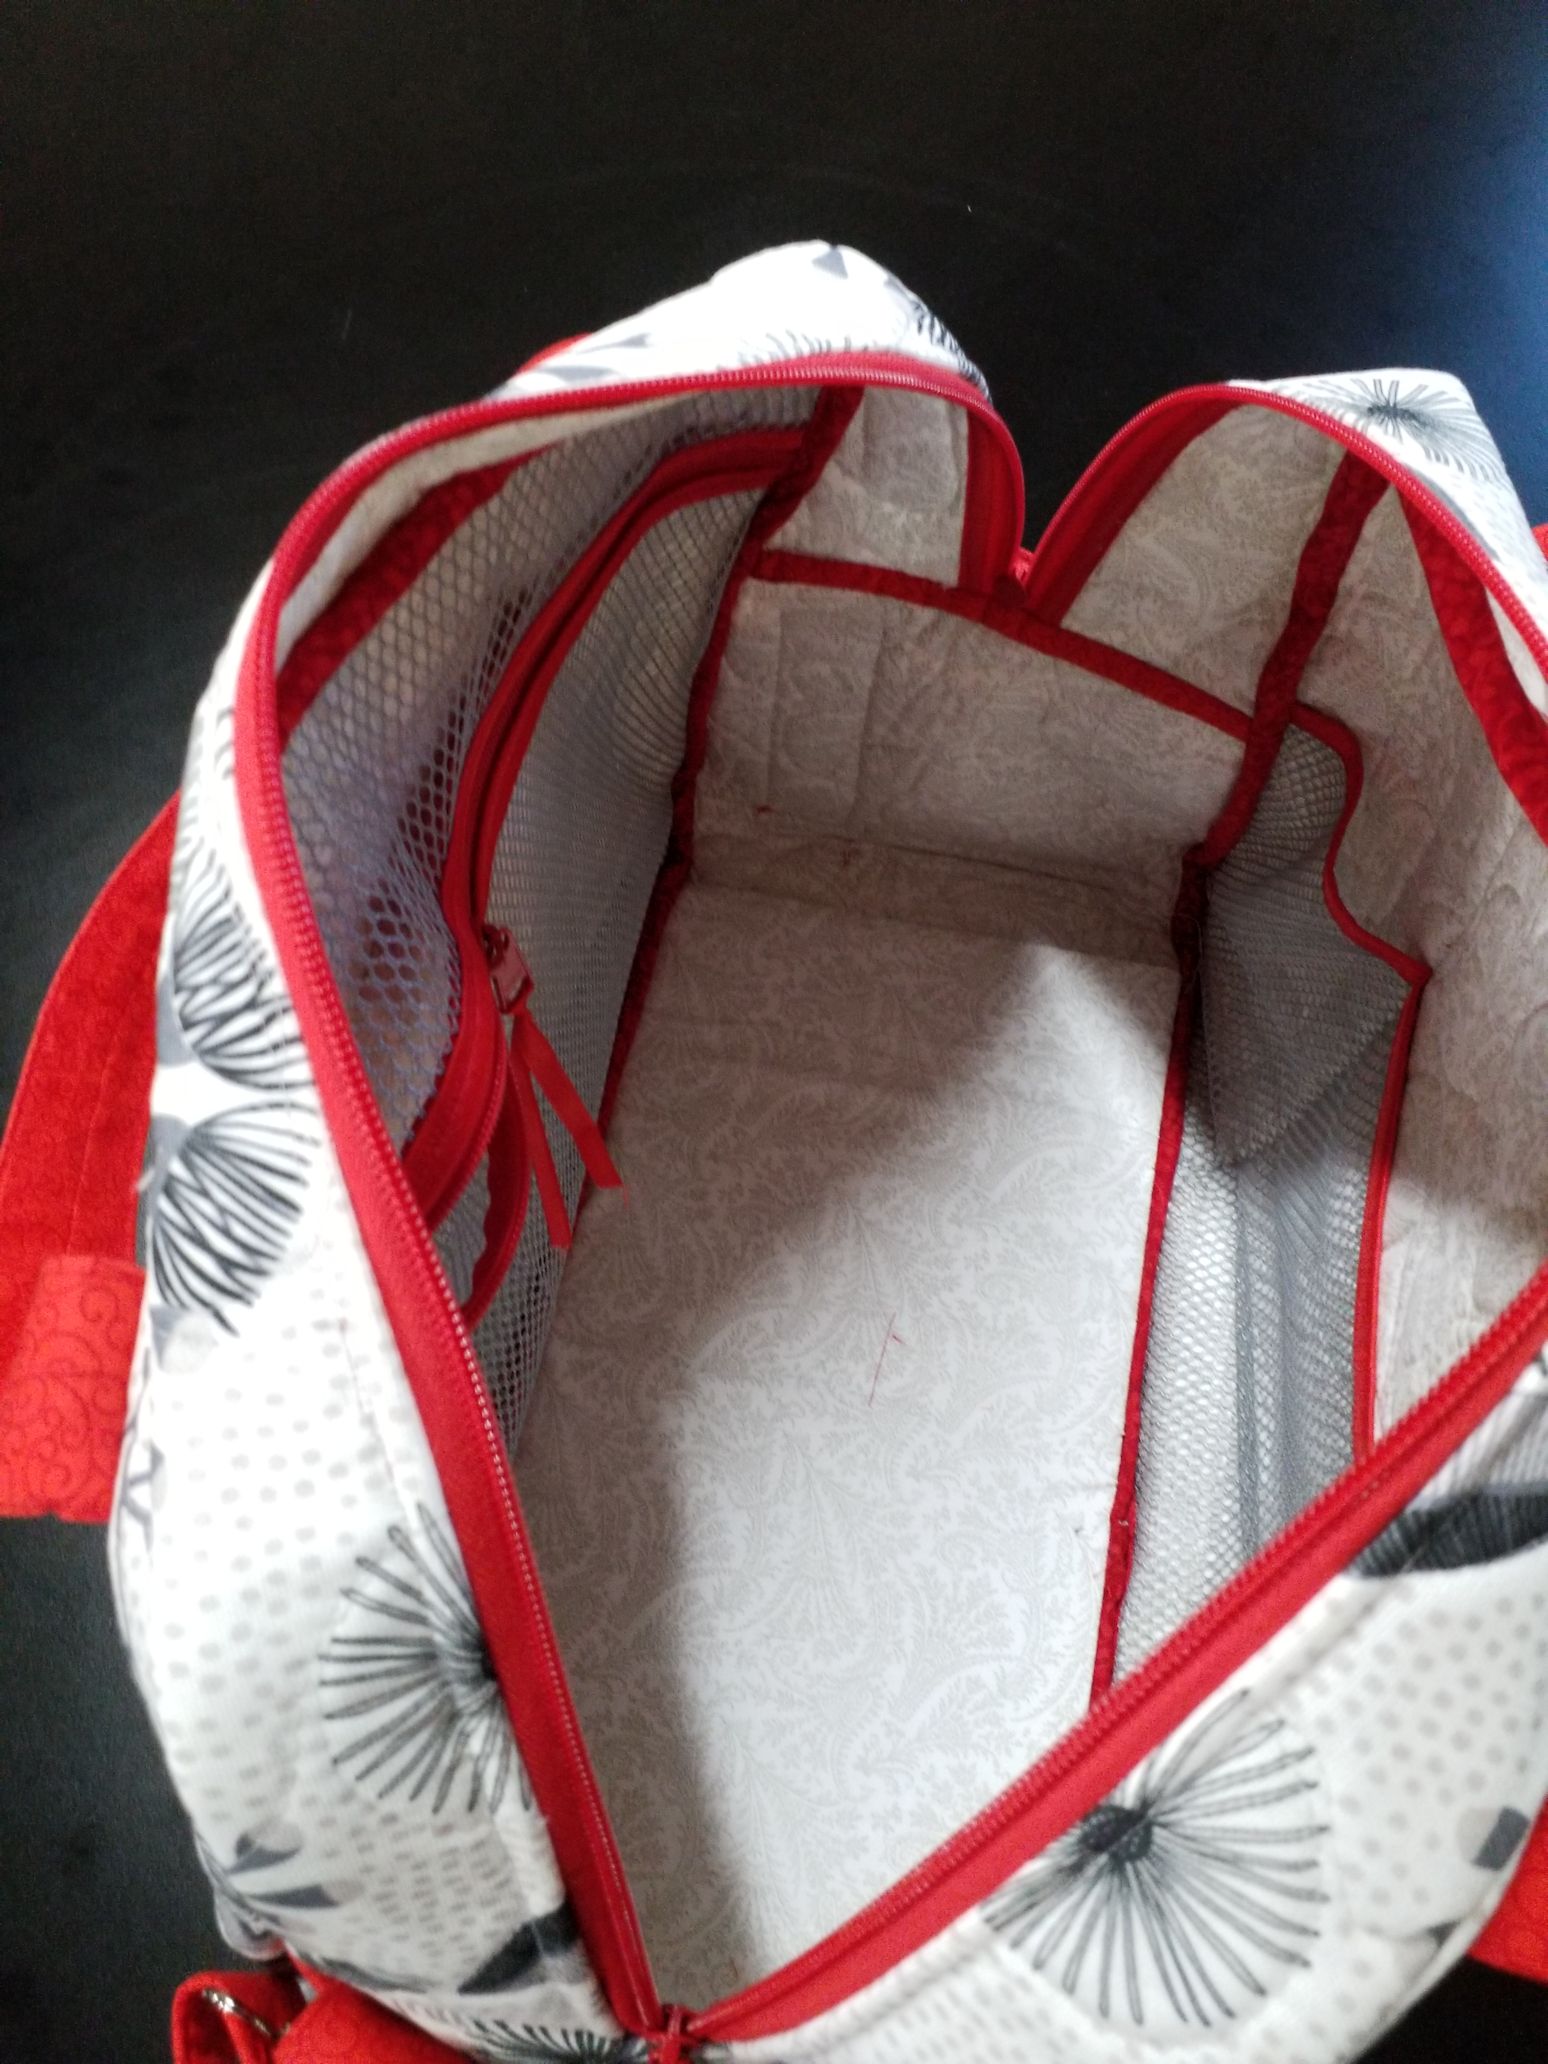
This time I made another set of 3 bags, a caddy for carrying stuff (e.g. for a baby, for yarn, for fabric, whatever… [https://www.byannie.com/catch-all-caddy-2]), and a large travel bag suitable as a carry-on (https://www.byannie.com/ultimate-travel-bag-2). All the patterns were from By Annie. And I also stabilised a grocery bag for my Mum that was starting to fall apart. I learned even more about zippers, particularly a useful trick for adding zipper pulls to a long length of zipper tape (I can buy it in 4 m lengths, with about 20 pulls in the packet, but NOT inserted onto the zipper tape. See below the photos for this trick!

Zipper tape and pulls

When you buy zipper tape by the metre, you have to add the zipper pulls yourself to create the zip. Fortunately, zipper tape and pulls for bag making are bigger than those for dressmaking, so it’s easier to work with them. And they have plastic teeth that make them easy to cut. There are YouTube videos on how to use a fork for adding a pull, but the technique I was shown doesn’t require any tools. The most important thing is that you have a length of tape that has at least one ‘good’ end—which is where the zipper part finishes and there’s just a fabric end (2 bits) with no teeth. Always preserve the good end and only cut from the other end.

The other critical bit of information is identifying the ends of the zipper pull, which is the bit (usually metal) that goes onto the tape and creates the zip. There are two ends—the flat end (the ‘bum’) and the pointy end (the ‘head’), and there’s the puller itself. You’re only concerned about the heads and bums! If the zipper tape is closed, then you start with the bum end of a pull; if it’s open, you start with the head end.

  1. Go to the good end of the zipper tape.
  2. Make sure the zipper tape is facing up (i.e. the teeth are facing you) and decide if you need to insert the puller bum first (if the tape is closed) or head first (open tape).
  3. For closed tape: Make sure the zipper pull is also facing up. Insert the good ends of the tape into the flat (bum) end of the pull until they won’t go any further. Hold the two good ends and split them apart—this should open the zipper and force the pull down the zip. You now have an open good end, so it’s time for the head end.
  4. For open tap: Again, make sure the zipper tape and pull are facing up. Insert the head end of the next pull into the open good ends until it won’t go any further, then hold the good end and push the zipper pull down the tape. This will close the tape and you’re ready to insert another bum end of a pull.
  5. Add as many of these as you want (I added all 20 pulls, just moving each further down the 4 m length of zipper tape).
  6. When you ready to cut your zipper tape to length, make sure there is at least one pull along that length (some bags require 2), and ONLY CUT from the non-good end. Always preserve the good end as that’s the only thing that makes this technique easy.


Moondyne country

16 10 2021

I’ve been so focused on the school reunion the past 6 months that everything else has gone by the wayside, including writing a post on the quilting retreat I went to in August, the first I’d been to since early March 2020, just before the first COVID lockdown started. The venue near Toodyay we’d used for many years had sold in the interim so we had to find a new place—somewhere that had suitable accommodation, all meals, and a room big enough to hold about 20 people and all their sewing machines and gear, and not far from Perth. Our intrepid leader found a wonderful place in the Chittering Valley. We were there in mid-August when everything was lush and green and fresh. I think we’ve found our new home! The food was fantastic too. (However, I won’t be attending any retreats there in the summer months because of the bushfire risk—there’s only one road in and out and it goes through a national park for several kilometres, so the risk for me is too great.) By the way, the area is called Moondyne, named after Moondyne Joe, a notorious Western Australian bushranger who hid out in the area evading capture.

I’d pretty much lost my sewing/quilting mojo for the past 12 months, so this was a chance to see if it would come back, even just a little, and it did. That said, I haven’t touched what I made since I got home, but the reunion stuff has taken up an awful lot of my hours around my paid work. The reunion is next weekend, so my commitment will reduce to almost nothing once all the event photos are sorted out and shared.

Here are some photos of the venue (on about 1000+ acres, and overlooking the Avon River WAY down below; yes there are a LOT of kangaroos!) and the improv quilt top I put together over the 4 days.

late afternoon drinks on the veranda, with the afternoon sun casting a beautiful low over the people seated in the picture

Valley view down to the Avon River; many kangaroos grazing on the hillside

Avon River in full flow across rapids

Valley view down to the Avon River

Valley view across to the Avon Valley National Park

first quilt blocks partially completed -- purples and deep blues with splashes of yellow fabric

quilt top partially completed -- all aquas and purples with splashes of yellow fabric

quilt top completed -- all aquas and purples with splashes of yellow fabric

drinks on the veranda in the late afternoon, overlooking the green valley down to the Avon River

in the large conference room, set up with tables suitable for sewing

in the large conference room, set up with tables suitable for sewing

in the large conference room, set up with tables suitable for sewing


Rhythm quilt top

9 10 2020

I just finished making a quilt top, using a pattern called ‘Rhythm’ from Lo & Behold Stitchery: https://www.loandbeholdstitchery.com/

I used a white spotted batik for the sashing and borders, and many hand-dyed pink/purple fabrics that my friend Flora gave me a few months ago, plus some batiks and similar fabrics in the purple/pink colourway to make up the 16 different fabrics needed.

This top is classed by the pattern maker as a ‘small throw’ but it’s actually quite big, with the completed top finishing around 60 x 64 inches.

Next steps: Find a suitable backing fabric, sandwich it with batting, quilt it, then bind it. I’ll likely bind it with a combination of the remaining pieces of the purple/pink fabrics, perhaps scattered with some of the white. Or maybe just all white, as I have enough (I think!).

Quilt top in layered rows of graduated pink, purple and white fabrics


Online workshop: Improv BOM

20 09 2020

Back in April I was meant to be in Texas for a week-long quilting workshop (a short detour on my way to Utah for my conference). Of course, none of that happened, but the teacher of the workshop, Sheila Frampton-Cooper, has now segued into online teaching and recently started her first improv quilting course, a block-of-the-month (BOM) course over 12 months. But these aren’t traditional blocks—they are improv blocks and the first lesson (over several 10-min videos) showed us how to do freeform curved piecing, WITHOUT pins, and the more usual straight pieced blocks. I’m familiar with straight pieced blocks as I’ve made a lot of improv quilt tops using scraps, and all have involved straight piecing.

With the lockdown restrictions in place in California where Sheila lives, she’s done it all herself—all the filming (3 cameras!), sound, lighting, mixing/editing, etc.—and the result is fantastic and super professional! I watched her first lessons for Month 1 on Friday and made my first blocks this weekend. My DH reckons they look like licorice allsorts, and I have to agree!

Sheila’s Improv BOM class is here: http://fiberartworkshops.art/.

blue, green, red, orange, yellow and navy/black fabrics

My colour palette; the ‘black’ is a very dark navy/black

My first two straight pieced blocks


My first curvy pieced blocks

Licorice allsorts! (Photo attribution: By Ali K – Own work, CC BY-SA 3.0, https://commons.wikimedia.org/w/index.php?curid=12459893)


Community Quilts 484 to 496

24 08 2020

The latest batch of community quilts are now quilted and ready to go back to Perth for binding and distribution to charitable organisations. I’m NEARLY at 500!

(Apologies for the shadow lines through them. Unfortunately, the best place to hang them is on the clothesline outside and in full sun, but that means that the other lines cast shadows over the photos.)

Community Quilt 484

Community Quilt 485

Community Quilt 486

Community Quilt 487


Community Quilt 488

Community Quilt 489


Community Quilt 490


Community Quilt 491


Community Quilt 492


Community Quilt 493


Community Quilt 494

Community Quilt 495


Community Quilt 496


Fabric face masks

23 07 2020

A few Aussie friends outside Western Australia have reached out to me privately about the face masks I made for family oh so long ago back in mid-April. So, I’ll summarise it all here so that it’s in one place:

  • Pattern: This is the Leah Day pattern I used: https://stmichaelw.ca/documents/2020/4/LeahDay%20Mask%20Pattern.pdf. It makes a three-fold surgical style mask (with a pocket for a removable filter medium), with either tape ties (for kids) or elastic (for adults). She has two pattern sizes (kids and adults), and there’s a video as well as written instructions.
  • Fabric: If you’re making your own, quilting batik is best as it’s a high-weave cotton, followed by general quilting cottons, followed by everything else. When I say quilting batiks or cottons, I mean the good stuff, NOT the low-weave cheap fabric you can buy at the big store starting with S. Find your local quilt store/fabric shop and you’ll have a treasure trove of fabrics awaiting you! If you can’t find a quilting fabric store locally, then many do online orders, and I recommend two in Western Australia: Handcrafters House in Midland (https://handcraftershouse.com.au/; phone 08 9274 4955), who have an online shopping facility, and Craft Collections (Mummery Cres, Bunbury; phone: 0419 616 714). Further afield is Sew Gentle Era (Bridgetown), Cotton Rose (Vasse), and The Blue Box (Busselton)
  • Other bits and pieces: I used chenille pipe cleaners (available at the S store in the aisle where they have the kids’ crayons etc.) cut in half for the wire inside the mask over the nose area, but you can also use stretched out paper clips (just remember to fold the ends in on both so they don’t pierce the fabric; use pliers to make that job much easier!). Elastic can be any type, as long as it’s fairly narrow (again, the S store has elastic), and tape for kids masks can be made from woven cloth tape (typically about 12 mm wide; the S store calls it ‘header tape’ and it’s kept near the ribbons in my local S store) or fabric strips.

Update January 2022: Who knew that two years later we’d still be needing masks? I found another pattern that’s easier to put together than the surgical-type one above, fits the face better, has 3 layers of fabric, a pocket for a filter, and can be easily scaled for men and children. There’s a YouTube video that gives good instructions for it too.


Bobbin tension not quite right

19 07 2020

I rarely have trouble with bobbin tension on my Handi Quilter Sweet Sixteen (I use Jamie Wallen’s method here: https://www.youtube.com/watch?v=Q1mRhcquZTM), but it was playing up a bit this morning. I was still getting good stitch formation, but found I was having to keep loosening the top tension. I checked the bobbin case and it was threaded correctly, but it was a bit too loose. I initially tightened the bobbin case screw, but then I noticed something—the outer tension ‘spring’ didn’t seem to be sitting flat and locked in.

I’d cleaned it out with a business card when I finished quilting yesterday (one of the things I do when I clean and oil the machine at the end of the day). On closer inspection, with my magnifying glasses on, I saw that the bottom ‘hook’ bit wasn’t quite in properly (see where the red arrow is pointing in the photo below). I gently pushed it with a small screwdriver and it snapped into place.

Bobbin tension issue solved!