Invading roots

31 05 2017

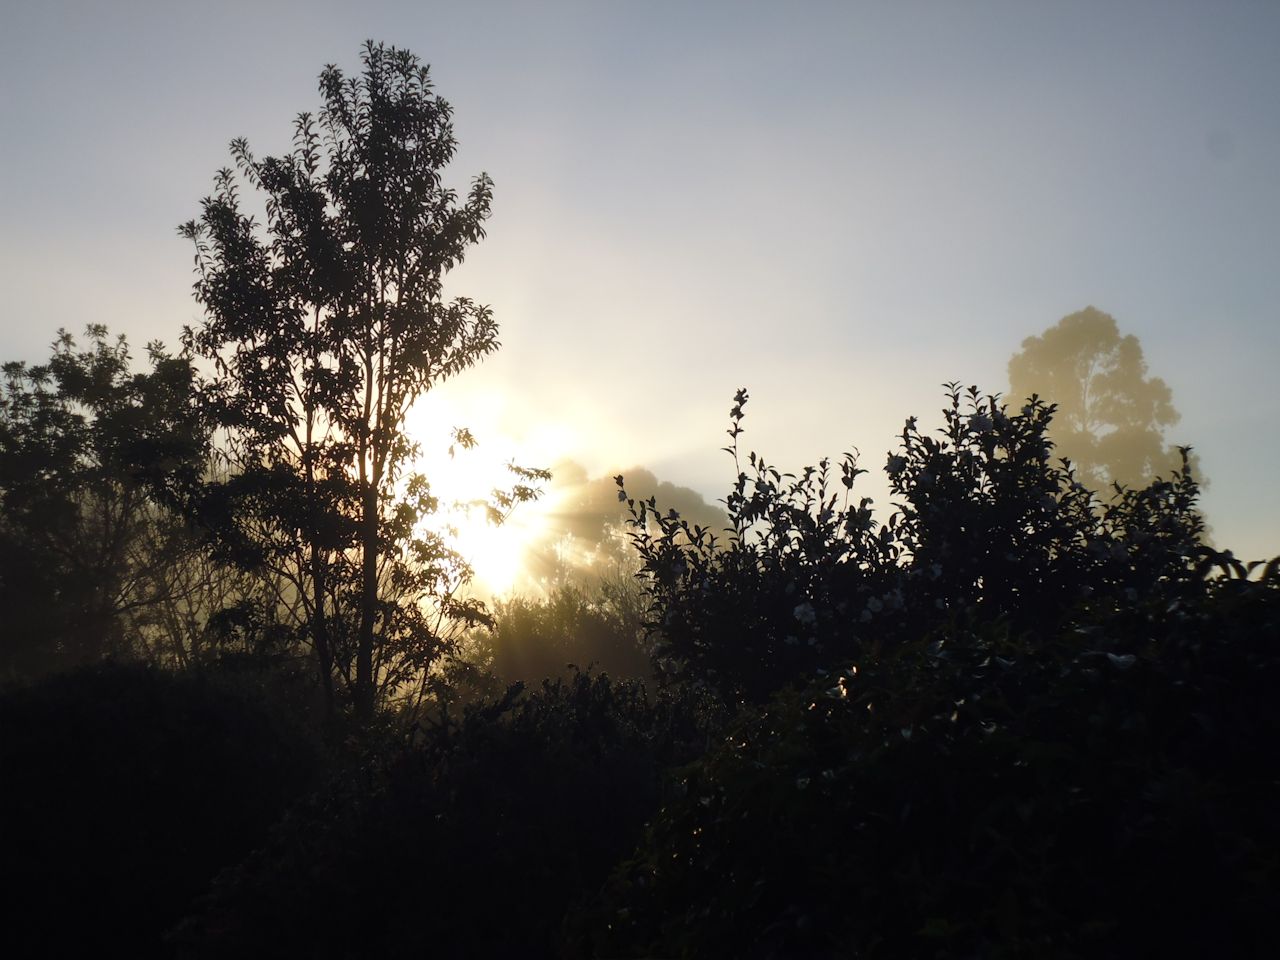
Guarding the entrance to our house are two massive strelitzias (Strelitzia nicolai). They have the most enormous flowers, and are just beautiful. But they have a dark secret — a root system that’s pretty invasive.

Magnificent white flowers of the Strelitzia nicolai

Magnificent white flowers of the Strelitzia nicolai

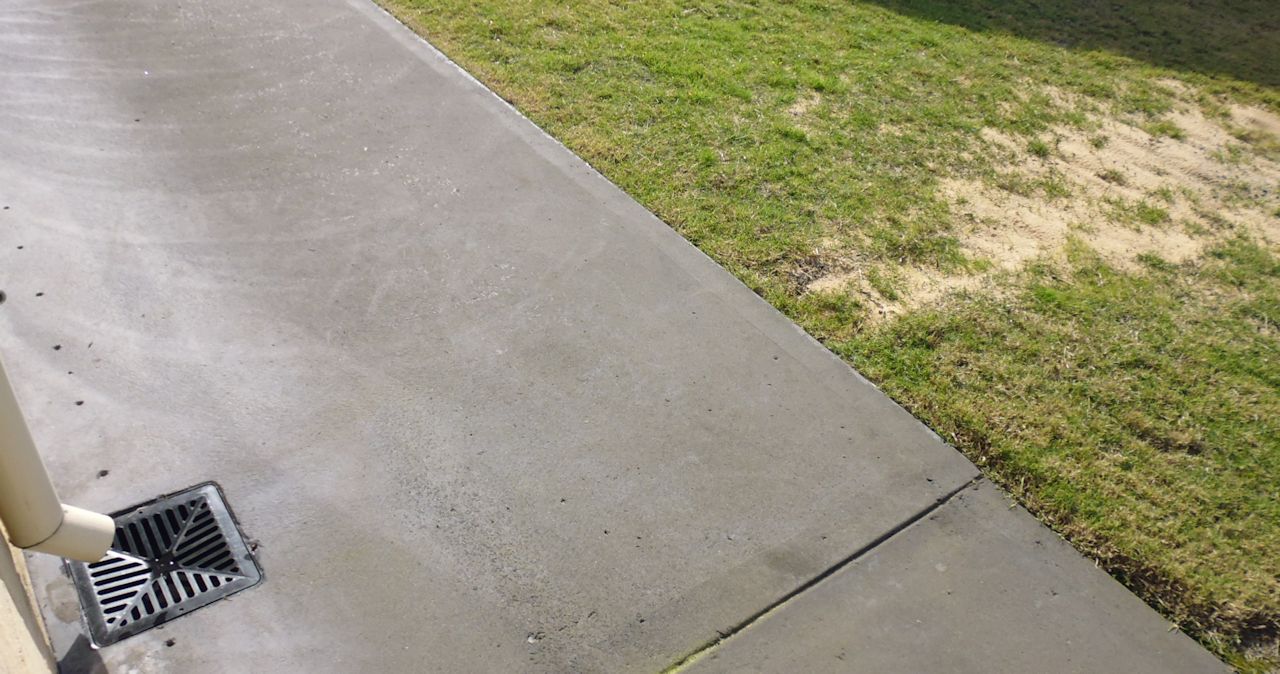
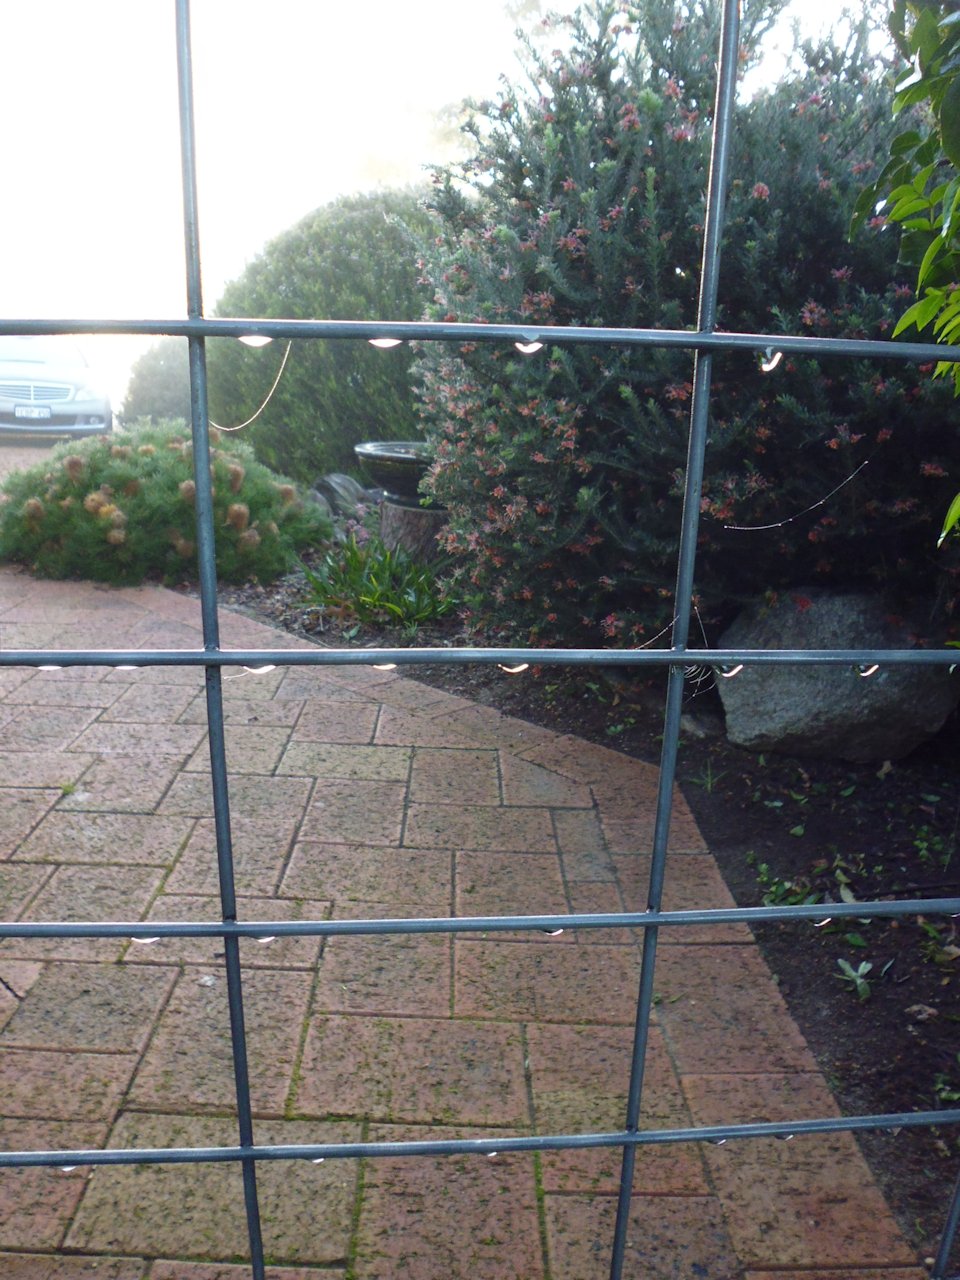
I’d suspected them of causing some driveway problems — cracking the asphalt, splitting the kerbing — but internet searches weren’t conclusive. One camp said these things had invasive roots and not to have them in your garden; the other camp said they were fine and no problem.

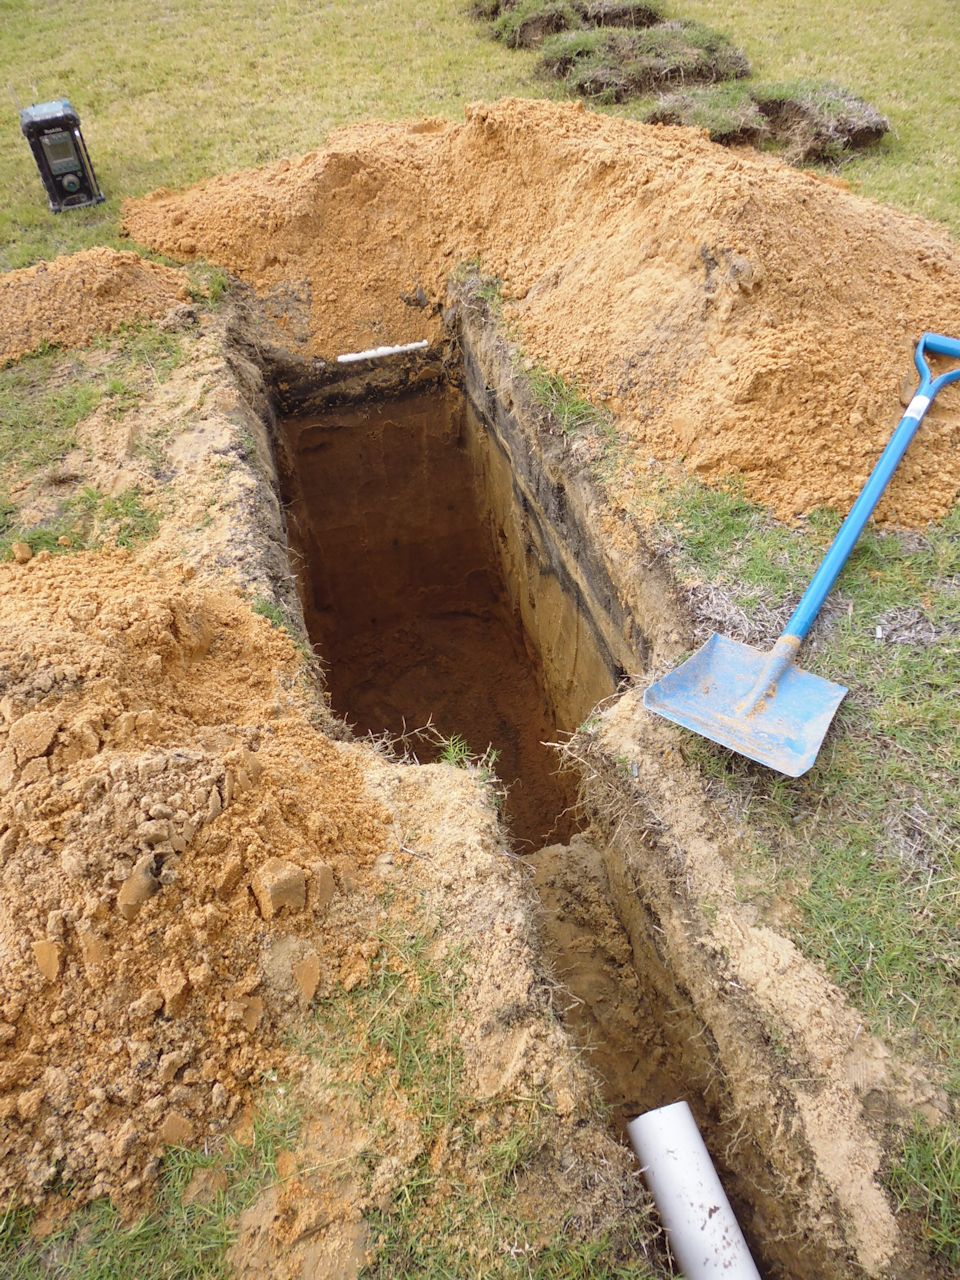
Over time I’ve noticed more cracks in the driveway near these plants and more recently, raised bumps and split kerbing (where there’d only been a hairline crack before). I also read a gardening article in our state’s main newspaper where someone had Strelitzia nicolai plants excavated (!) and was concerned about the roots and whether they’d sprout or if they needed to be dug out too. The gardener’s response was that no, they wouldn’t sprout, they didn’t need to be dug out, and she could plant something else in the hole.

I spoke to my garden guy and he suggested the cheapest solution for me as a first step was to prune the huge old branches, leaving the newer branches intact. He said that would likely stop the roots from invading any further, at least until the newer branches got as big as the old ones. The more expensive option was to get them cut out entirely and the roots ground out, ready for another plant species to take their place. I decided to go with the less drastic measure as a first step, and see if that solves the problem for the next few years. If I get no further cracking of paving or kerbing, I’ll take that as success, and make sure the older branches get pruned every few years.

During pruning - look at the height of that plant!

During pruning – look at the height of that plant!


Before pruning

Before pruning


After pruning – we can see the house over the road now, but have lost the magnificence of these big plants


Ratty McRatface

31 05 2017

Rats! Yes, real rats. In our shed. One of the ‘advantages’ of living in a semi-rural location.

I’d seen evidence of them in the shed before, and had put down RatSack. Some time later there was a god-awful smell that could only have been a decomposing rat somewhere in the shed. We couldn’t find it, but eventually the smell went away (it’s a BIG shed — 6 x 12 m).

I was in there a few weeks ago and vacuumed up more rat scat, but when I went in there a week or two ago there was a whole heap of rat scat, particularly in one place. Ewwww! I swept it up (I wasn’t using the vac for that!), then discovered more in the shelves above. These shelves house my gardening supplies and chemicals. Most of the stuff is in lidded plastic tubs, but some taller items are in small open tubs. And these tubs had lots of rat scat. The worst was the tub that had two packets of green snail pellets.

And then I discovered that the dirty rat had eaten a big hole in the snail pellet packet and had left his (I don’t know if it’s a male or female, but use ‘his’ here) scat INSIDE the packet. That explained why some of the scat was dark green… He’d started to attack the other packet, but no doubt was still feasting on the first one. He’d also eaten part of the foam handle of a gardening tool — there were teeth marks and tiny little claw marks where he’d held it! Little bugger.

Teeth marks at the top of the handle, and claw marks in the foam grip

Teeth marks at the top of the handle, and claw marks in the foam grip

Teeth marks at the top of the handle, and claw marks in the foam grip

Teeth marks at the top of the handle, and claw marks in the foam grip


I cleaned everything up and tossed out the snail pellets (how they didn’t kill him, I don’t know — obviously he found them very tasty!). I also put down more RatSack.

Two days later I went back into the shed. The RatSack packets I’d tossed onto the floor were gone! The little sod had taken them somewhere, so I put down three more packets. The next day they were all gone too. I didn’t put down more. I figured that 5 packets of RatSack should be more than enough.

What I did notice when I went back into the shed after putting down the first lot of RatSack was that instead of rat scat, there was a small pile of white stuff below the benches where the tub was that had held the snail pellets. It wasn’t rat poop, and then I saw that it looked like white plastic. I looked a little closer and at the shelves and saw that this rat had chewed through an entire corner of a hard-plastic tub and had started work on another one! Unbelievable! I thought storing stuff in tubs would prevent vermin getting in, but not so. This was one determined rat — and possibly one crazed rat from the RatSack it’d eaten.

Hard white plastic bits on the floor below the shelves

Hard white plastic bits on the floor below the shelves


How on earth did he eat this? It's hard plastic and it's three shelves up from the floor, and there's nothing he could stand on to reach it. Unless he ate it from inside, but that would've been a feat to get his teeth into that rounded corner.

How on earth did he eat this? It’s hard plastic and it’s three shelves up from the floor, and there’s nothing he could stand on to reach it. Unless he ate it from inside, but that would’ve been a feat to get his teeth into that rounded corner.

He started chewing on another tub, also 3 shelves up and nothing to stand on. It's clear he's attacking it from outside, not inside the tub.

He started chewing on another tub, also 3 shelves up and nothing to stand on. It’s clear he’s attacking it from outside, not inside the tub.

I left everything for a week, then ventured into the shed again. This time there was a faint odour of decomposing flesh, which I can only assume was the rat. A couple of days later the smell was stronger, but we couldn’t find the rat’s body. Oh well, it will eventually decay, dry out, get eaten by ants, whatever.

I think we got it. And I’m not going back into the shed until the smell has gone 🙂 Fortunately, it’s not summer, when the pong would be unbearable.

Update 25 June 2017:

Operation Rat – over? Since I wrote the blog post above more have ‘passed away’ with the help of RatSack packs. Then on Friday my wonderful handyman discovered where they were getting in (not where I thought) and has now concreted those openings and another set of openings where I thought they might be getting in. I thought it was over…

But this morning (Sunday) I went into the shed to get some gardening tools and noticed 2 packs of RatSack (which were there earlier in the week) were gone, and there was more dead rat smell. My DH used his nose to hunt the dead rat and found it inside a big empty box – with a live rat!!!! After much to-ing and fro-ing, the live rat is now a dead rat, is buried with the other dead rat and a dead baby in the no-man’s land behind the shed, and the box (which stunk of dead rat and was likely their nest) has now been burned.

I think the rat problem is no more, but just to be sure, I’ve put down another 3 packs of RatSack… Stay tuned…


New soakwell

31 05 2017

When our house was built, there was a ‘secret gutter’ in the roof, which caused no end of problems because the builders didn’t put in a downpipe to redirect the flow off the roof to a soakwell. Instead, the water gushed into the end of a normal gutter and had to find its way to the other end before going down a downpipe. It was a real problem when we had heavy rains, because the water would spill over the end of the gutter and fascia board and get under the eaves, thus causing mould on the eaves and a very wet fascia board. The mould was how we knew there was a real problem with the roof design. And I learned there was a such a thing as a ‘secret gutter’!

Our wonderful handyman was able to identify the issue a few years ago, and he and his roof plumber mate fixed the secret gutter flashing and added a downpipe so the water had somewhere to go. However, water from the downpipe just spilled onto the concrete, not into a soakwell. This caused some further issues, with water pooling on the concrete and algae forming over time (in the scheme of things, these were just minor issues). I added a spoon drain at the end of the downpipe as as a temporary measure to redirect the flow further out onto the concrete pad, but I knew at some point we’d have to get the water redirected into a soakwell.

Twelve months ago, my handyman cut open the concrete pad and installed a drain into the garden for another issue (a small dip in the concrete pad where water accumulated), so I asked if he could do something similar at the end of the downpipe, and install a soakwell. Yep, anything is possible for this guy (he’s an absolute keeper!).

He and his helper spent half a day cutting into concrete, digging a graveyard-size hole in the lawn (fortunately missing the retic pipes!), digging a trench under the concrete, installing a drain pipe and drain cover, and installing a ‘open weave’ heavy-duty plastic soakwell (after wrapping it in several layers of geotextile fabric). They then packed the dirt back in, put the lawn back, and went on their way.

It works a treat! The water from the downpipe now goes into the drain and into the soakwell, so no more trip hazards with spoon drains and algae!


Blackwood River in flood

22 02 2017

The Blackwood River in south-western Western Australia doesn’t flood very often, and rarely in February. But the catchment area had a lot of rain in first two weeks of February and so the rivers rose. By the time I drove down to Bridgetown for a quilting retreat with friends, it was nearly at its peak. I stopped in at the park near the bridge at Bridgetown to see it — it was sure moving FAST. I also stopped at the bottom of Greys Hill Rd, near the intersection with Mattamattup St, and the water was lapping the footpath. Friends who came by a couple of hours later said it was lapping at the road when they came through. This was Thursday 19 Feb. By Monday 21 Feb when I headed home, the river was back to almost normal levels.

Blackwood River at the bottom of Greys Hill Rd, Bridgetown (19 Feb 2017)

Blackwood River at the bottom of Greys Hill Rd, Bridgetown (19 Feb 2017)


Blackwood River at the bottom of Greys Hill Rd, Bridgetown (19 Feb 2017)

Blackwood River at the bottom of Greys Hill Rd, Bridgetown (19 Feb 2017)


Blackwood River at the bottom of Greys Hill Rd, Bridgetown (19 Feb 2017)

Blackwood River at the bottom of Greys Hill Rd, Bridgetown (19 Feb 2017)


Blackwood River at the bridge, Bridgetown (19 Feb 2017)

Blackwood River at the bridge, Bridgetown (19 Feb 2017)


Blackwood River at the bridge, Bridgetown (19 Feb 2017)

Blackwood River at the bridge, Bridgetown (19 Feb 2017)


Blackwood River at the bridge, Bridgetown (19 Feb 2017)

Blackwood River at the bridge, Bridgetown (19 Feb 2017)


Blackwood River at the bridge, Bridgetown (19 Feb 2017)

Blackwood River at the bridge, Bridgetown (19 Feb 2017)


Twelve months after the Yarloop fires

9 01 2017

A year to the day that Yarloop was all but destroyed by one of the worst bushfires in Western Australian (European) history, I travelled to Perth along Forrest Highway, which the fire had jumped on its path of destruction to the coast. The bush is recovering slowly, with many weed species taking hold. The grass trees have sent up many spears (stimulated by the fire?), though not all are straight — many are very twisted. I don’t know if the twisting is natural or a result of the trauma to the plants by the fires. Many other trees/bushes are dead and will eventually fall over/drop branhces, or be taken over by other vegetation.

Some photos while driving to and from Perth this past weekend — the first photo is of the bush alongside the highway in an area not burnt (this is what it used to look like before the fires):

p1080090

p1080057

p1080083

p1080085

p1080086

p1080088

p1080089


p1080056

Update: Photos from 31 March 2018, some two years and nearly 3 months after the Yarloop fires. These were taken on Forrest Highway in one of the areas the fire burnt through. The recovery of many of the trees is quite remarkable. Some are just dead, but many have recovered. Sometime in the past few months, the Main Roads people have also trimmed away any dead branches on the verges that were likely to break off and potentially become a road hazard.

Update: 4 September 2018: Two years, 8 months since the Yarloop fires… Springtime and the amazing regenerative nature of the Australian bush after devastating and catastrophic fire just stuns me. Some photos from my drive back from Perth today. While there are still a lot of dead and burnt branches, the understorey seems to have fully recovered and is thick with new life. Many of the burnt trees seem to have recovered too, and are covered in leaf growth.

See also:


Trying painting again after many years

30 09 2016

My painting journey has been a very mixed one, full of disappointments, frustration, and self-loathing. Even though I did Art as a subject to Year 12, my forte was pattern and design and lettering — stuff that had form and framework, and where you could paint in solid colours inside the lines. Landscapes, still life, portraits, etc. were all a dismal failure for me, and I was glad to see the back of them.

I didn’t touch a paintbrush again until the early 1990s when I did a summer school course in drawing and painting from nature. I loved that! We focused on botanical drawing, and were taught by a woman who had drawn and painted all the known species of fungi in Western Australia. I got a lot of pleasure out of painting a shell, or a stick with interesting bark, or a sprig of lavender. But probably within a year, I’d put away the paints and watercolour paper as the pressure of horrendous hours at work and life in general took over.

25+ years on and I was in a gap between making and quilting quilts. I’d done several Craftsy.com quilting classes and when Craftsy had a ‘50% off all classes’ sale on, I decided to try a couple of their ‘basic’ drawing classes, just to see if it interested me. I’ve since done a shading class (using pencil and ink/markers), a couple of mixed media classes (ink/markers and watercolour), and have more lined up to try. I also did some watercolour classes on YouTube. Some have been better than others, but I’ve followed along and learnt different techniques from each teacher. And I’ve surprised myself. I’ve painted water (probably for the first time — I can’t recall painting water when I was at school), and have learnt techniques for making waves with paint and with masking medium. I still have a long way to go before I’m proficient, but I’m no longer scared of painting, and I look forward to learning lots more.

Below are some of my first efforts, with the photo inspiration (where appropriate), and the Craftsy class I did or the videos I saw on YouTube.

Shading Techniques (Holmes)

eye

pear_cross-hatch

pear_stipple

My pear shape went a little pear-shaped! Need to work on the drawing aspect…

Watercolour techniques with Gay Kraeger

This was a series of YouTube classes for Strathmore paper, and I learnt enough to tackle an ocean scene based on a photo — my first effort with watercolour in decades, and my first-ever ocean.

body

The photo above was my inspiration. My interpretation is below.

p1050878

p1050879

Travel sketching in mixed media (Holmes)

I did a few exercises based on his photos, with mixed results.

p1050889

Then I did my own based on a photo I took in 2014 in the mountains near Logan, Utah:

p1020083

p1050883

I learnt that you have to add the dark last, otherwise you end up with the horrible blobby brown for the tree on the right side, with the much darker background trees showing through!

Illustrated Nature Journaling (Kraeger)

Similar to her free YouTube videos, Kraeger teaches lots of really practical techniques for creating sand, clouds, water, etc. One of the techniques for waves is using a masking medium that you rub off once everything is dry. Below is my first effort with that medium. And my first-ever breaking waves!

p1050888


Six months after the Yarloop fires

12 07 2016

I drove to Perth on Sunday for a meeting. It was six months to the day since the bushfires swept through the Harvey Shire in Western Australia, taking out most of the town of Yarloop. I only travelled on Forrest Highway and took some photos from the car of the regeneration of the roadside plants and trees. In the past few months, I’ve marvelled at the tenacity of the trees in particular as I’ve driven through the 20 km stretch where the fire took out almost everything in its path. Trees that looked like they were beyond saving started sprouting new growth along their trunks within a few weeks (they looked like they were in lime green knitted sweaters!). And zamia palms and grass trees (and weeds, of course!) took on new growth too–in the case of the palms, many new ones grew as a result of germination by the fire and/or smoke.

Here are the pictures I took just three weeks after the fire: https://rhondabracey.com/2016/01/31/driving-to-and-from-perth/

And below are some photos I took of the regeneration. The beautiful green is because we’re now in the middle of winter and that’s what our grasses do in winter.

P1050793

P1050794

P1050797

P1050798

P1050796


Beautiful Bridgetown

8 07 2016

We lived in Bridgetown, Western Australia (WA) for three years. It’s one of the colder places in WA and one of the few places that has lots of ‘heart attack’ hills — most of our huge state is pretty flat, but not Bridgetown. It’s a beautiful town most of the year, except summer (in my opinion), when the threat of bushfires from the nearby forests is an ever-present danger. We’ve been gone for more than six years now, but have friends there. And we have our girls’ quilting retreat there each winter, at the magnificent home of one of our group.

Here are some of the photos I took from their house and garden last weekend, around 8am on a cold winter’s morning (July 2) when the temperature was hovering just under 0C, and the fog was still hanging over the valleys. My favourites are the ones with the early morning sun gleaming on the gum trees, the ice on the bird bath, the sparkle of the new day on the dew, and the rising sun poking through clouds. And the bunny, of course!

P1050757_small

P1050759

P1050739_small

P1050742

P1050743

P1050744

P1050745

P1050746

P1050747_small

P1050748

P1050749

P1050750

P1050751_small

P1050752_small

P1050753_small

P1050756_small


Solved by the internet

22 06 2016

In less than two hours this morning I solved something that has bugged me for years — who made my grandmother’s ‘little boy’ figurine? I’d hunted the internet several years ago for clues as to what the maker’s mark represented but to no avail. My grandmother passed away in 1994, so she wasn’t around to ask, and I can’t recall asking her any details when I was younger.

I started by doing a Google search for ‘little boy figurine writing’, then checked the images results. I found a couple that looked like him, and discovered that they were based on (copies of!) a statue (“Enfant Ecrivant”) sculpted by Antonio Canova (Italy, 1757-1822). Then I found a website where people could ask question about pottery marks and I searched their site for the bits of the mark I could identify — an arched cat? inside a house, with an ‘H’? in the roof.

china04

The mark on the base is from the Hertwig (later Katzhutte) porcelain factory in Thuringia, Germany. Hertwig was in business from 1864 to 1958, later becoming Katzhutte (1958-1990), but the company did not survive after the reunification of Germany in 1990. According to the Porcelain Marks and More website (link below), the mark on my piece was used between 1914 and 1945. It depicts an arched cat inside a house, with an ‘H’ in the roof, and surrounded by an oval with indented dots at the compass points. The only difference between the mark I found on the internet and the one on my piece is that the cat is facing a different way — I don’t know if this is significant or if the image was reversed on the website where I saw it. I believe the figurine is made of porcelain bisque. It is 24 cm high, 8.5 cm wide, and 11.5 cm deep (9.4 x 3.3 x 4.5 inches).

P1050713

The history of this piece in my family

My paternal grandmother (1902-1994) had this piece on her dressing table. Whenever I visited as a young child, I would stare at this little boy for hours trying to see what he was writing. I think my grandmother told me that my grandfather had given it to her around the time they got married (end of 1929), which fits the years of the mark (1914-1945). However, now that I know it was made in Germany, perhaps my grandfather, who was English, didn’t give it to her — Nana was of German descent so perhaps it was a wedding gift from one of her extensive family. That said, they came out to Australia from Germany in the 1890s, well before this mark was in use, so it’s not likely a family heirloom. My dad (b. 1930) said he always remembers it being in the house, so it’s definitely been in the family since then.

When my grandmother was moving into a retirement village and getting rid of many of her possessions, she gave it to me because I always so fascinated by it. I will give it to my nephew when I downsize.

Links:


Remembering Uncle Alf, 100 years on

13 06 2016

One hundred years ago today, my great uncle Alfred was killed in Belgium (near Ypres [now Ieper]) in WW1. He was just 20. He enlisted in July 1915 and arrived in France in February 1916. He was ‘wounded in the field’ in late May 1916, returning to duty a few days later, only to be killed two weeks later at Sanctuary Wood. Along with many thousands of others, his body was never recovered. He is memorialised on the Menin Gate Memorial.

When I started my genealogical research back in the mid-1990s, Alf was one of the first I looked for (he’s my paternal grandfather’s brother). But I couldn’t find any record of him in the British war records available on the internet at that time. As more and more information became available online, I continued looking for Alf, finally finding him via the Commonwealth War Graves Commission. But I got the biggest surprise — he didn’t fight for England, as I had presumed (this side of the family was English for many generations before him). Instead, he and one of his brothers had enlisted in Ontario, Canada, and fought for the Canadian Overseas Expeditionary Forces. I still don’t know how or when they got to Canada, or, more importantly, why they fought for Canada. I can only summise that either one or both of them were rejected for military service in England so they tried from somewhere else, or there was some derring-do associated with fighting for another country. The other brother never made it out of Canada to fight for Britain — he had all sorts of illnesses that prevented him from seeing active service.

Alf’s siblings ended up scattered around the world. Jack went to Canada and then on to the US (my Michigan family connection); Fred went to Canada with Alf for WW1, then back to England, then Canada again, then England, then Western Australia; Charles (my grandfather) came direct to Western Australia in 1923 (with Fred); Kath eventually came to Western Australia (1940s); while Daisy remained in England where she grew up. And my Dad’s middle name is ‘Alfred’, no doubt in remembrance of the uncle he never knew.