We had a wet and wild weekend here last weekend, so staying indoors was the only option. It gave me a chance to test some options for colouring fabric using markers, pencils, and paint. I have various types of these, but had never really given them a decent comparative test.
I used some of the quilt sandwich samples I made when I created a library of free motion quilting motifs based on Leah Day’s project. I needed samples that had closed spaces and found several that worked well. The fabric was a calico or quilter’s muslin (can’t recall which), with a single layer of batting (unknown type). After the first test (Copic Sketch markers), I used the backs of the samples so that the stitching wasn’t as obvious, and also to test if any of the colours bled through the fabric and batting layers (none did, so that was good). I deliberately chose rich colours for my testing as these would show bleeding more obviously than pale colours, and would be more likely to show through on the other side. I did not wash, iron, or heat set any of the samples.
For almost all tests, I just used the original colour ‘out of the box’ without trying to add shading etc. All methods were very time consuming, so I would only want to use colour from these sources on small projects, or small sections of a larger piece.
I tested:
- Copic Sketch markers (using the brush end)
- cheap no-name kids’ markers from China purchased from a discount store
- Fabrico fabric markers (using the thicker brush end)
- Inktense Watercolour Pencils — with no water, with water, and with FolkArt textile medium (Inktense Blocks should work the same, but I didn’t test these)
- Tsukineko inks, applied with the pointed Fantastix applicator
- no-brand fabric paint purchased directly from Gloria Loughman in a class I took with her several years ago — with water and with no water.
NOTES:
- These tests are for my own purposes — your mileage may vary! Different fabrics and battings may give different results; applying heat or washing the samples may give different results.
- I only used markers and paints I had in my stash — if you have different markers/paints, you’ll have to do your own tests.
- Click on a photo to view it larger.
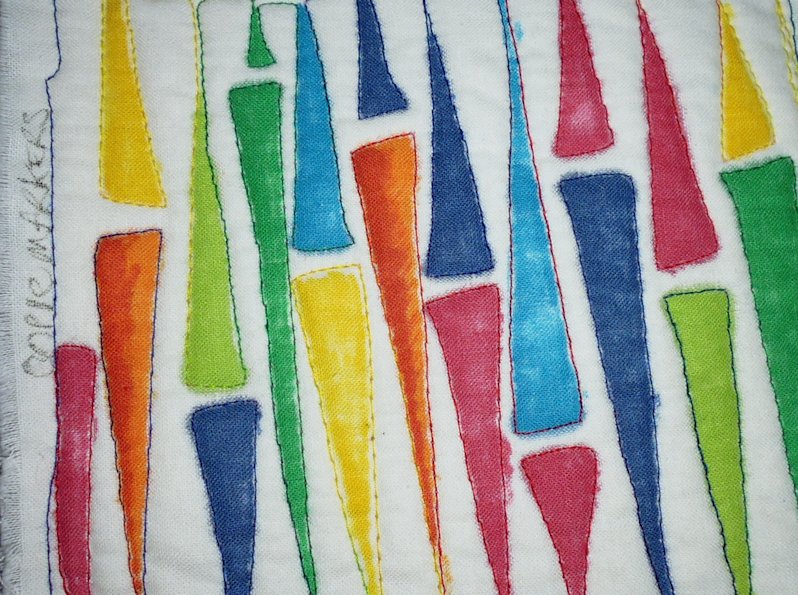
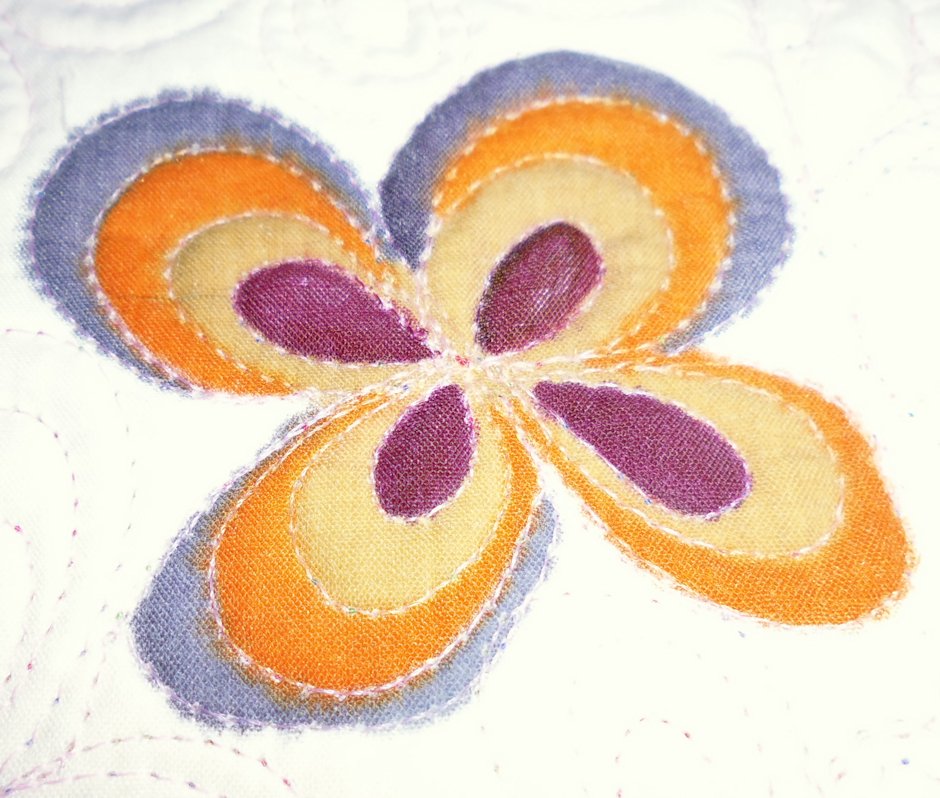
Copic Sketch markers
- Almost no bleeding
- Reasonably true colour
- Can create shading by feathering in another colour, though if you do it after the original marking has dried, it may be noticeable (see the orange examples in the photo below, where I applied red after the orange had dried); it may be possible to get better results with the blender solution, but I didn’t try that
- Easy to apply using the brush-tip end.
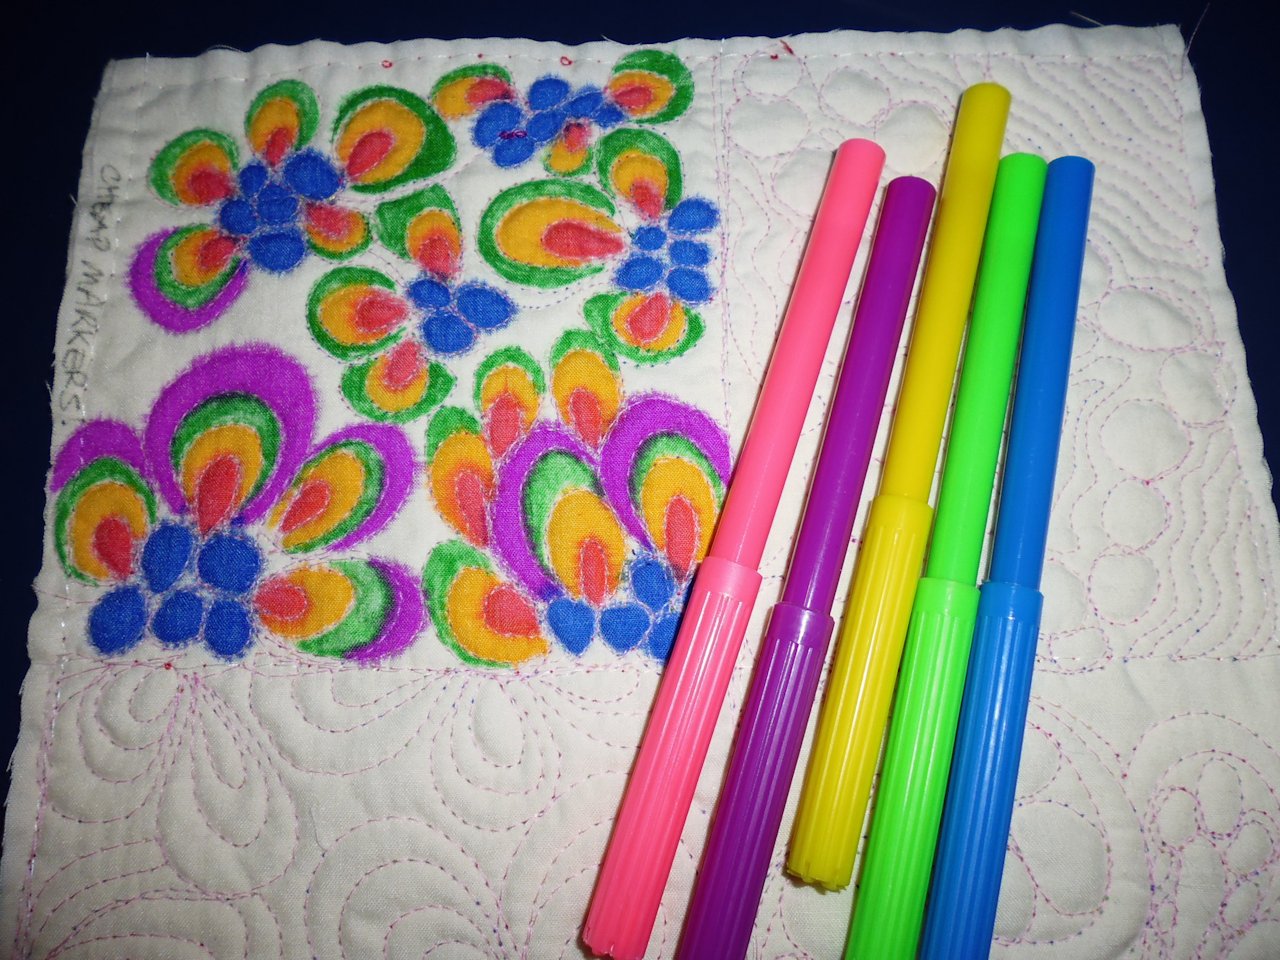
Cheap no-name kids’ markers
- Small amount of bleeding, especially with the darker colours (purple, blue in the photo below)
- Colour runs out fairly quickly and I had to stop, put the top back on, use another colour while I was waiting for it to ‘replenish’, then use it again — this was especially noticeable with the green, which was quite patchy in its application, as you can see from the photo
- Hard to apply — these markers only had a narrow pointed tip (after all, they’re for kids’ drawings!), so the individual line markings to create the filled colour are noticeable with some colours
- Colours are much darker on the fabric than the colour of each marker would indicate — the pink, yellow, and green, especially, came out very dark
- I was surprised at how well they worked — they were $6 for a pack of 24 colours, and therefore much cheaper than any of the specialty markers, which can be $10 each; they may be suitable for very small patch or fill work.
Fabrico fabric markers
- Some bleeding
- Easy to apply using the thicker end
- Some colours didn’t reproduce well — only the grey looked like its marker; the ‘sand’ and the purple were much darker, and the rust was more of an orange

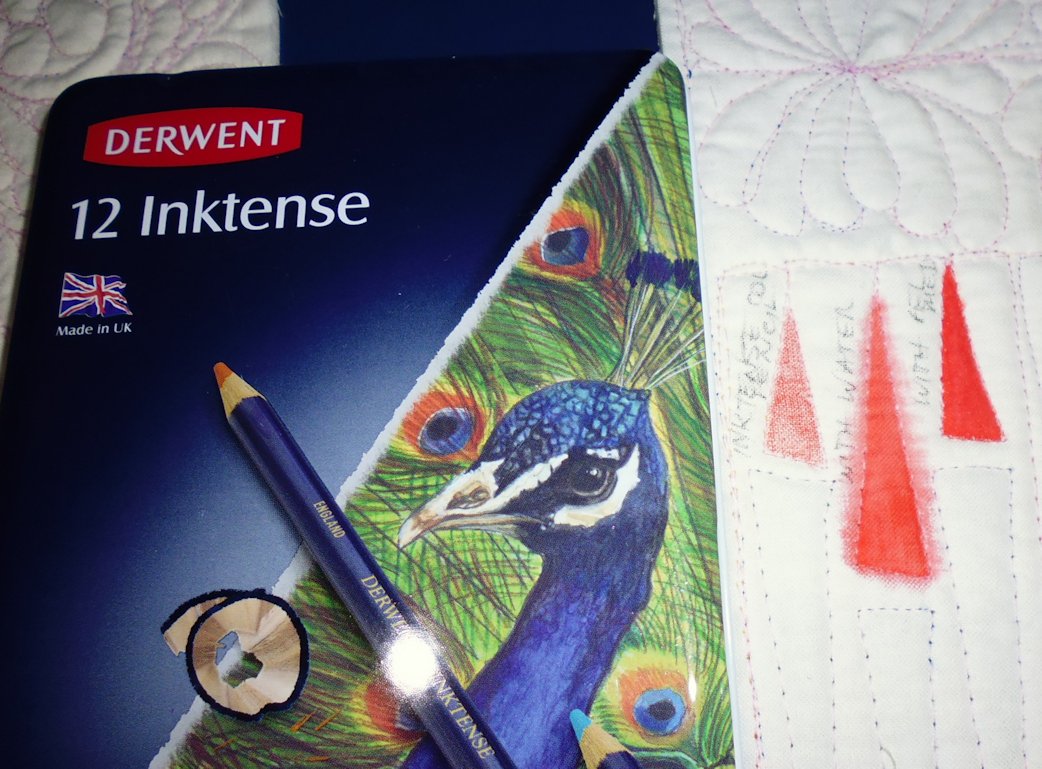
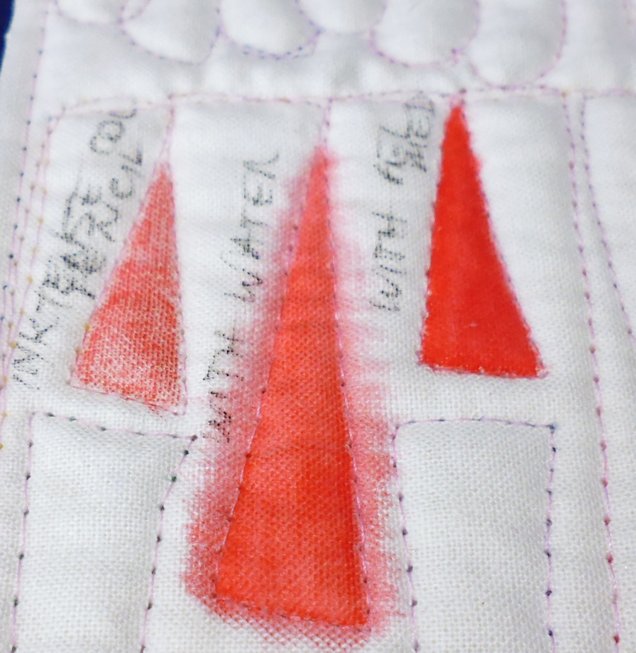
Inktense Watercolour Pencils
I coloured in the areas with the pencil, then for each area I used one of these three methods — no water, added water after applying the pencil, and added FolkArt Textile Medium after applying the pencil. I’ve used them before so had an idea what to expect.
- No water (left in photo) — pale colour, shows fabric texture
- With water (middle) — bleeds badly, more intense colour (Note: I added the water with a small paintbrush; I didn’t dip the watercolour pencil into water — that may have made a difference)
- With textile medium (right) — no bleeding, very intense colour, best method for these pencils.
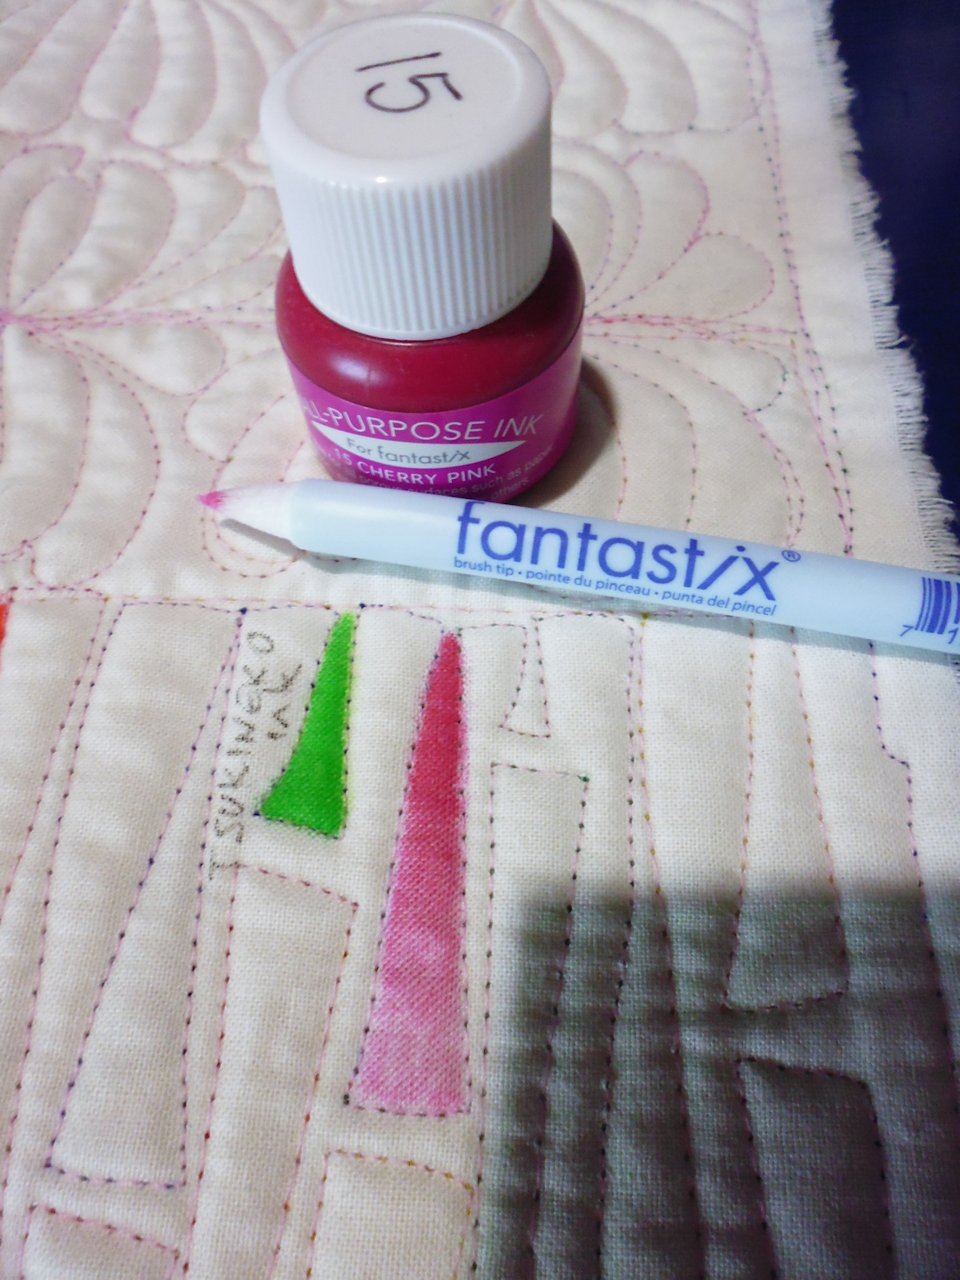
Tsukineko inks
- Used the pointed Fantastix applicator as I needed precise control at the edges
- Intense and reasonably true colour if painted on ‘neat’ and you continue to dip the applicator into the ink (see the green swatch in the photo below)
- Colour gradation achieved by letting the ink dry as you brush it on (i.e. not redipping the applicator into the ink; see the pink swatch in the photo below)
- No bleeding
- Fairly quick method.
No-name fabric paint
I tried this fabric paint neat (no water) and with water — see the blue swatches in the photo below.
- No water — thick intense colour, hard to apply evenly, almost no bleeding
- With water — bleeds, less intense colour, easier to apply.


